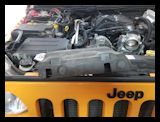
The Jeep passed 9 years and 86,000 miles on the original OEM plugs and coil packs. Jeep calls to change the plugs at 100,000 miles. I haven't seen any loss in gas mileage, or any seeming loss in power over the years. It still pulls the 35's with no problem, but since I was getting into the engine to replace the oil cooler, I figured instead of doing this twice, I'll just replace the spark plugs and coil packs while I am under the hood already. I figured the plugs would be a little eroded after this many miles, but didn't really expect anything more since the Jeep was running good. I looked around for replacement Iridium plugs and the price differences between the OEM and the BOSCH that I chose was only $1. I went with some regular Duralast Ignition coils for the Jeep. Nobody that had MSD or RIPP could give me a long duration look at tracking their gas mileage. I didn't quite believe some of the claims. I did achieve about 1/2 mpg improvement with the new plugs and coil packs, but this is only over the last 5 fill ups, so I need to see what it is a few more months down the road. This put it back to about the same gas mileage I was getting right after I installed the lift and 35's.
Note: None of the bolts required much force to loosen them. I'm not 100% certain on the torque settings that I was able to find for this job, but every one was less than 9 ft/lbs of torque. This isn't a lot of torque and we are dealing with lots of plastic parts.
| Parts: |
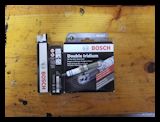
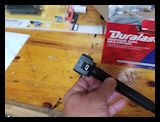
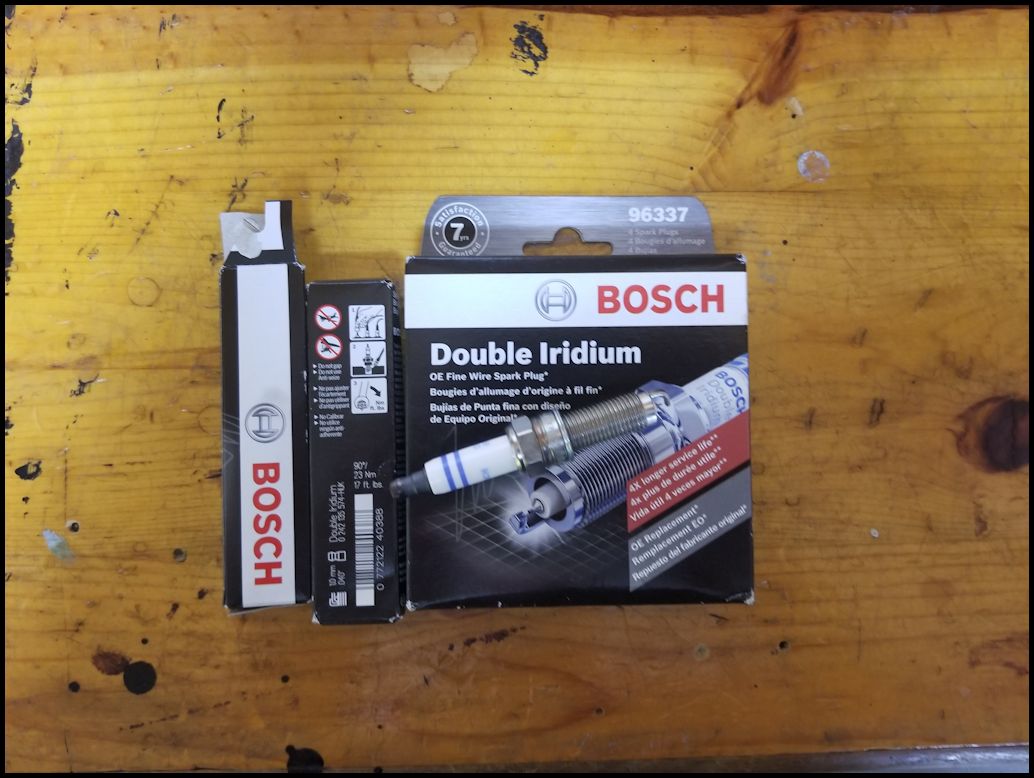
| BOSCH Double Iridium Plugs 96337. The price between these and the OEM Iridium plugs was only $1, so I went with the BOSCH plugs. |
 |
 |
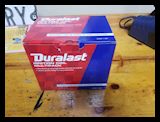
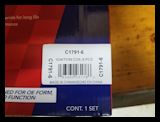
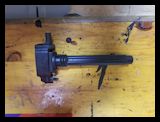
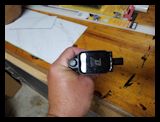
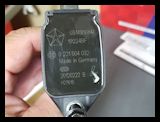
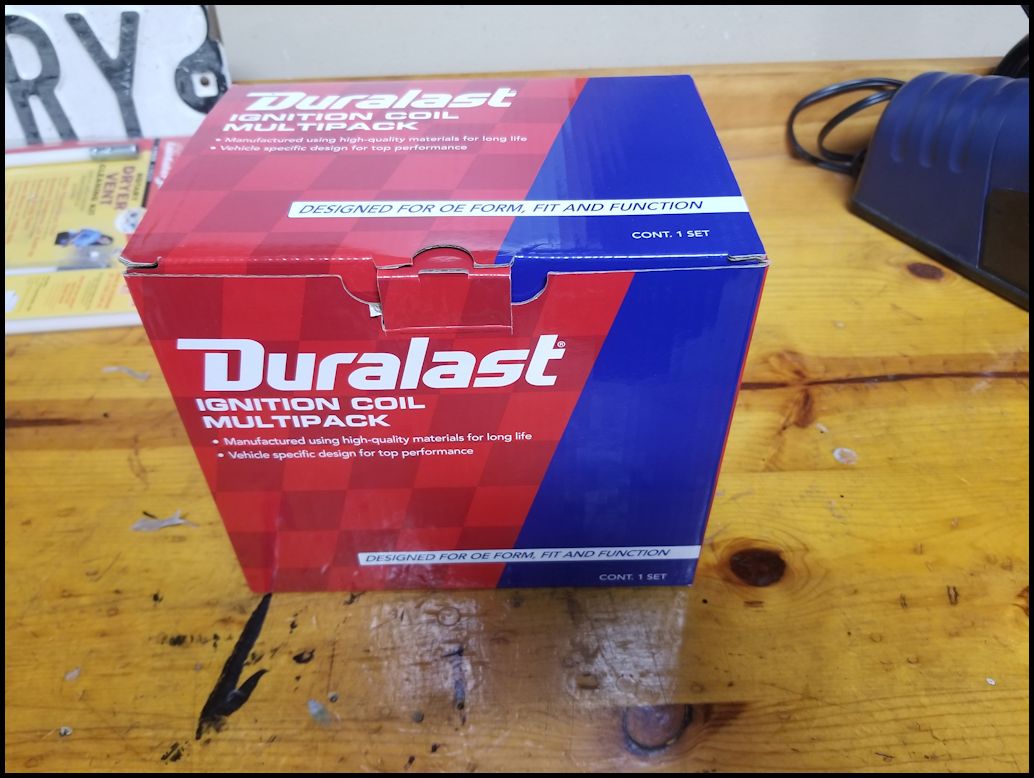
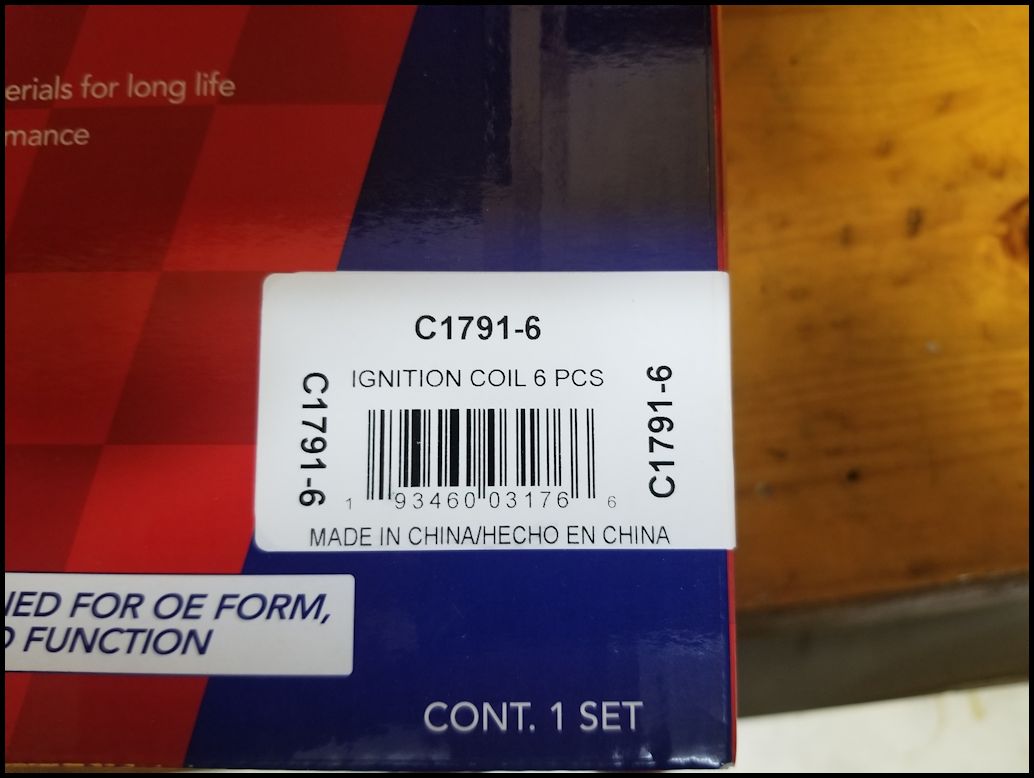
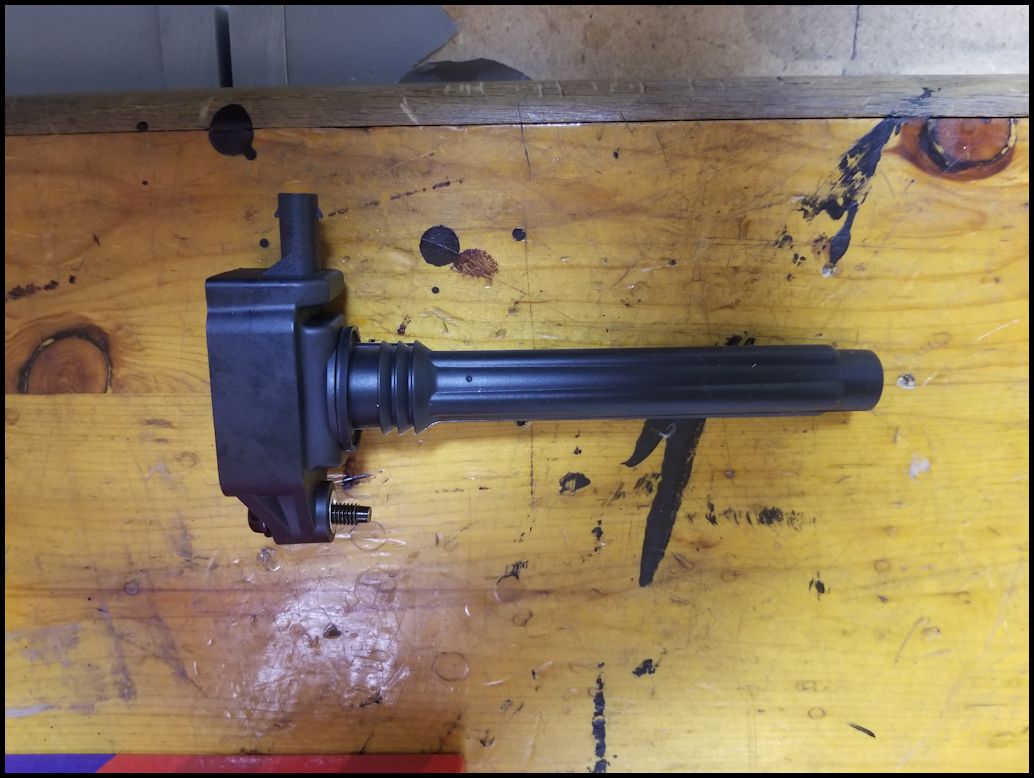
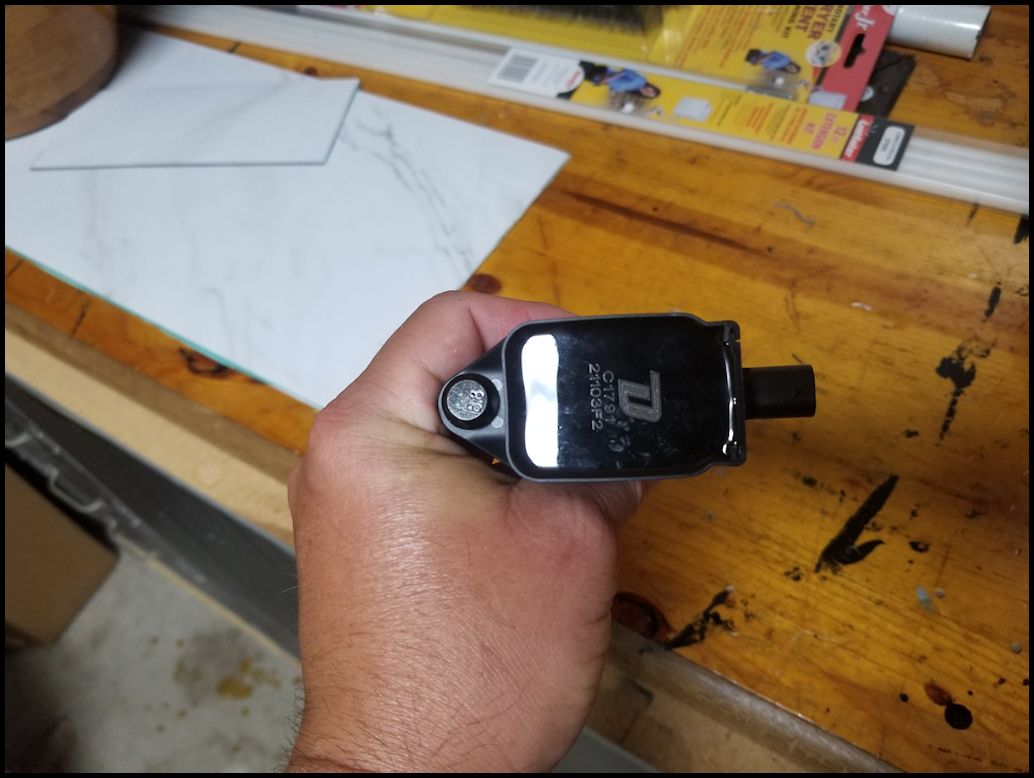
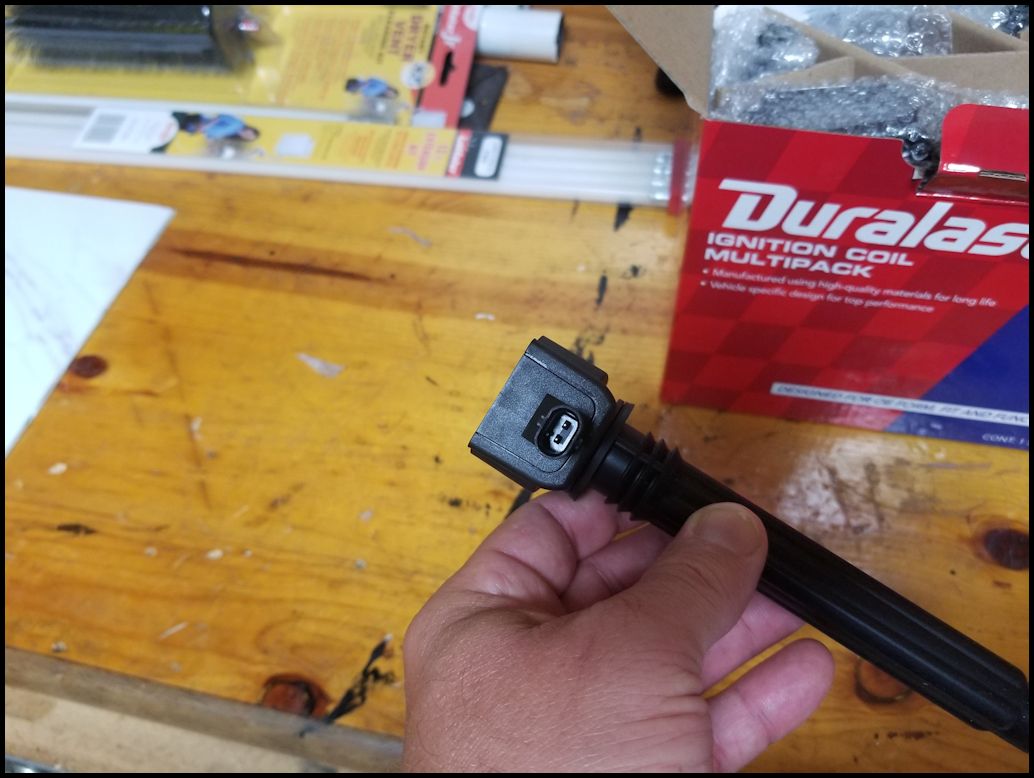
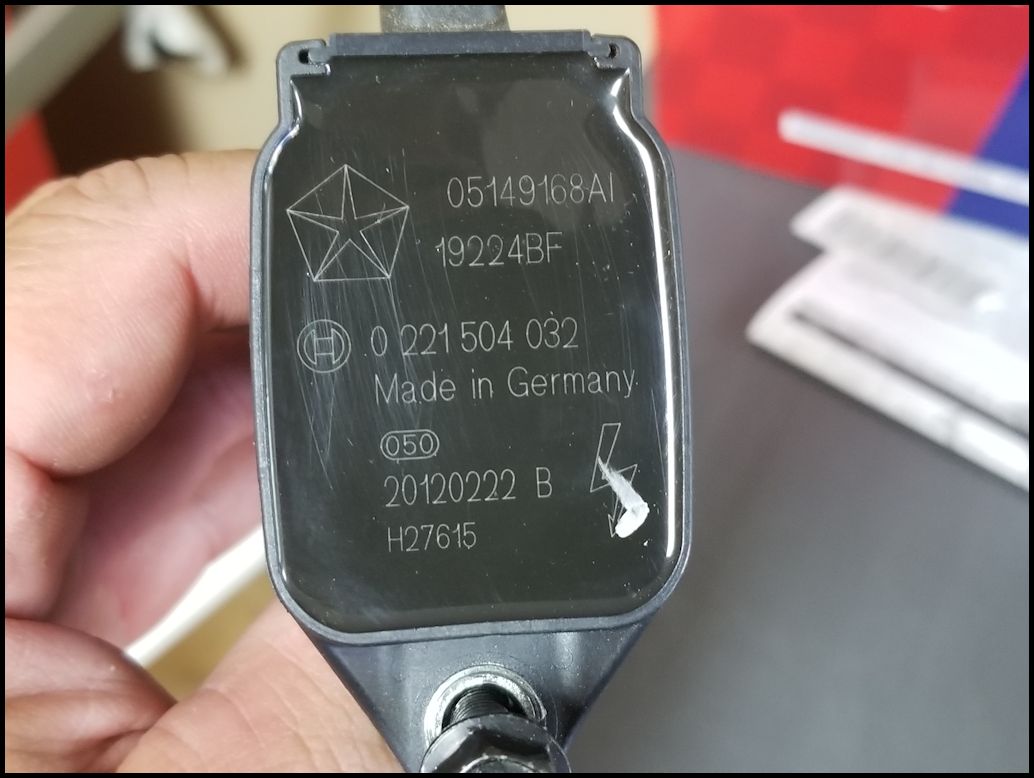
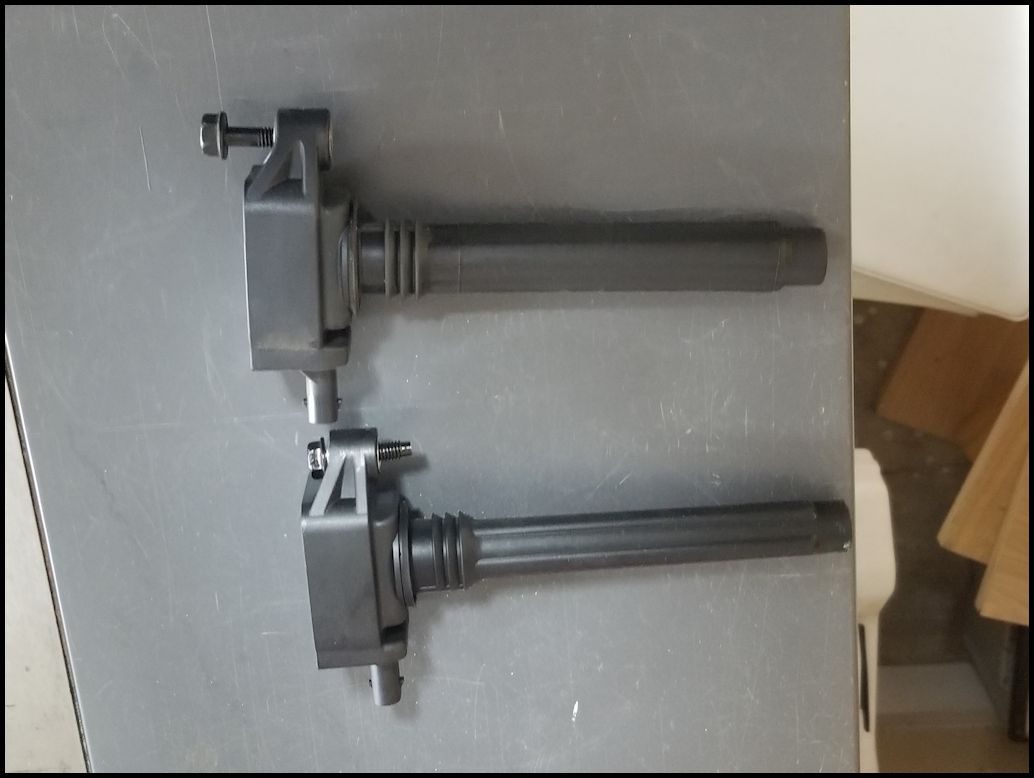
| Duralast Ignition Coils C171-6. This comes in a 6 pack so you don't need to buy individual coils. I didn't feel a need to purchase Ripp or MSD coils. |
 |
 |
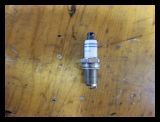
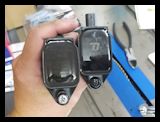
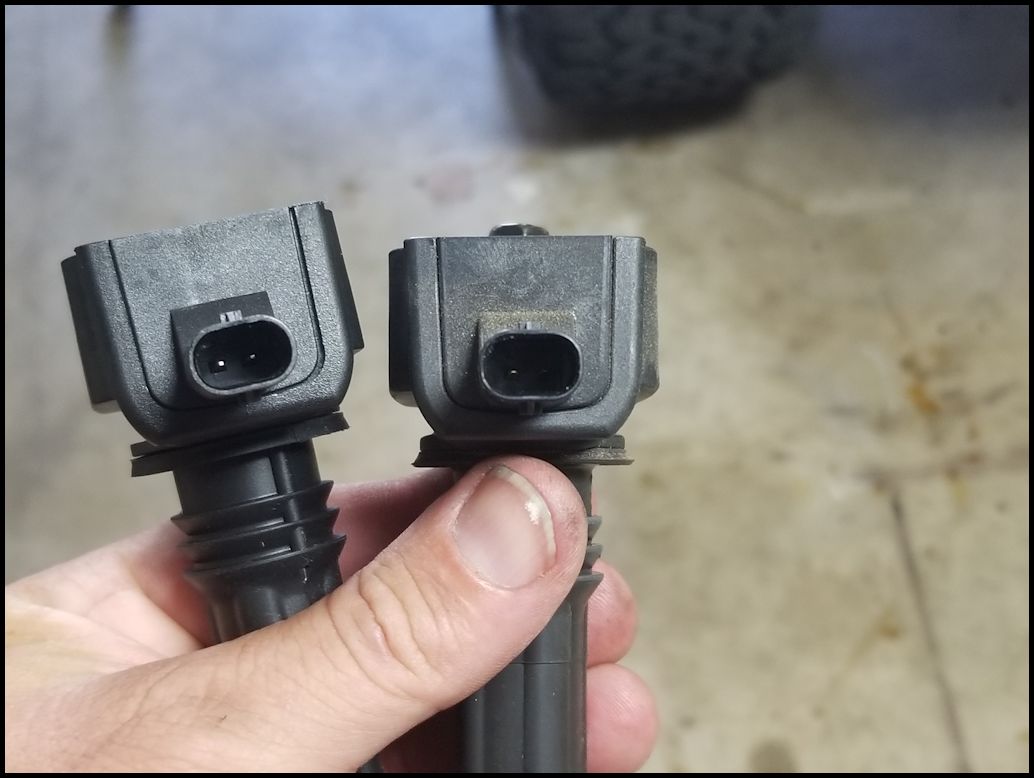
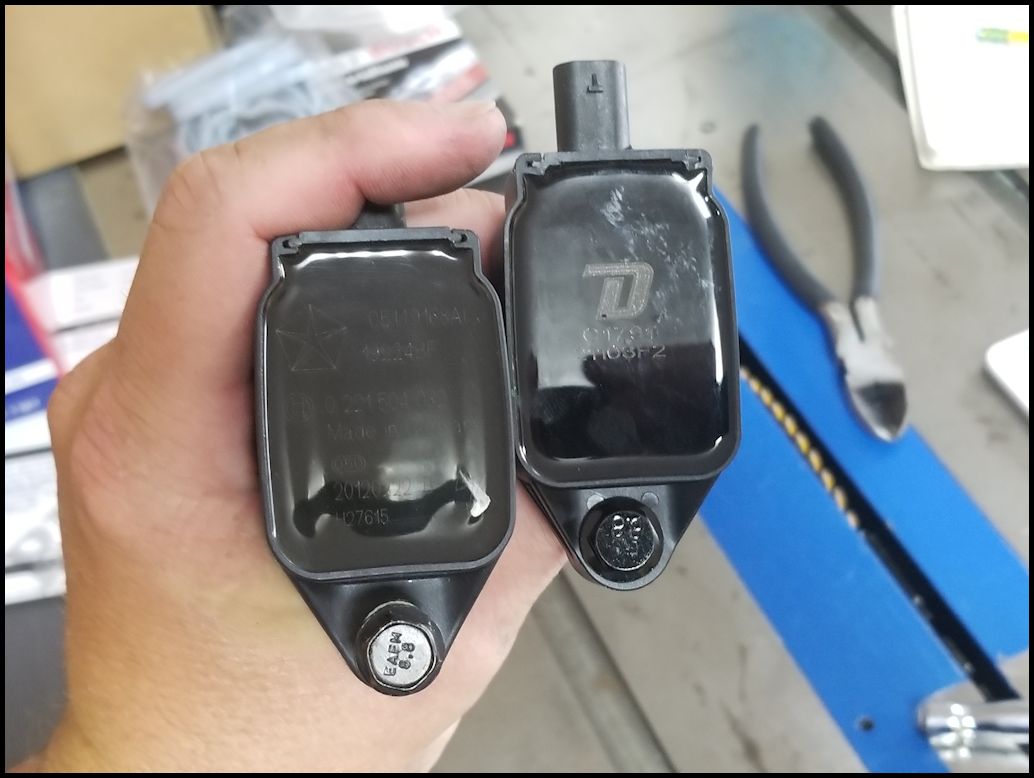
| I have seen a MSD coil for the Jeep JK and as far as I can see other than the color they looked pretty much the same, but I bet the real difference is underneath the potting. These do come with dielectric grease inside the tip. |
 |
 |
 |
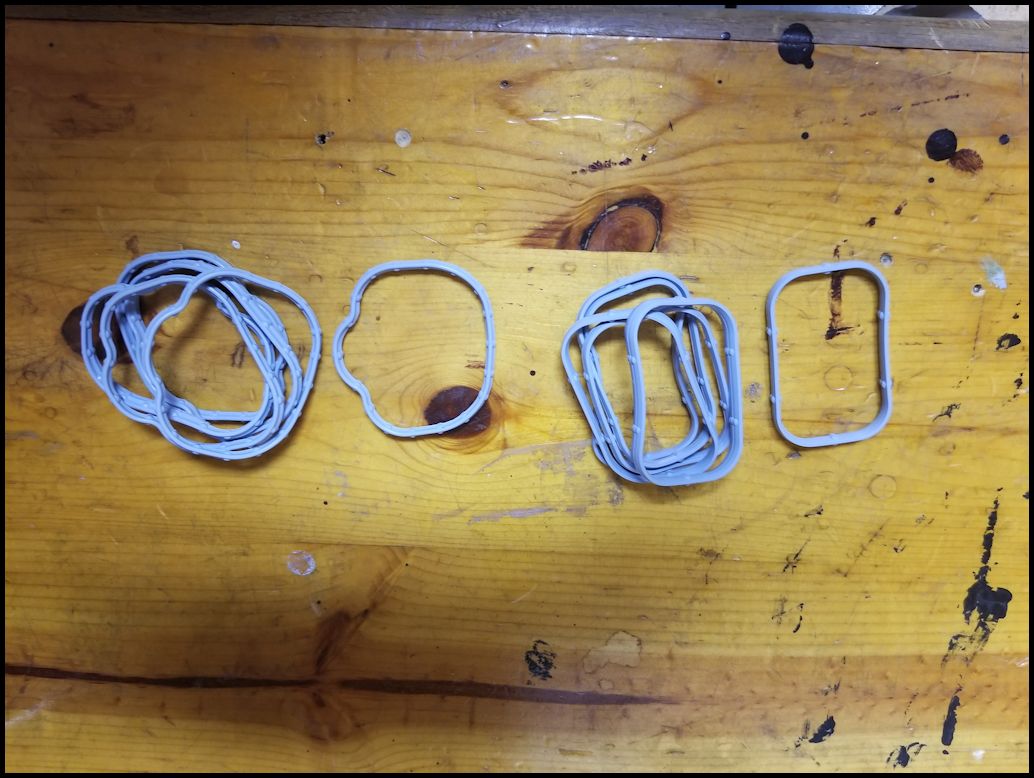
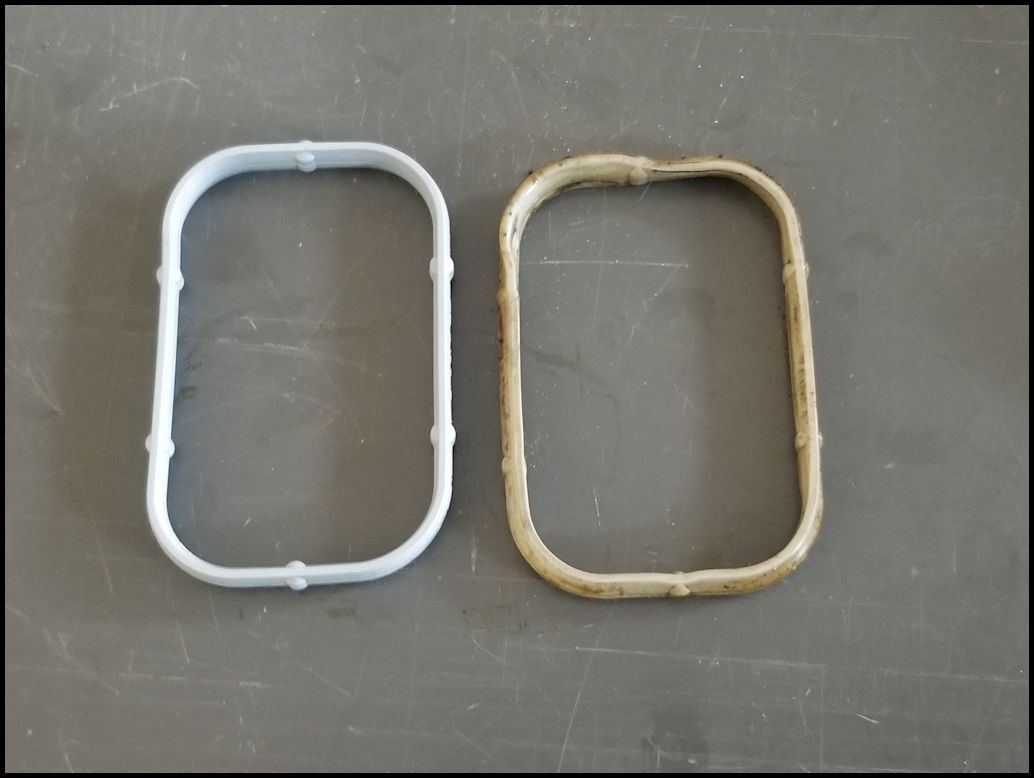
| New upper and lower intake gaskets. You would only need the upper rectangular gaskets, but depending upon the condition of your gaskets, you may be able to get away with not changing them. |
 |
| |
| Installation: (I will try to break it down into sections) |
| Upper Intake : |
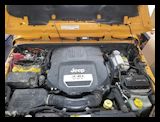
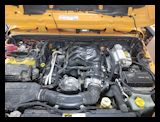
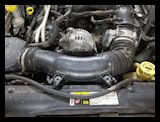
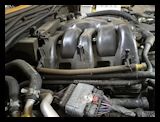
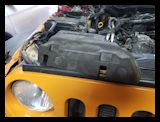
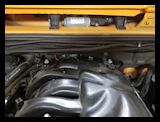
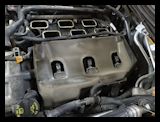
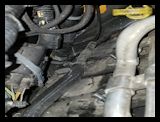
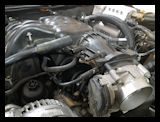
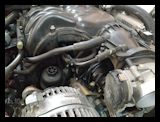
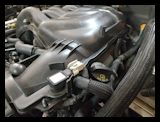
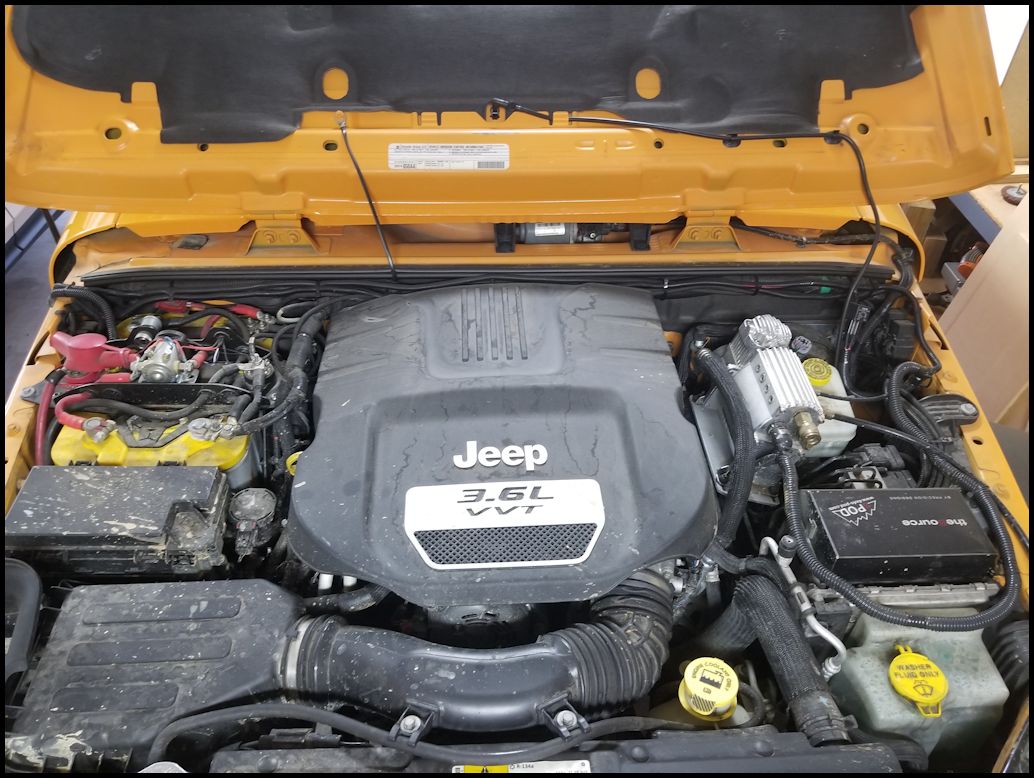
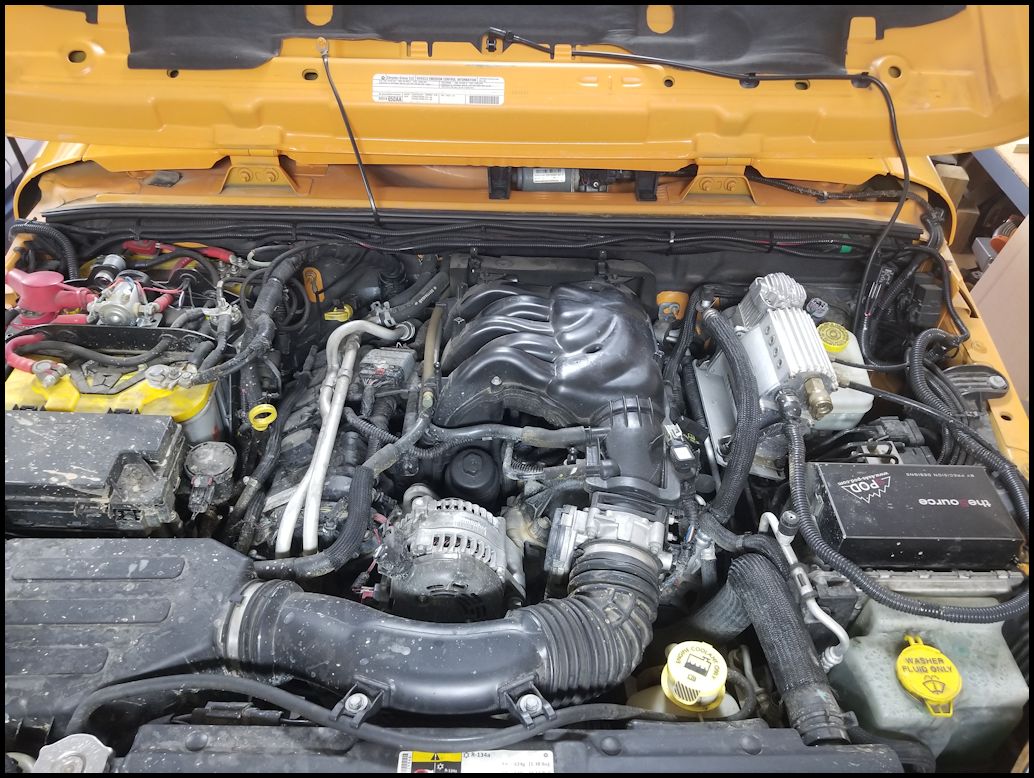
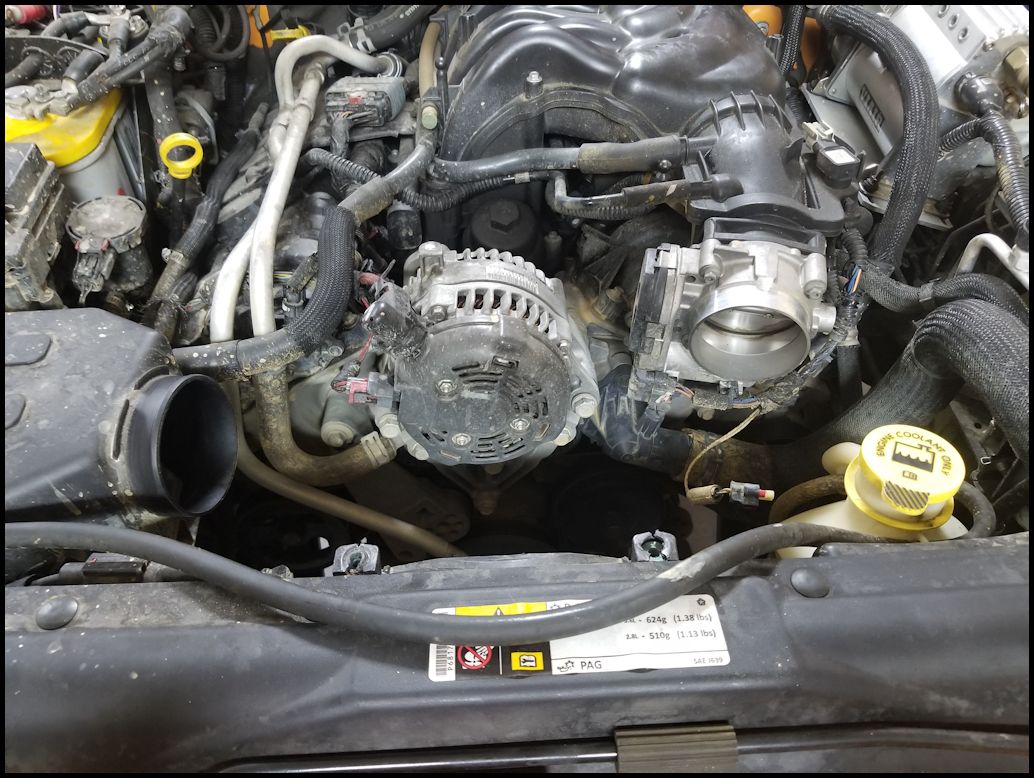
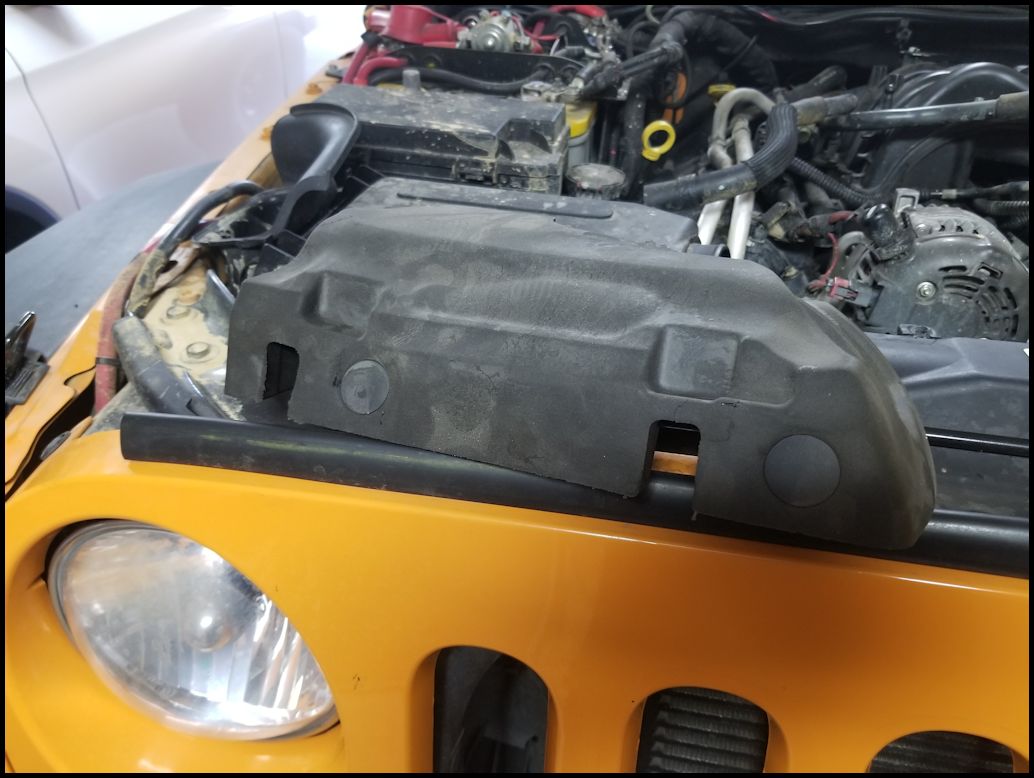
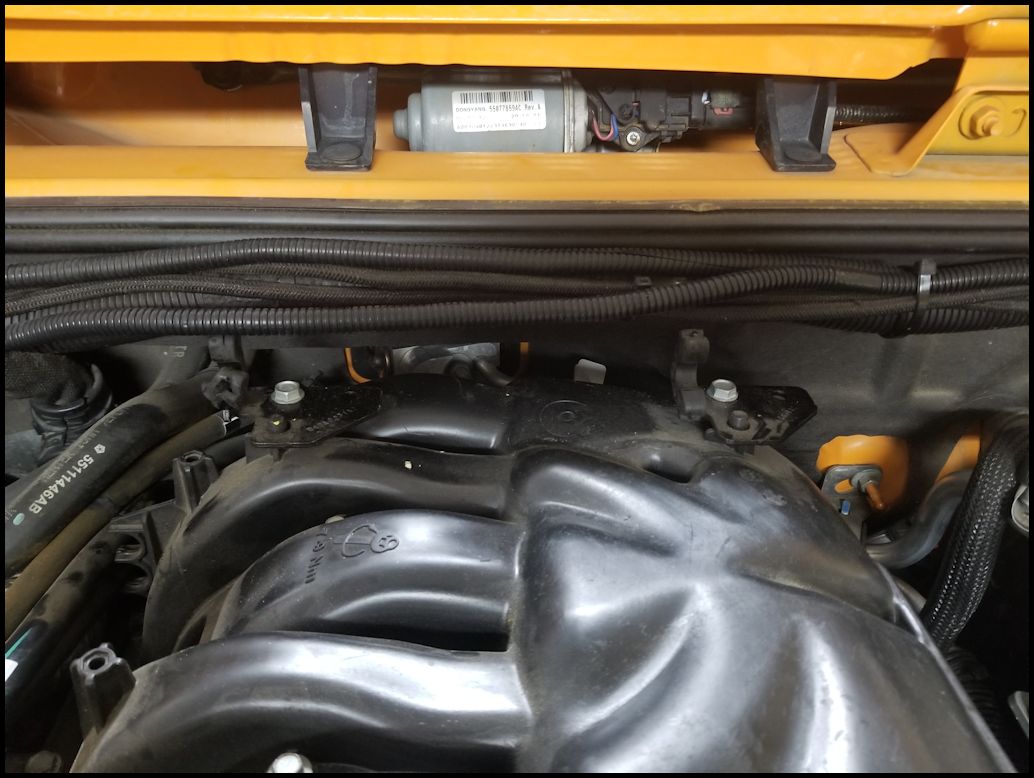
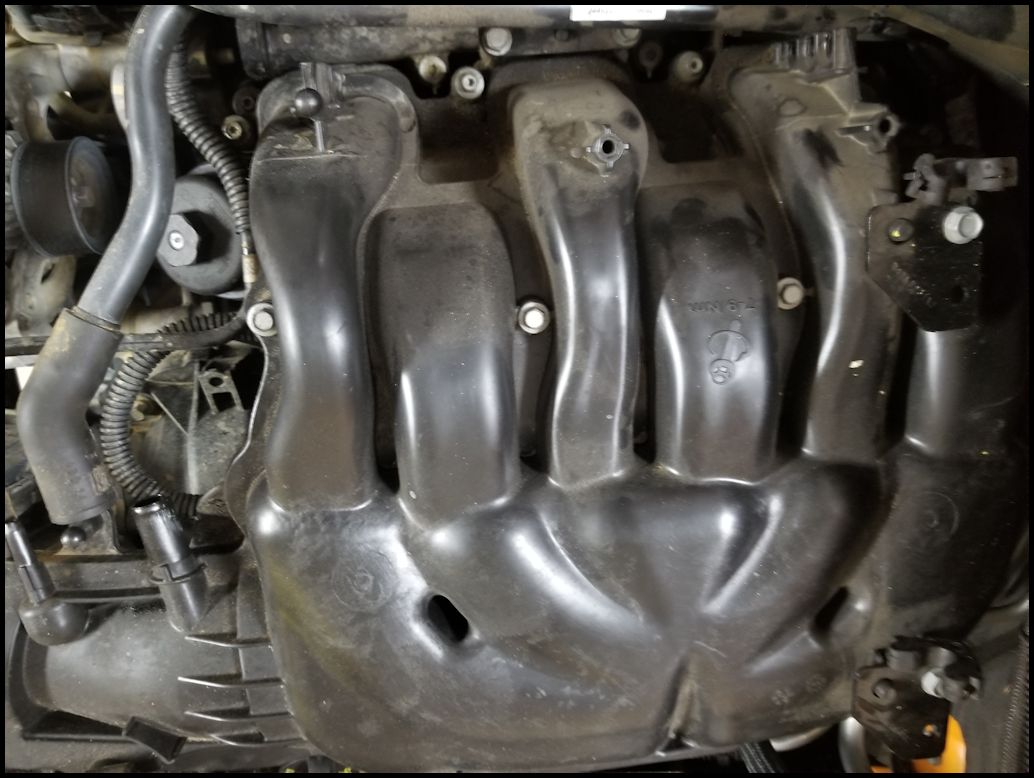
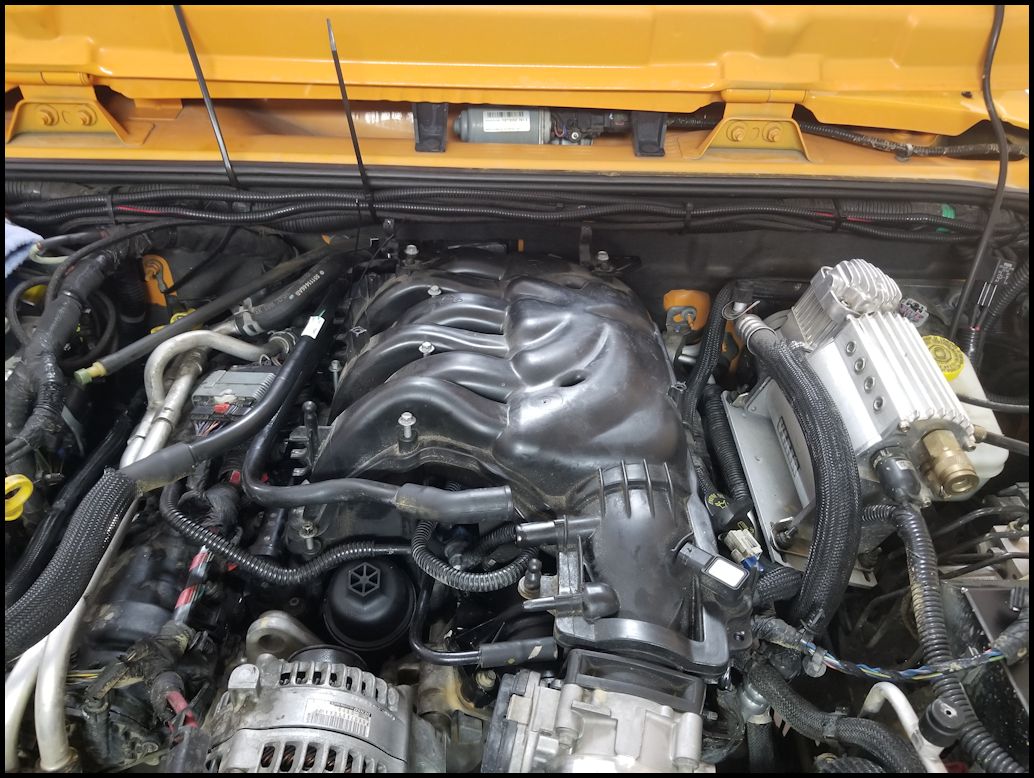
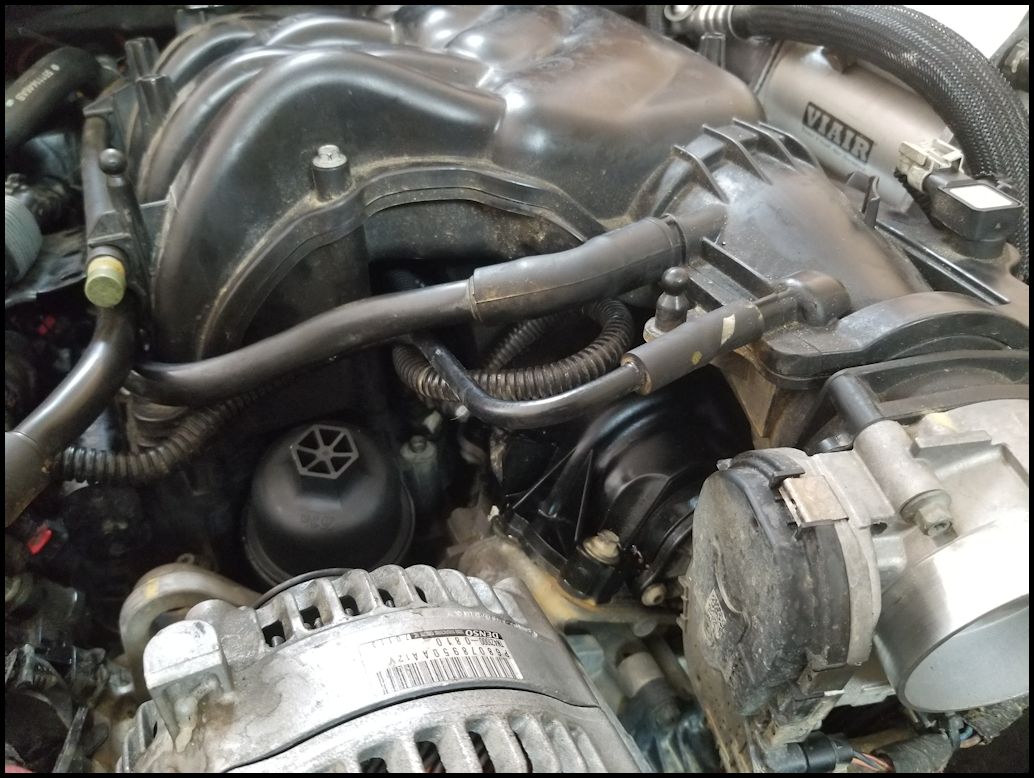
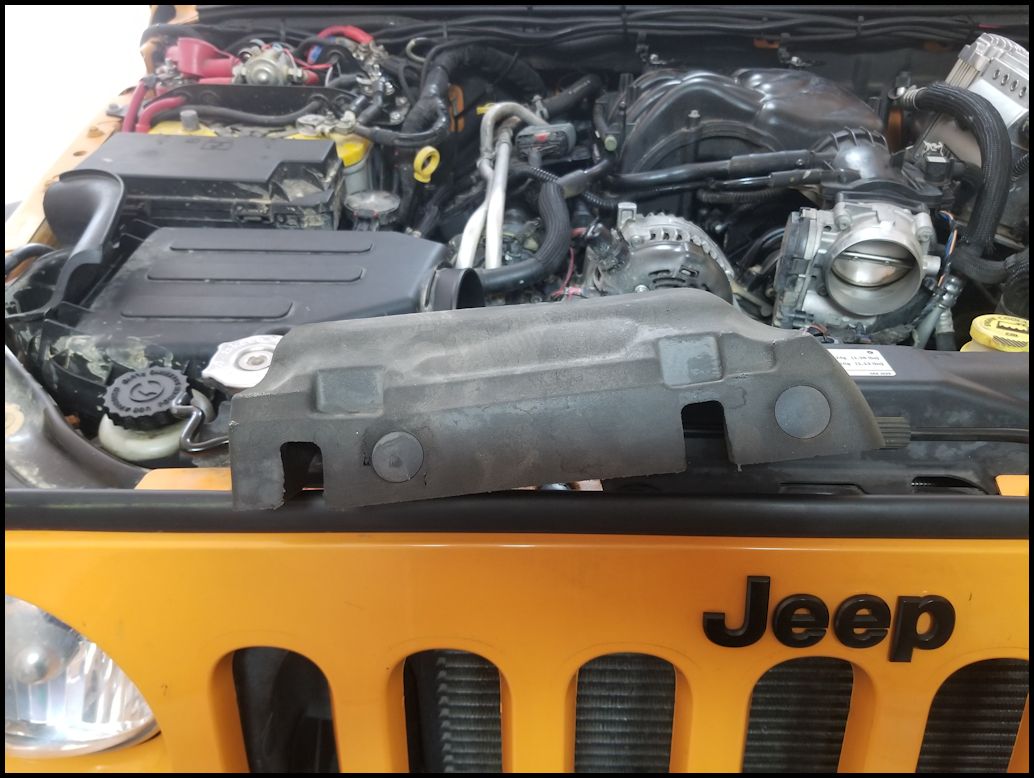
| 1. Remove the engine cover. It lifts up in the front and then pulls forward. You should try to clean as much dirt and debris off of the intake area as possible as you go along. You do not want to get anything down into the intake. |
 |
 |
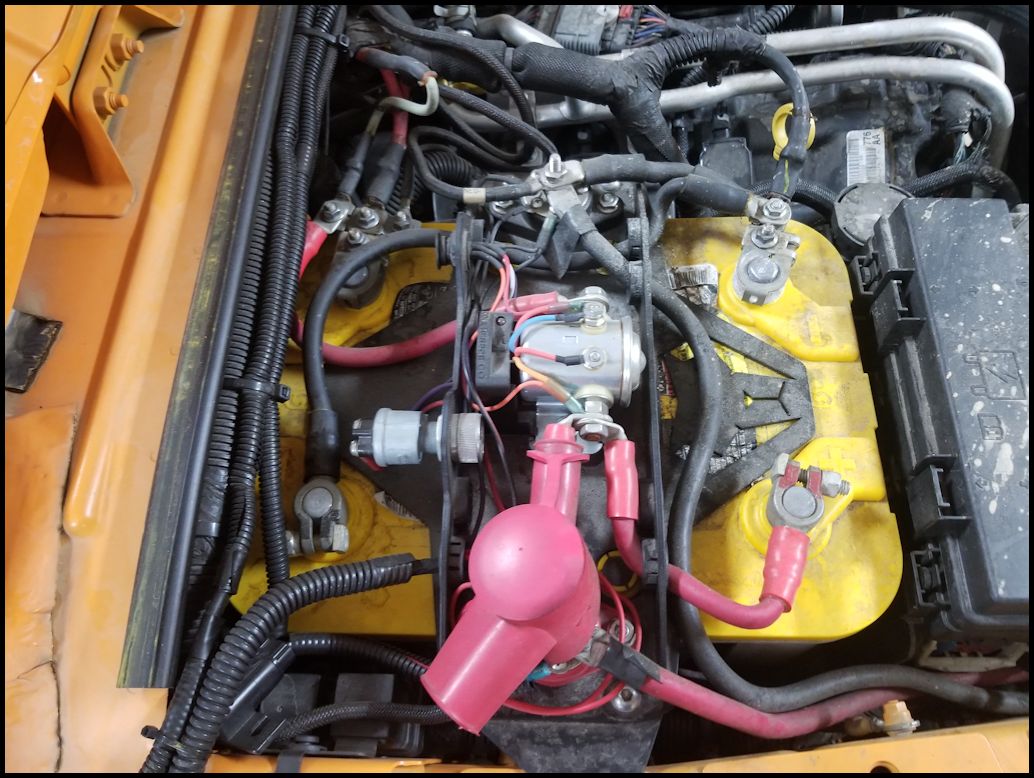
| 2. Disconnect the battery cables. You will need a 10mm or 12mm socket. I have a dual battery setup, so I needed to disconnect a few leads. This is a good time to clean the battery terminals. |
 |
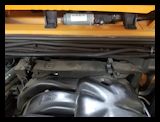
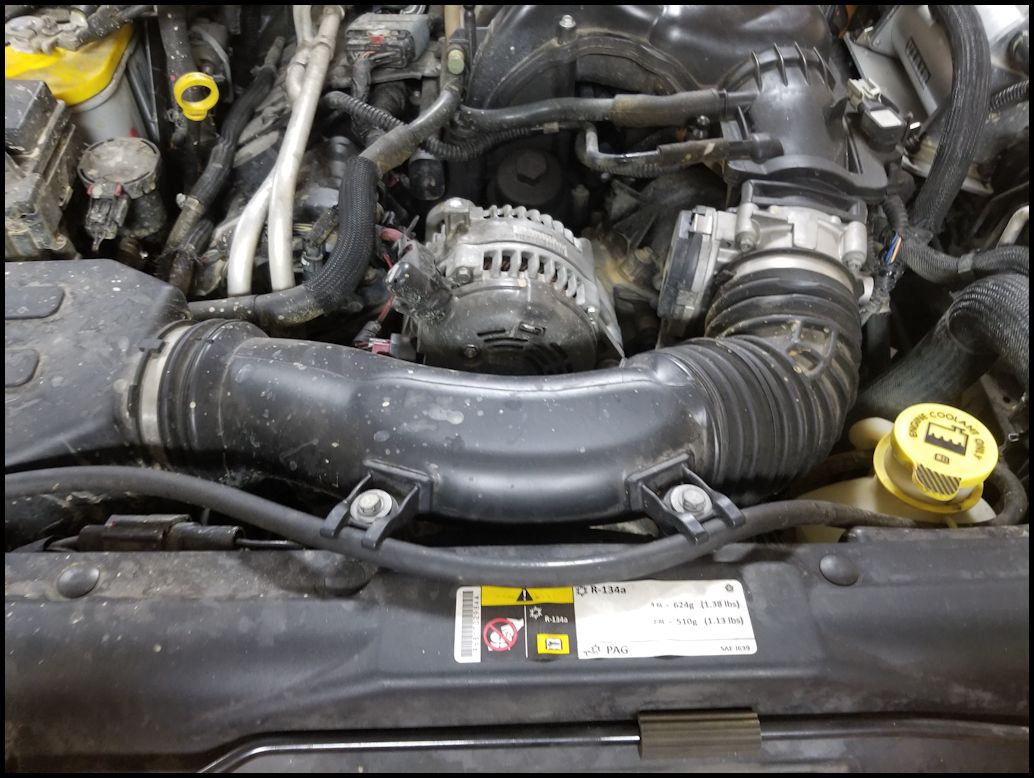
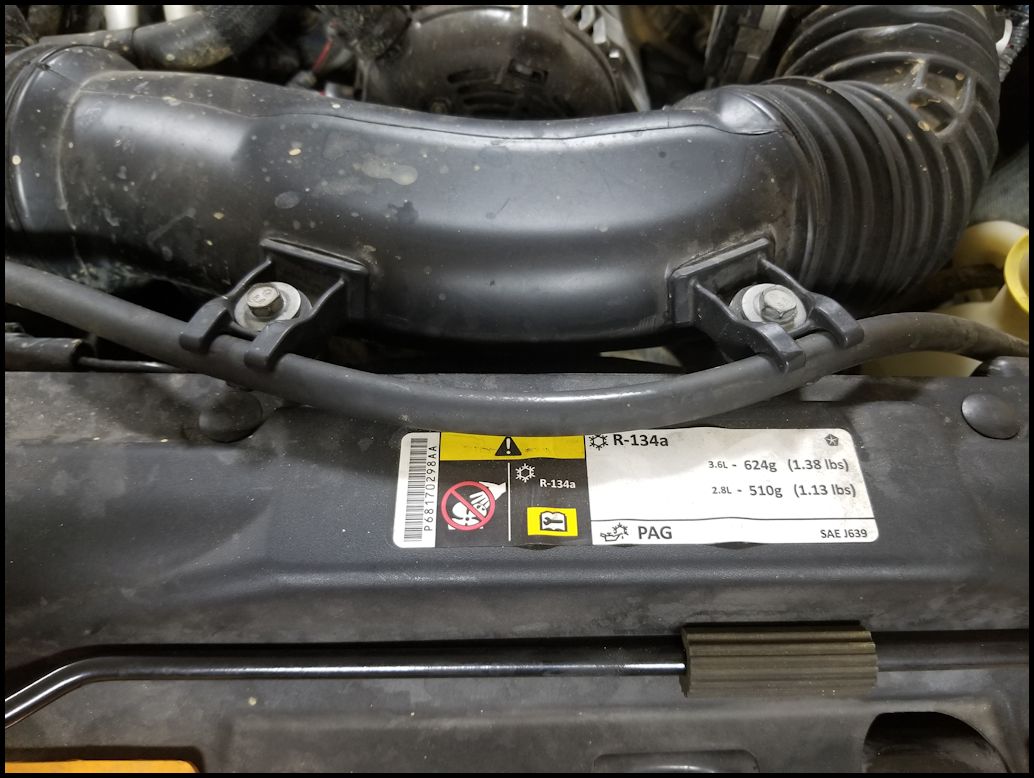
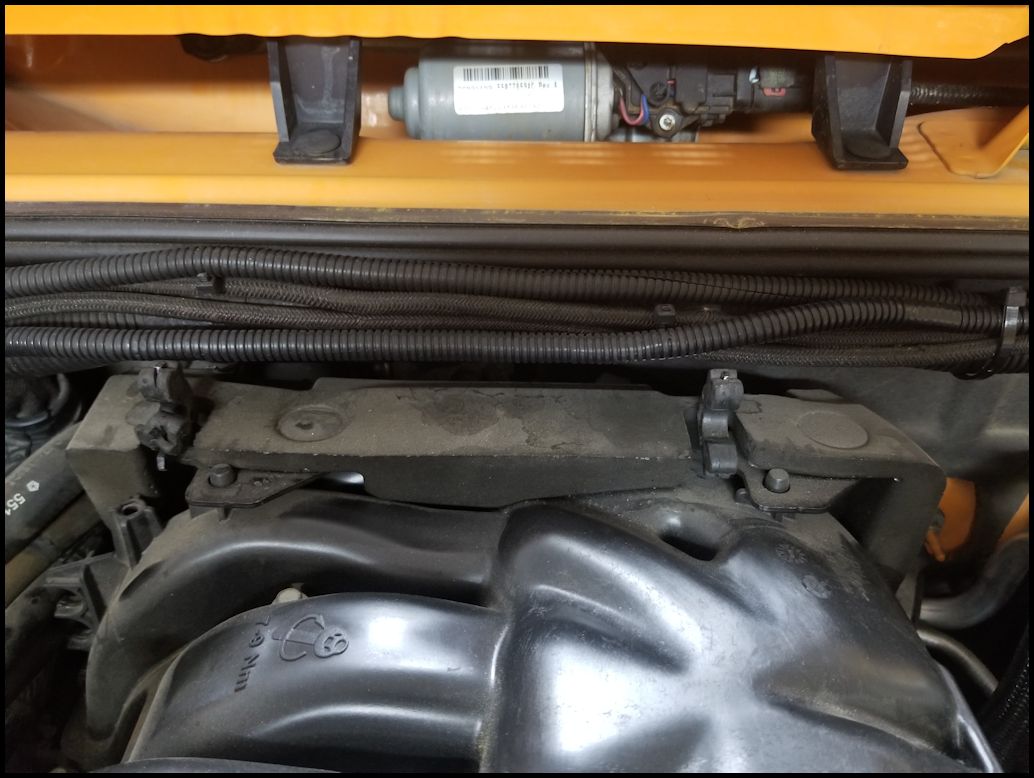
| 3. Remove the two bolts holding the intake to the radiator. You will need a 10mm socket. Pull the radiator overflow hose out of the bracket. |
 |
 |
 |
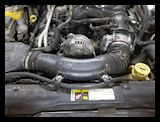
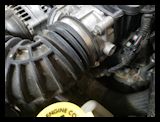
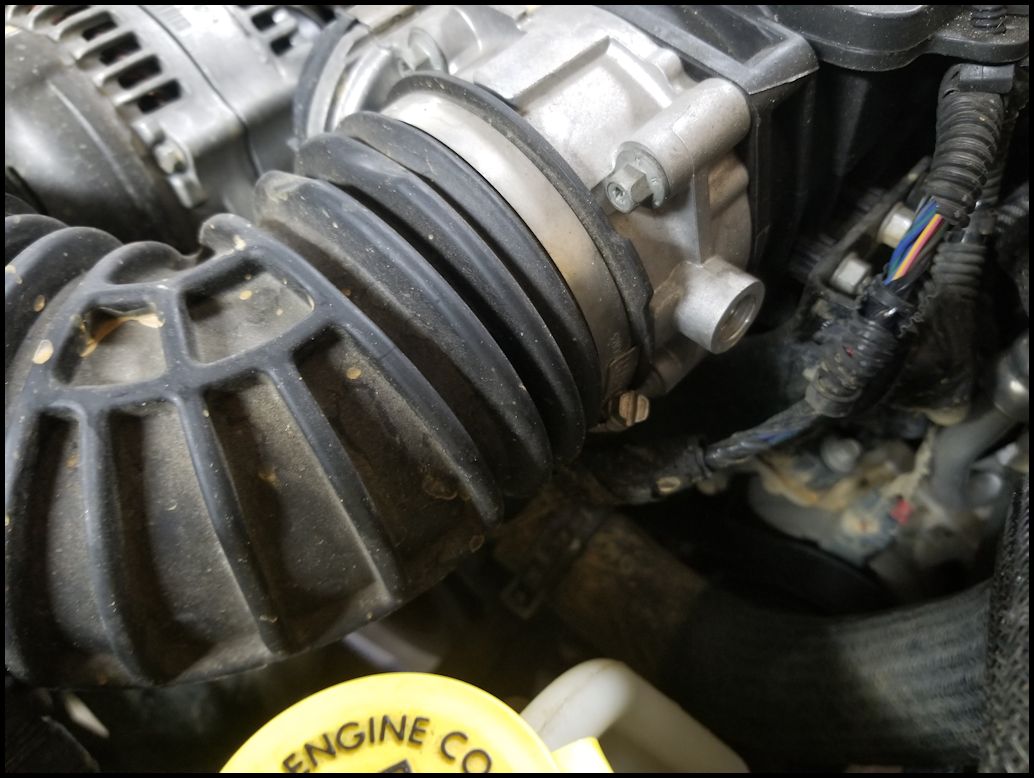
| 4. Loosen the intake hose clamps on both ends of the intake tube. You will need a flat tip screwdriver or a 8mm socket. |
 |
 |
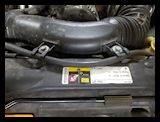
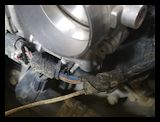
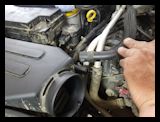
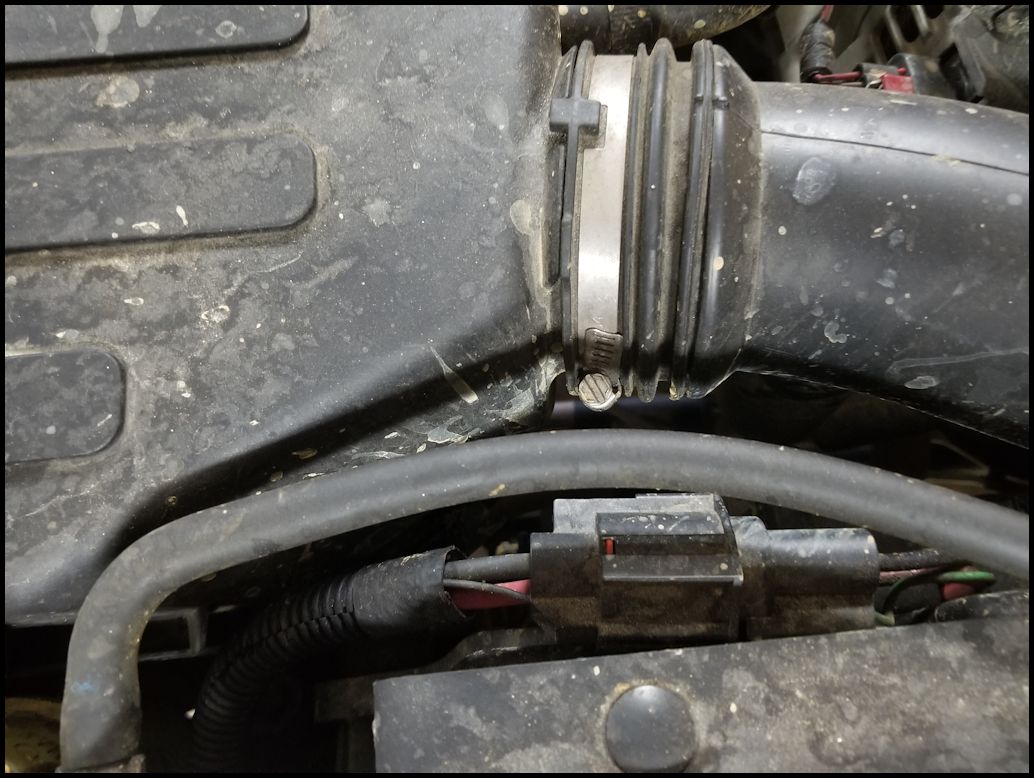
| 5. Remove the IAT sensor connector located underneath the air intake tube. Press on the release and disconnect it from the sensor in the tube. Yours may have a red locking tap that will need to be pulled down first before you can press the release. My 2012 did not have this, but the first time I disconnected it, it was extremely difficult to get free. You may need to do the next step to get better access to it. |
 |
 |
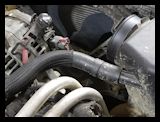
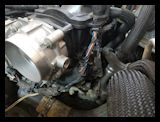
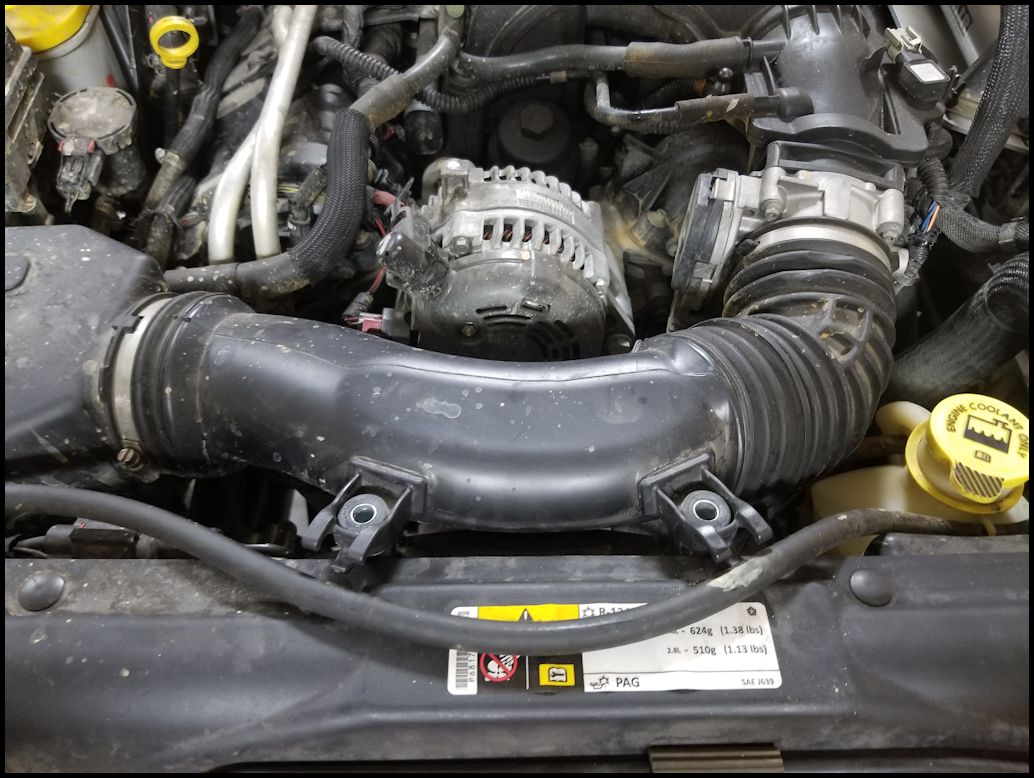
| 6. Remove the air intake tube from the filter box and throttle body. If you haven't completed step 5 be careful how far you lift the tube before you disconnect the IAT sensor cable. If you are going to be working on this over the period of a few days I recommend covering the throttle body opening. I used a ziplock bag and a rubber band or blue painters tape in the past. |
 |
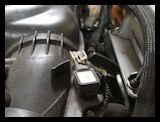
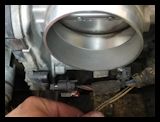
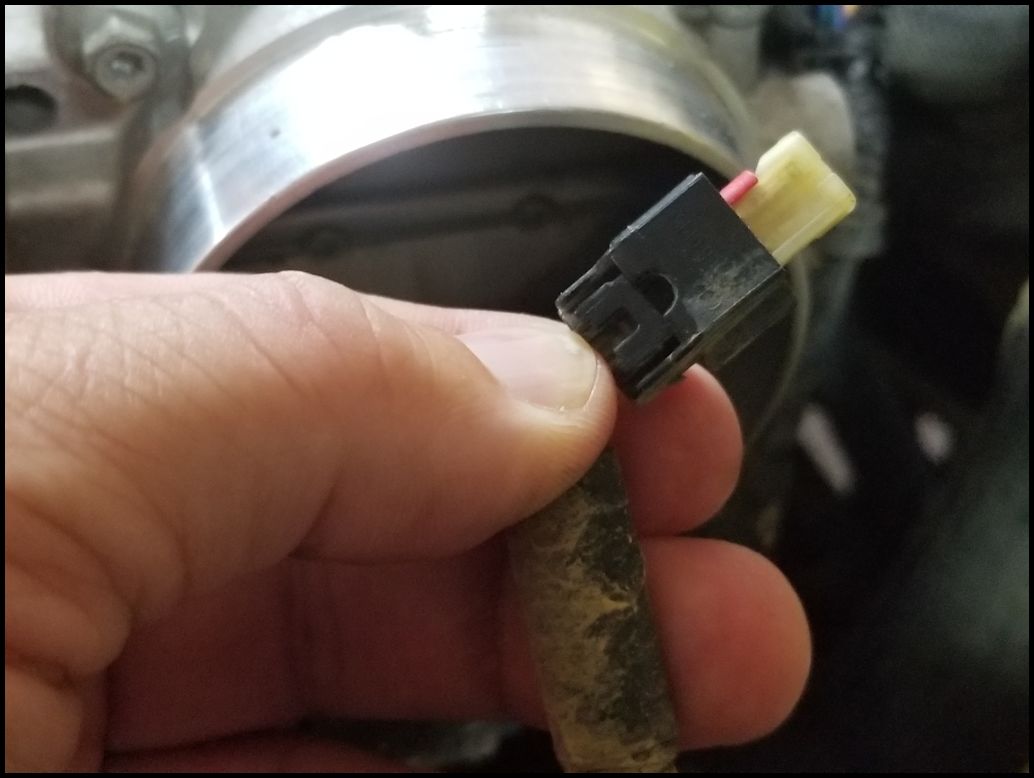
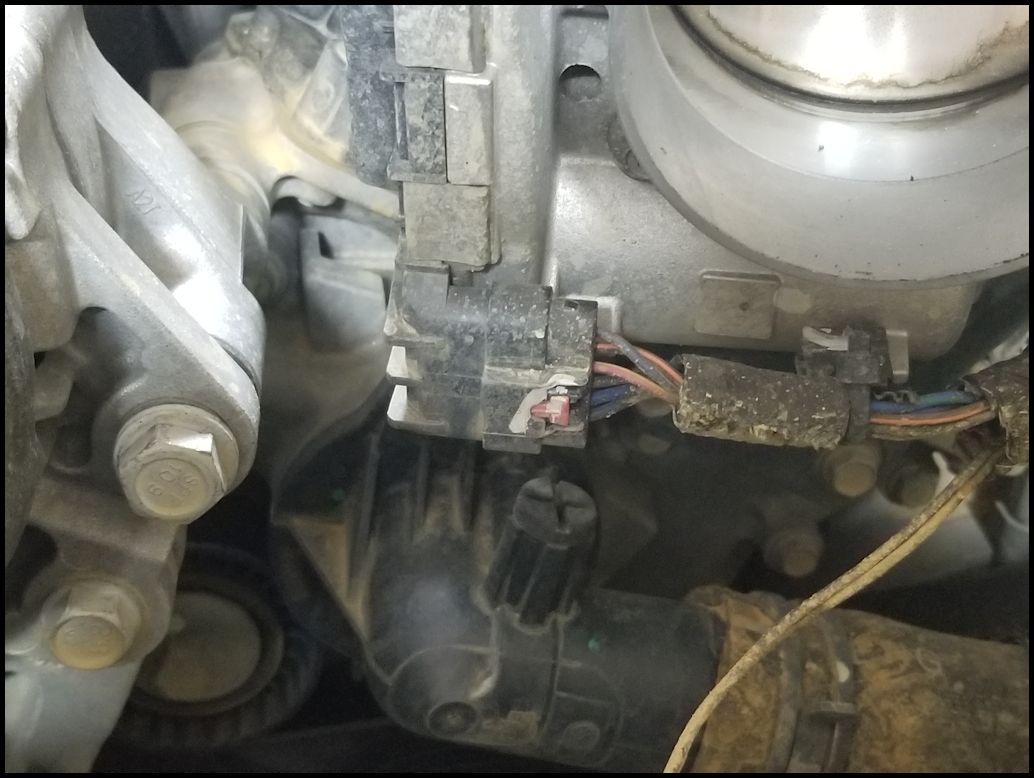
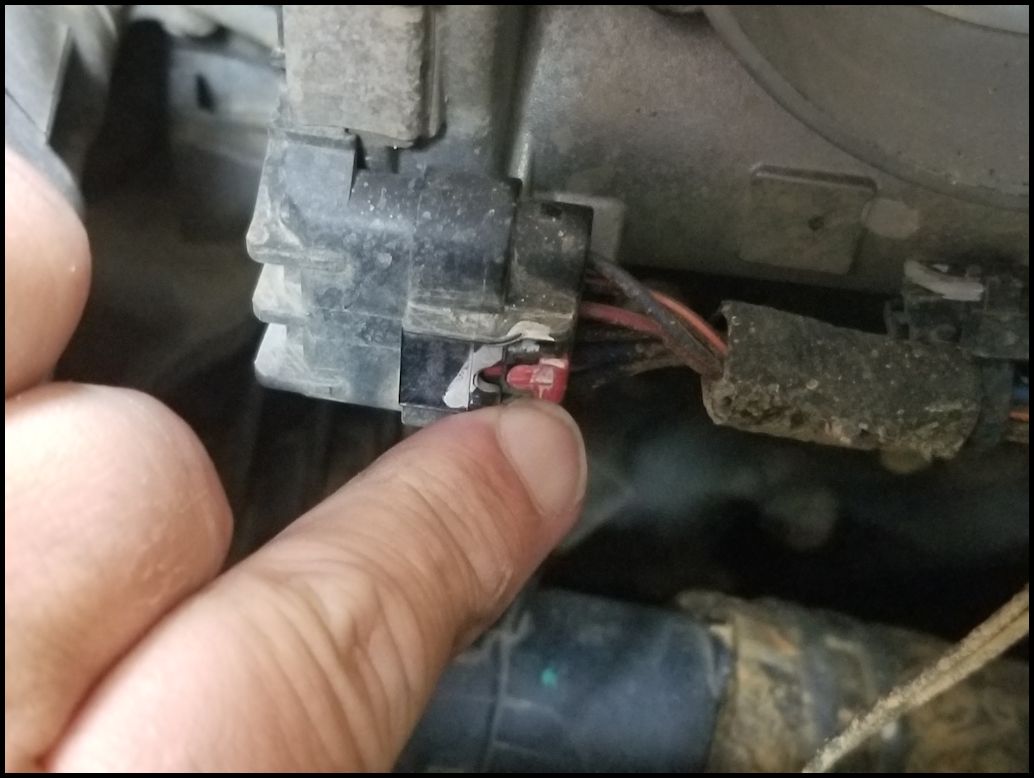
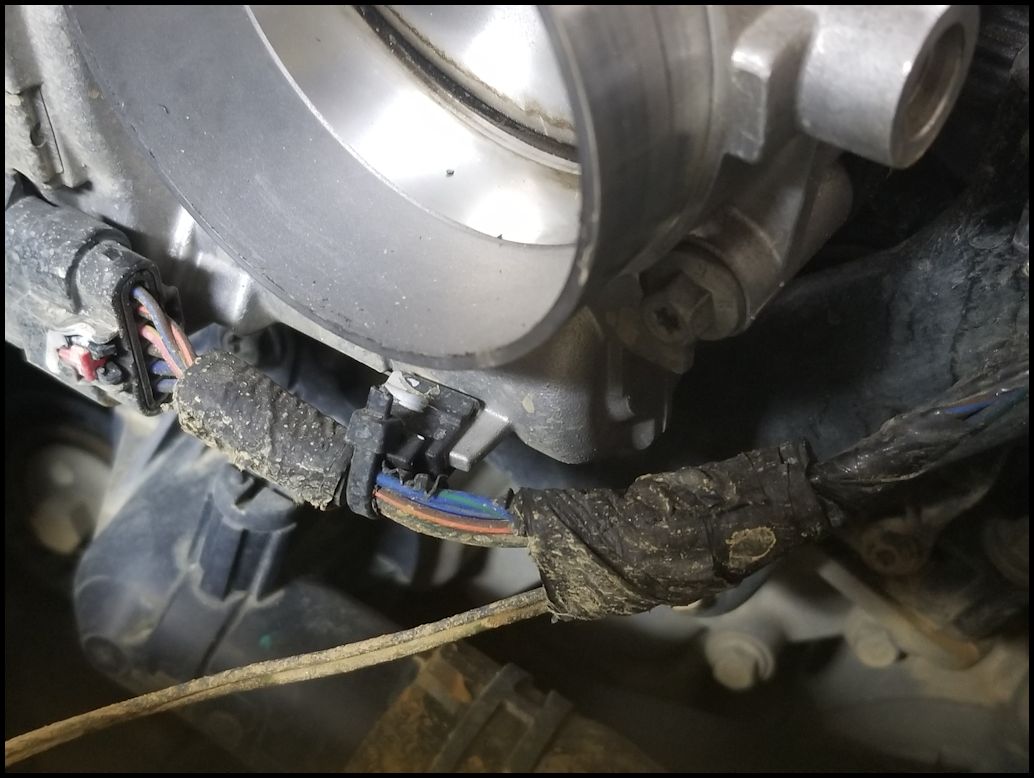
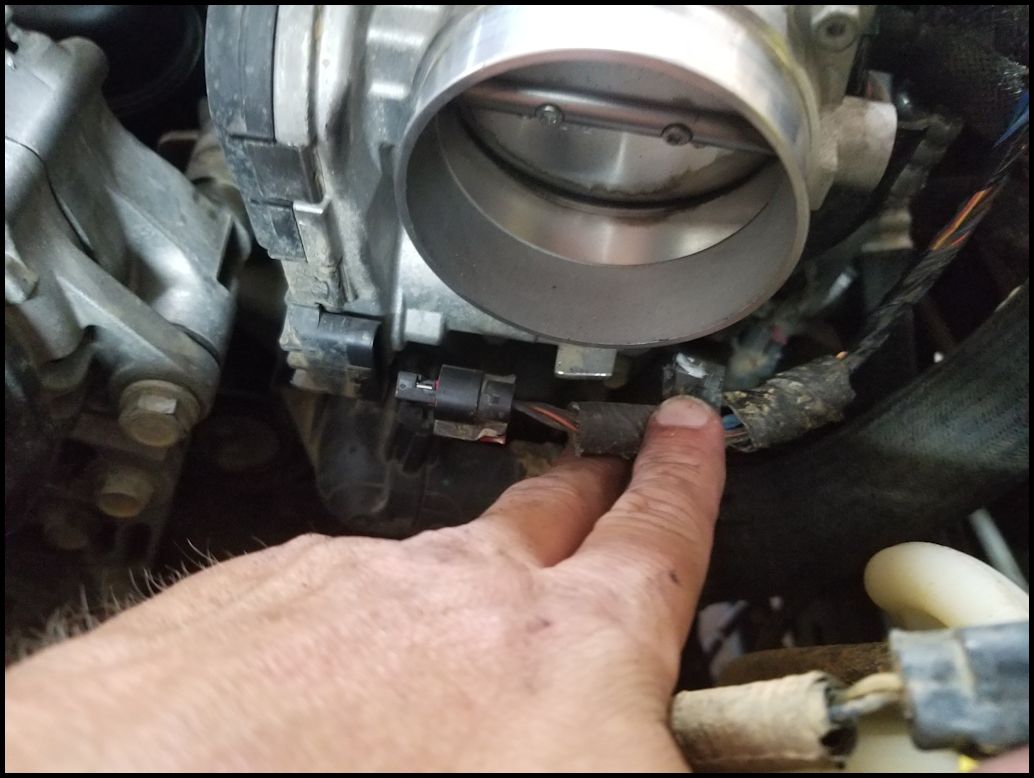
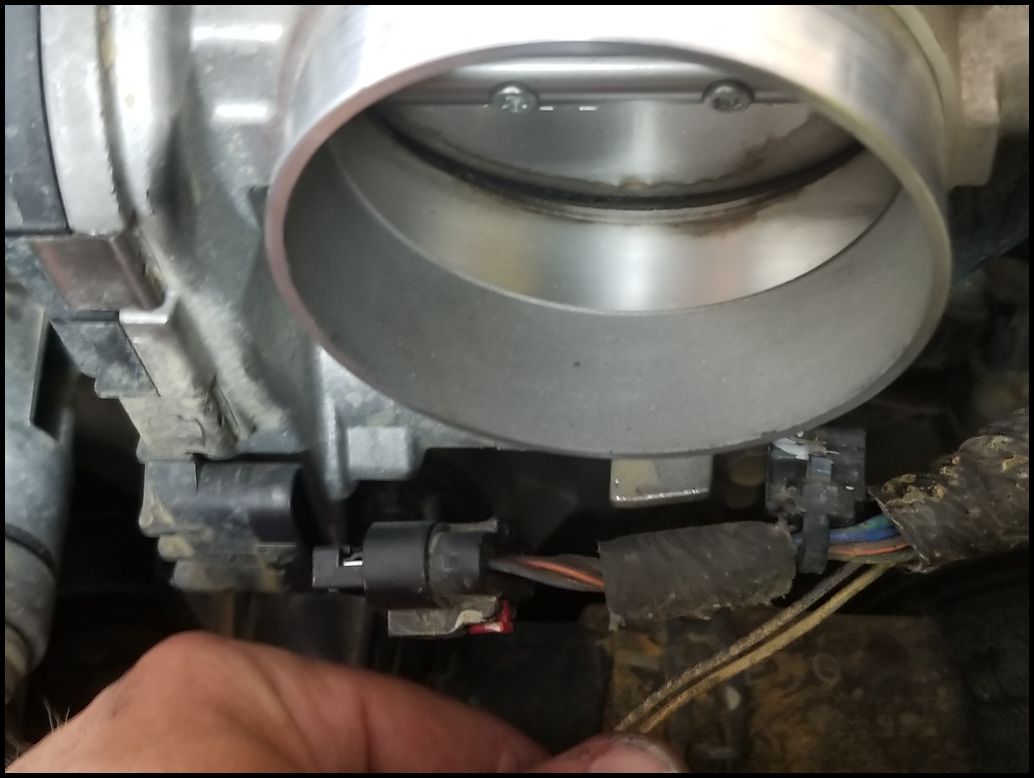
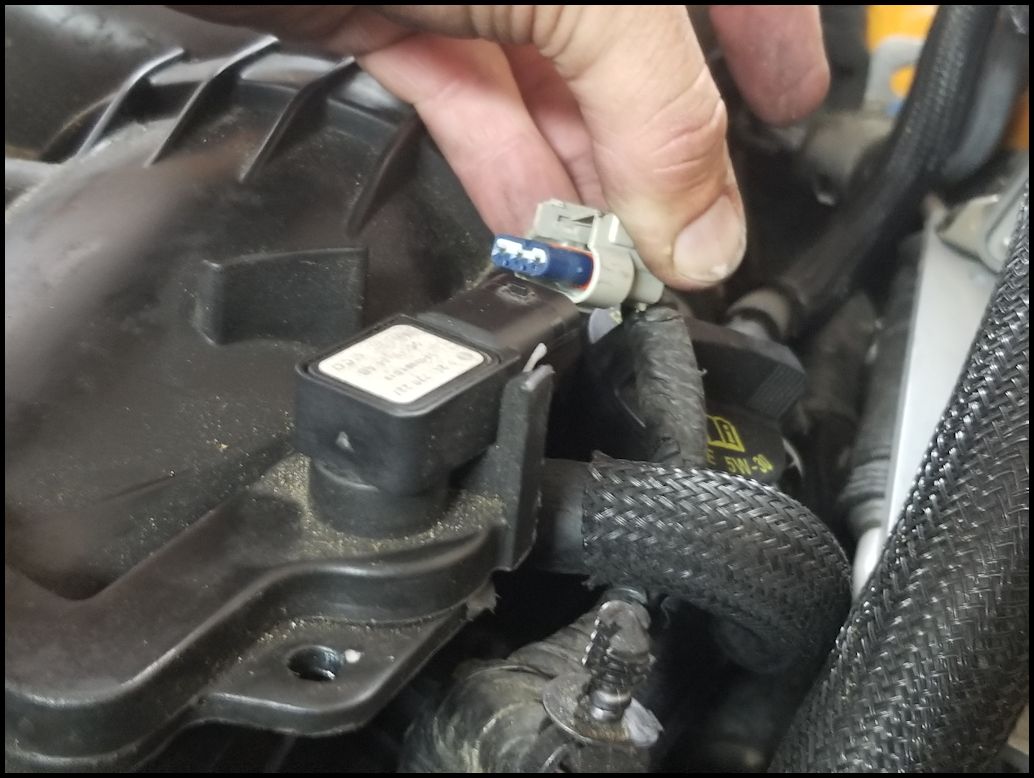
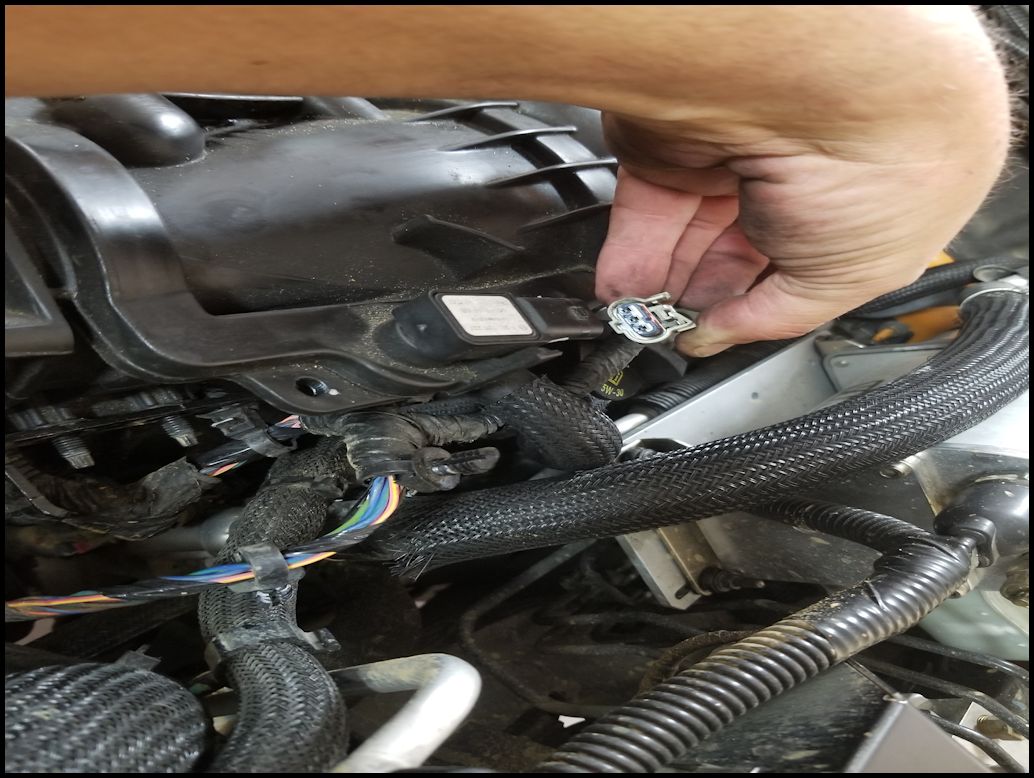
| 7. Disconnect the throttle body connector located at the bottom front of the throttle body. There is a little red locking tab that needs to be pulled back before it will release the connector. Remove the cable holder from the throttle body. It is a small plastic clamp that holds onto a tab on the throttle body just to the right of the connector. It just pulls off the tab. |
 |
 |
 |
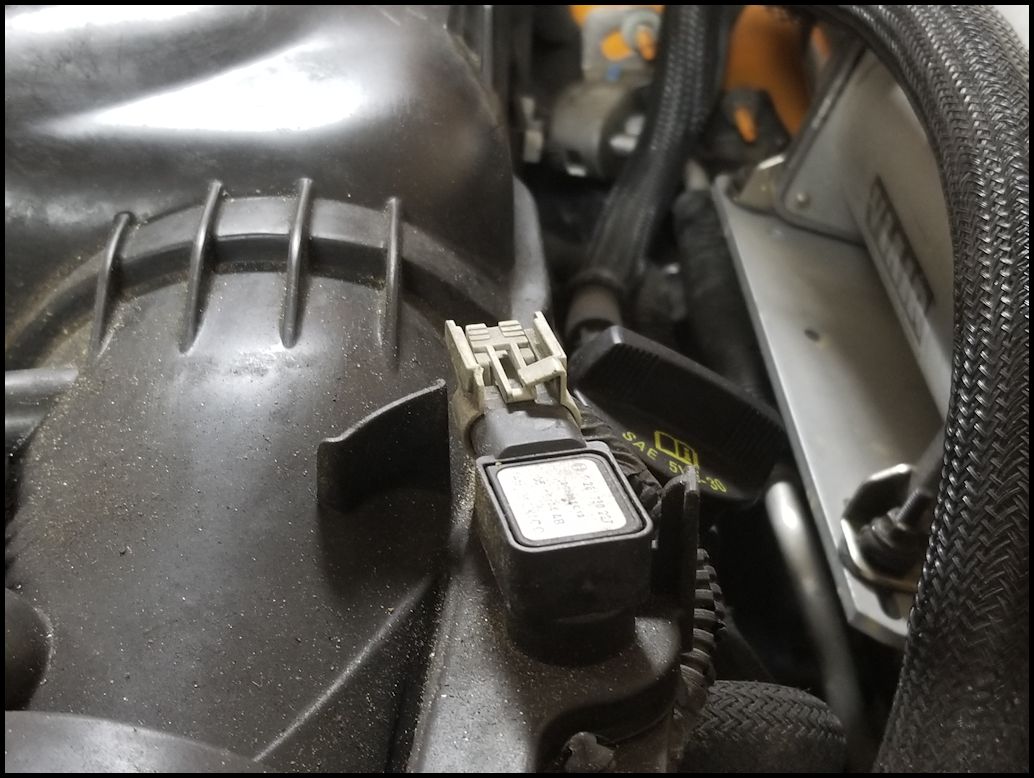
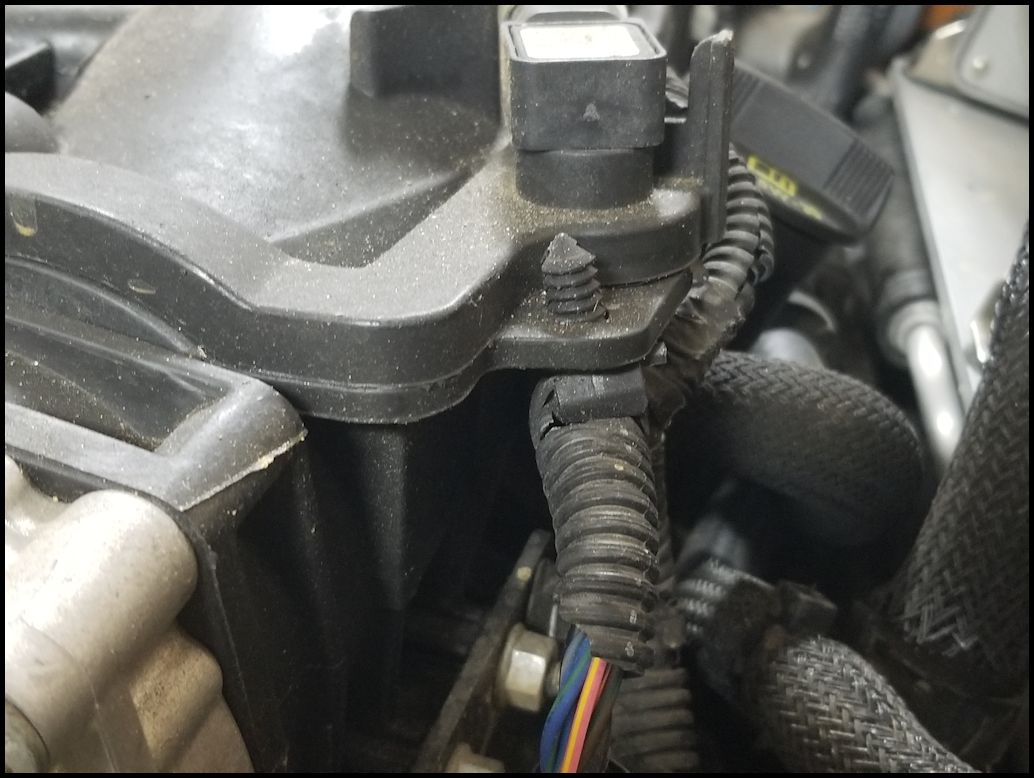
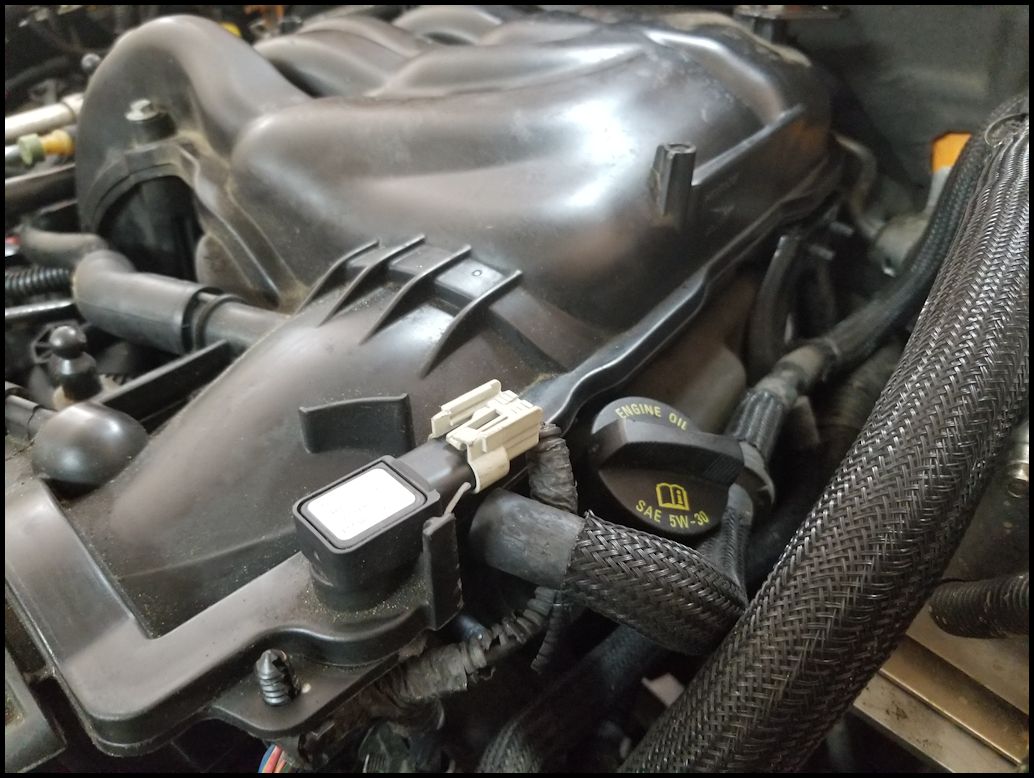
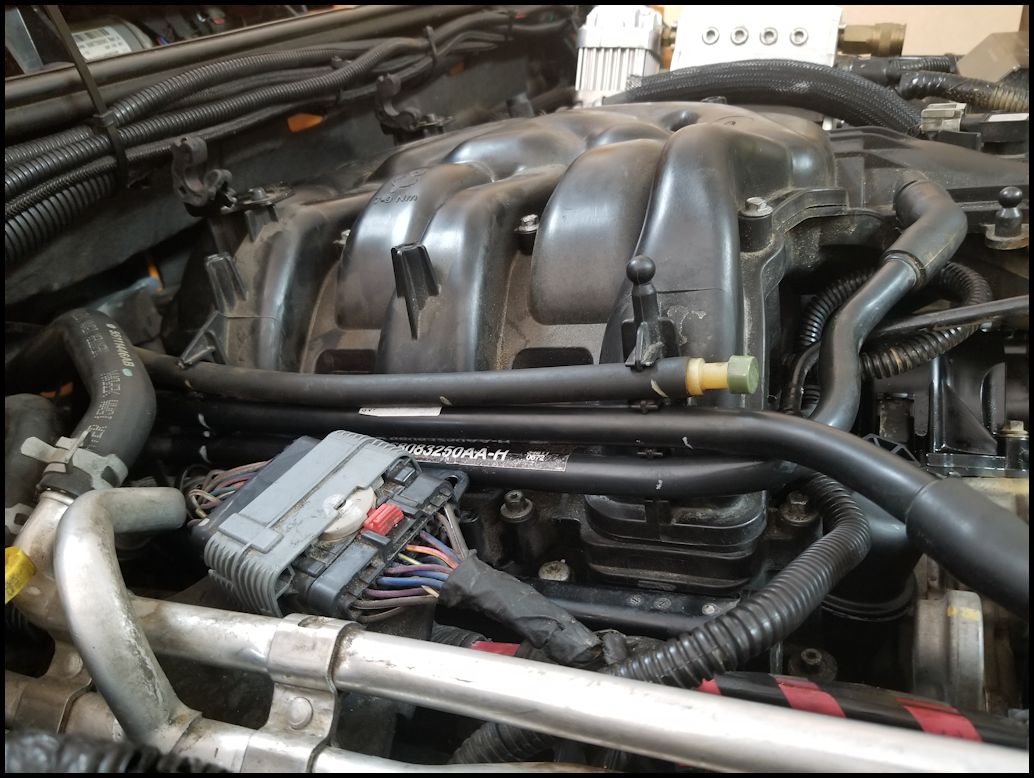
| 8. Disconnect the MAP sensor located on top of the upper intake inlet. |
 |
| 9. Remove the harness holders from the upper intake inlet. You will need a trip removal tool. |
 |
 |
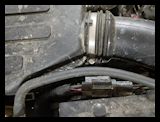
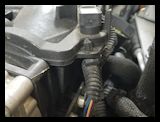
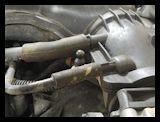
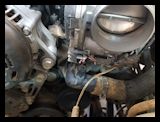
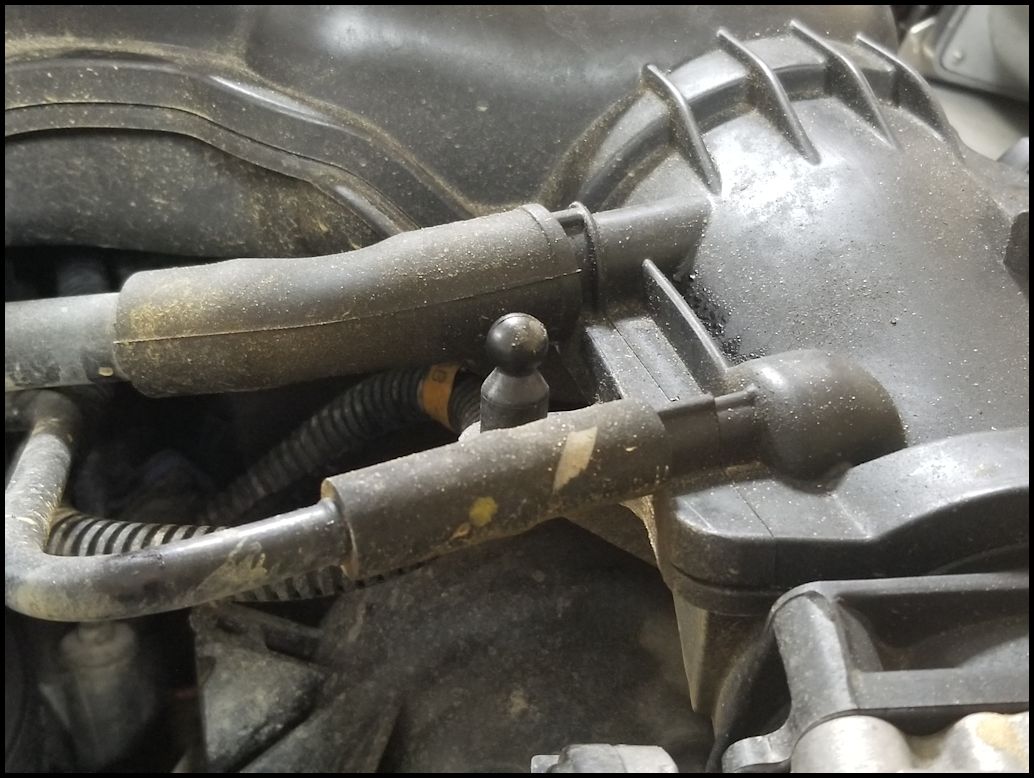
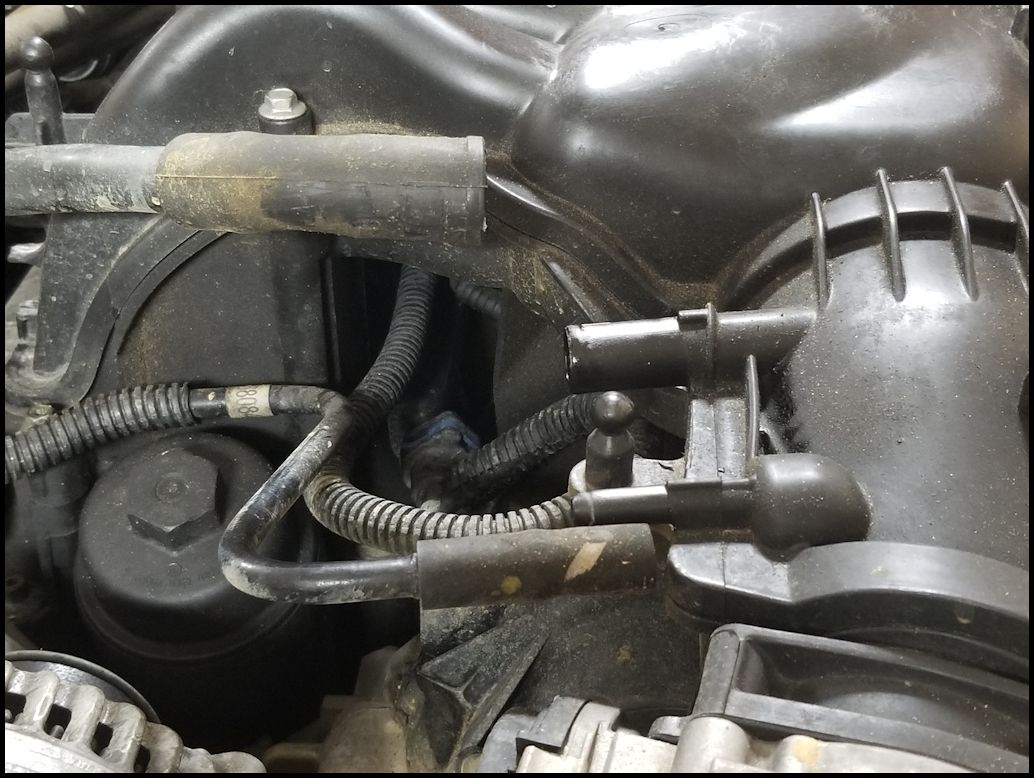
| 10. Remove the two vacuum lines from the left side of the upper intake inlet. You may need to give these a twist back and forth to break the rubber to plastic seal before you can work them off. |
 |
 |
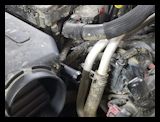
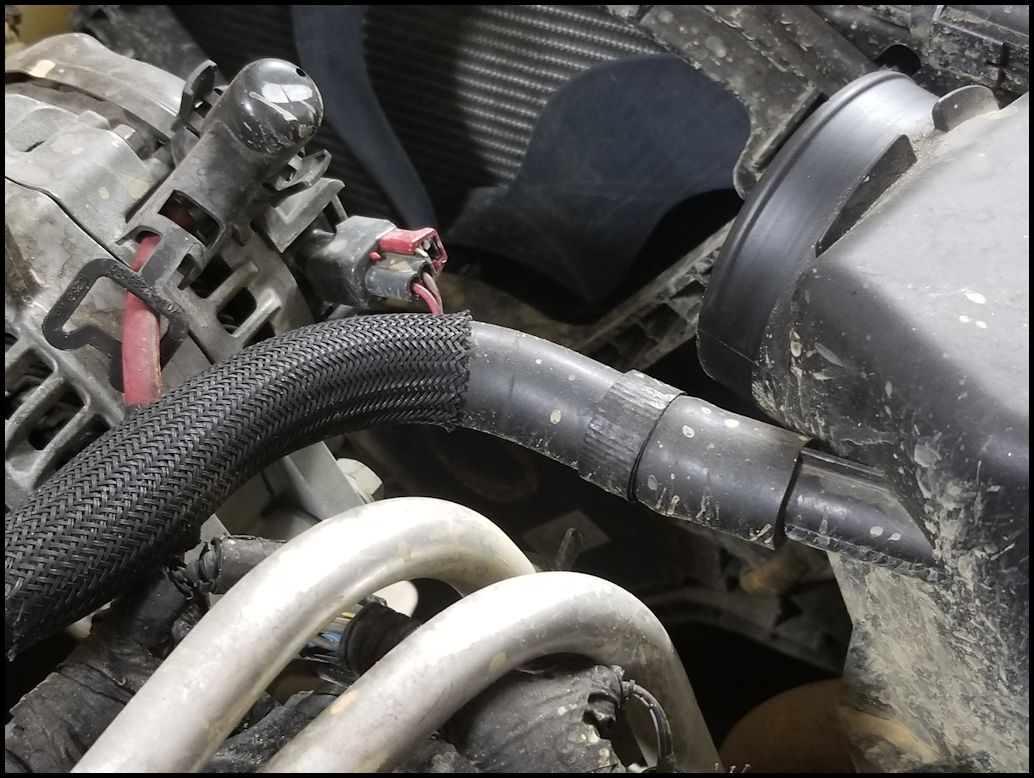
| 11. Remove the crankcase line from the air box. You may need to give this a twist back and forth to break the rubber to plastic seal before you can work it off. |
 |
 |
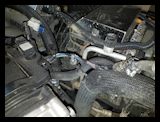
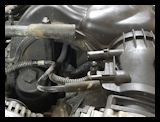
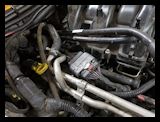
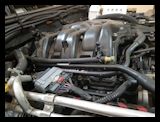
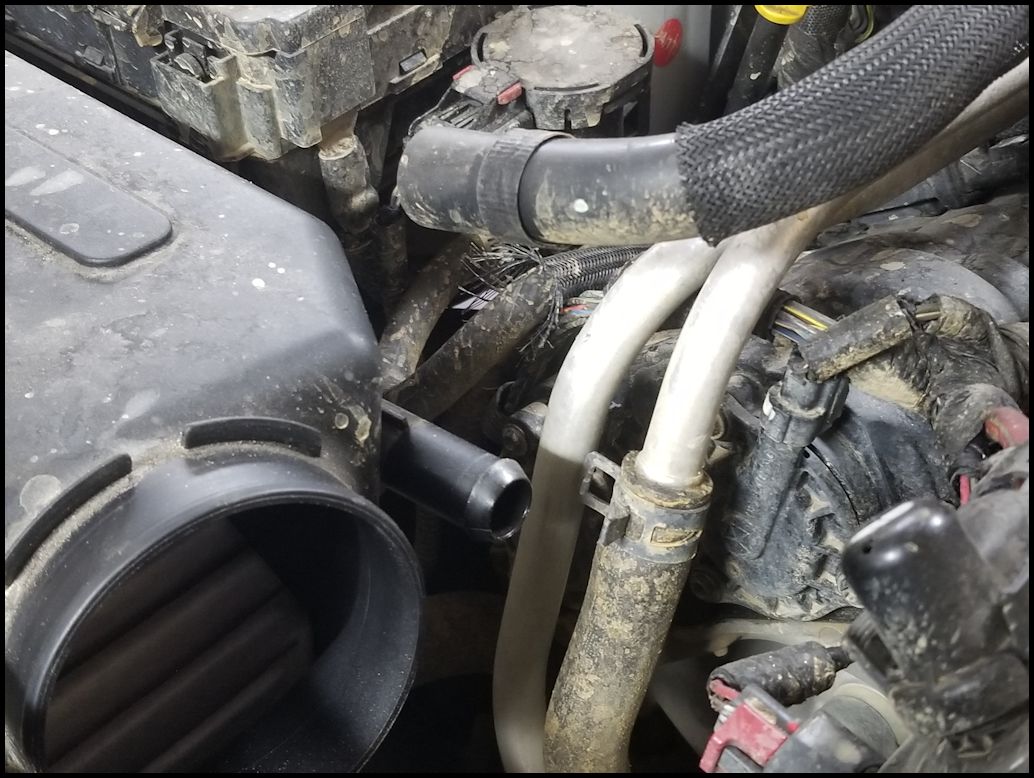
| 12. Remove the transfer case air breather and other vacuum lines from the two holders on the left side of the upper intake. They just pulls out. |
 |
 |
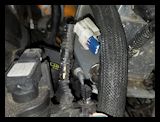
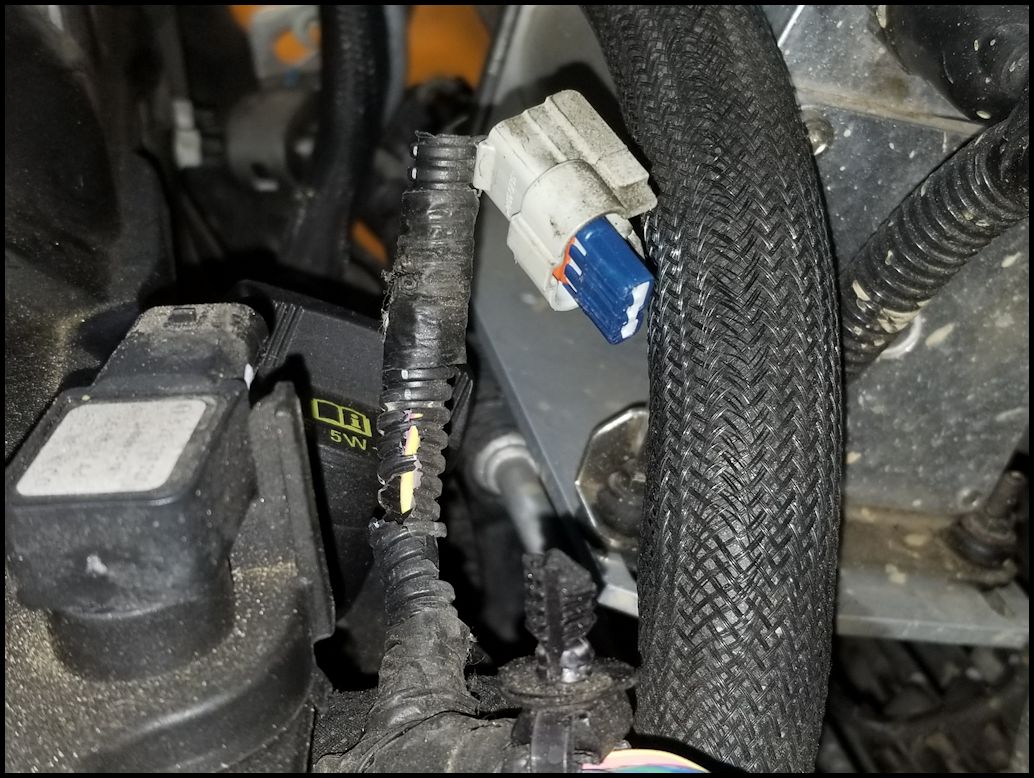
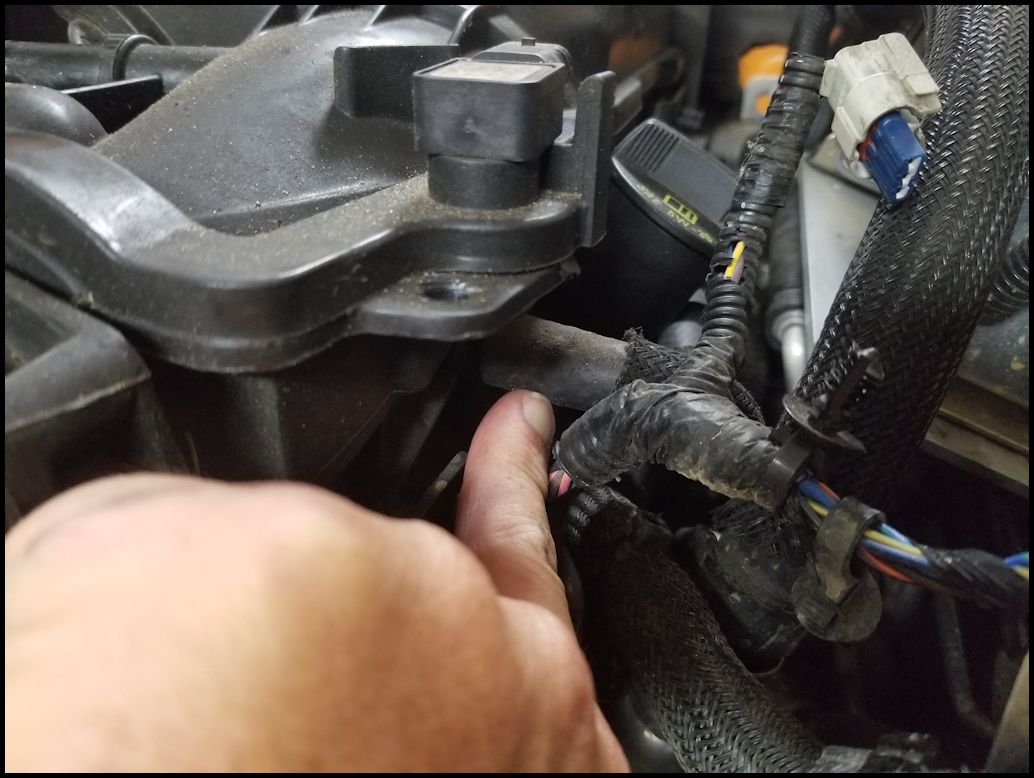
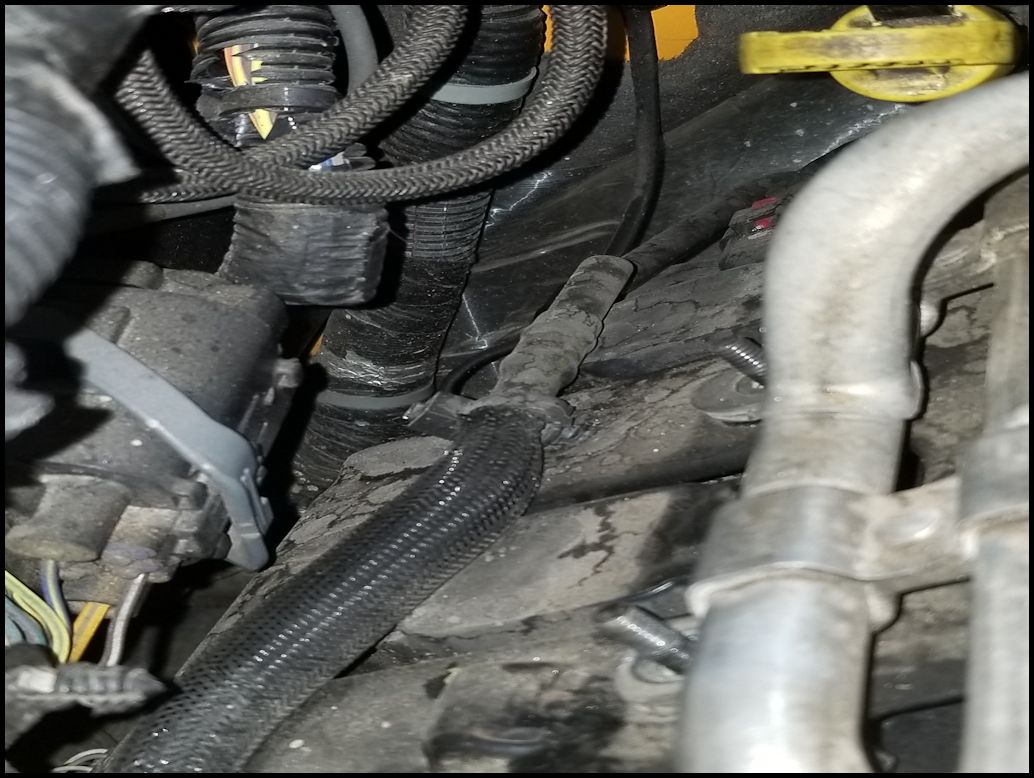
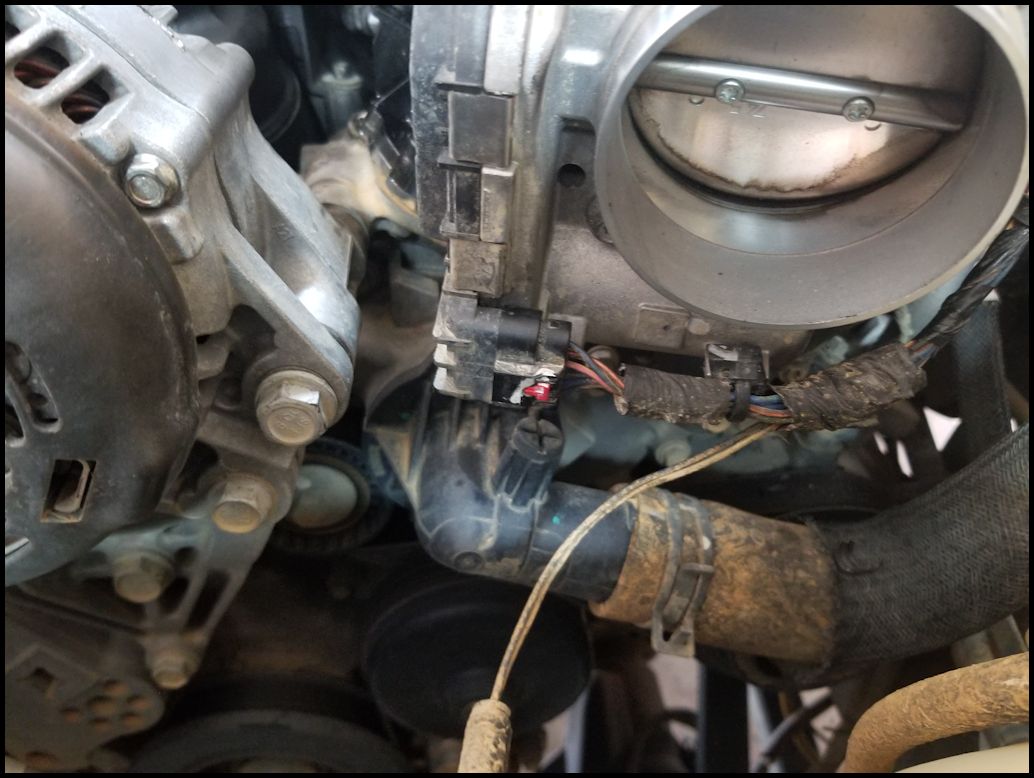
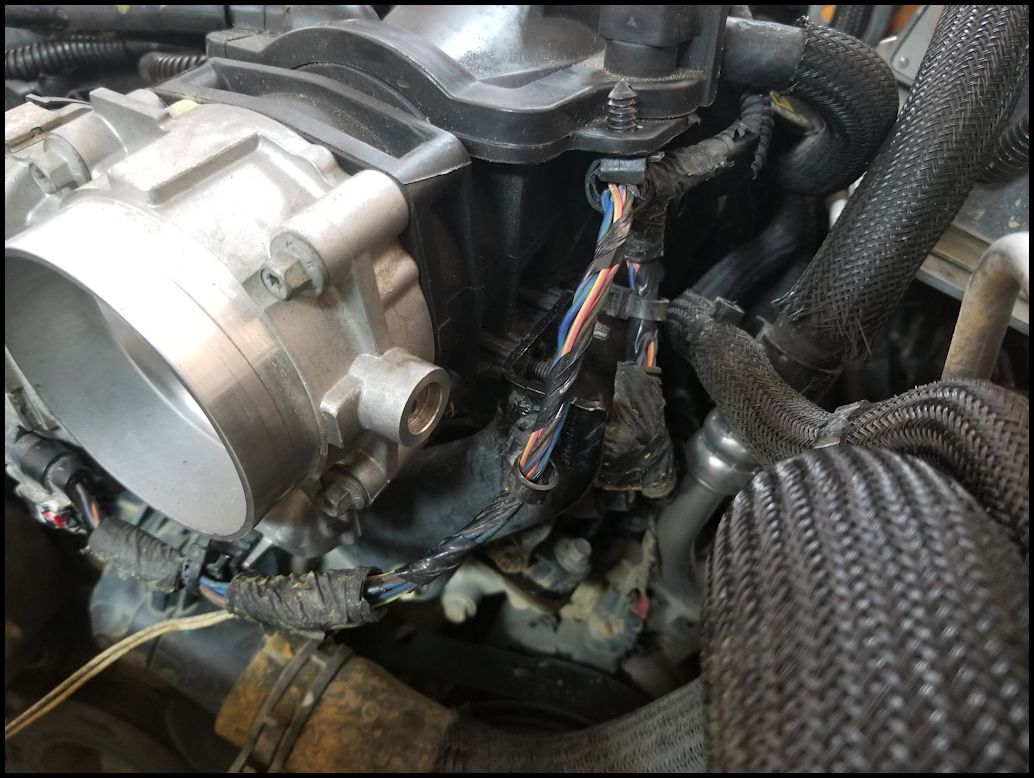
| One thing I was noticeing was that the shroud over the wires had hardened and was cracking away leaving pieces everywhere. This would become a project that I would need to tackle at a later date. |
 |
| 13. Disconnect the brake booster vacuum line located underneath the MAP sensor. You may need to give this a twist back and forth to break the rubber to plastic seal before you can work it off. |
 |
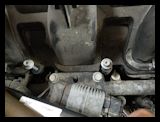
| 14. Remove the four (4) nuts holding the upper intake assembly to the support brackets. You will need a 10mm socket or combo wrench. |
 |
 |
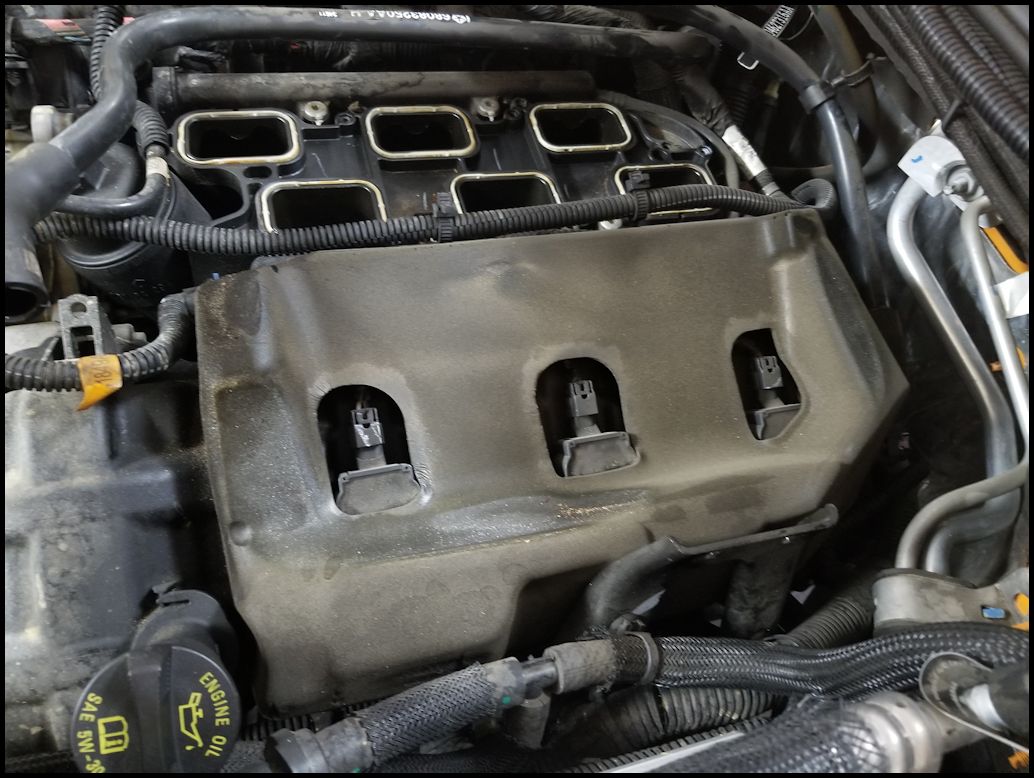
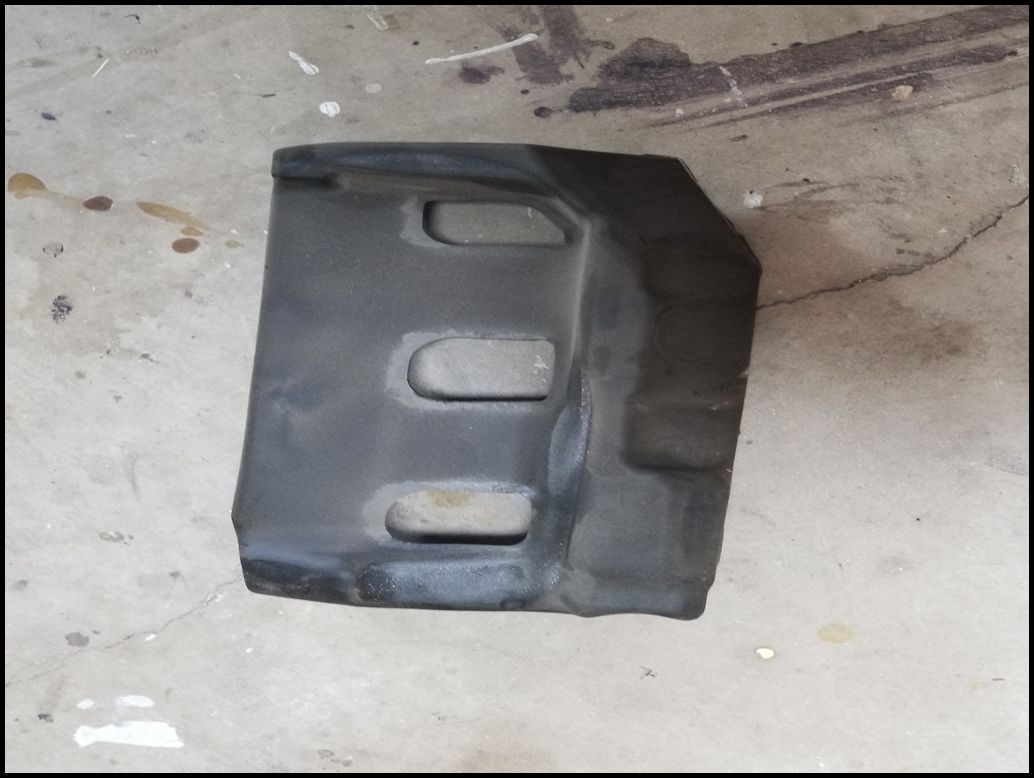
| 15. This step may not actually be needed. The only reason I could see was to make it easier to access one of the upper intake bolts located below the left side of the foam. Remove the sound insulation foam from the back side of the engine. You will need a trim removal tool to remove the two retainers installled in the top of the foam. Then carefully wiggle the foam up and out from behind the intake. |
 |
 |
 |
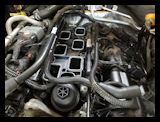
| 16. Unscrew (the bolts are retained in the upper intake so they don't come all the way out) the seven (7) bolts holding the upper intake to the lower intake. There are three (3) down the center of the intake and four (4) on the left side. The hardest one to get to is the one all the way in the back where the foam was. I pulled up on each bolt to make sure that they were loose. You will need a 8mm socket for the bolts and a long extension for the back one. The four (4) on the side can also be unscrewed with a T20 torx bit. |
 |
 |
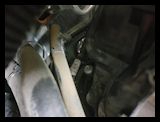 |
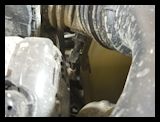
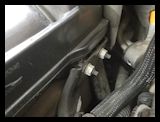
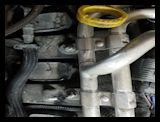
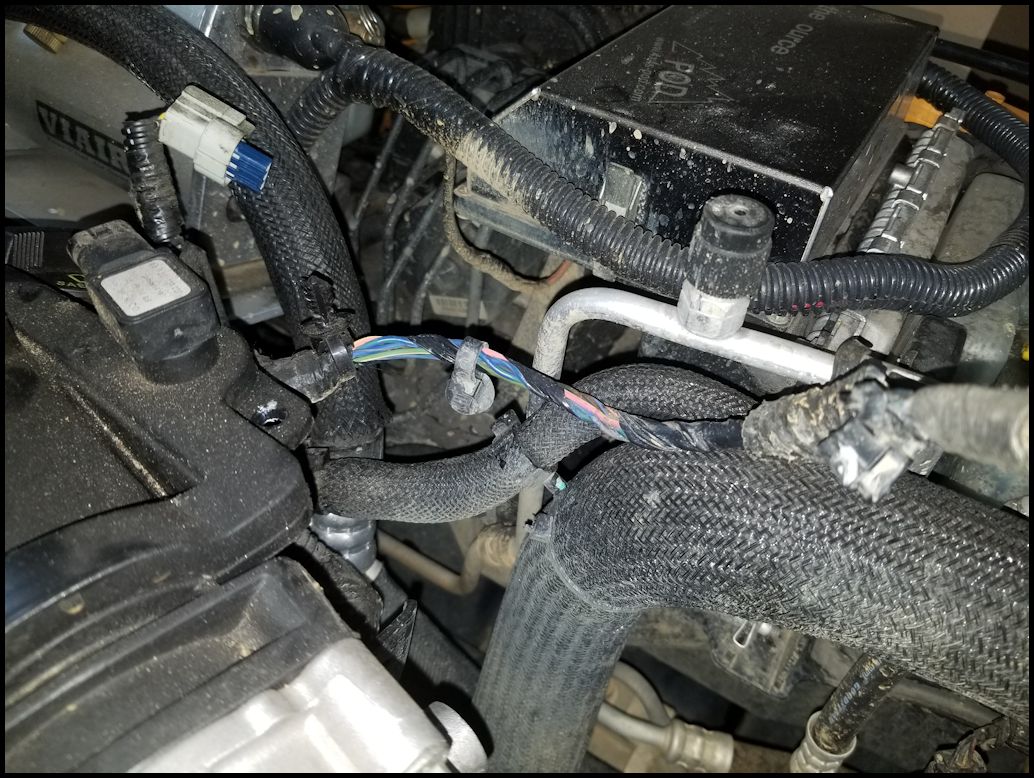
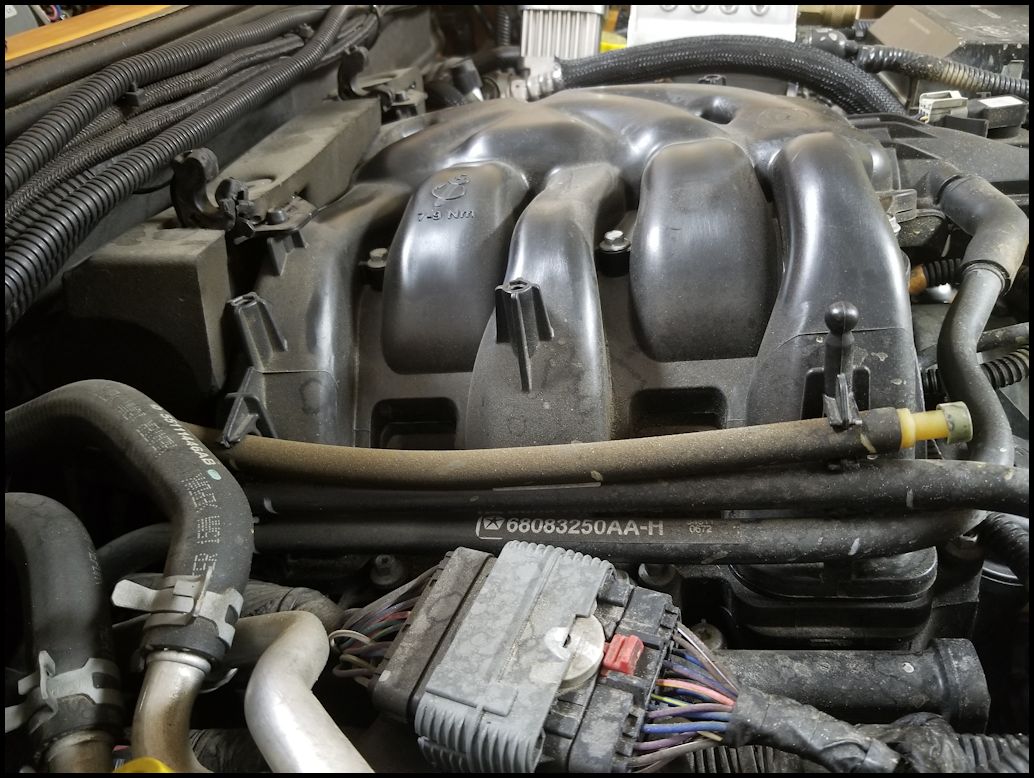
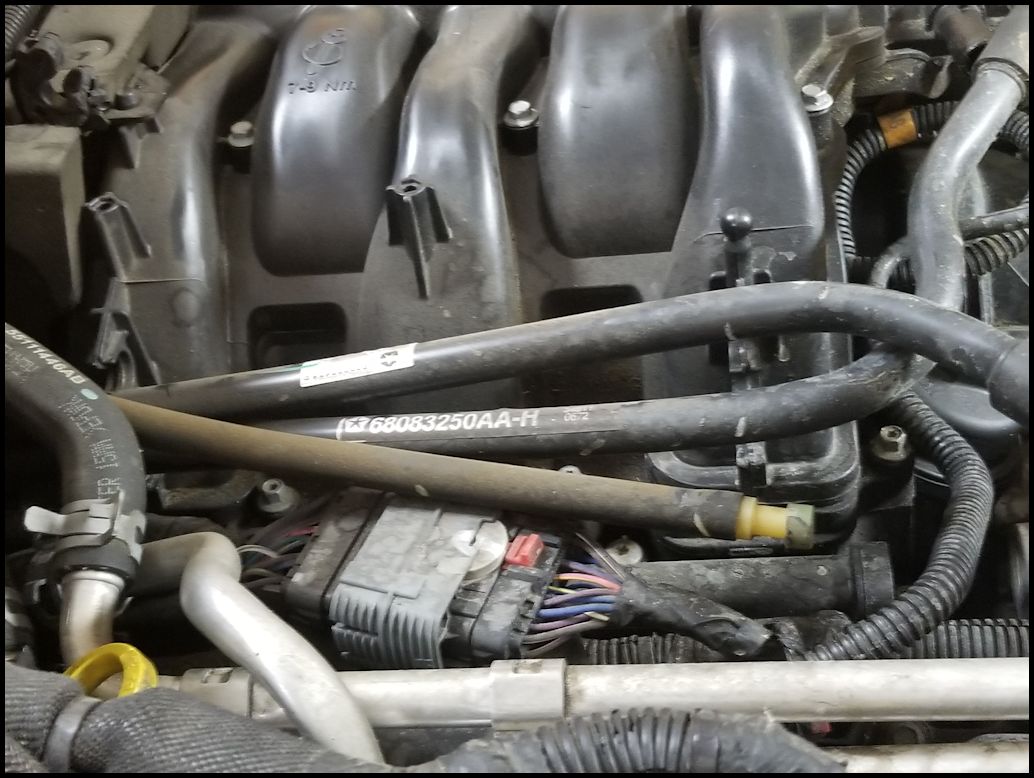
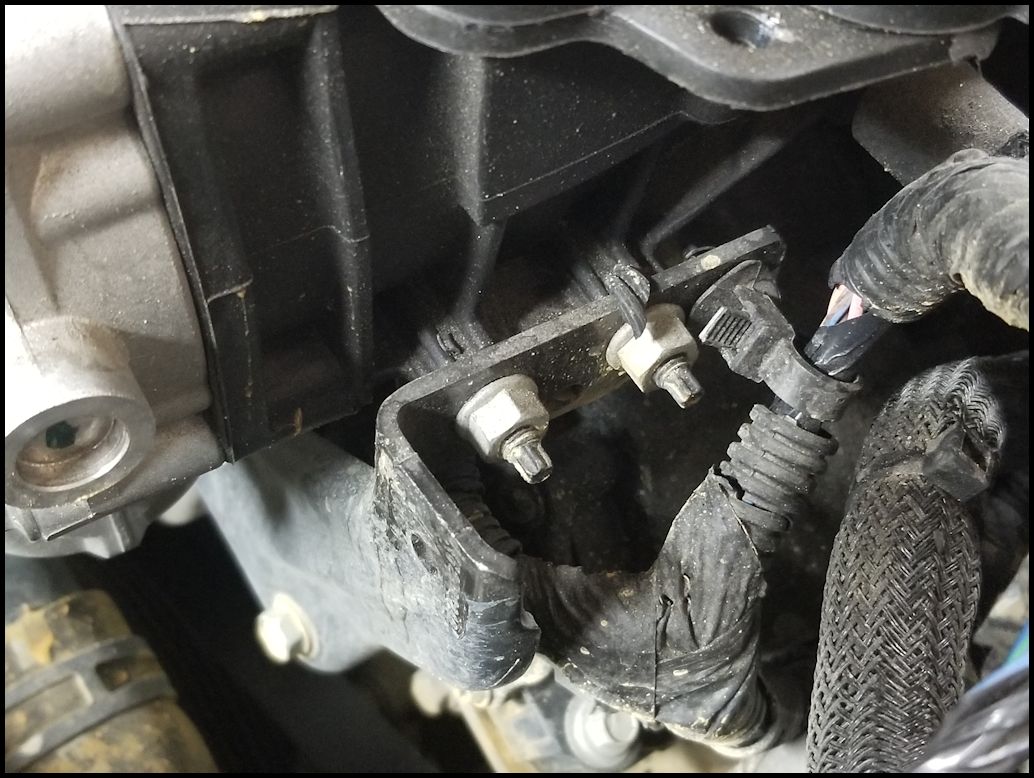
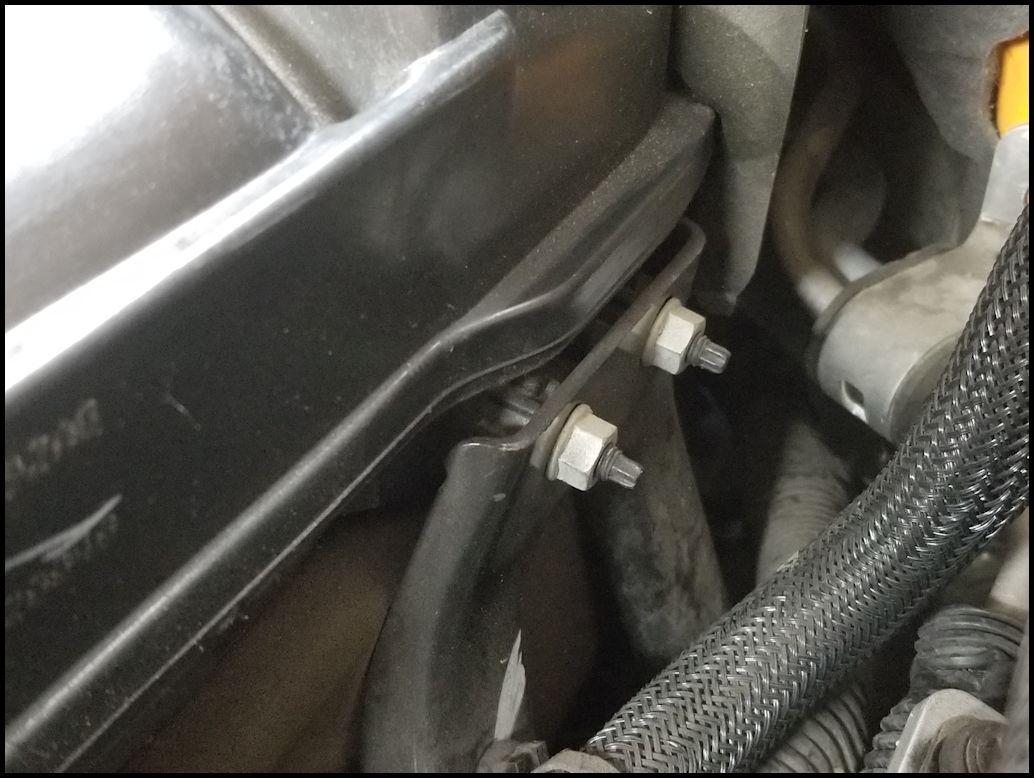
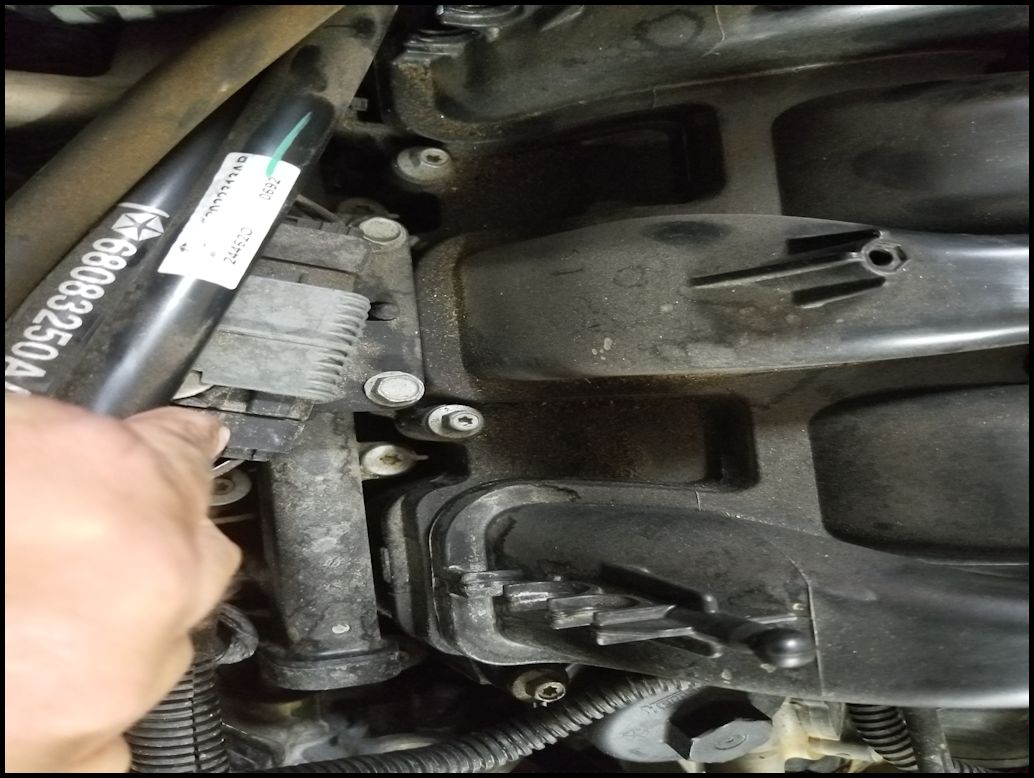
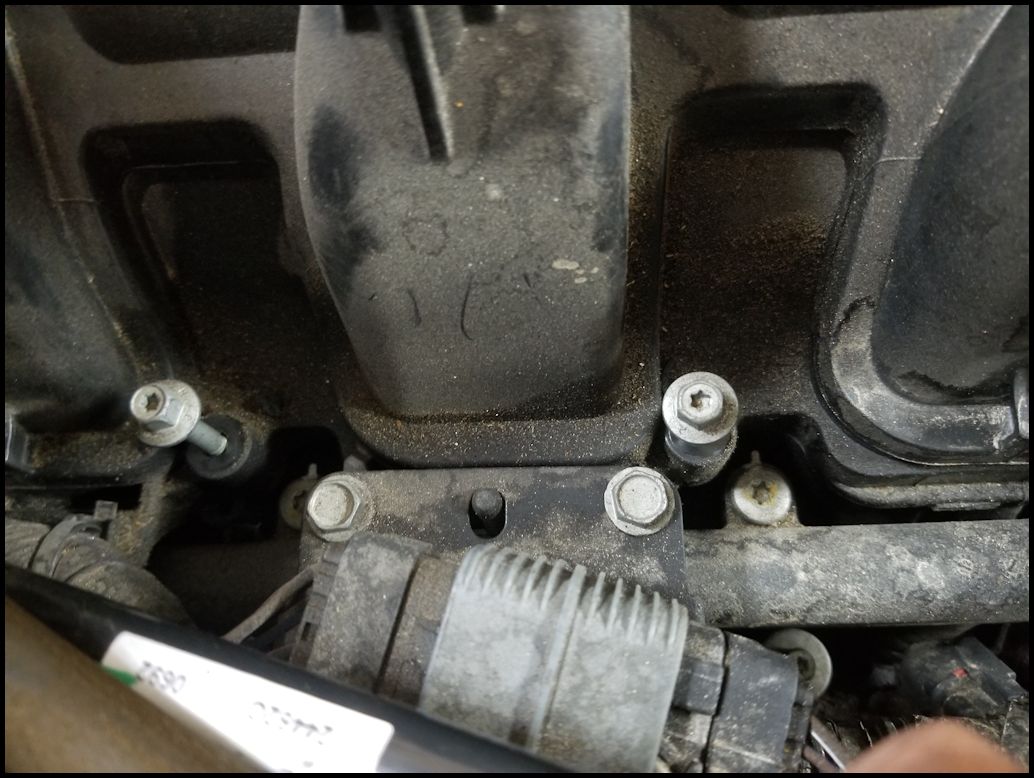
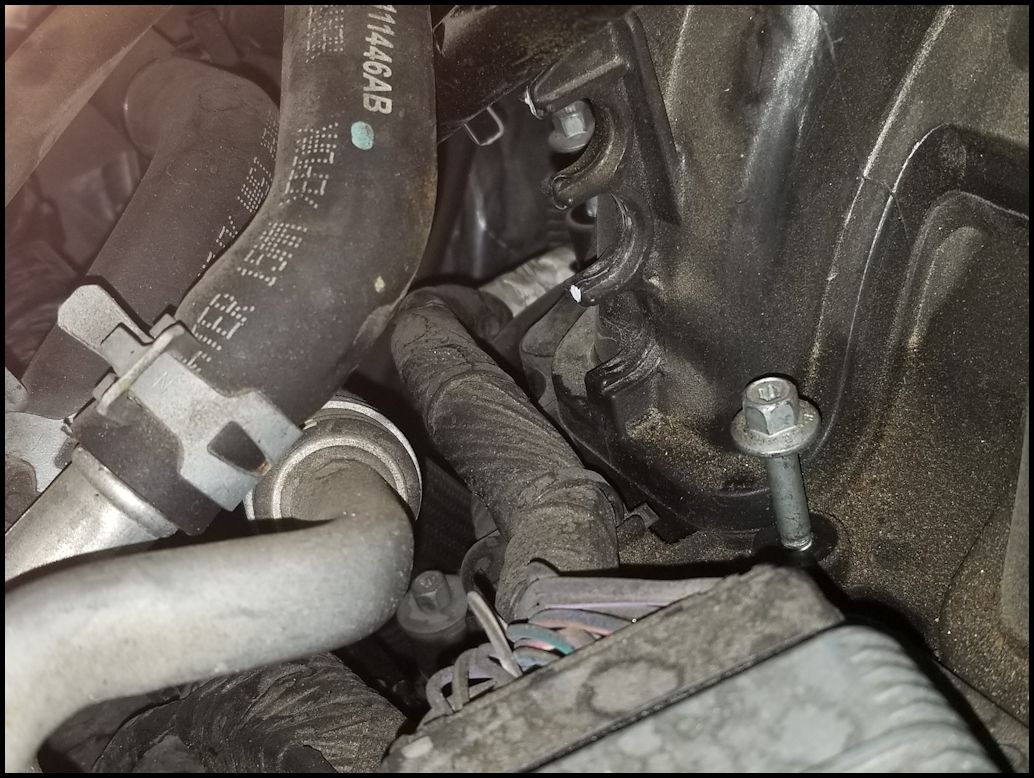
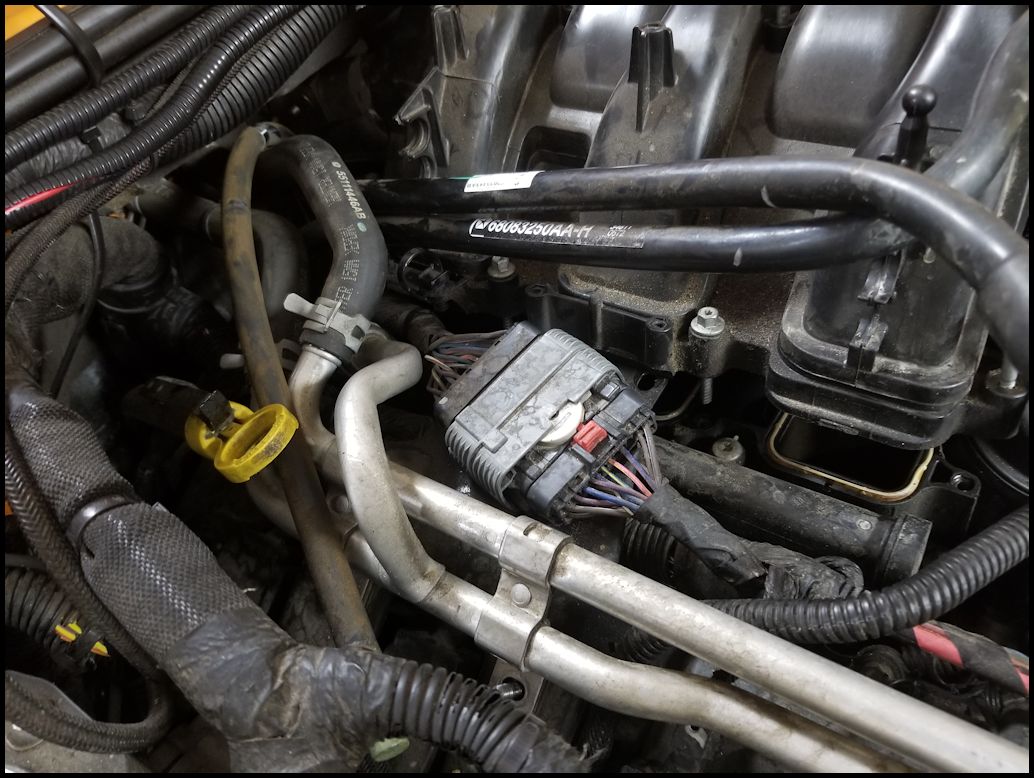
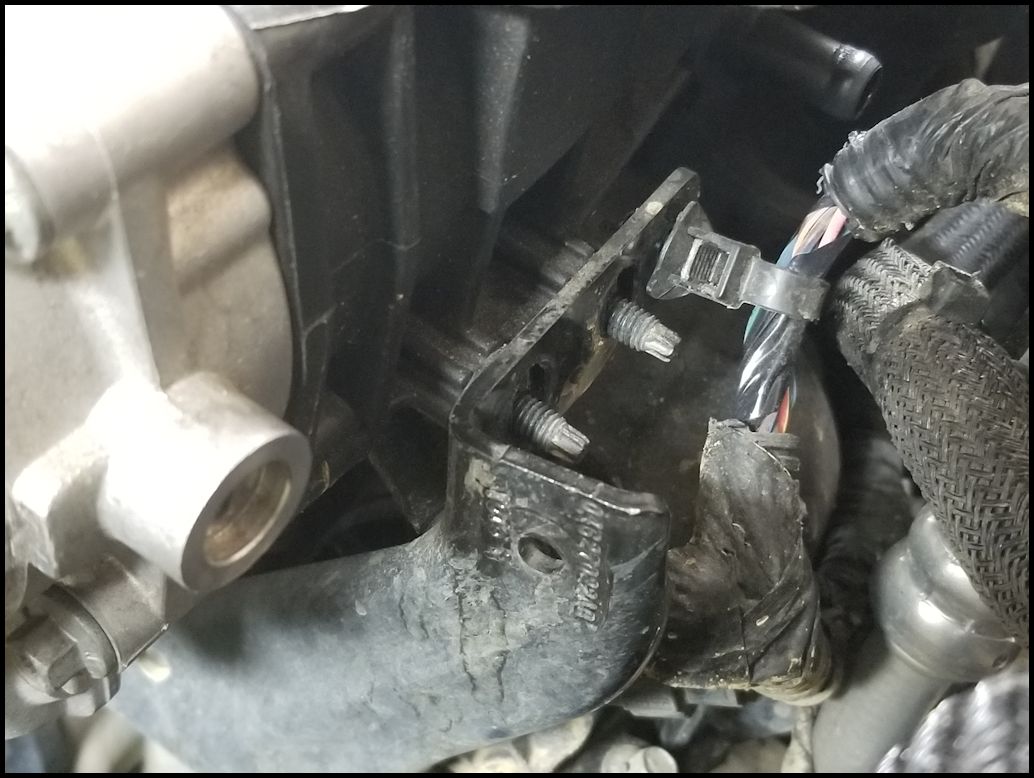
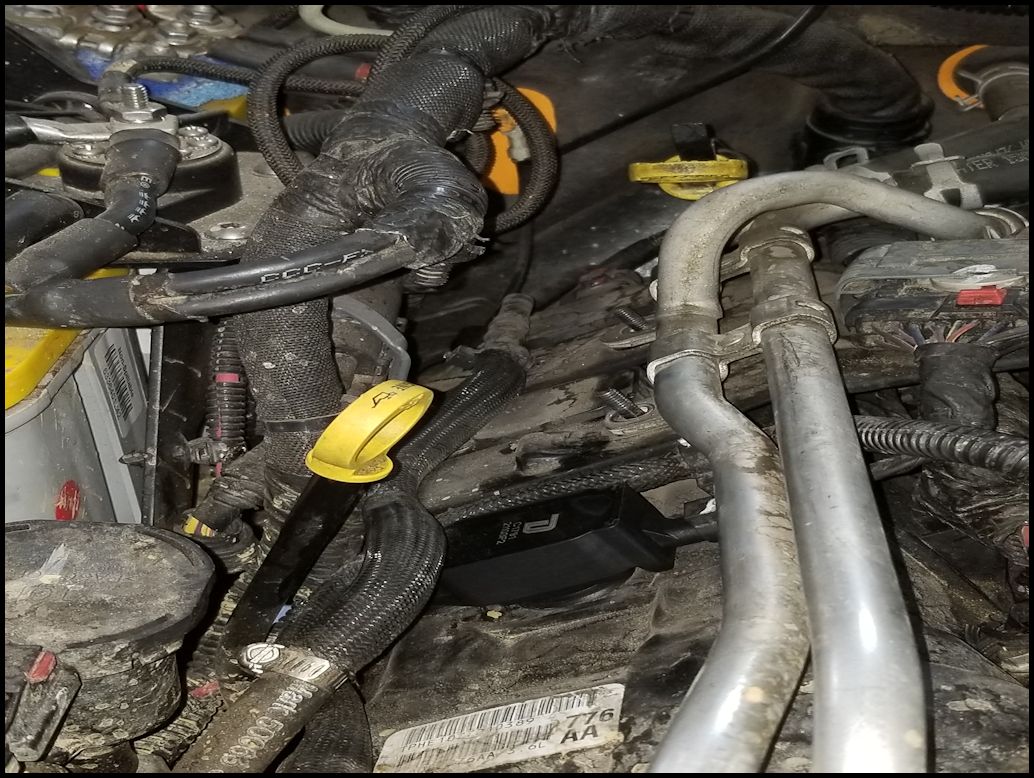
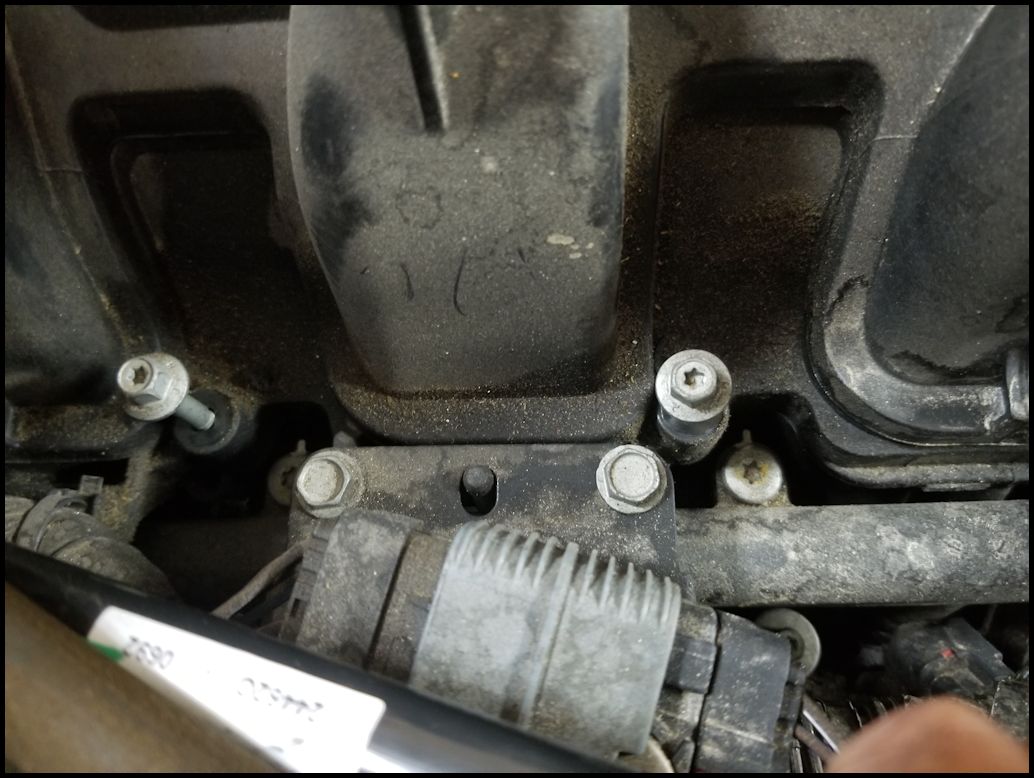
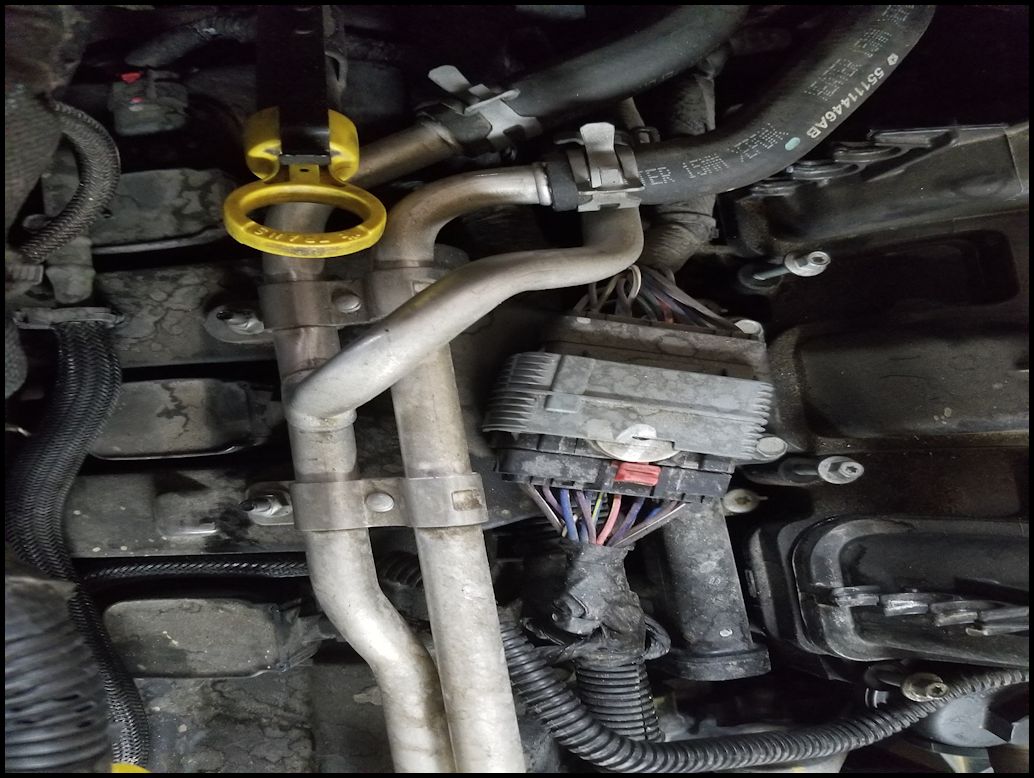
| 17. Remove the two (2) bolts holding the bracket for a large electrical connector and the heater hose hard lines. The bracket is bolted to the intake above the fuel rail on the left side of the intake between two of the intake bolts. You will need a 10mm socket and extension. |
 |
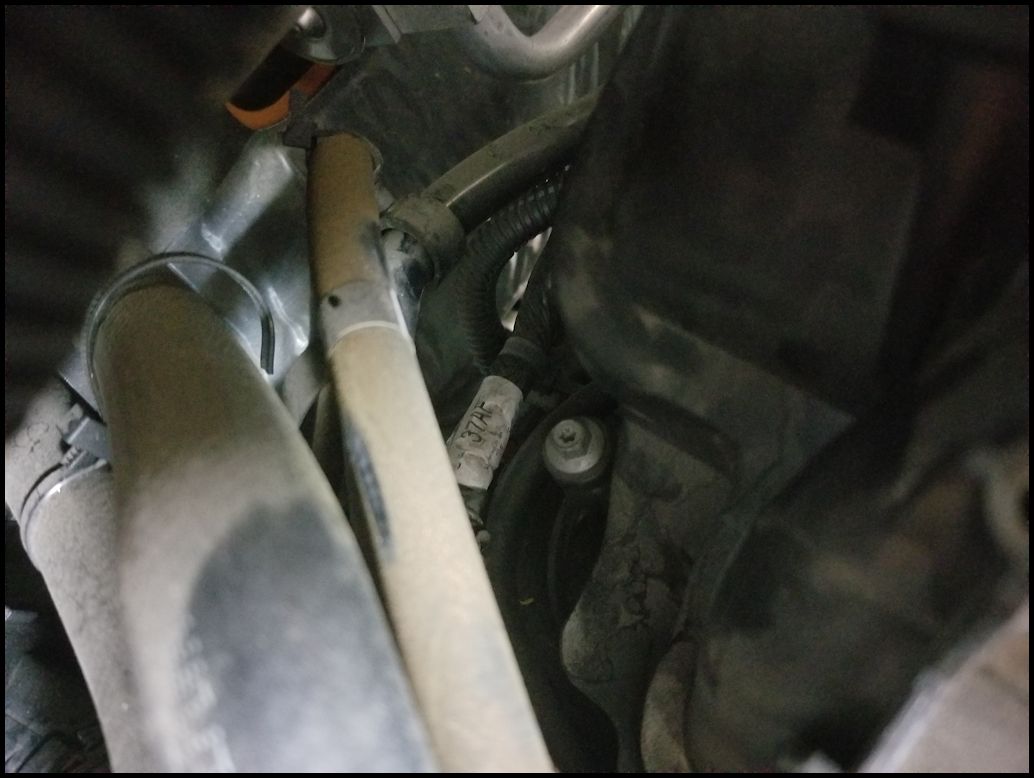
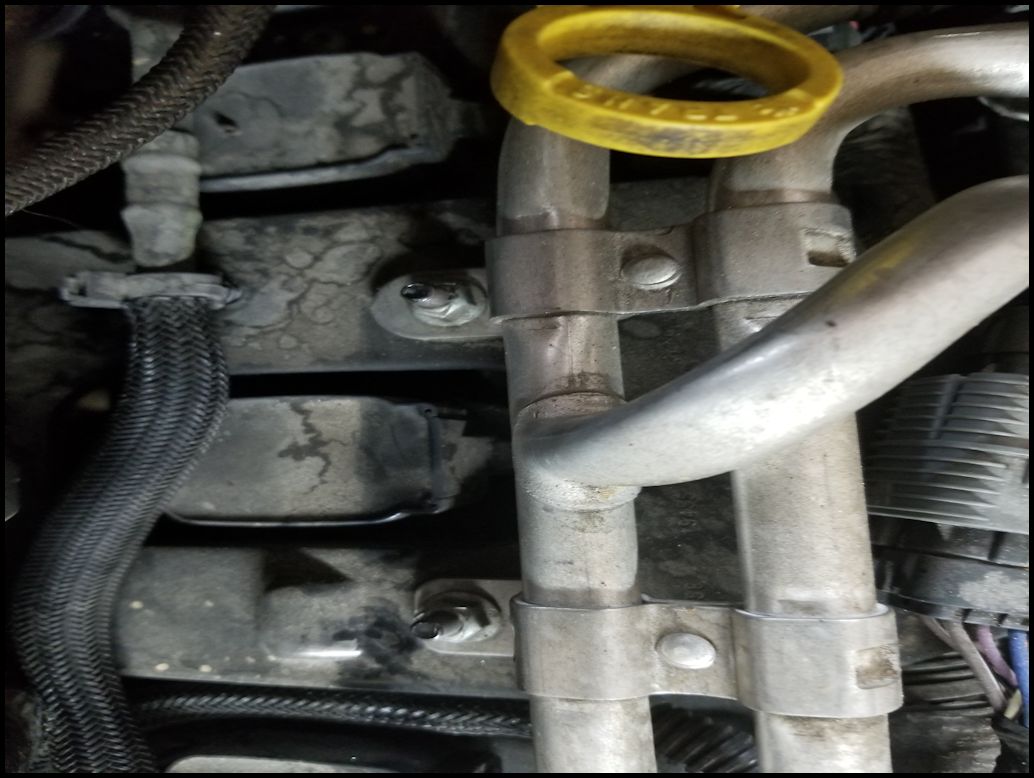
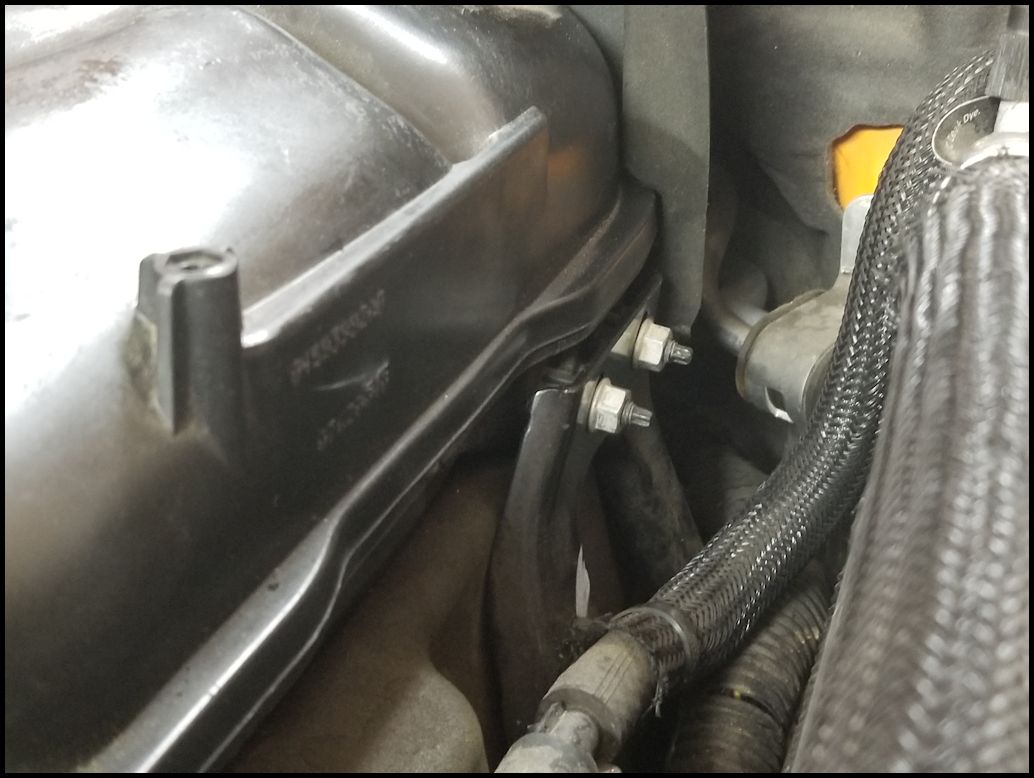
| 18. Remove the two (2) nuts holding the heater hard lines and bracket. You will need a 10mm socket and extension. The bracket doesn't move much, but it will be just enough to get the intake out from underneath it. |
 |
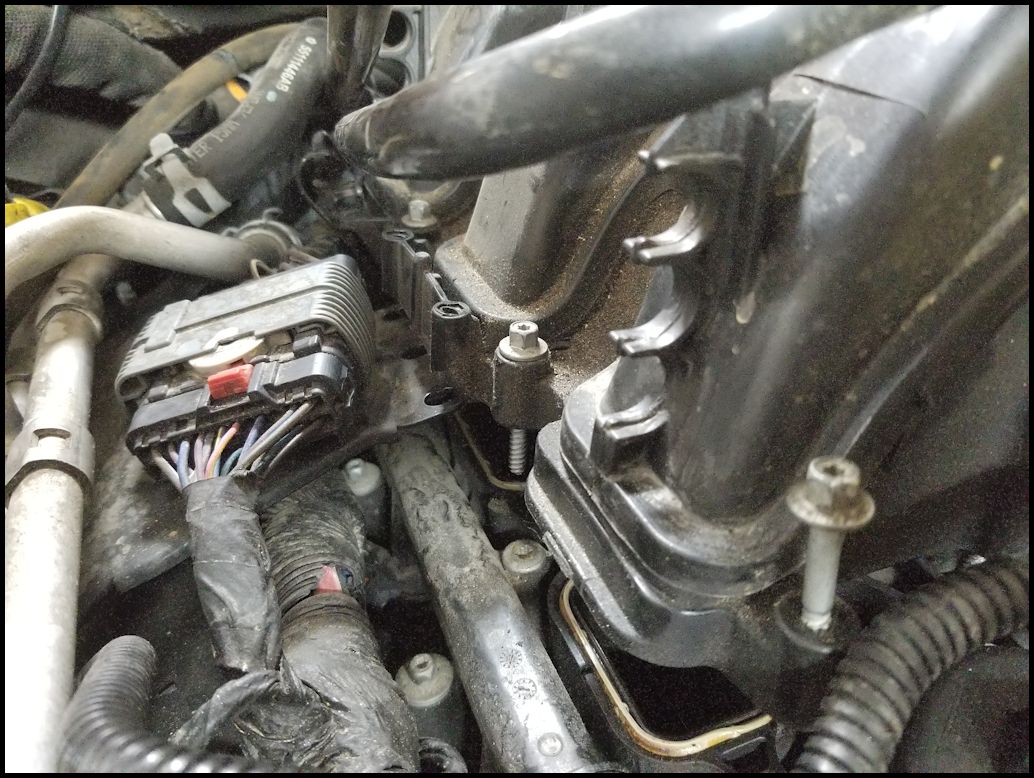
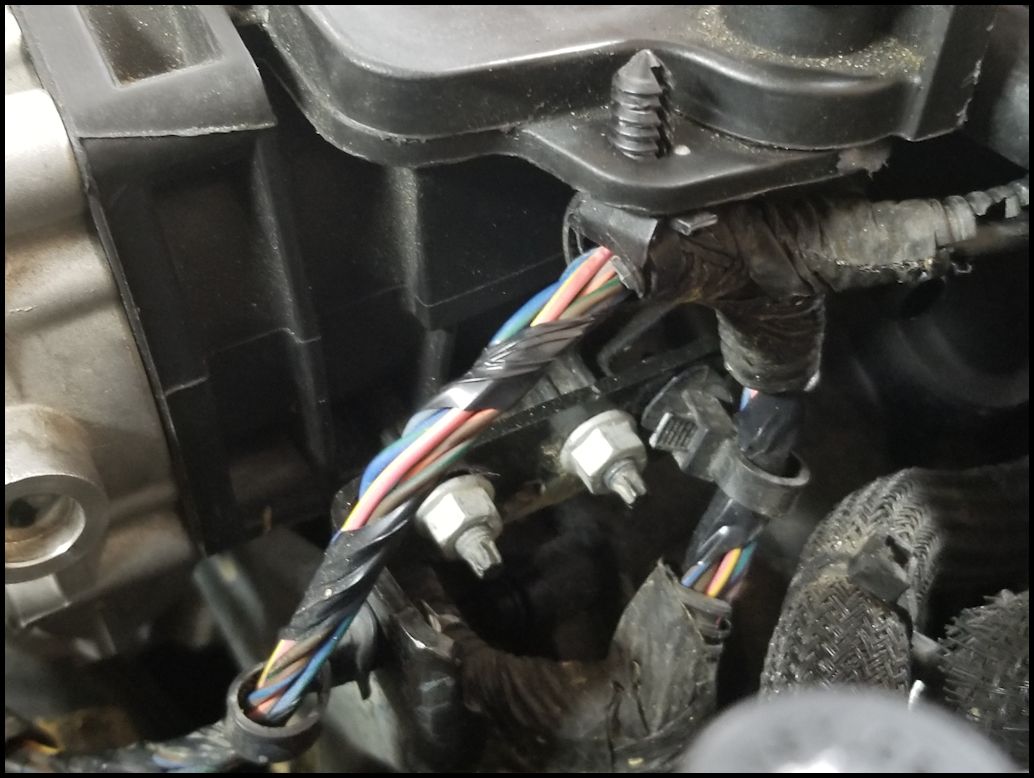
| 19. Remove the two cable retainers for the large electrical connector from the lower intake. These are a pain to get to even with a trim removal tool. I ended up having to cut the back one to get the cable free from the upper intake. If you have zip ties with the christmas tree on them, you can just cut both of these and put new zip ties on before you reinstall the cable. You will have to zip tie the cable first and then push the pins into the reinstalled intake. Not enough room to do it the other way around. |
 |
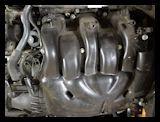
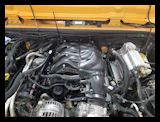
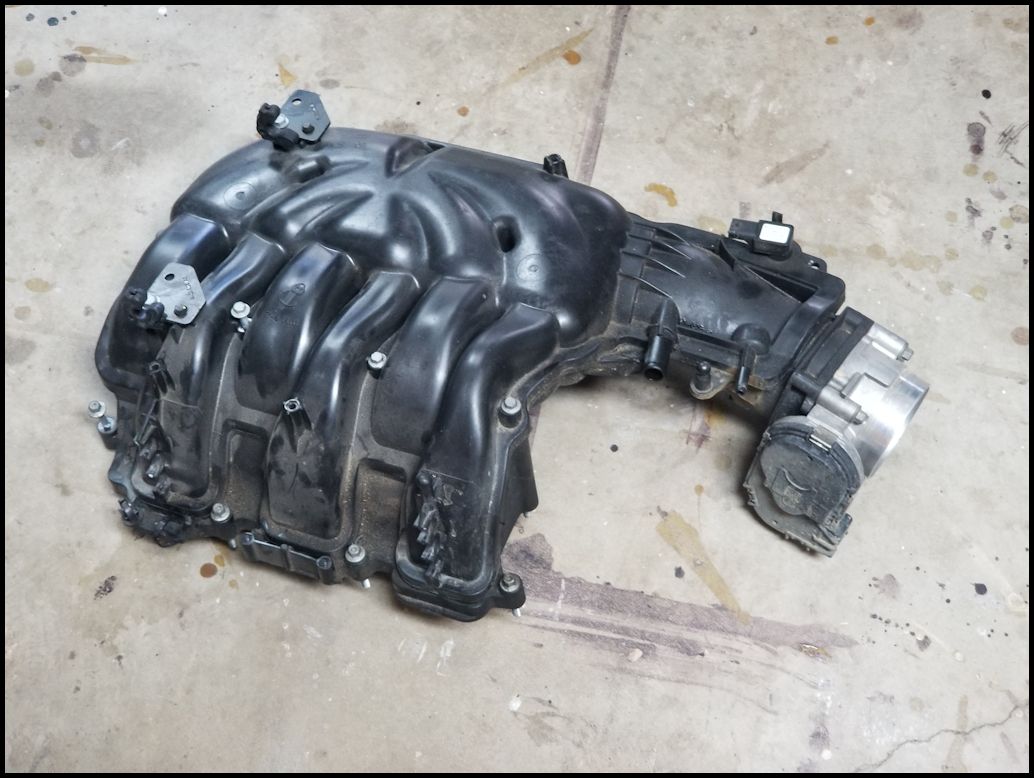
| 20. Lift the intake on the left side and get it out from underneath the bracket that you just unbolted. This is the point that you will find out if you unscrewed all the intake bolts. Once you have the intake above the bracket you will need to pull it up and to the left to get the four (4) studs clear of the two (2) brackets on the right side. You will need to push any hoses out of the way. It can be difficult to get out, but if it feels stuck recheck to see that your not hung up on something. |
 |
 |
 |
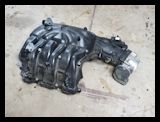
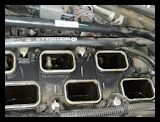
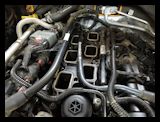
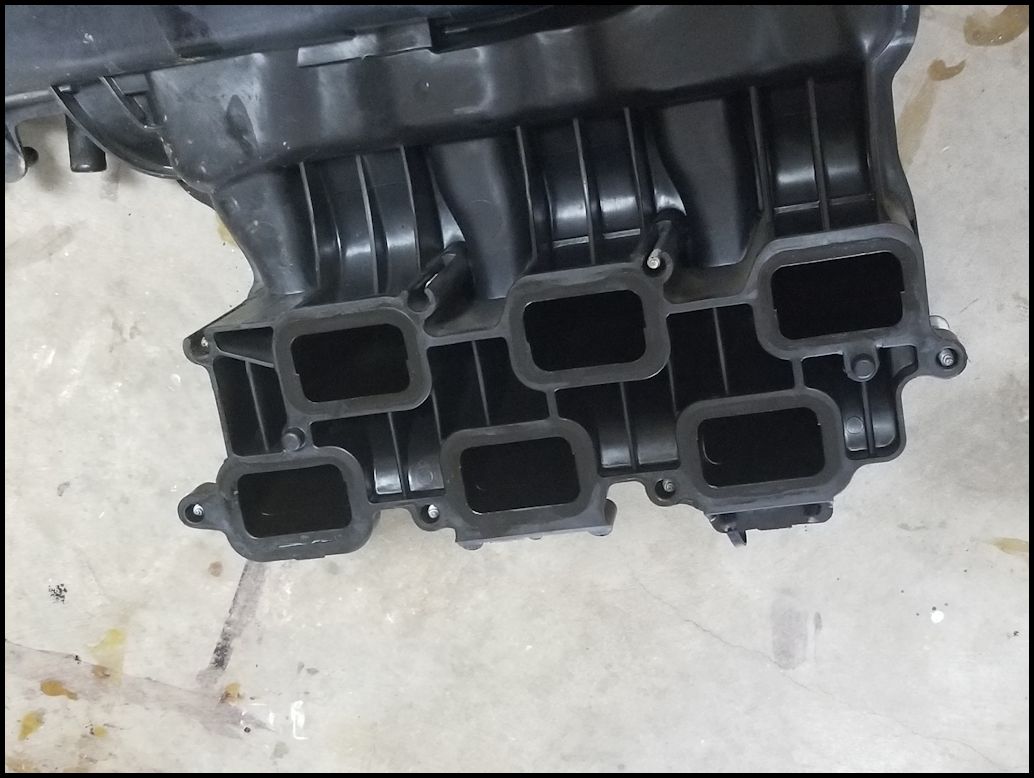
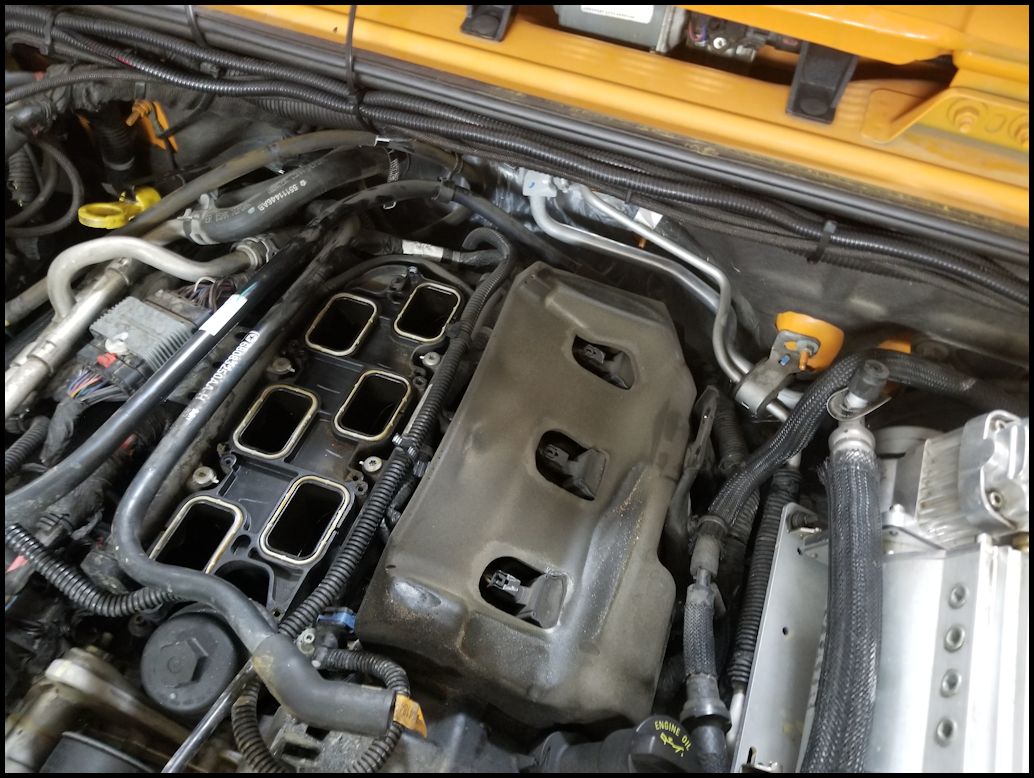
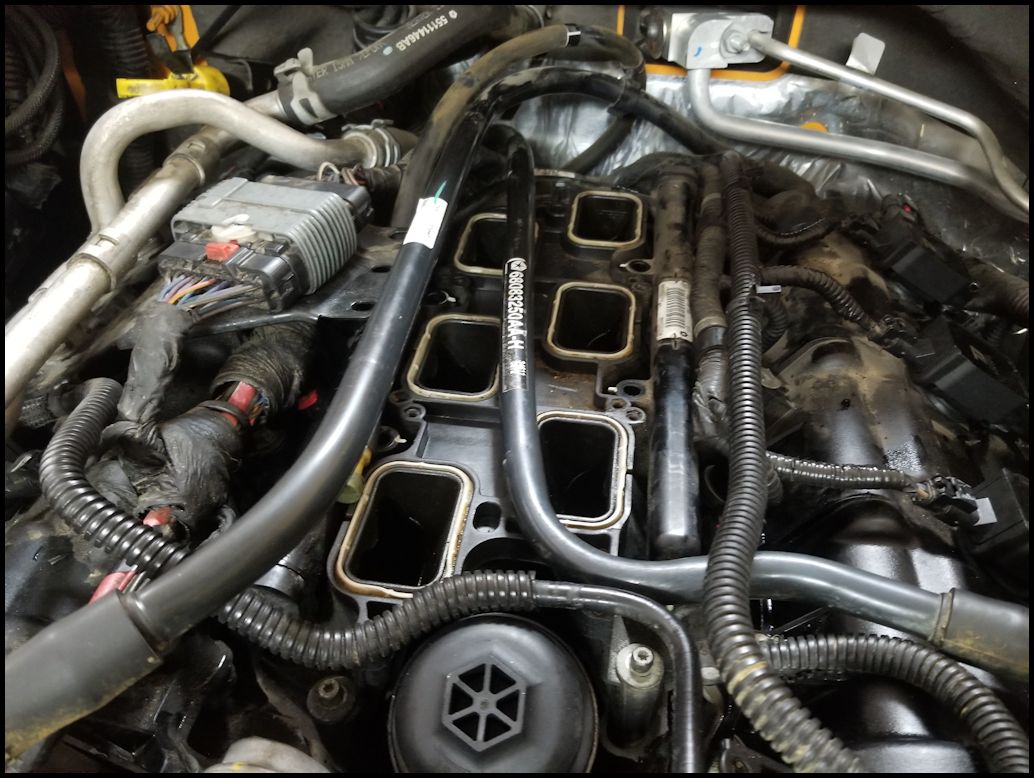
| 21. Once you have the intake clear, take a good look at it for any damage especially to the gasket seating surface. The six (6) gaskets should have remained in the lower intake assembly. You can also clean off the intake so that you don't have a chance of getting dirt down into the intake. |
 |
 |
| 22. Check to make sure all six (6) gaskets are still in the lower intake or that you have all of the gaskets. Just a precaution against one falling into the lower intake. |
 |
| 23. Remove the silencer foam from the right side of the engine. It should just lift up and out. |
 |
 |
 |
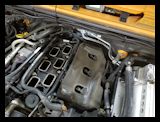
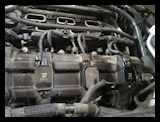
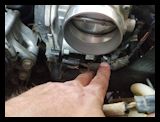
| 24. Cover the lower intake openings with some blue painters tape to keep any debris out of the intake. You can clearly see one of the valves, so it doesn't take much to get debris in there. |
 |
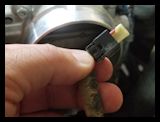
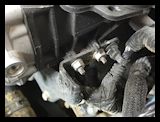
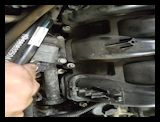
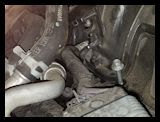
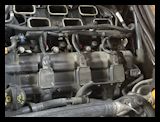
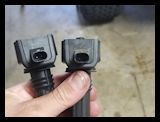
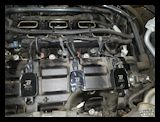
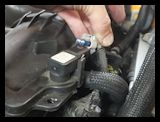
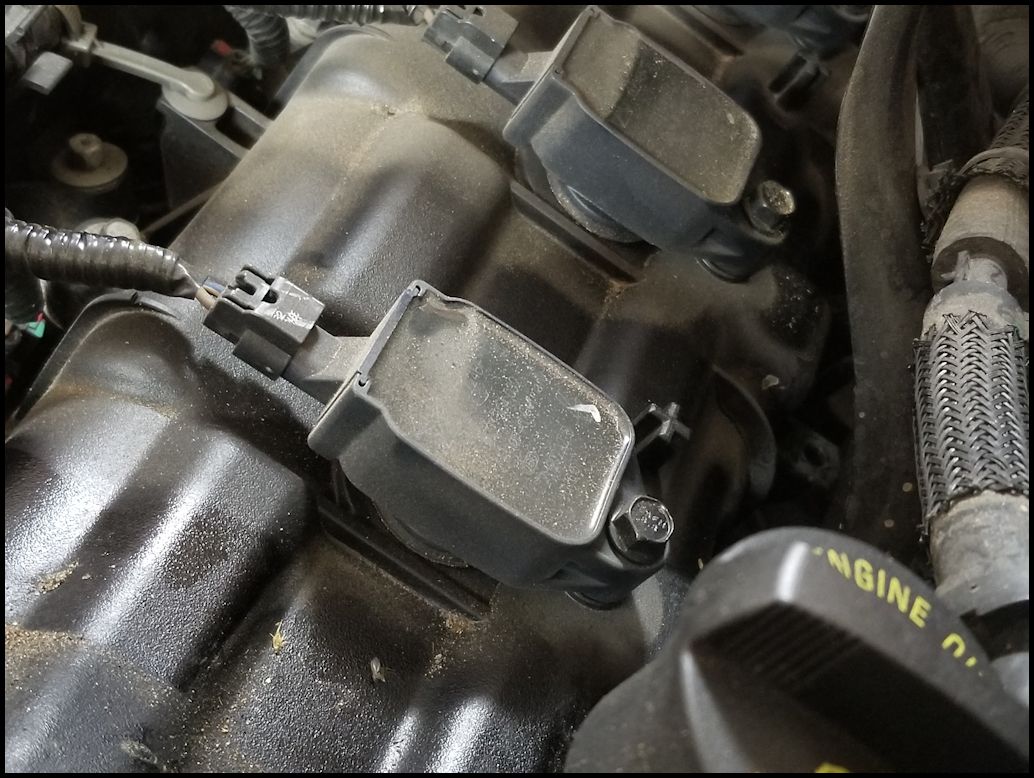
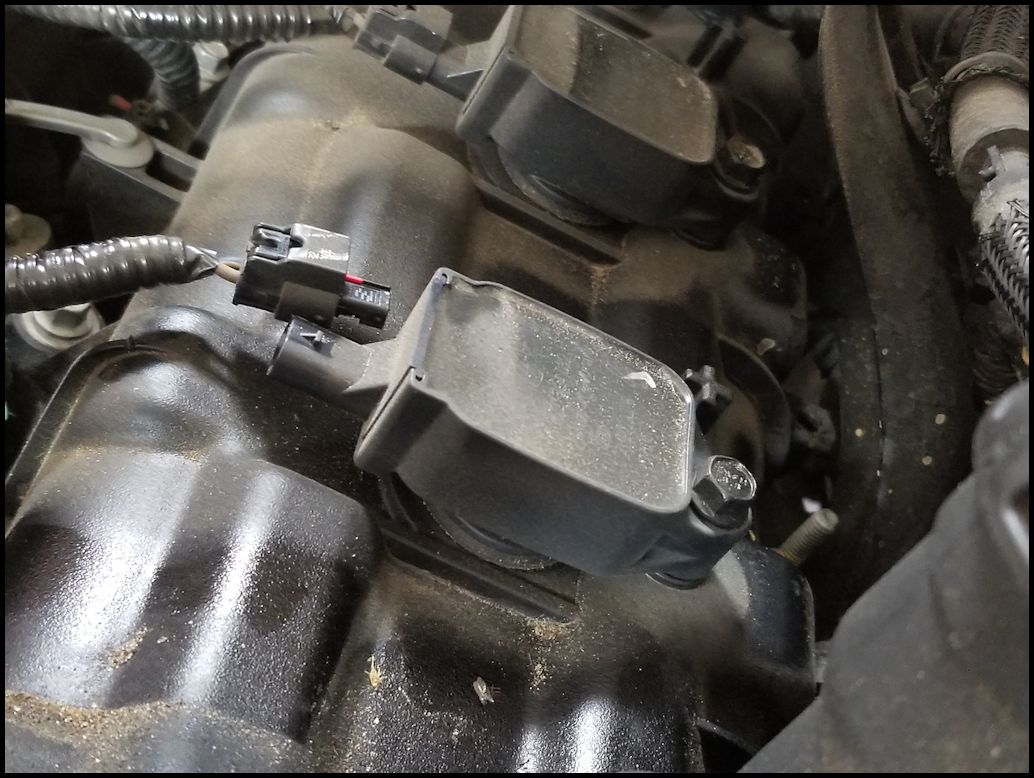
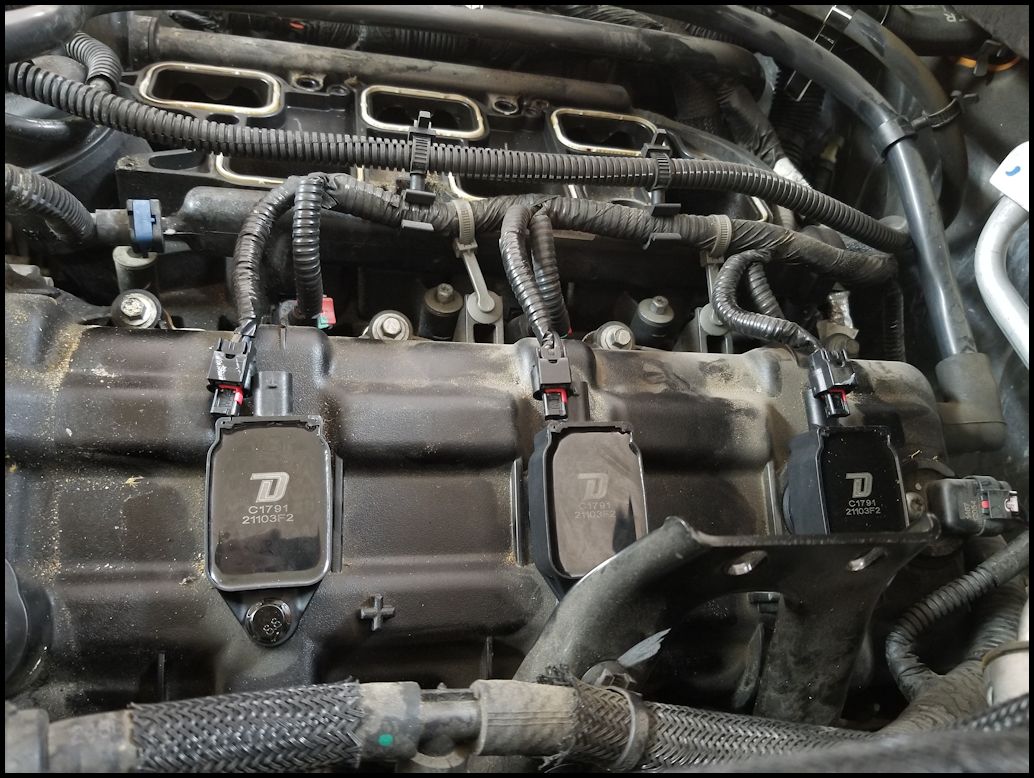
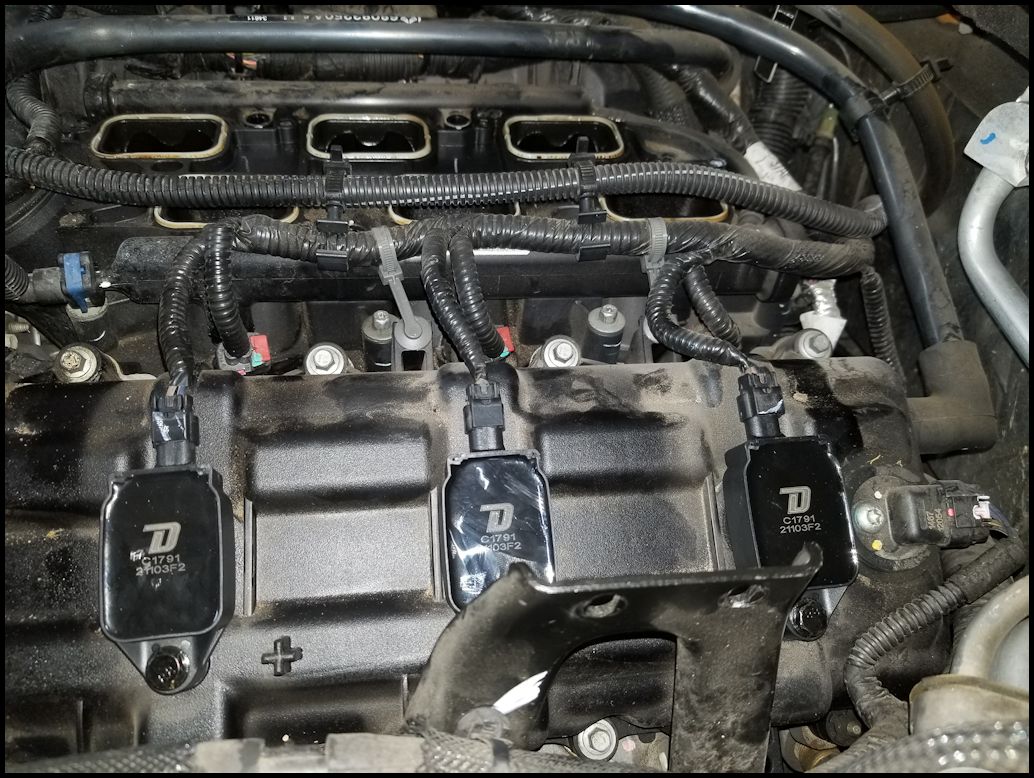
| 25. Unplug the three (3) coil pack connector on the right side of the engine. Press down on the tab and pull the connector out. |
 |
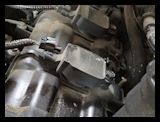 |
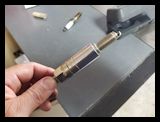
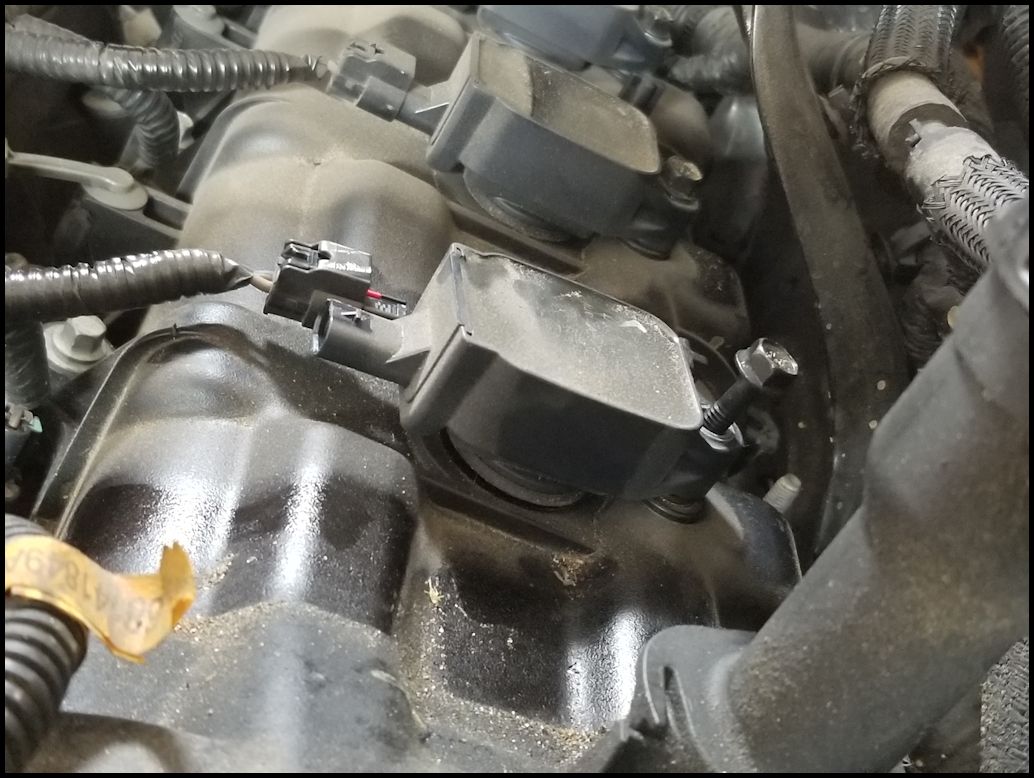
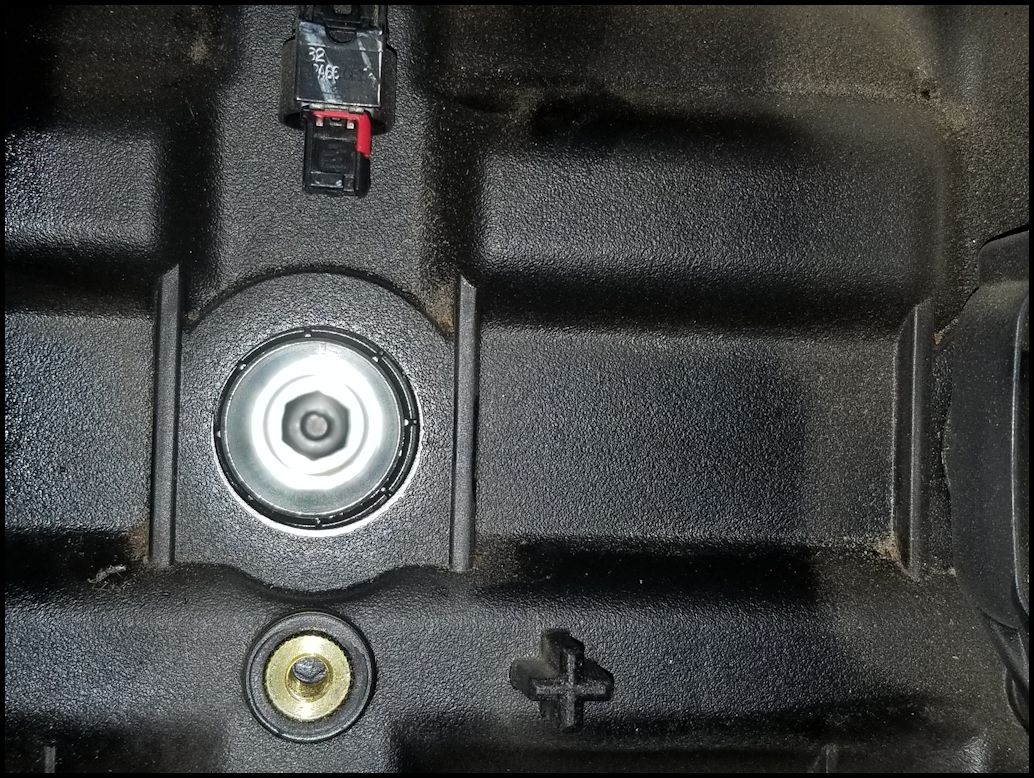
| 26. Unscrew the coil pack bolt. The bolt will not come all the way out. You will need a 10mm socket. |
 |
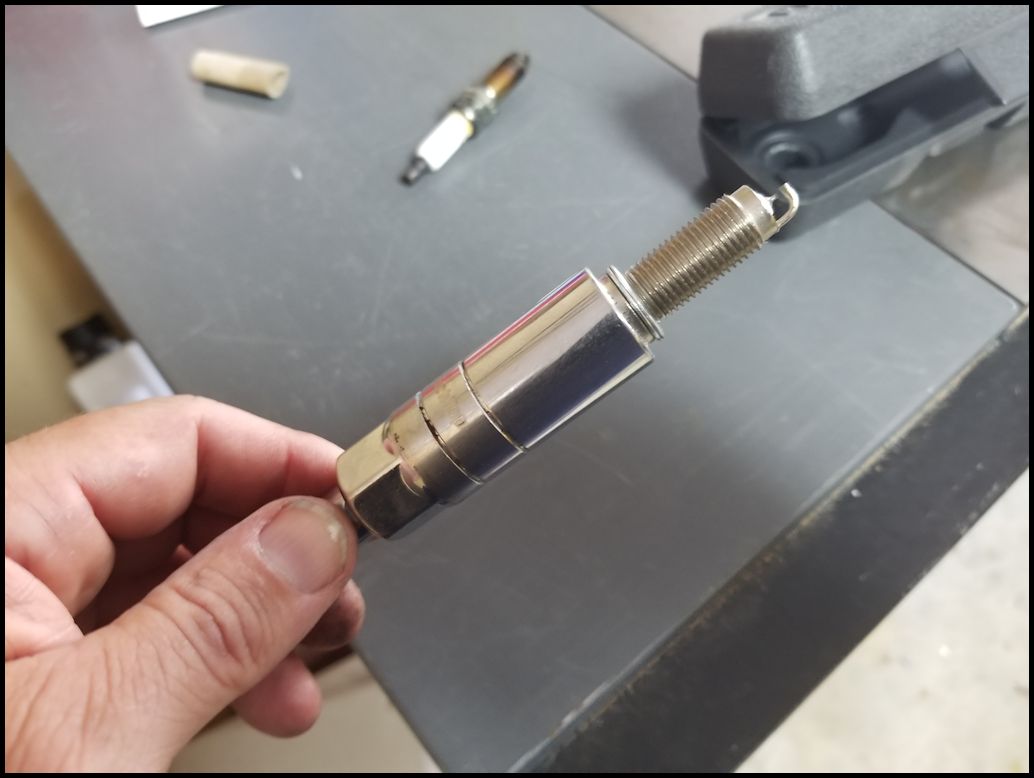
| As you can see they look pretty similar to the OEM coil packs. |
 |
 |
 |
 |
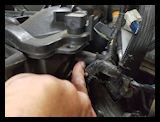
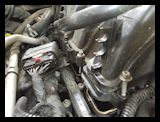
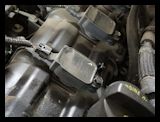
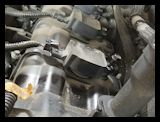
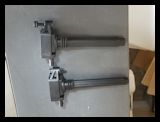
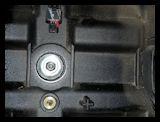
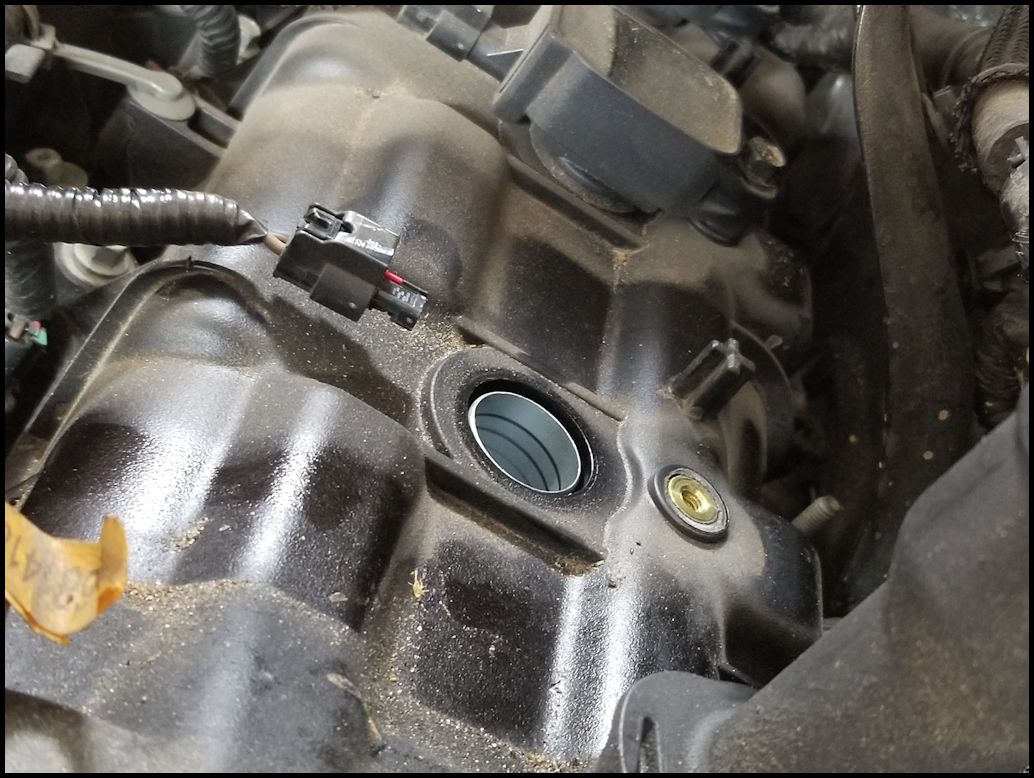
| 27. Pull the coil pack up and out of the hole. It will release with a pop. |
 |
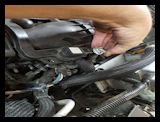
| 28. Remove the spark plug. You will need a 5/8" spark plug socket and long extension. |
 |
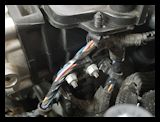
| 29. You will do the same proceedure on the left side of the engine. You will need to disconnect the wiring bundle from the top of the valve cover with a trim removal tool so that you can pull out the coil packs. This side is a real pain because of the heater hard lines. Removal is the same as steps 25-28. |
 |
 |
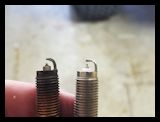
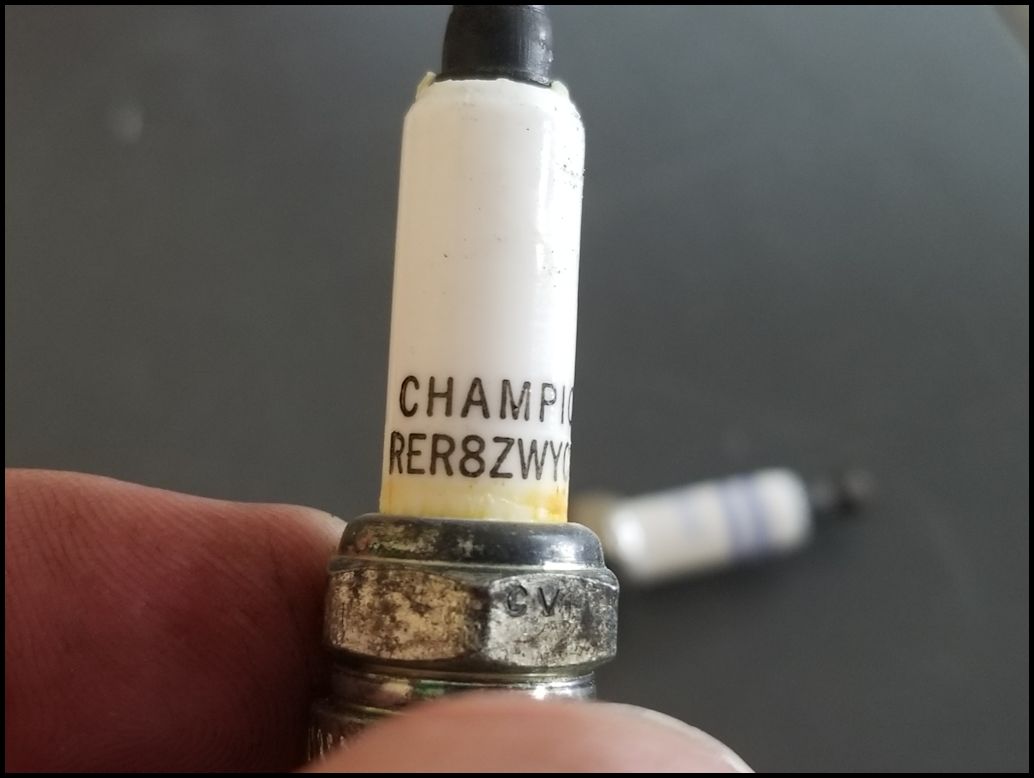
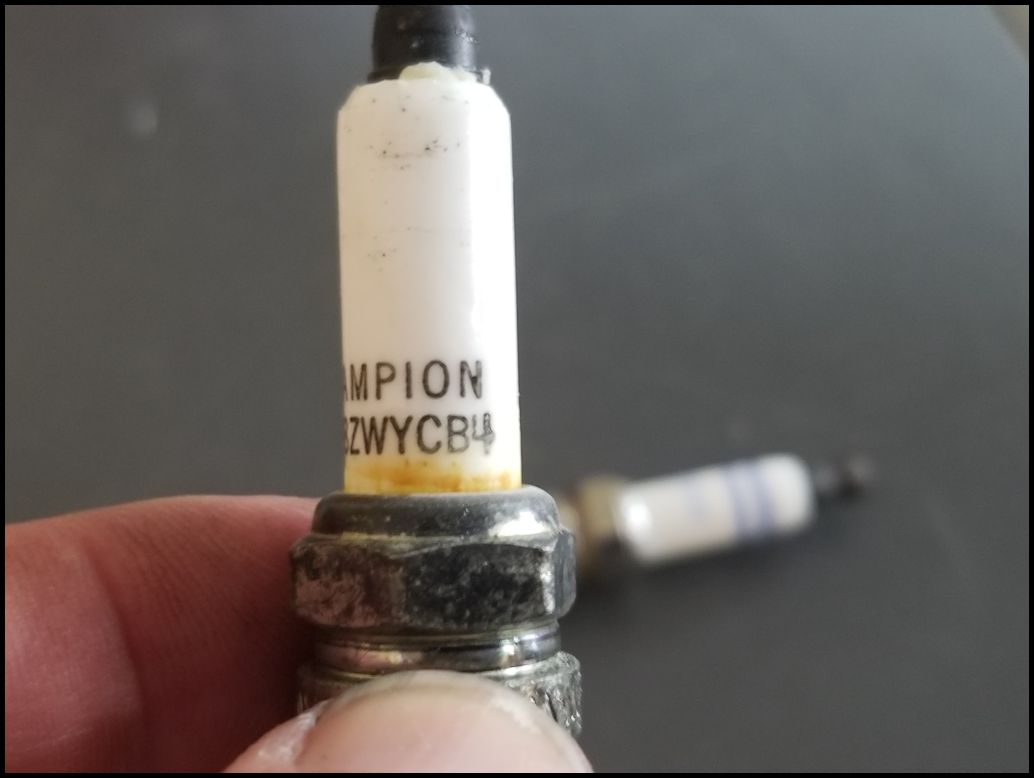
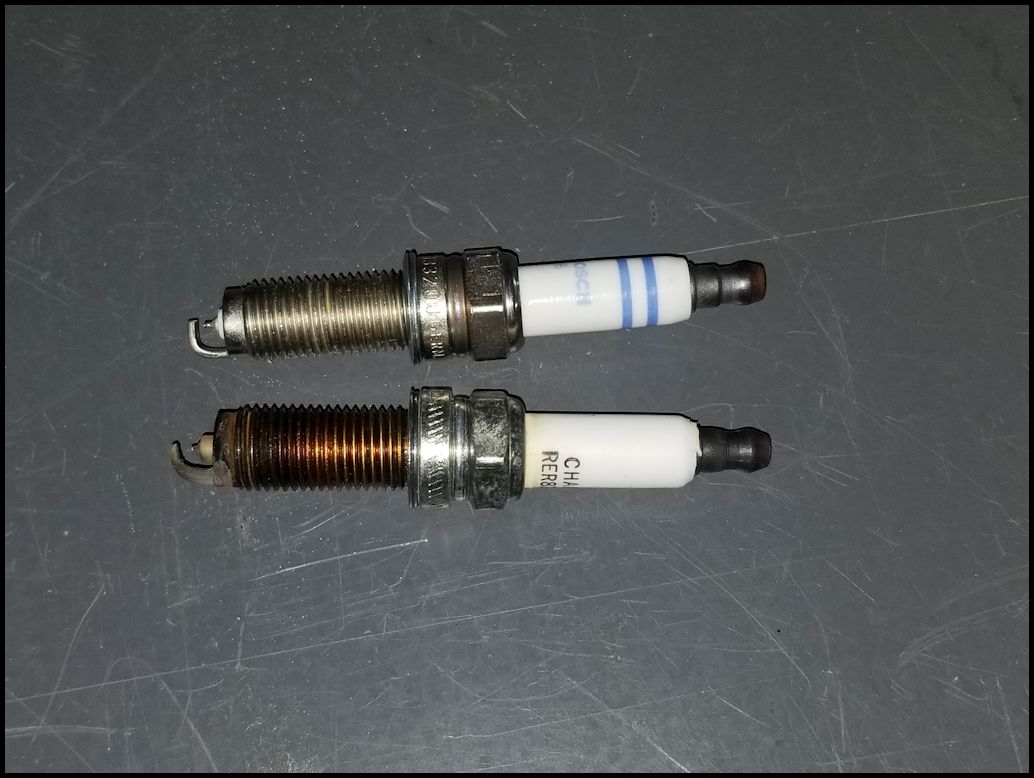
| The OEM plug is a Champion RER8ZWYCB4 |
 |
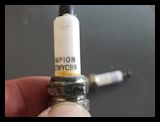 |
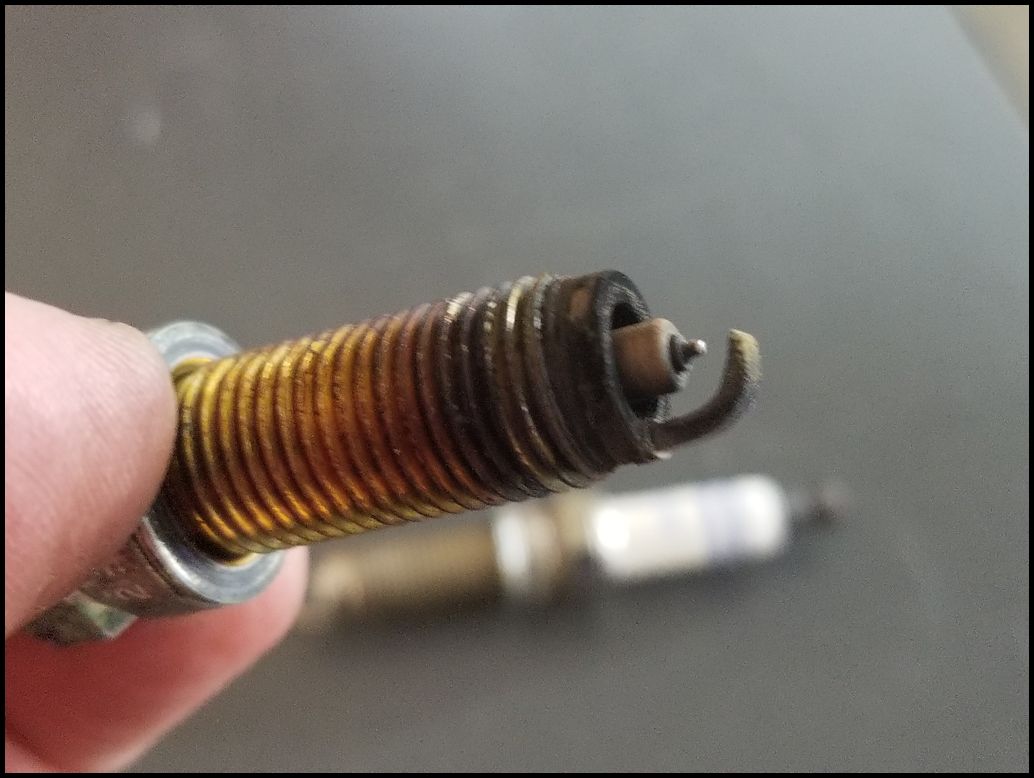
| At 86,000 miles the OEM plugs were fairly eroded, but not as bad as I have seen on some of the older style plugs in previous Jeeps. The erosion was consistent across all of the plugs. |
 |
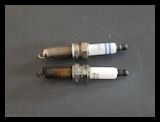
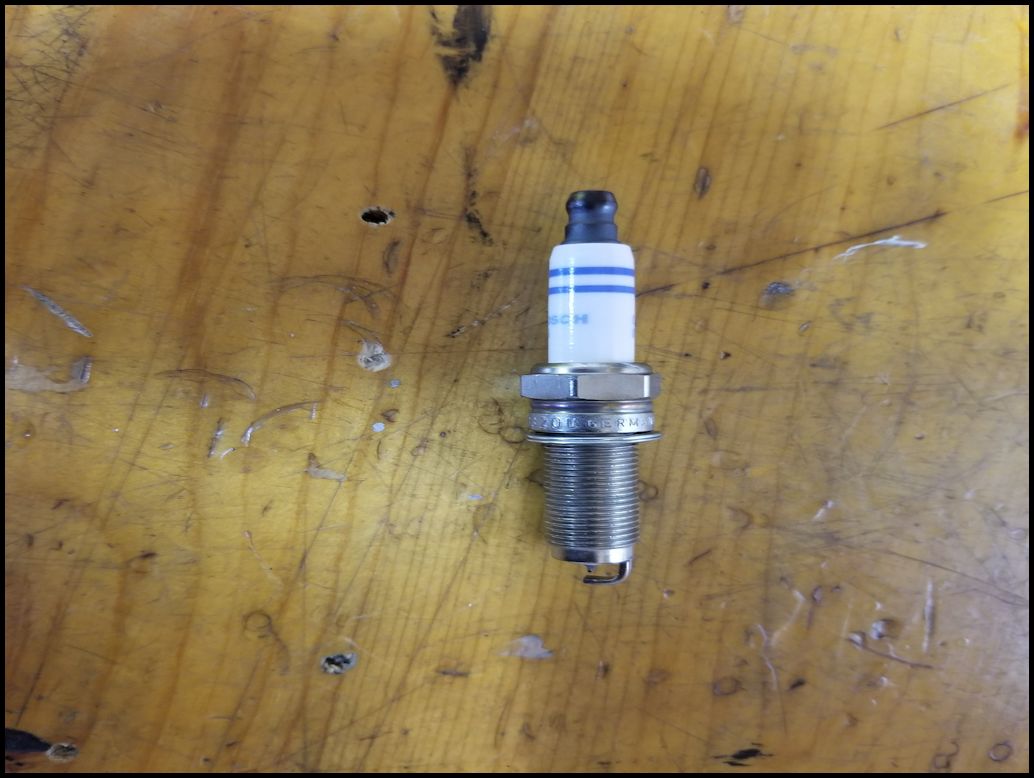
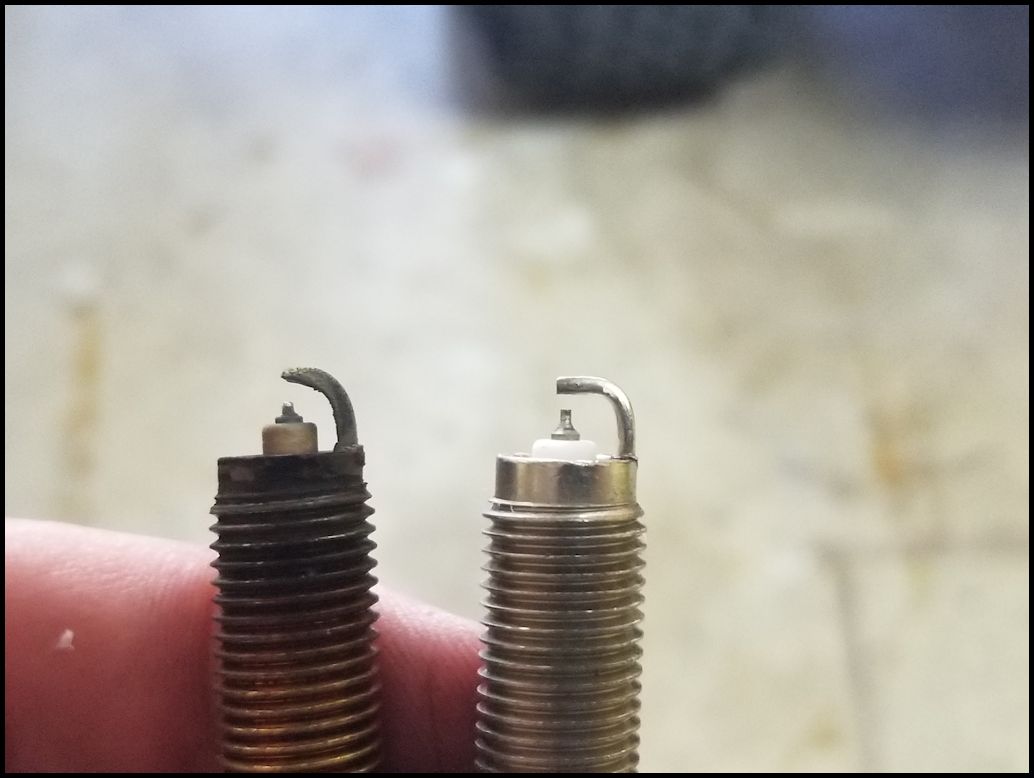
| Comparison between the old Champion and new BOSCH plug. These do come pregapped to 1mm or .039" so you don't need to gap them. The OEM Champion plugs were gapped at .043 I believe, but since the BOSCH are double iridium I didn't mess with the chance of damaging the fine iridium wire inside the plug. |
 |
 |
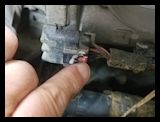
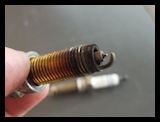
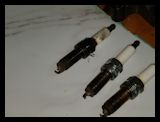
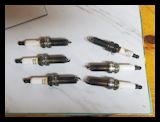
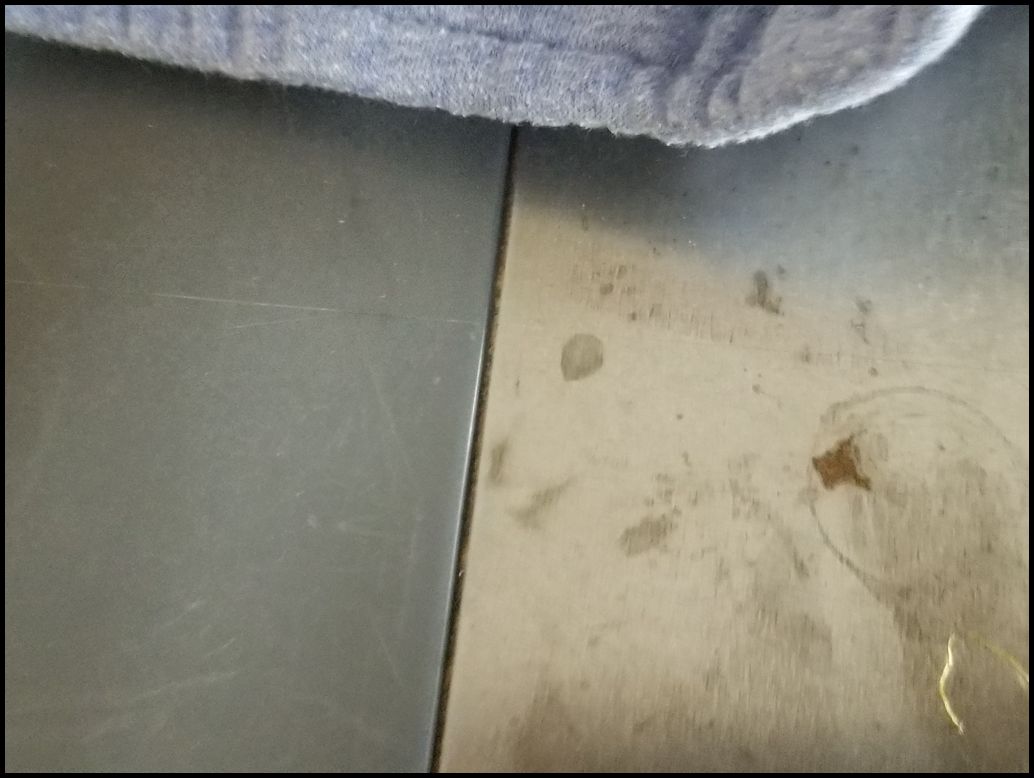
| I did discover that they right side rear cylinder spark plug was only in finger tight and I had a lot of oil blow by around the plug. I couldn't see any difference inside the cylinder from what I could see. I will keep an eye on it, but I hadn't seen any oil consumption or any other signs of an issue. The second picture is what they all looked like in relationship to where they came out of the engine. |
 |
 |
| 30. Reinstall the spark plug. You will need a 5/8" spark plug socket and long extension. Suggested Torque is 13 ft/lb, but double check to see if the box has a different torque value. |
 |
| 31. Install the new coil packs. Make sure you press them all the way in. Screw the coil pack back in. You will need a 10mm socket. |
|
| 32. Plug the coil packs back in. |
 |
 |
| 33. Reinstall the wiring harness back onto the valve cover on the left side of the engine. |
|
| |
| Reinstall the upper intake assembly: |
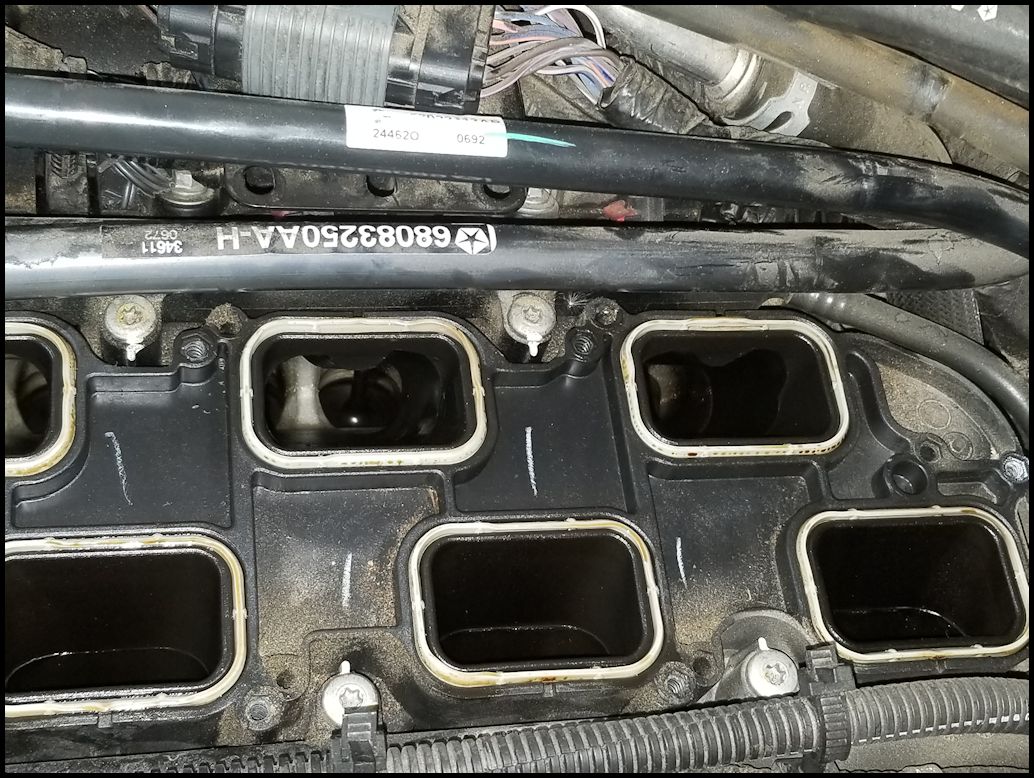
| 34. Remove the blue painters tape if you installed it. Remove the six (6) gaskets from the top of the lower intake. You will need an o-ring pick, or scribe to get these out. |
 |
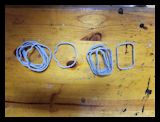
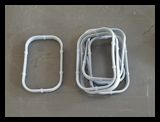
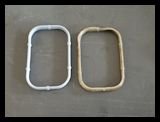
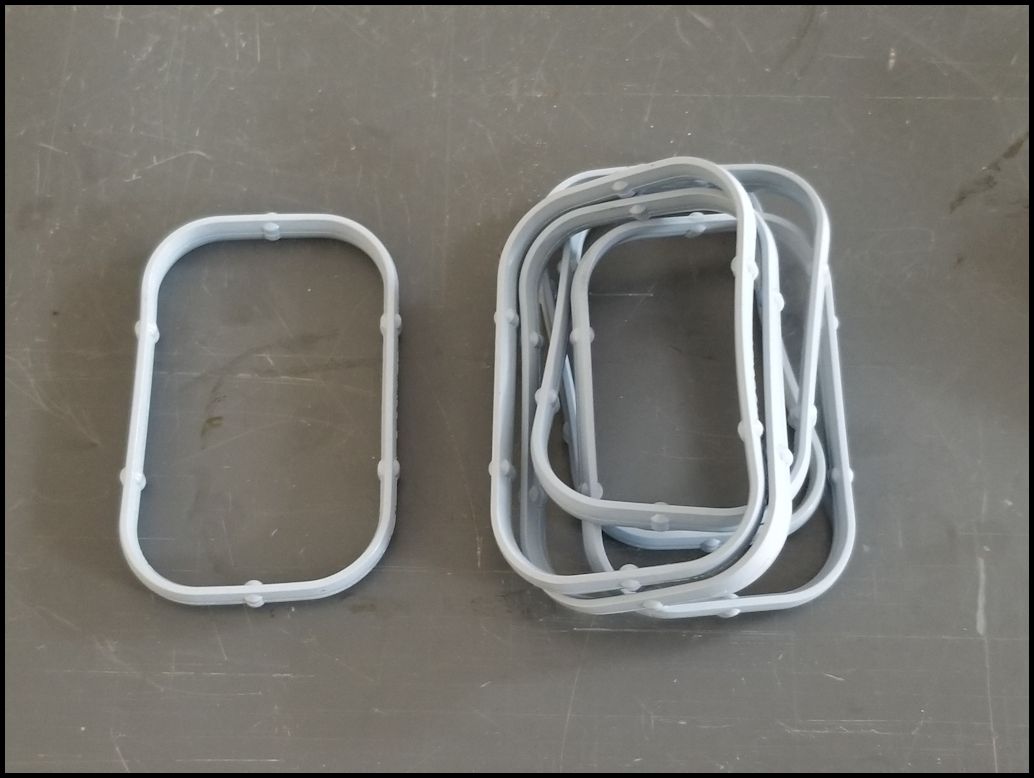
| 35. Install the new gaskets into the top of the lower intake assembly. These are the rectangular ones. The gaskets have bumps on them that will hold them in place in the slot on the intake. |
 |
 |
| Comparison of the old and new gaskets. Just like the previous gaskets, the old ones were definately harder than then the new gaskets, but would have still been serviceable in an emergency. Always better to replace gaskets with new ones, its easier than having to take it apart again to do it right the second time. |
 |
| 36. Reinstall the silencer foam from the right side of the engine. |
|
|
|
| 37. Reinstall the upper intake assembly. You will need to slide the four (4) studs into the brackets on the right side and then get the intake under the bracket on the left side. Screw down the seven (7) bolts that hold the upper intake to the lower intake. You will need a 8mm socket and long extension. I did the center first (front, back, middle), then the four (4) on the left side (front, back, middles). |
 |
| 38. Reinstall the four (4) nuts on the studs that hold the upper intake to the brackets on right side of the upper intake. You will need a 10mm socket or combo wrench. |
 |
 |
| 39. Reinstall the two (2) bolts holding the bracket for a large electrical connector and the heater hose hard lines. The bracket is bolted to the intake above the fuel rail on the left side of the intake between two of the intake bolts. You will need a 8mm socket and extension. |
|
| 40. Reinstall the two (2) nuts holding the heater hard lines and bracket. You will need a 10mm socket and extension. |
|
| 41. Reinstall the two cable retainers for the large electrical connector from the lower intake. If you cut these earlier you will need to have zip ties with the christmas tree on them. You will have to zip tie the cable first and then push the pins into the reinstalled intake. Not enough room to do it the other way around. |
|
| 42. Reconnect the two (2) vacuum lines on the left side of the throttle body intake. These just push onto the fittings. |
 |
 |
| 43. Reconnect the crankcase line to the air intake box. This just pushes onto the fitting. |
 |
| 44. Reconnect the throttle body connector and push the plastic clip over the tab below the throttle body opening. |
 |
 |
 |
| 45. Reconnect the MAP sensor connector. |
 |
 |
| 46. Reconnect the harness holders to the under side of the upper intake assembly by the MAP sensor. |
 |
| 47. Reinstall the brake booster vacuum line onto the fitting by the MAP sensor. If you don't do this not only will the engine sound funny, but you will have a hard time stopping when you back out of the garage. Don't ask... |
 |
| 48. Reinstall the vacuum lines and transmission breather lines into the bracket on the left side of the upper intake assembly. They just push into the holder. |
 |
| 49. Reinstall the sound insulation foam from the back side of the engine. Carefully wiggle the foam behind the intake and install the two retainers on top of the foam. |
|
 |
|
| 50. Reinstall the air intake tube from the filter box and throttle body. |
|
| 51. Reconnect the IAT sensor connector located underneath the air intake tube. Push in the red locking tab if your connector has it. |
|
|
| 52. Tighten the intake hose clamps on both ends of the intake tube. You will need a flat tip screwdriver or a 8mm socket. |
|
|
| 53. Reinstall the two bolts holding the intake to the radiator. You will need a 10mm socket. Reinstall the radiator overflow hose intothe bracket. |
|
|
|
| 54. Reconnect the battery cables. You will need a 10mm or 12mm socket. I have a dual battery setup, so I needed to reconnect a few leads. |
|
| 55. Reinstall the engine cover. |
|
|
| 56. Once I was done, I took the time to change out the engine oil and then I took it to the shop and had them do a coolant flush. I was due for both of those, so I just timed the oil cooler replacement knowing that I would have to do these anyways to be on the cautious side. |
| |


