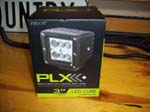
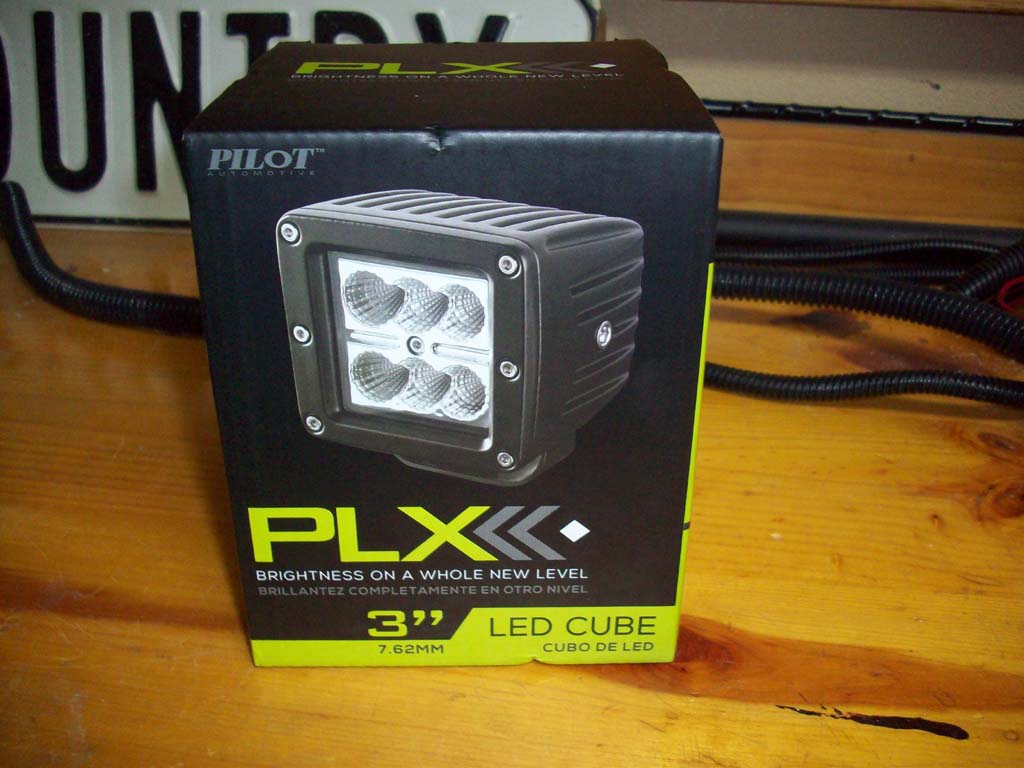
I finally decided to upgrade some of the old lighting I had on the Jeep. I started looking at the small light cubes that I could mount on the bumpers, windshield, and even in the rear. First up would be swapping out the old halogen lights on my front fenders for some windshield bracket mounted LED cubes. I looked at a lot, including a few of the chinese knock offs. I deal with a lot of tree branches here and figured I could probably pick up a couple for $20. I did finally decide that I should spend the money and get some quality lights. So I pretty much decided to save up and buy some Rigid Industries lights. A few of my friends run LED lights from Pilot on their big rigs and recommended that I look at them also as a slightly cheaper alternative. I was at a local store and saw a set of Pilot's PLX light cubes. Now the regular price is only about $20 lower than a similar Rigid light, but these were on sale and with a discount worked out to be about half the price of Rigid's so I figured I would give them a chance and see how they compared to a friend's Rigid lights.
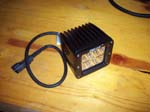
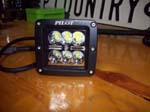
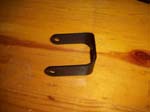
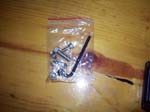
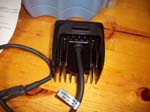
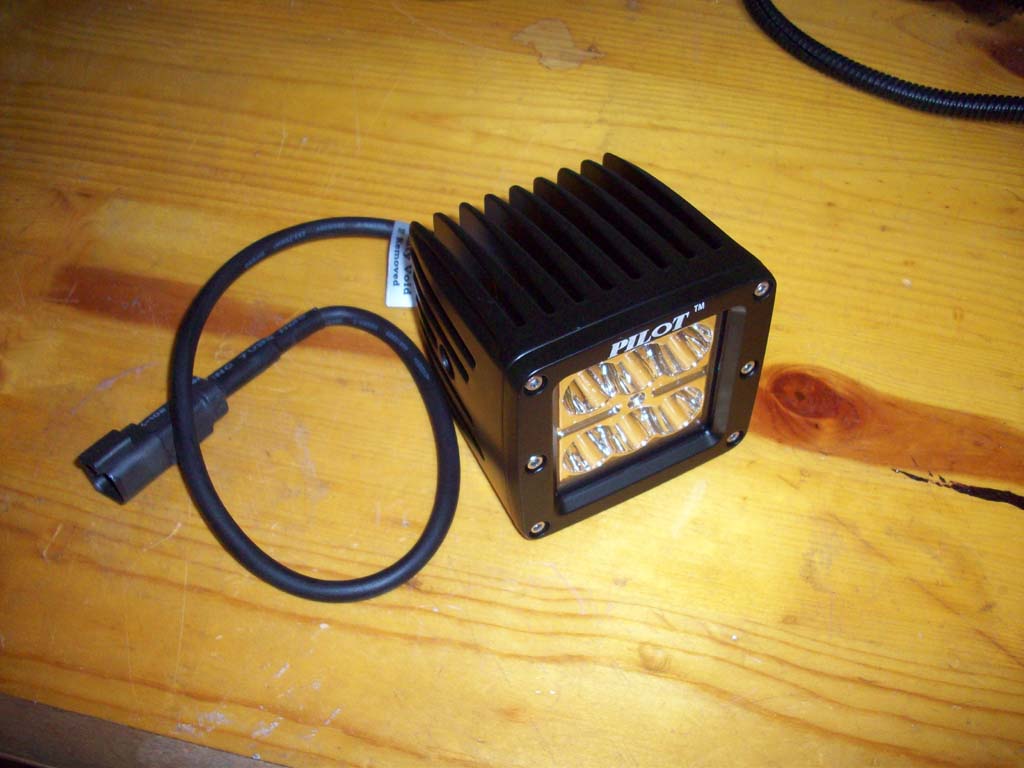
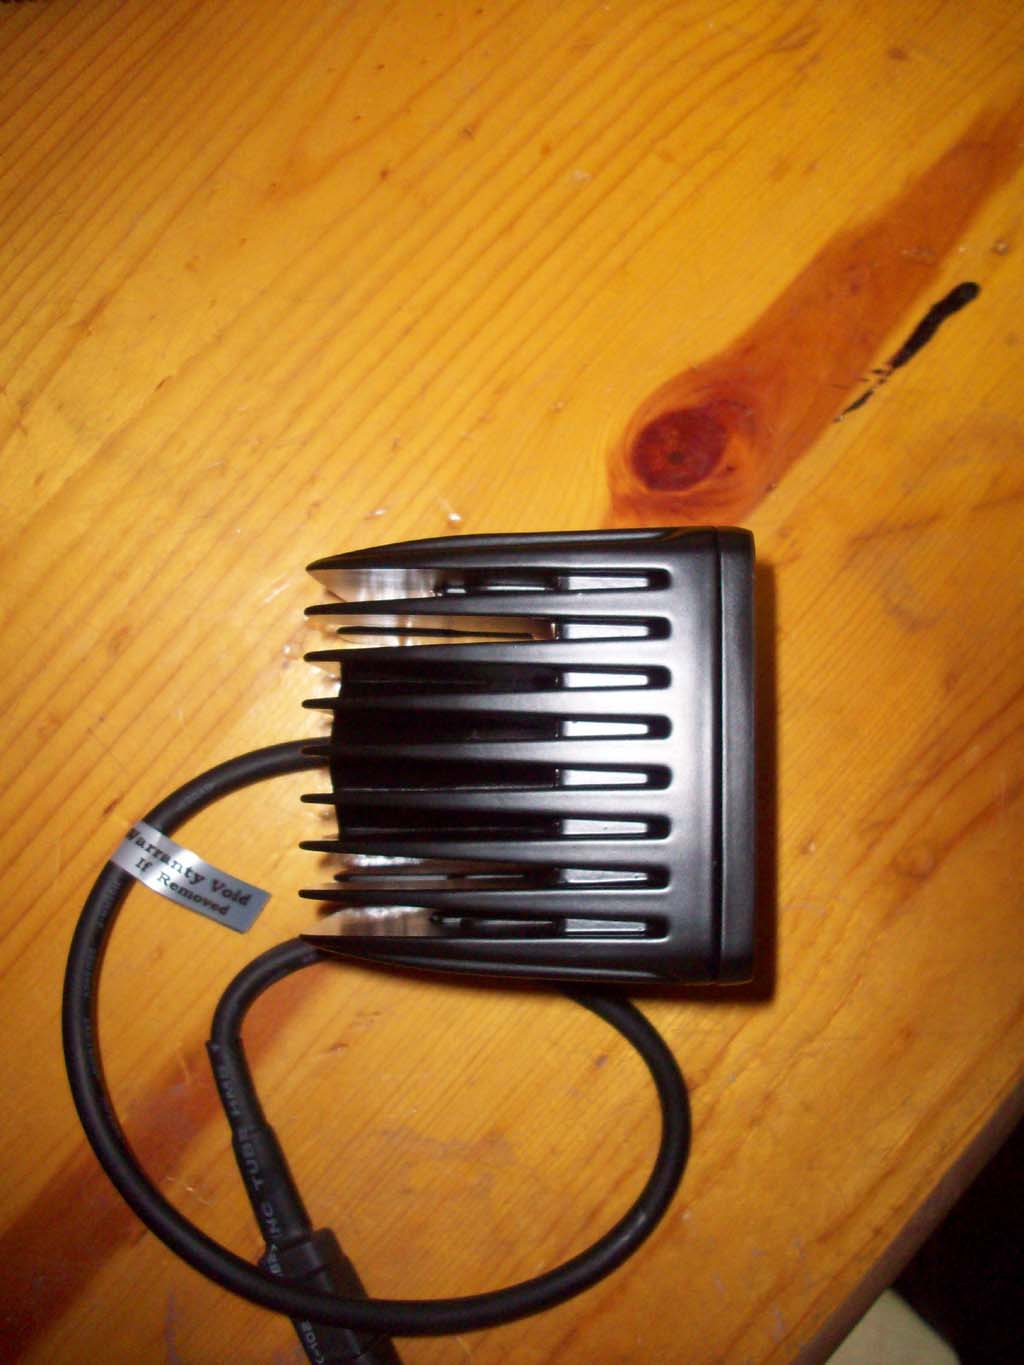
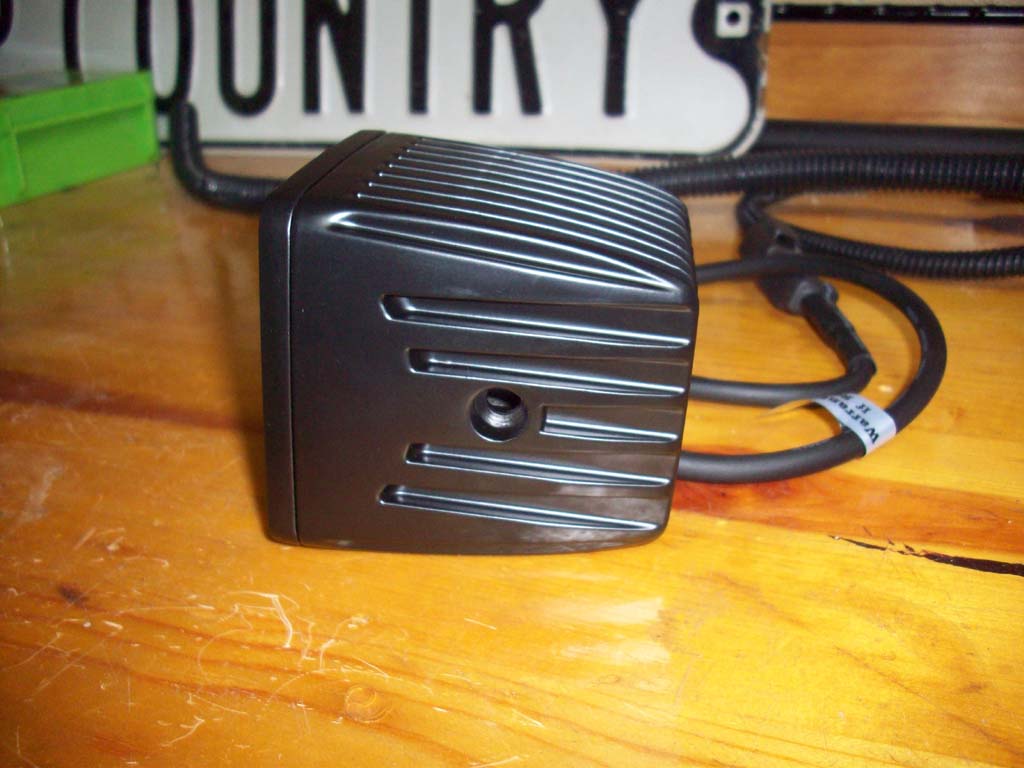
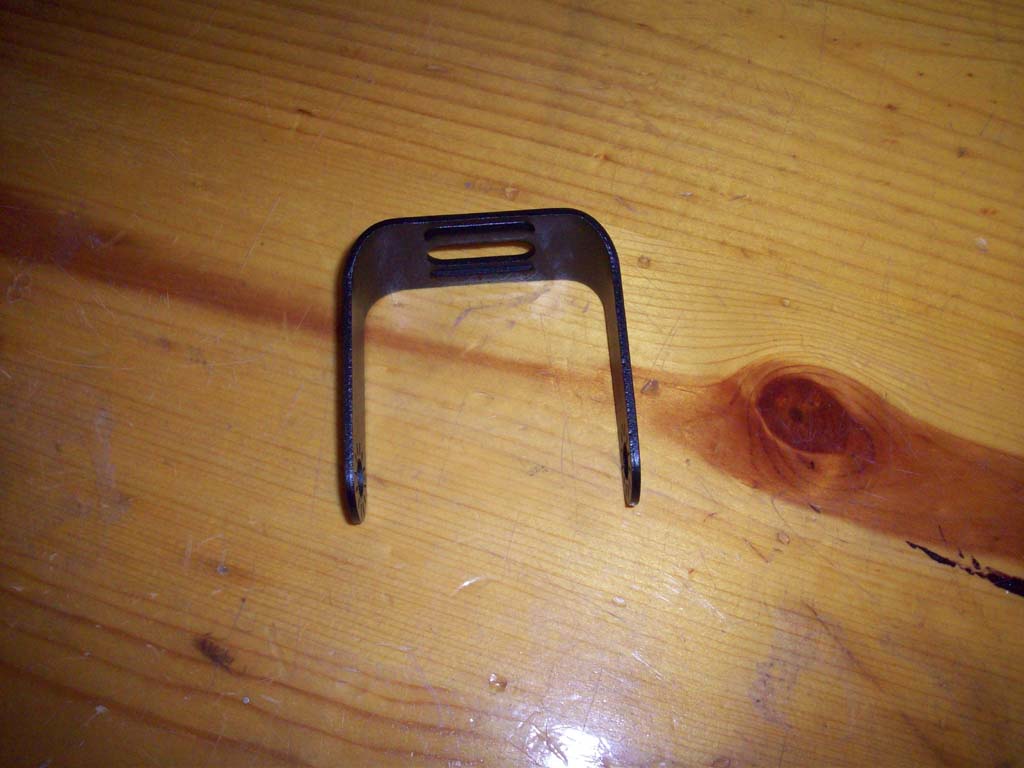
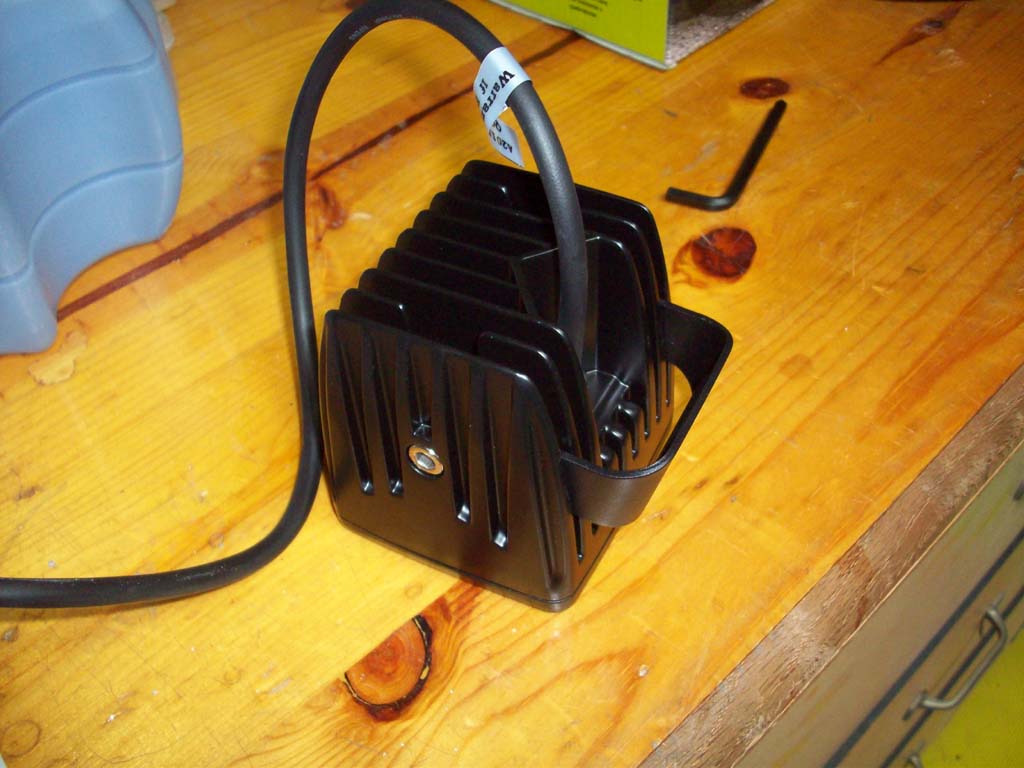
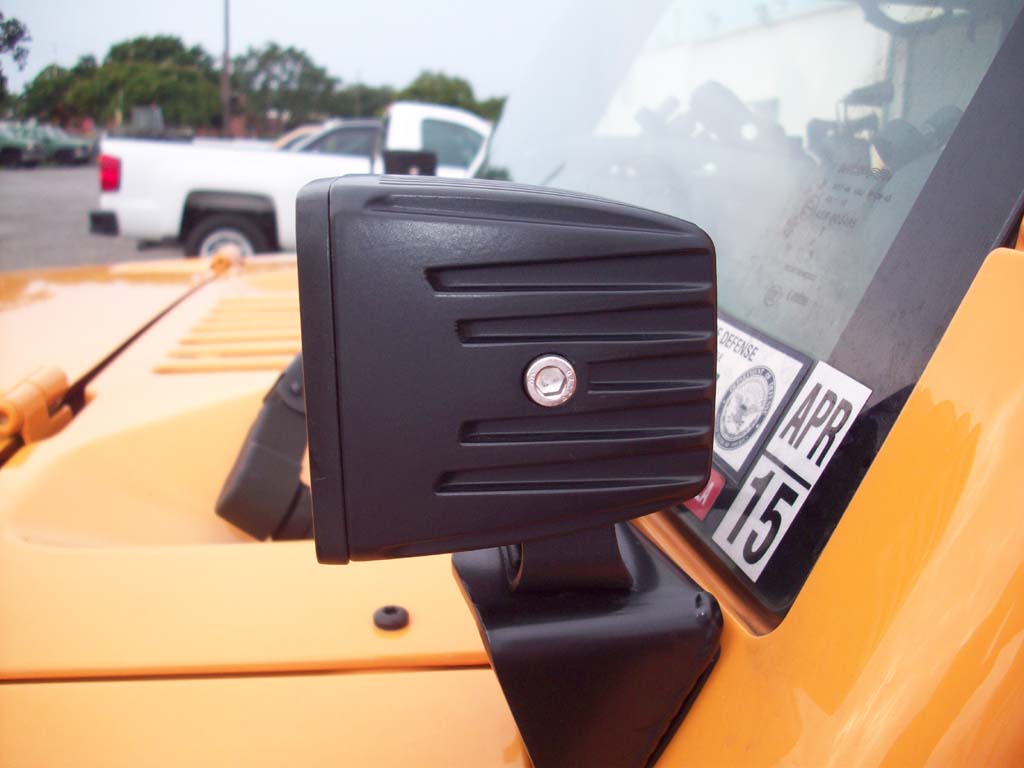
I opened the box and unpacked the lights and all the parts that came with it. Overall pretty nice. The lights were well constructed, powdercoating was really good, wiring was done really good, and even the pig tail for the harness was good. So far these all compare pretty good against the Rigid lights. The only outward differences I would point out is that I liked the way Rigid did their wiring for the lights a little better. The big difference I see is the mounting bracket, Rigid's mounting bracket is definately better. Pilot's mount a different way, so they use a thinner bracket and it looks and feels a little light weight by comparison.
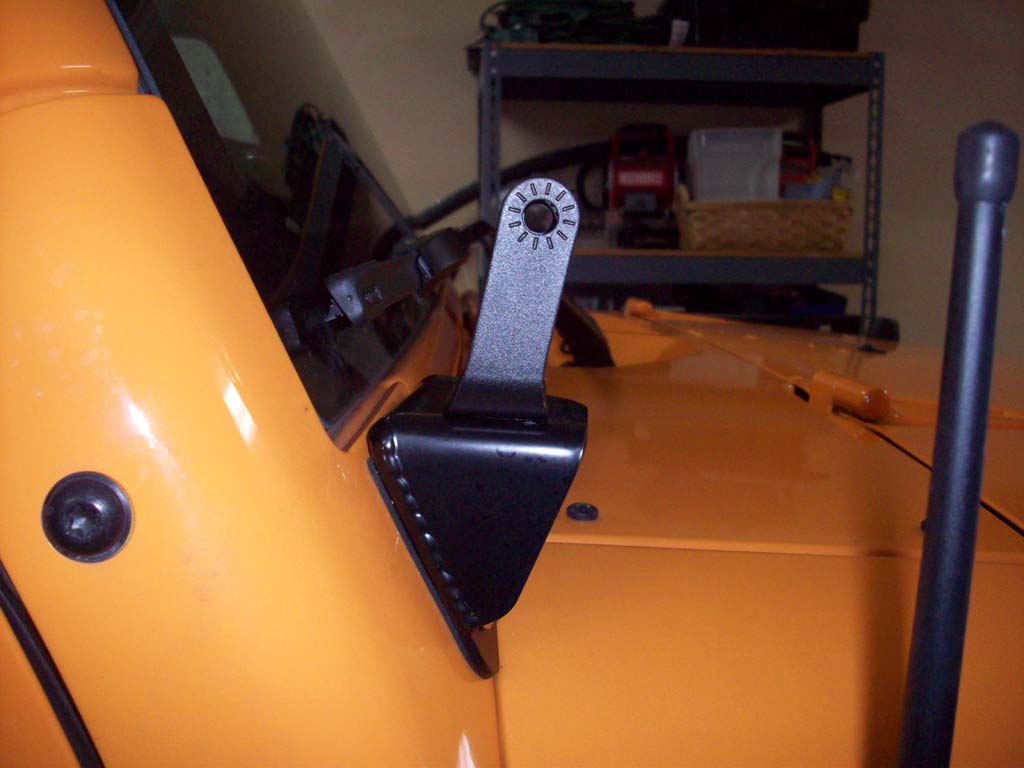
Note: After running these for some time now my concerns about the bracket have really diminished. I still feel that I would bend this bracket before the Rigid's, but I have taken a pretty good sized branch to the light and only had it twist the mounting bracket on the windshield mount, just had to twist it back in the right direction and retighten the mounting screw. |
 |
 |
 |
 |
 |
 |
 |
 |
 |
 |
|
| Installation: |
| 1. The brackets have an angle to them, and need to be installed (at least for the windshield) with the angle pointed towards the front. |
 |
| 2. Insert the bracket into the light. The bracket should come out the bottom and angle back towards the wiring harness. |
 |
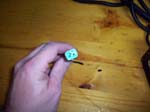
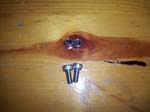
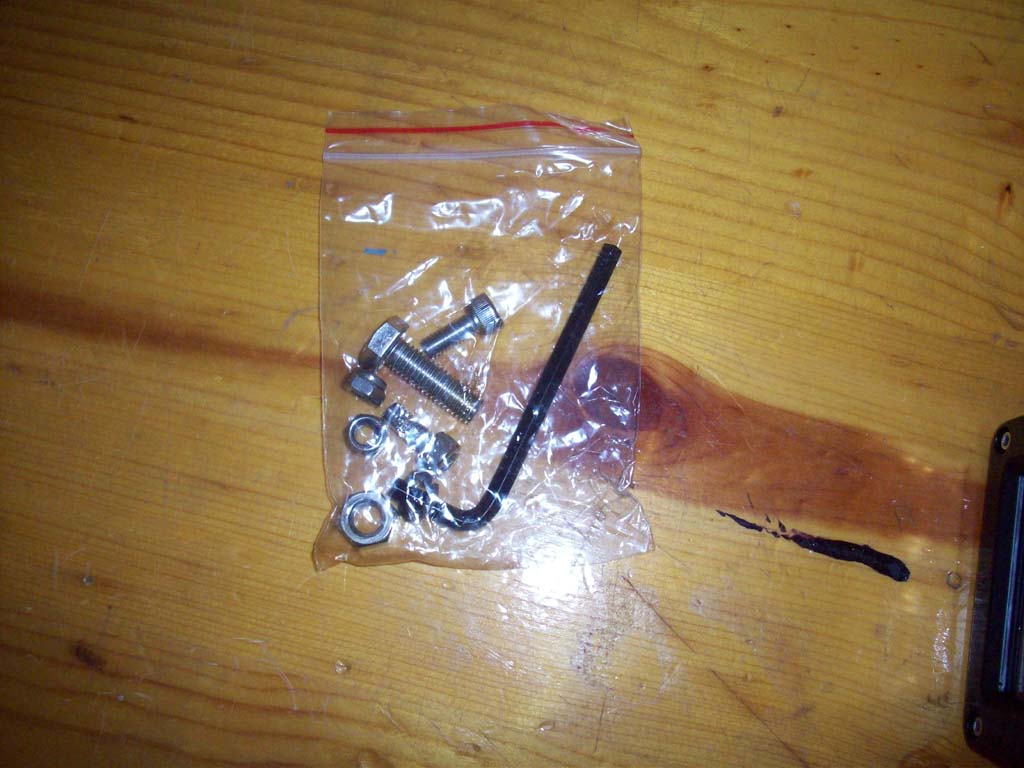
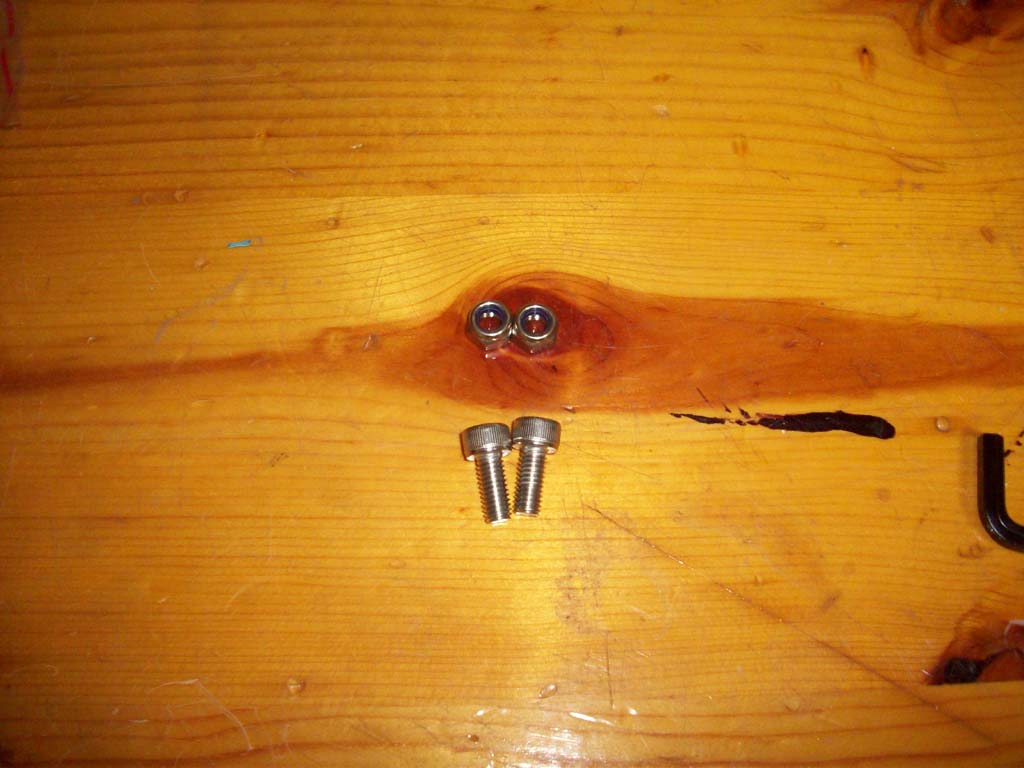
| 3. Insert the bracket into the light. Now slide the two (2) provided nylon lock nuts down into the slots in the back of the light. You need to get them all the way down into the slot. It took me a few tries on the first one to get them to sit in the right position. Another reason why I like Rigid's mounting better, but this one works and hasn't moved on me yet. |
 |
 |
| 4. Install the two allen head screws into the sides of the light. It takes a little getting these to line up. Now for those of you that just turned your light upside down and had the two nuts that you so painstakeingly installed fall out on the floor and roll into hiding spaces, have fun while you look for them like I did. I actually did this on the second light. Do not tighten these down yet, just snug them up. |
 |
 |
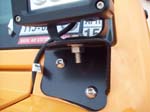
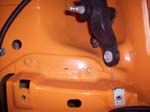
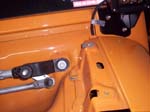
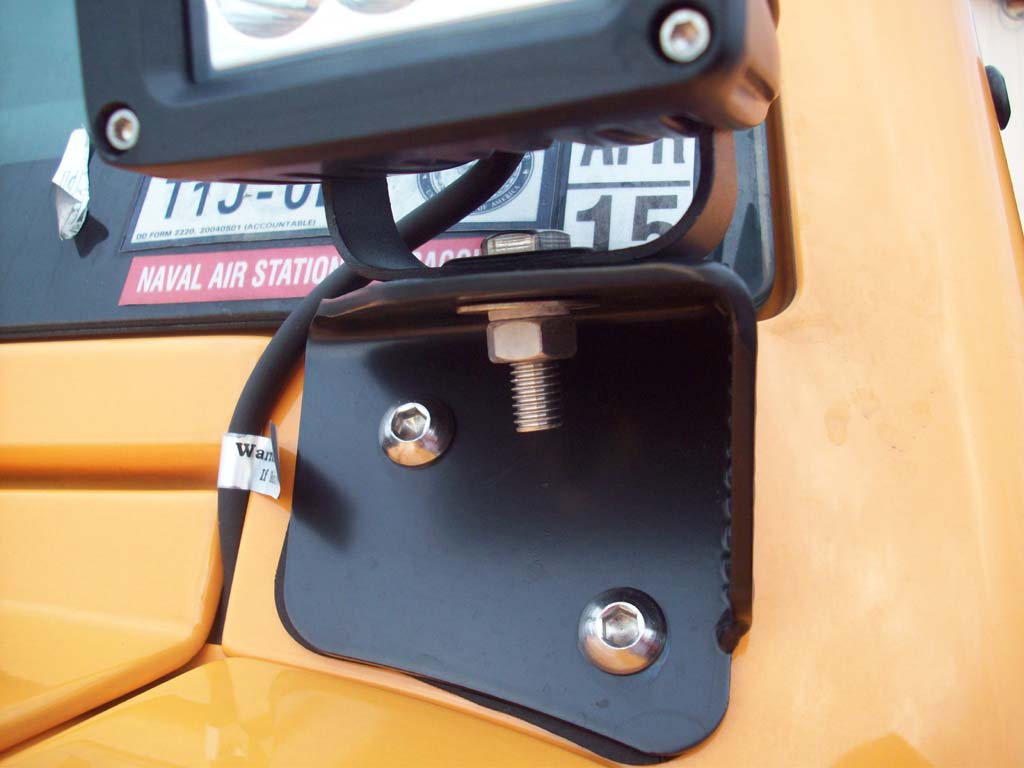
| 5. Install the light and bracket onto the windshield bracket using the supplied bolt and nut. I added a 5/16" or 8mm flat washer because the windshield bracket is drilled to accept the Rigid Industries bracket and bolt. |
 |
 |
| |
| Remove the Cowel Cover: |
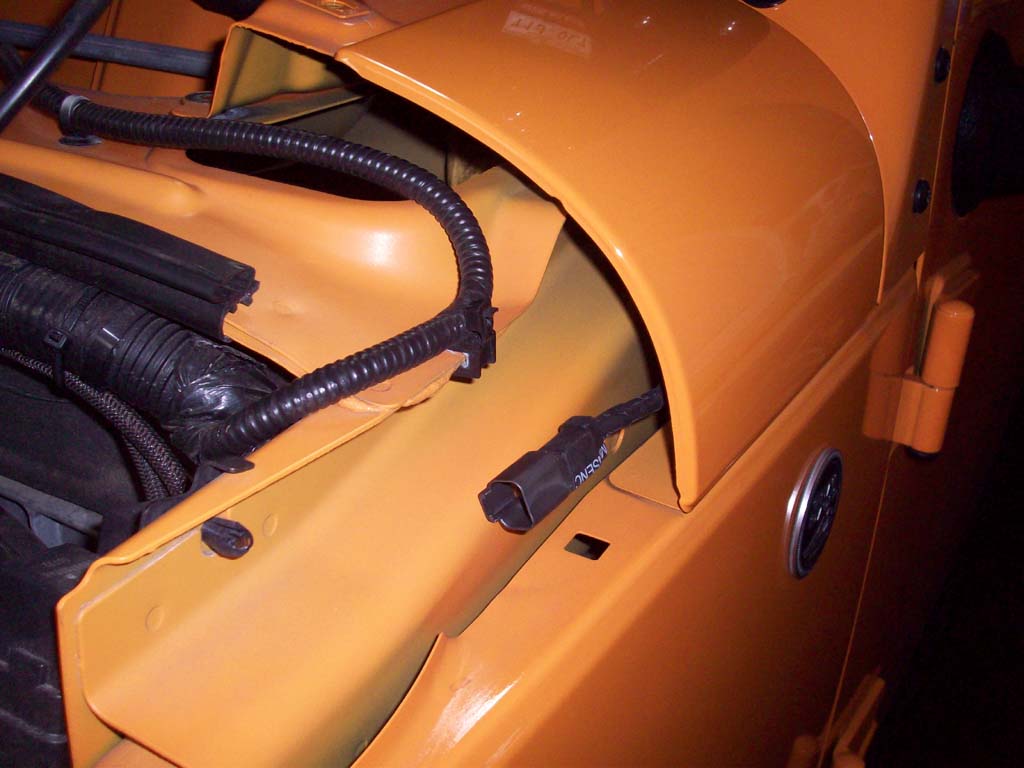
| There is a small gap, just big enough to run the wiring through between the cowel cover and the sides of the cowel. I didn't really want to drill a hole through my cowel side's just to run a wire and this gap was pretty convient for the job. |
 |
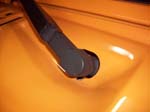
| 1. Remove the cover from the arm of the windshield wiper. It just pulls off if you pull up at the base. The other end slips into the rest of the arm. |
 |
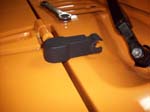 |
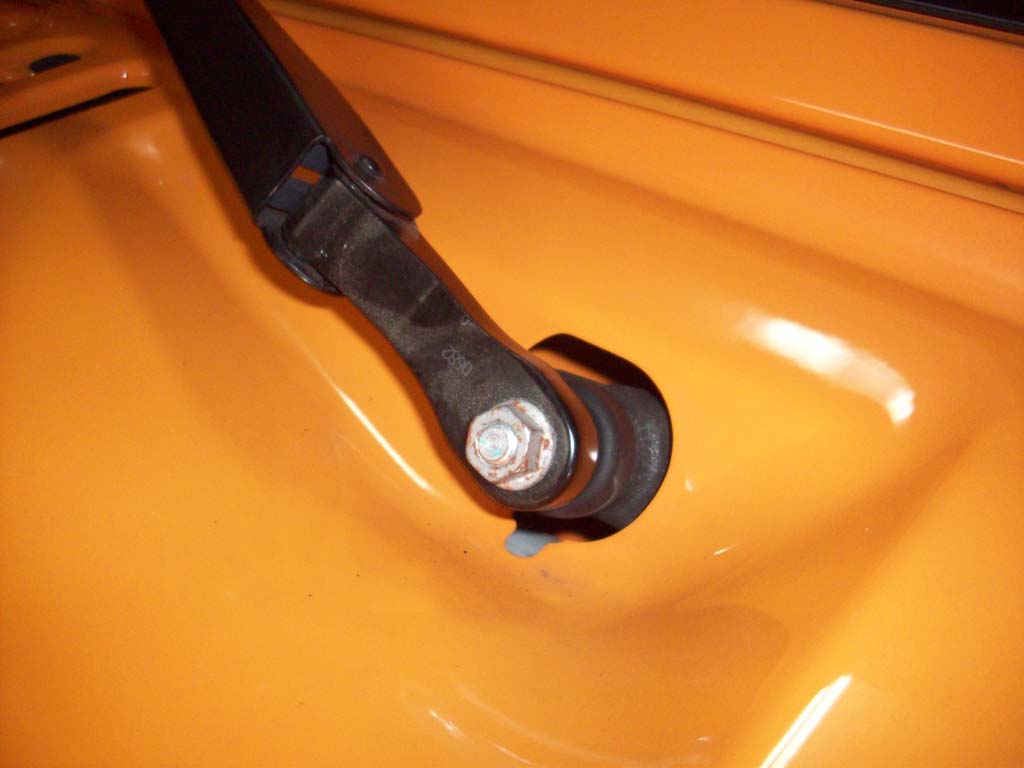
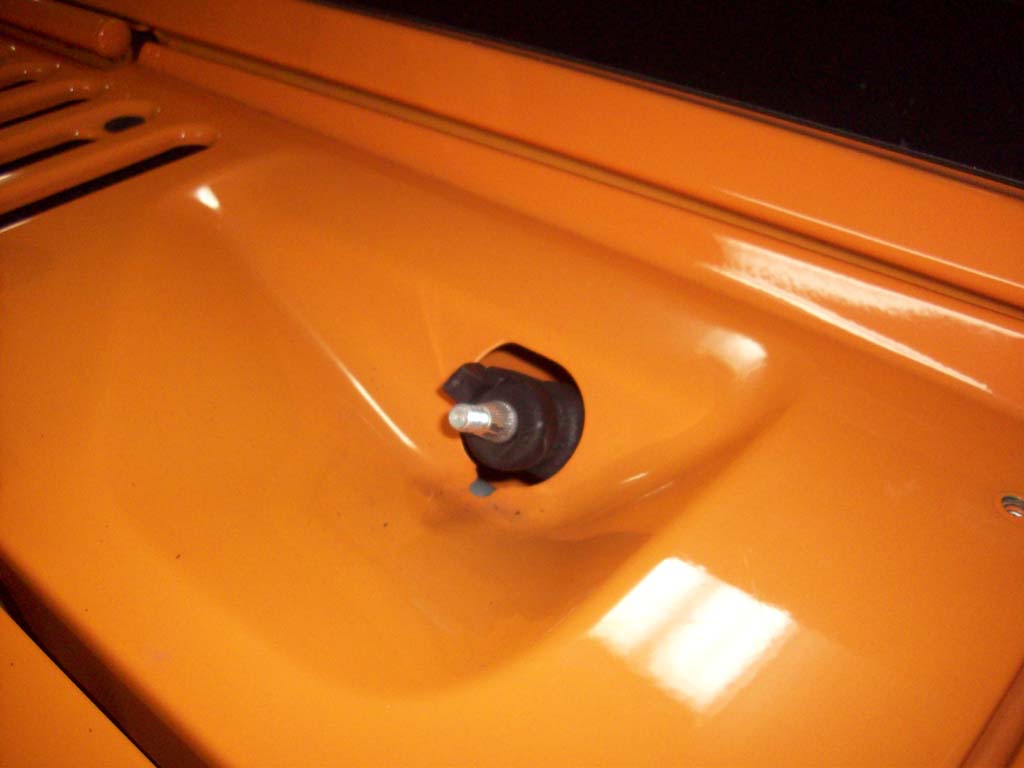
| 2. Remove the nut holding the windshield wiper arm on to the shaft. You will need a 13mm socket and ratchet. It is on snug so you might need to give the ratchet a sharp nudge with your hand to get it free. Throw a towel onto the hood and cowel before you bounce the ratchet off of it is a good idea for the sometimes clumsy. |
 |
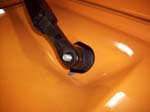 |
| 3. Remove the wiper arm from the shaft. Mine needed a couple taps with a dead blow hammer to get it free. Don't hit it to hard. |
 |
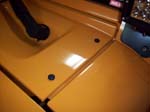
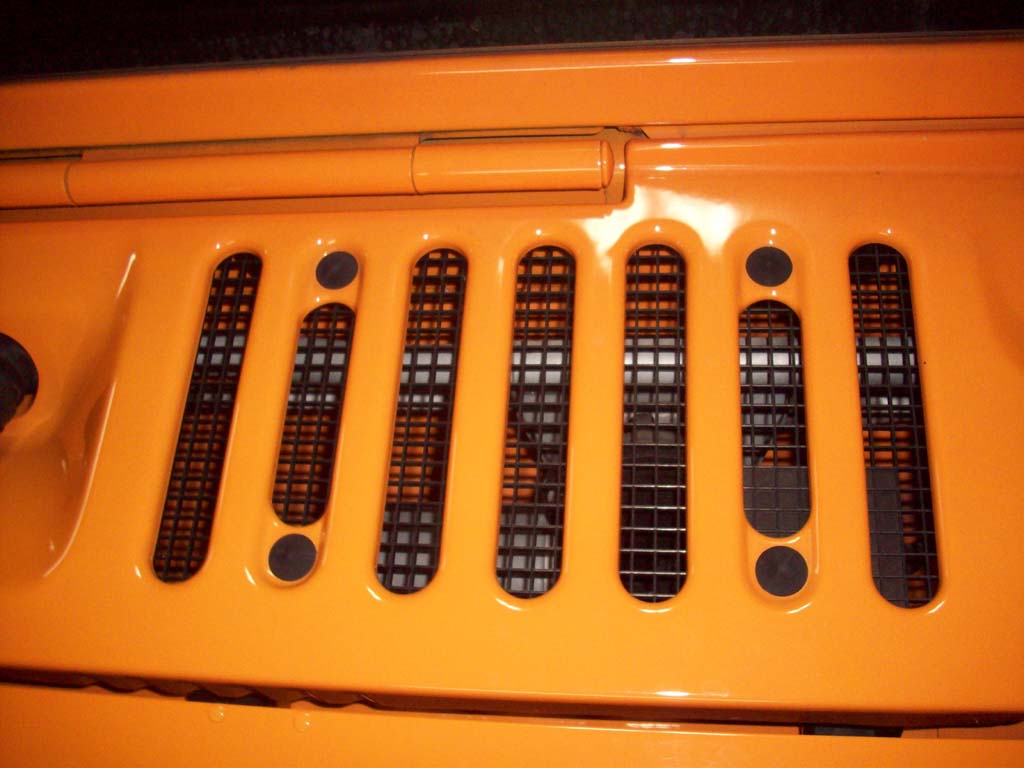
| 4. Remove the four (4) plastic trees from the center of the cowel by the vent. I was able to get them with my plastic trim removal tools, but if your not afraid to scratch a little paint, you can use a flat tip screw driver and some pliers to pull them out. They are a pain to get out. |
 |
 |
| 5. Remove the four (4) torx head bolts holding the cowel down. There are two (2) on each side. You will need a T-30 torx screwdriver or socket. |
 |
 |
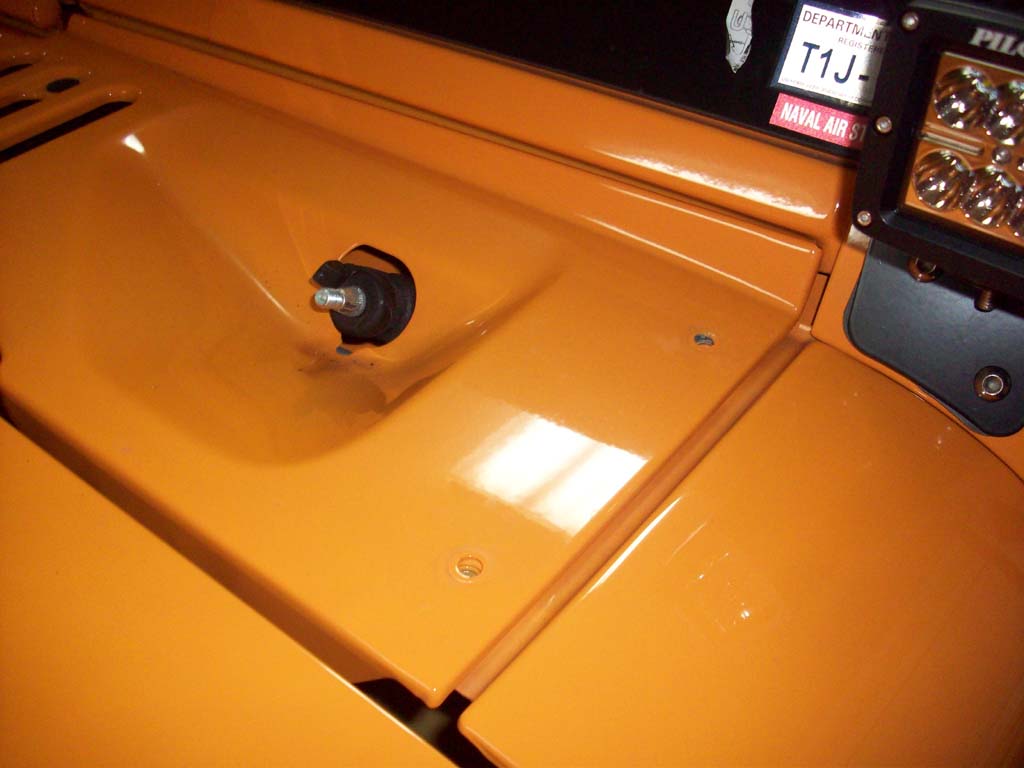
| 6. Remove the two (2) bolts holding down the side of the cowl to the firewall. You will need a 10mm socket and ratchet. |
 |
| Running the electrical wires: |
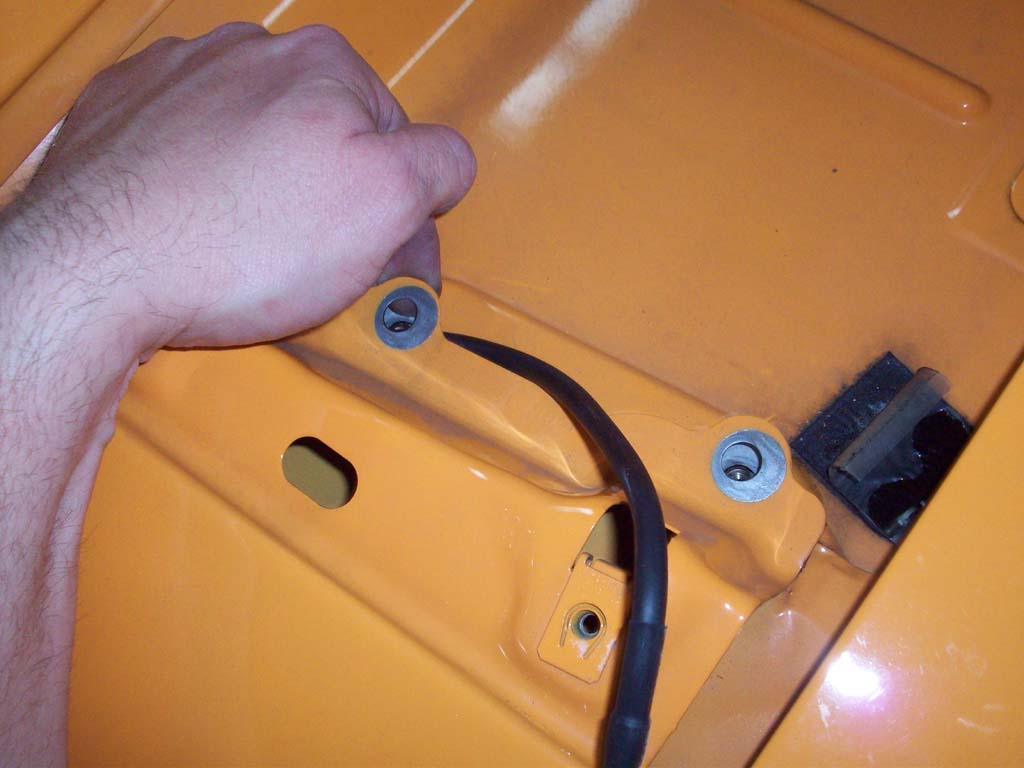
| 1. Slip the wire from the light under the edge of the cowl. You may need to lift up slightly to get all the wire to go under. |
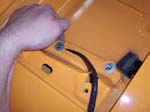 |
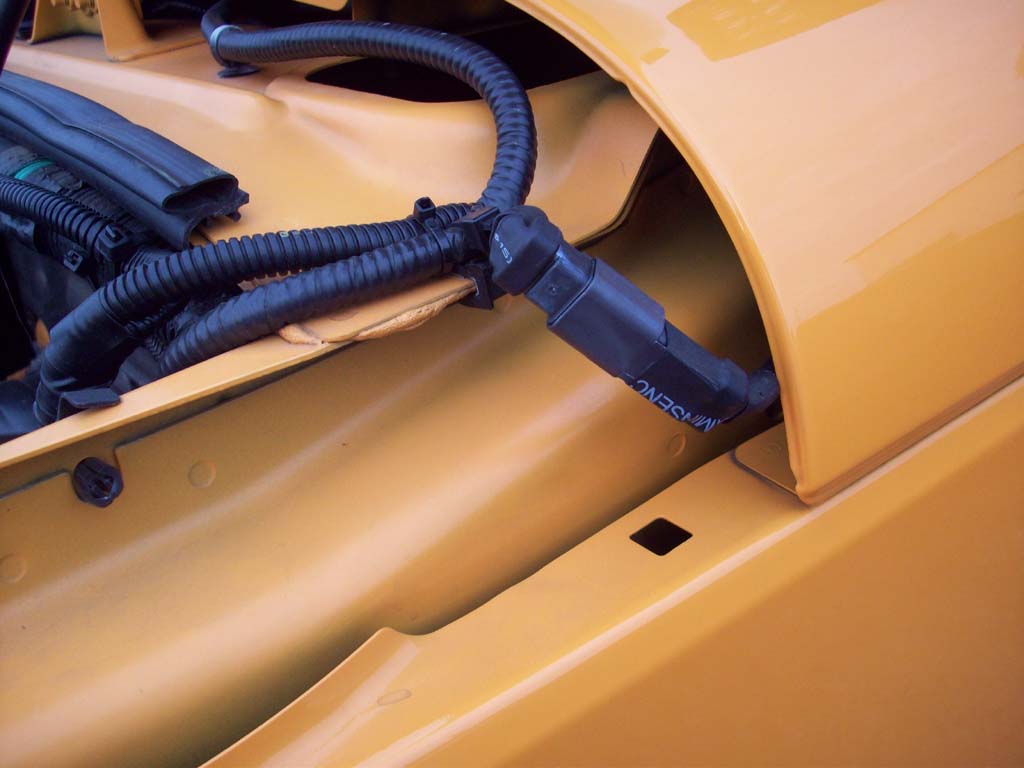
| 2. Feed the wire over and pull it over underneath the side of the cowl. |
 |
 |
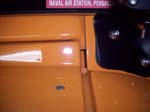
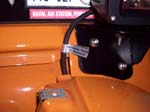
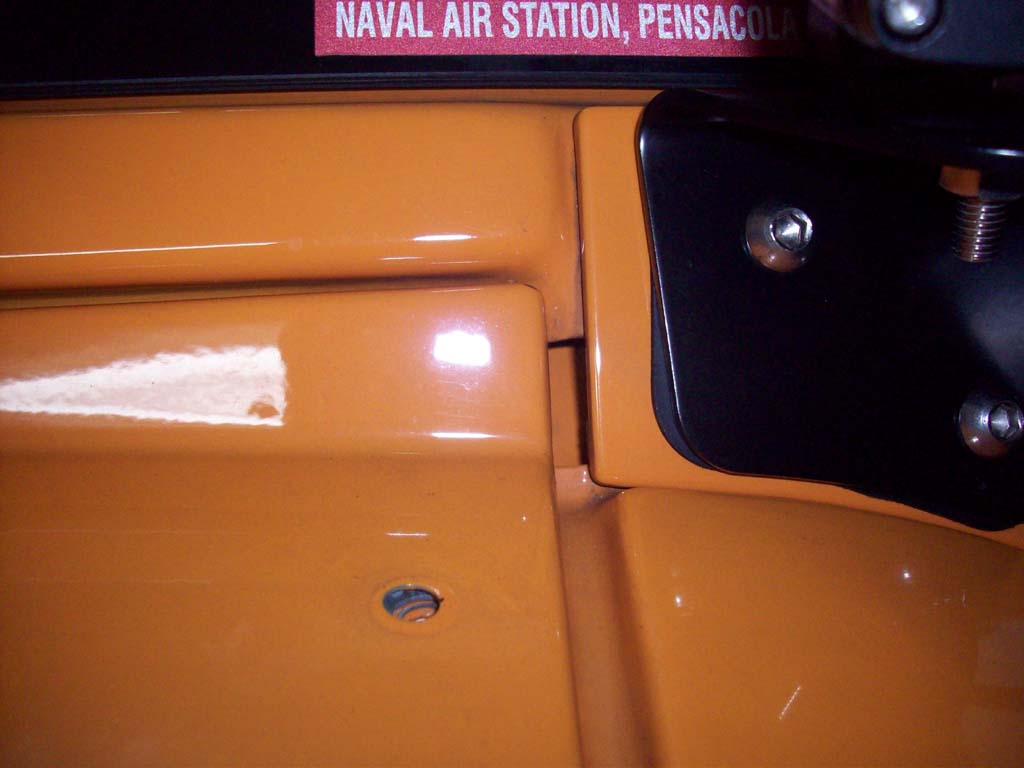
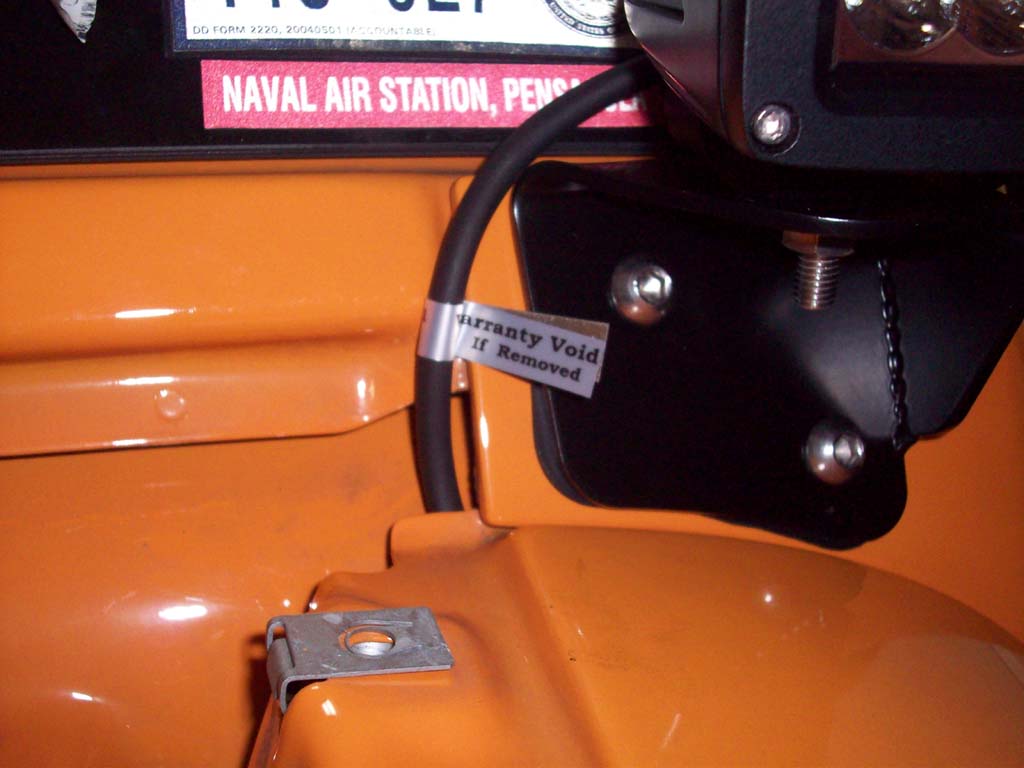
| 3. Oh look a really nice sticker that didn't survive very long out in the sun and wind.... Not the smartest of locations. |
 |
| 4. Reinstall the cowl in the reverse steps from above, though I recommend getting the four (4) plastic trees in and lined up first when you reinstall the cowl. |
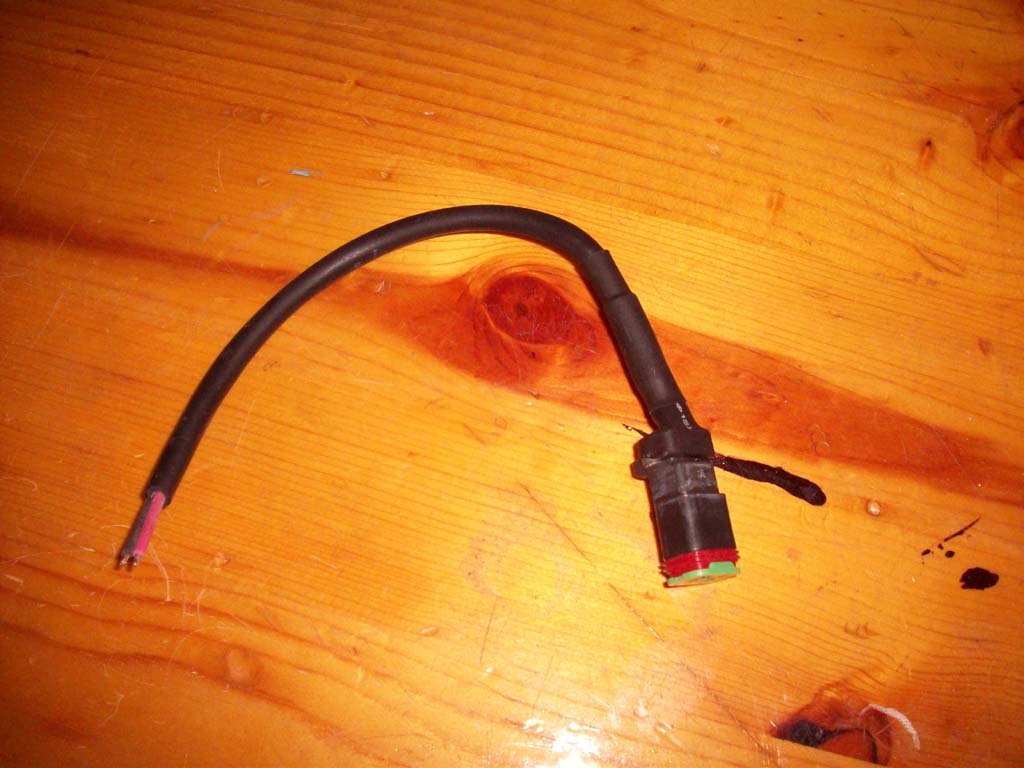
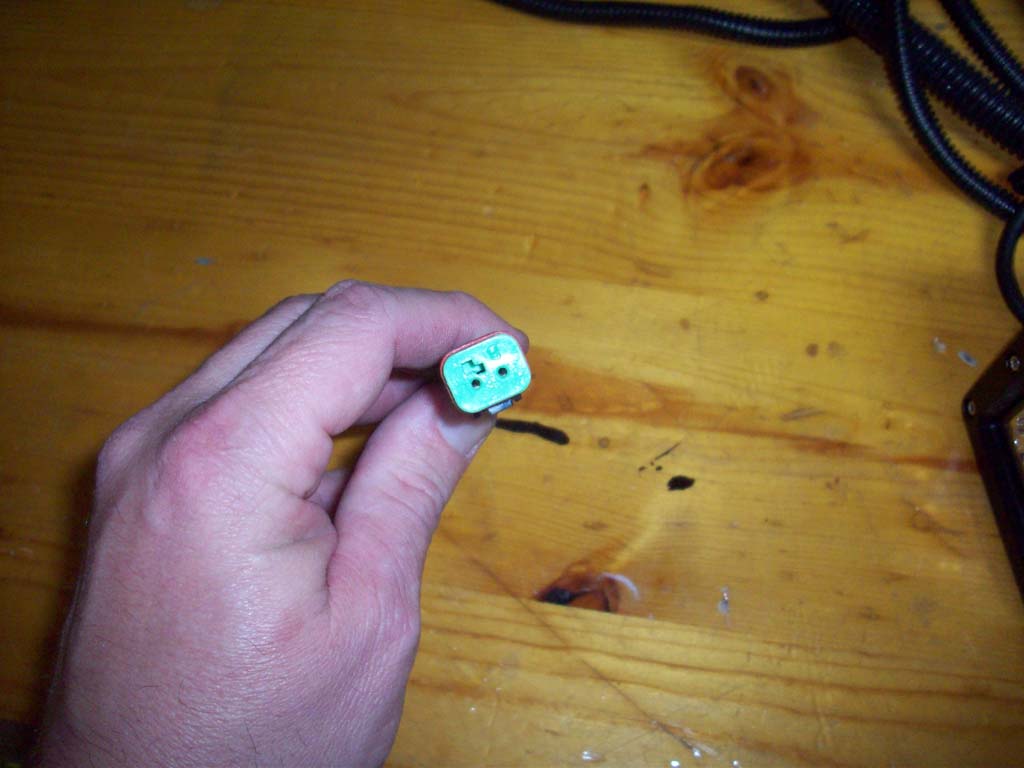
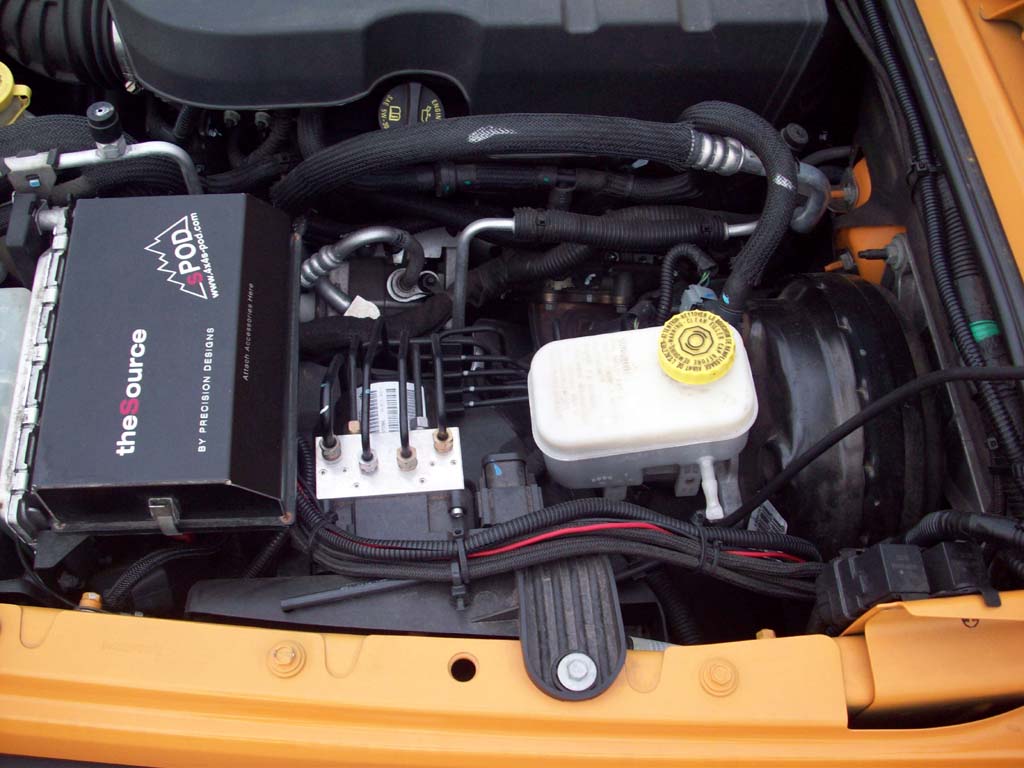
| 5. Everyone has a different wiring setup, in my case, I just connected the wiring and ran it to my sPOD. |
 |
 |
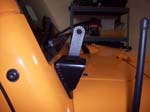
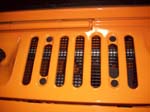
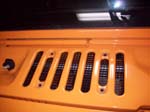
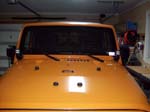
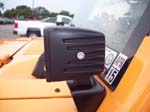
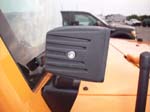
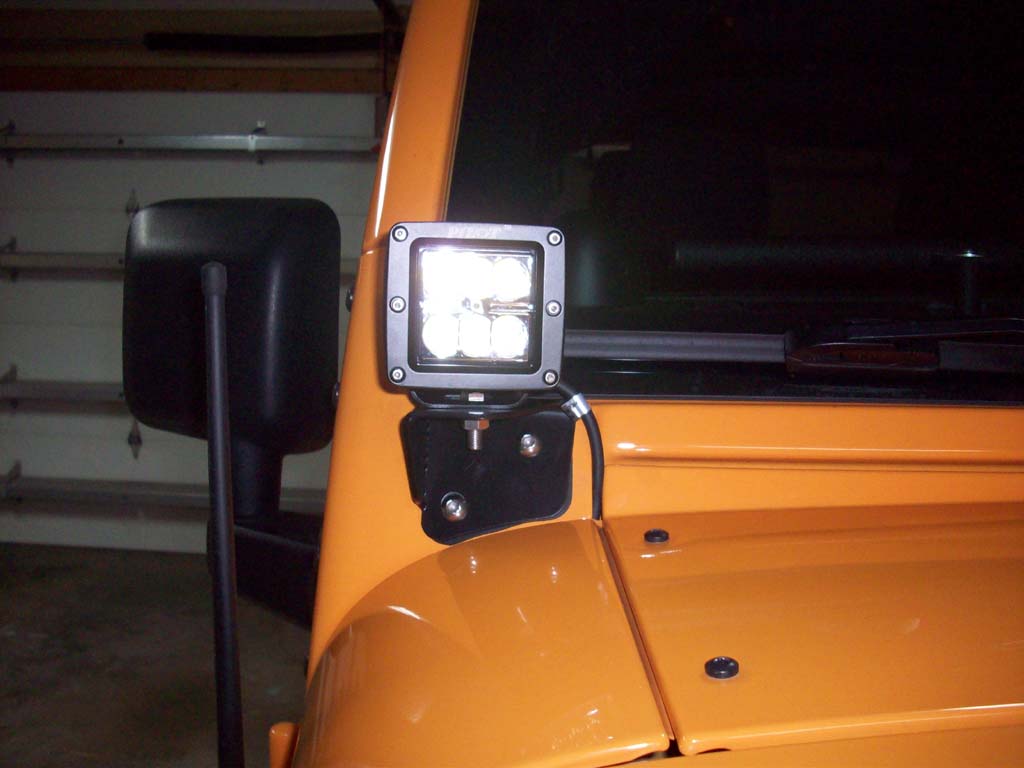
| Here is what they look like installed. |
 |
 |
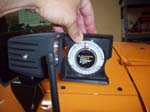
| I used an angle gauge and set them to about 2.5 degrees down. I will probably play with them a few more times before I'm truely happy. |
 |
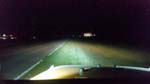
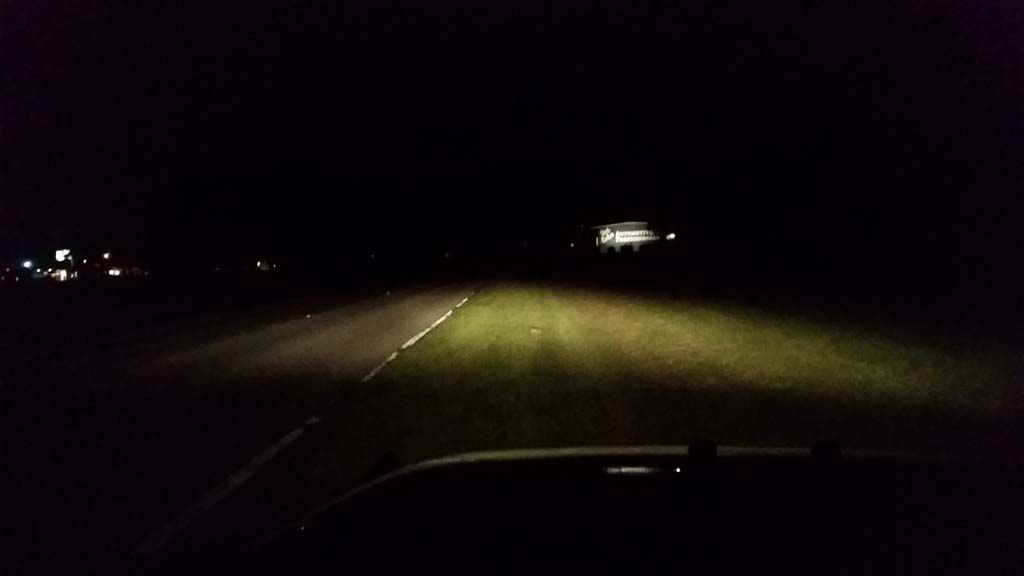
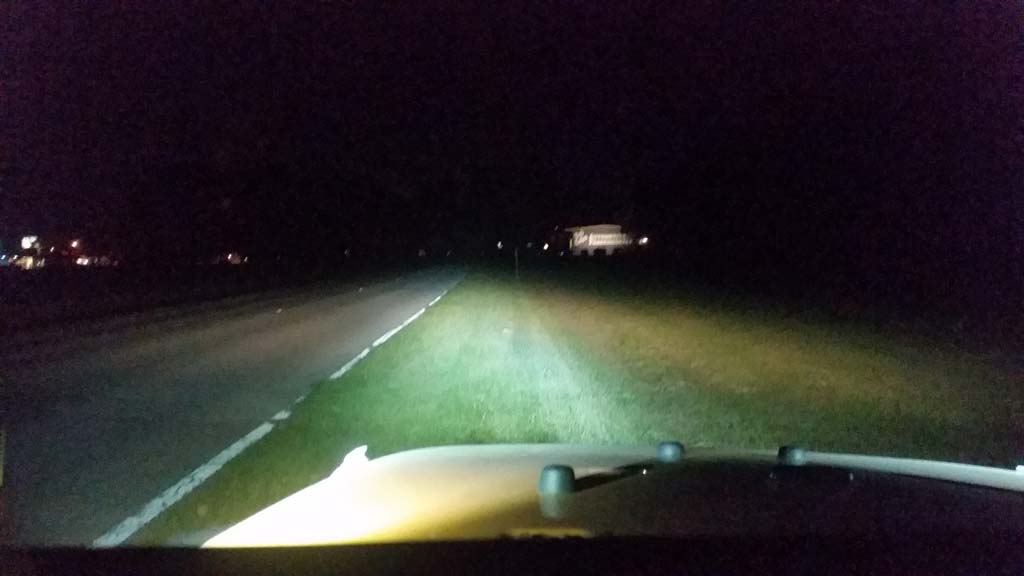
| Some night shots. |
 |
 |
| |
| Final Thoughts: |
| It was nice to be able to compare them to the Rigid's, whom a lot of people consider the best out there. So here are my thoughts about the two. I've already mentioned that I like the mounting bracket and wiring connection on the Rigid's better than the Pilots, but both have survived the weather and some hit's, so not much to complain about there. The Rigid was a regular 4 LED vs. Pilots 6 LED. The Rigid used less power and puts out, according to spec, a little less light, but not much considering it has 2 less LED's. The Rigid seemed to have a slightly wider and better light pattern. The difference in light output isn't really noticeable other than that, both put out a lot of light. As a friend said "Holy 'F' those put a lot of 'F'n' light..." So if you need to save a little cash, the Pilot's will work well, especially if you can find them on sale. I don't think you can go wrong with either light. |
| The one thing I did notice is that the powder coating on one of the lights has dulled out to a flat grayish black, while the other is still pretty much a stain black finish. I haven't seen any rust or discoloration and I work near sea water and in Florida they get soaked all the time. Still working perfect. |
 |
 |


