I just got tired of walking around and airing down each tire individually. The few times that I did this made me decide that it would be much easier to just air them down all at once. I liked the idea of being able to just screw a fitting on and let them air down. Supposedly you could install these, just drive down the road as they air down, and then remove them. Now while this seems pretty cool, most of us would forget them until we tore a valve stem off on an obstacle and destroyed the deflator.
Additional
Parts:
Tools
Needed:
None
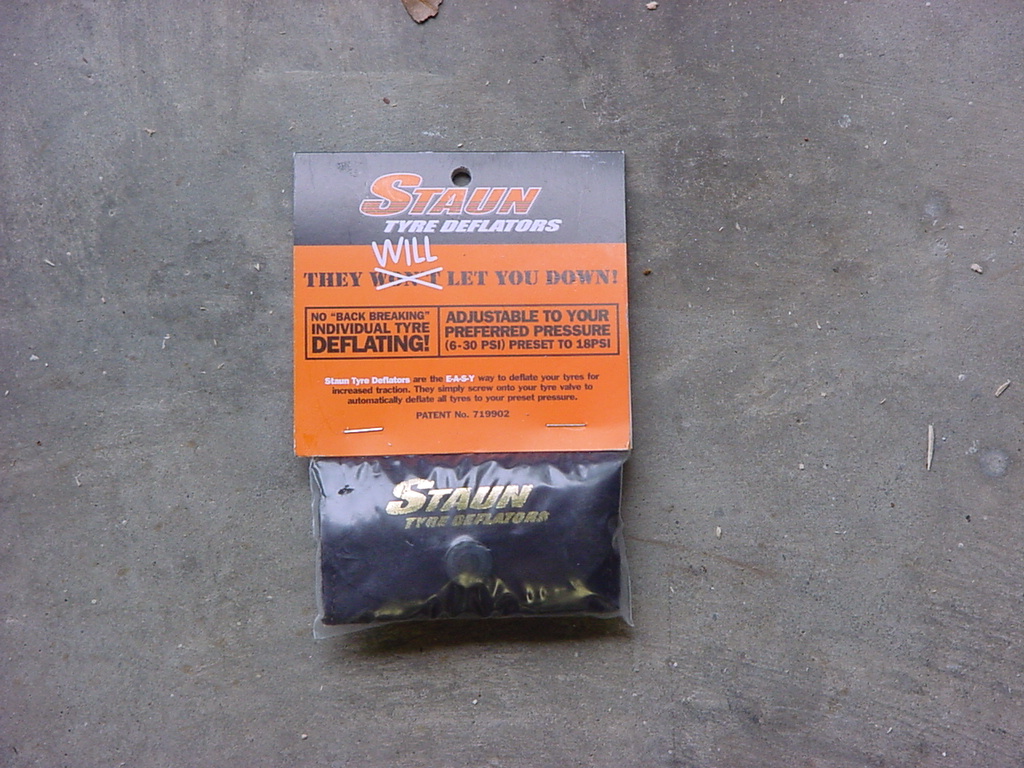
THERE ARE SO MANY FEATURES OF STAUN TYRE DEFLATORS THAT MAKE THEM SUCH A UNIQUE PRODUCT:
They are fully adjustable.
Each valve has an adjustment range specific to the level of deflation you require.
They are easy to use, not requiring any tools.
They are highly accurate, deflating to within 0.05psi of the preset pressure they have been adjusted to.
They are the smallest tyre deflators available measuring only 30mm x 15mm (1.18" x 0.6").
They are one of the lightest deflators weighing only 32 grams (1.13 ounces).
They are made of 100% brass.
They are the fastest deflators on the market (tests found a normal 10rx15 tyre takes approx. 1 minute and 30 seconds to deflate from 32psi to 18psi).
Every valve is completely pre-tested to ensure high performance.
They are covered with a 5 year guarantee.
They can be used for all types of four wheel driving ranging from coastal sand driving, desert sand driving, rock climbing to mud driving.
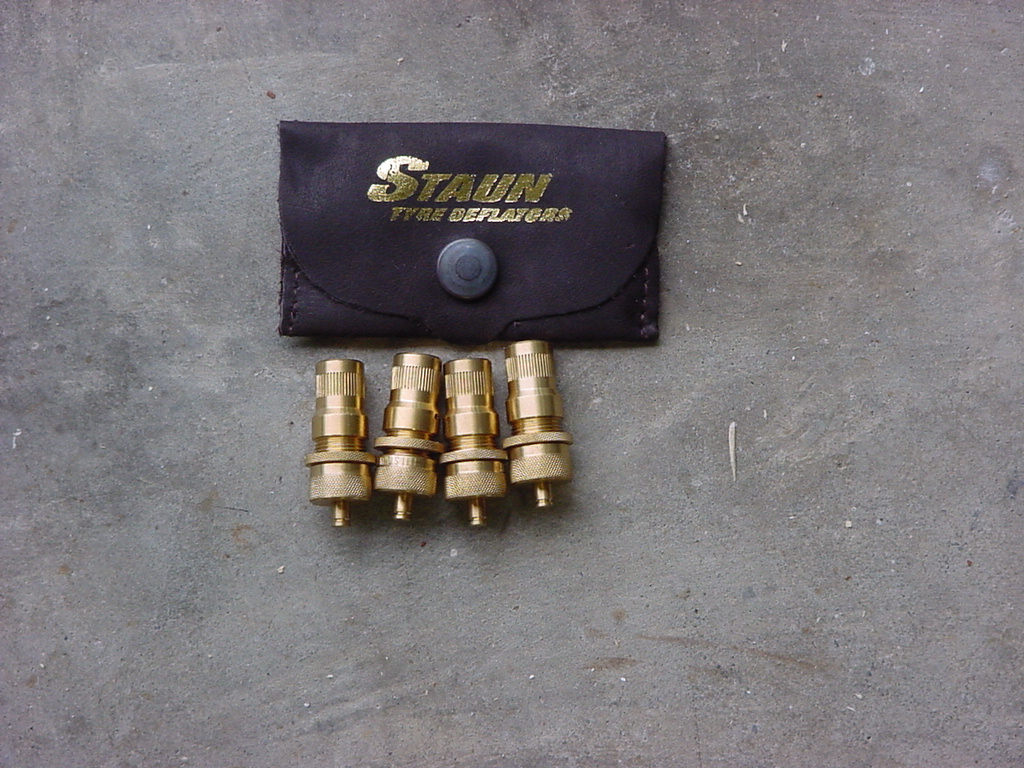
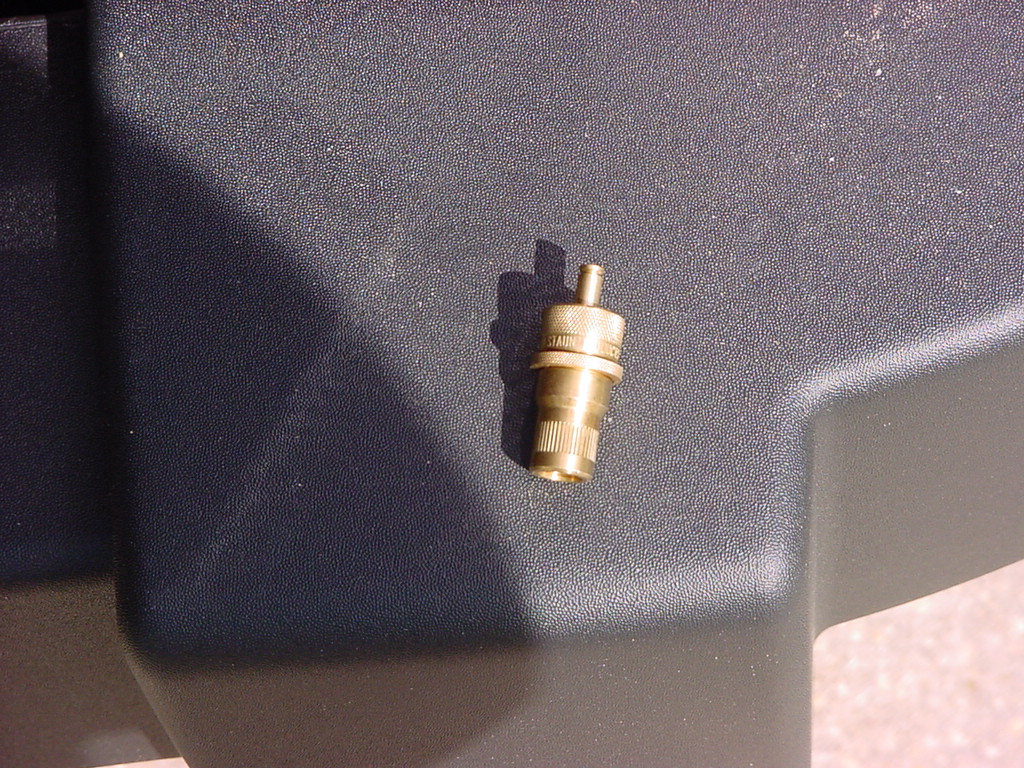
Here is what comes in the package.
Operation:
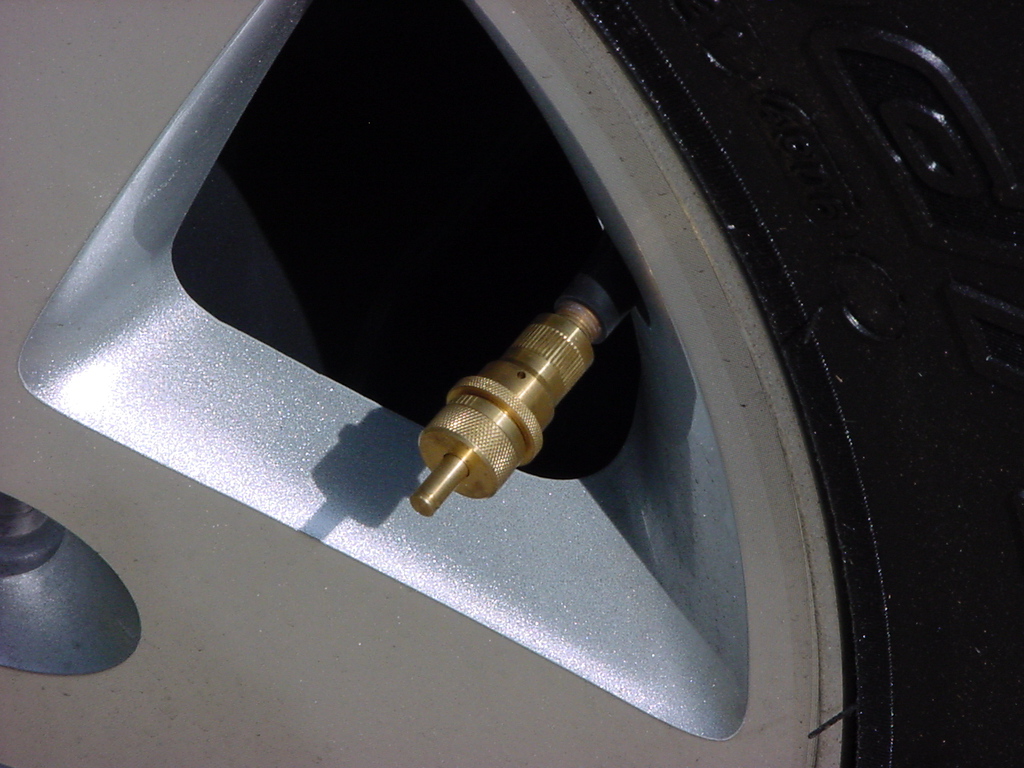
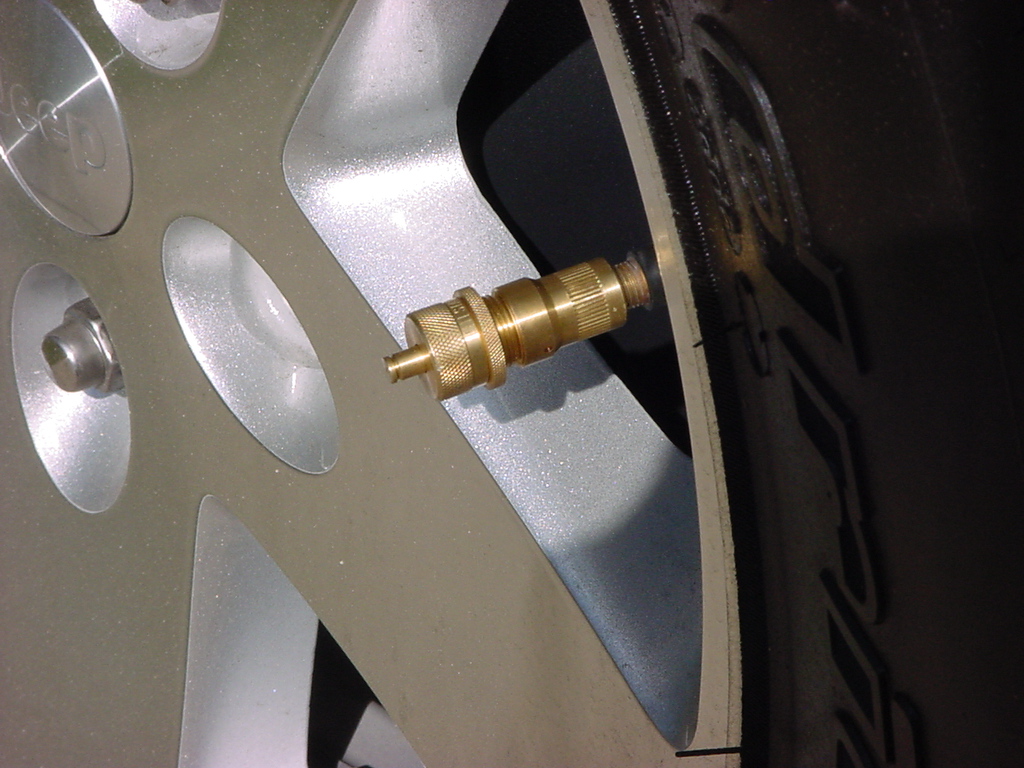
Okay, this is pretty easy. The Staun deflators come preset to 18psi. It's as simple as pulling the valve cap off, screwing the Staun's on, letting the air out, then removing and reinstalling the valve cap.
Setting:
Adjusting the pressure setting on the Staun deflators is really easy.
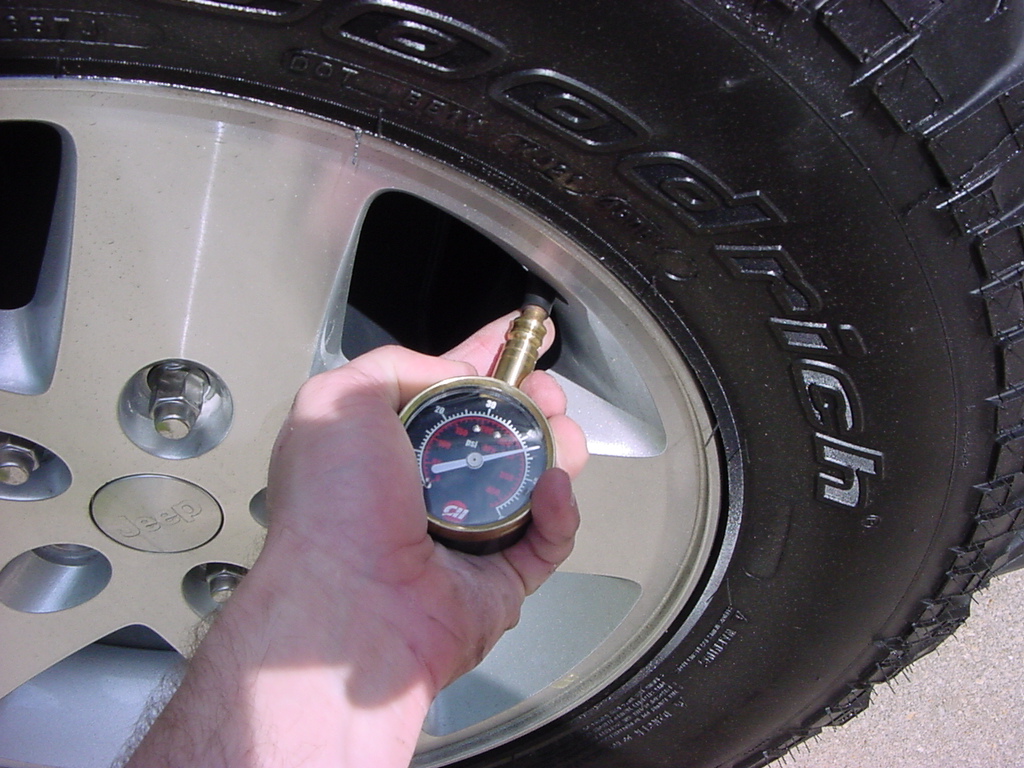
1. Deflate a tire (spare works well) to your preferred deflation pressure.
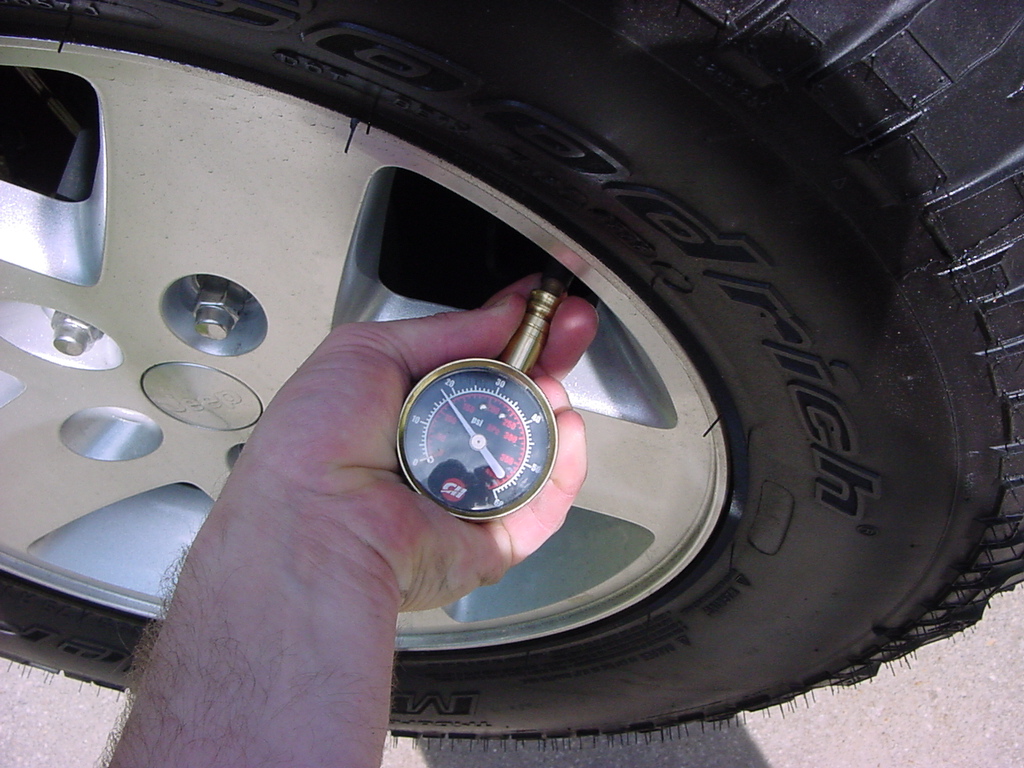
Factory pressure 45psi
(should be 37psi)
Deflation Pressure
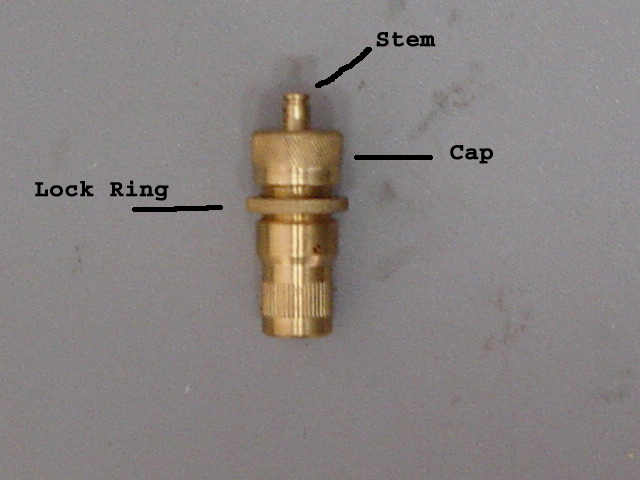
2. With the lock ring and adjusting cap wound down, screw your Staun Tyre Deflator onto the valve stem.
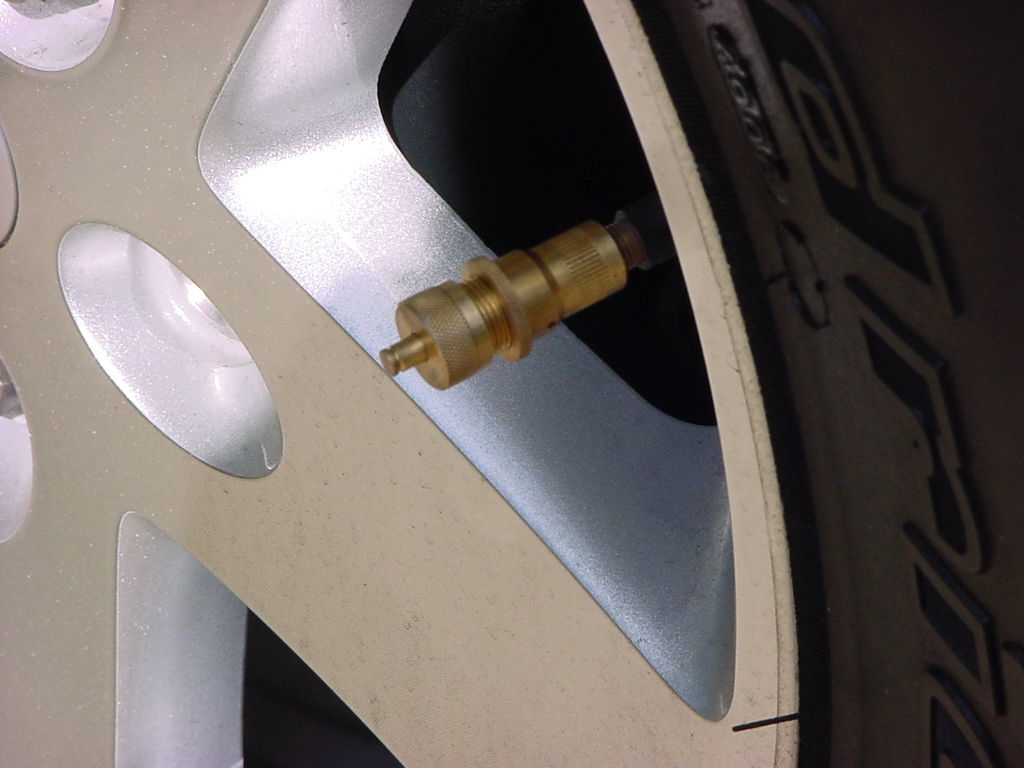
3. Loosen the cap (turn anti-clockwise) until the deflator pops open, then immediately tighten the cap until the air stops. This is now set.
4. Turn the lock ring up to the adjusting cap and tighten.
Note: Adjustments to the deflators can be made at the rate of 3psi per half turn of the adjusting cap. When the tire pressure and deflator is within 8psi, you may need to lift the center pin to start the deflator. Remember to always keep the Staun's clean and dry, and of course remove them after airing down.