I was finally looking to replace the flares that I normally carried in the back of the Jeep. A friend had a mysterious fire that originated in the location that he had kept his flares. Like most people we tend to forget that things are buried in the back of our vehicles. The old out of site out of mind syndrome. With todays technology I figured I would look for an LED alternative. Now I do realize I have a few drawbacks to this...BATTERIES. So I will have to actually check my new "Flares" more often. I also lose the ability to use a flare as a fire starter source.
Wagan's “FRED” Flashing Roadside Emergency Disc LED Flare offers 10 different LED lighting modes to make sure it attracts attention whenever it is in use. Perfect for emergency use, camping/outdoors, road flares, marine applications, etc. Plus it is shatterproof, rainproof (IP55) and it can float so you can take it anywhere.
10 DIFFERENT MODES
3 Led Flashlight: 6 H
Double-blink: 9 H
Double-pulse: 9 H
Single-blink: 38 H
Rotate: 9 H
SOS Rescue (Morse Code): 15 H
Alternate: 9 H
Solid-on High: 5 H
Solid-on Low: 28 H
2 Led Flashlight: 9 H
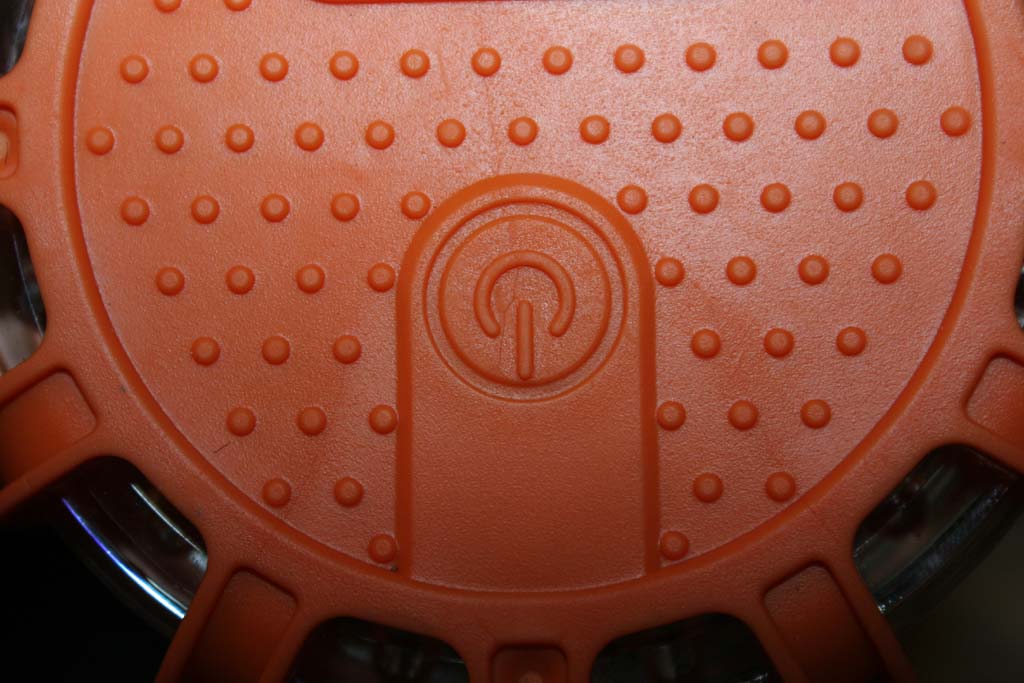
Easy to use: Just press the button and hold to turn on and cycle through the different lighting options. Requires 3 AAA batteries (included).
Superior visibility: Super bright LED array can be seen up to 1 mile at night and can also provide additional protection during the day as well.
Lateral illumination: 360 degree coverage is provided (a common weakness of other emergency lights).
Attachable: Strong magnetic backing allows flare to adhere to your vehicle’s hood and other metal surfaces. Plus the extendable hook can be used to fasten to backpacks.
Compact: The size is similar to a hockey puck, and they can be mounted or stored just about anywhere on your bike.
Versatile: FRED Light units can be used for traffic control, as a warning light, as a rescue beacon, and for any other emergencies. They can also be used for recreational activities such as camping and hiking.
Durable: Can withstand weight of 10,000 pounds vehicle.
Watertight: Used on rainy weather and marine applications.
Non-reactive: Flares can be used in places where old fashioned flares would be dangerous, such as in dry brush or in the presence of gasoline.
Construction: Antislip double injection, Magnetic base, Shatterproof, Floats, Rainproof (IP55)
Usage:
In case of emergency, warn other vehicles of your situation.
Light up your tent or identify yourself if you are in trouble.
Help police and fire locate your house in emergency situations.
Emergency LED Flares are magnetic, waterproof, shatterproof, and safe for all applications.
Storage Temperature: -40°F to 140°F (-40°C à +60°C)
Additional
Parts:
(9) Nine new AAA batteries
Tools
Needed:
#2 Phillips screwdriver
Thin flat tip screwdriver
I happened to be in PepBoys picking up some LED lights for a project I'm building for my niece when I noticed that they had the Wagan FRED lights on a display. So I figured I would get something for myself while I was there. I had seen these on the internet, but didn't want the hassel of buying them, finding out they sucked and having to deal with returning them that way. At least PepBoys was on my way home from work.
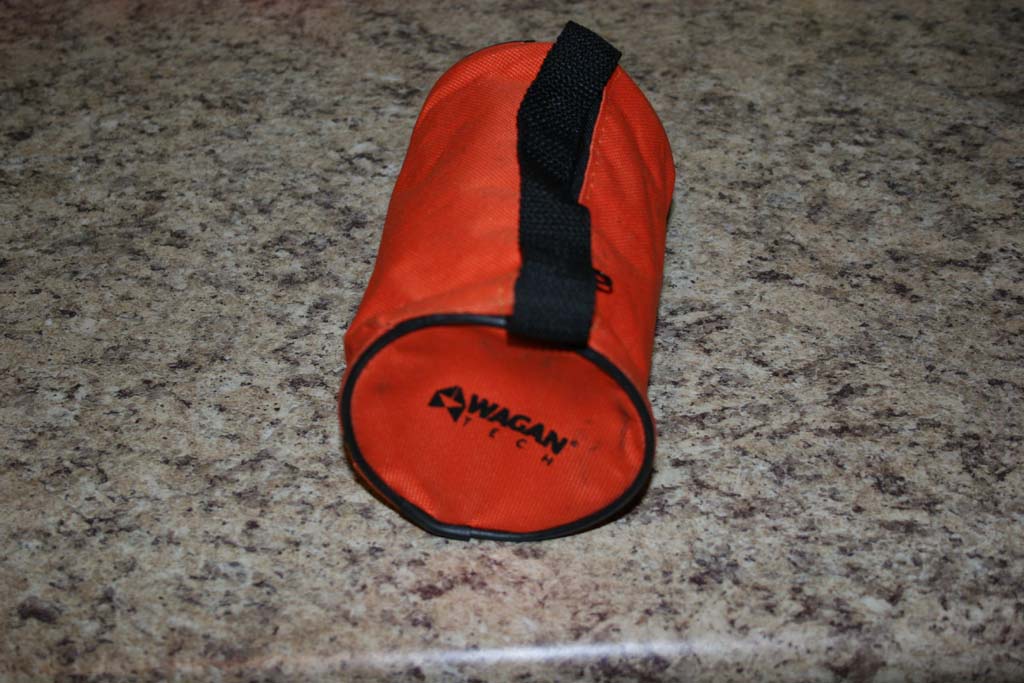
The set came with 3 FRED lights and a nice carrying bag. The bag will fit 4 lights, but getting them out would be difficult.
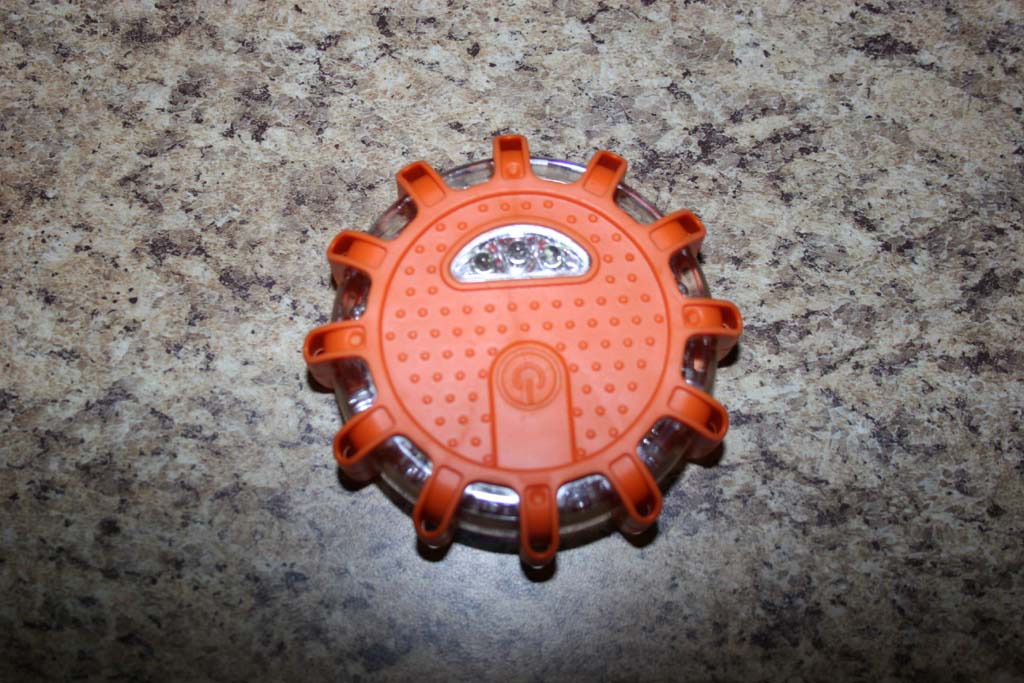
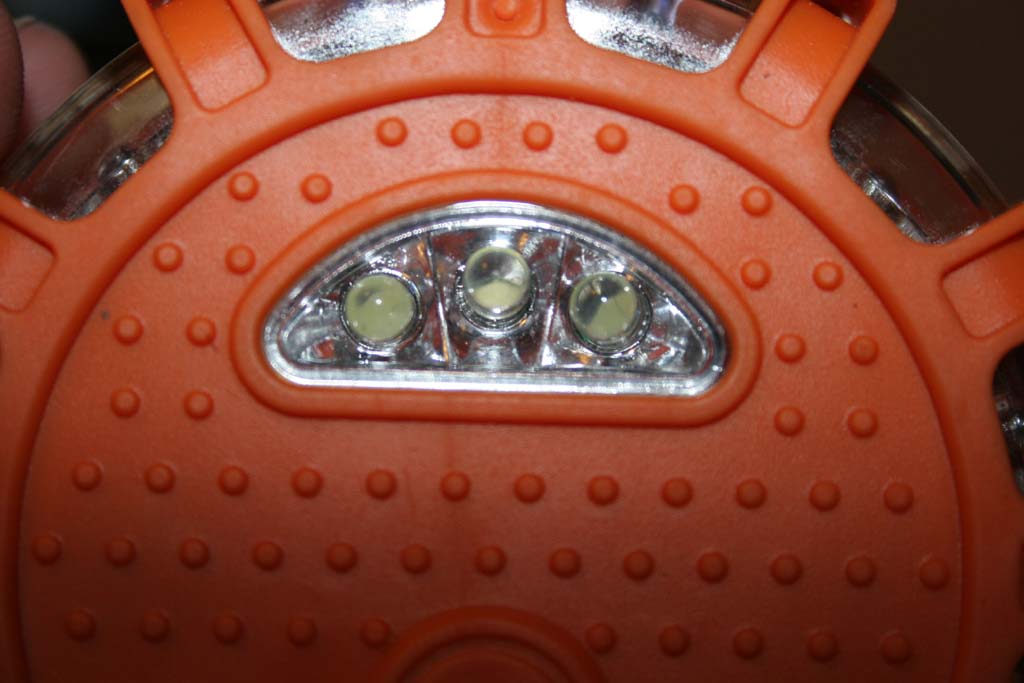
Power button and 3 white LED flashlight on the front.
Note: This is bright as I discovered when I was looking at the top and turned it on...
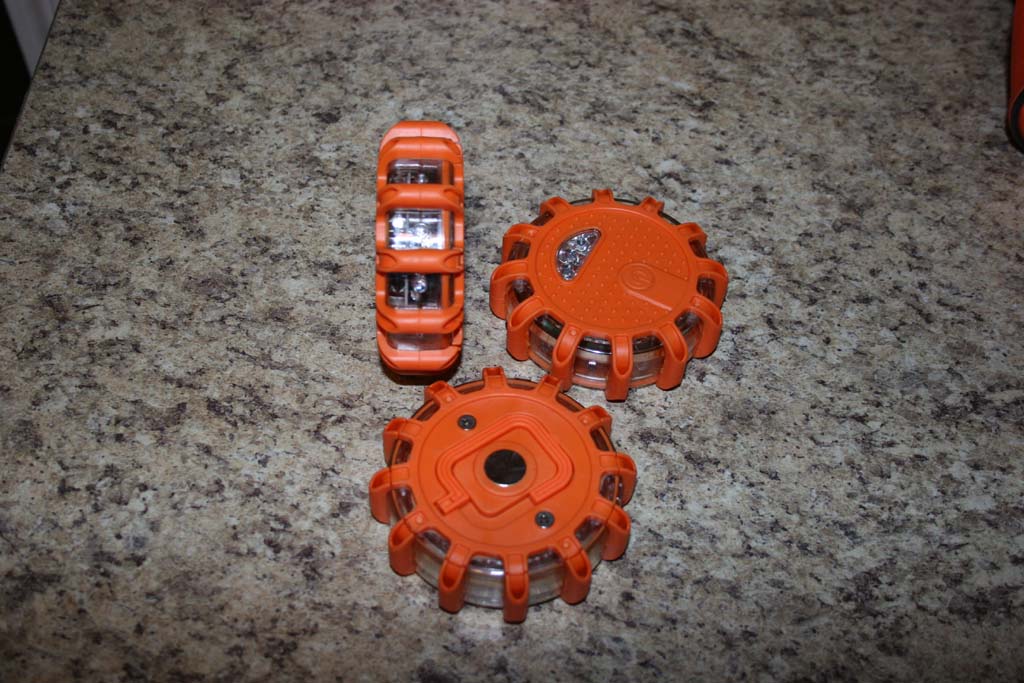
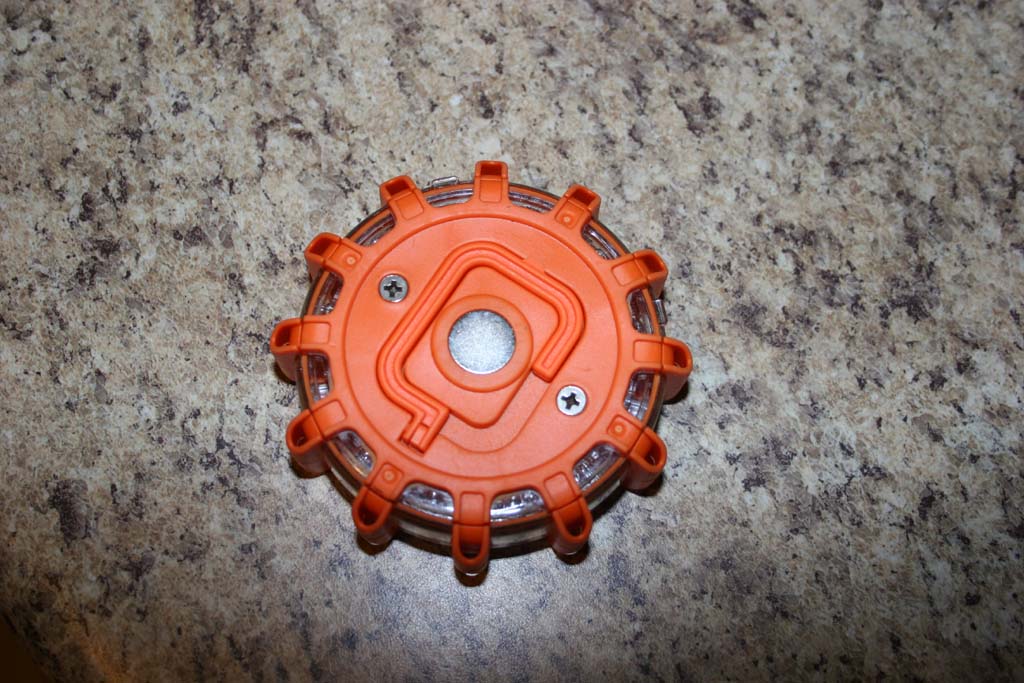
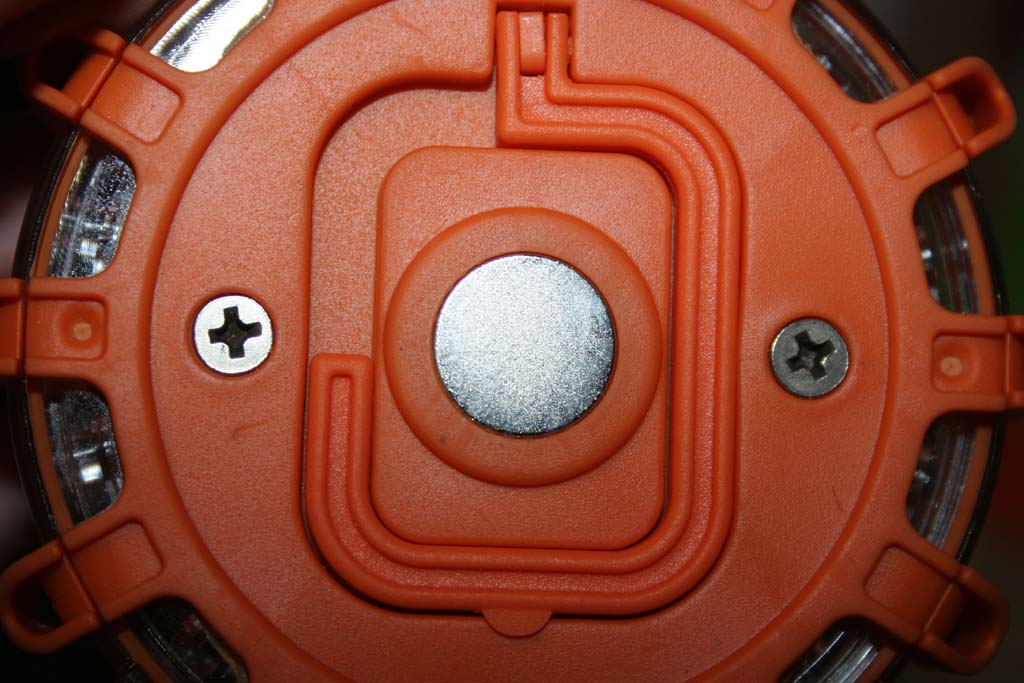
Magnet and hanging hook on the back side.
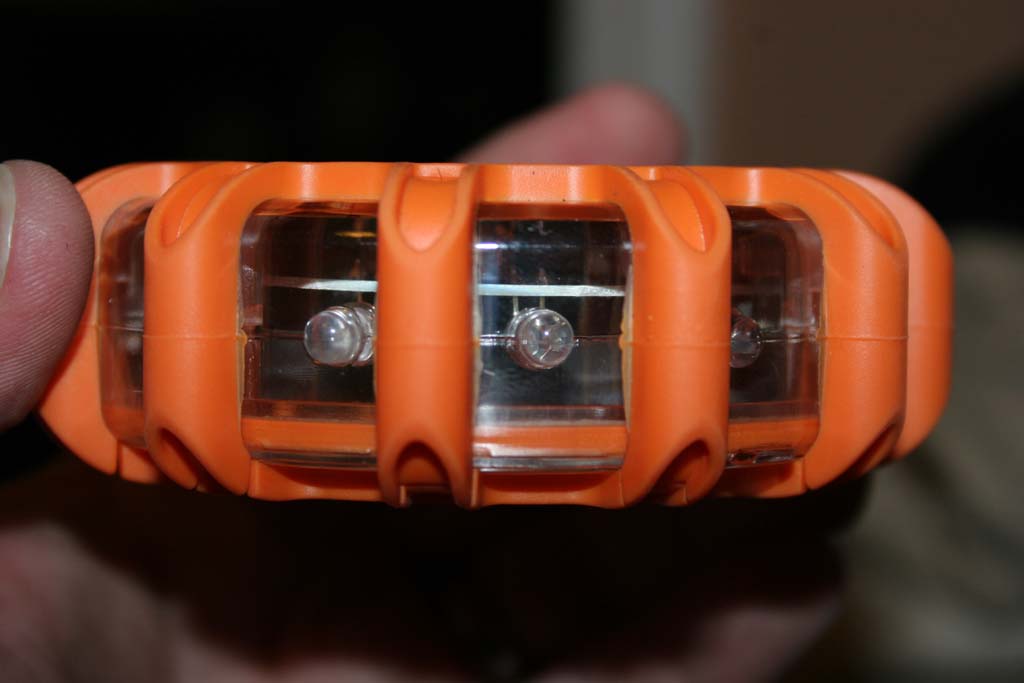
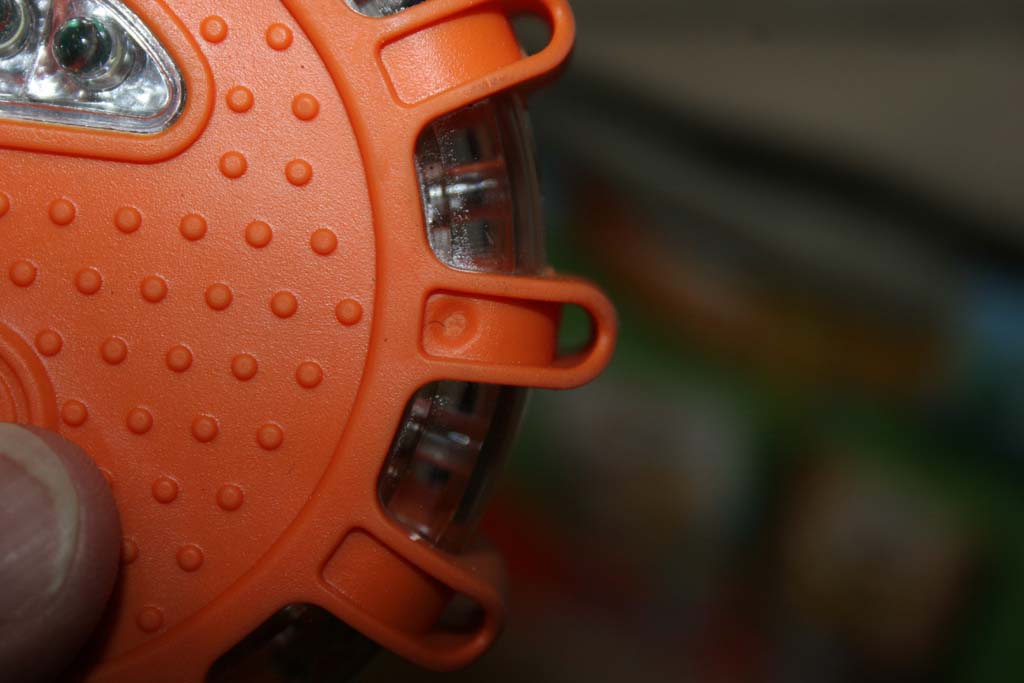
Protective ribs on the side.
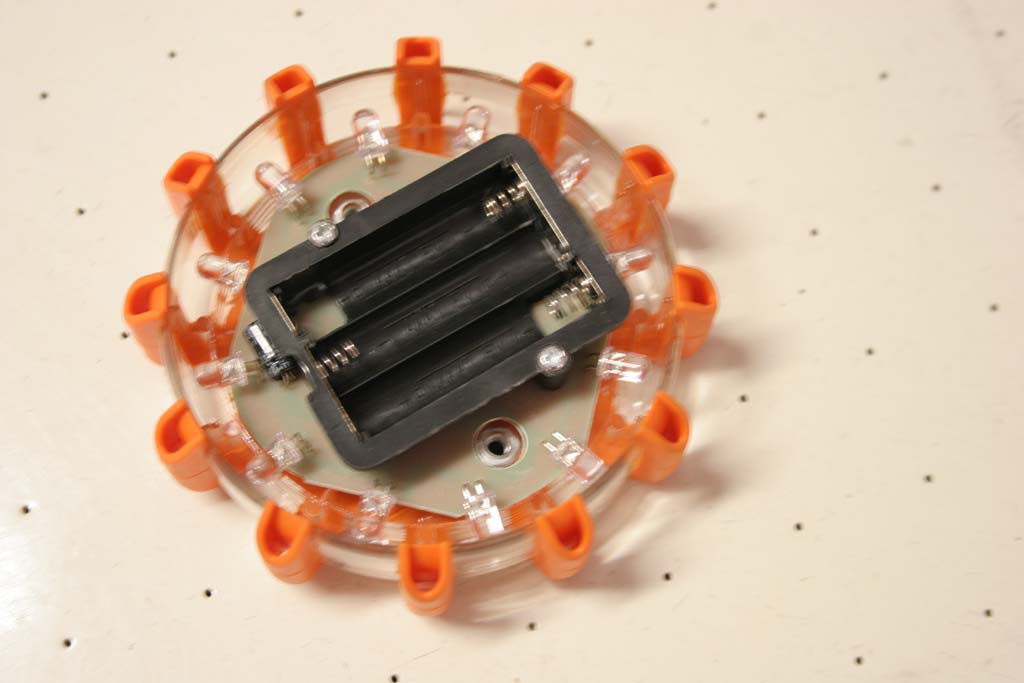
First I needed to put some batteries inside of it. The kit does come with batteries for each unit, but these are generally the cheapest that a company can find and may already be dead as I have discovered a few times. Normally I throw these in a junk drawer to be used in the TV remotes later and install good quality batteries. You are counting on these to work.
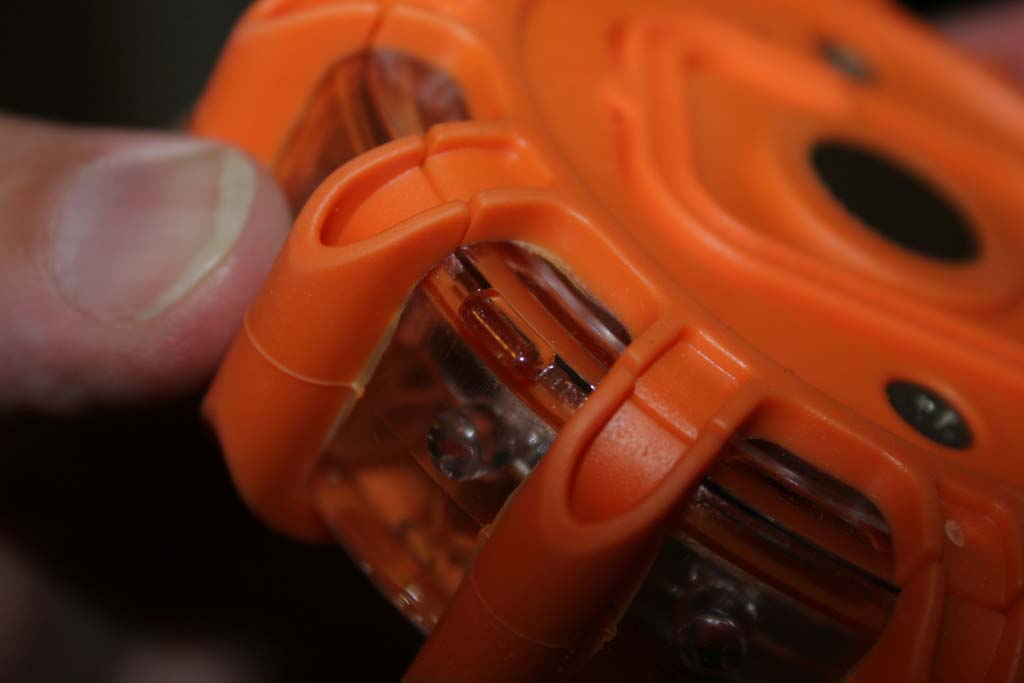
Unscrew the two phillips head screws from the back and then gently pry the unit apart with your fingers using the two tabs located on the side of the unit. This is much easier said than actually done, I was thinking Superman needed to be called. The units are sealed so they require quite a bit to get them apart. I used a thin flat tip screwdrive to pry open the unit at the tab. I only need to pry until I heard the seal give, then I could use my fingers to get it the rest of the way.
Install (3) Three AAA batteries
Close up the unit. Make sure to align the tabs. Reinstall the screws.
Note: You do not need to cranked these screws in, just tighten them up.