Now for the longest time I searched for a rear bumper that
actually met what I wanted. I wanted something that would allow a good
angle to the rear tires weather backing up or coming down off an obstacle.
I wanted to have the bottom side of the rear corners protected, mounts
for my cb, gps, and maybe a ham radio antenna, gas can carrier, a trailer
hitch, and a spare tire carrier that I didn't have to deal with
opening it and then opening the Jeep’s tailgate. I did want a built
in winch, rear video cameras, oil slick dispenser, maybe even some small
rocket launchers, but ‘Q’ said I couldn't have those.
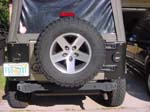
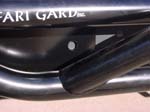
Safarigard met most of my requirements, especially the simplicity of opening
the tailgate and tire carrier as one. Safarigard makes 2 versions of the
bumper, 1 for the TJ and another for the LJ, only difference is the length
of the wrap around rear corner protection. The LJ’s is of course
longer to protect those huge corners. A quick call to Mac at www.macs4x4products.com
and the bumper was on the way.
Rear Bumper Removal: |
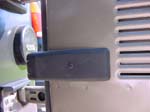
1. Remove the 8 screws from the plastic end caps with a T-30 torx bit.
Be careful you don't get a face full of dirt.
|
 |
 |
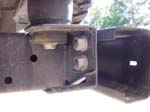
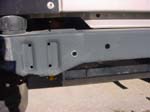
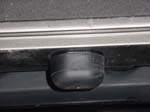
2. Now remove the 4 nuts and 2 bolts holding the rear bumper on. The
top nuts are right next to the body bushing, so a socket doesn't
fit very well. I loosened it up first with a box end and then backed
it off with the socket. I needed to remove the Tow hook also. The
back nut is attached to a metal tab, so it just pulls right out
of the frame. This required an 18mm combo wrench and 18mm socket. |
 |
 |
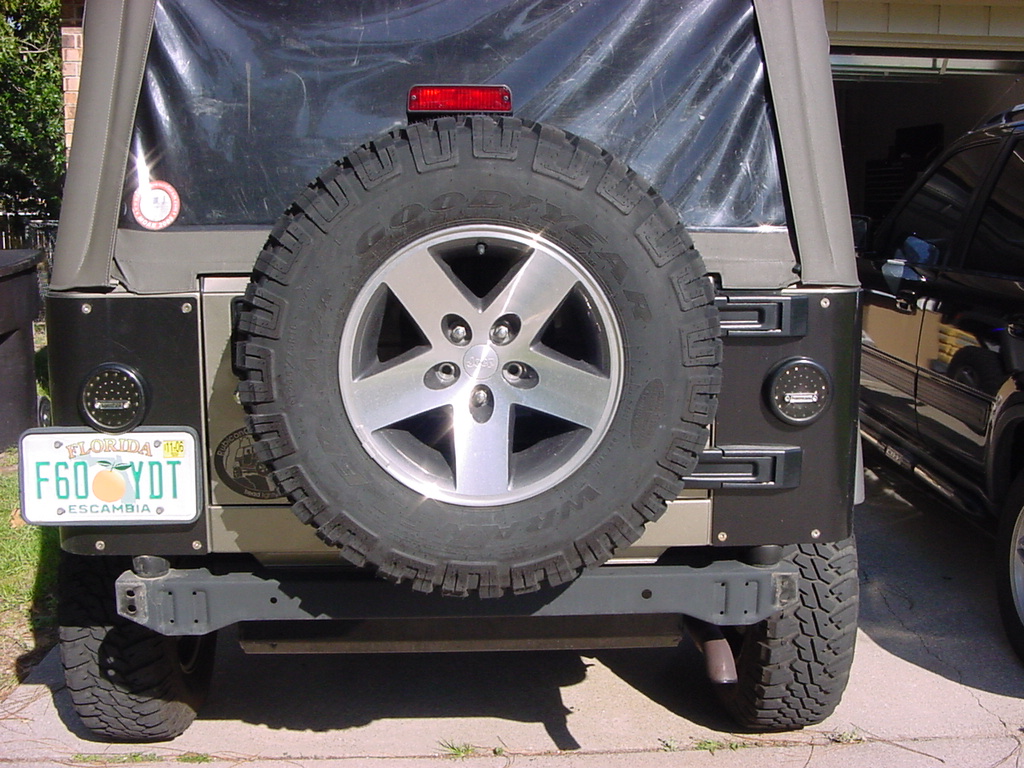
3. Remove rear tire from carrier. Use the supplied lug wrench or a
3/4" socket |
 |
| |
Removal
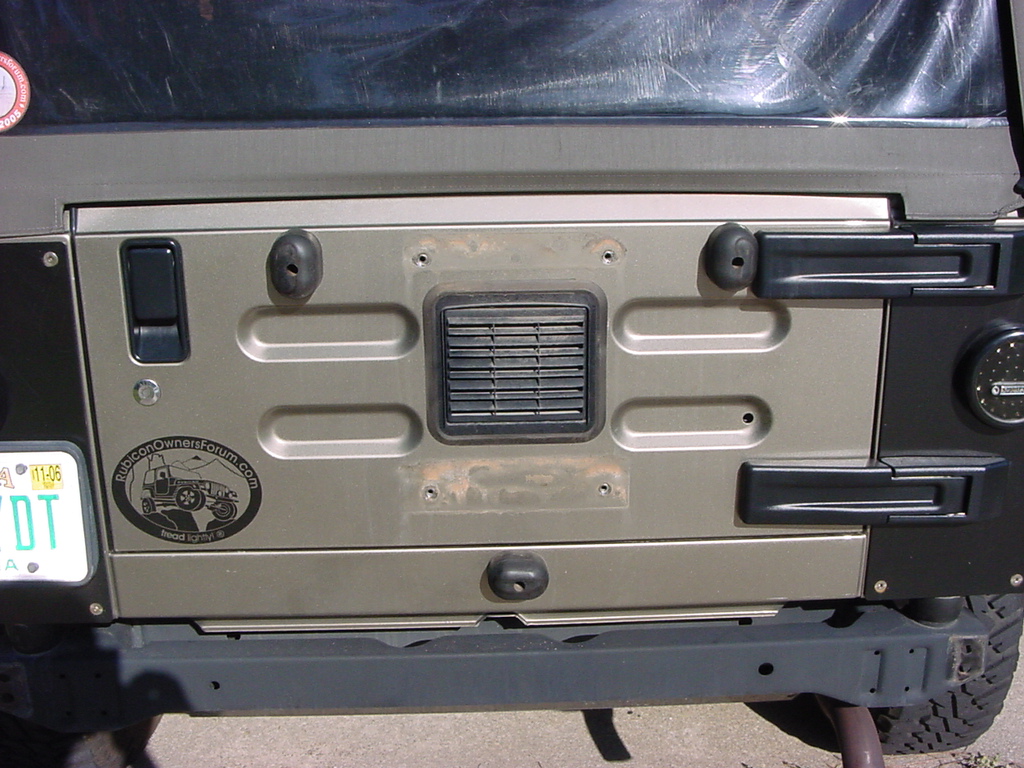
of 3rd brake light bracket: |
1. You will need to remove the brake light assembly.
|
 |
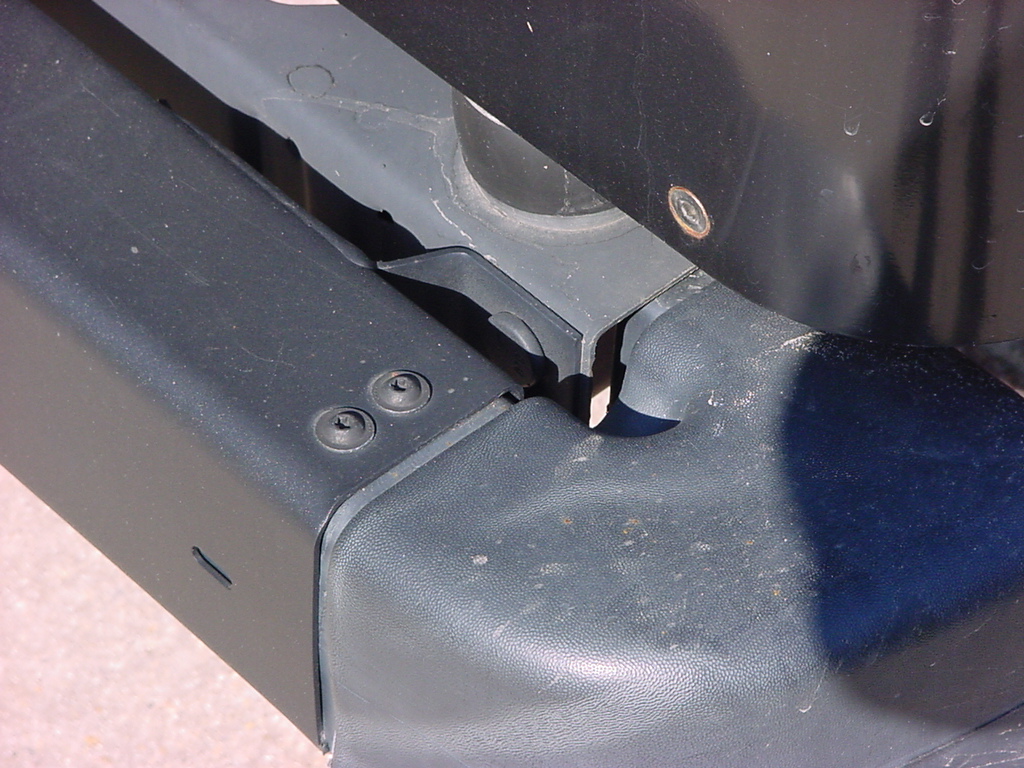
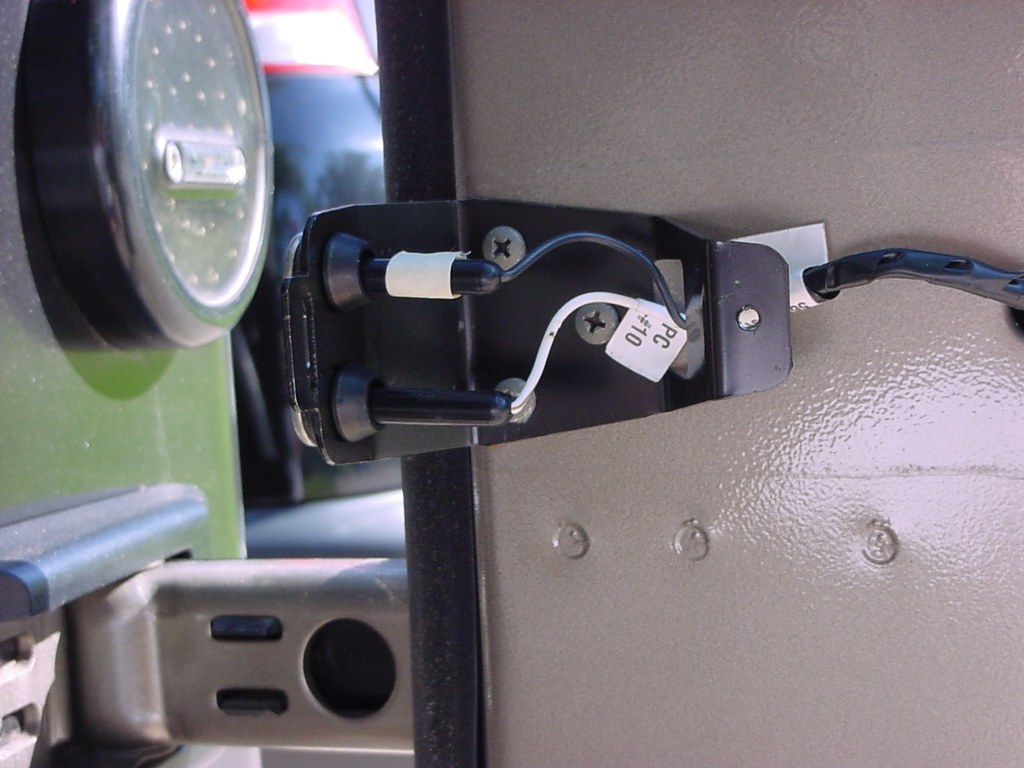
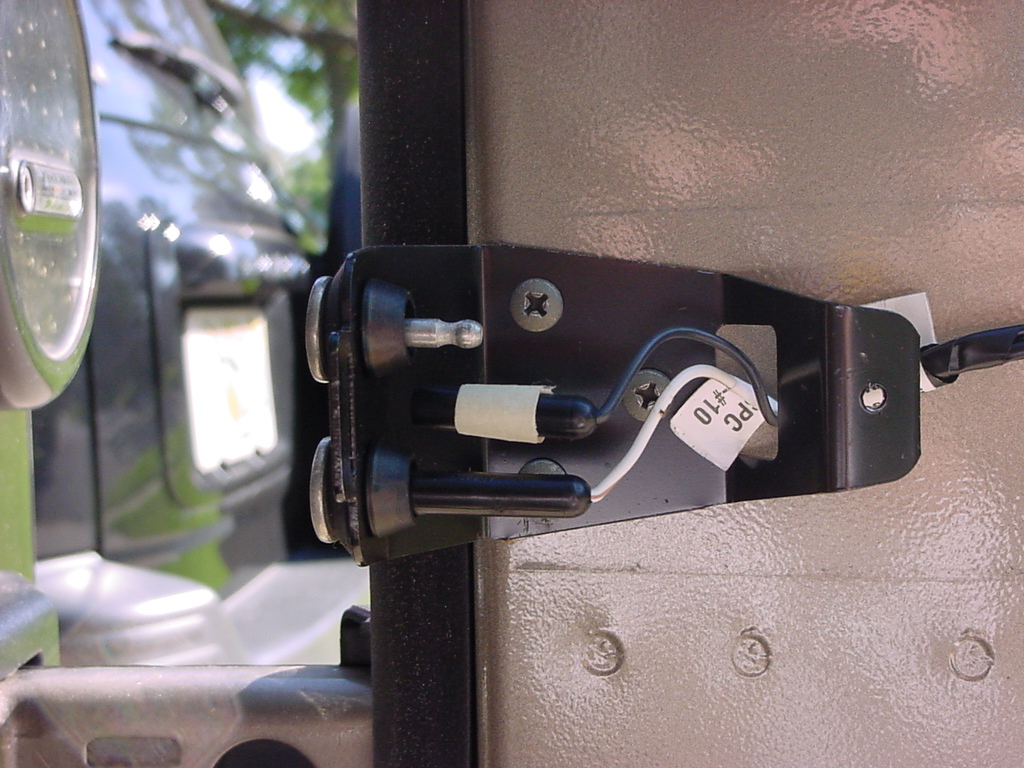
2. Open the tailgate and remove the plastic cover over the
contacts with a Phillips screwdriver. Make a note as to which colored
wire is on top. I don't think this really matters, but I wanted
to put it back the same way.
|
 |
3. Now
pull the contacts out of the clips that are on the wires. Put these
somewhere so that you don't lose them.
|
|
|
|
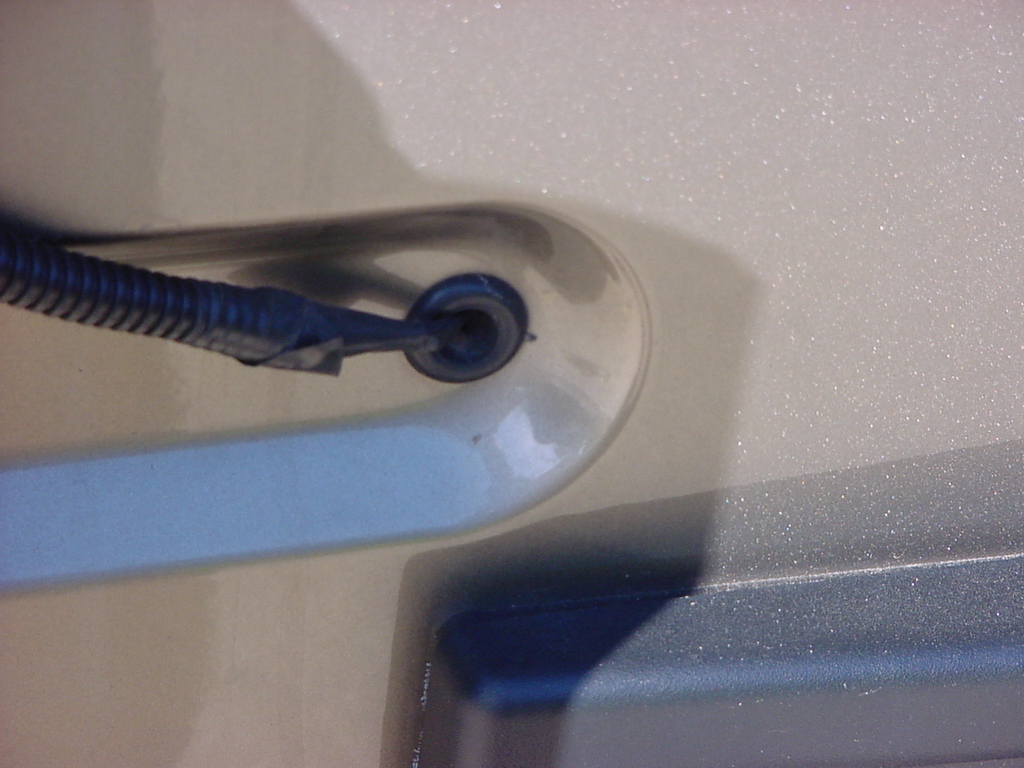
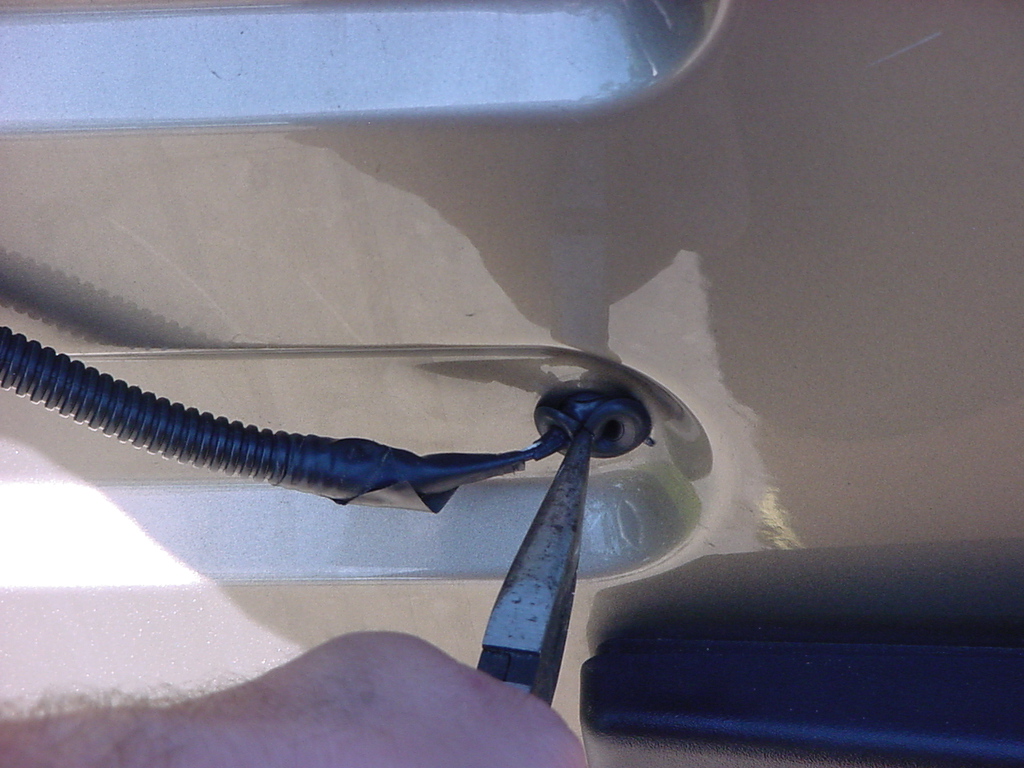
4. Pull
the rubber grommet out from the body. I used a needle nose plies
to squeeze it together and pull it out from the outside.
|
|
|
5. Feed
the wires through the tailgate.
|
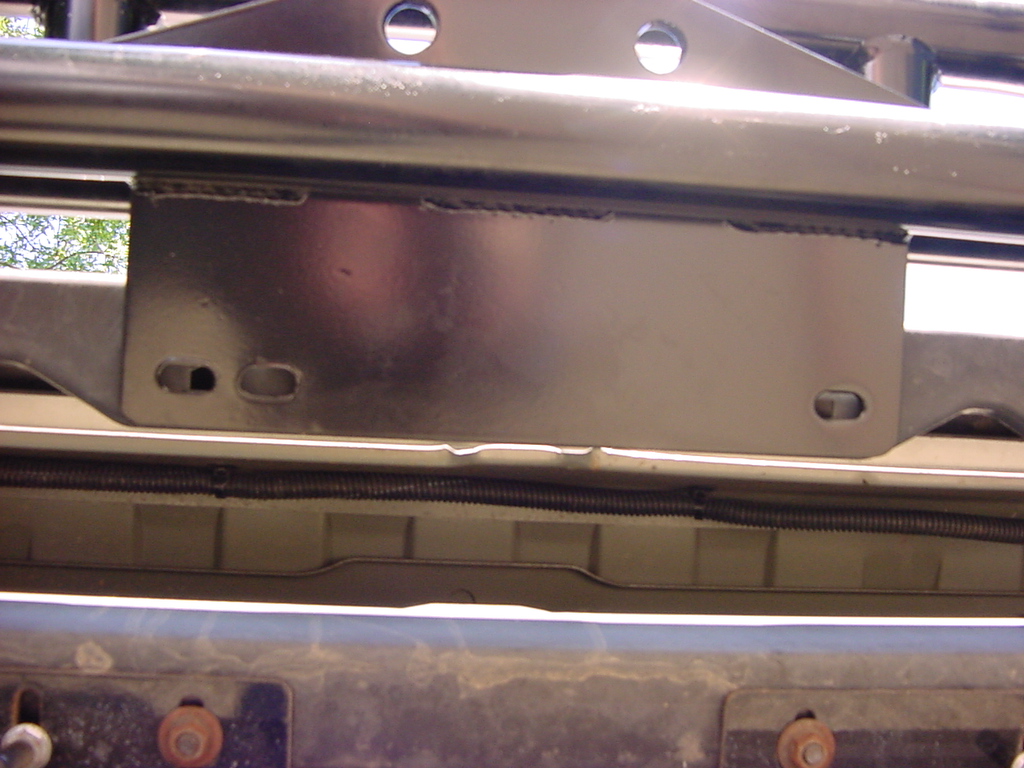
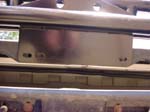
6. Use
a 13mm socket and extension to remove the bolts holding the third
brake light assembly to the stock tire carrier.
|
|
| 7. Feed the
wires between the tailgate and the stock tire carrier and set the
third brake light aside. |
| 8. Remove the spare tire
carrier with a 13mm socket. |
|
|
|
| 9. Clean up
all the dirt that has accumulated behind everything. I would recommend
a good coat of wax before moving on. |
| |
| Bumper Installation: |
|
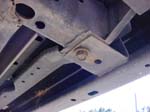
| 1. Place SafariGard
bumper over existing mounting points. You will notice that one hole
is round and the other oval, you may need to ream out the oval hole
slightly to allow the bolt to go through. Insert Two 3/8x1 ¼”
bolts, washers and nuts on the right and left hand sides in the stock
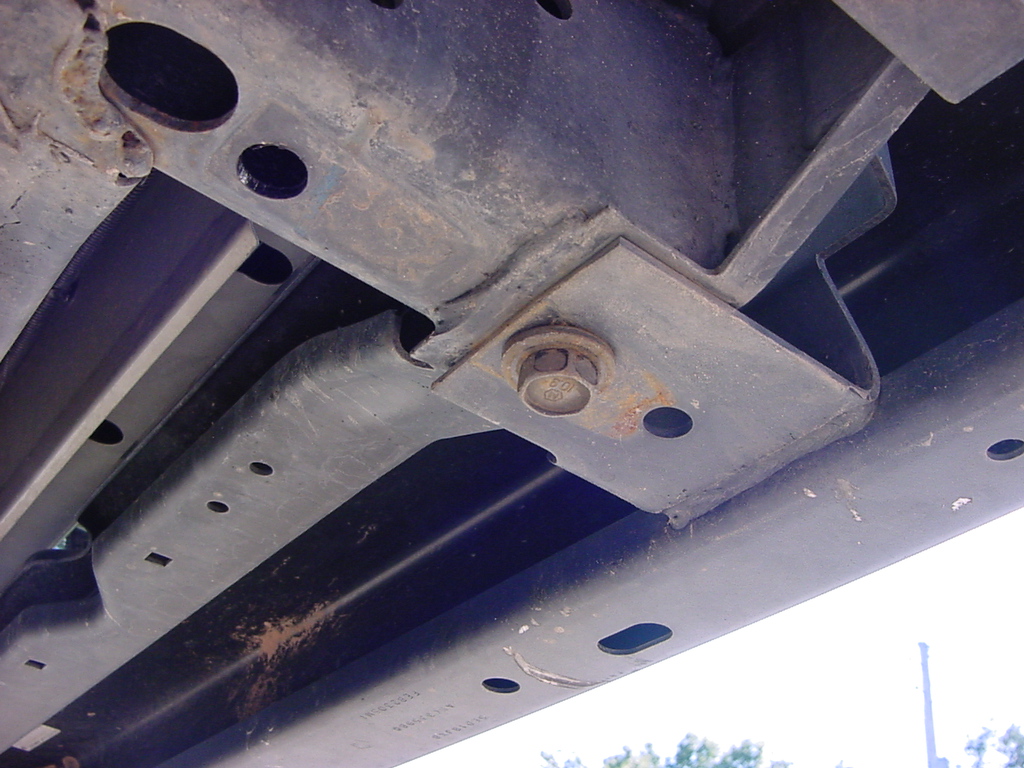
mounting location. Use a 7/16x 1 ¼” bolt, washer and
lock washer through each of the underside bumper tabs and into the
stock bolt holes underneath the frame on each side. You will need
a 9/16" and a 5/8" socket and combo wrench.
|
| 2. Align the
outside edges of the bumper so that it is centered on the rear of
the Jeep. |
| 3. Underneath
the receiver you will need to align the square holes to the holes
on the right and left of the receiver, oblong holes if necessary and
attach using two 5/16 x 1 ¼” bolts, washers and locknuts.
Double check alignment and tighten all bolts. You will need a 1/2"
socket and combo wrench. |
 |
| 4. Use a scribe
to mark where you will need to drill the other holes and then take
the bumper back off. |
 |
| 5. Drill out
the holes with a 3/8" drill bit. Check the hole with a bolt,
if it is tight you may need to go up to a 7/16" drill bit. Make
certain you clean up the hole and paint it before putting on your
bumper, it will reduce the possibility of rust. On the LJ you don't
have to worry about the gas tank, but on the TJ be careful you don't
drill into the gas tank. Makes for an expensive bumper install. |
 |
| 6. With the
TJ I figured since I have little hands I would be able to get these
bolts in and the nuts on without dropping the gas tank. It didn't
happen. I did have to drop the tank, but I only undid the nuts on
the backside and let it drop a little, I used a floor jack to support
it so that I didn't bend the front brackets on the tank skid. This
gave me just enough room to work my hand in there and get the nuts
on. With the LJ’s you won't have to worry about this. |
| 7. Reinstall
all the bolts, I recommend the 2 that you just drilled first, then
tighten everything. |
| Note: I recommend
that if you are going to do any pulling or extreme off-road use, you
install a set of aftermarket reinforcement brackets. I picked up the
extreme duty frame tie-in’s through David at www.Rokmen.com |
| |
| Tire Carrier Installation: |
|
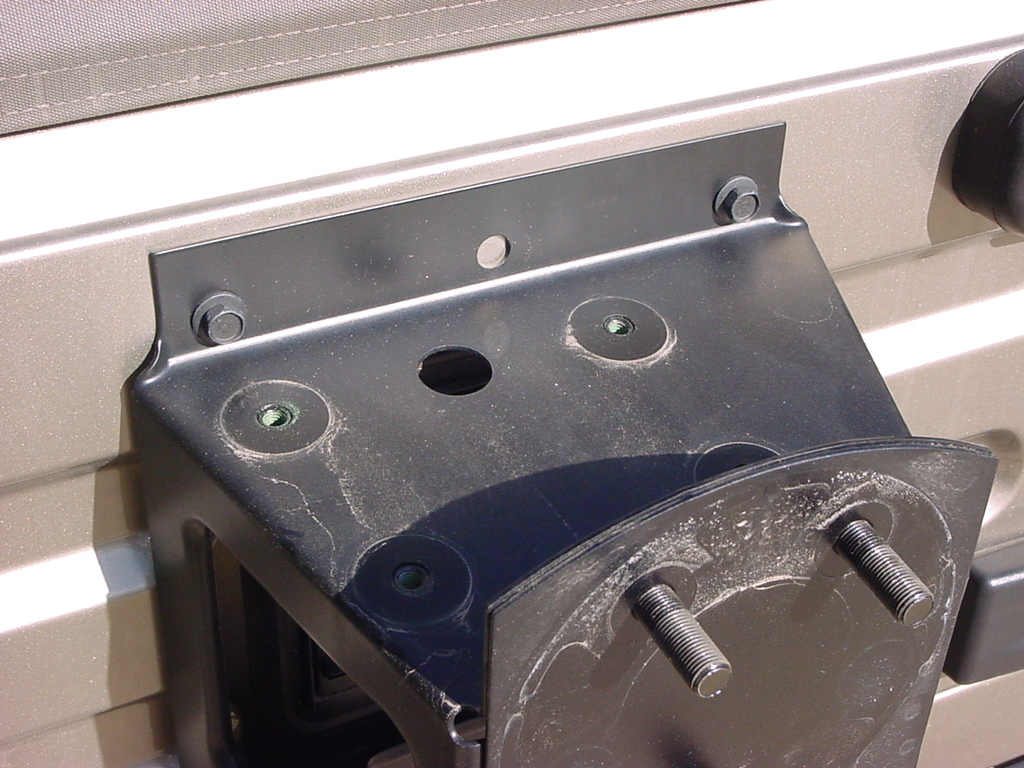
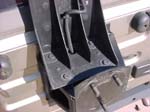
| 1. Mount the
10” long rectangular bracket with the 3 oblong holes to the
door using stock bolts. Make sure the tabs on the bracket are on the
right hand (passenger) side. Finger tighten only. Note: Your Jeep
may use 2 or 3 of the oblong holes depending on the year. |
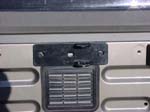 |
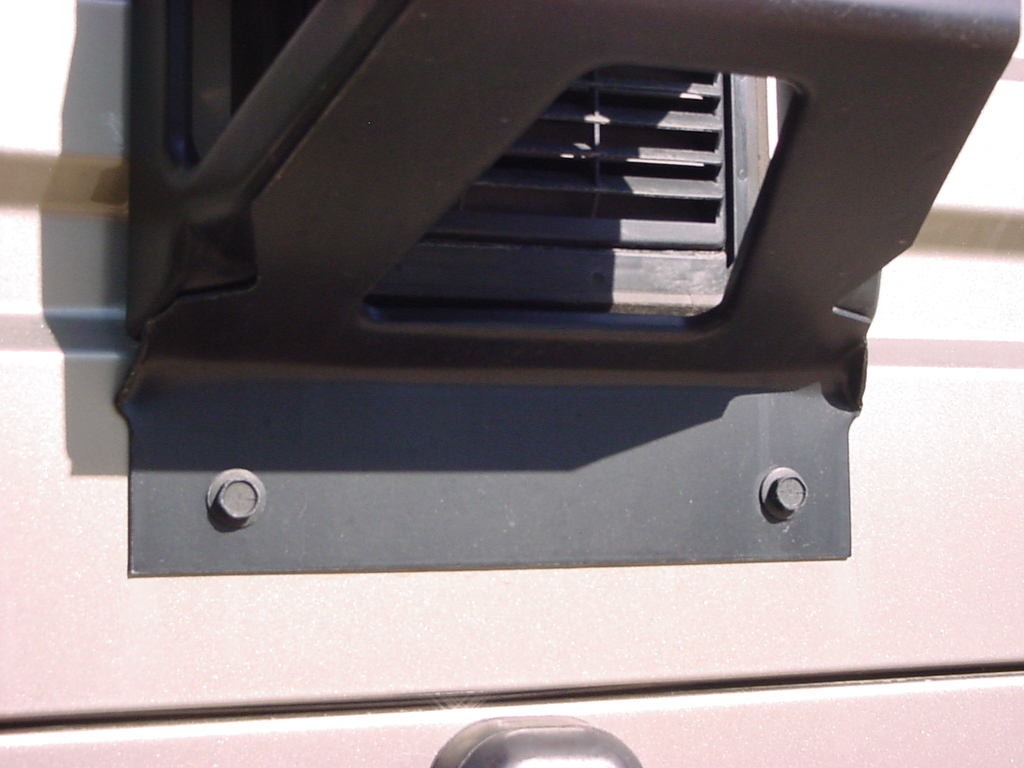
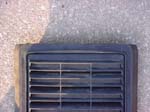
| 2. Later model
Jeeps have a rubber vent in the tailgate. Mount the bracket over the
vent or slice a notch in the top of the vent to fit. I decided to
carefully etch a line on the vent and remove it so that I could cut
it. I didn’t want to scratch up the paint. |
 |
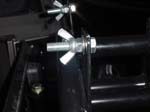
| 3. Install
2 bushings (M02240) and 5/8 x 4 3/8” metal sleeve in right lower
attachment point of the tire carrier. |
 |
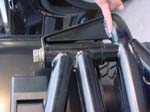
| 4. Attach
tire carrier to bumper using 5/8 x 7” bolt, washer and lockwasher.
You may need to remove the right side brake light to install this
bolt. Place the 1” spacer on top, or on the bottom if you have
a body lift. Finger tighten this bolt only. |
 |
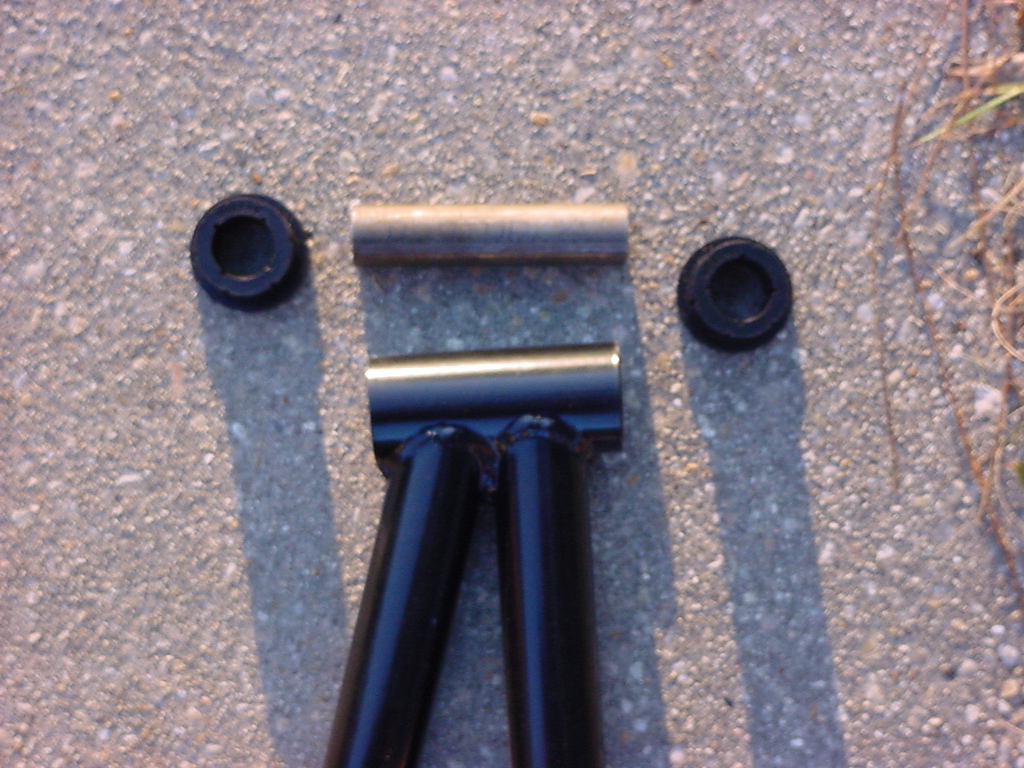
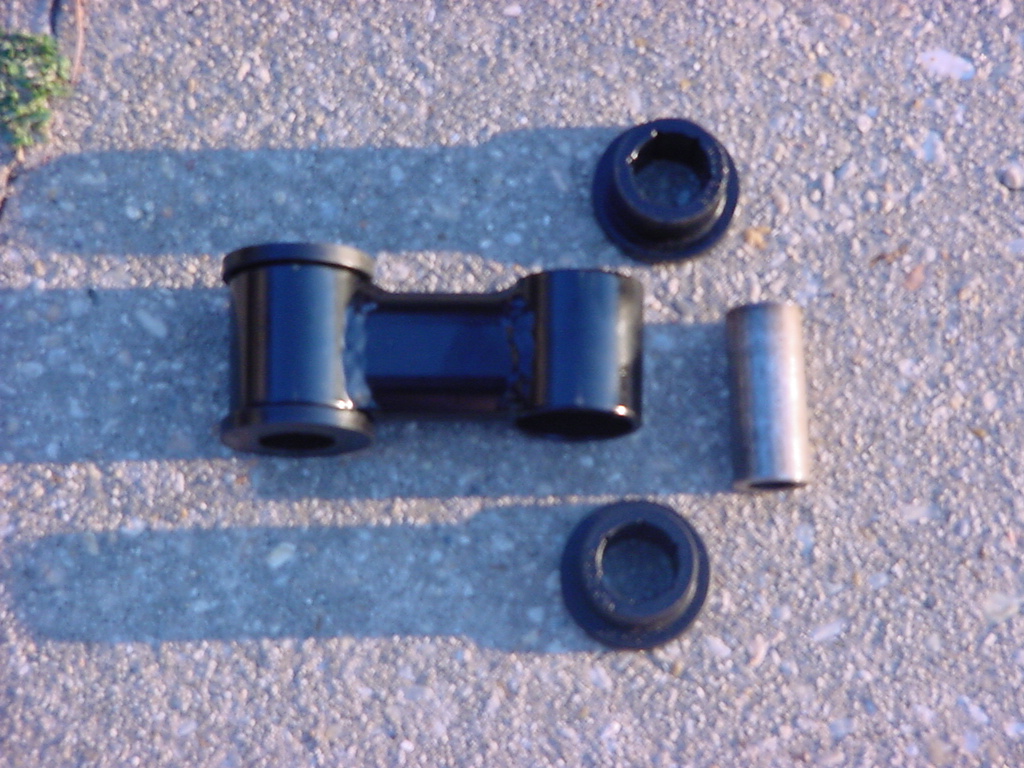
| 5. Insert
4 bushings (M02882) and 5/8 x 2 5/16’ sleeves into the pivot
point (dog bone). |
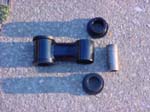 |
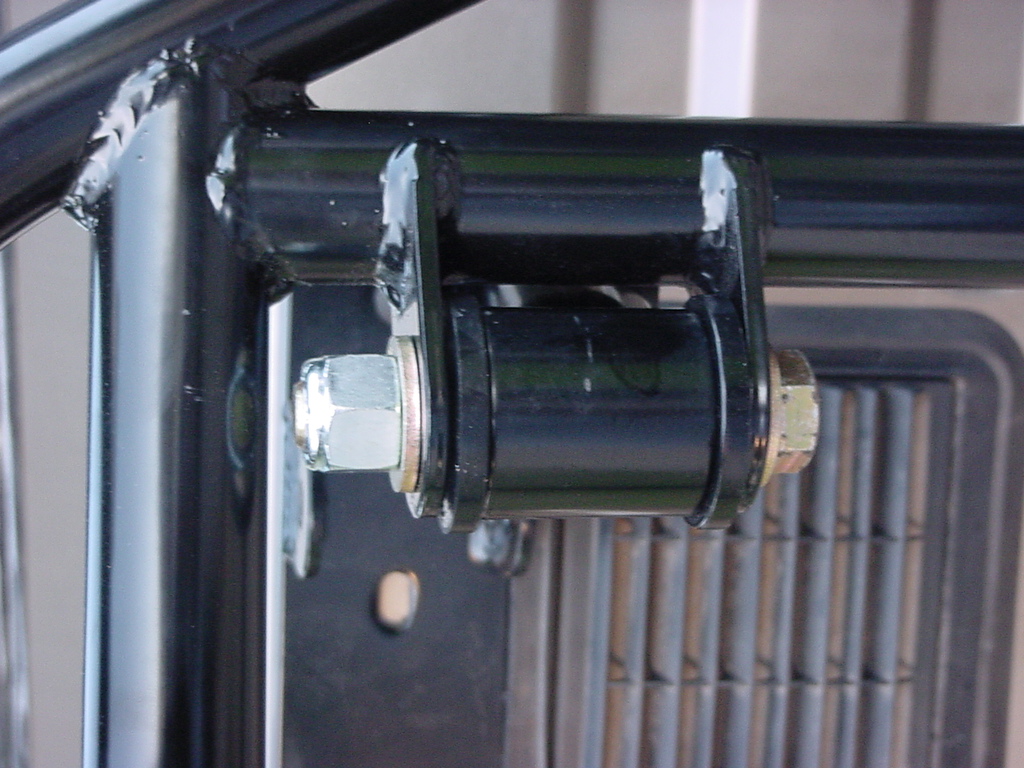
| 6. Attach
the pivot point to the tire carrier using a 5/8x 4” bolt, washers
and locknut. |
 |
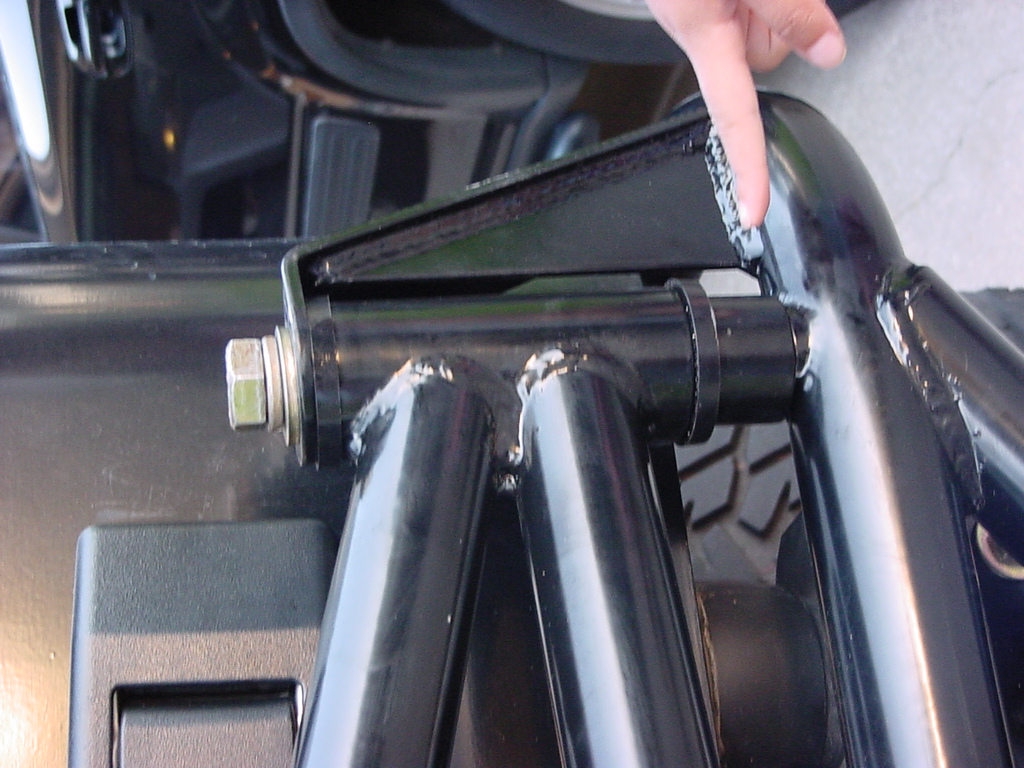
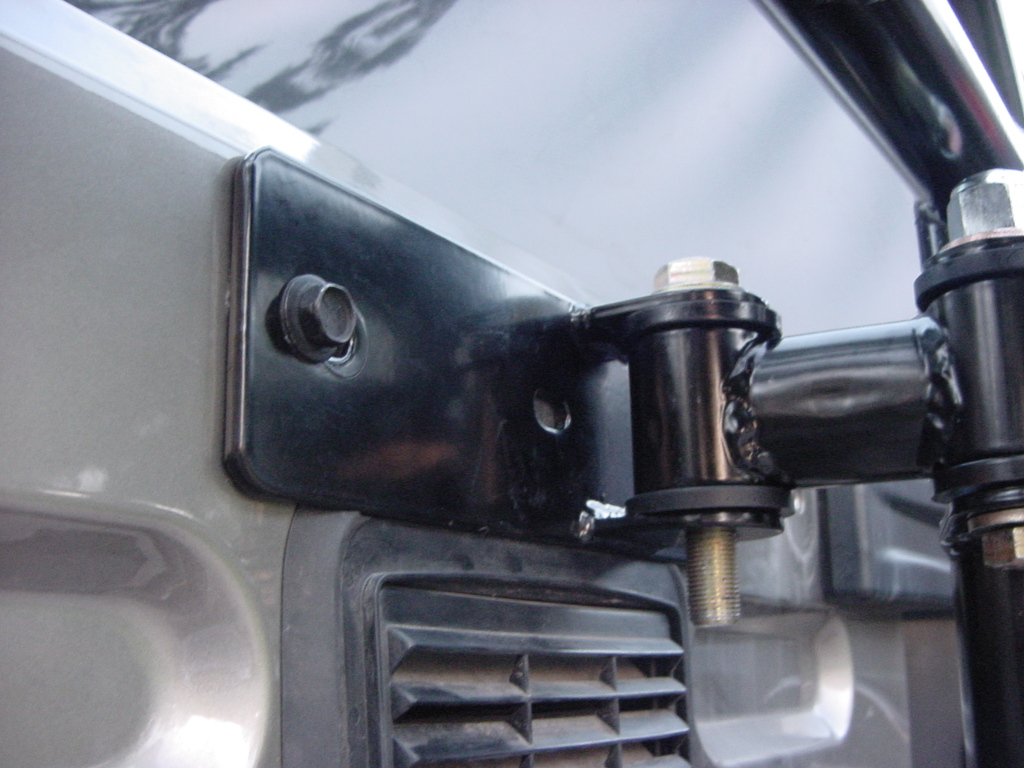
| 7. Attach
the pivot point to the door using a 5/8x 4” bolt, washers and
locknut. |
 |
| 8. Open the
door slightly and make all necessary adjustments. Tighten all hardware.
You may need to slide the tailgate mount a little. |
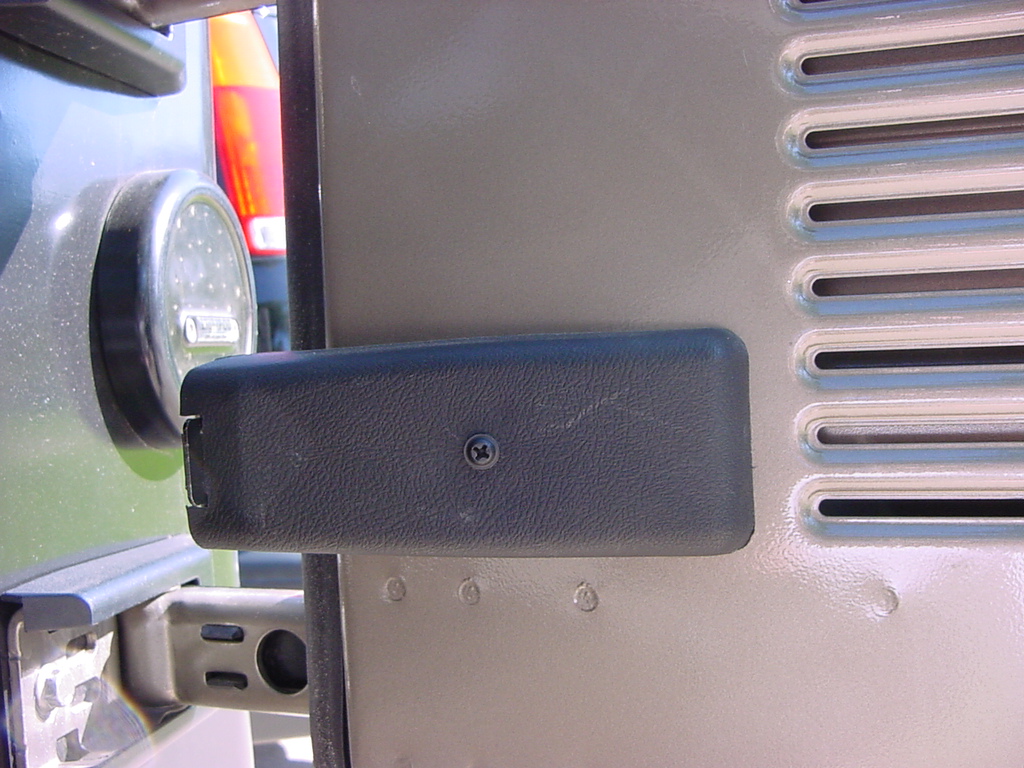
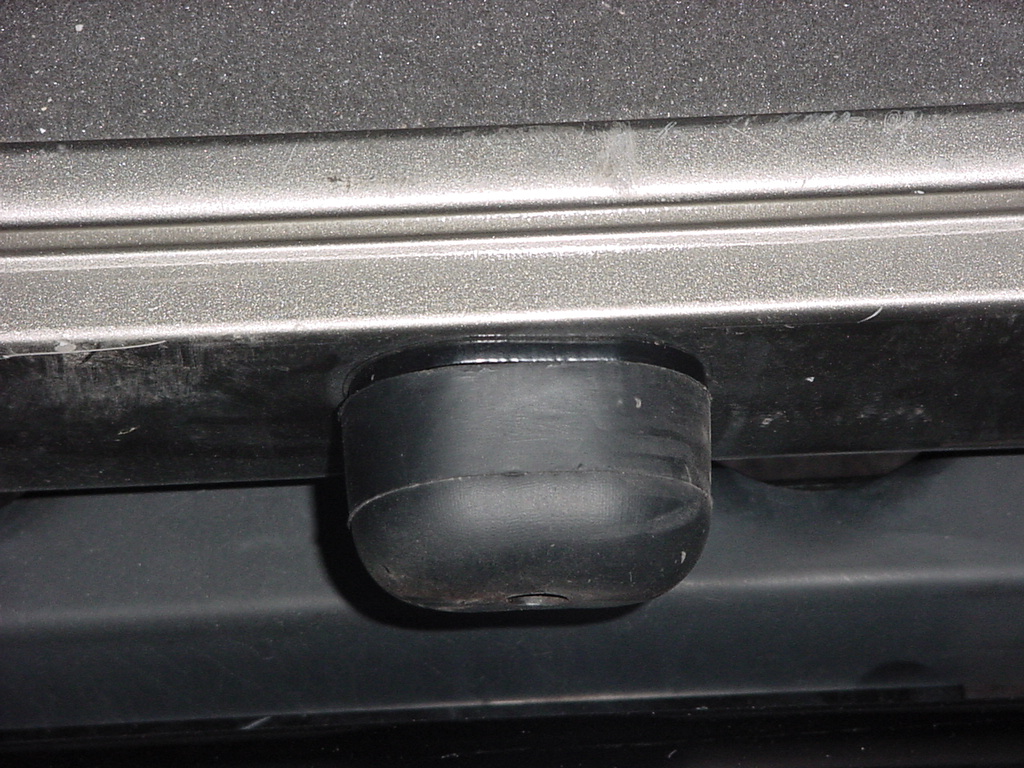
| 9. If necessary,
insert oval spacers behind stock bump stop on the door to allow for
a snug fit when closing. You may need to get some longer screws for
this. Mine were fine, but 1 was a little loose all the time. You will
need a T-30 Torx. |
 |
| 10. For the
Hi-lift Jack mount. Mount jack horizontally behind tabs at top of
tire carrier using ½ x 2 ¼” all thread black bolts,
washers, jam nuts and wing nuts. |
 |
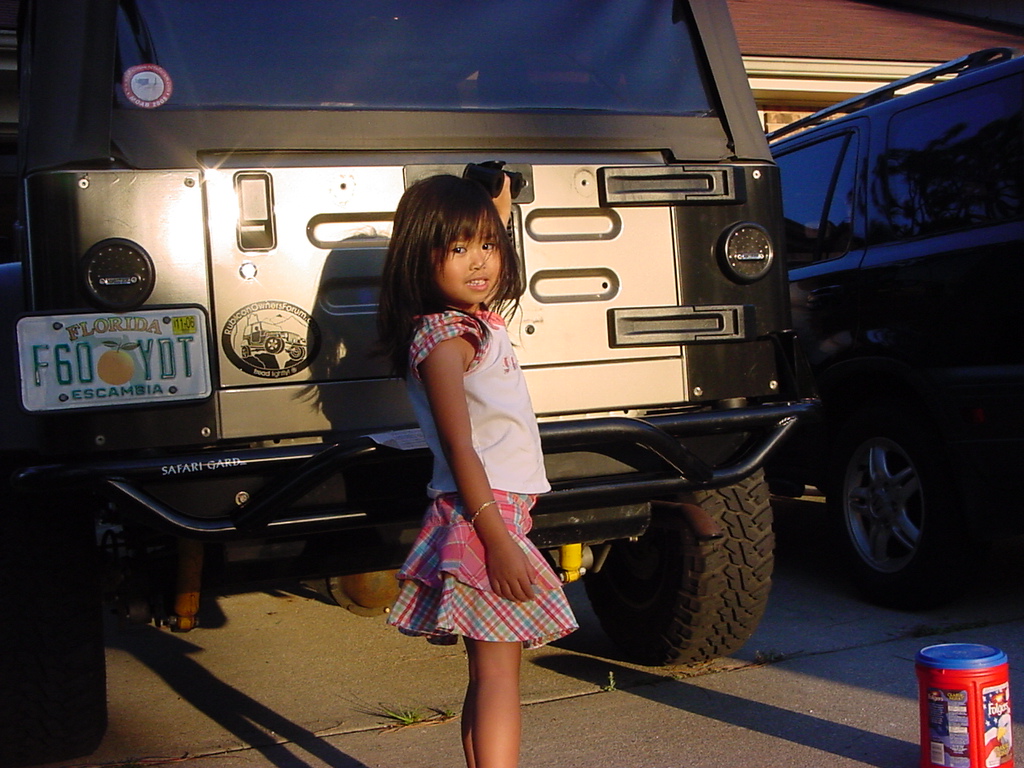
| I decided I couldn't get my
wife into Jeeping, but my niece on the other hand... Though I can't
understand why her mom cringes at times..... |
 |