Now since I had removed my air box in the past, I wanted
to use the space vacated from it to mount an electrical center and eventually
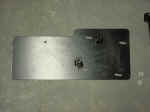
a welder. Kilby just released their new welder tray, and a quick check
said that it will work with my OBA system from Kilby. Okay this wasn't
quite the truth as the web site said at that time. I did end up having
to modify the plate for it to fit around the OBA bracket.
| Installation: |
| Removing
the Air Box (you will need a new filter for it) |
1. Loosen the hose clamp holding the air tube to the air box. This
requires a flat tip screwdriver.
|
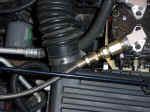 |
2.
Pull air tube off air box top and unclamp top of air box. Set aside.
|
| 3.
Remove air filter |
4.
Remove 3 bolts holding the air box to fender. This will require a
5/16” socket, extension and a 10mm Combo wrench for the nuts underneath.
|
 |
| 5.
Remove bottom of air box. (Recommend putting the box back together
so you don’t lose any parts) |
 |
 |
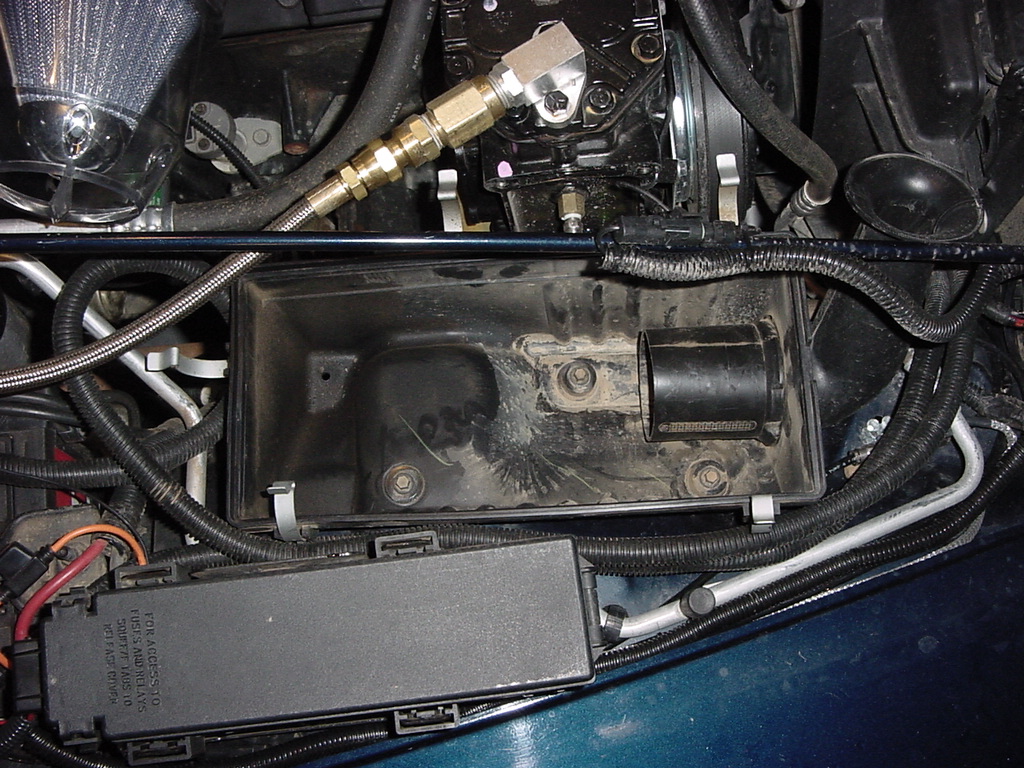
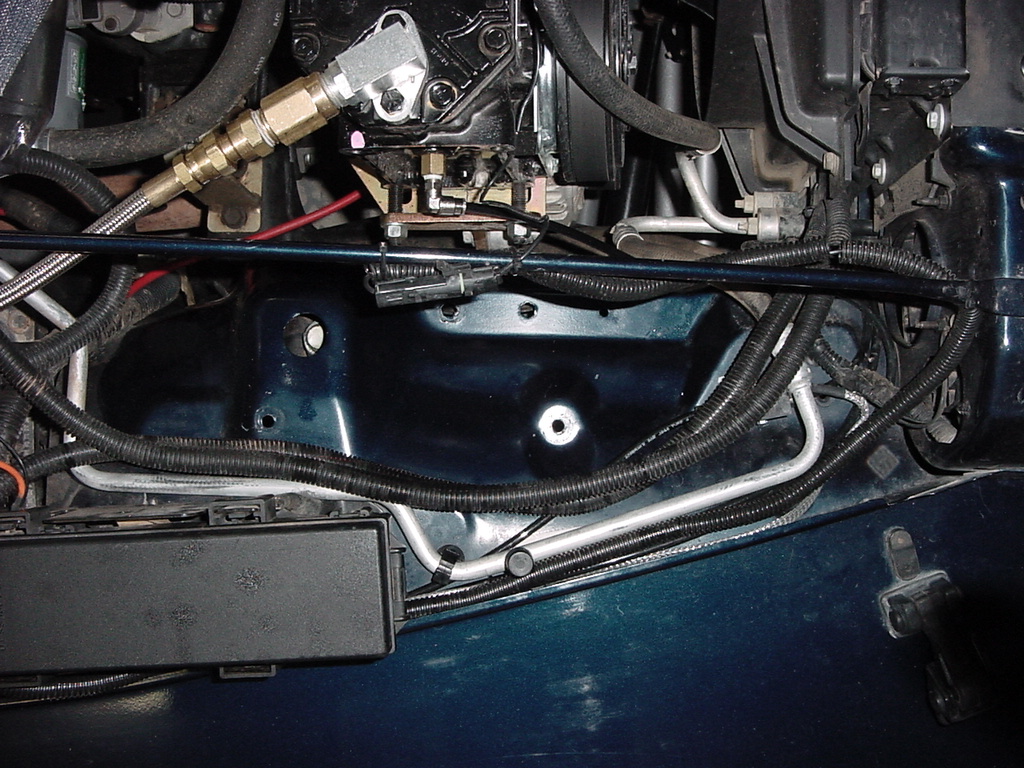
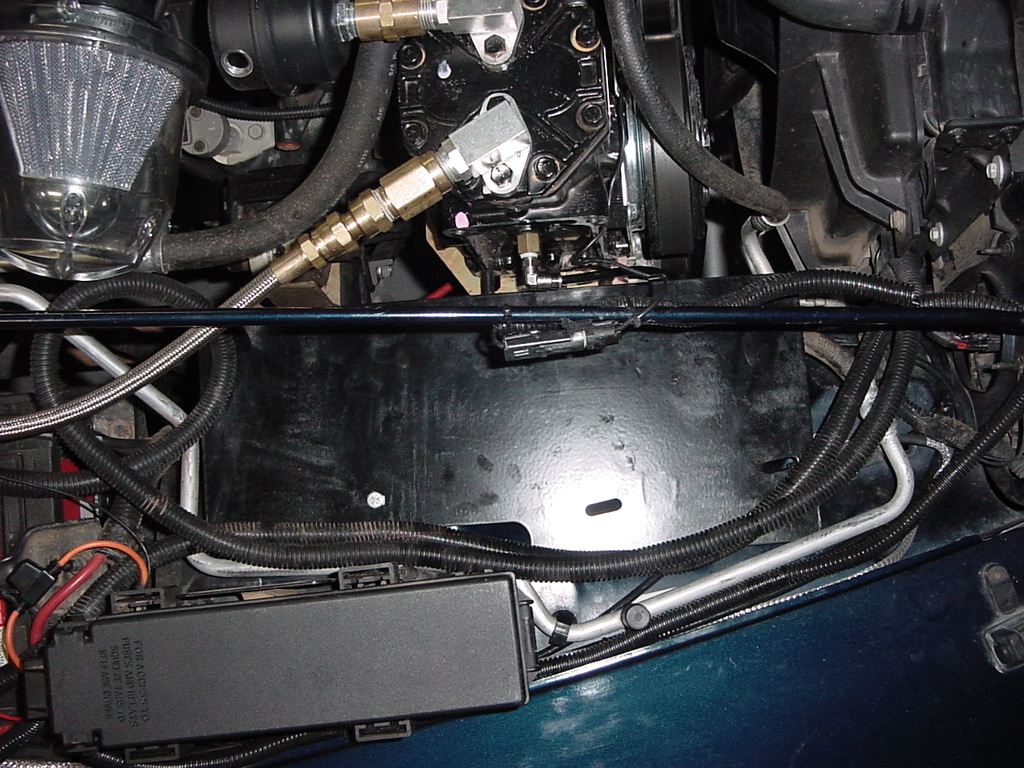
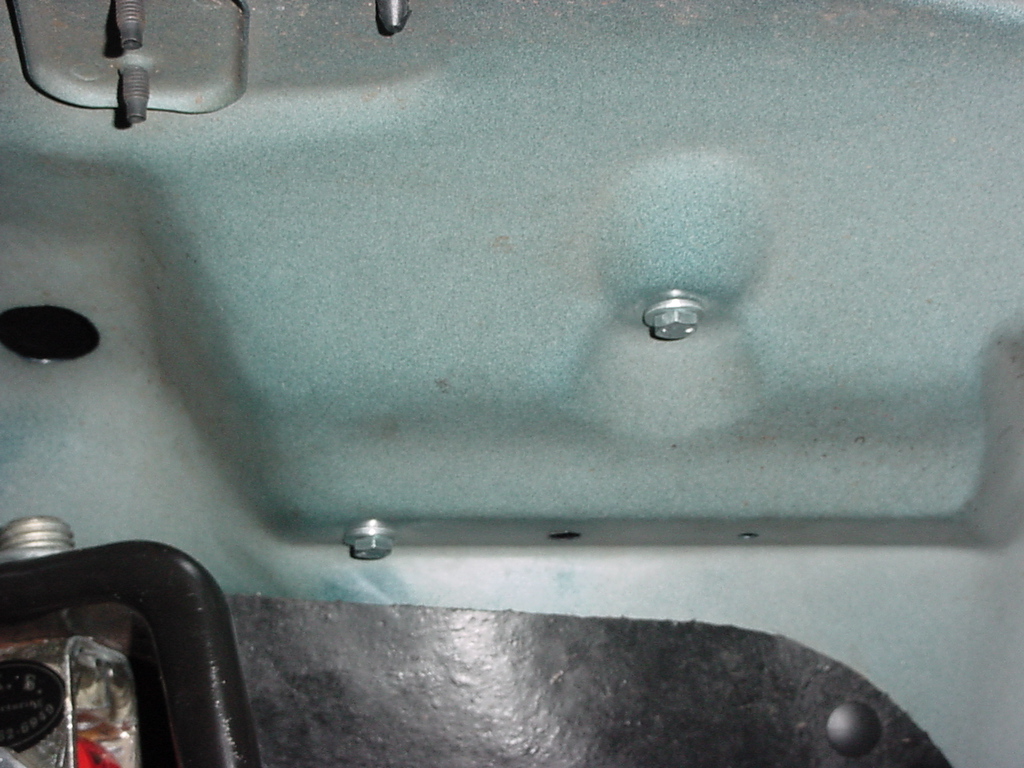
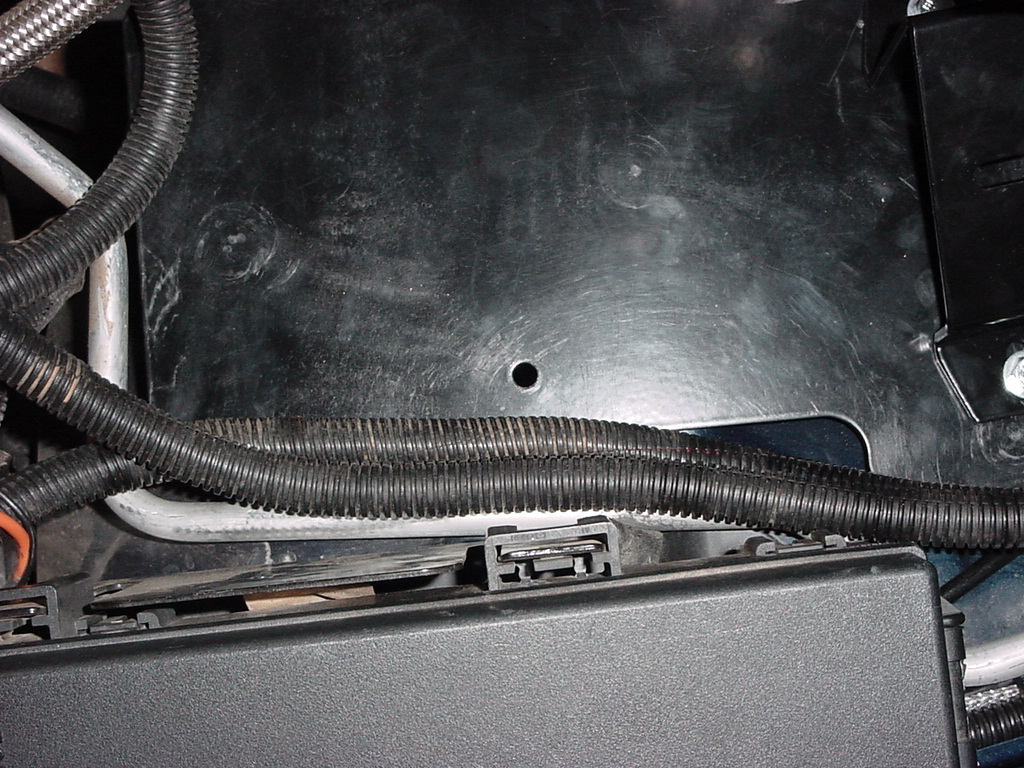
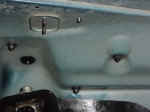
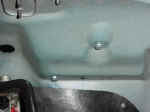
| 6.
Take this chance to clean off the area under where the air box was.
Mine was pretty dirty. |
 |
Install
the welder tray |
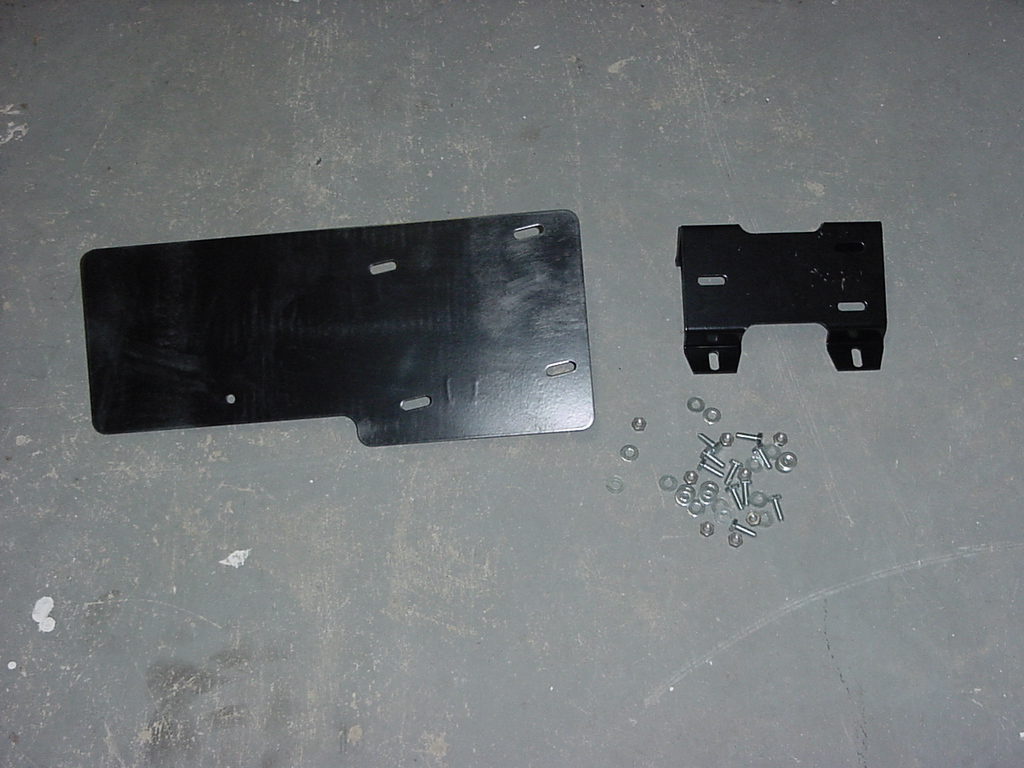
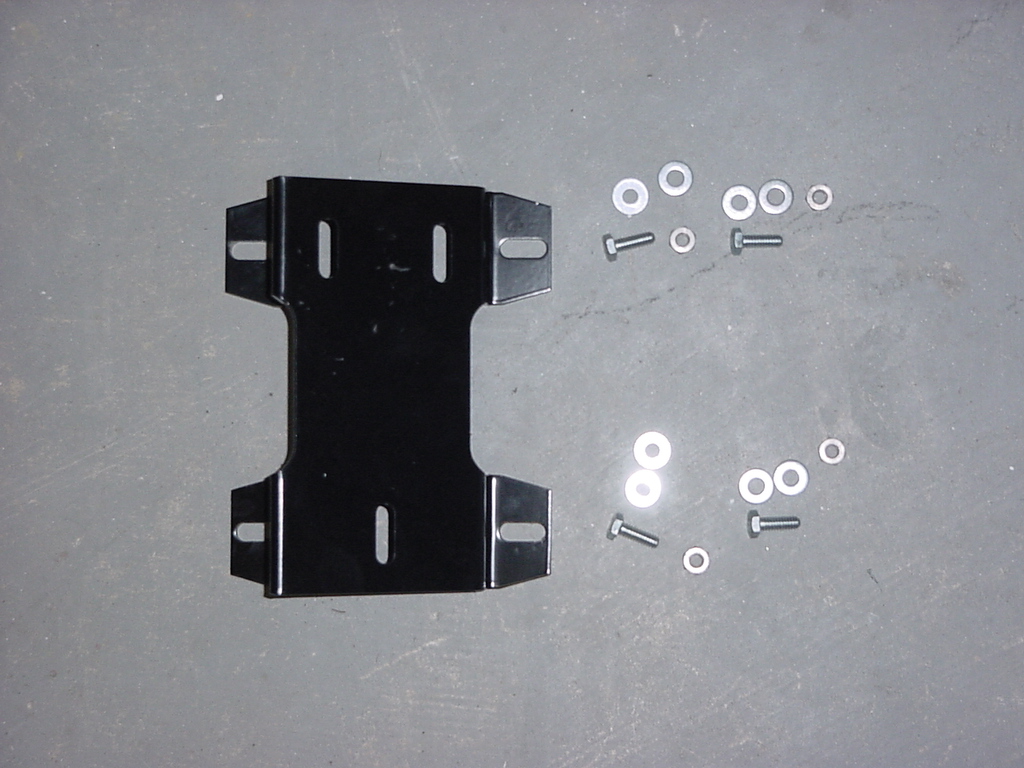
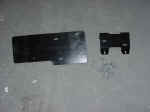
| Not
a whole lot of pieces. Though you do get lots of nuts and bolts
with this one. All the nuts and bolts require a 7/16" Combo
Wrench and Socket. |
 |
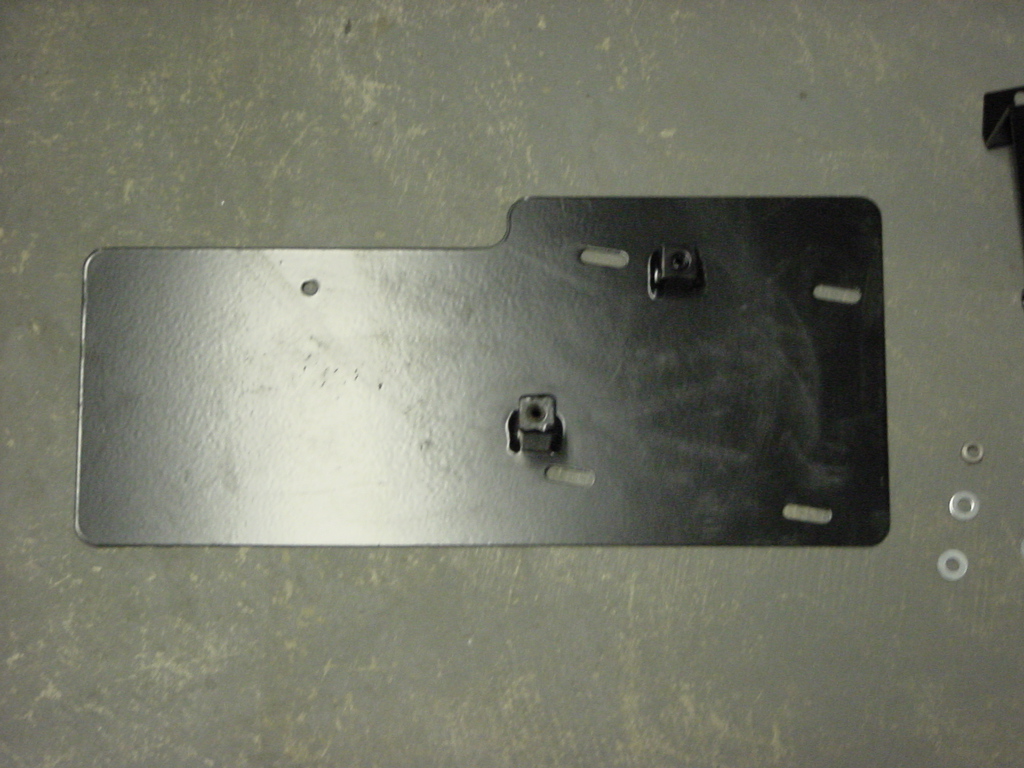
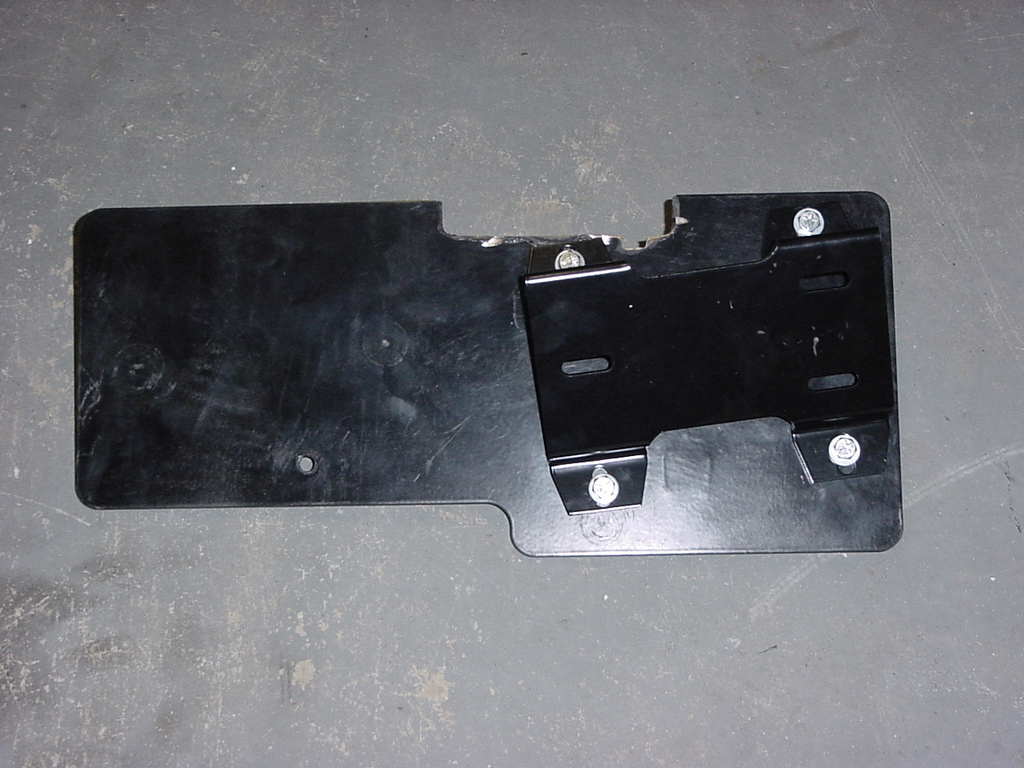
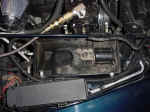
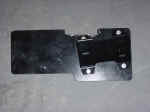
| 1.
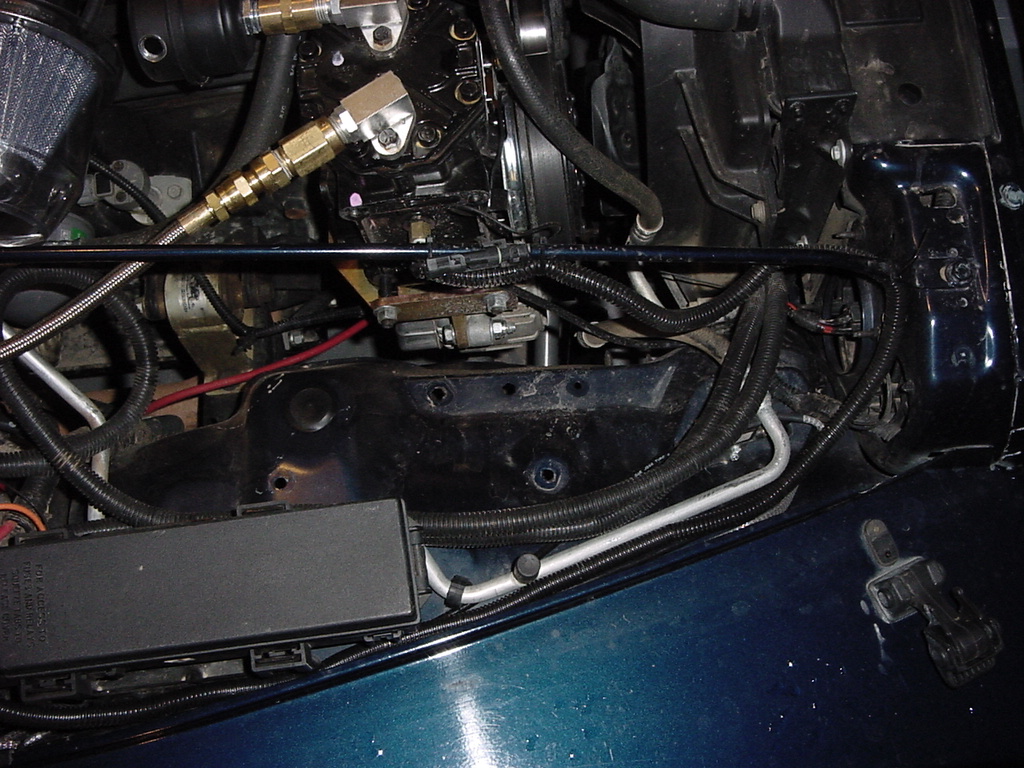
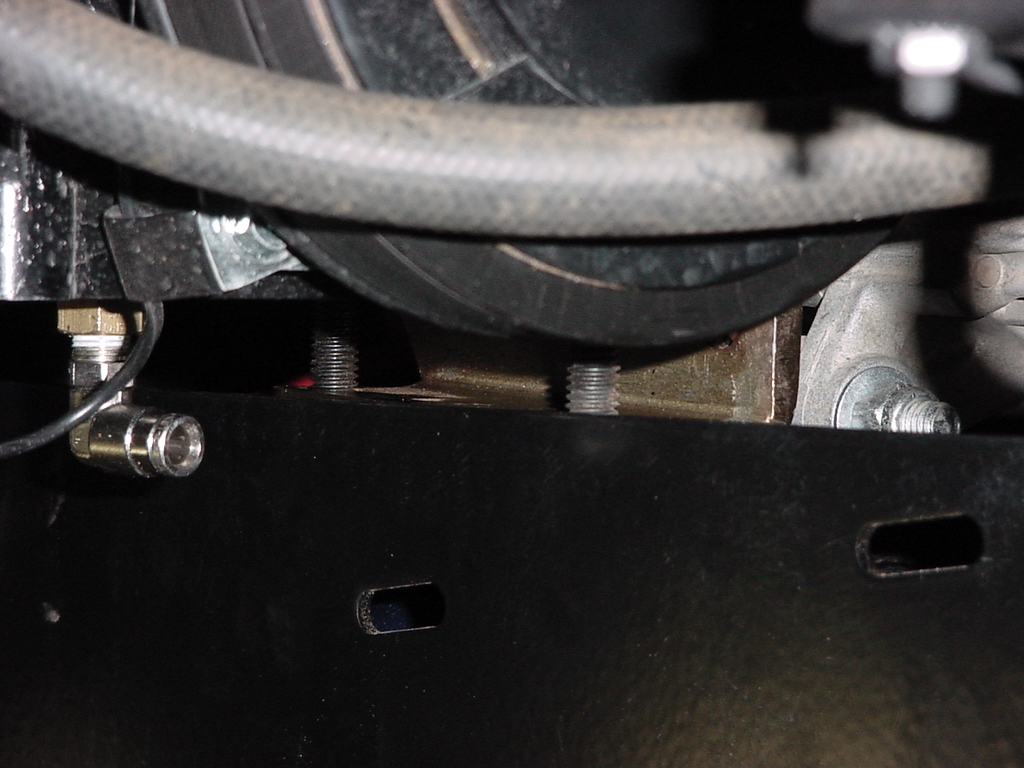
Now test fit your welder tray. It should fit if you don’t have OBA,
but if you do you will need to see if there are any clearance issues
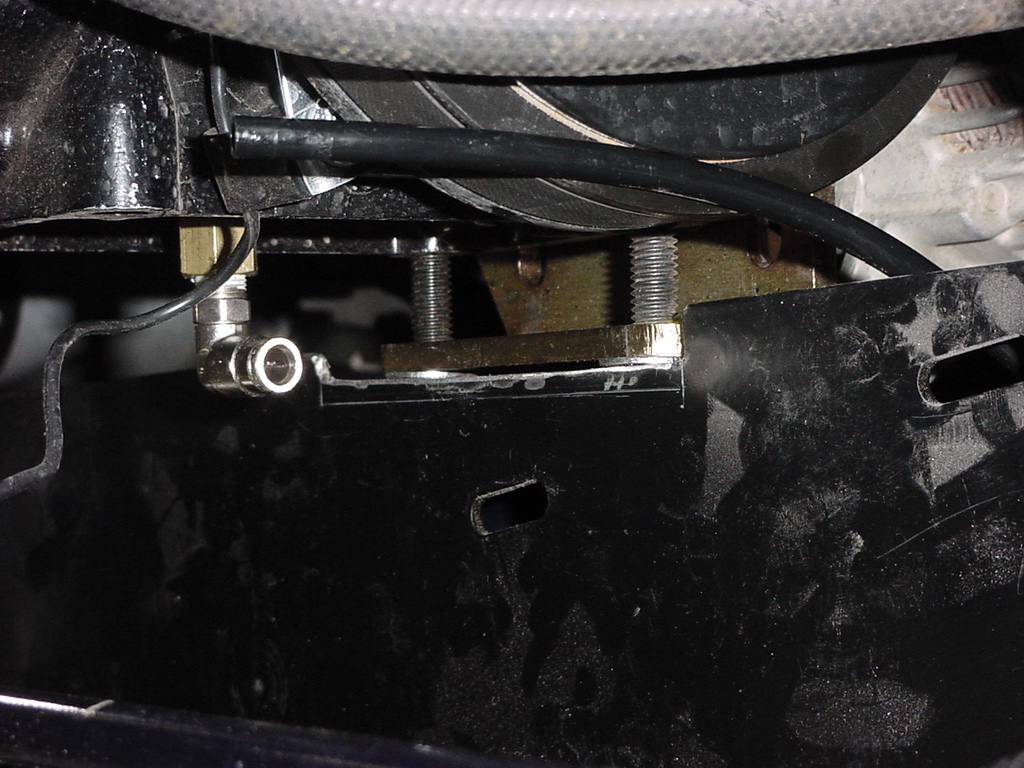
with it. Mine did not fit, it sat on top of the OBA bracket for the
KE-2000 kit. Therefore, I needed to modify it so that it fit around. |
|
|
|
|
|
|
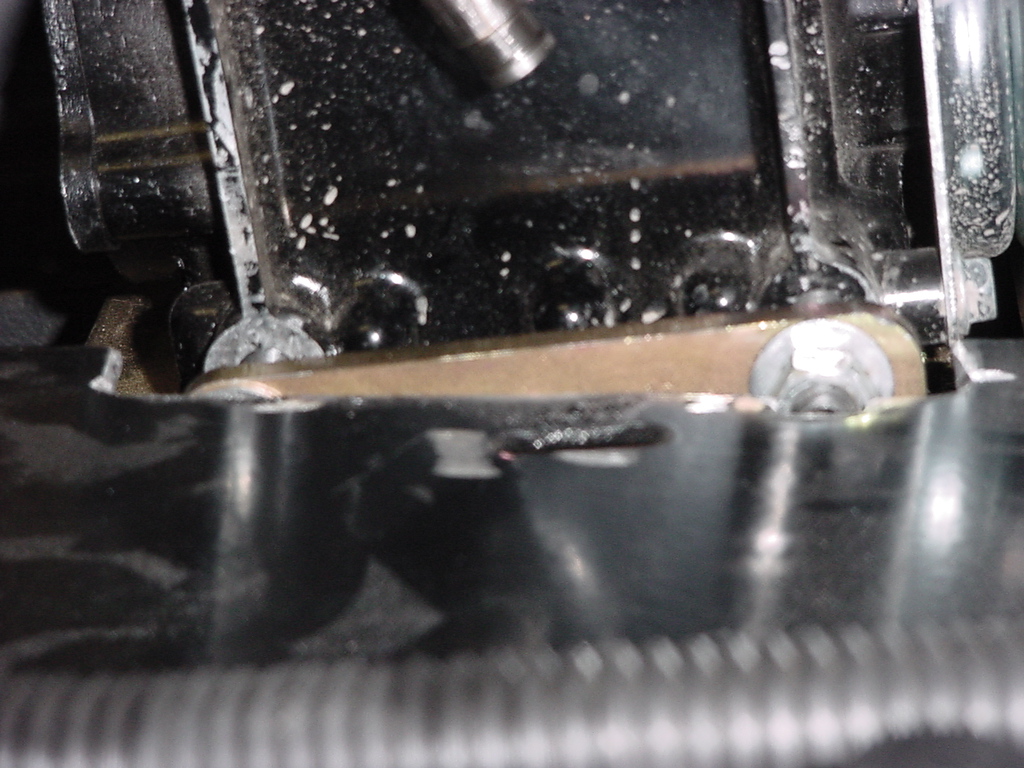
2.
I checked the threads on the 2 mounting posts on the bottom side of
the welder tray, one had some powder coat in it, so I needed to clean
it out before the bolt would thread in. It will be hard to line up
these holes once you go to thread the bolts in, so you'll be pretty
much be doing it blind.
|
 |
3.
If you choose to leave the welder bracket off the base plate continue
on to step # 5. The welder bracket is adjustable forward/ backwards,
left and right, so you can position a welder (Premier) in about any
directions. Place the welder bracket on the base plate with the taller
side to the inside of the jeep. Note: if you already have a welder
you can bolt it in place prior to installing the bracket on the base
plate. Though I believe that it may be easier to get the plate in
if it is left until the plate is installed in the Jeep.
|
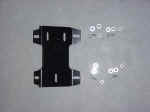 |
4.
Install the welder bracket to the base plate using 4 bolts, 4 nuts,
and 8 washers. Leave these loose until you can check the fit of the
bracket under the hood.
|
 |
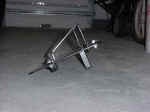 |
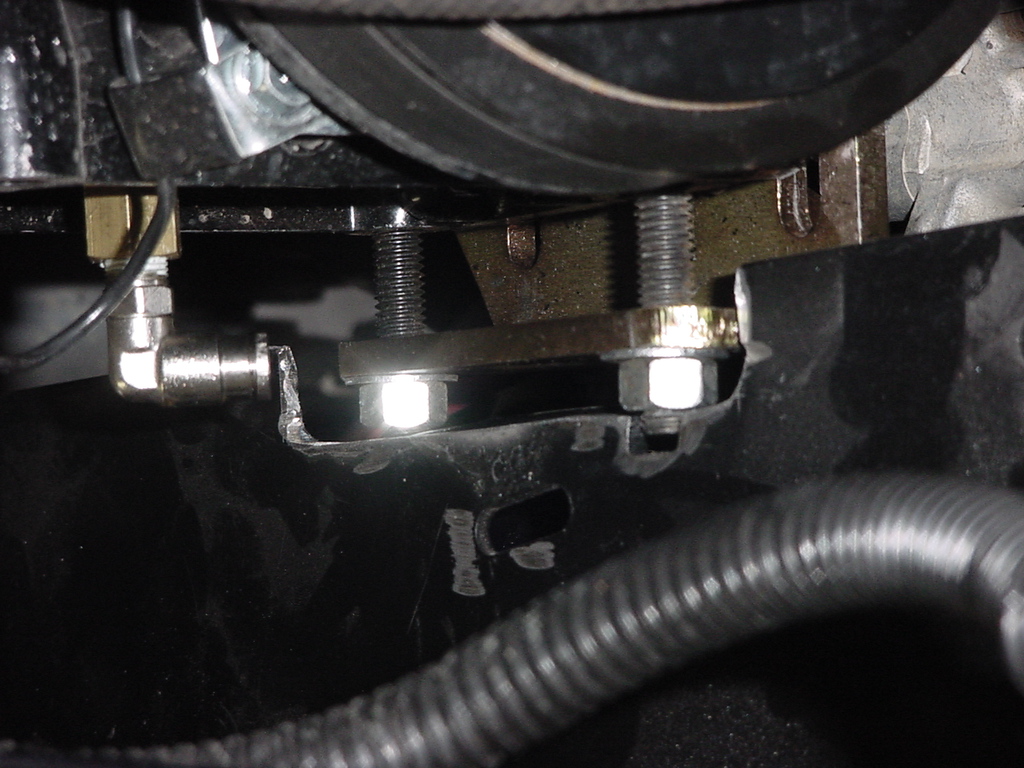
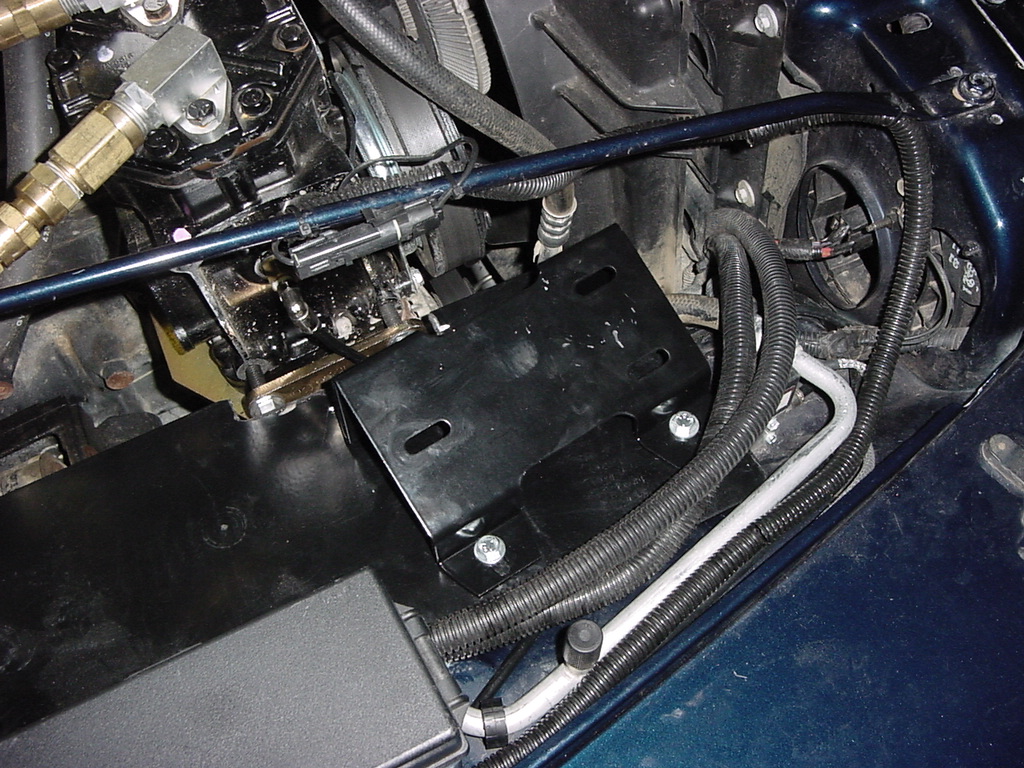
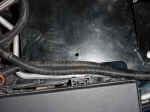
5.
Place the assembly into the Jeep. Install 1 bolt and washer from underneath
into the 2 mounting posts, do not tighten.
|
 |
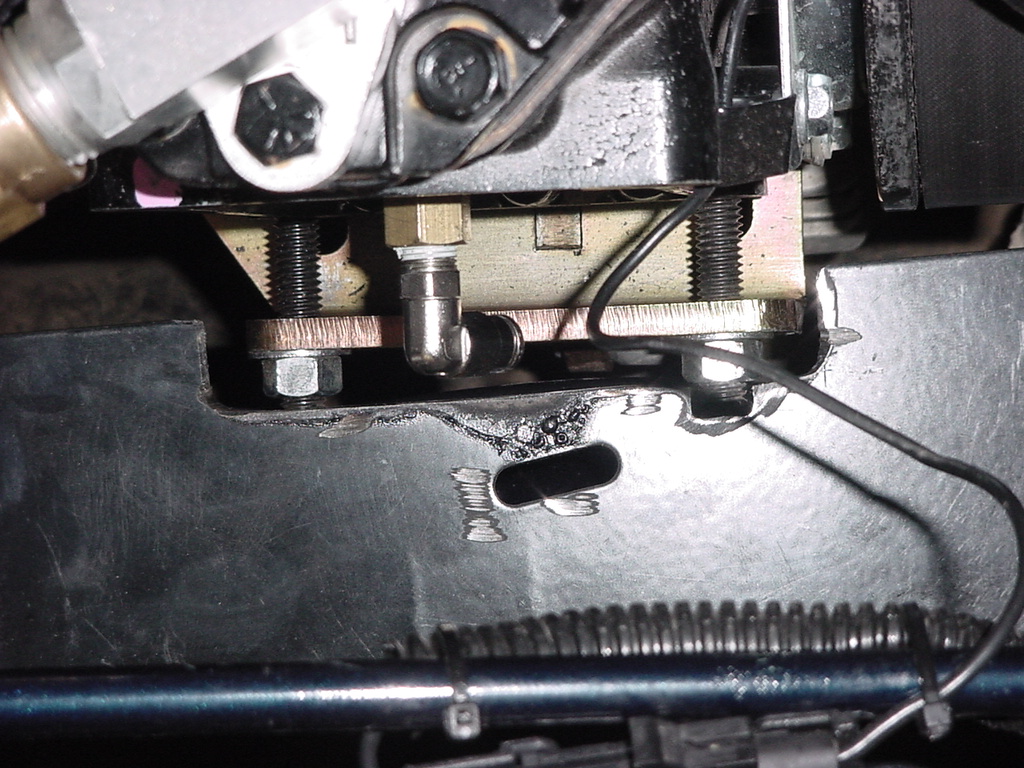
6.
Line up the back mounting hole and insert a bolt, 2 washers and a
nut.
|
 |
| 7.
Check for clearance around the plate. |
| 8.
Now tighten everything down. |
 |