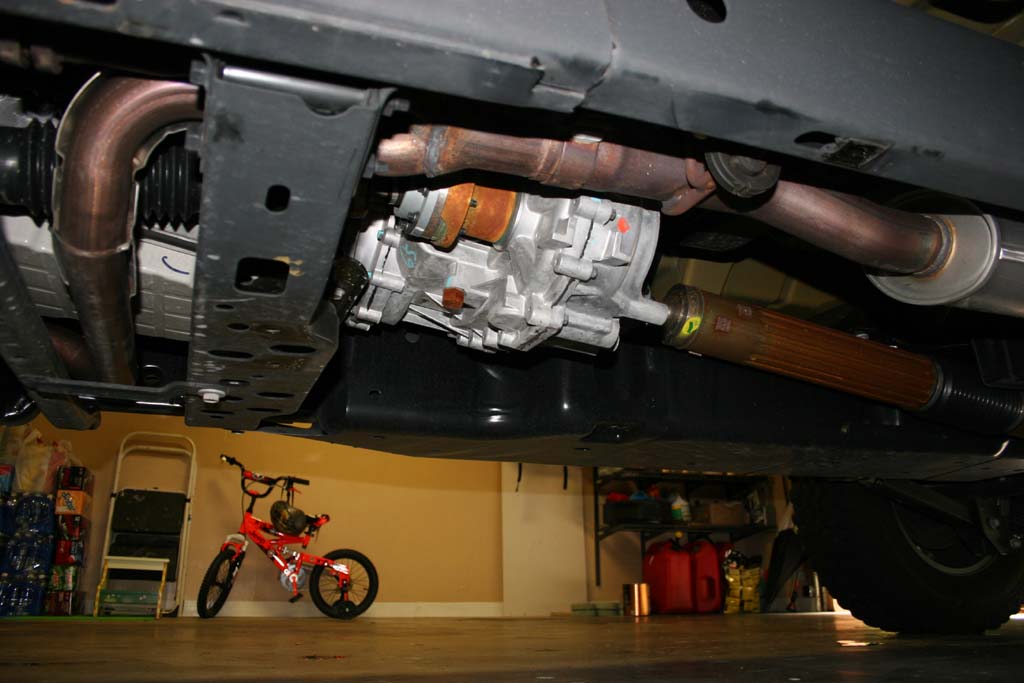
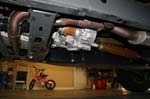
One of the bad things with the new motors in the 2012 and up models is that with any lift over 2" the exhaust can come into contact with the front driveshaft rubber boot at full flex. While this isn't really an issue with the actual lift height it has to do with the extension on the front shocks. My boot on the front driveshaft showed signs of heating without even taking it off road. So it was either new drive shaft, or exhaust spacers. I went with the exhaust spacers since they were cheap. I will eventually remove these and install an smaller front driveshaft. Now exhaust spacers can be gotten from Teraflex, Poly Performance and I believe Rugged ridge. Since I was already ordering a compressor bracket from Poly I just picked up a set of their spacers also.
| |
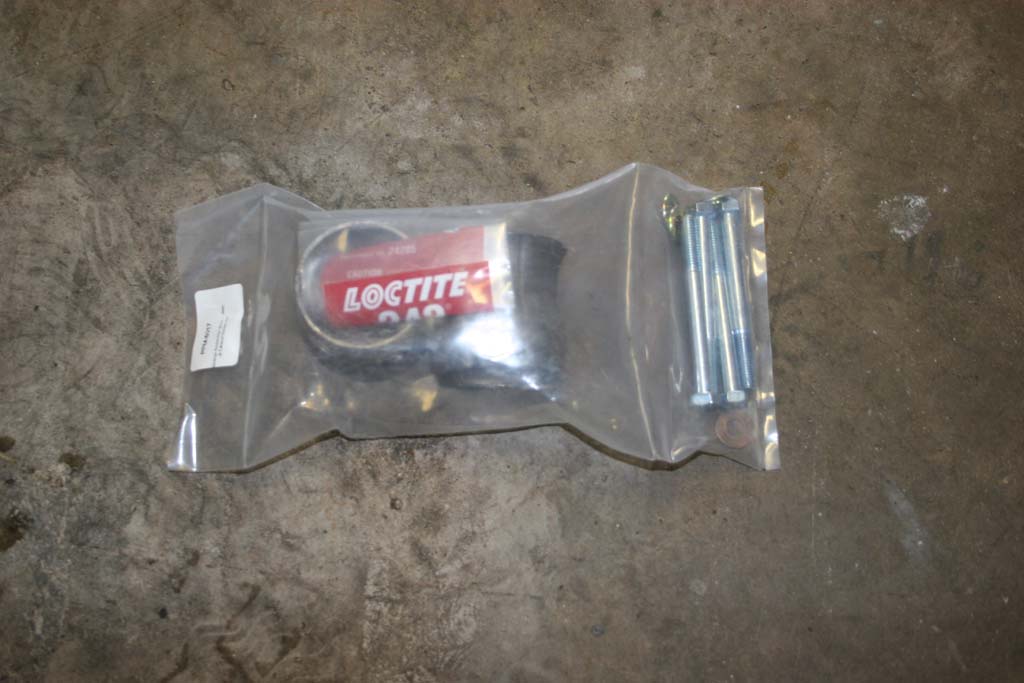
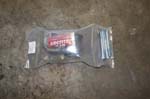
| Here's the package from Poly Performance. |
 |
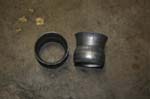 |
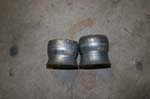
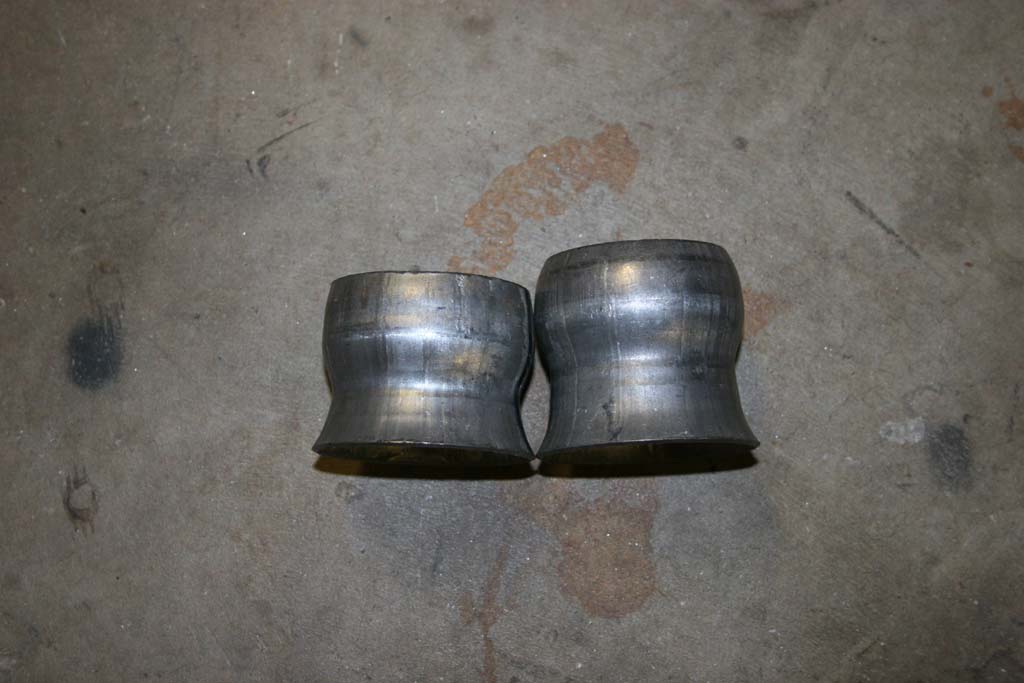
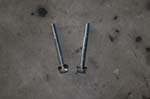
Taller spacer for the passenger side.
|
 |
 |
| Installation: |
| 1. Remove the factory skid plate for the transfer case. You will need an 18mm socket and ratchet. You can put a floor jack underneath the skid plate to hold it up, I just used my knee. Set this aside. |
 |
 |
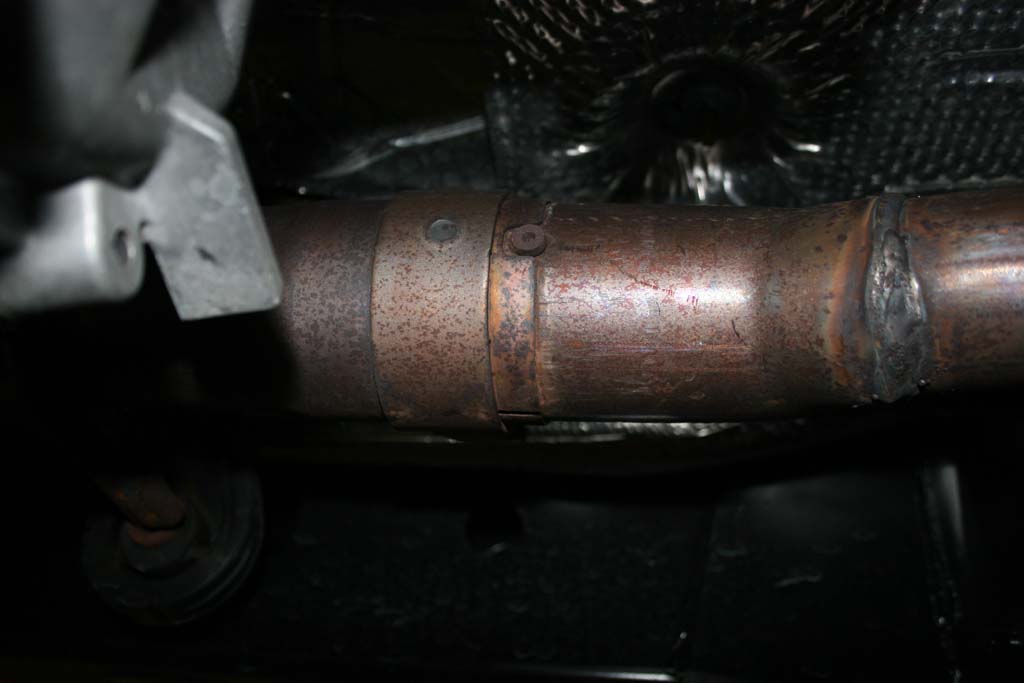
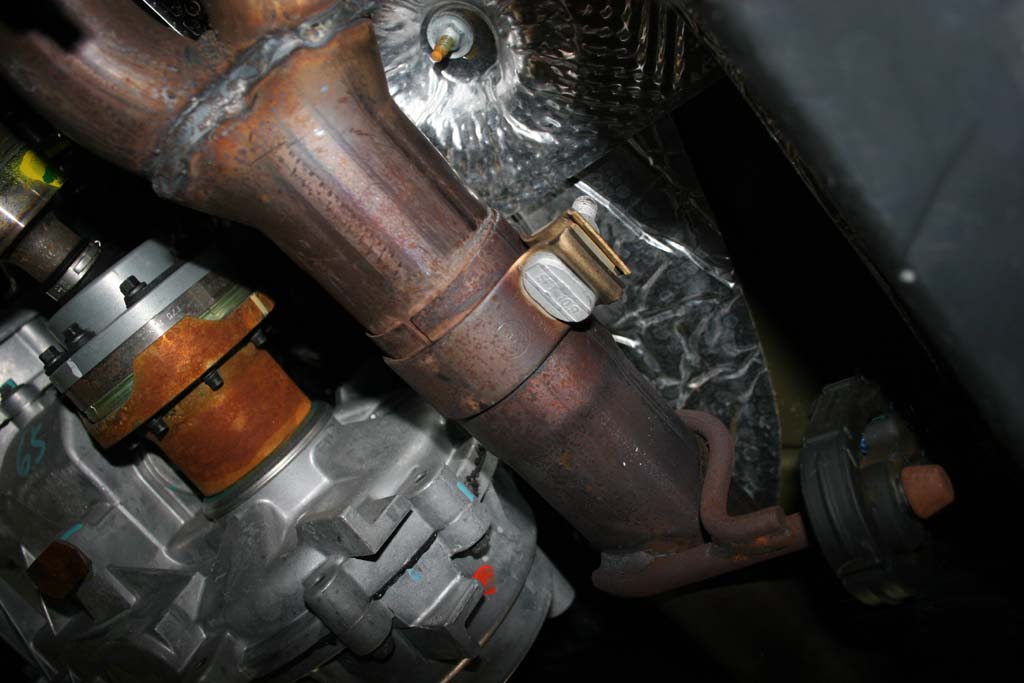
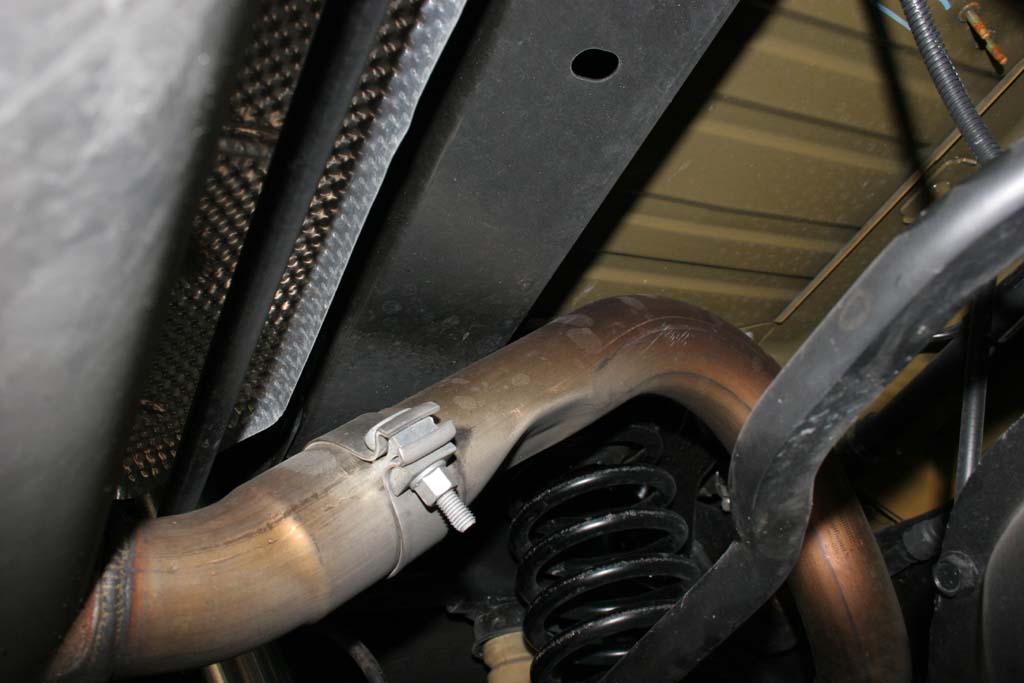
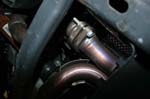
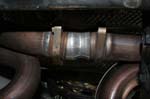
| 2. Loosen the exhaust clamp where the factory cross over pipe connects to the mid exhaust section. You will need a 15mm combo wrench. This can be extrememly difficult to get to loose since there is not much room. I was able to get a double wrench (put the box end of another wrench over the jaw end of the first one and use as a cheater bar) on it and get it to move a little. I loosened it pretty good, but didn't remove the nut from the clamp. The clamp is tach welded on the other side, so you can't remove it from the exhaust pipe. |
 |
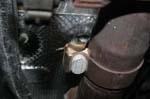 |
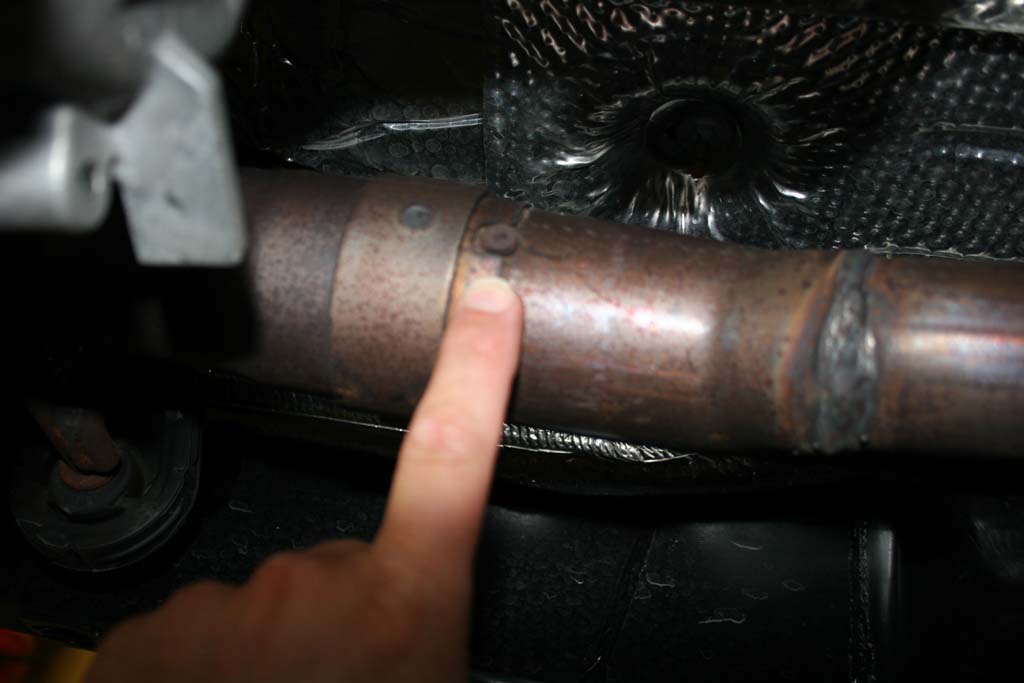
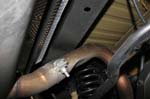
| 3. Remove the small rivet (indexing stop) that prevents the exhaust pipe from sliding further into the mid exhaust section. You can use an air chisel if your feeling especially "Tim the Toolman"ish.. I just hit it with a hammer and cold chisel. It popped right off. Though I don't have a real clue as to where it went in the garage. I'm certain the wife will find it when she steps on it. |
 |
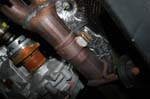
| 4. Remove the stock exhaust bolts that hold the flanges between the crossover pipe and the engine exhaust pipes. You will need a 13mm combo wrench. Put the bolts away and mark them as to what they are. I will eventually put in a new driveshaft, so knowing where and what these bolts are will become important when I remove the spacers. I did discover that one of the passenger bolts was finger tight. The top bolt on the diverside can be a little bit of a pain to remove due to its location. |
 |
 |
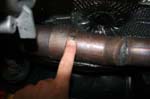
| 5. Gently (requires a little more force than you think) push the factory crossover pipe back. This will require a little bit of wiggling and pushing to get it to slide back into the pipe. |
 |
 |
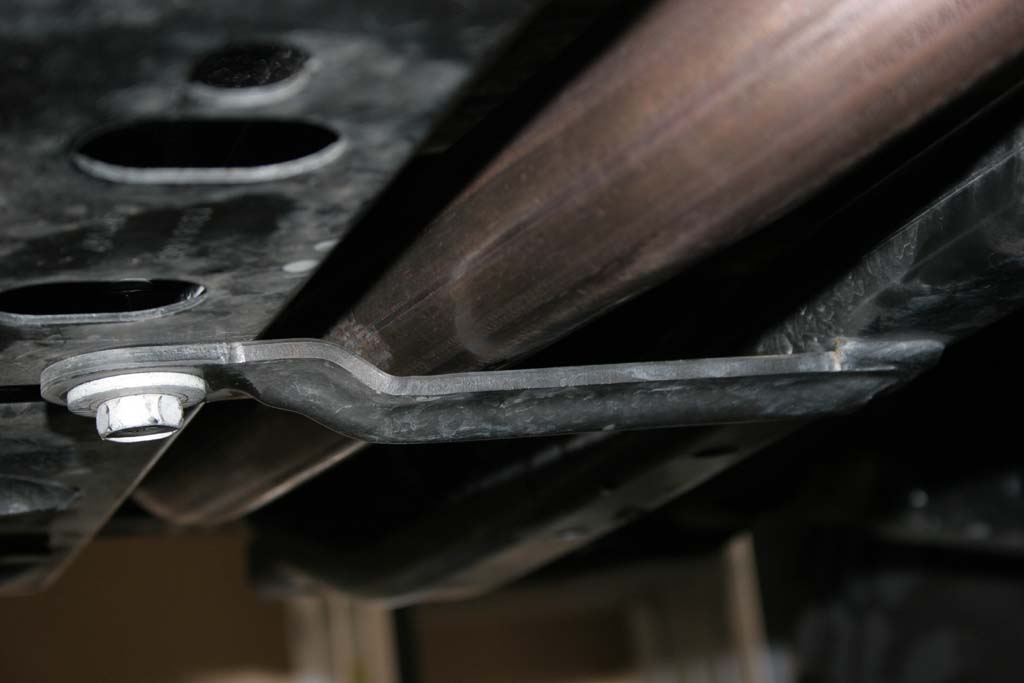
| 5a. Okay, mine was a real pain to get to move. Check where your rivet was and see if you have any debris, weld material, or something there that may be catching on the edge of the mid exhaust pipe. I removed the front skid bar with an 18mm socket and ratchet. Careful this is surprisingly heavy. I ended up grabbing the pipe and rotating it up and down to get to to slide back. It never did slide back more than about 3/4" no matter what I tried. I believe that you really can't get much movement out of the pipe anyways. The pictures from Poly Performance only show about 3/4" of an inch gap. |
 |
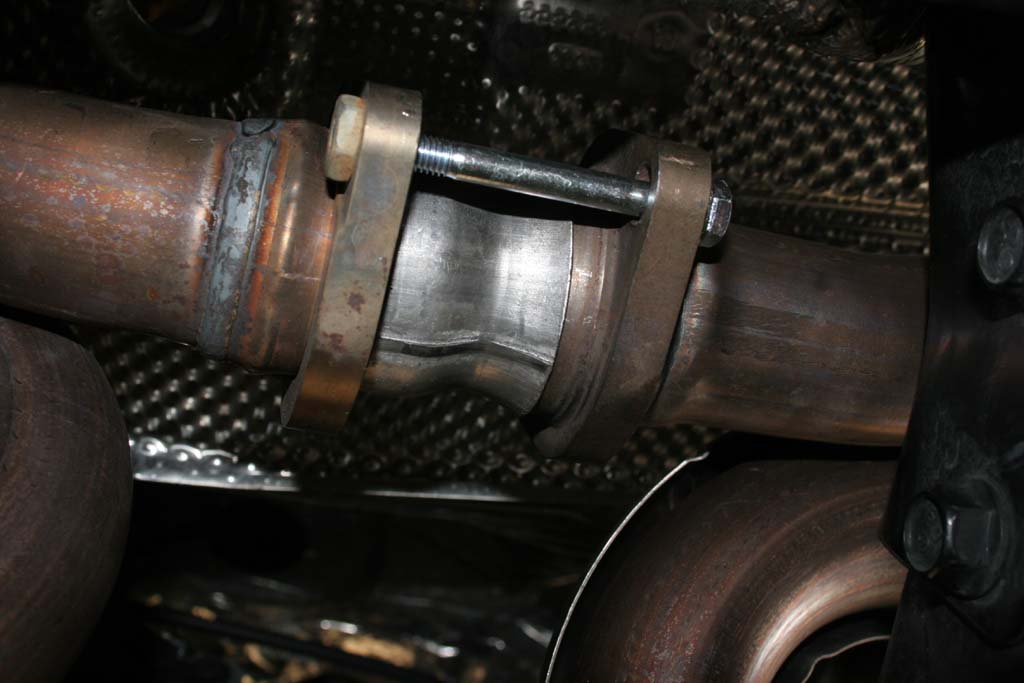
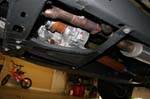
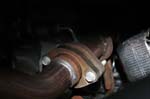
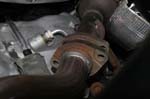
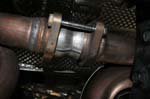
6. Once you get some space, you can pry the exhaust back using the front skid bar as a leverage point. I just pushed back on the pipe and was able to slide the exhaust spacers between the flanges. The bellmouth of the spacer goes over the cone of the exhaust and the rounded end goes into the opposite side.
Note: The taller spacer goes on the passenger side. |
 |
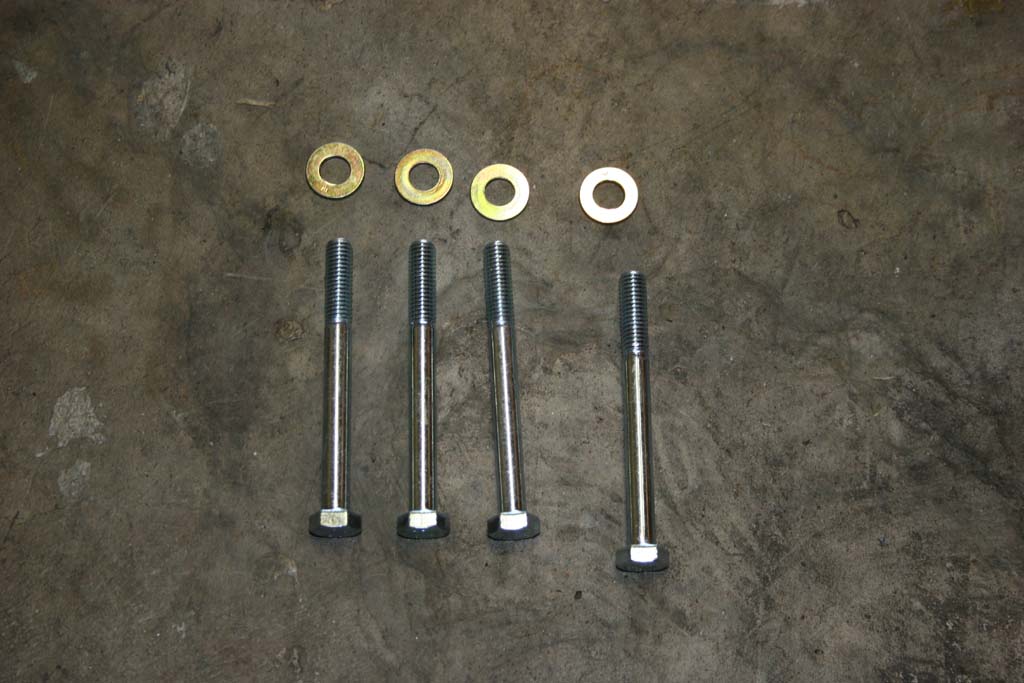
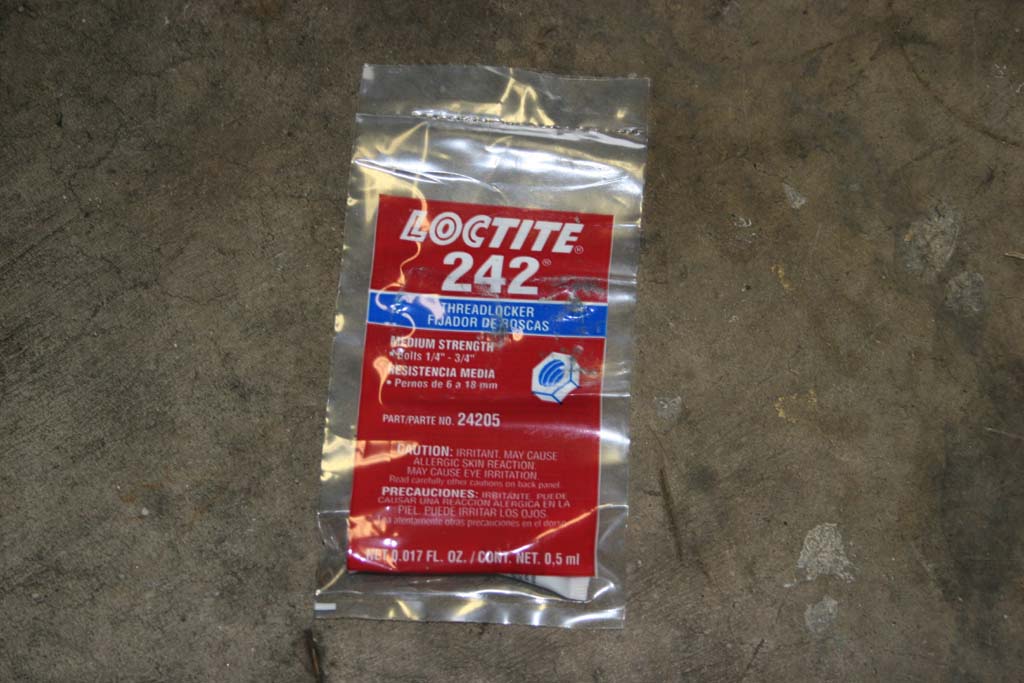
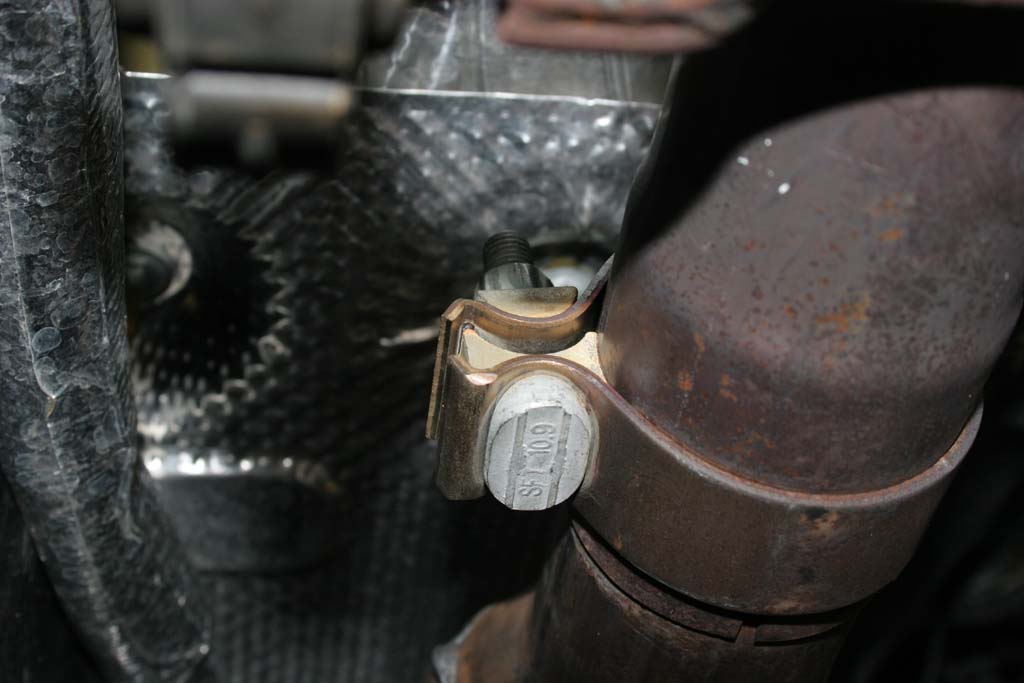
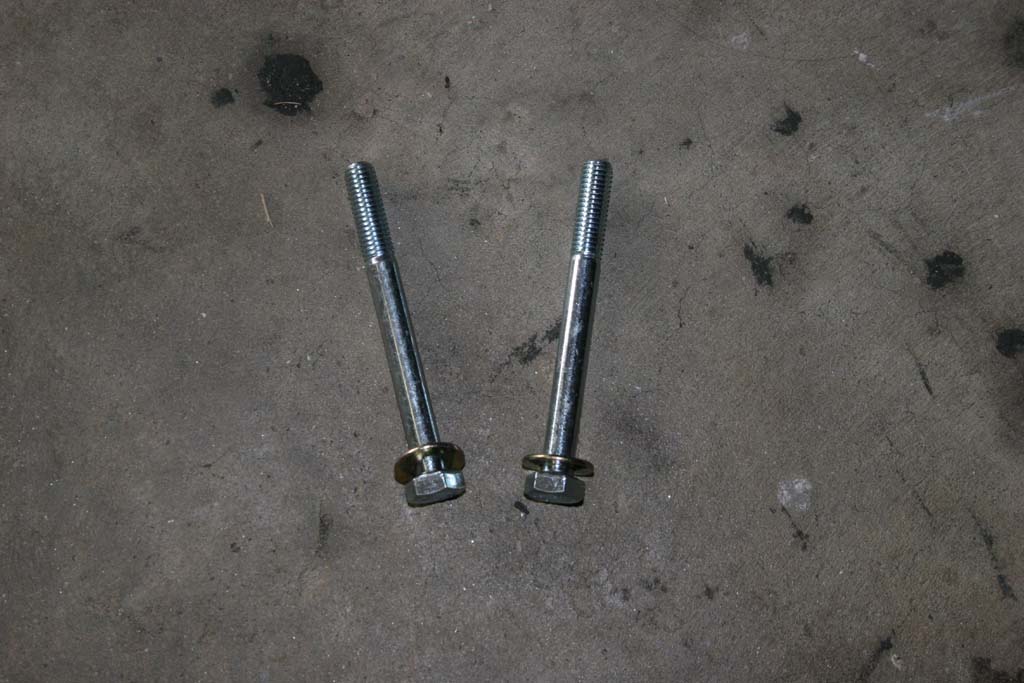
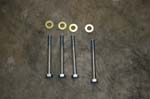
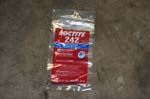
| 7. Once the spacers are in place. Place a washer over each bolt and apply a small dab of the blue locktite that came with the kit to each M8x1.25 80mm bolt. Start each bolt into the exhaust flanges. Do not tighten. |
 |
| 8. Now this is when a friend comes in handy. You will need to try and line up the exhaust as straight as possible before you tighten down the M8 bolts with a 13mm combo wrench. This is fairly impossible to actually get both of them lined up straight, but you will get close enough to get a good seal on the spacers. Tighten the bolts to 15ft/lbs |
 |
| 9. Retighten the exhaust clamp with a 15mm combo wrench. |
|
| 10. Reinstall the transfer case skid plate and the front skid bar if you removed it. You will need an 18mm socket and ratchet. |
|
|
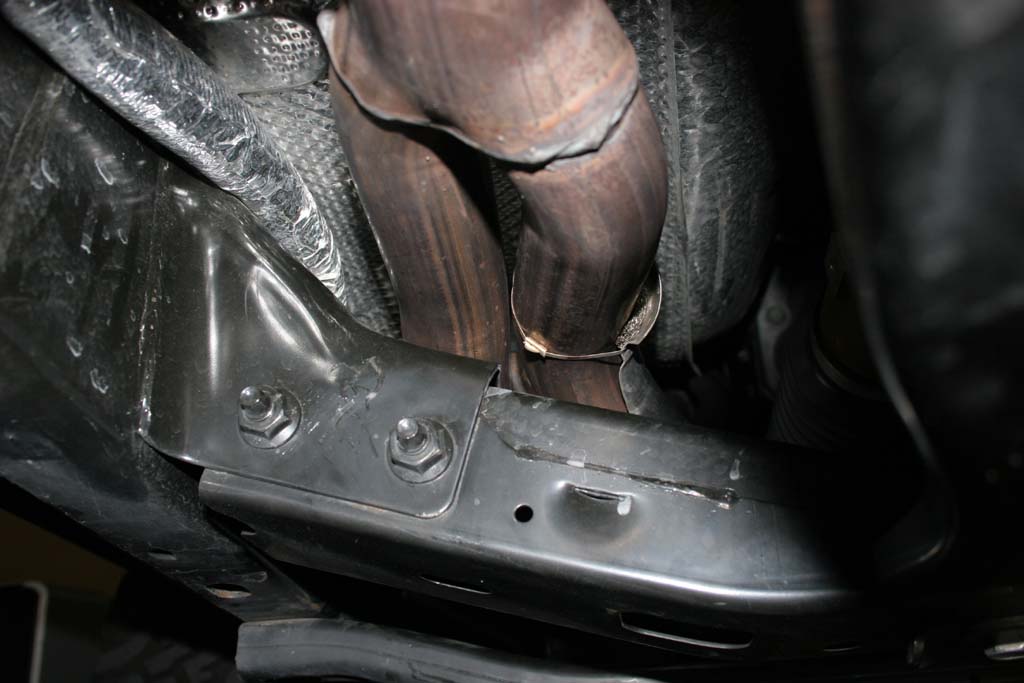
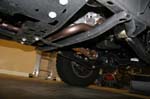
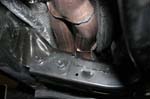
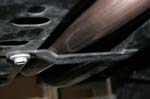
| 11. Double check the clearance of the exhaust pipe around the transmission and frame crossmember above the rear axle. Check the clearance at the front skid bar. |
 |
 |
 |
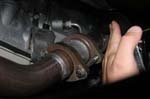
12. Make sure the tires and blocked, parking brake set, and the Jeep is in Park of Neutral. Start the Jeep and check for exhaust leaks at the newly installed flanges. You will be able to feel the hot air blow against you hand and may hear a whistle as the exhaust escapes.
Caution: The pipe gets hot so be careful not to actually touch it. |
 |
| 13. Recheck the exhaust spacers and bolt torques after 100 miles. |
| Thoughts: |
| This is a fairly easy kit to install to give yourself drive line clearance. My only concern is the pressure put on the exhaust system by prying it backwards. The exhaust hangers are now under tension so are pushing against the factory engine exhaust pipes. You really don't have room to put the spacers in and keep everything in alignment as before with the hangers. |
 |