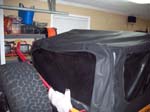
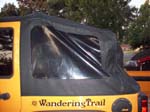
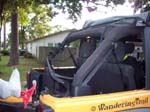
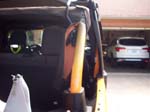
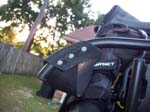
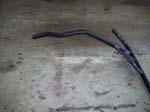
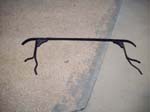
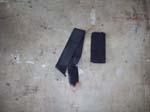
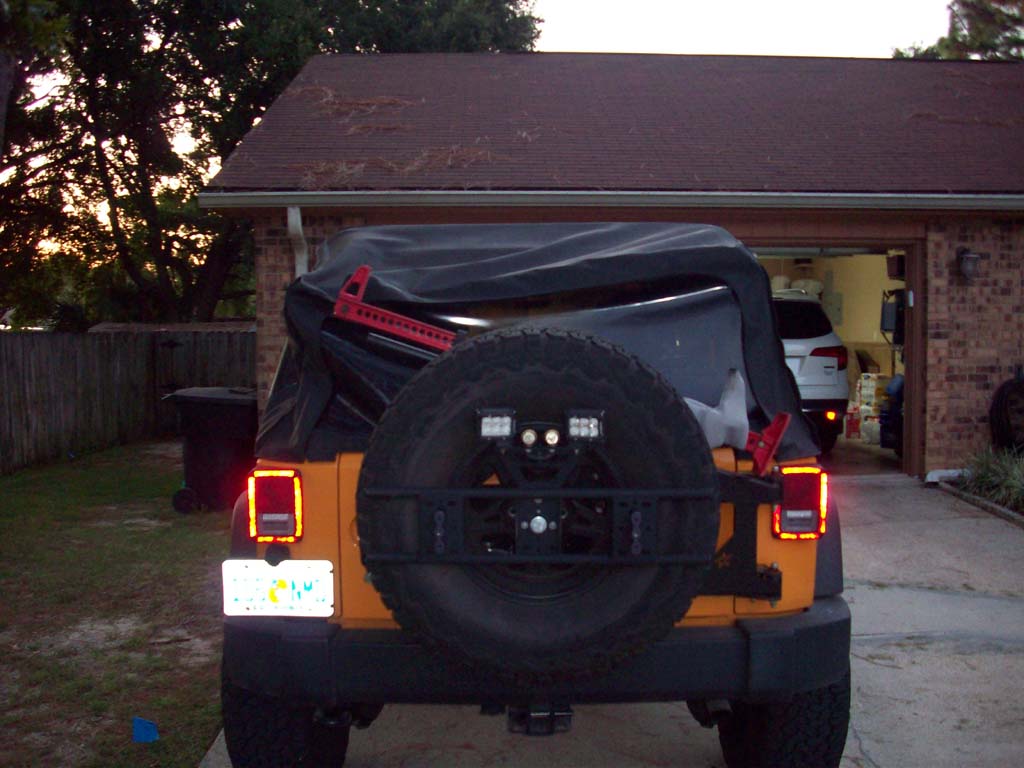
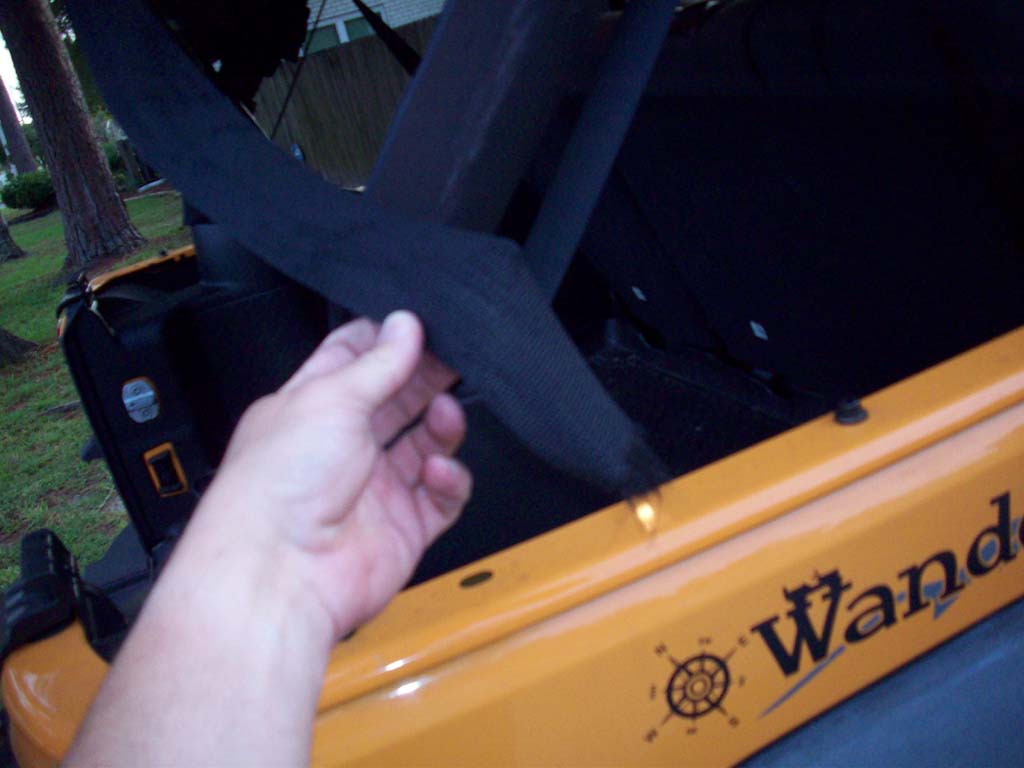
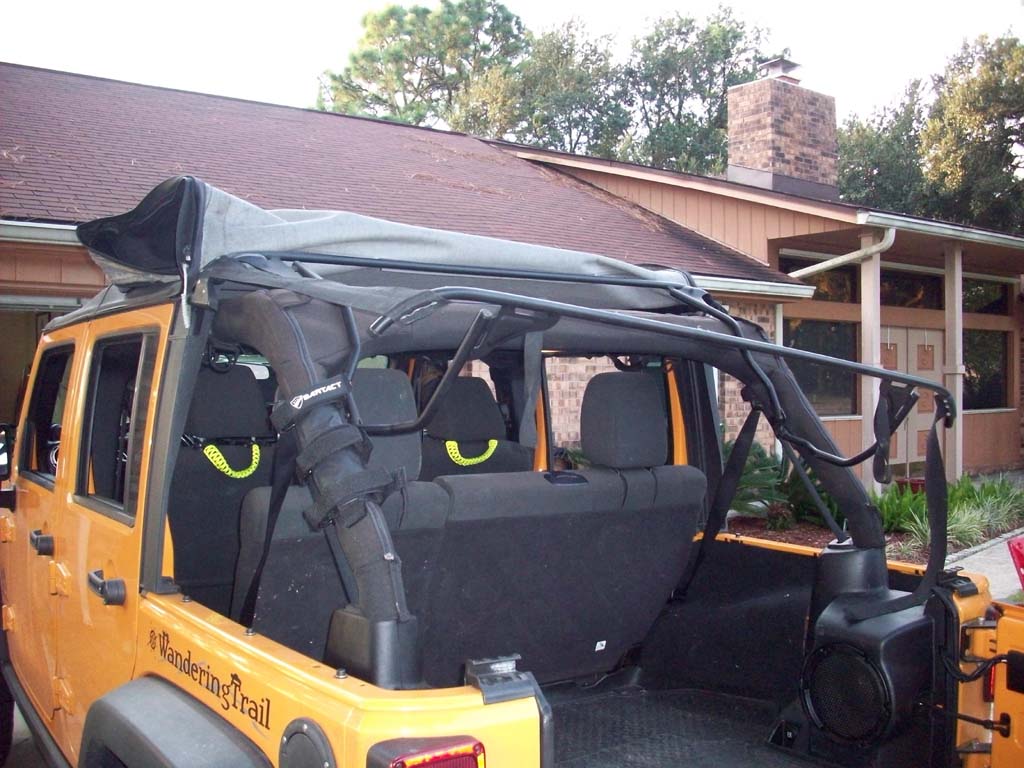
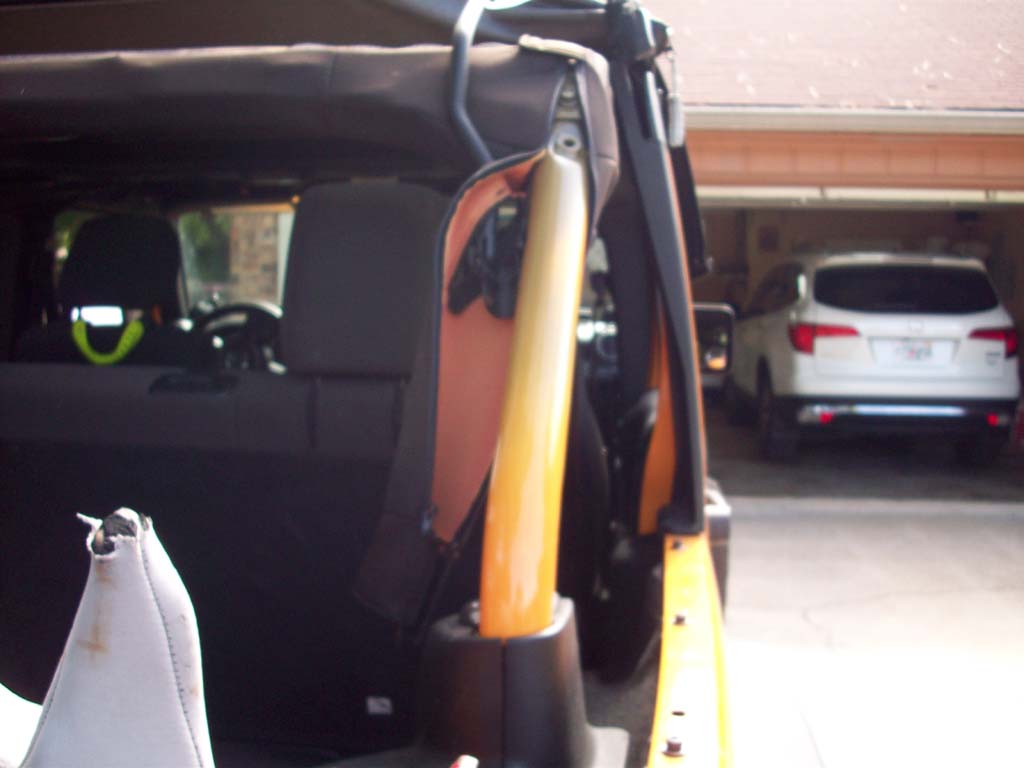
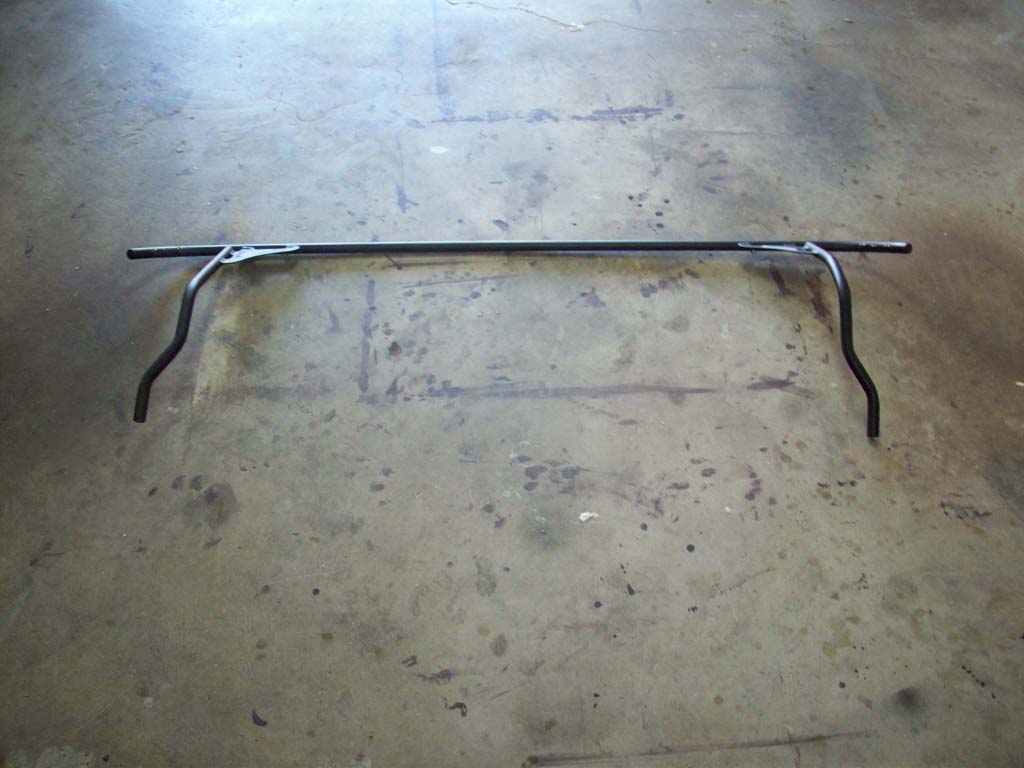
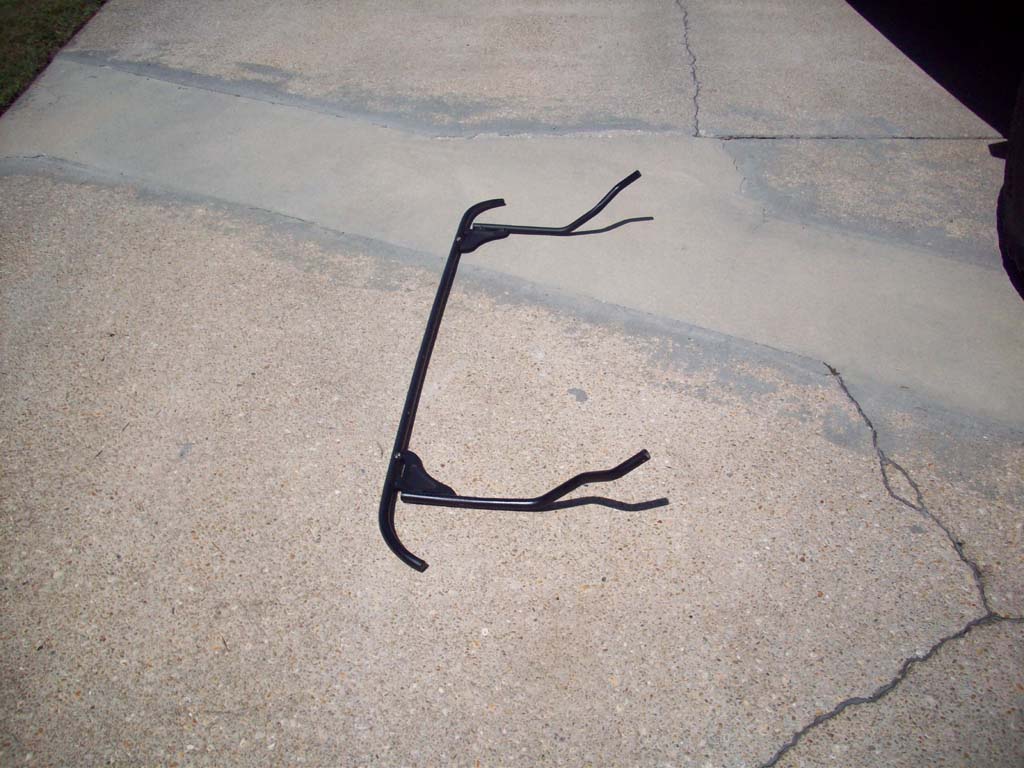
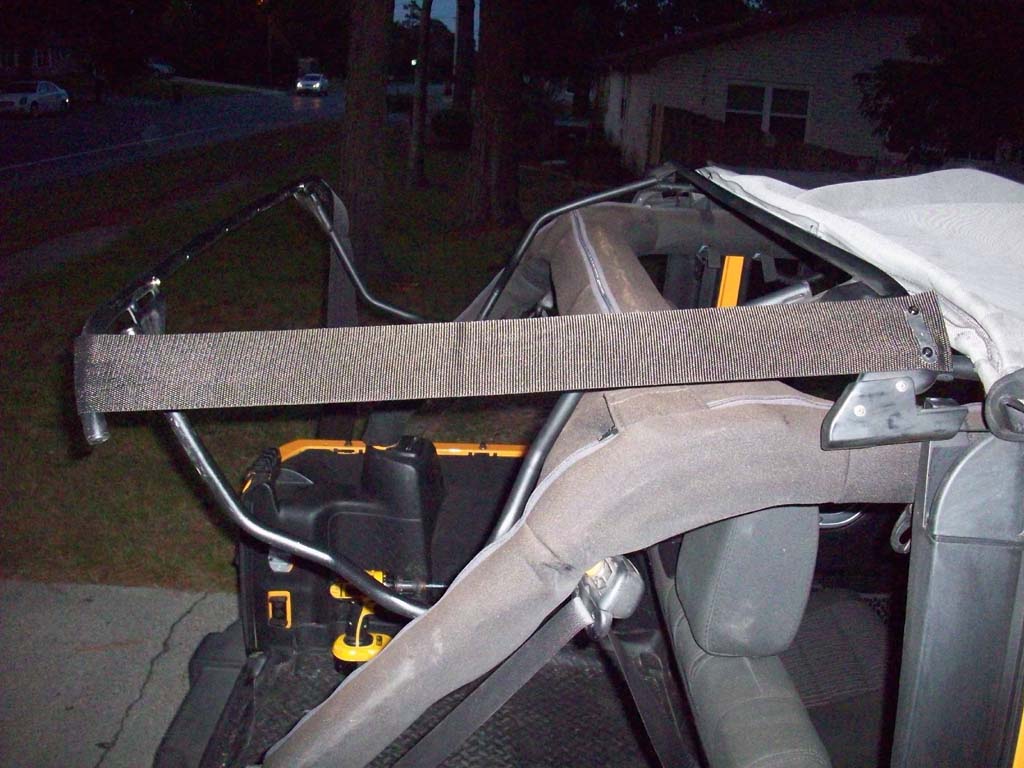
Repairing the rear soft top bow on a Jeep JK after an unfortunate disagreement with my Garage door. I apologize for the low quality pictures, didn't realize I had a camera issue until after I had finished the repair.
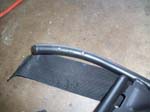
| The Damage: |
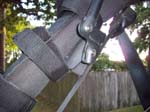
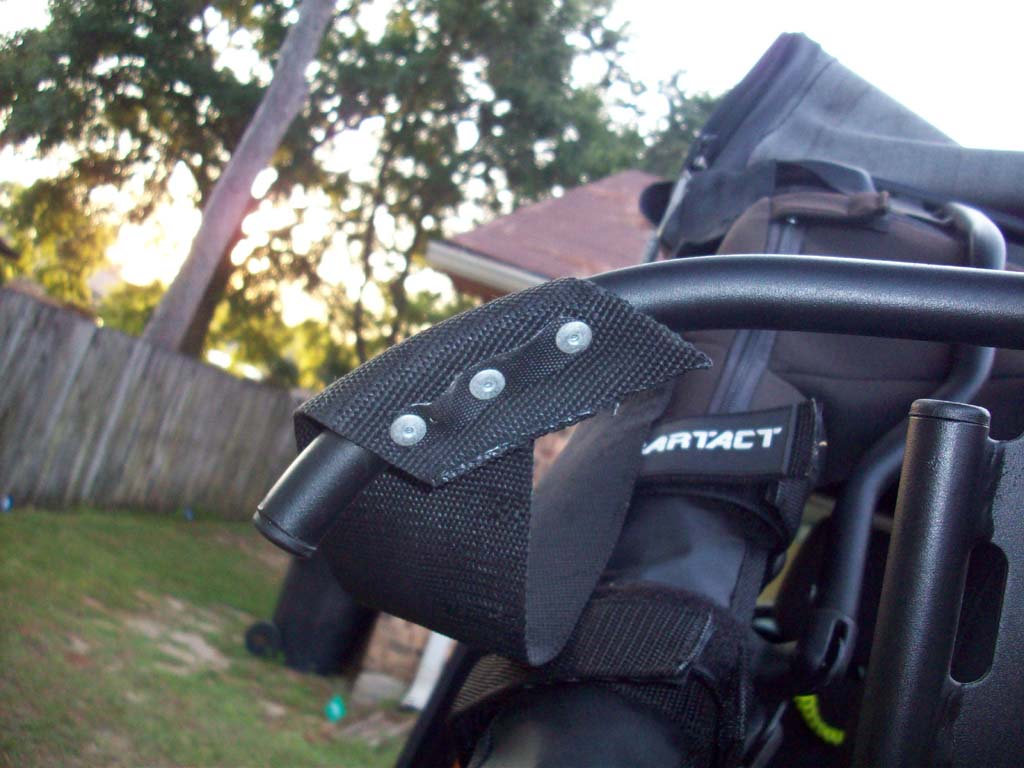
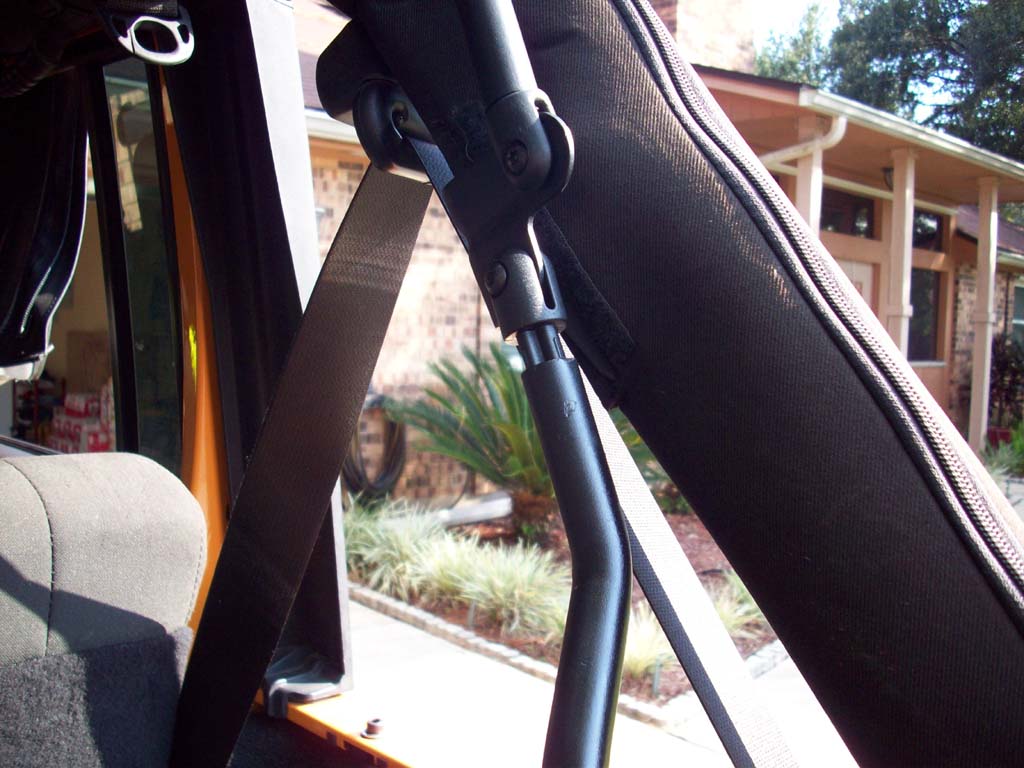
| The damage was actually pretty minor considering I tried to back through a partially closed insulated hurrican rated garage door. This door is not light considering I need commercial springs and an opener to deal with the weight of it, but if you live in Florida you deal with them, especially if you also work on projects in your garage and need the insulation factor. I bent one of the arms on the 4th bow, I snapped one and bent the other plastic bow end, both roll bar mounts were bent, and both straps between the 4th and 3rd bow were torn. The bow ends were bending already after all the years and the straps were definately deteroriated from all the sun and sea air here, so I probably needed to look are replacing both of them anyways. |
 |
 |
 |
 |
 |
 |
 |
 |
 |
 |
| |
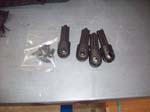
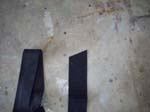
| The Parts: |
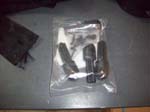
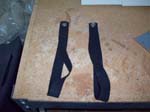
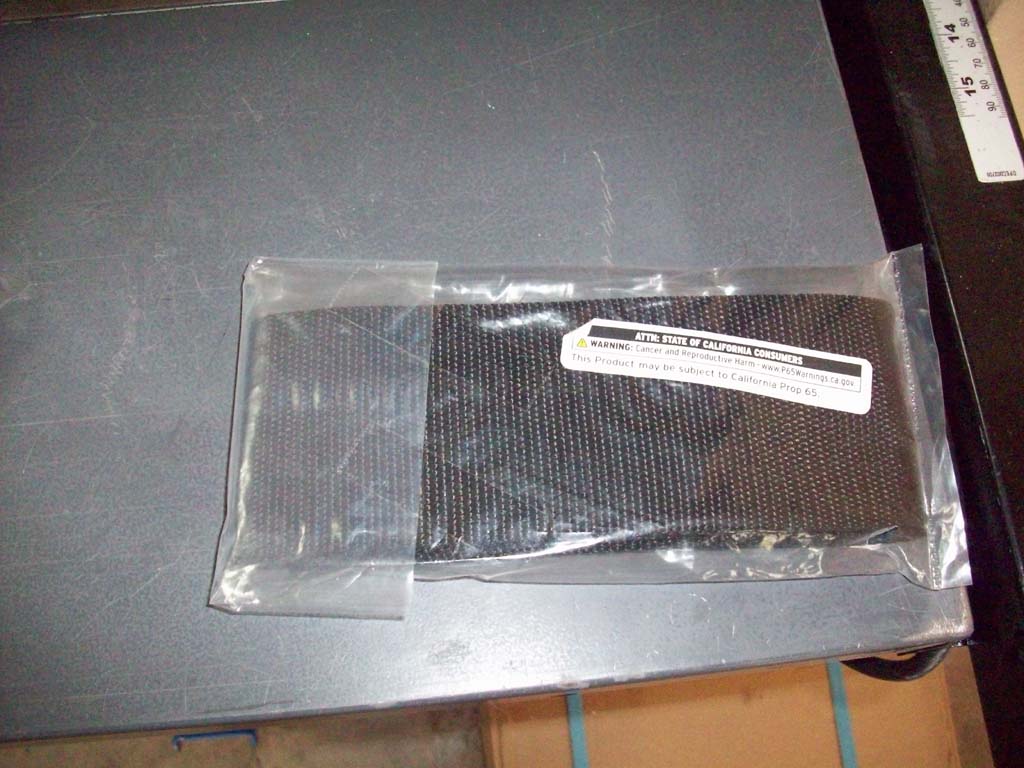
| I picked up a set of bow ends and straps from Omix-Ada. The price difference between the OEM parts and Omix was considerable, so I decided to give the aftermarket a try. I could always return them if I wasn't satisfied with the quality. |
 |
 |
| |
| Disassembly and Repair: |
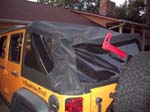
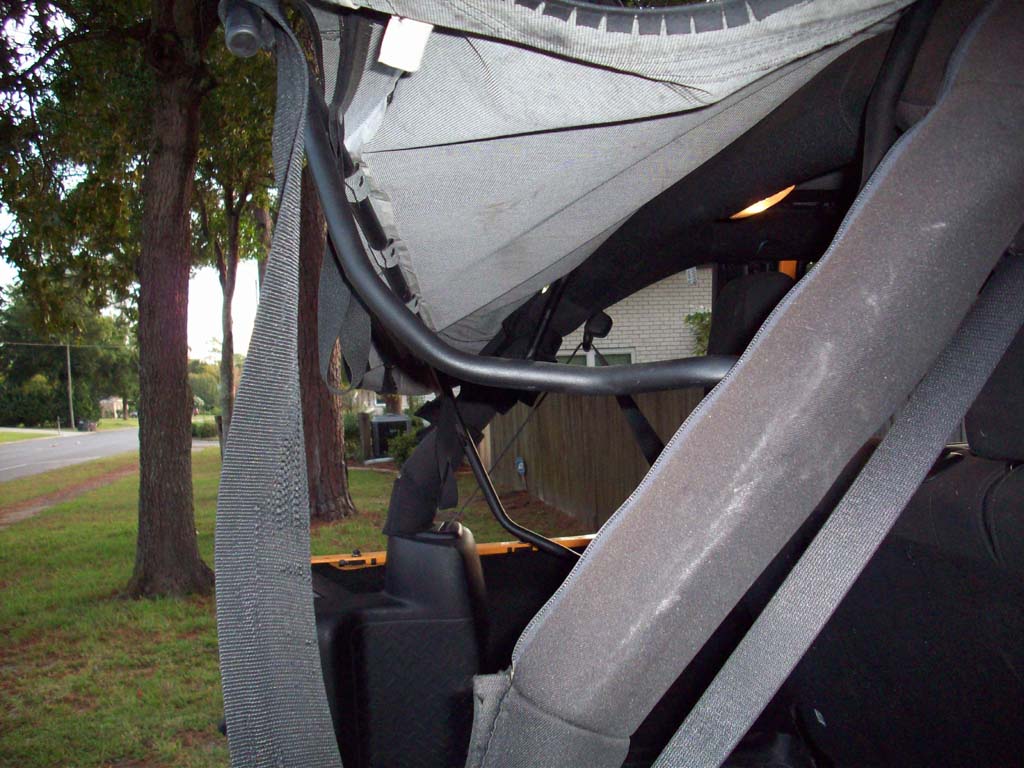
| 1. Remove the side windows and rear window of the soft top. Undo the rear corners of the soft top from the Jeep tub. |
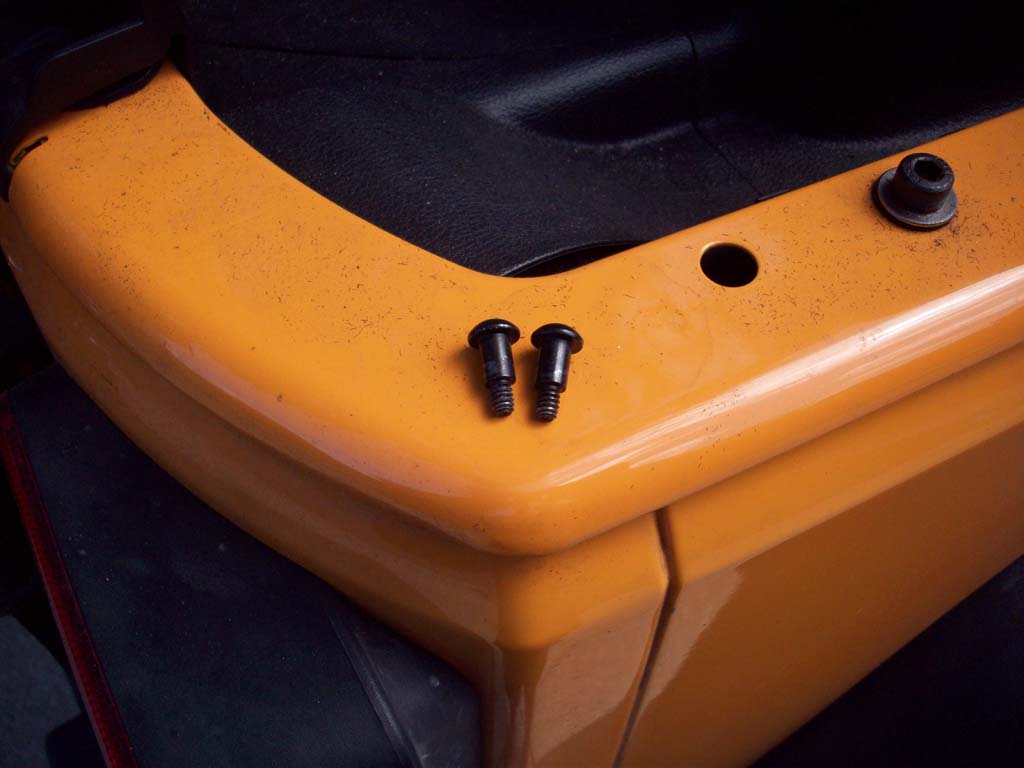
| 2. Remove the 4 screws holding the soft top to the 4th bow with a #2 phillips screwdriver. Go slow and make sure you don't strip the screws out. Some came out easy, and others were tight. |
 |
 |
 |
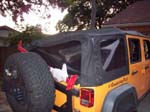
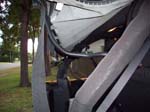
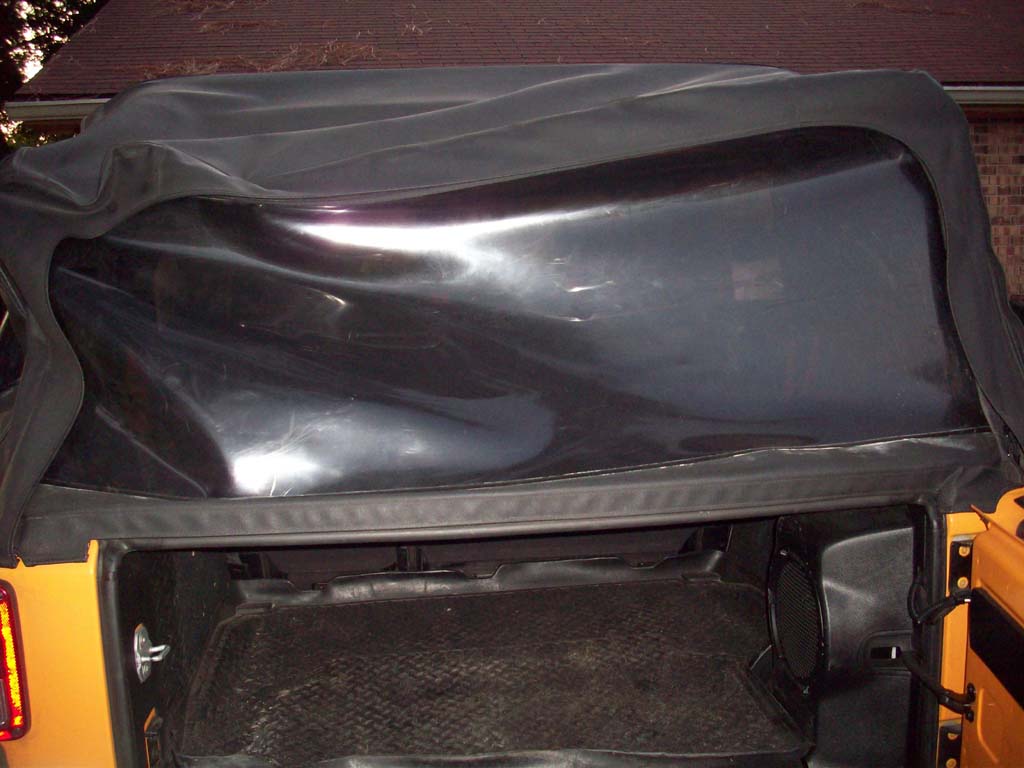
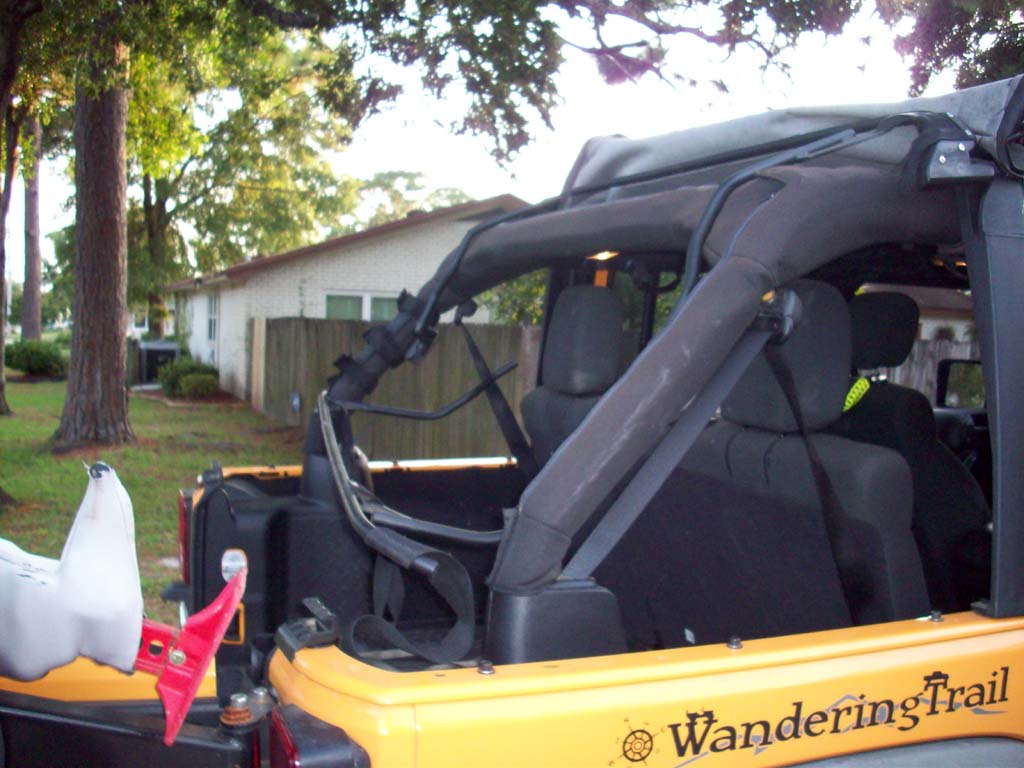
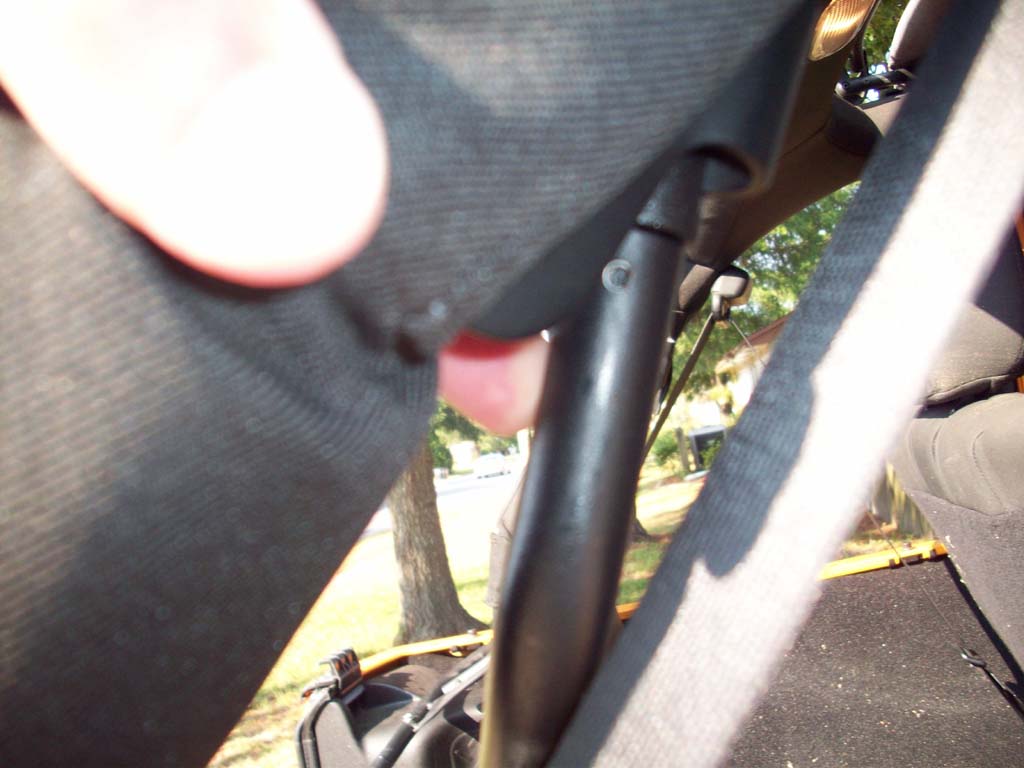
| 3. Fold the soft top back upon itself so you have room to work on the straps if needed. This is where I discovered that the straps were broken as the 4th bow tried to take my head off when I flipped back the soft top. |
 |
 |
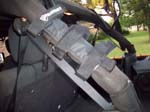
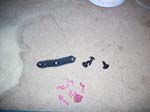
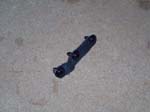
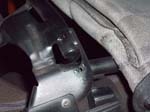
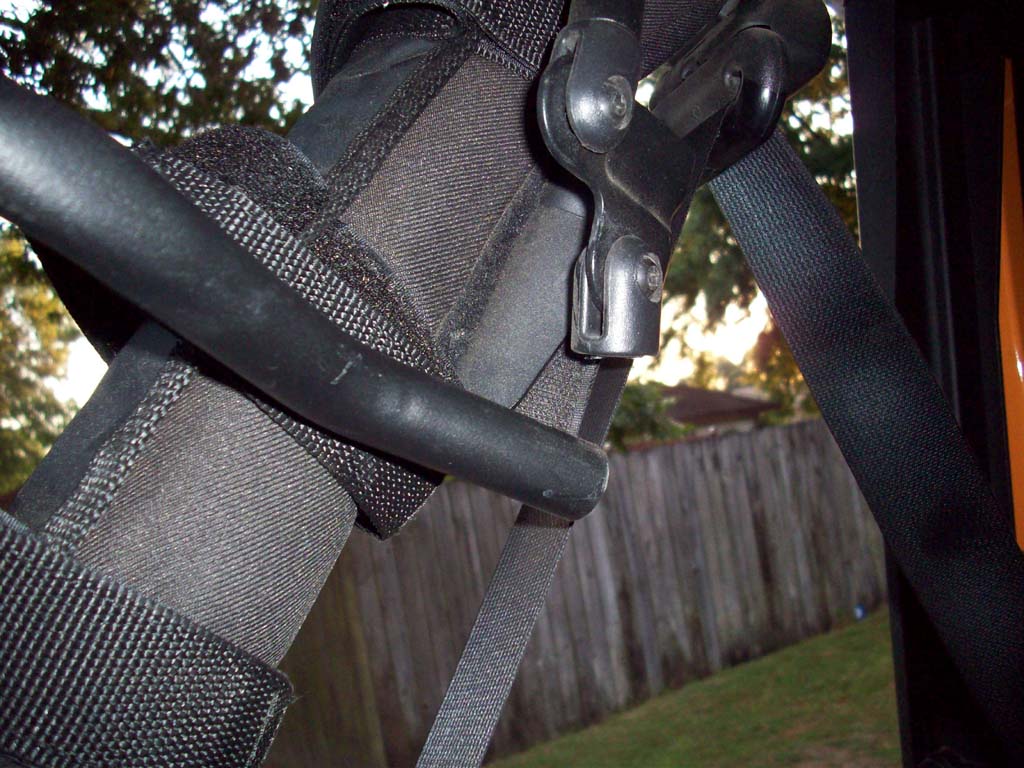
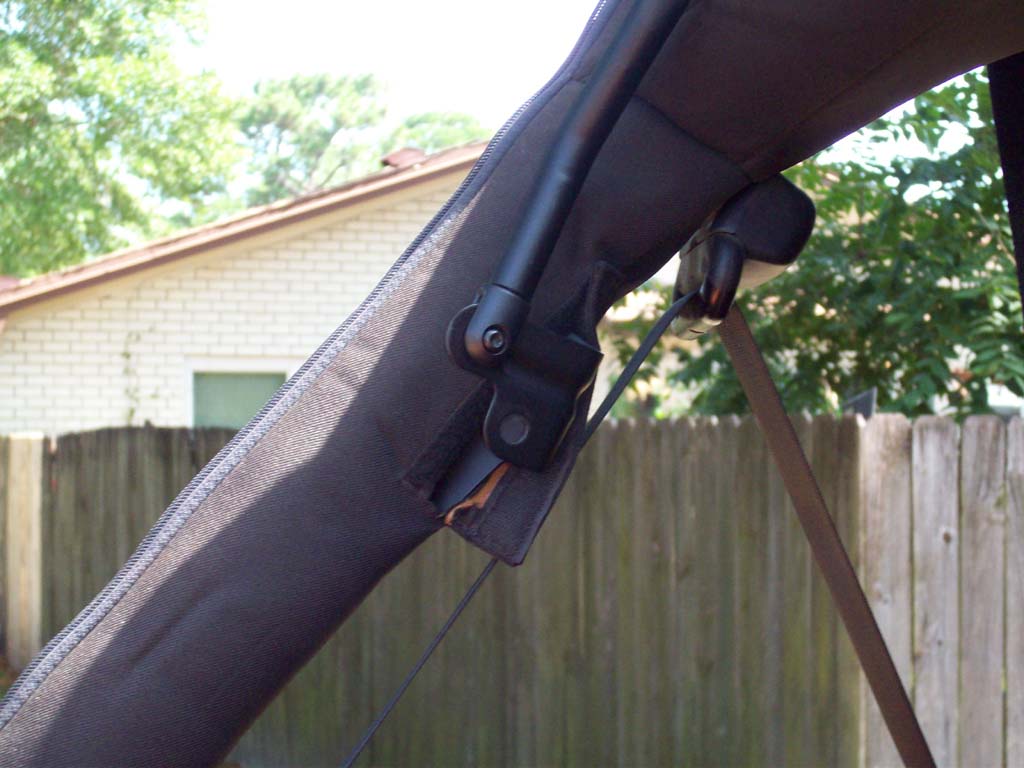
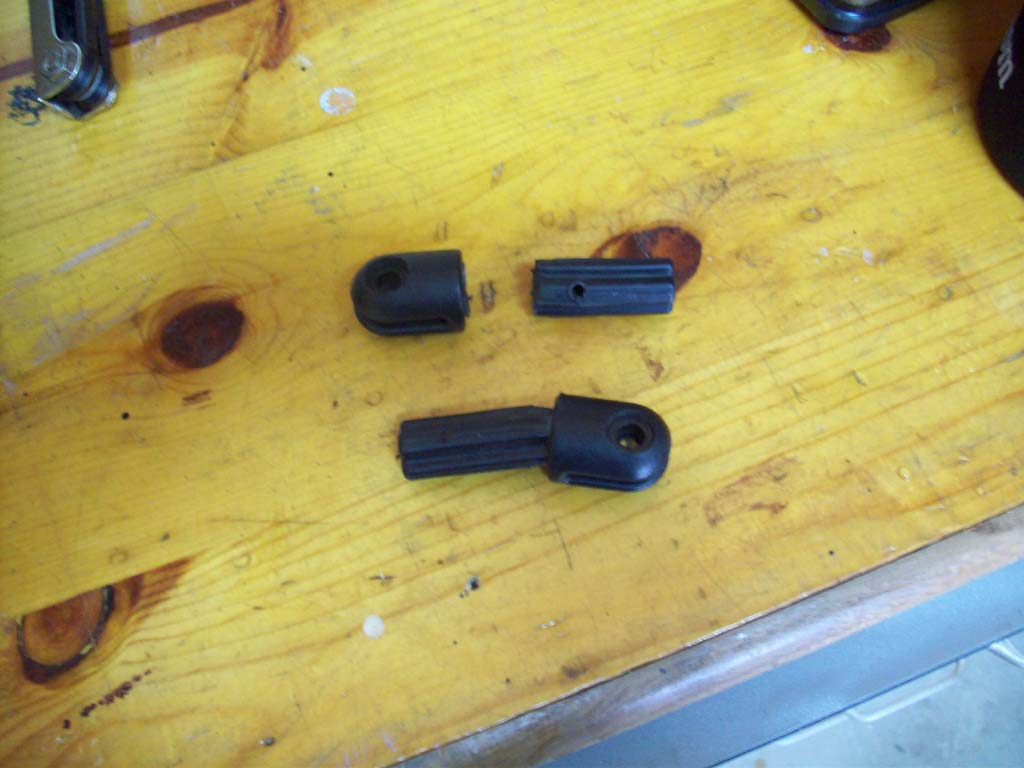
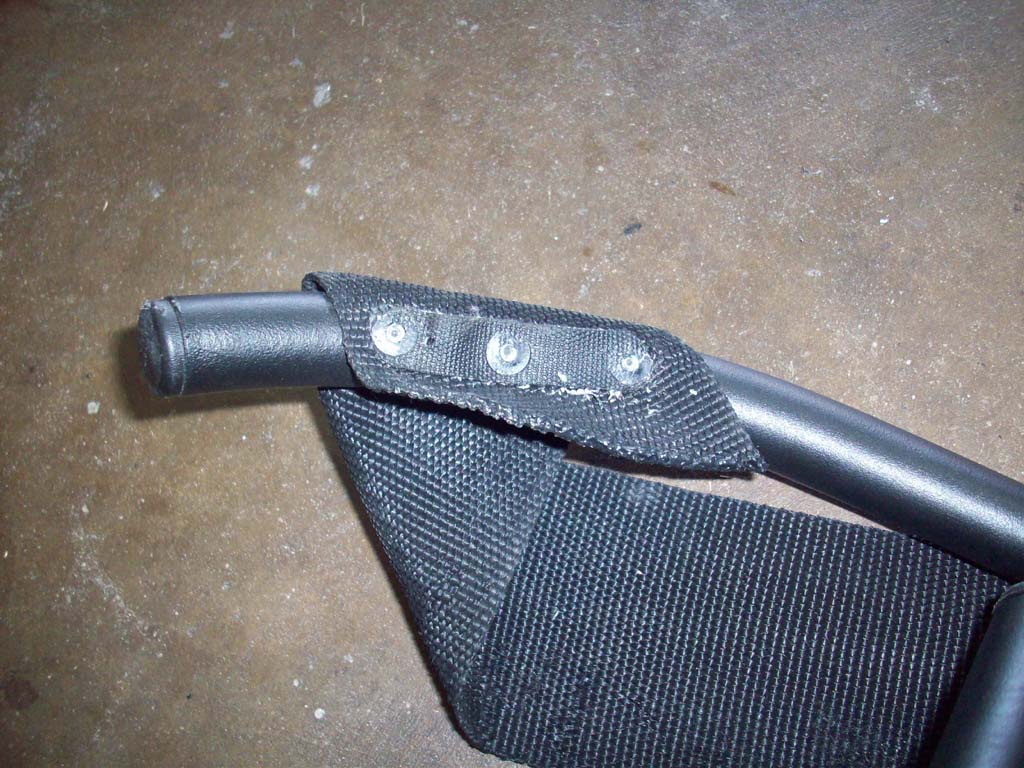
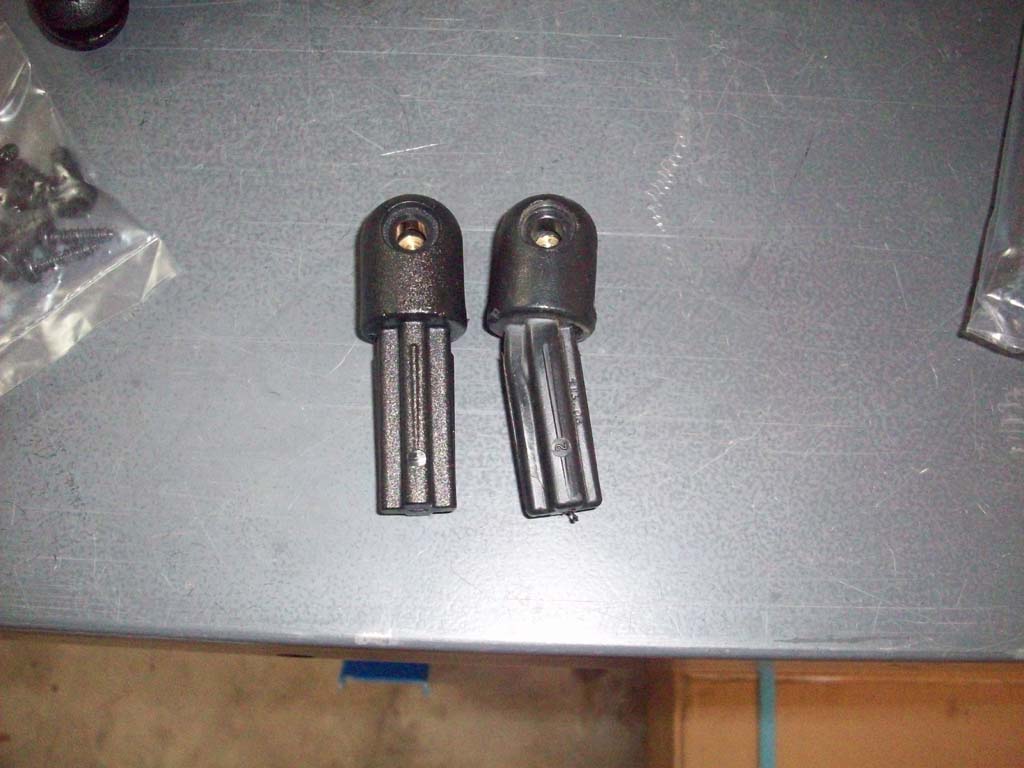
| Bow ends: |
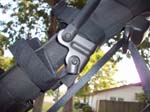
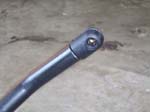
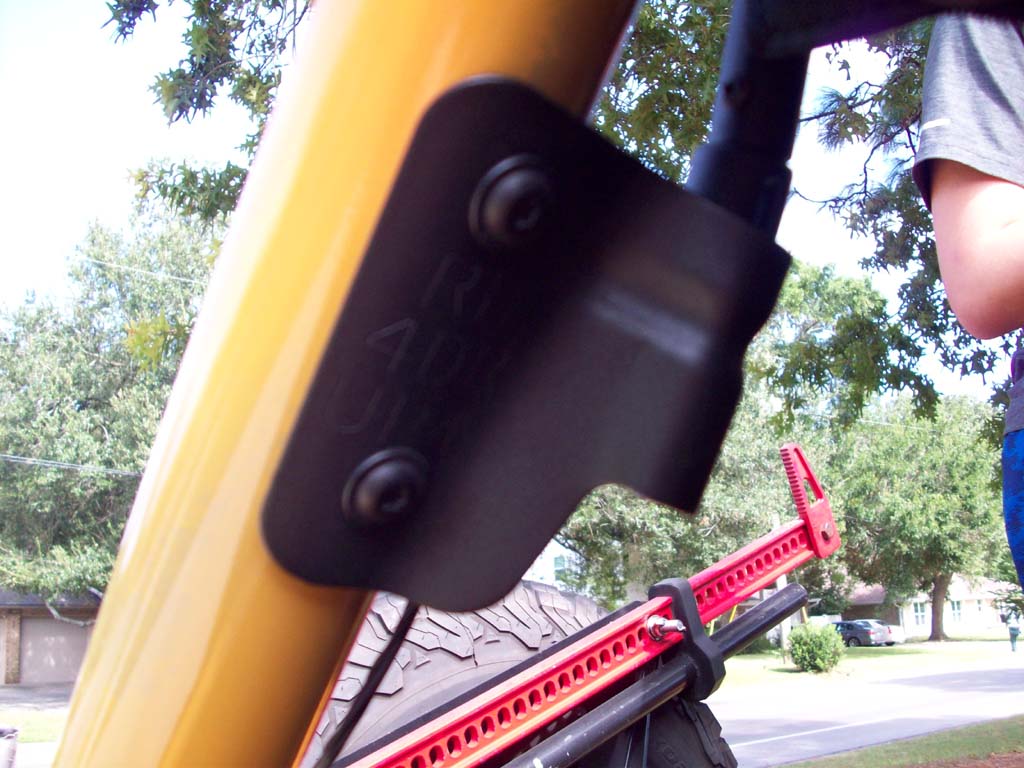
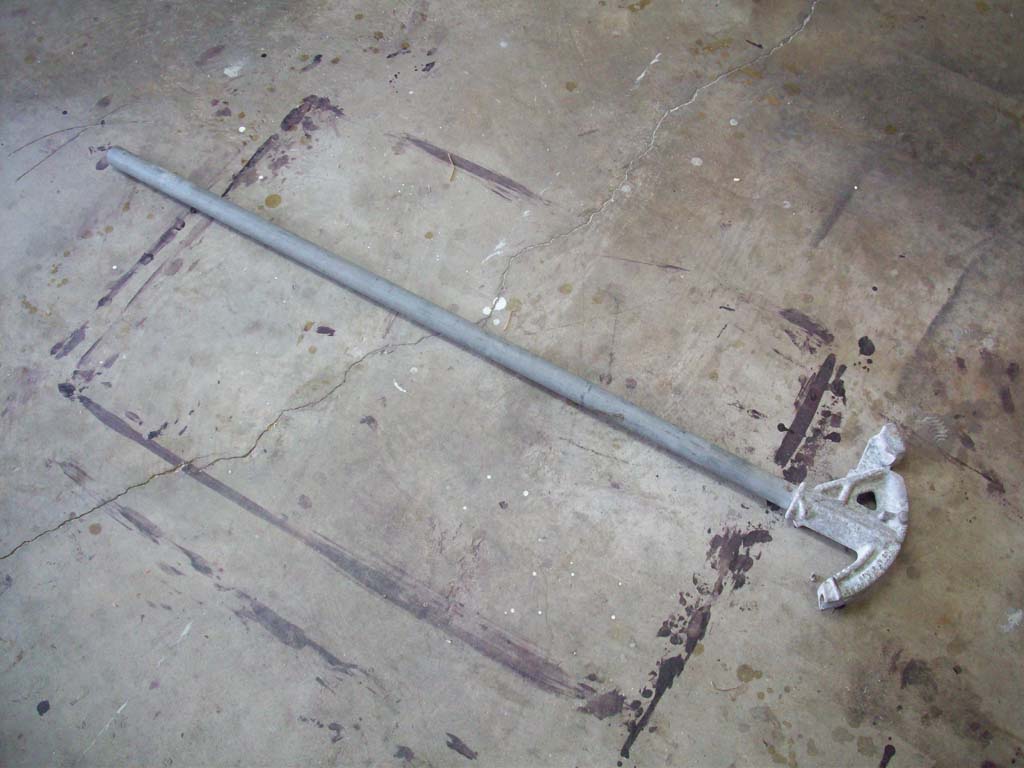
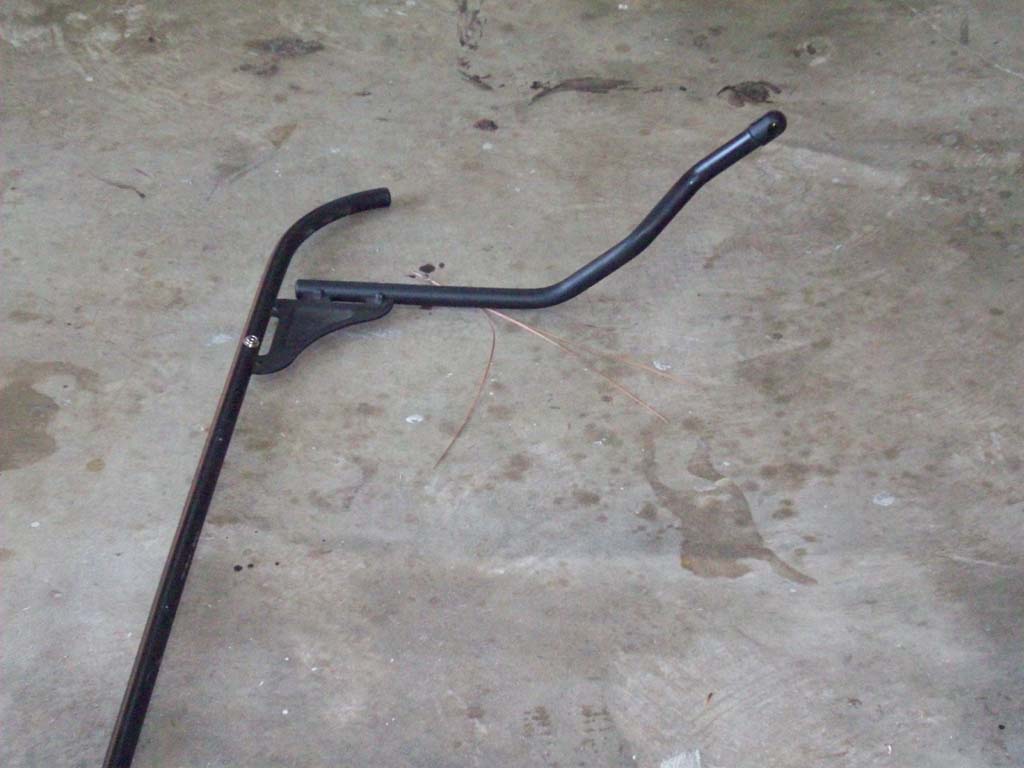
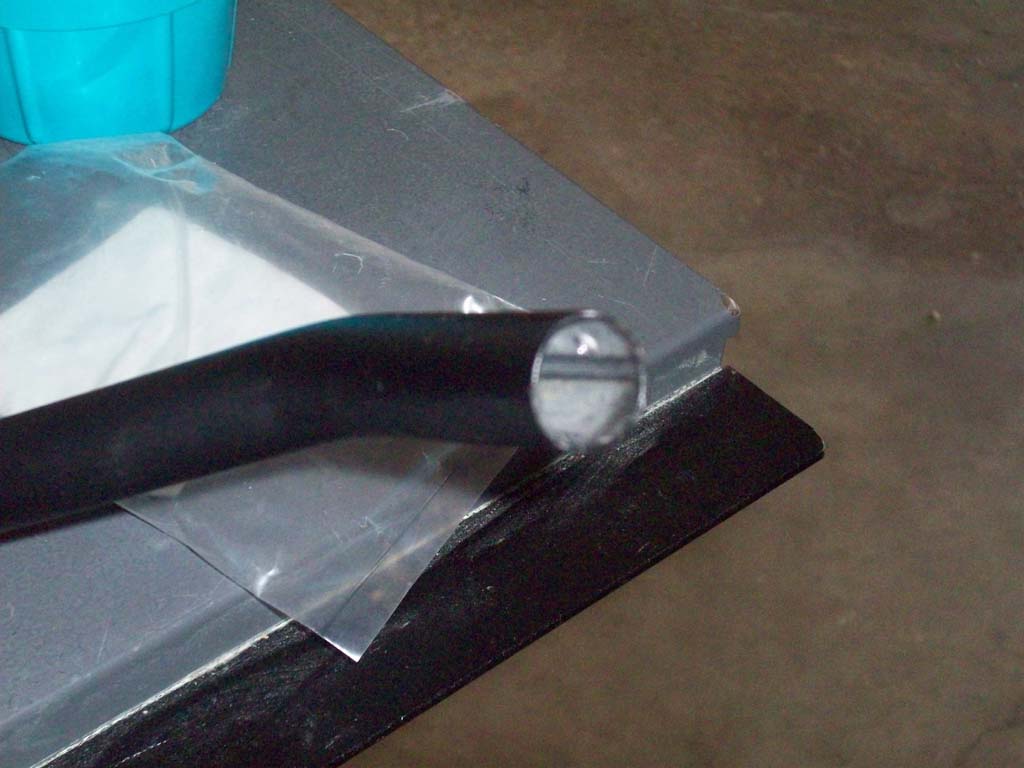
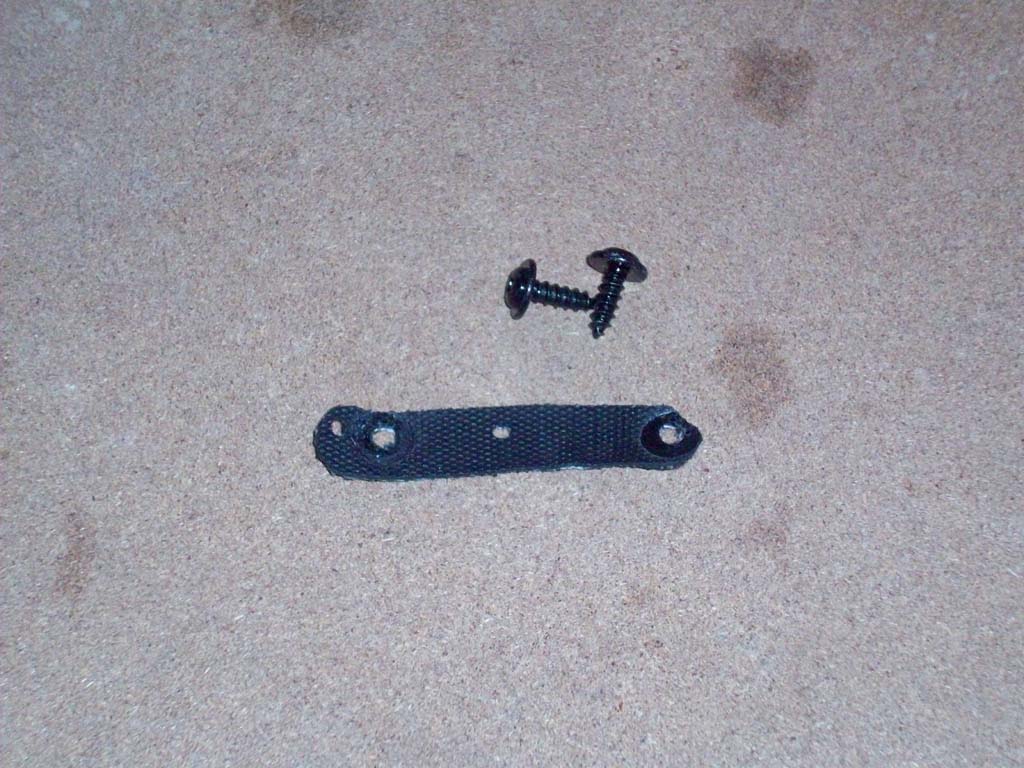
| 4. Remove the 4th bow. Remove the bow ends from the brackets using a 4mm allen wrench to remove the bolts from the ends. The bolts have a shoulder design to allow them to pivot on the bracket. |
 |
 |
 |
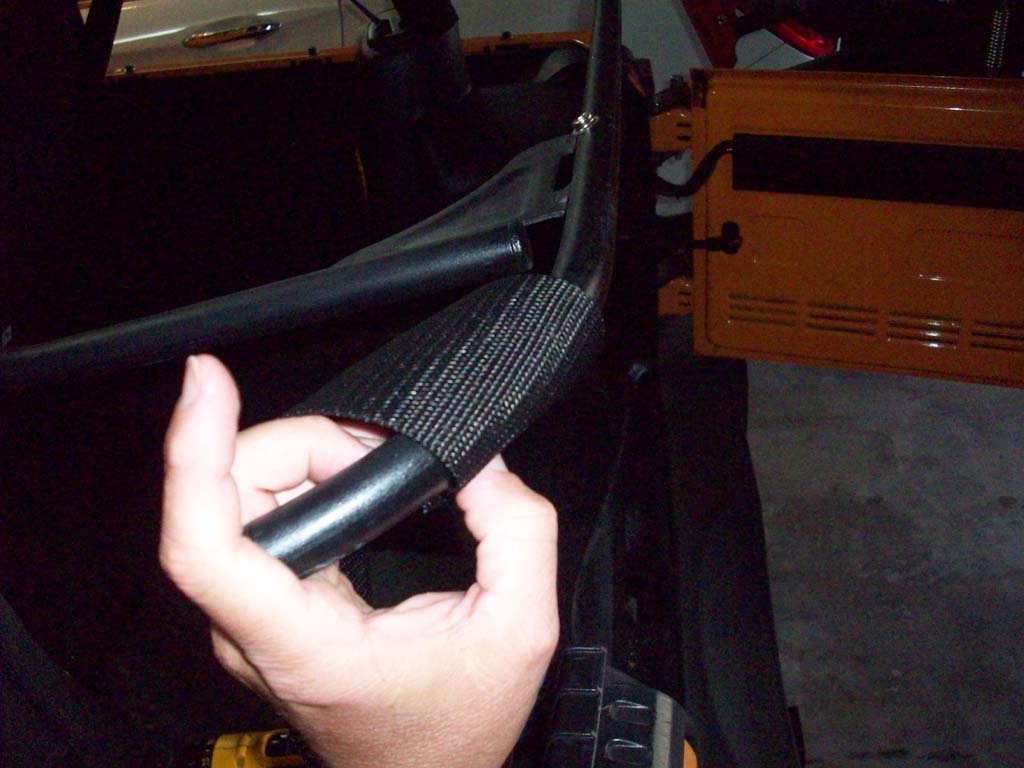
| 5. Remove the bow ends from the bow by removing the phillips screw from the side of the bow with a #2 phillips screwdriver. I needed a needle nose pliers to pull out the broken end from the one side. |
 |
 |
 |
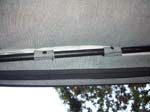
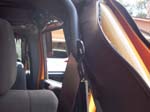
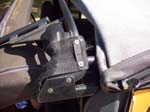
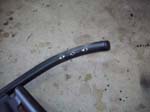
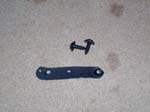
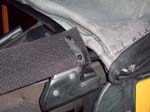
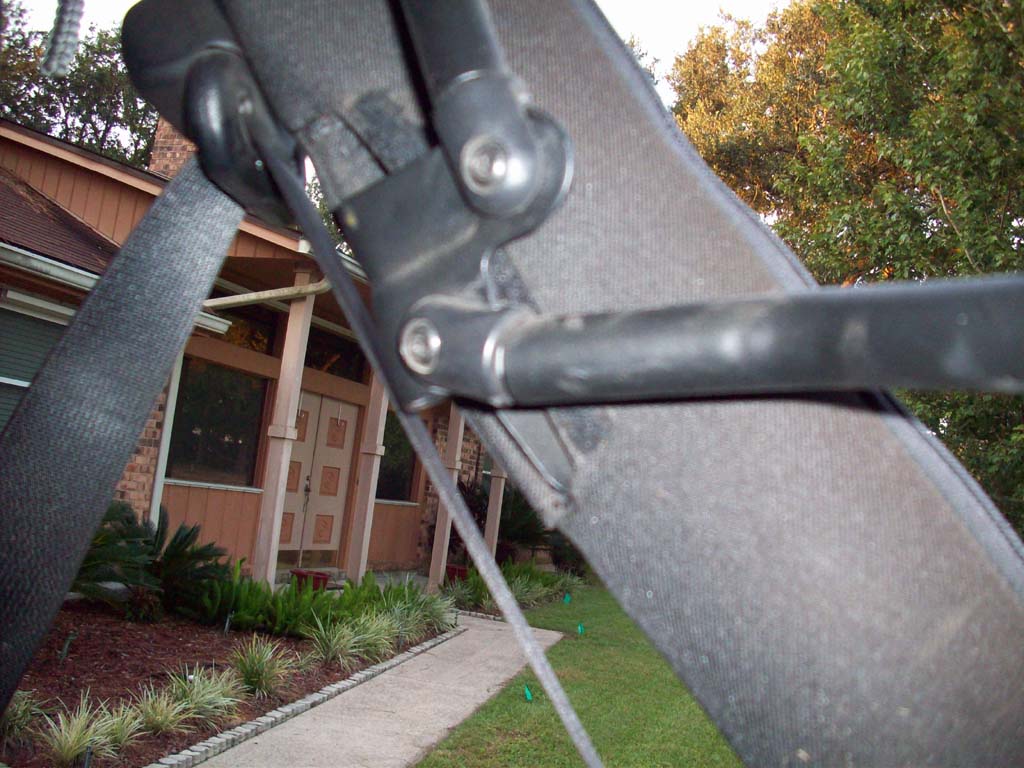
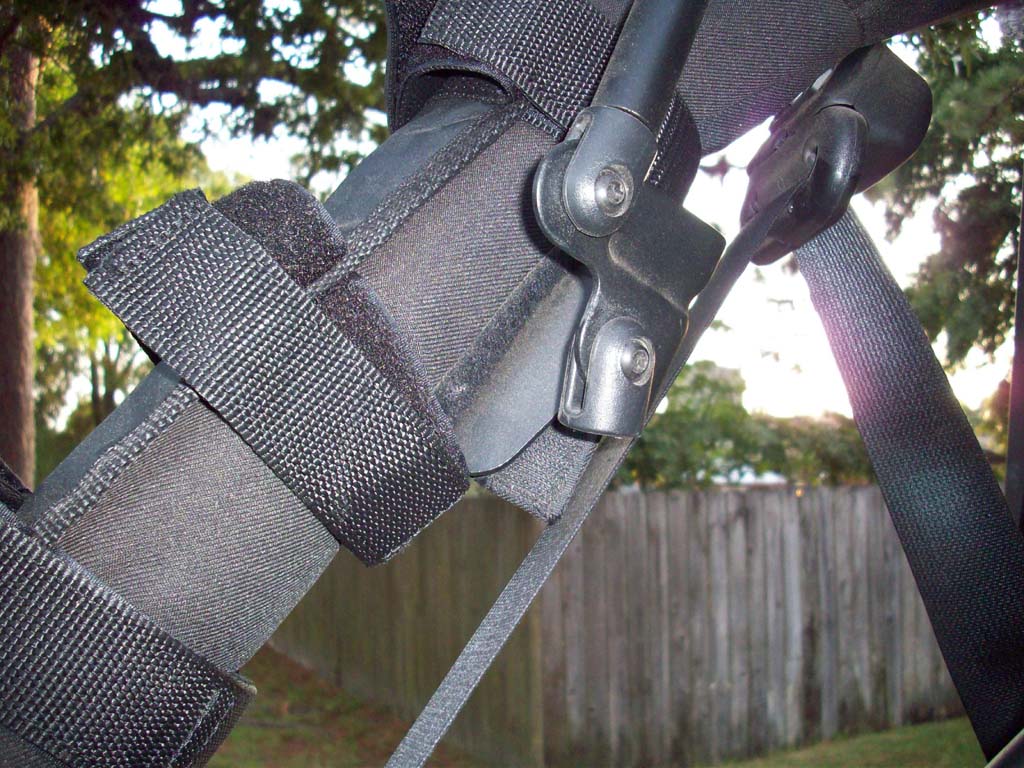
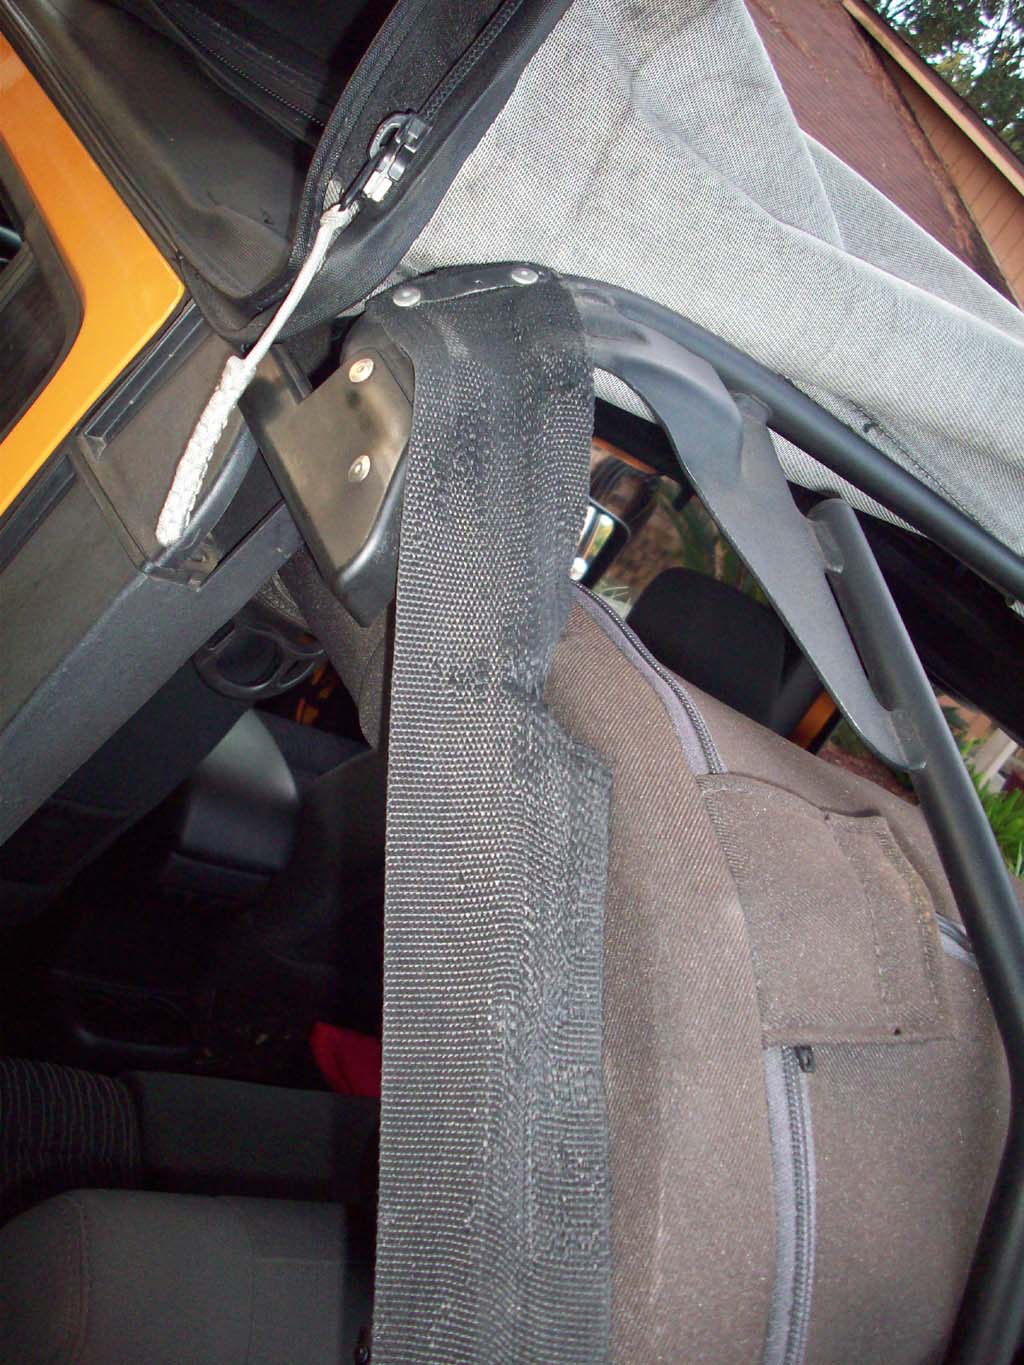
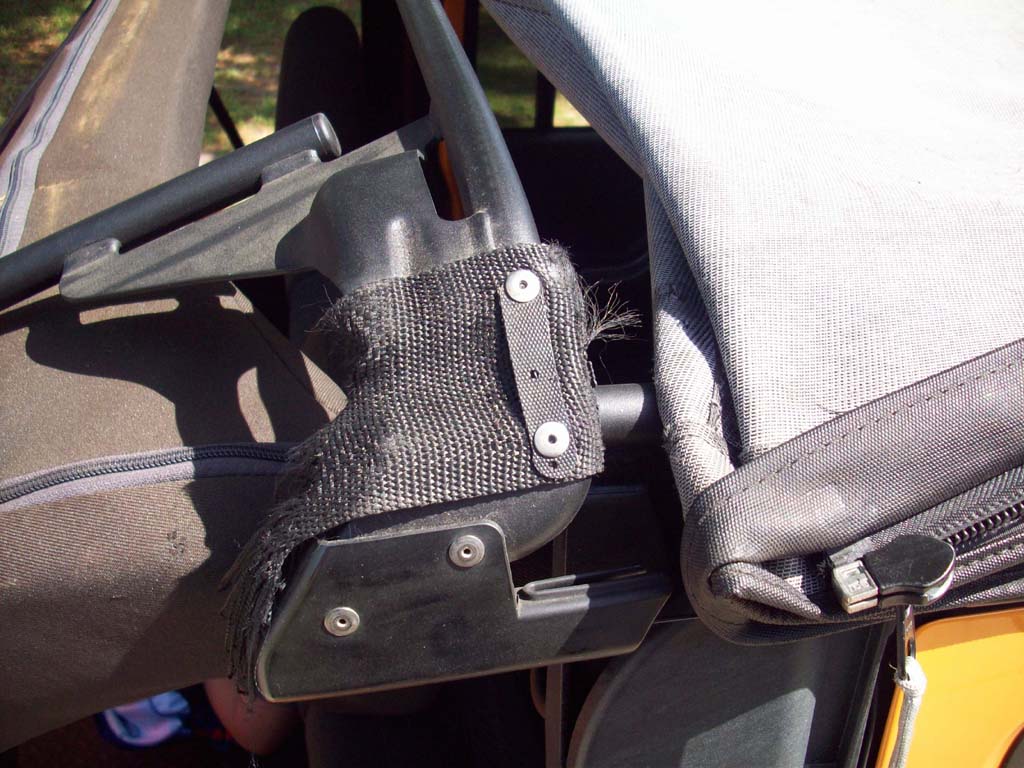
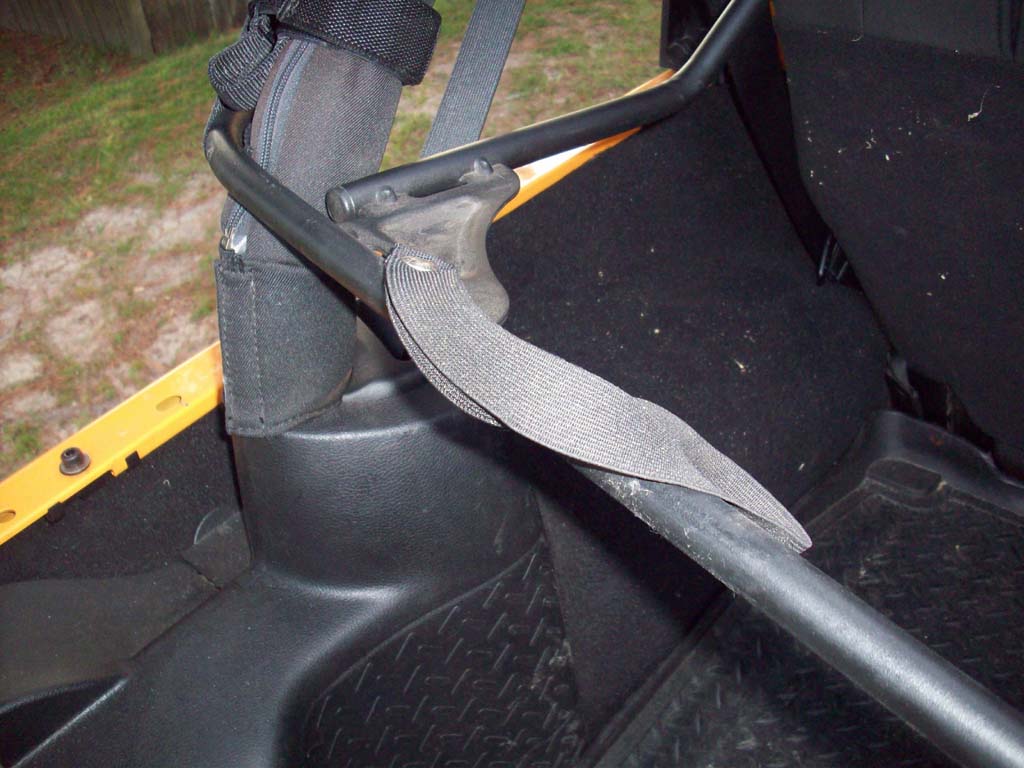
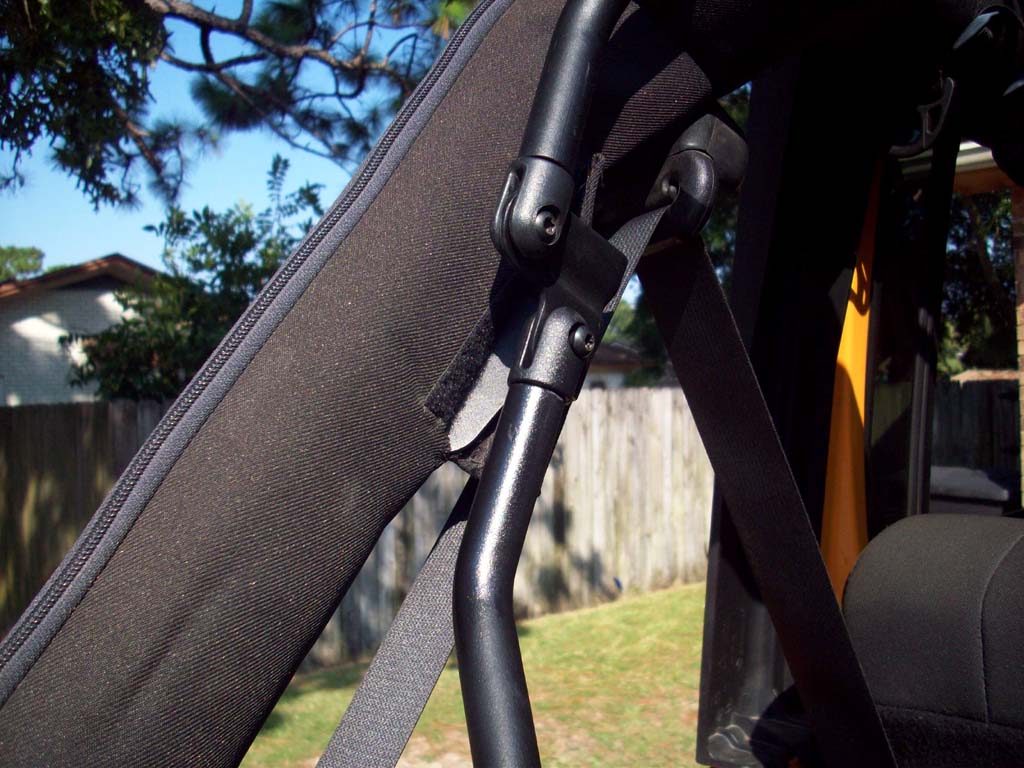
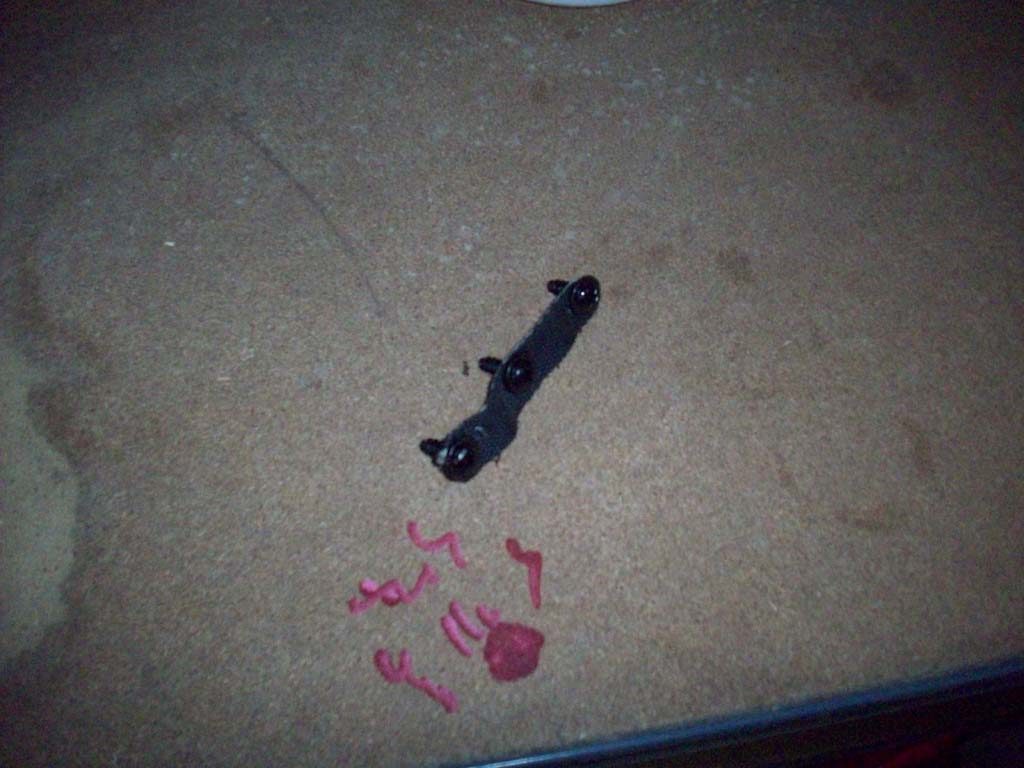
| Mount bracket: |
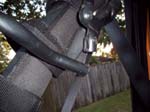
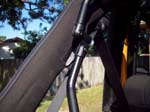
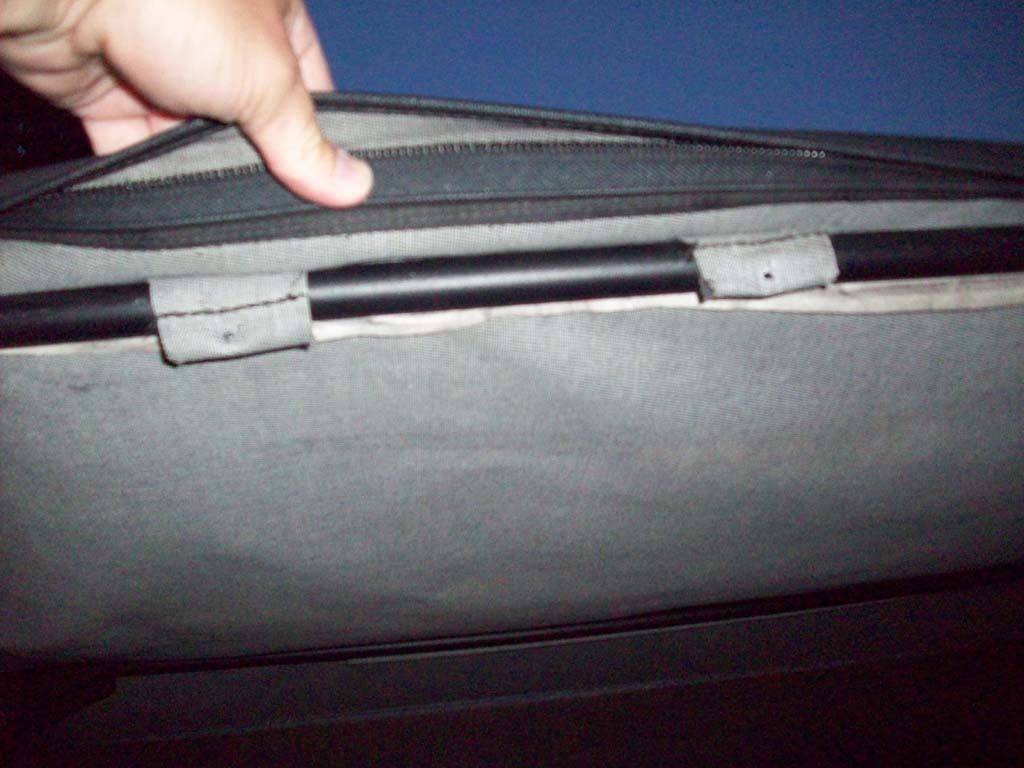
| 6. Remove anything wrapped around the roll bar. |
 |
 |
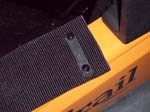
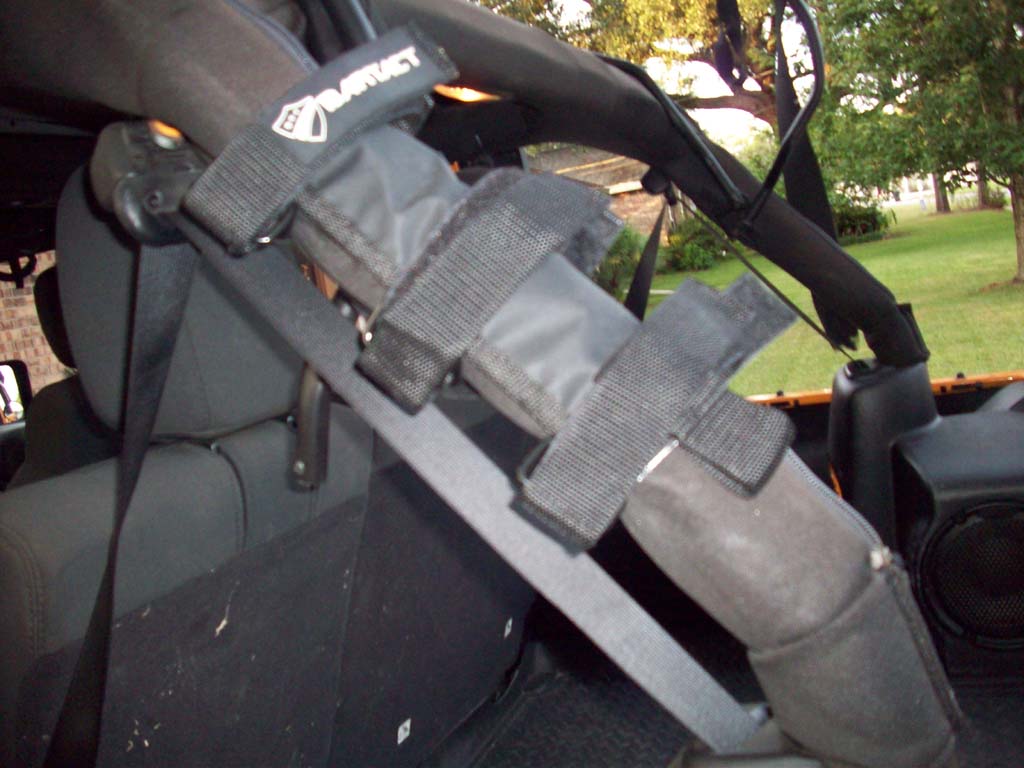
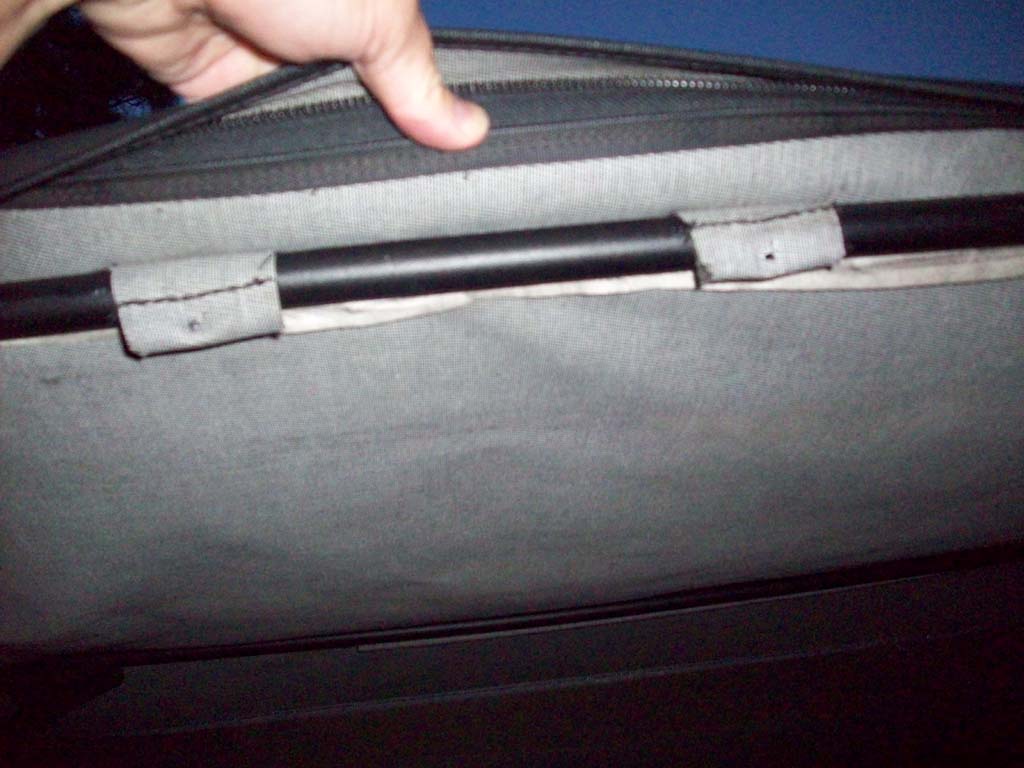
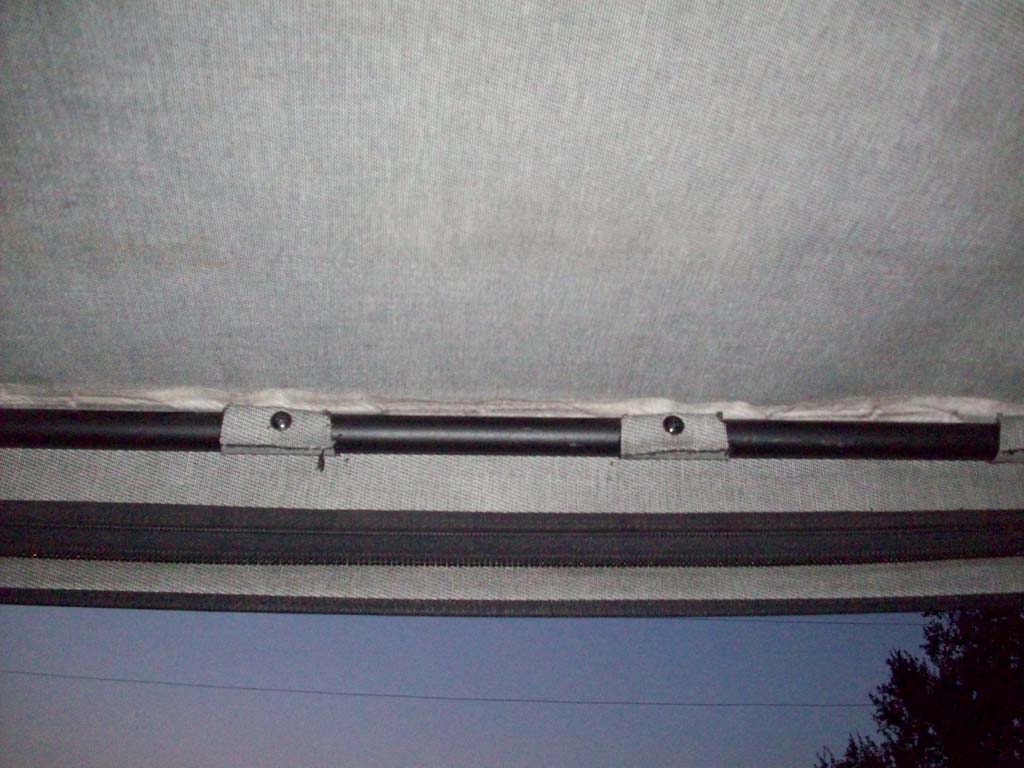
| 7. Tthen unzip the padding from the roll bar. The padding wraps around the bracket via a small slip in the pad. |
 |
 |
 |
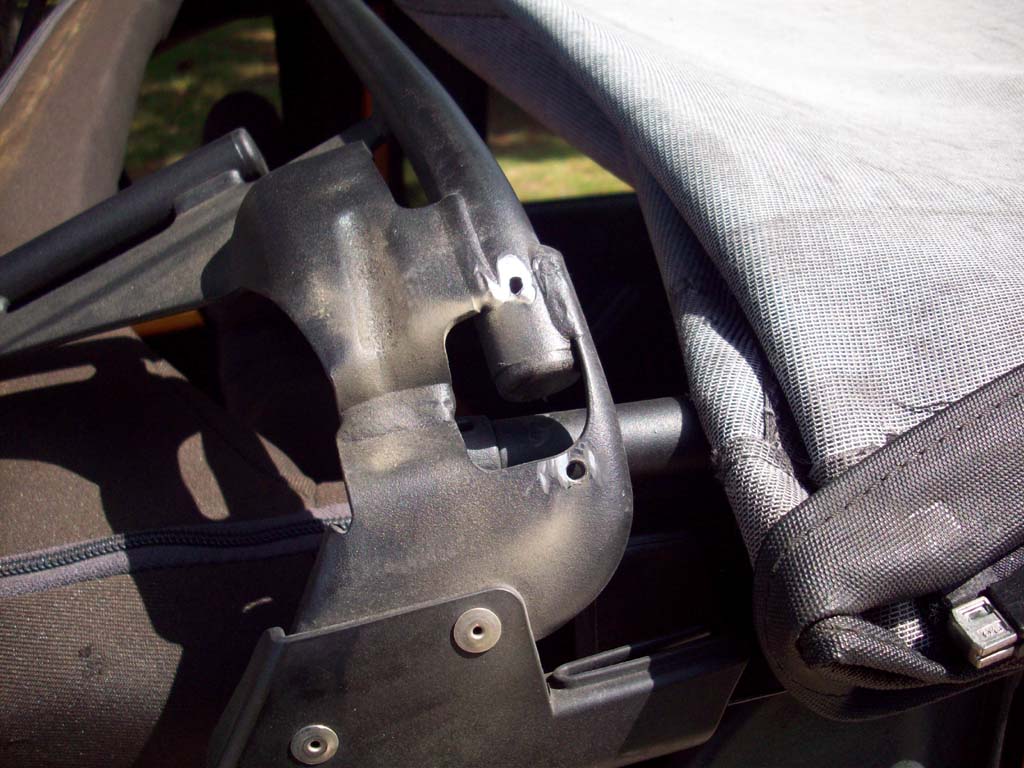
| 8. Remove the bracket from the roll bar using a T-27 Torx bit or screwdriver |
 |
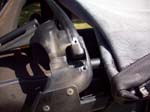
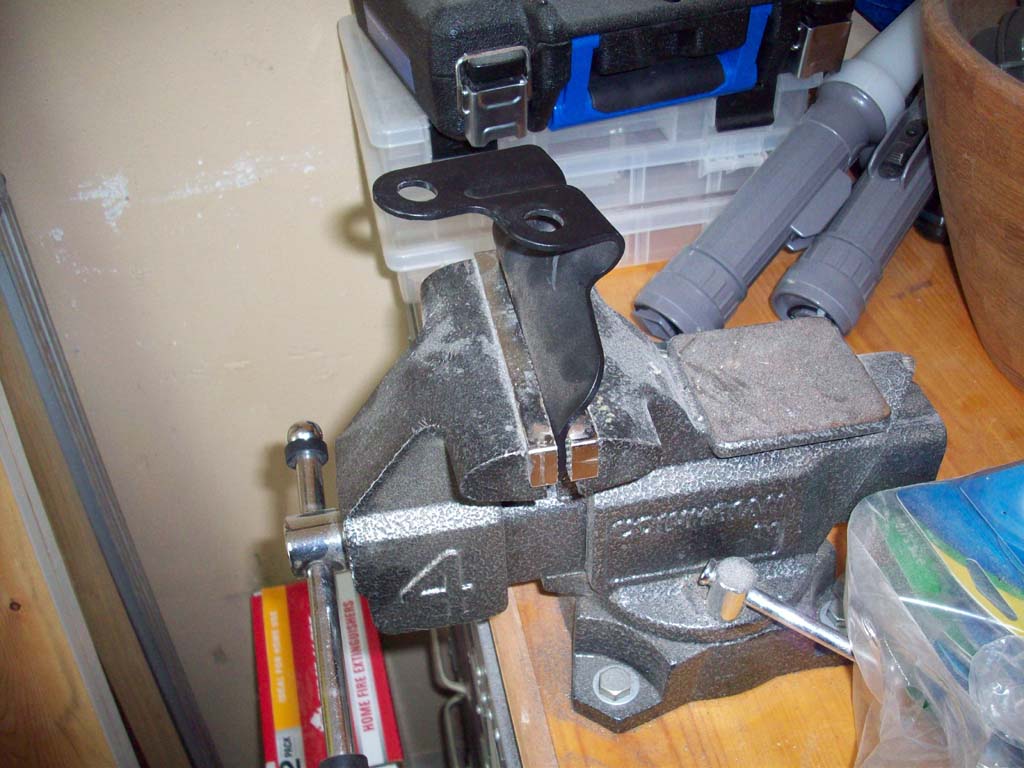
| 9. I needed to put mine in a vice and bend it back into position. I probably could have done this with it still installed on the Jeep, but I didn't want to take the chance at this point and just took them off. |
 |
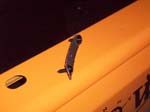
| 10. Reinstall that brackets. They are marked as to which side and an arrow pointing up. Reinstall the roll bar padding and the 3rd bow ends. |
 |
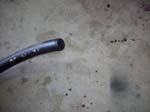
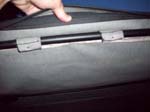
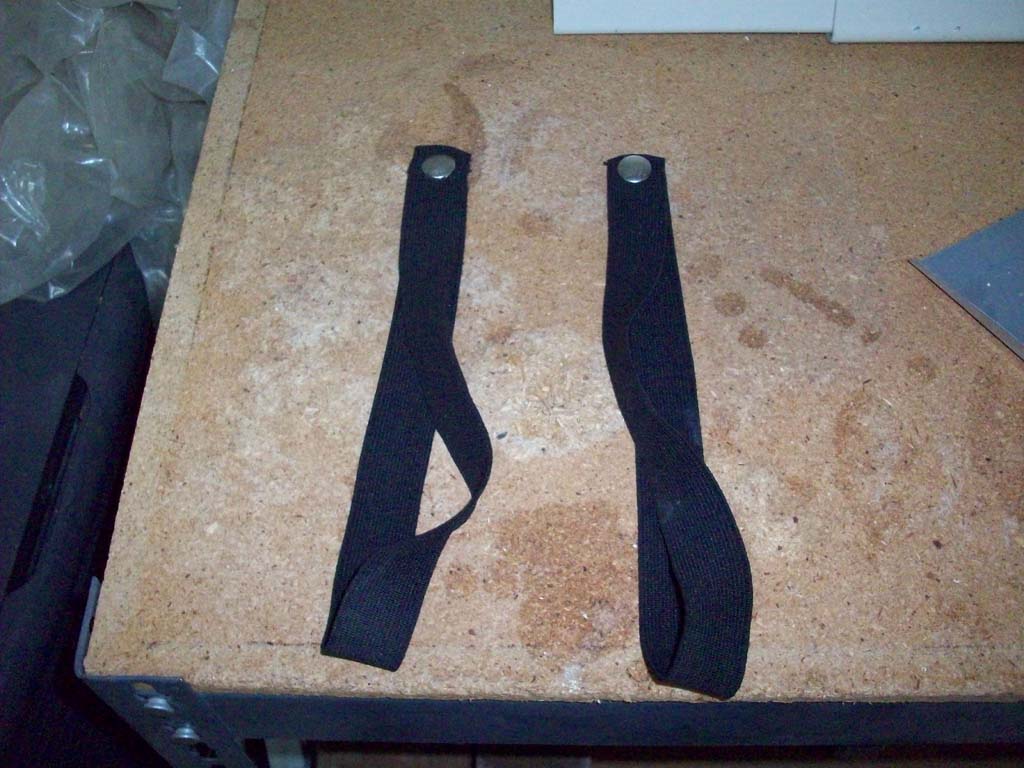
| Straps: |
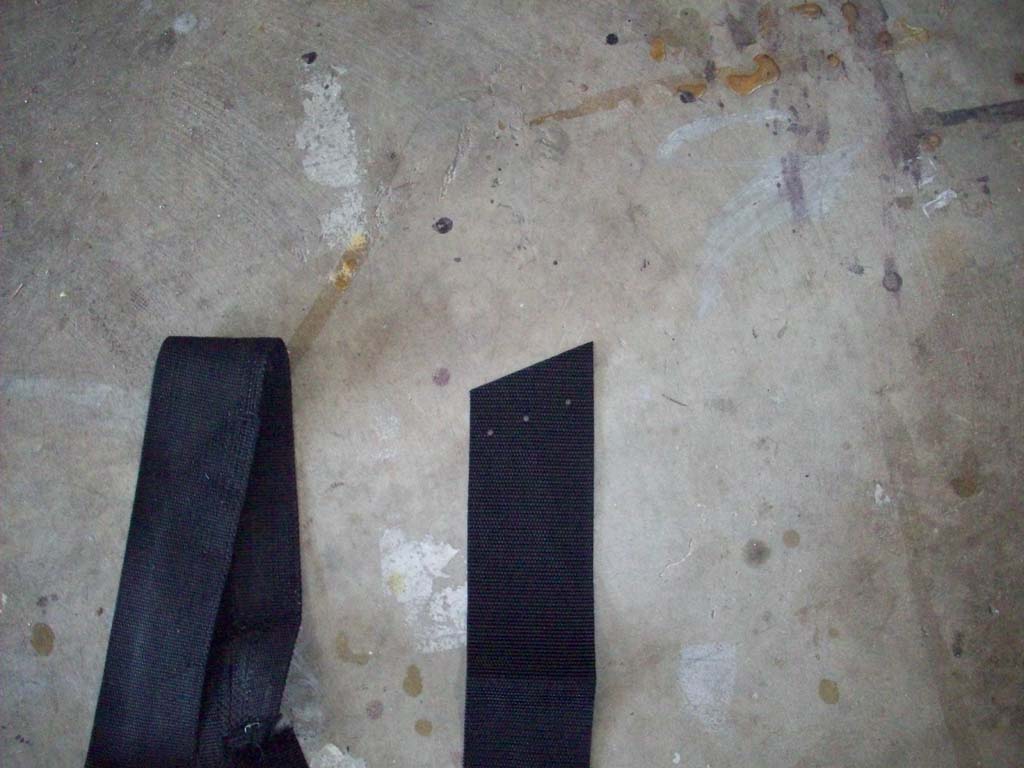
| 11. The straps were either torn or damaged from the impact, but were pretty deteroriated either way and really needed to be replaced. Not really bad for 8 years of being under a black soft top or exposed Florida sun and weather. |
 |
 |
 |
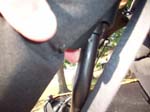
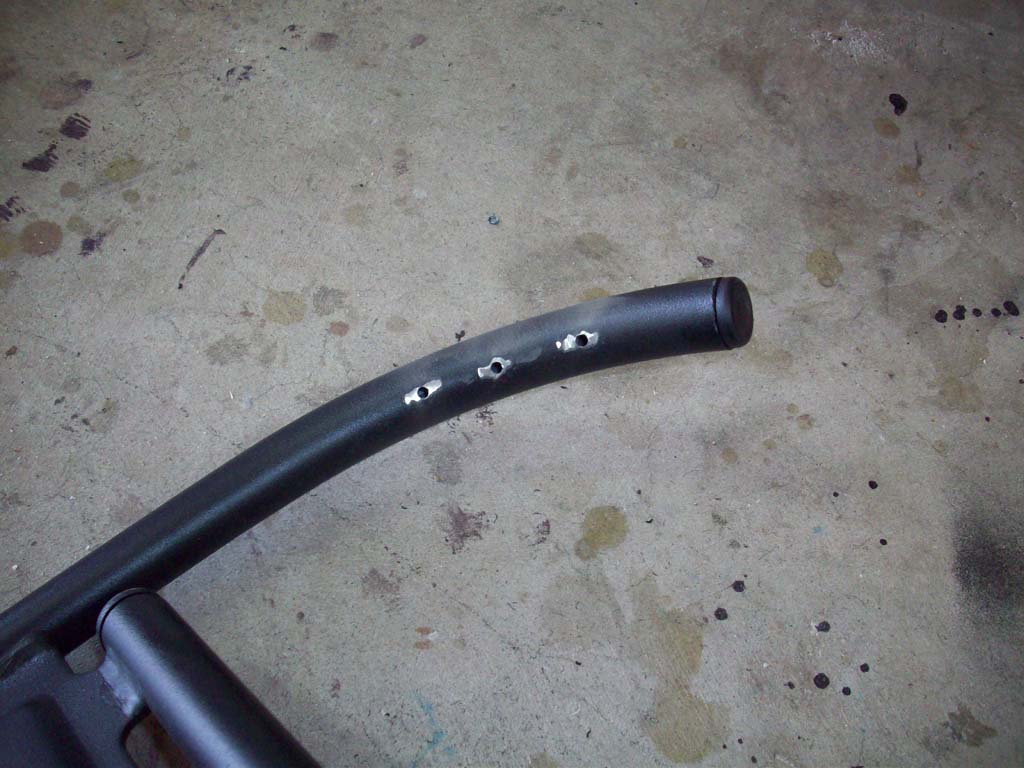
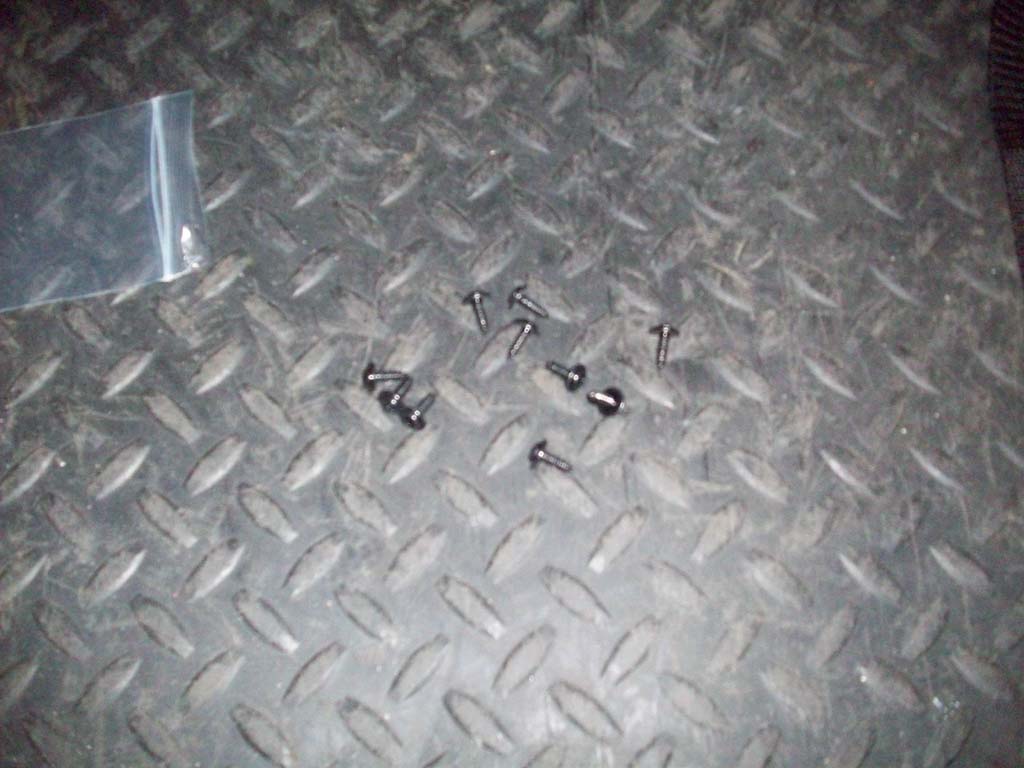
| 12. Drill out the two rivits where the strap attaches to the third bow. Use a 5/32 " drill bit and drill. You do not want to drill a bigger hole in the bow, so we are just removing the head at the moment.Remove the small backing strap and set it aside, we will reuse this when we install the new strap. Remove the strap from the ends of the rivits. |
 |
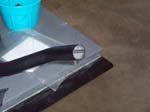
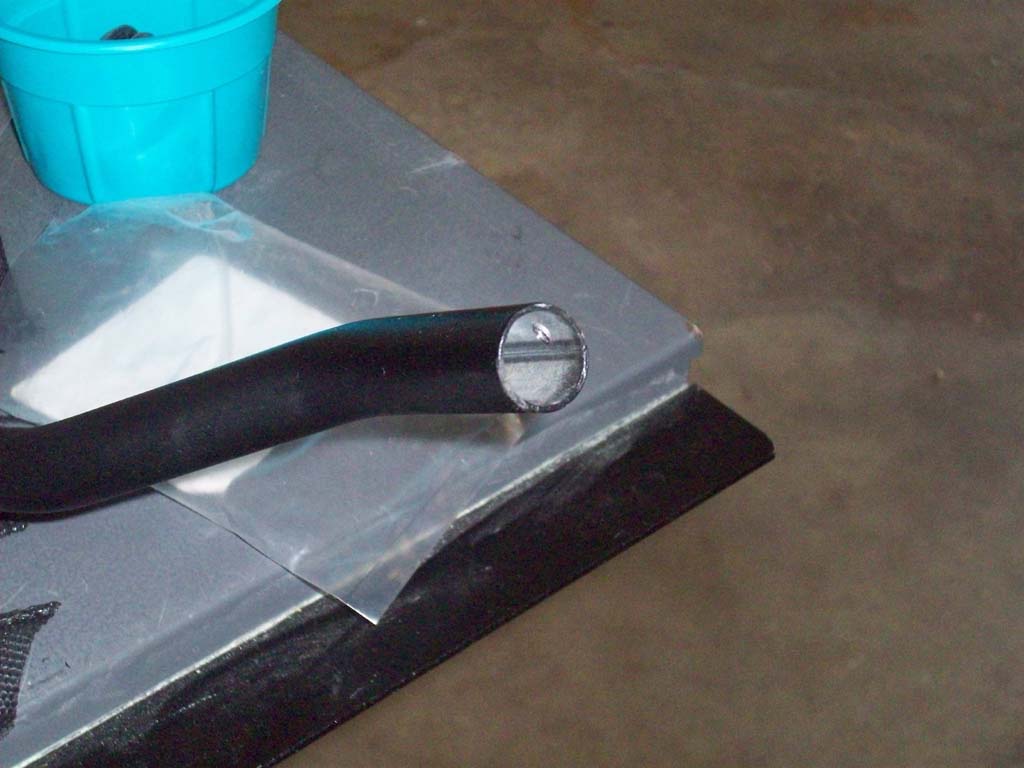
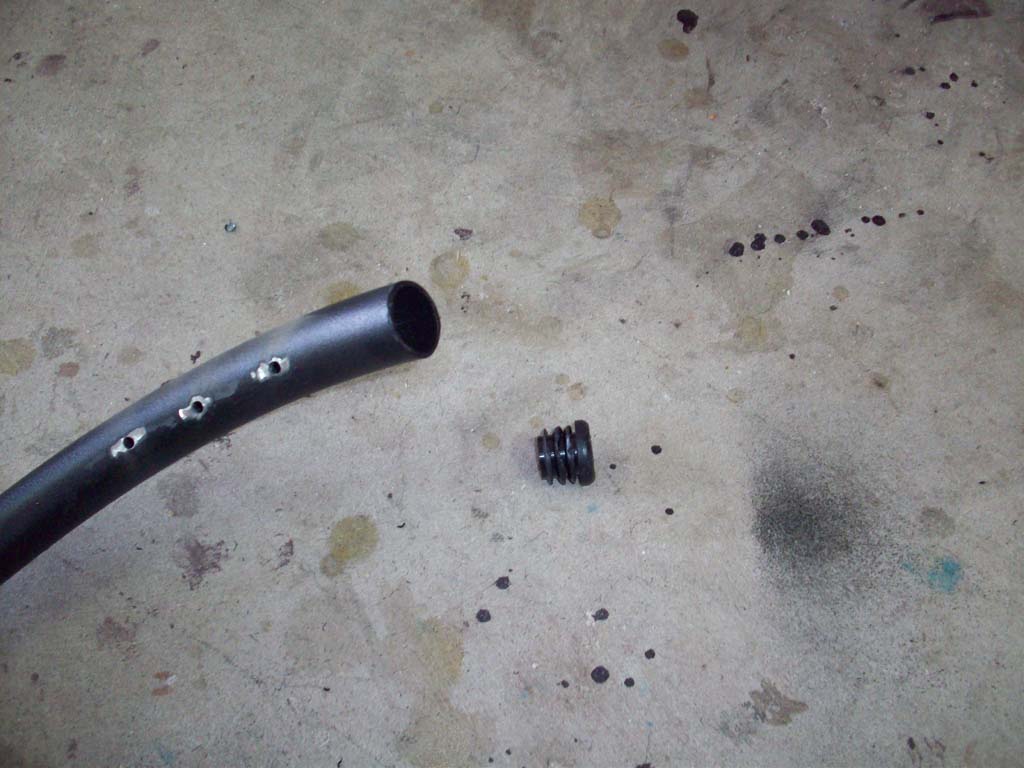
13. Use a dremel with a cutting wheel to carefully cut off the exposed tip of the rivit. Then use a small punch and hammer to knock the remains into the bow. You will need to remove the plastic plugs at the end of the bow to clean out the remains that you just punched inside. Now, if you want to drive someone nuts you could always stick a BB inside your buddies soft top bows. I was able to get the ends out with my fingers, but you may need a flat tip screw driver and an adjustable pliers.
Note: I do not condone this, just note that it would be sadistic.. |
 |
| 14. Touch up the bare metal with some black touch up paint, or spray paint. I do recommend spraying the paint on a piece of plastic and using a small touch up brush to apply it to the 3rd bow. |
 |
| 15. Drill out the three rivits where the strap attaches to the fourth bow. Use a 5/32 " drill bit and drill. You do not want to drill a bigger hole in the bow, so we are just removing the head at the moment.Remove the small backing strap and set it aside, we will reuse this when we install the new strap. Remove the strap from the ends of the rivits. |
 |
 |
16. Use a dremel with a cutting wheel to carefully cut off the exposed tip of the rivit. Then use a small punch and hammer to knock the remains into the bow. You will need to remove the plastic plugs at the end of the bow to clean out the remains that you just punched inside. Now, if you want to drive someone nuts you could always stick a BB inside your buddies soft top bows. I was able to get the ends out with my fingers, but you may need a flat tip screw driver and an adjustable pliers.
Note: I do not condone this, just note that it would be sadistic.. |
 |
 |
17. You will need to remove the plastic plugs at the end of the bow to clean out the remains that you just punched inside. Now, if you want to drive someone nuts you could always stick a BB inside your buddies soft top bows. I was able to get the ends out with my fingers, but you may need a flat tip screw driver and an adjustable pliers.
Note: I do not condone this, just note that it would be sadistic.. |
 |
 |
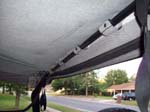
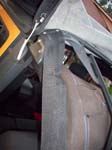
| Straightening the Bow: |
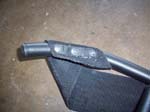
| 18. Unsnap the straps for the rear window from the 4th bow. |
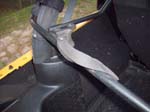 |
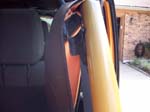
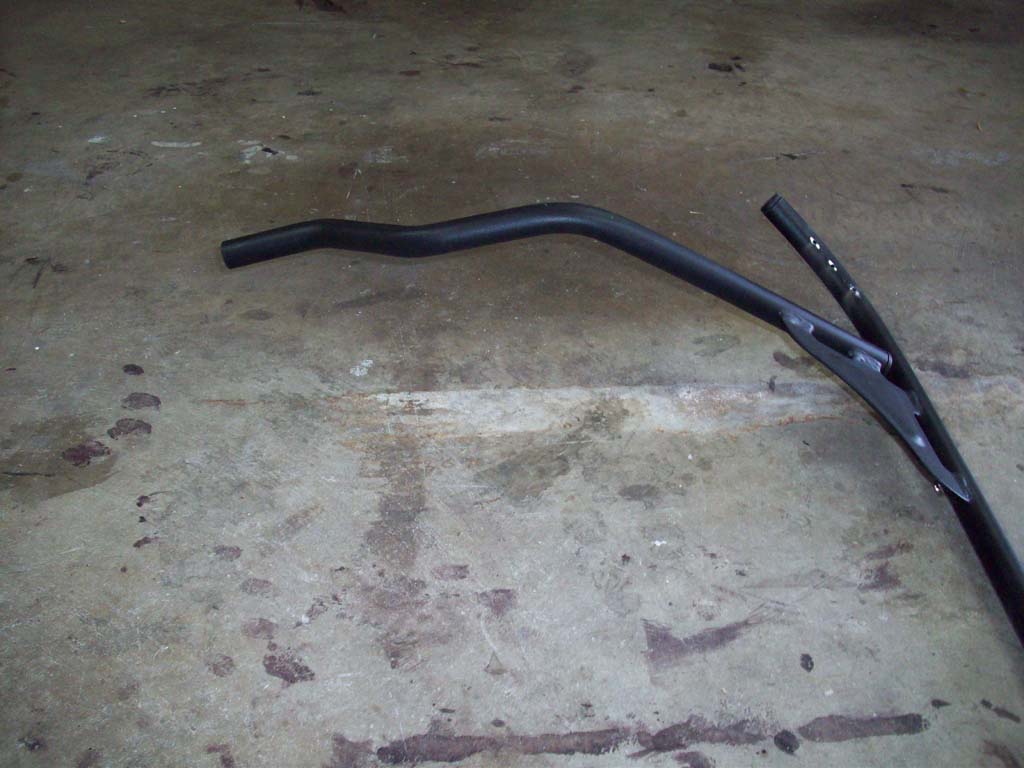
| 19. I bent the right (passenger) side arm of the bow. Luckily it bent on an area that I would be able to bend it back a get it fairly straight. |
 |
 |
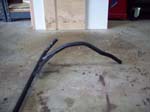 |
| 20. An electrician friend loaned me a conduit bender that fit around the bent bow. With a little gentle massaging with the bender I was able to get it fairly straight again. You do not need to get to agressive with the bender the bow bends fairly easy with all that leverage. Just be careful your not applying pressure to where it connects with the cross bar. I used a couple blocks of wood and my son assistance at times to keep the leverage off the cross bar. |
 |
 |
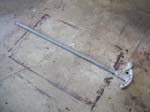
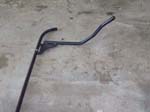
| 21. The results. A little touch up black spray paint and it almost looks brand new. |
 |
 |
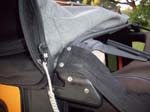
| Reinstalling the 4th bow: |
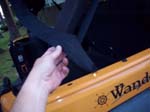
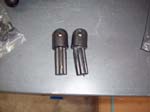
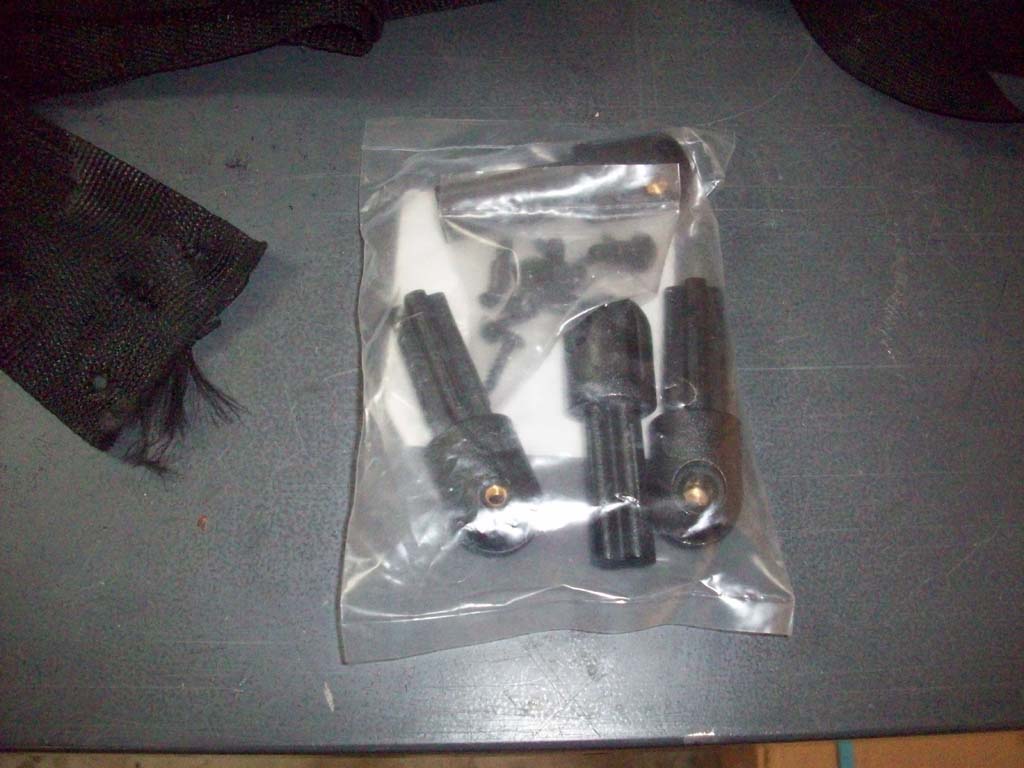
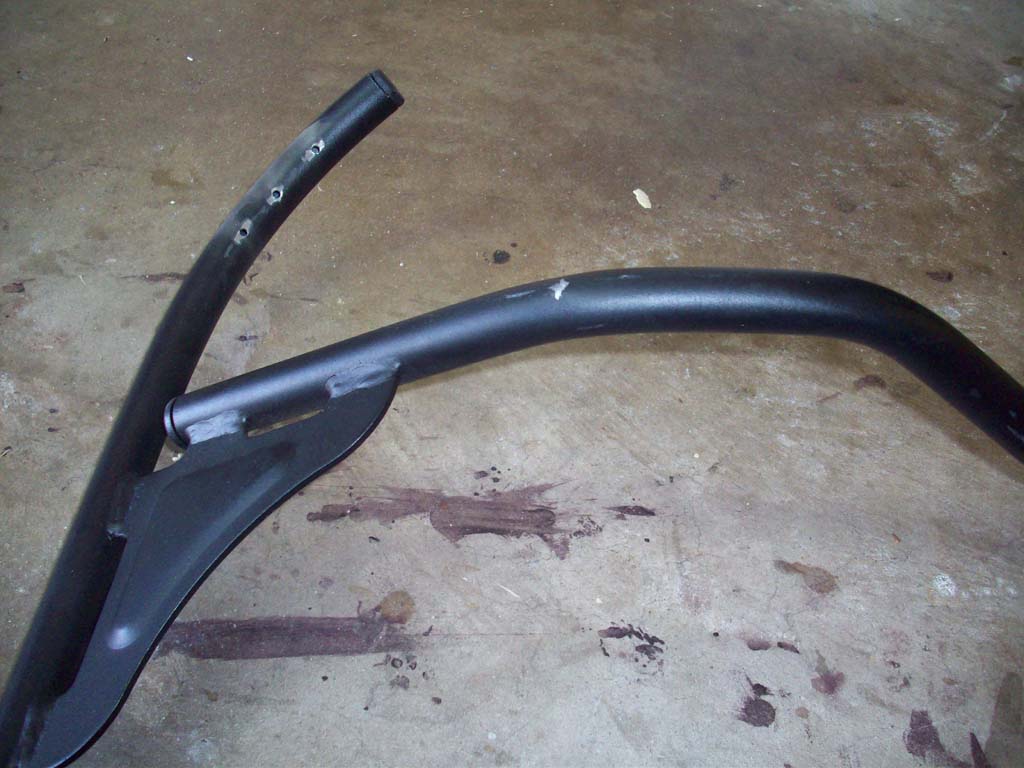
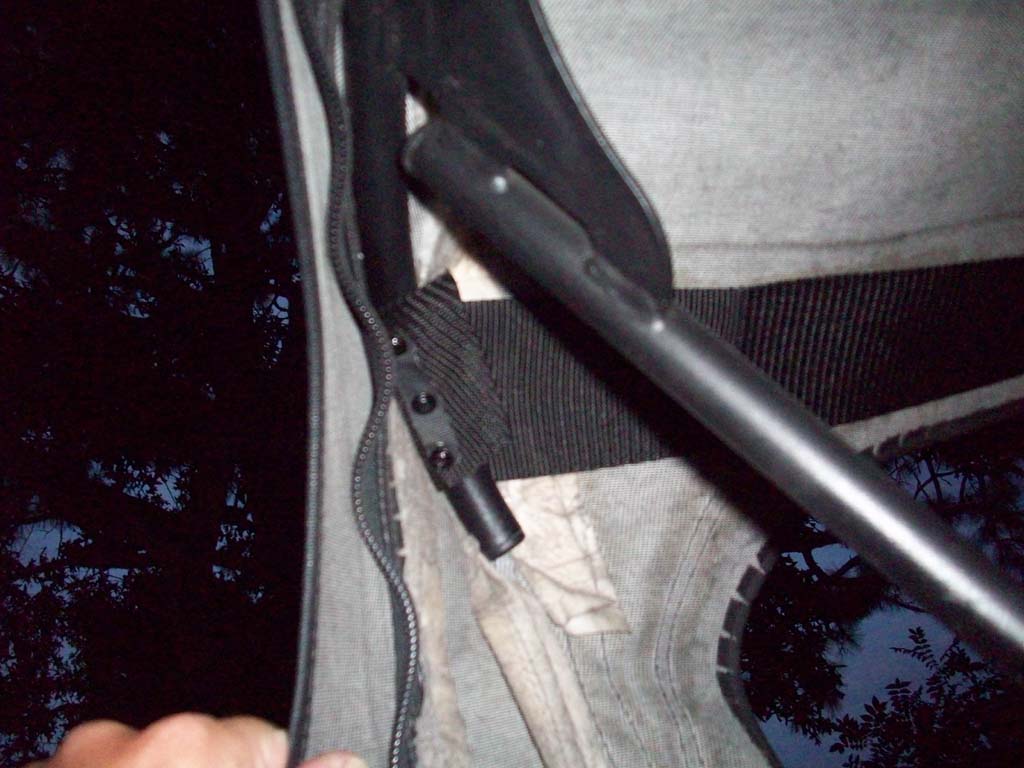
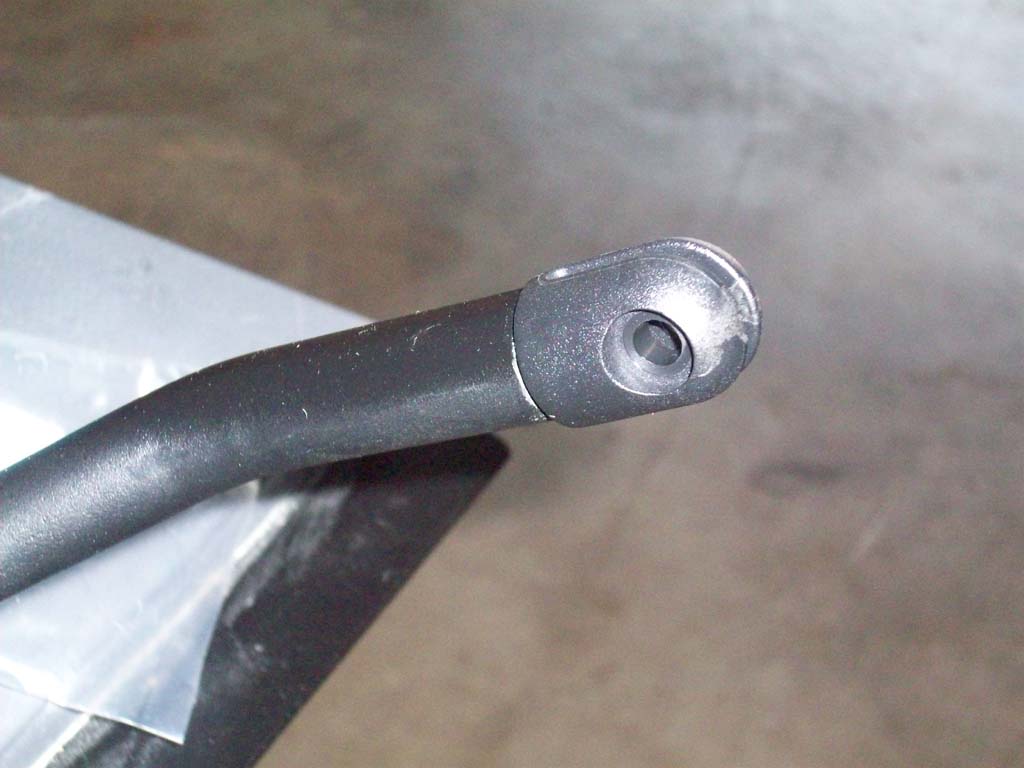
| 22. The new bow ends from Omix-Ada come in a set of 4 with new hardware. I only needed 2, and I reused the old hardware. The ends are almost exactly the same as the OEM. The flutes on the end that goes into the bow are larger on the new ones. |
 |
 |
| 23. Insert the new bow ends into the ends of the 4th bow. Make sure the brass insert on the bow end is pointed out, big hole towards the inside. Do not install the phillips head screw yet. |
 |
 |
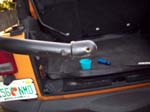
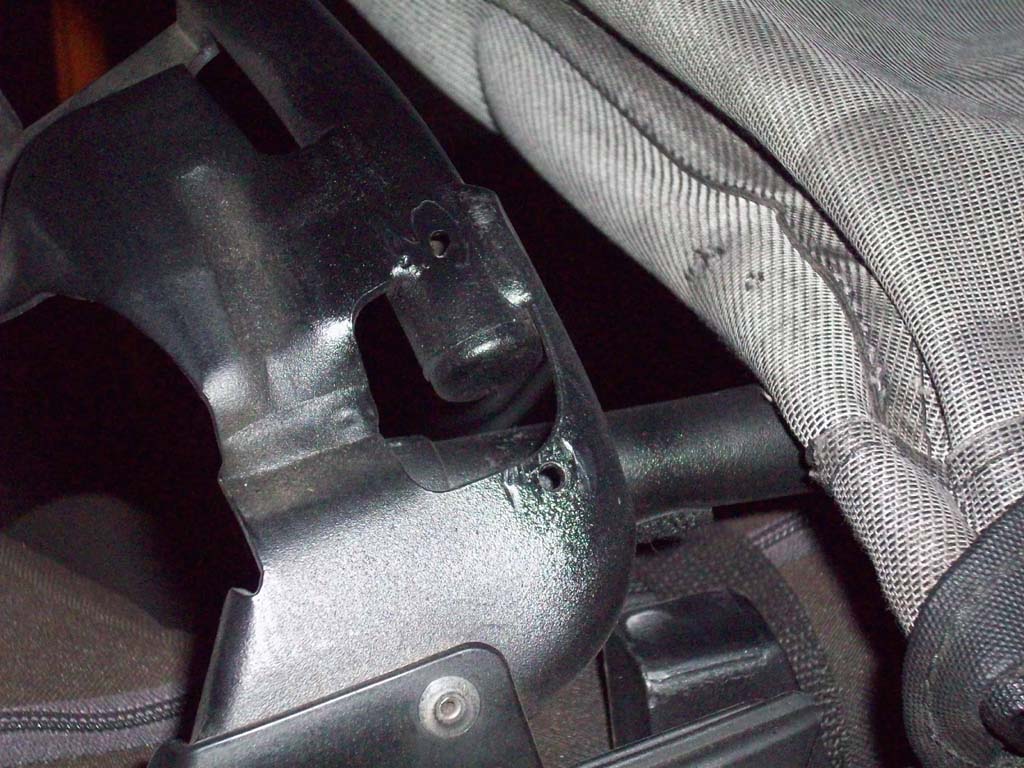
| 24. Reinstall the arms onto the roll bar bracket. The U-shape of the arms should be pointed down. You can see this in the photo in step 23. Reinstall the bolts with a 4mm allen wrench. Make sure the should of the bolt goes throught the hole in the bracket. I need to make a few more small adjustments to the bracket to get the arms to line up correctly with the bracket. |
 |
 |
| 25. Now install the phillips head screws throught the bow and into the bow ends. I tried doing this before I installed the bow on the bracket and kept having the end rotate and not screw in properly. You have enough room to get a screwdriver, or a long bit for the drill under the roll bar padding and into the screw from the side. Make sure the bow is pressed all the way into the bow end. |
 |
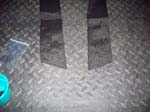
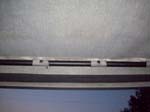
| Strap installation: |
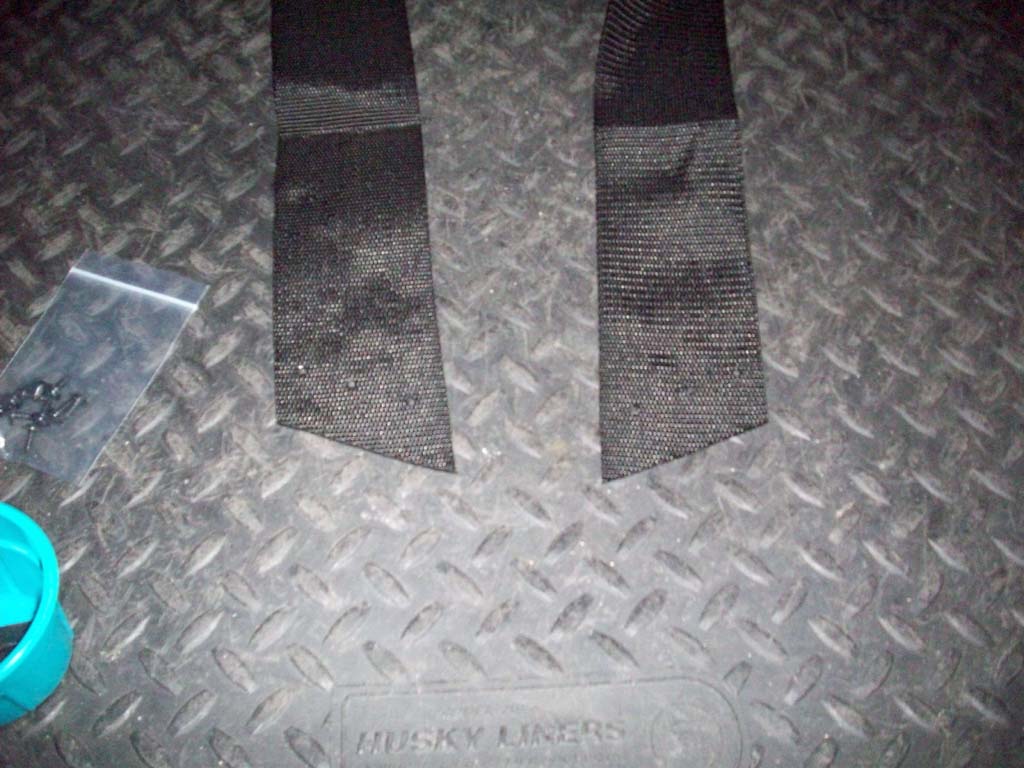
| 26. The new straps from Omix-Ada looked exactly like the old ones. Same size, length, cut angle and predrilled holes. The new straps come with screws to insert into the old rivit holes. This is why we didn't want to drill them out. |
 |
 |
| 27. If you don't remember which way the angle cut a the end went. It's long edge on the inside. This so that it can wrap around over the top of the 4th bow and screw in from underneath. |
 |
 |
 |
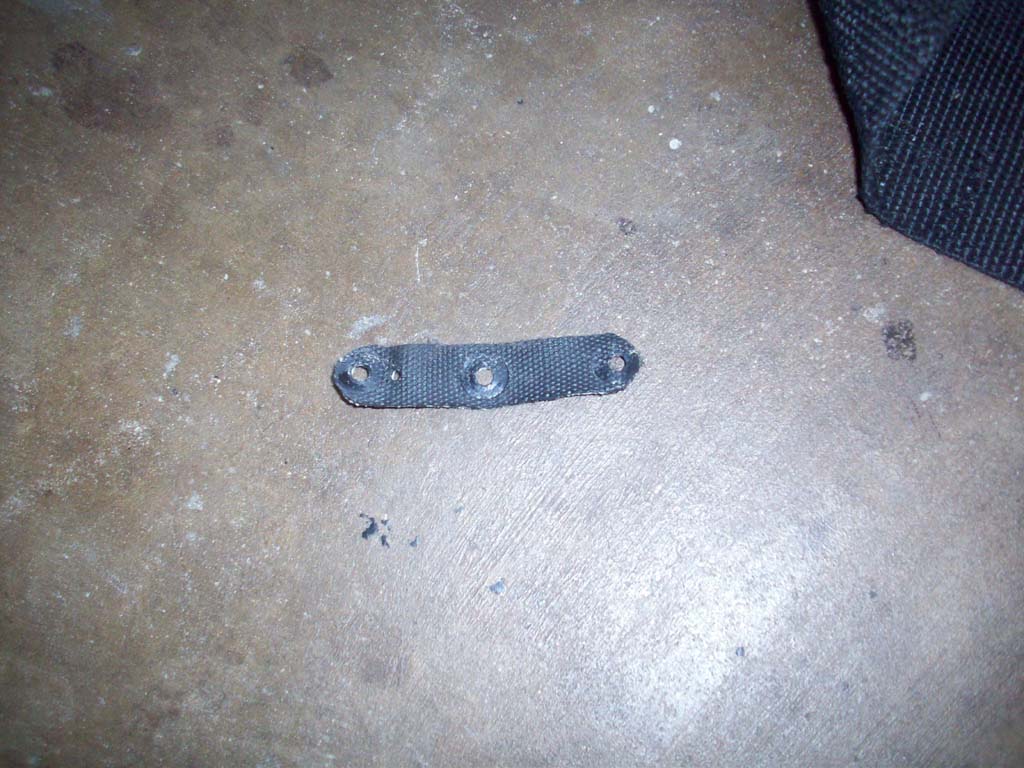
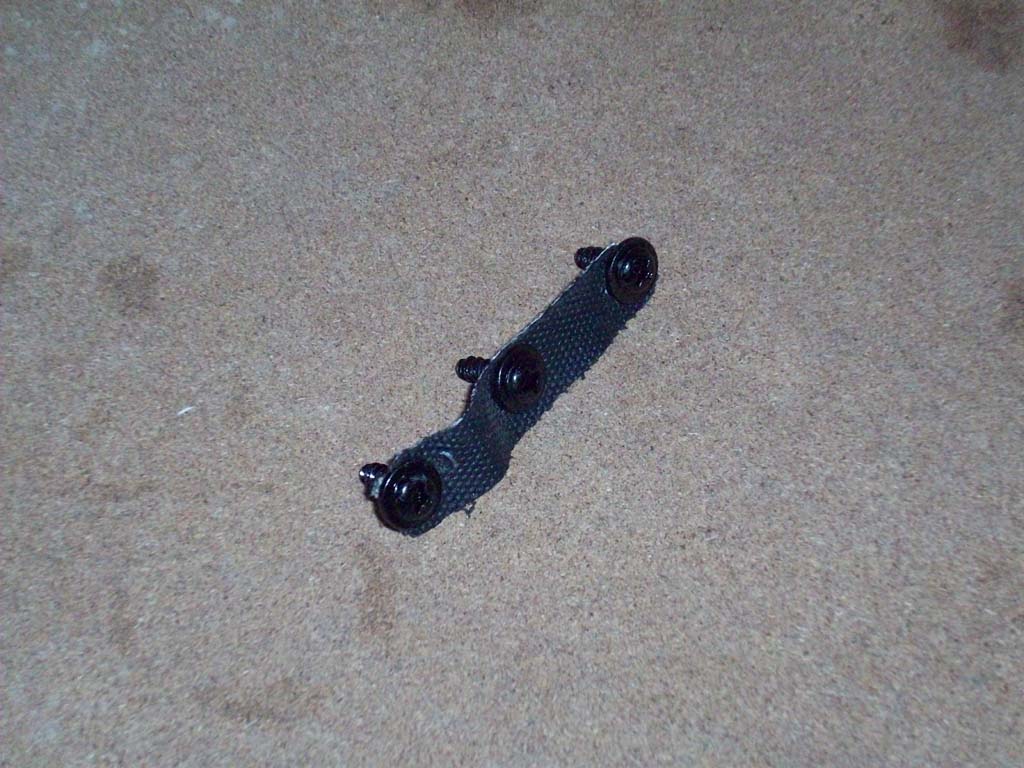
| 28. Take six of the supplied screws and install 3 in each of the backing strips that you removed earlier. |
 |
 |
 |
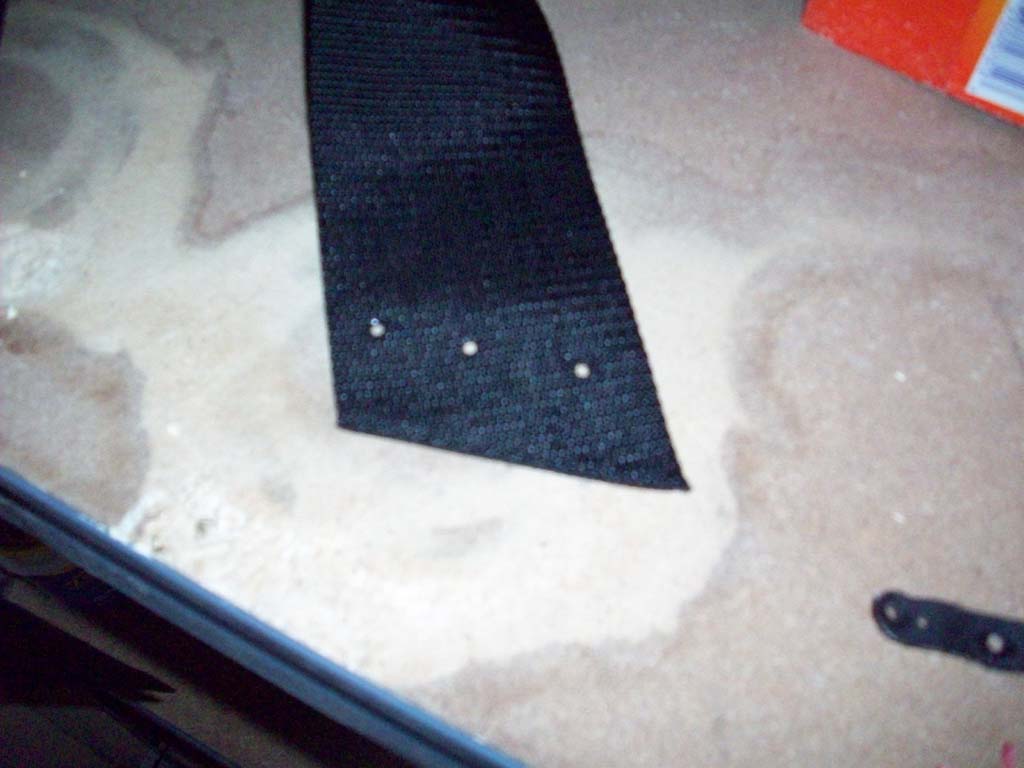
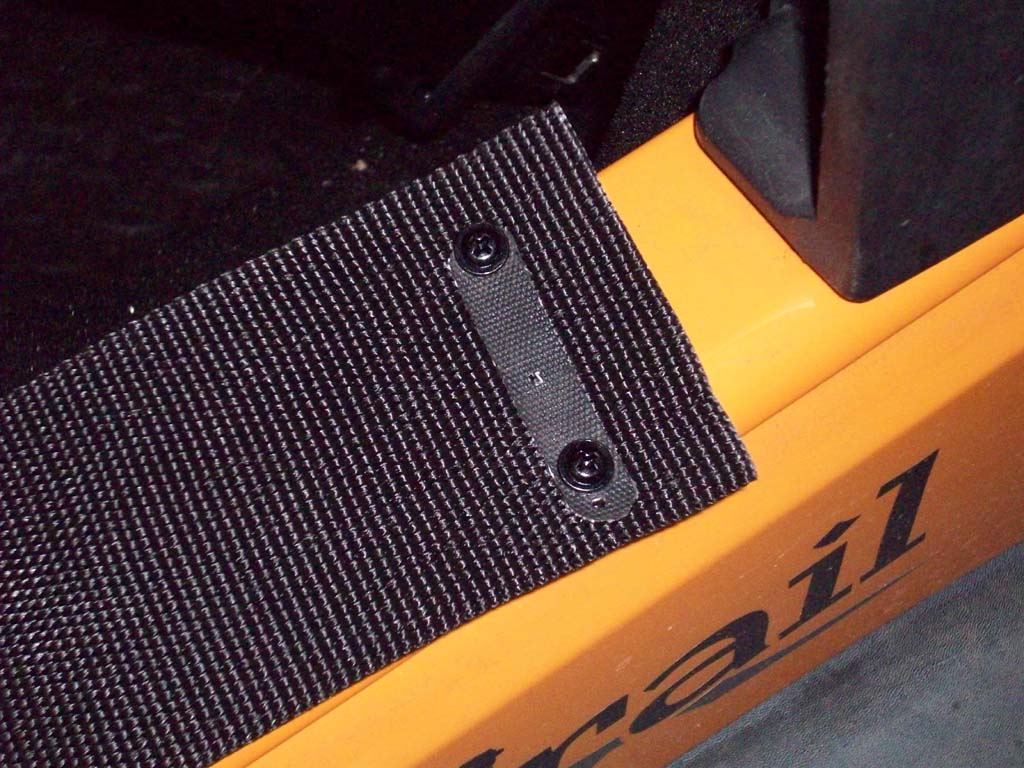
| 29. Insert the backing strip with screws into the end of the strap. Remember the long end of the strap goes to the inside and the strap wraps over the bar from underneath and towards the 3rd bow. Use a #2 phillips screwdriver and carefully screw the strap into the old rivit holes on the 4th bow. |
 |
 |
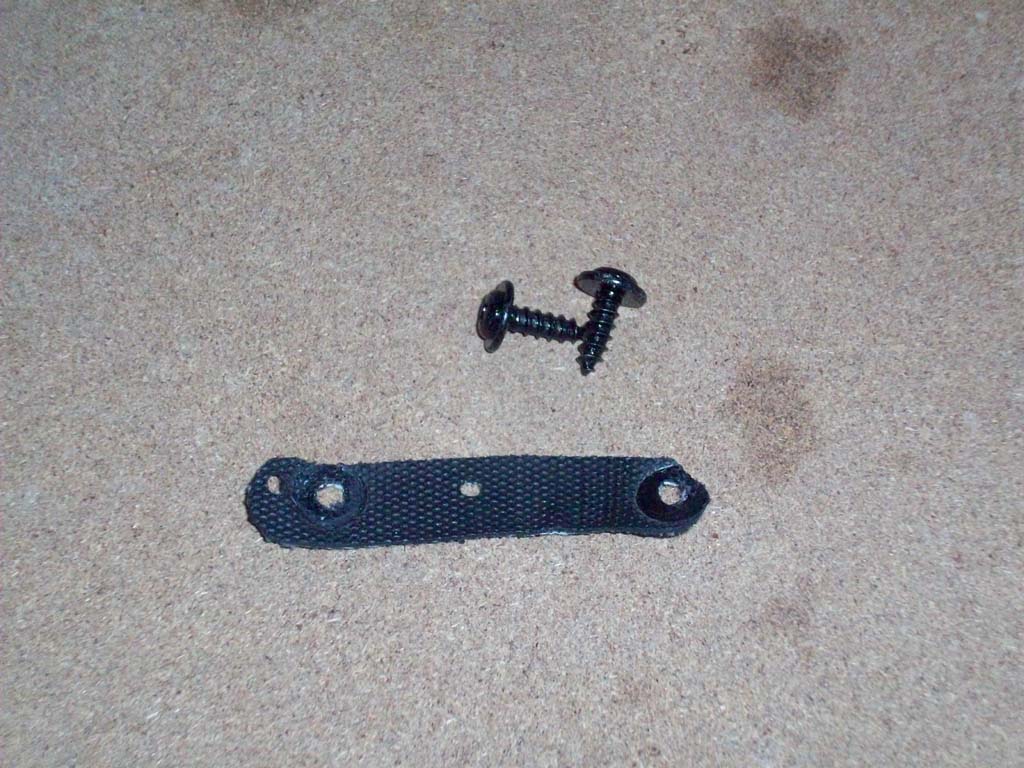
| 30. Take four of the supplied screws and install 2 in each of the backing strips that you removed earlier. Insert the backing strip with screws into the end of the strap. |
 |
 |
 |
| 31. Use a #2 phillips screwdriver and carefully screw the strap into the old rivit holes on the 3rd bow. You may need some assistance holding the 4th bow up, but I was able to just pull it up and get a screw started in the 3rd bow to hold it in place. |
 |
 |
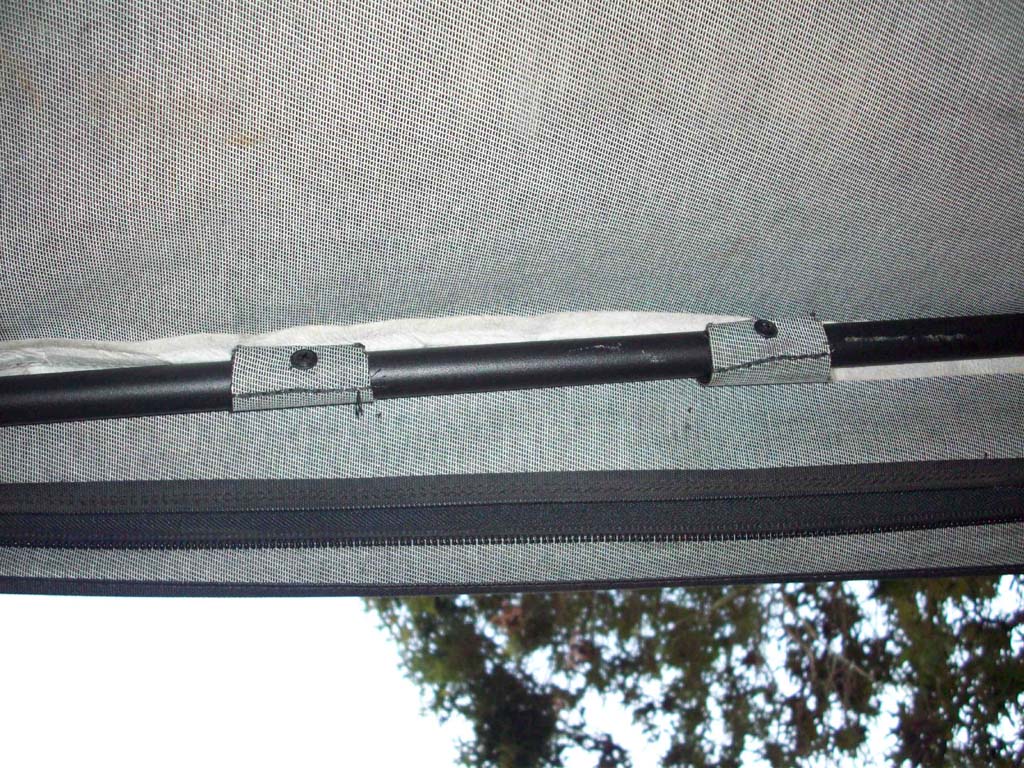
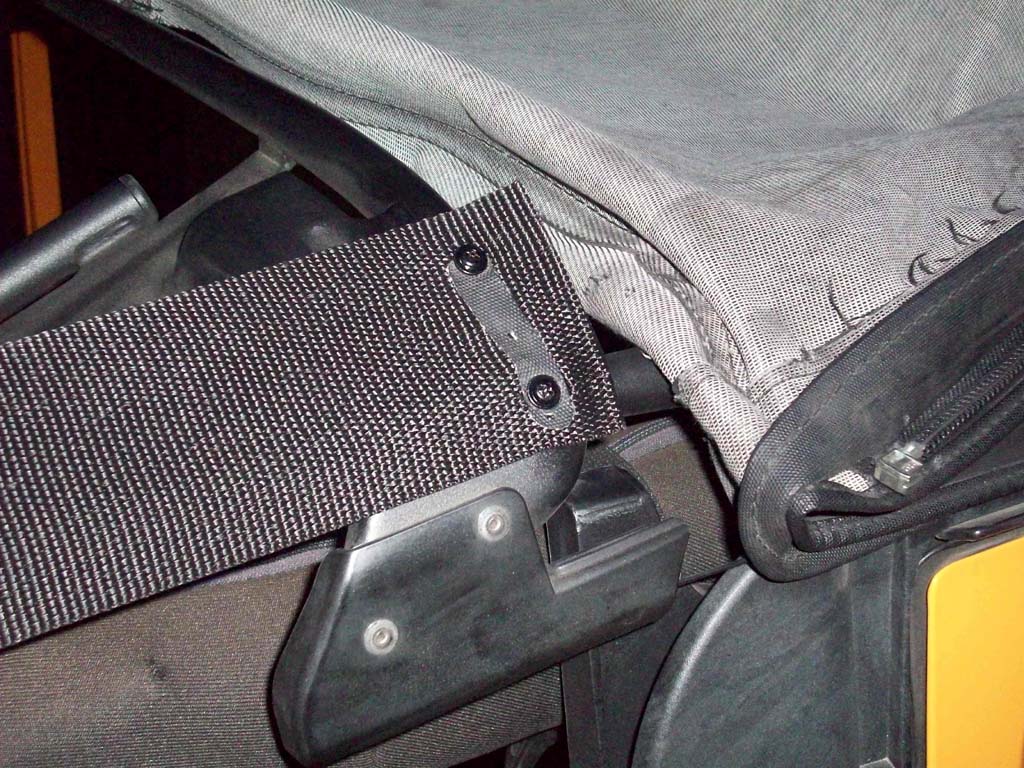
| 32. Double check your installation. The straps should hold the bow up in position and the bow should piviot smoothly on the roll bar bracket. |
 |
 |
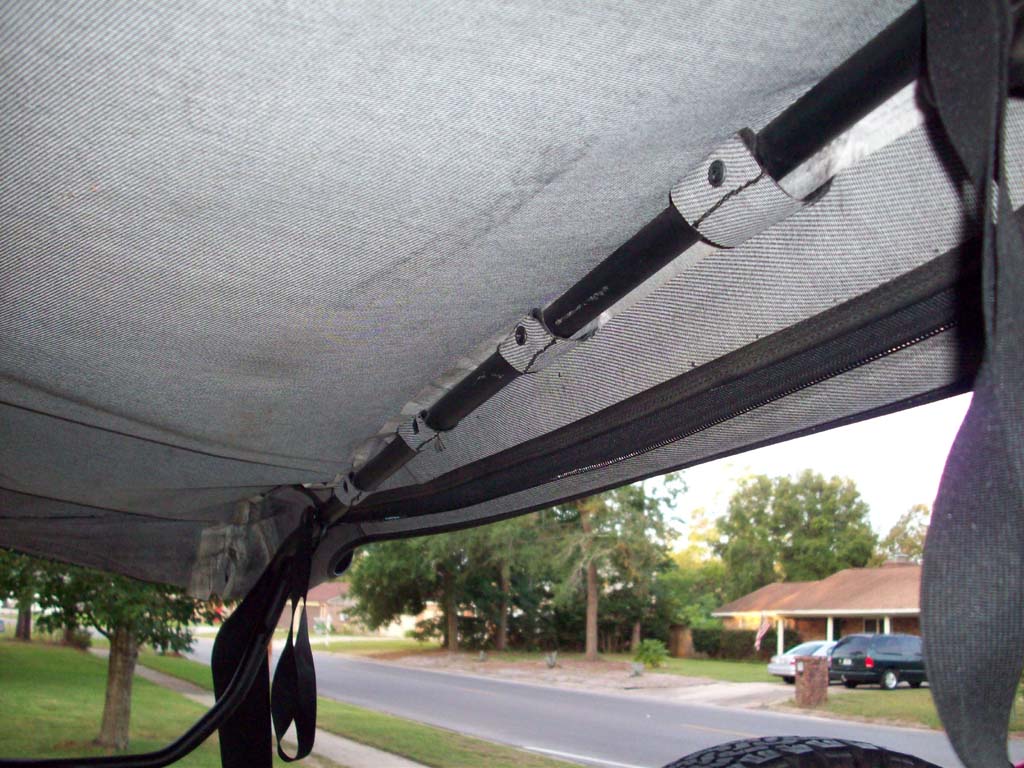
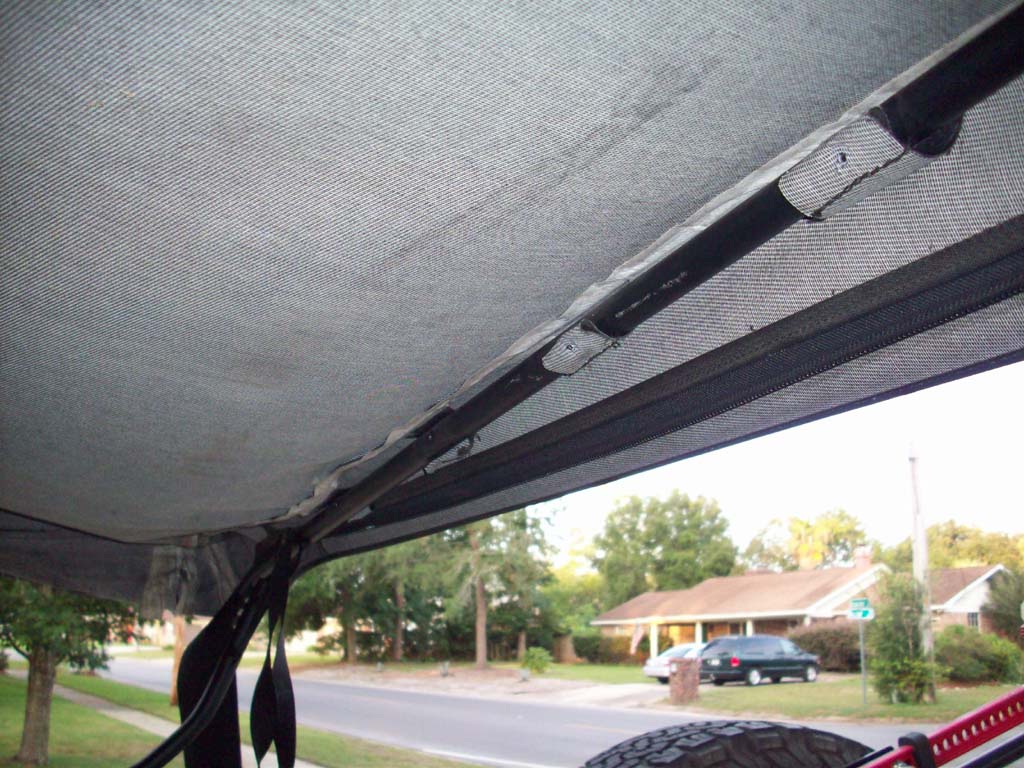
| 33. Pull the soft top forward and over the 4th bow. The 4 strips of fabric should wrap around the bow from behind and underneath. Make sure the ends are pulled down around the bow. The bow should be tucked up into the corner of the soft top. Reinstall the 4 screws that you removed earlier with a #2 phillips screw driver. |
 |
 |
 |
| 34. Reinstall your rear window straps. |
 |
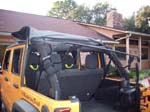
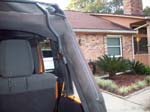
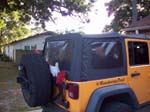
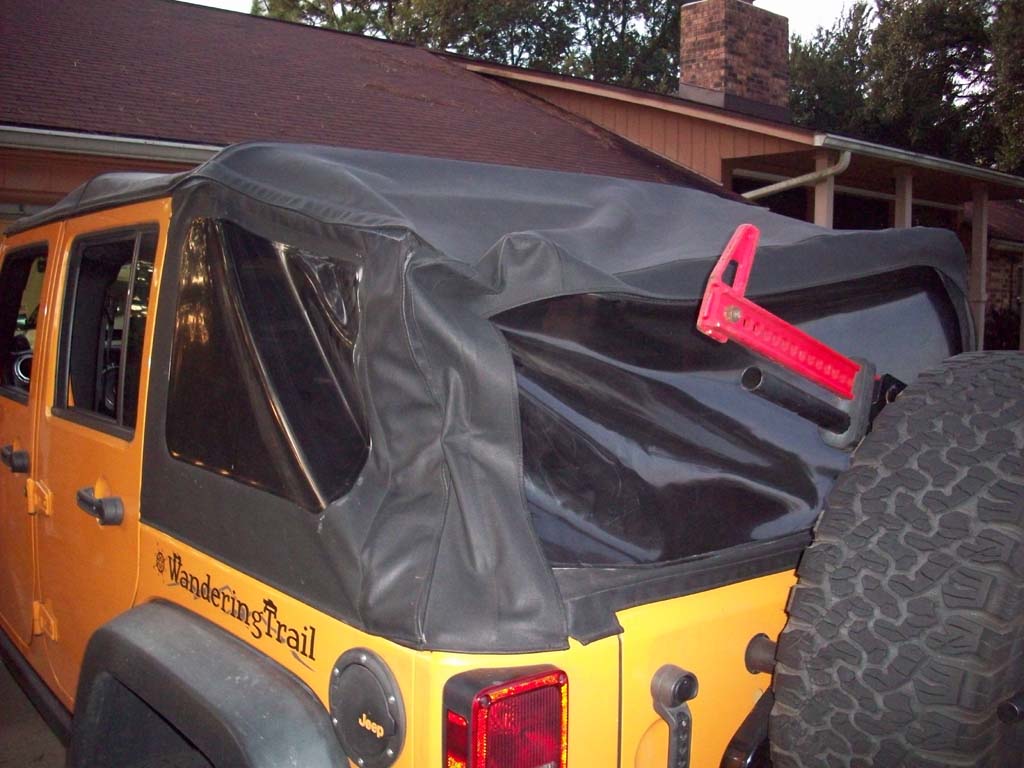
| Finished product before and after. |
Before
|
After
|


