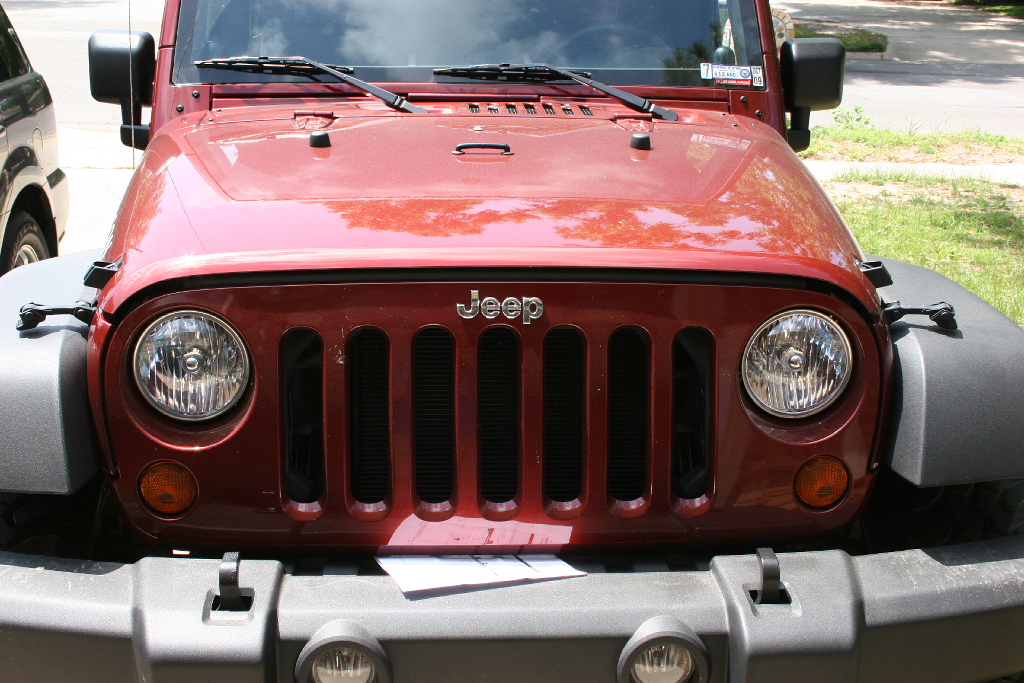
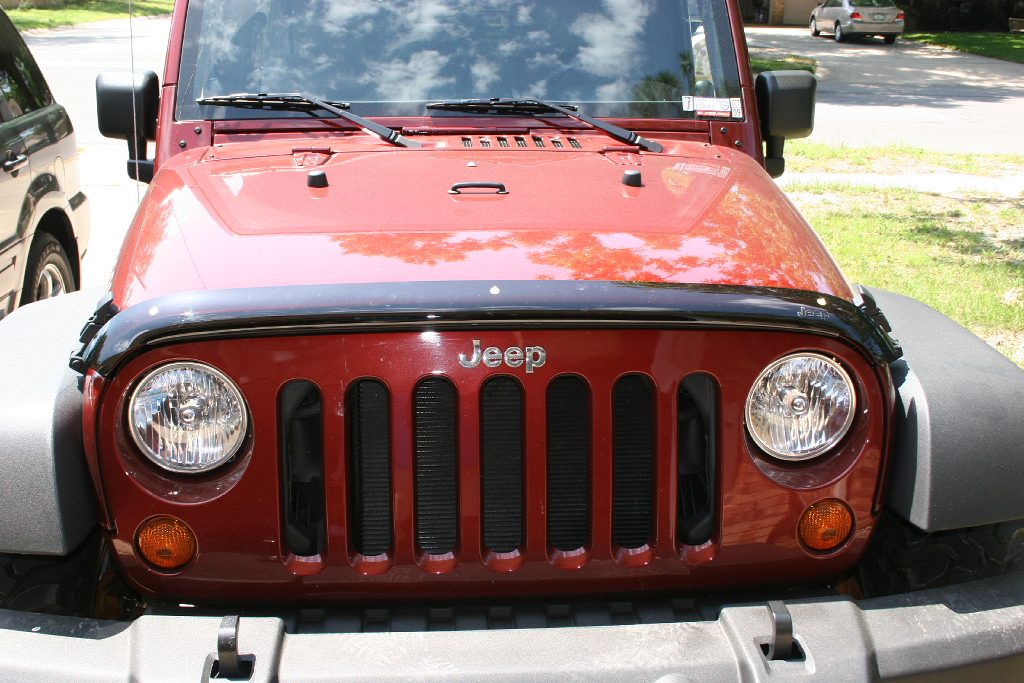
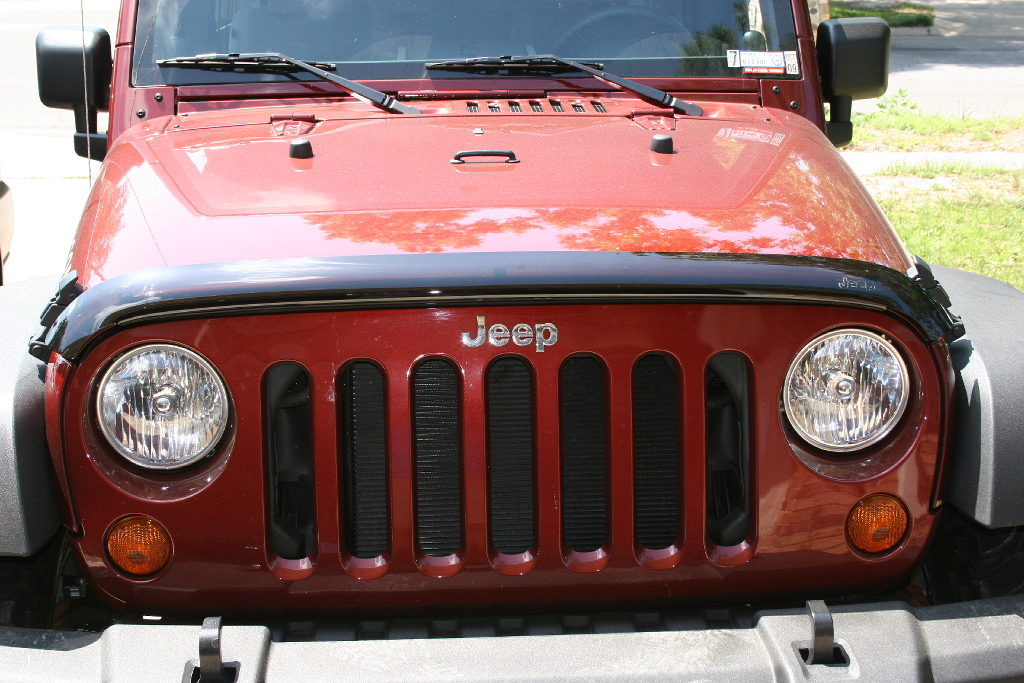
I got tired of having bugs commit suicide against my
windshield and rock chips to the front edge of the hood. I decided to put one of these on. Now I can impersonate a mall cruiser.
I do know that it changed the air flow pattern over the hood, so I don't
know how well an air intake scoop would work in conjunction with this.
Additional
Parts:
Touch up paint
Carwash
Tools
Needed:
Drill
Phillips Screwdriver
#16 drill bit (.177 or 4.5mm) 11/64" is close.
Drill bit collar.
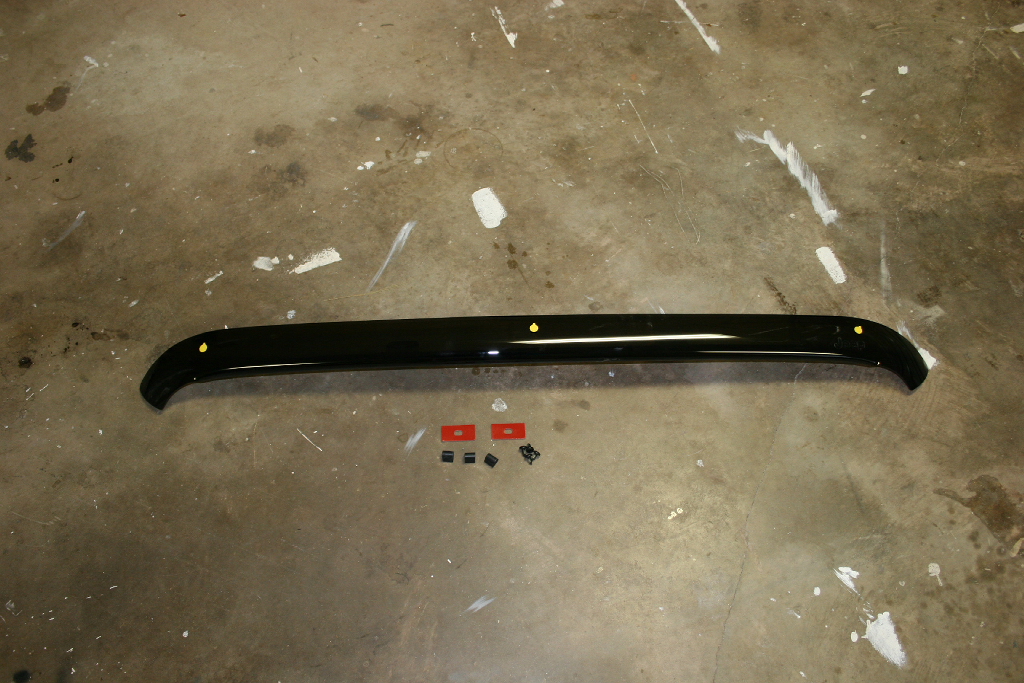
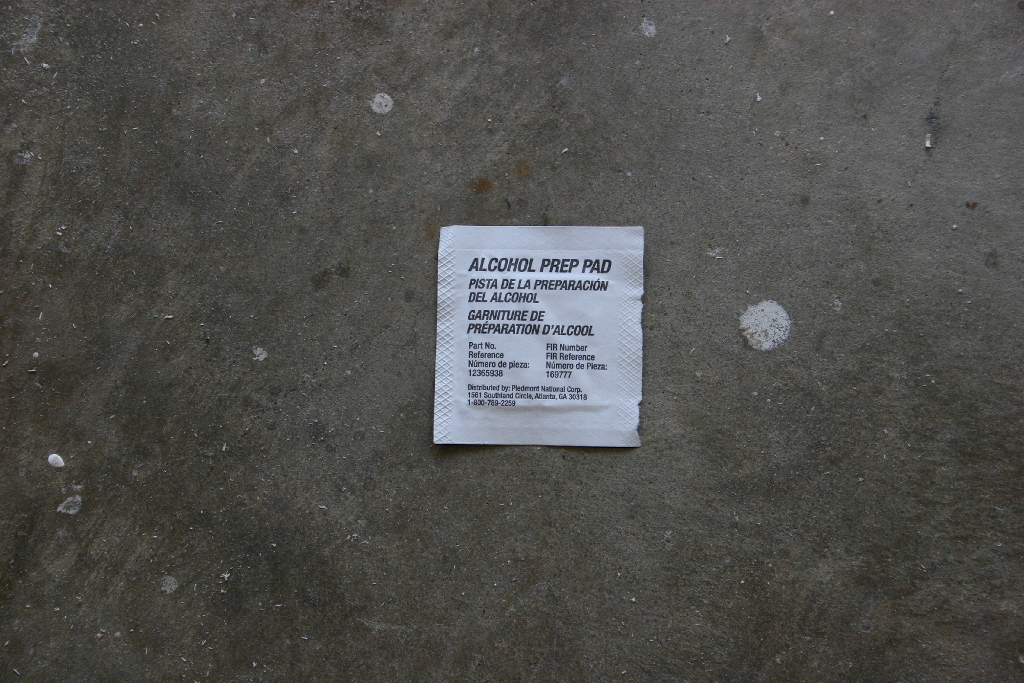
Here's what comes in the box. I had miss placed the alcohol pad somewhere.
Installation:
Wash the front of your hood so that you have a clean surface to work on.
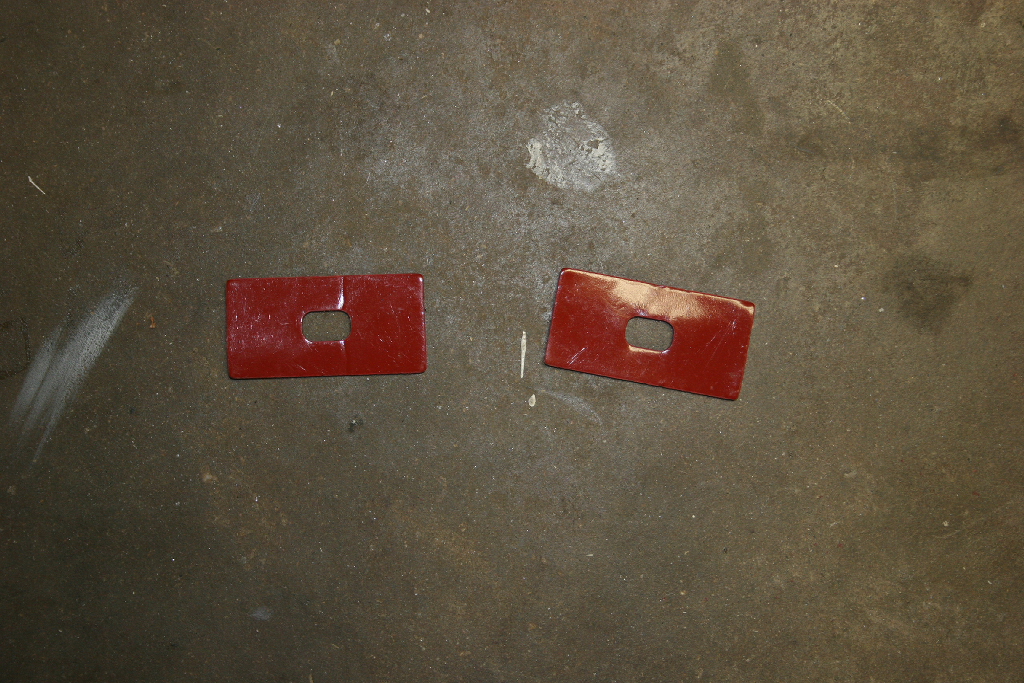
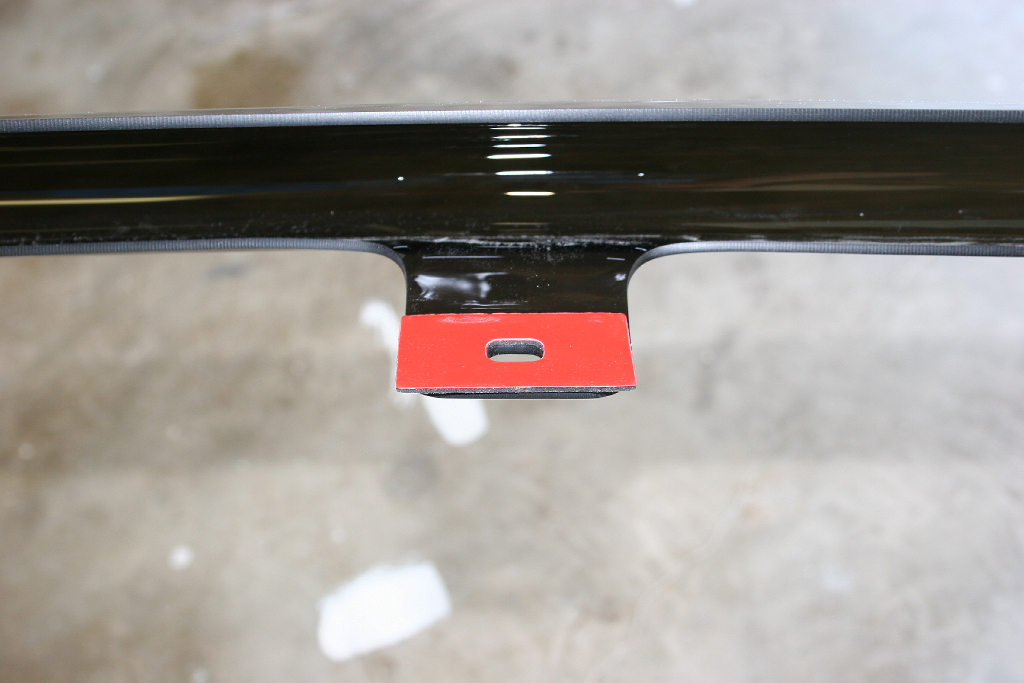
Remove the adhesive backing from the two rectangular pads.
The picture that Jeep provides is really poor. It appeared that they go on the two inside tabs, but they may actually go on the two outside tabs. I noticed a slightly larger gap on the outside tabs. If someone wants to try that position or has a better image than I had let me know.
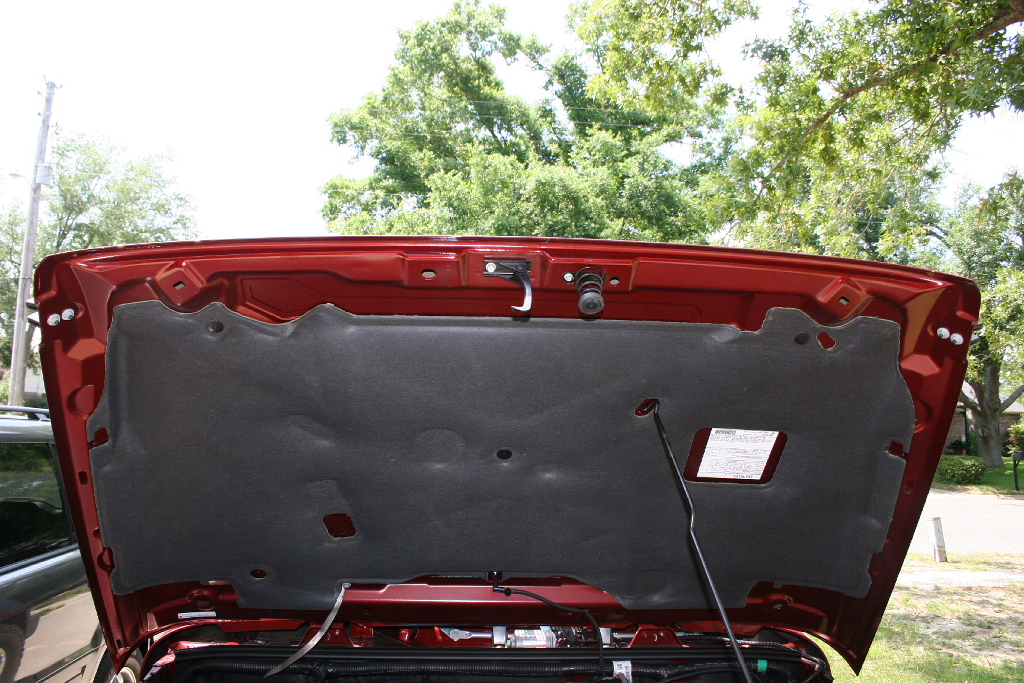
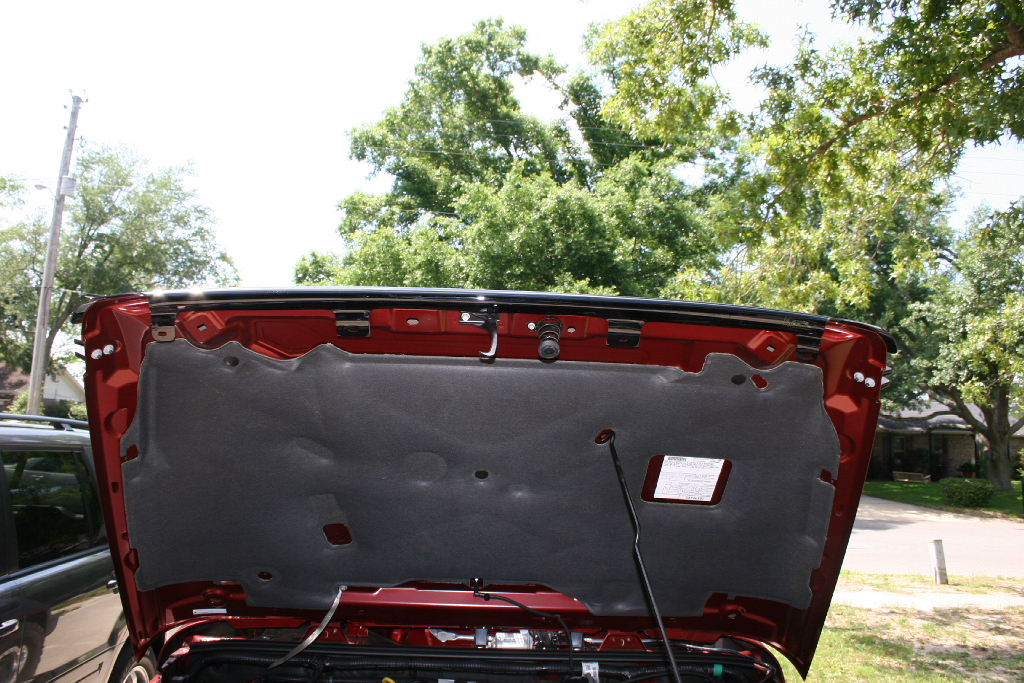
Open the hood
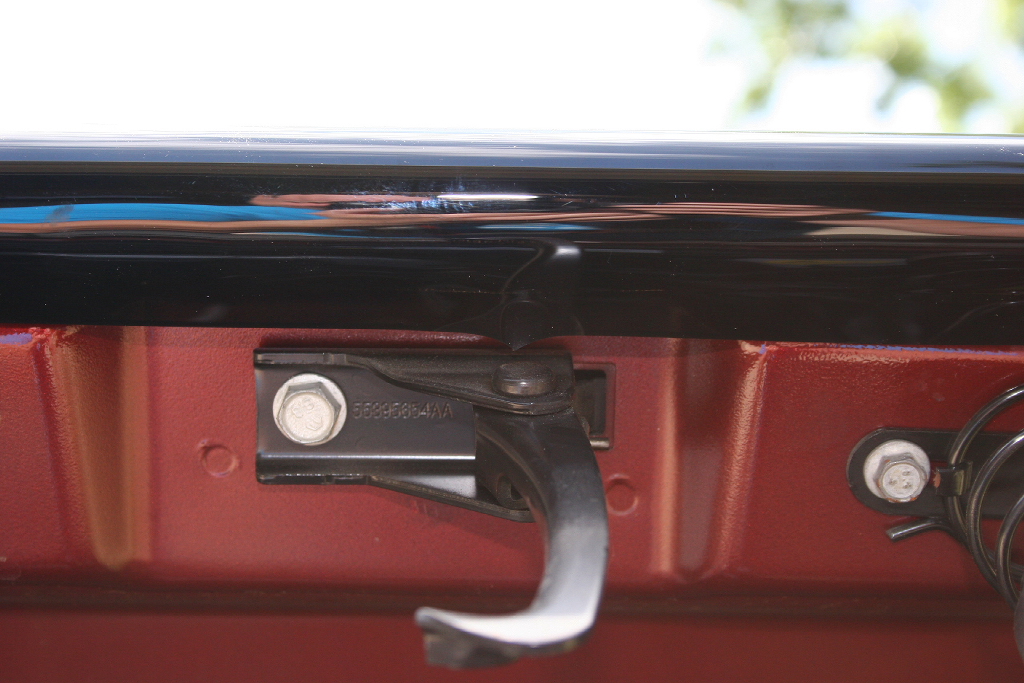
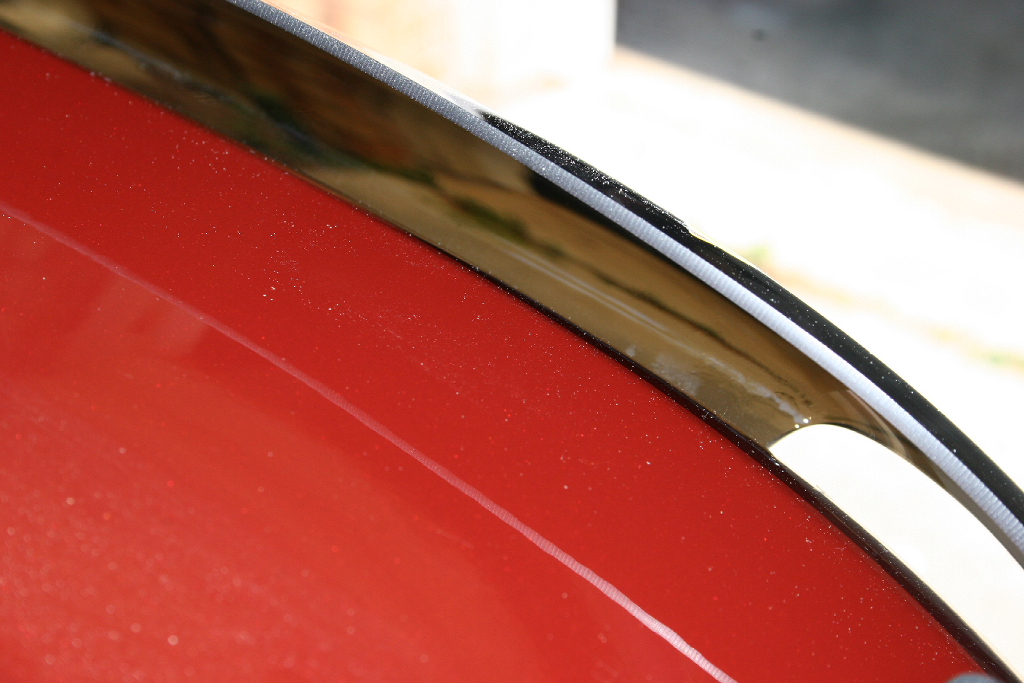
The bug deflector has an arrow on it for alignment with the hood.
Align the arrow with the center of the hood latch. Check to make certain that the bug deflector is centered on the hood.
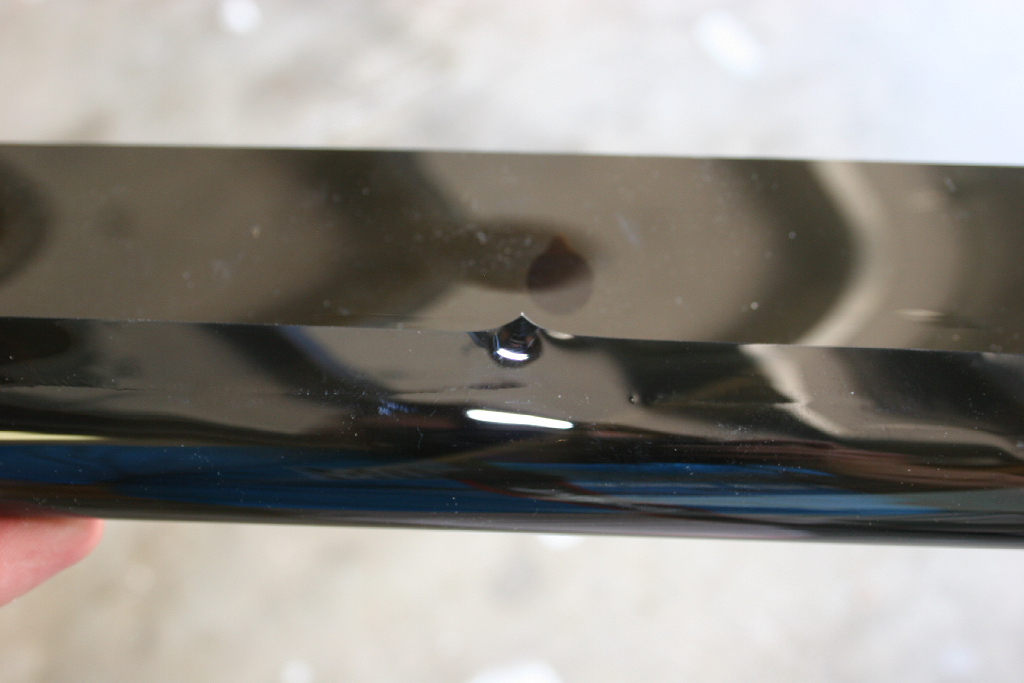
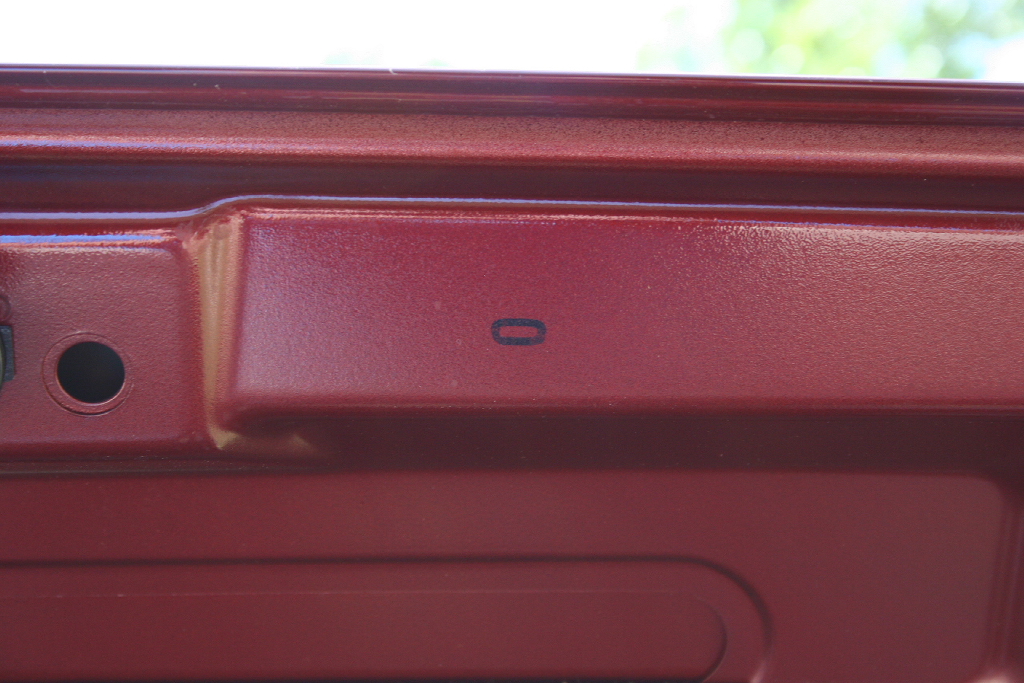
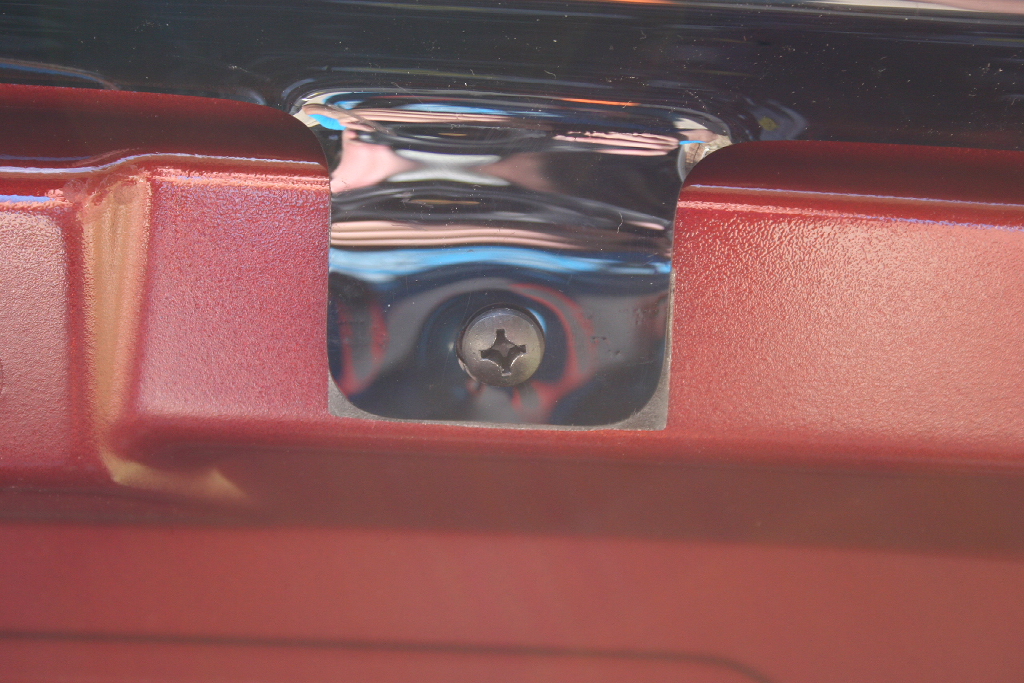
Mark the position of the drill holes. I just marked the center two holes, center punched and drilled out with a 11/64" drill bit and a drill collar. You don't have to drill through to deep, and the outside of the hood is on the other side. Set the collar depth at 1/8".
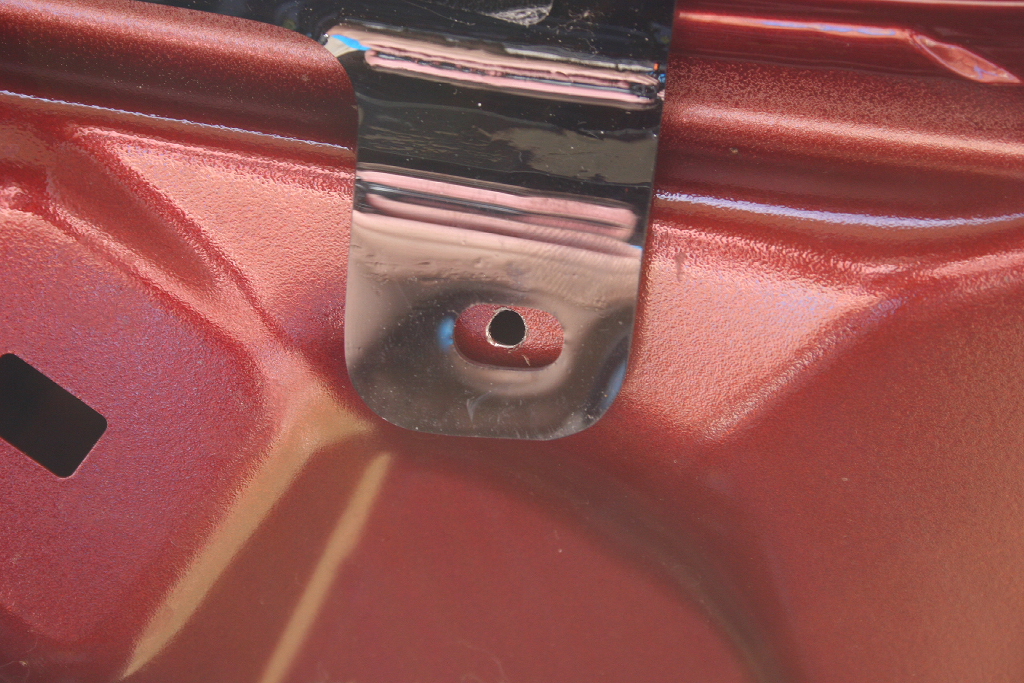
I installed the two screws in the center making certain that the bug deflector was centered on the hood again before I marked the outside holes. Remove the deflector and drill the outer holes.
Touch up the drilled holes with let them dry.
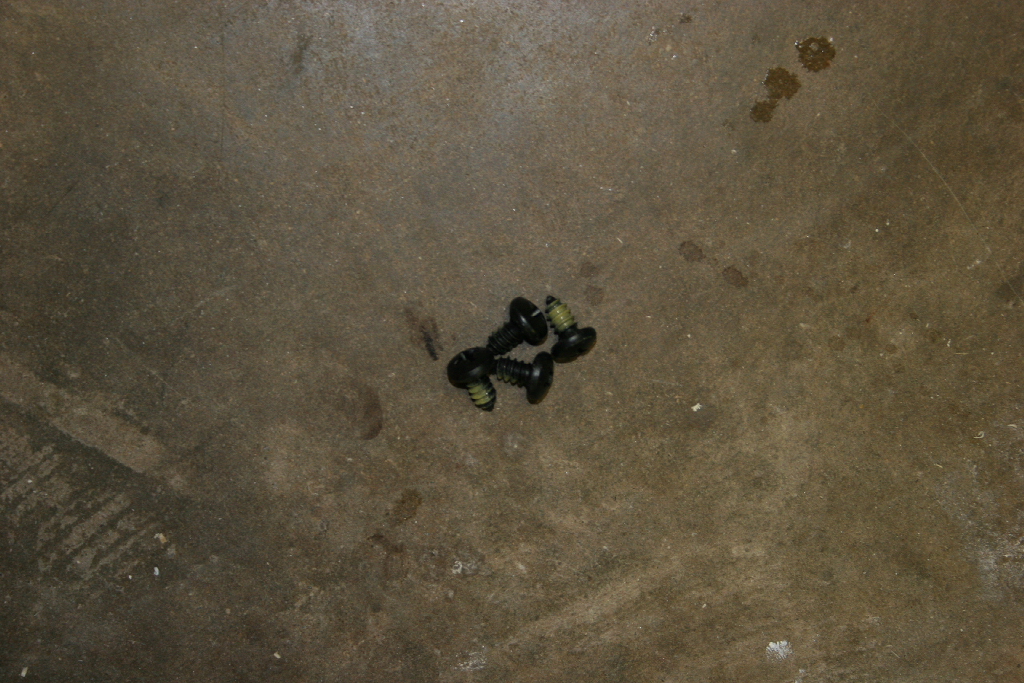
Mount the bug deflector with the supplied screws. You do not need to go in really tight with these. Remember plastic and thin sheet metal.
Close the hood and check alignment. You can shift it slightly from left to right.
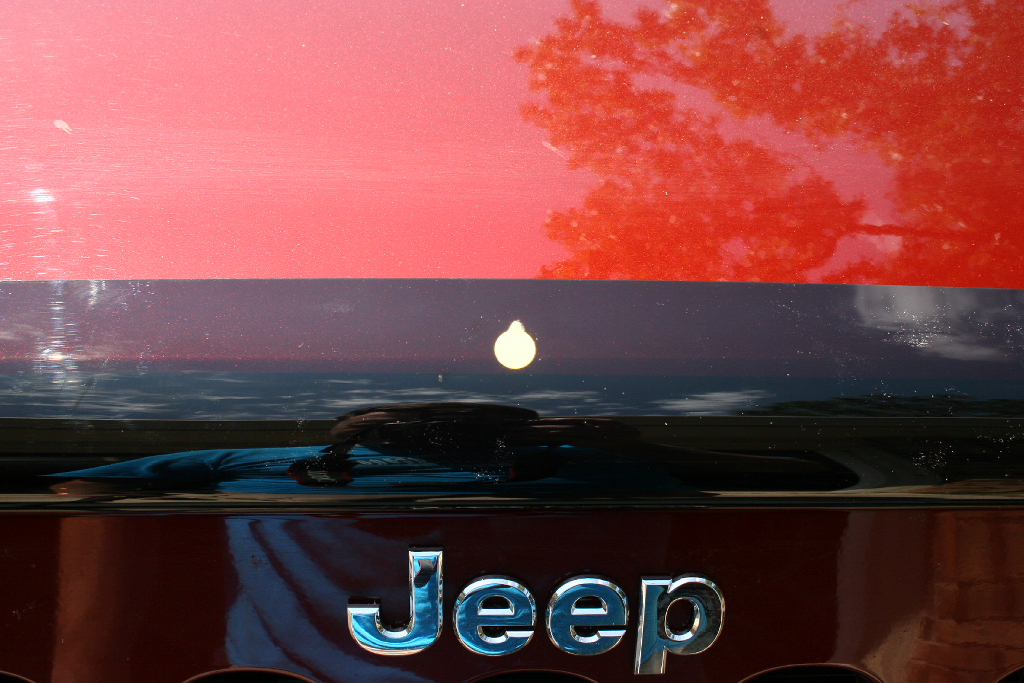
On the deflector you will notice three yellow dots. The pads will go on your hood behind this to reduce flex at high speed.
Wipe off the spots behind the dots with the alcohol pad.
Remove the tape from the adhesive on the pads. This is a real pain, I just stuck the tip of a knife through the center and pried up on the red covering until is separated. Install the pads behind the yellow dots, and then remove the yellow dots.