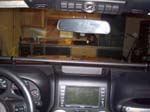
I had grown tired of waiting for Vector Offroad to come up with a long dash bar for the 2011 and up JK's. I didn't really like their dash bar that sat inside the small cubby on top of the dash. I wanted something more secure so I could mount a tablet from it.
| Thoughts: |
I wanted a dash bar to mount my electronics and stuff that I normally use off road. The only thing available was this small dash bar from Vector Offroad. They did have a longer dash bar for the older JK's, but nothing like that for my 2012. I did wonder why they didn't come out with a longer version since there were screws in probably the same location as the older JK's. One day I was looking through Expediton Portal and came across Kiddmen57's write up on a dash bar for the 2011 and up JK's. I didn't have a metal lathe, but I figured I could fabricate something very similar. The biggest thing you will need to do this fabrication is a drill press, since you need to drill the holes straight into the bar stock and scope mounts. This design is probably compatible with the earlier Jeep JK's since I believe they have the same screws in the same place. Though I think the opening in the dash is smaller.
Edit: Vector Offroad. has come up with a longer bar for the 2011 and up JK's. I would recommend purchasing this one over trying to build one like I did. I did purchase and install Vectors, and it is an improvement over what I built. |
| Fabrication: |
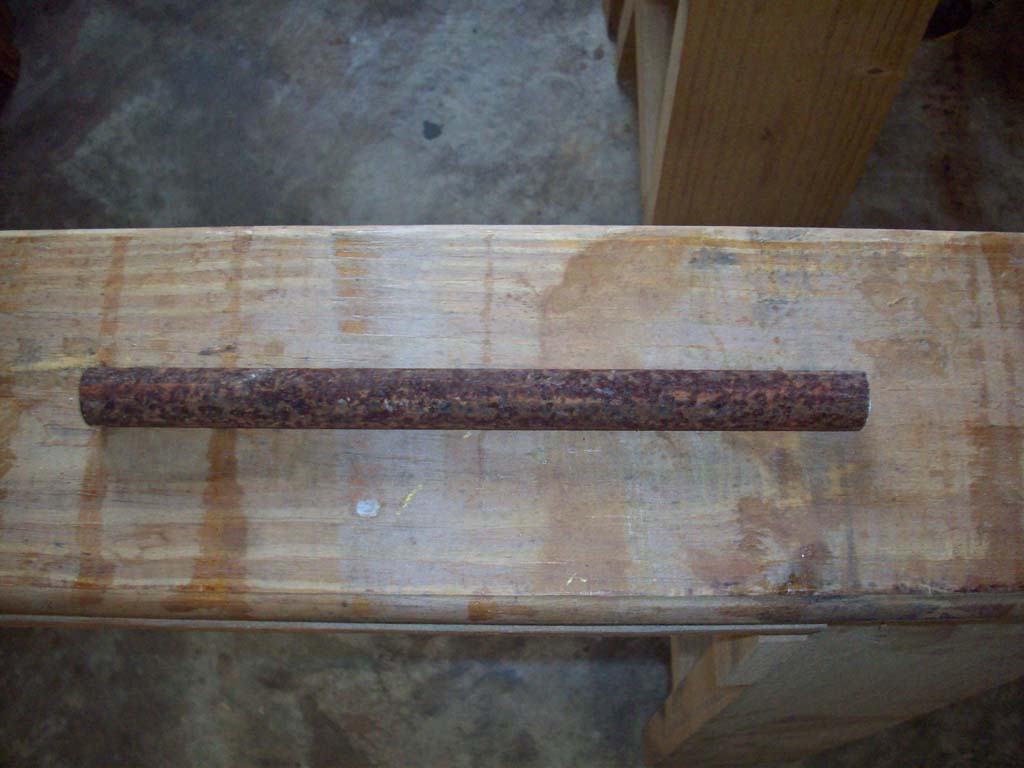
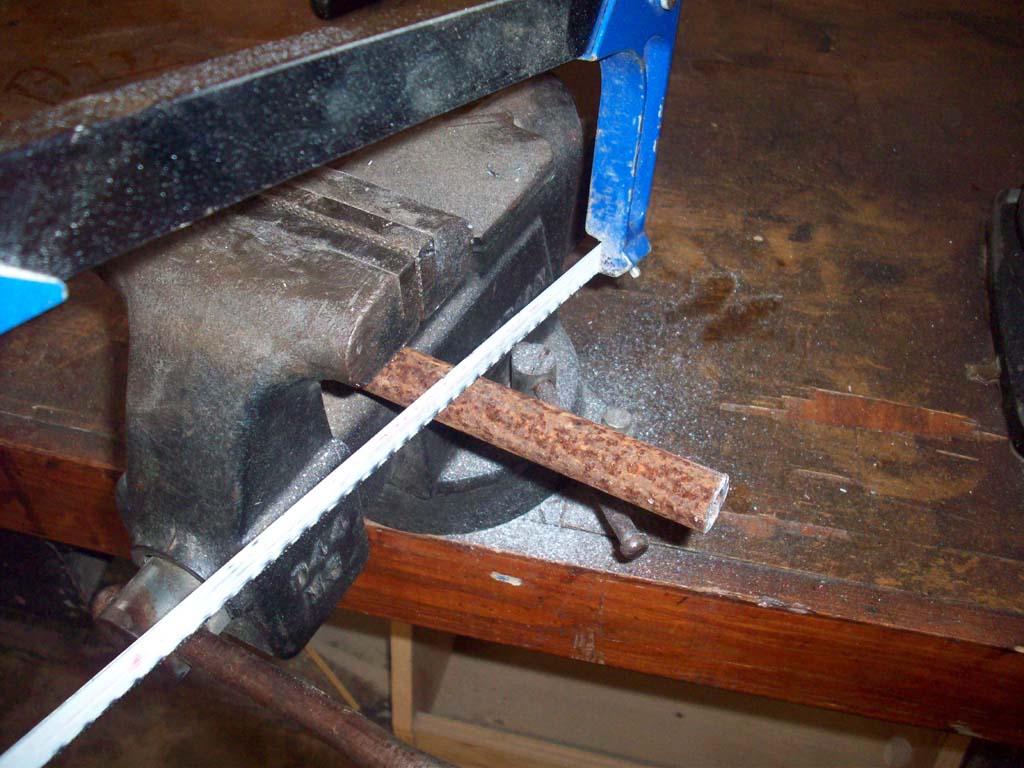
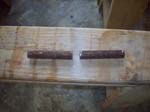
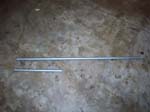
| 1. Take your 3/4" solid bar stock and cut two 4" sections off of it. I recomend going a little larger than 4" unless you can cut perfectly straight. |
 |
 |
 |
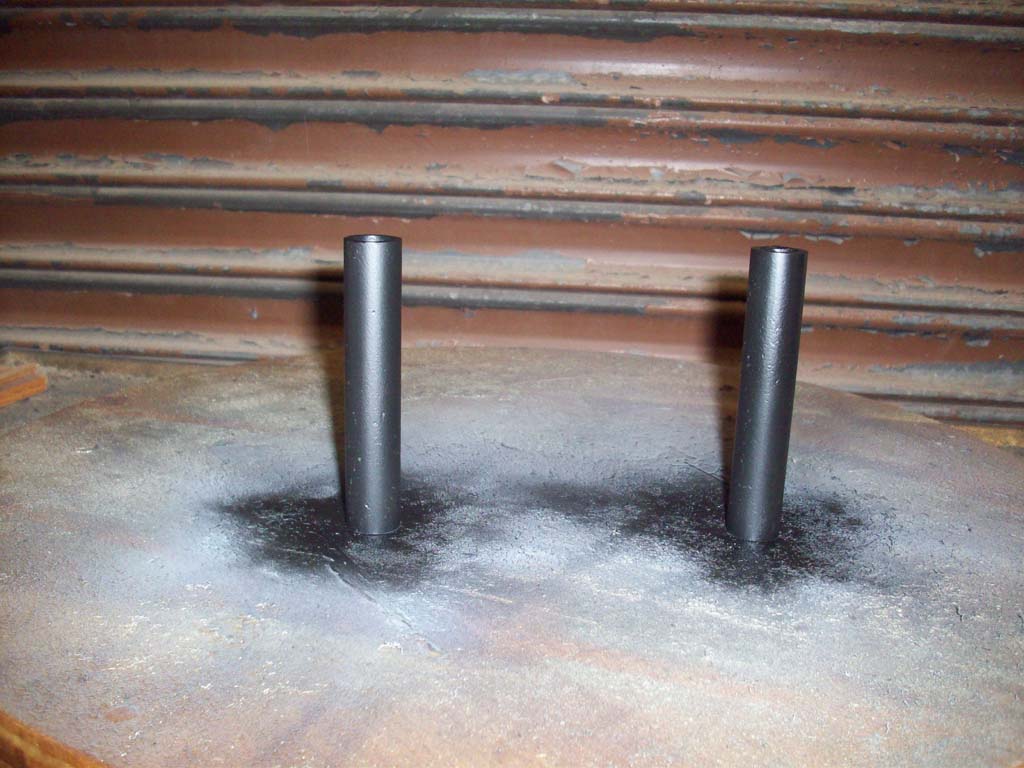
| 2. Flush the ends of the cut bar stock on the grinder or disk sander. Make sure they are the same length. Then centerpunch the center of both ends of the two pieces. |
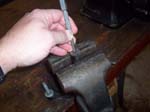 |
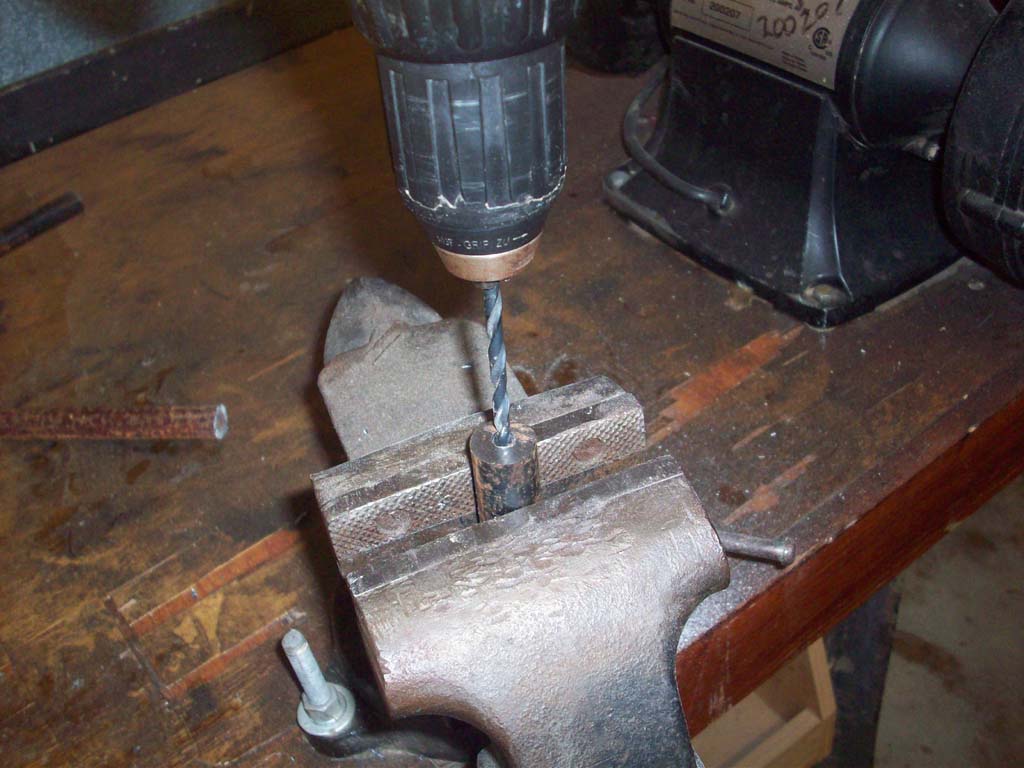
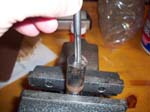
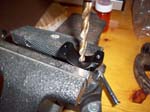
| 3. Drill a hole 1" deep in both ends of the bar stock with a 7/32" drill bit. Use oil and go slowly, snapping a drill bit off in the bar stock means you will need to go back to step 1 and cut a new piece. The screw in the dash sticks out about 3/4", hard to measure, but 1" drill and tap seems to work. Tap the holes with a 6Mx1.00 tap. Once again go slow and use cutting oil. If you snap this small tap, your back to step 1 again. I have a tap remover, and getting a broken tap out is a PITA. It took me a little to get two bars centered, drilled and tapped correctly. I went through a little barstock. |
 |
 |
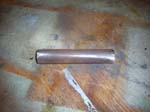
| 4. Prime and paint the two sections of bar stock. |
 |
 |
 |
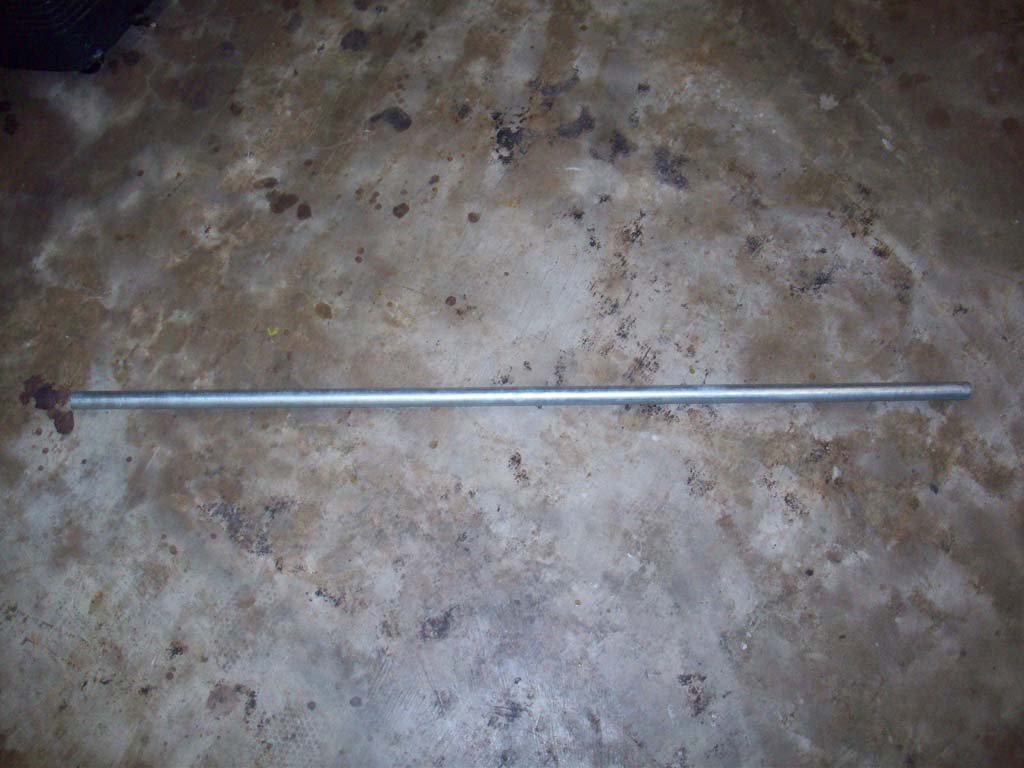
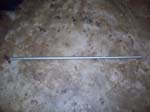
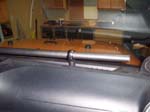
| 5. Cut the 1" EMT conduit to 44". This will fit between the tweeters that stick up from the dash. You can go shorter, but 34 " is about the smallest. The EMT conduit isn't quite 1" in diameter, so if I were to make another I would order some 1" Aluminum bar. This would make it a little more expensive to build. |
 |
 |
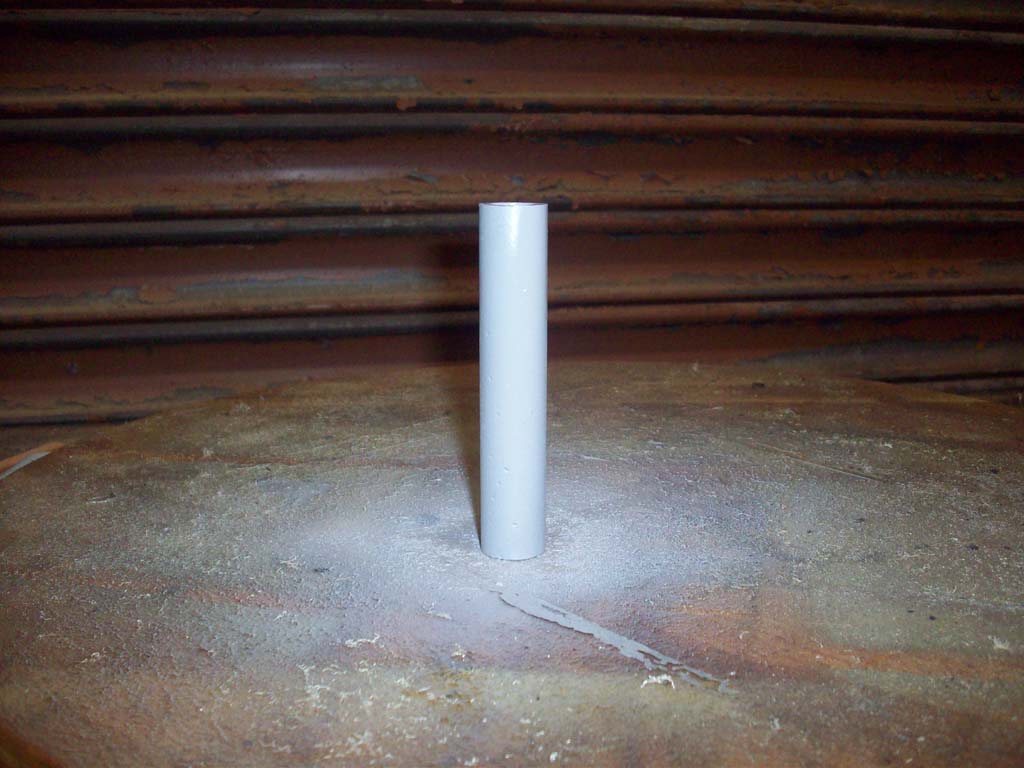
| 6. Prime and paint the conduit flat black. I didn't want it reflecting any glare, so went with a flat vice gloss paint. |
 |
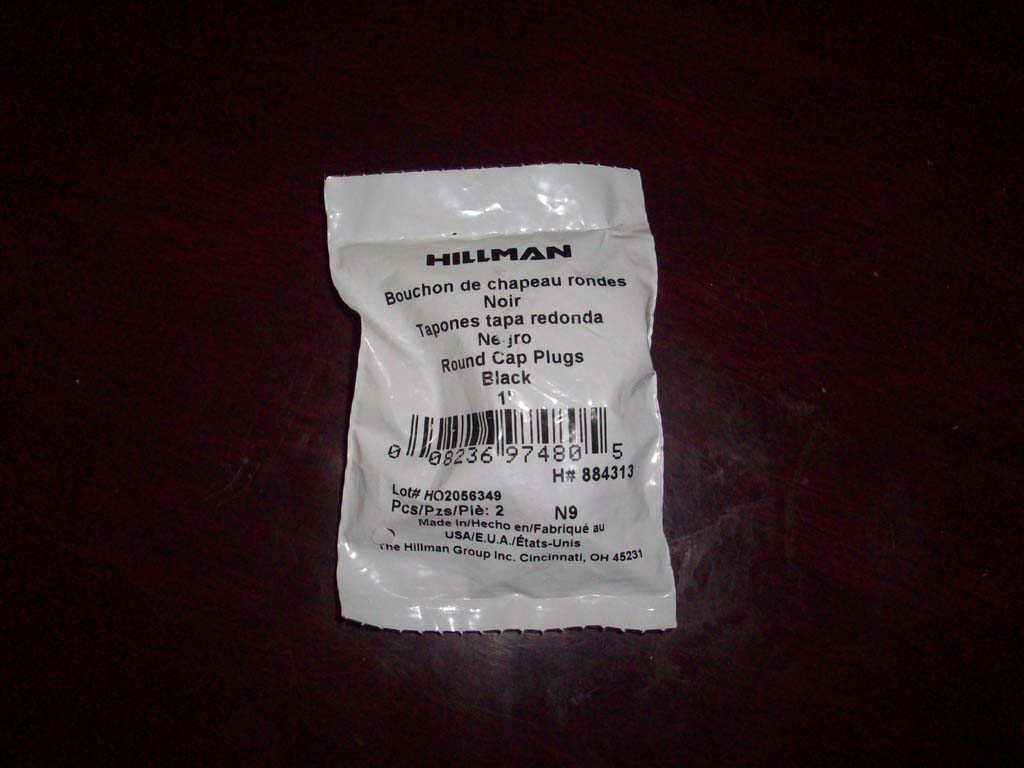
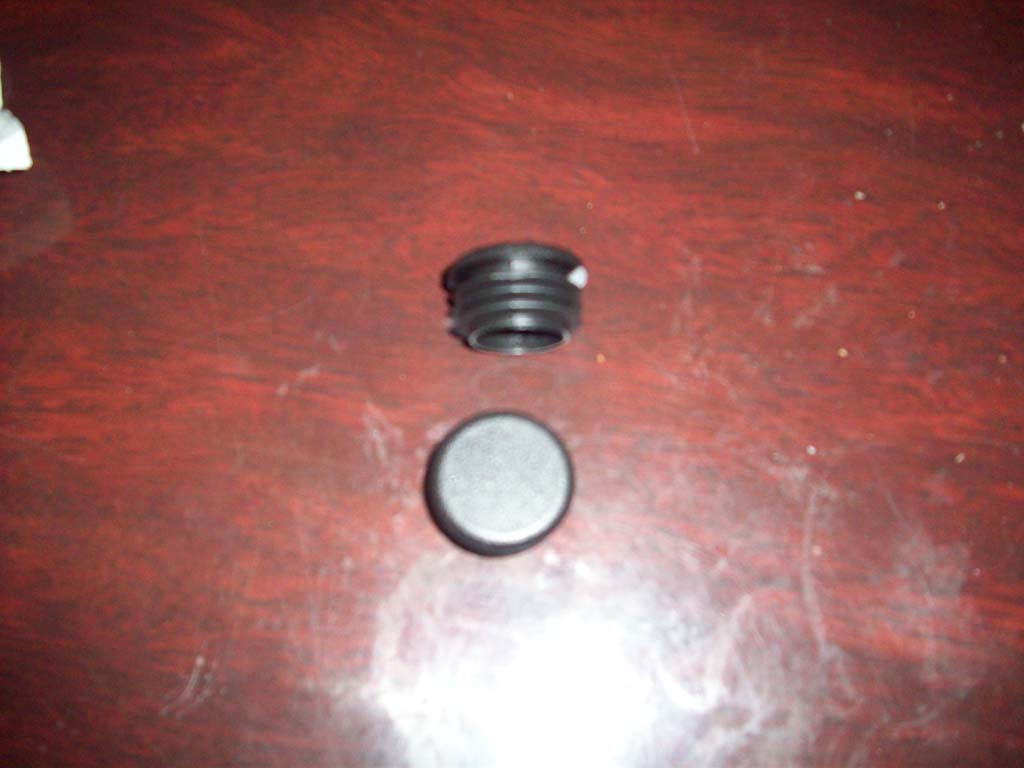
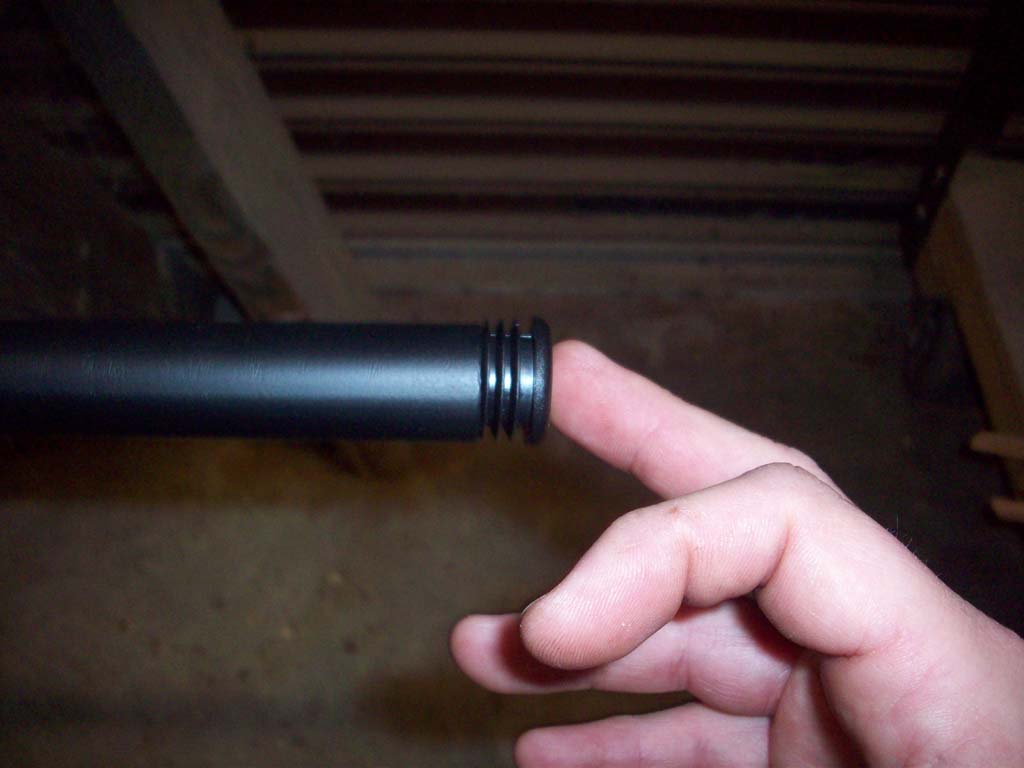
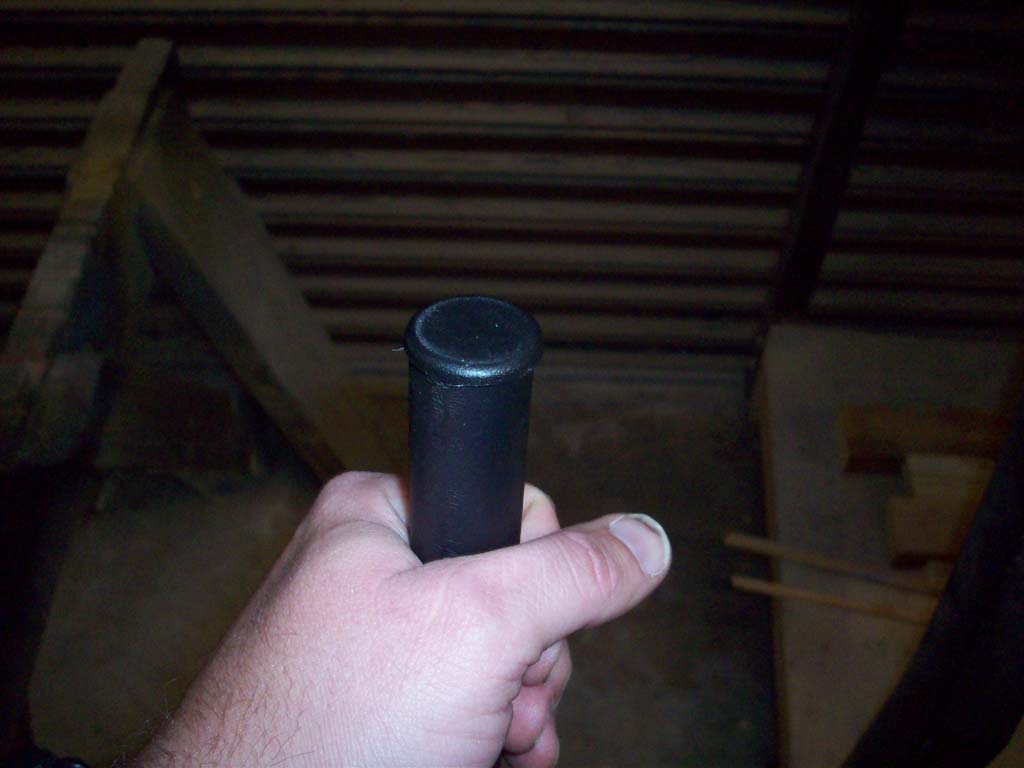
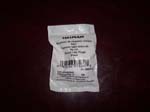
| 7. Install the Cap Plugs in the end of the conduit. |
 |
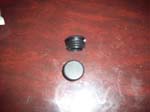 |
| 7a. They are a tight fit and may need some persuasion with the dead blow hammer. |
 |
 |
 |
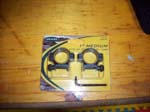
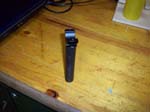
| 8. Remove the top of and the mounting screw from the site mount. Use whatever tool is required, I've seen phillips, straight, allen and torx screws. The ones I picked up form Wal-Mart had an allen wrench included. |
 |
 |
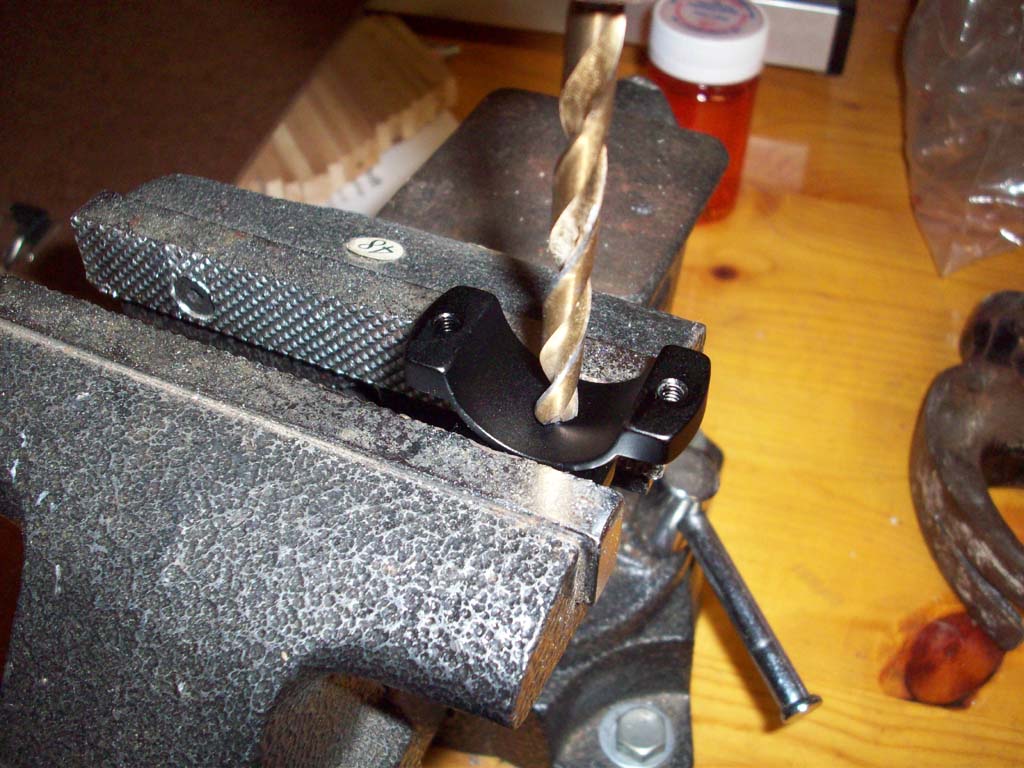
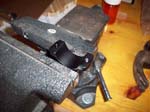
| 9. Drill out the 1" site mounts with a 1/4" drill bit and countersink. Once again the drill press works much better than trying to do it by hand. |
 |
 |
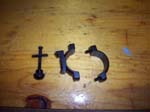
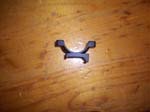
| 10. Grind off the bottom ears from the scope mount with a grinder. |
 |
| Installation: |
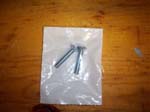
| 1. Install the drilled 1" site mounts onto the 4" barstock with the 6mx1.00 30mm screws. You will need a phillips screwdriver. |
 |
 |
 |
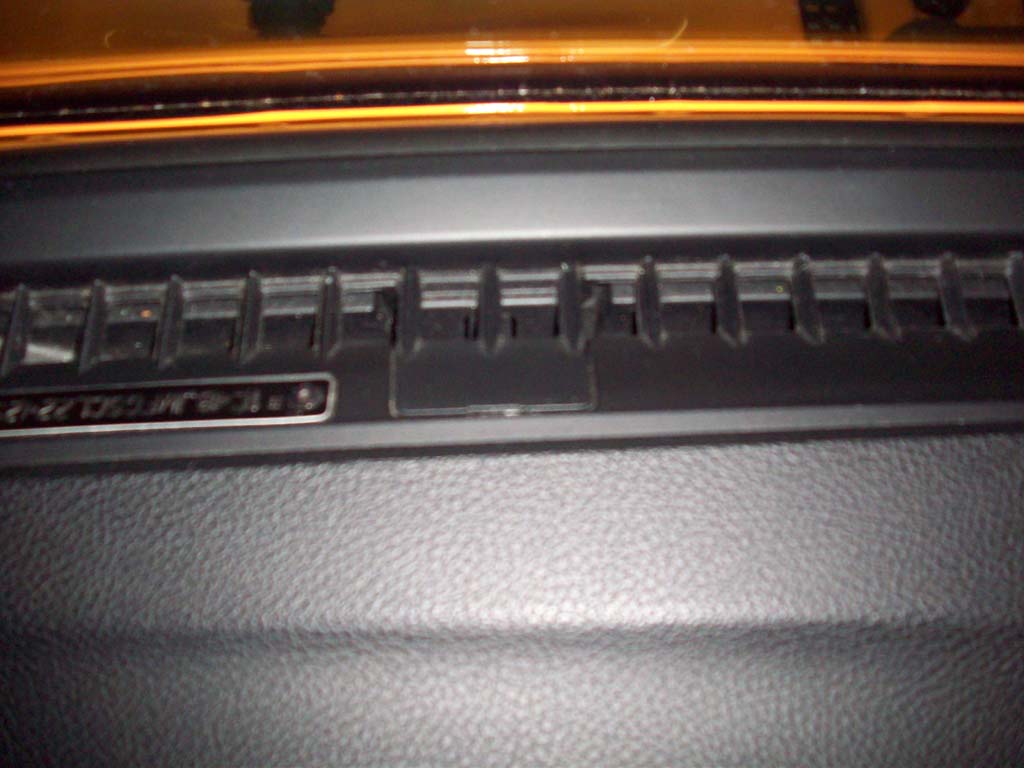
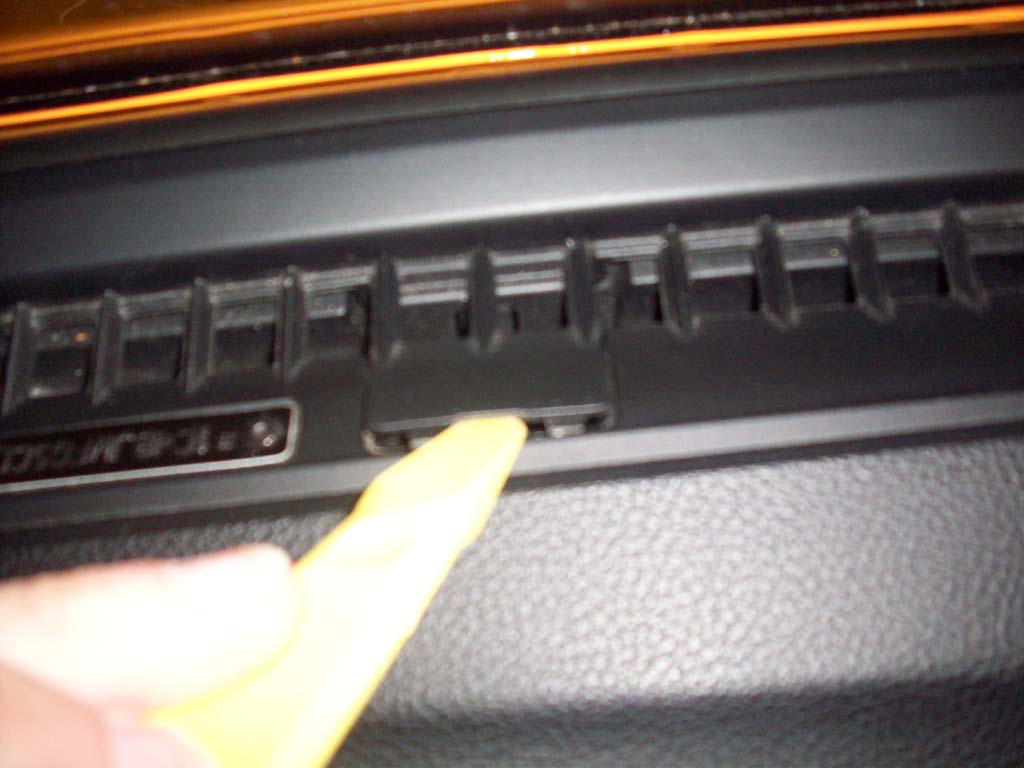
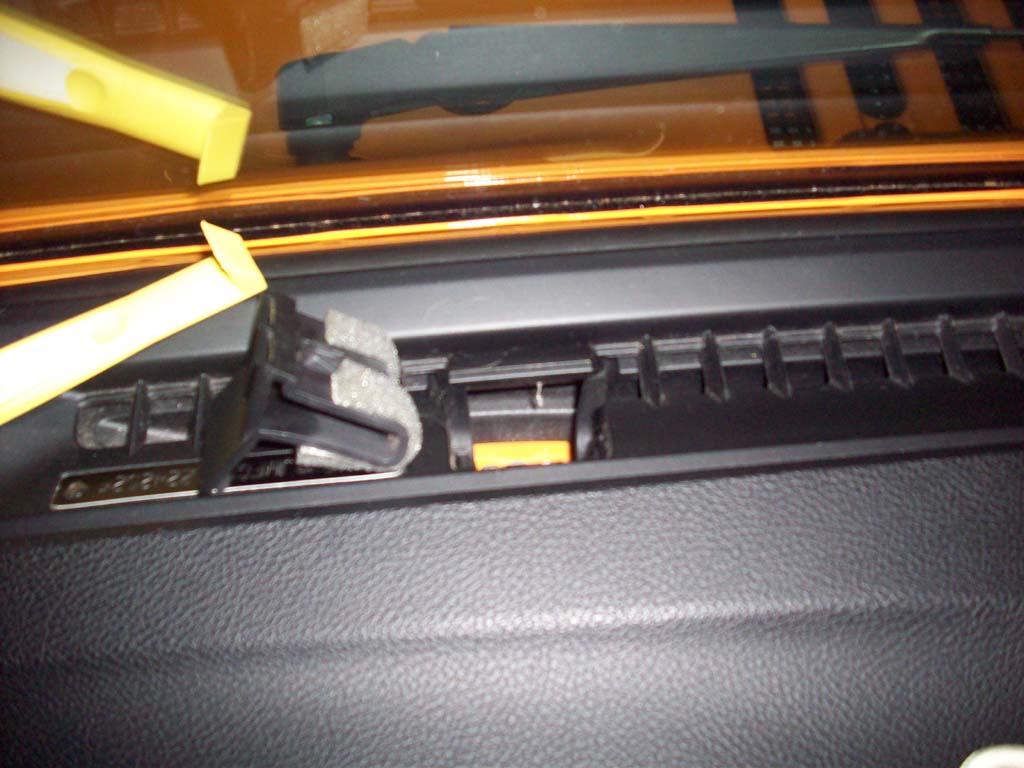
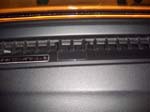
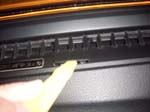
| 2. Remove the two plastic covers from the dash with a trim pry bar. You can use a small flat tip screwdriver to get this out, but you might scratch up the dash. Put these plastic covers somewhere you can find them in the future. I know small plastic parts are like that one sock in the dryer.. |
 |
 |
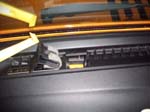 |
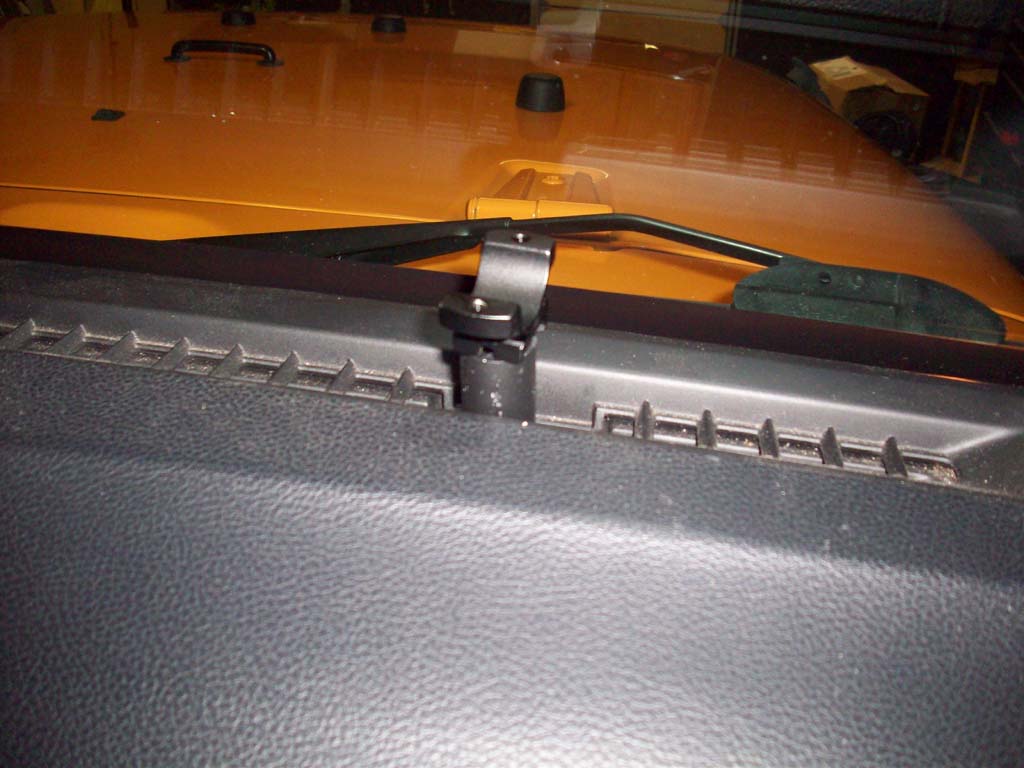
3. Screw the site mount / barstock combo onto the screw in the dash and align the site mounts with each other.
|
 |
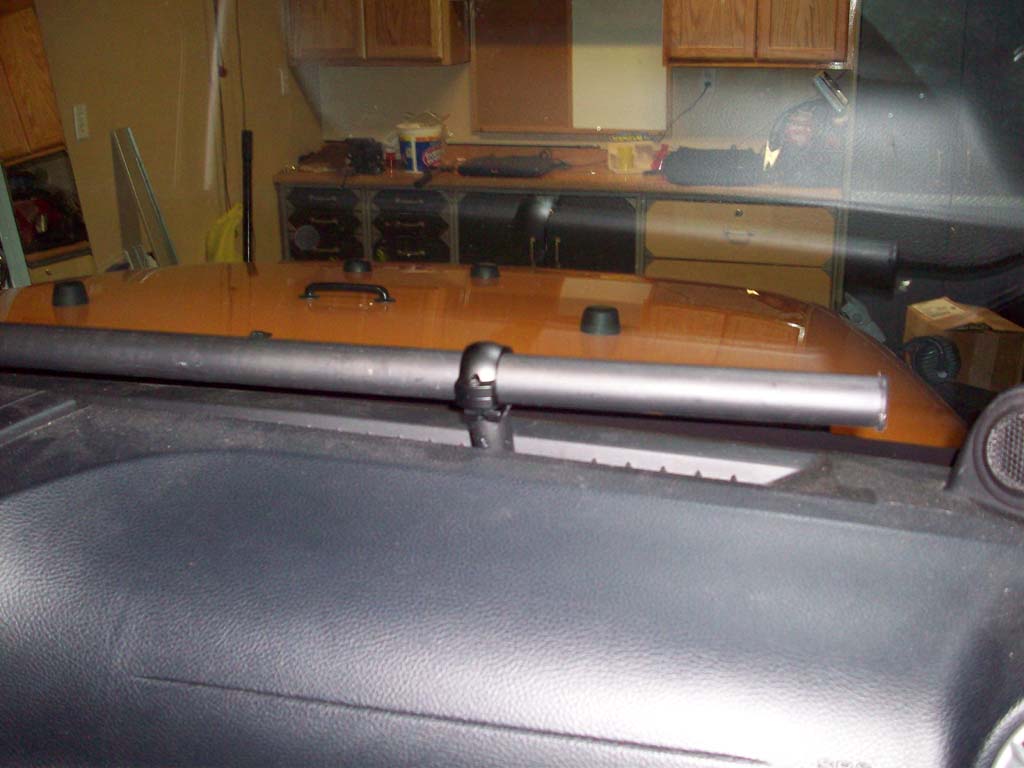
| 4. Install the dash bar in place and install the tops of the site mounts. This might take a few back and forths to get everything aligned correctly. Use the small pieces of rubber to get a nice tight fit betwen the scope mount and the bar if you need to get it tight. |
 |
 |
| Final Thoughts: |
| For the cost of making this and the time that went into it, it is now easier to buy the one that Vector Offroad makes. I had access to a few pieces of equipment to make this easier, but if you don't already have all the stuff to make it, just buying a few items puts you in the same price range as having someone else make it. It would have been nice to have a lathe to get a few pieces turned to the perfect size and fit. Things that I noticed with the bar. The position does change the flow of the defrost a little, it doesn't seem to clear the windshield as well and does blow a little back towards the cab, not something that's unliveable considering how hot the Jeep defrost gets.. Positioning anything over the center of the dash requires a long arm mount from RAM. I normally put my tablet there for navigation and running other programs. It wasn't the easiest to get positioned right, and putting it over on the passenger side interferred with the air bag, which I wasn't comfortable with. I did get a little deflection with the weight of things hanging off the bar, but I expected that with the way the design is. The project cost about $50 in parts, but break a few drill bits and taps and it goes up quickly. |