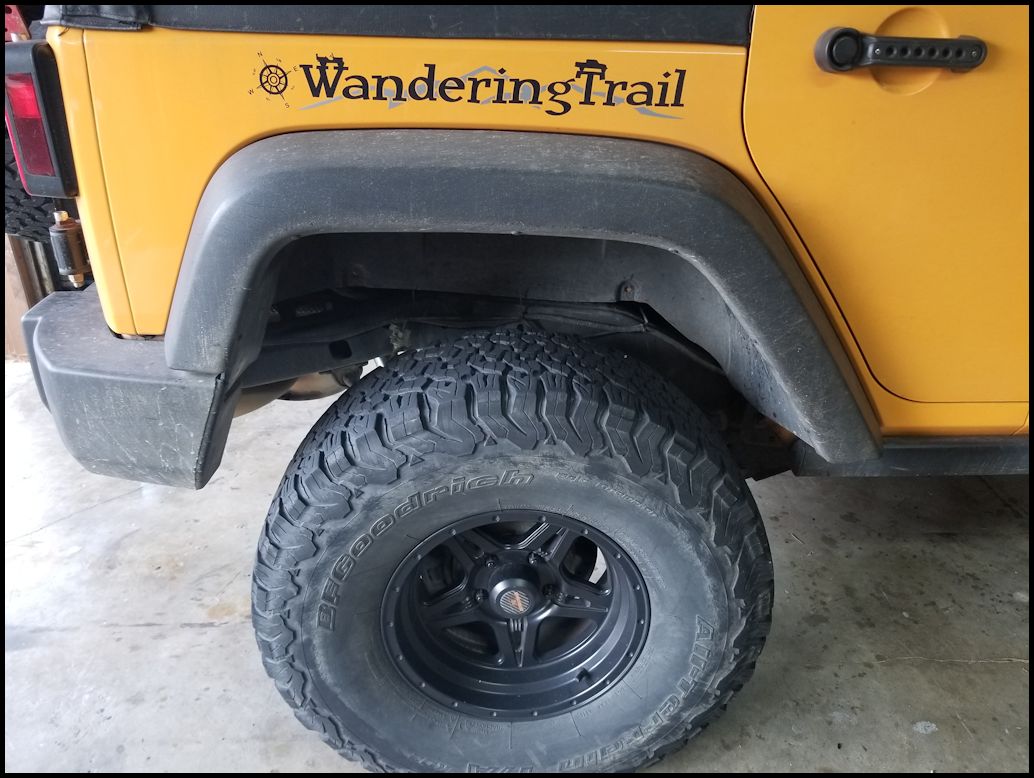
Removing the fender flares to access items on the engine, change out the flares, or just remove the inner fender liners so you can install something different is fairly easy. Sometimes the trails that we run can assists us in this by removing them with obstacles like rocks and tree trunks. It's pretty much a guarantee that sometime in the life of the Jeep we will need to pull these off. Jeep did design them to come of fairly easy, just don't buy any new clips from them since they will charge way to much for just one clip. I picked up a pack of 25 off of Amazon.
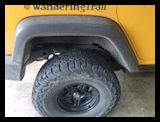
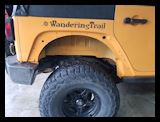
| Front Flare Removal: |
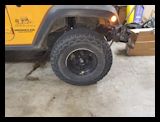
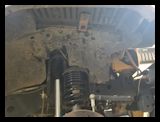
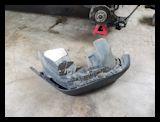
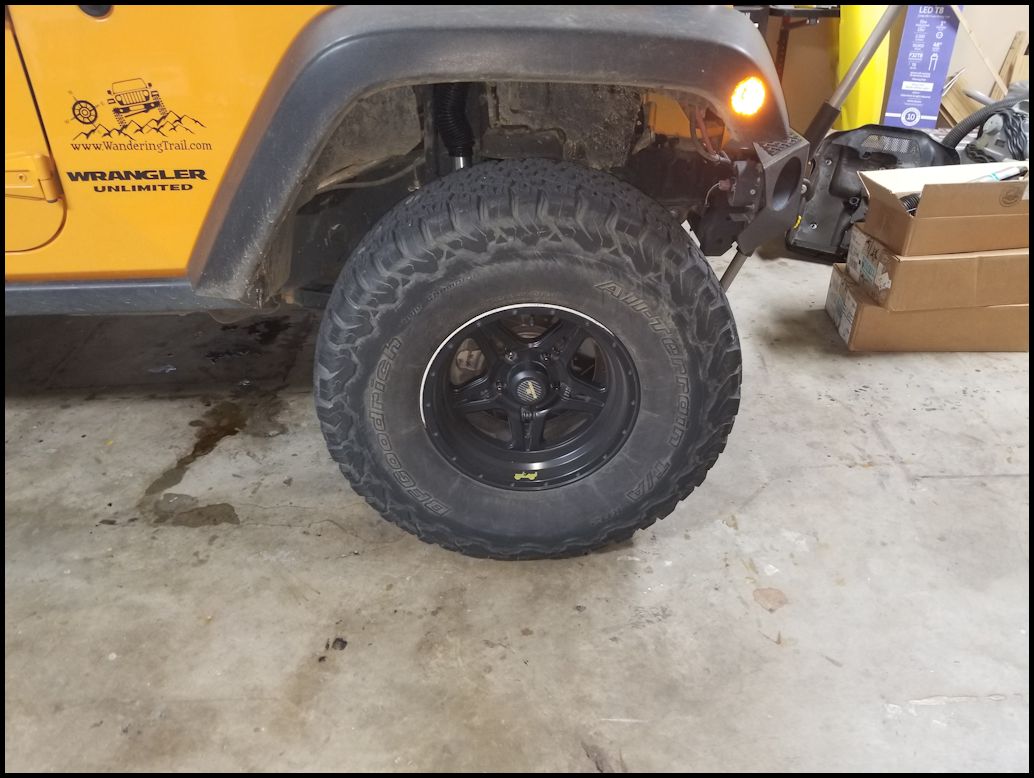
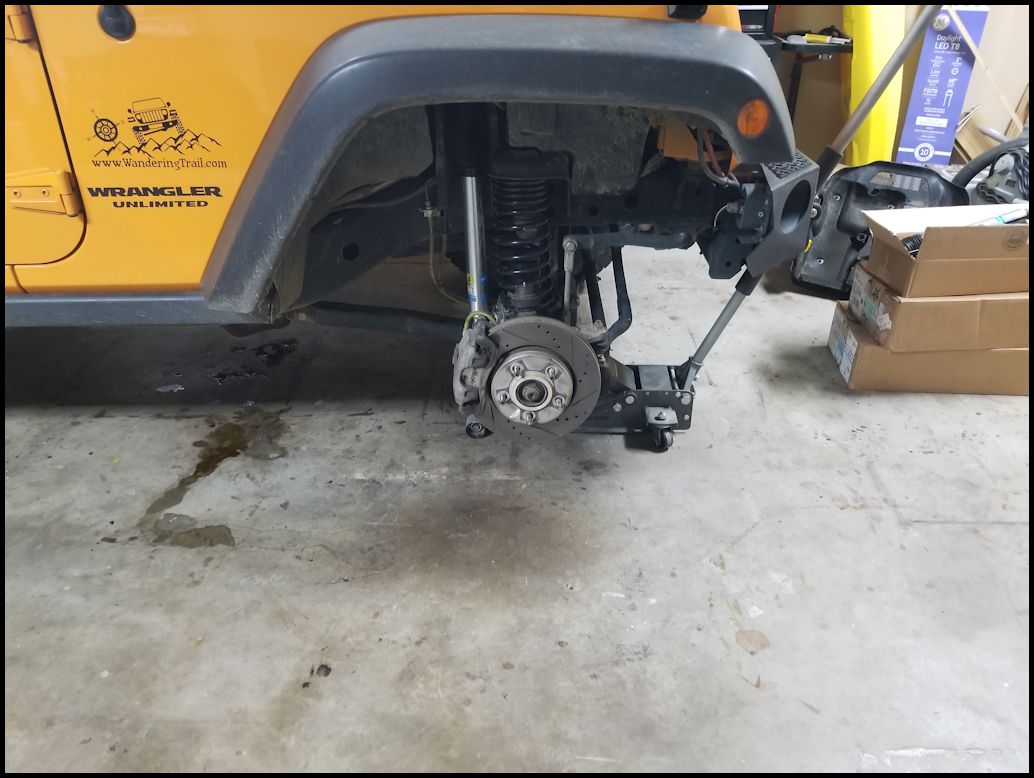
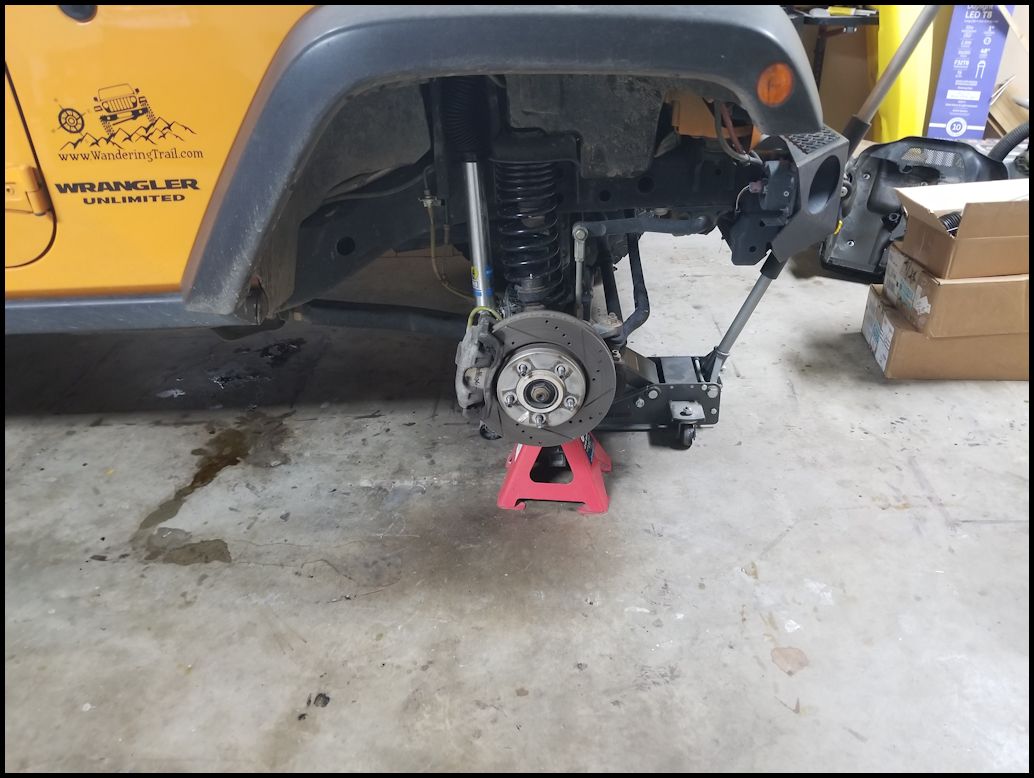
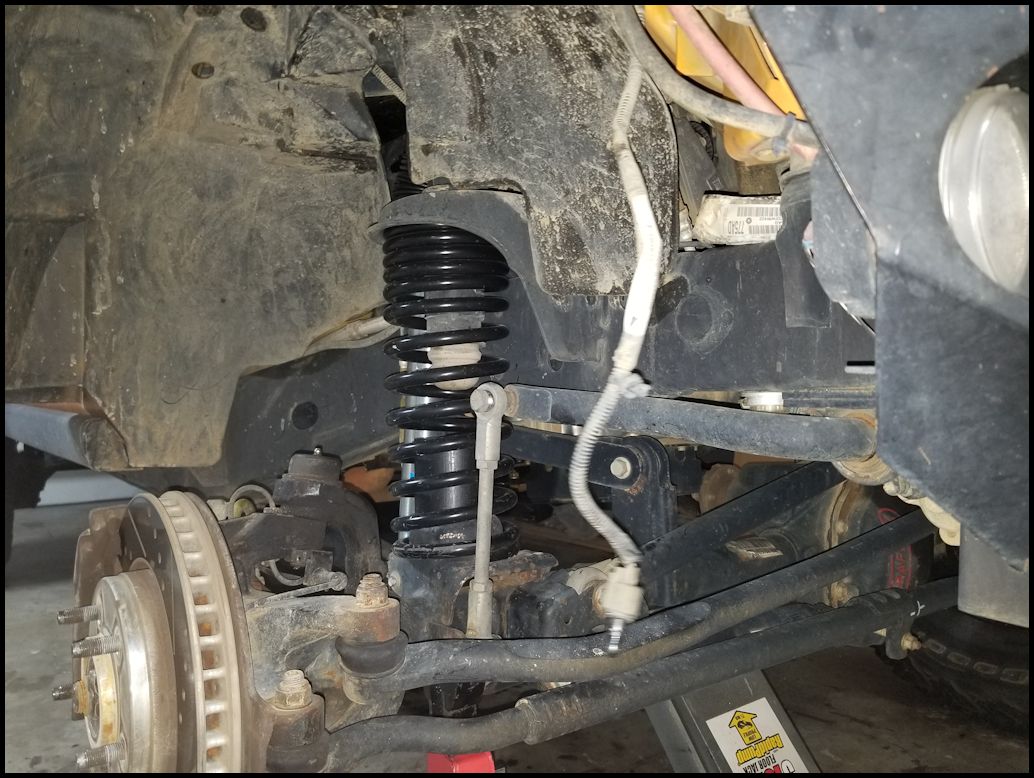
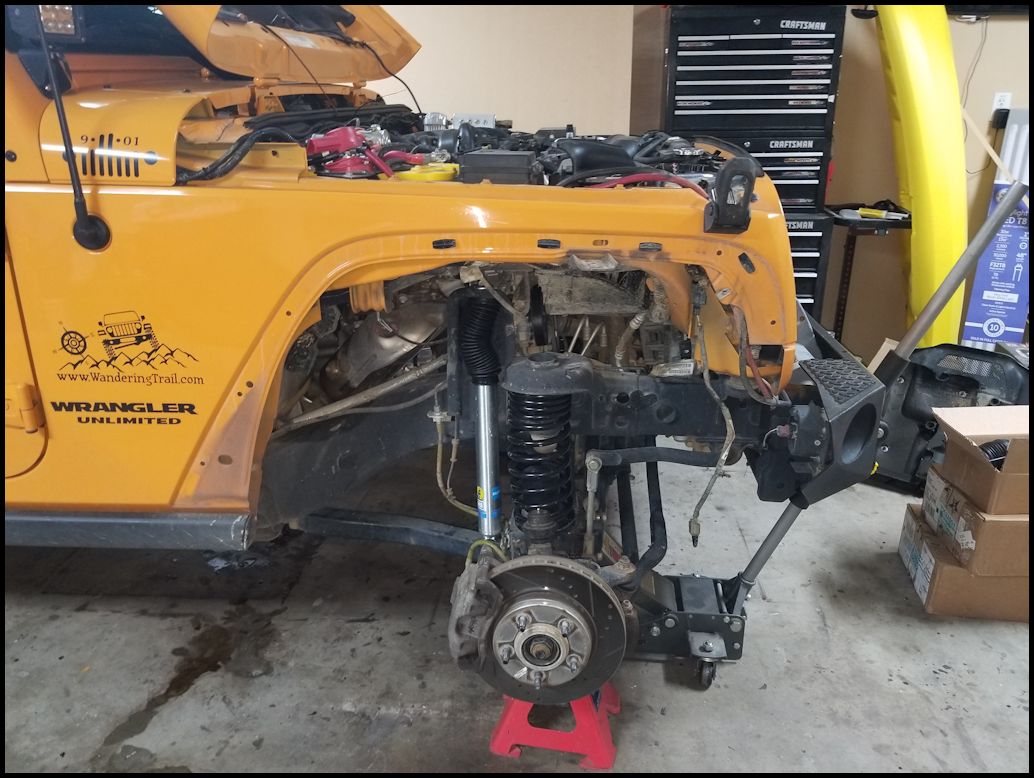
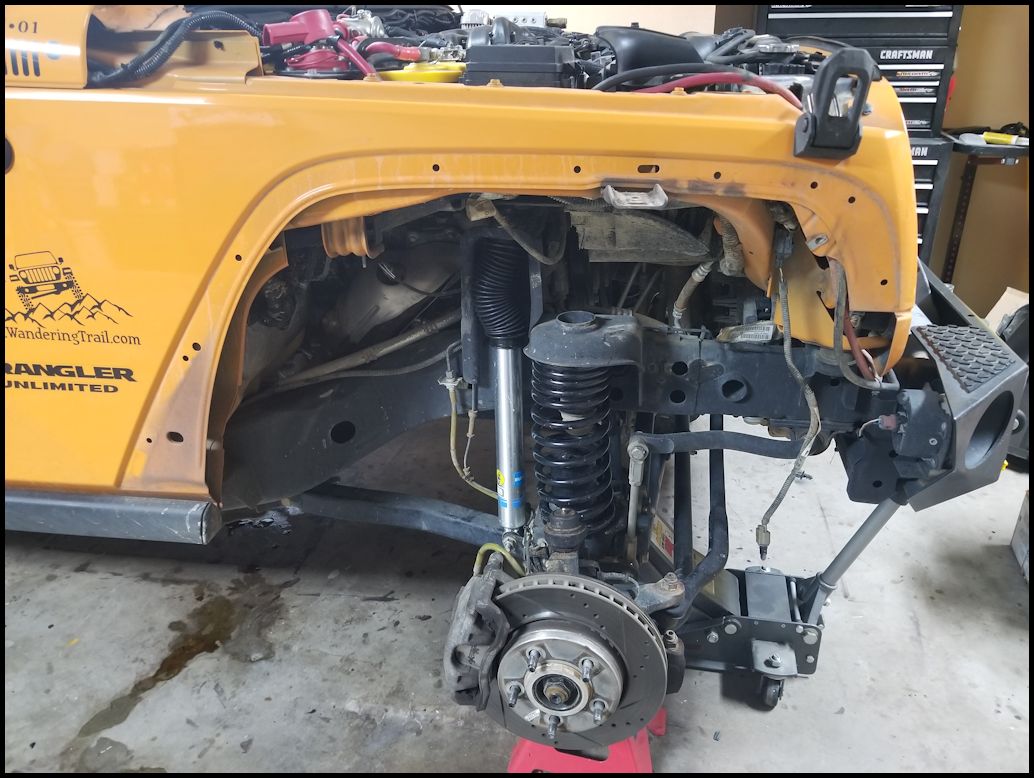
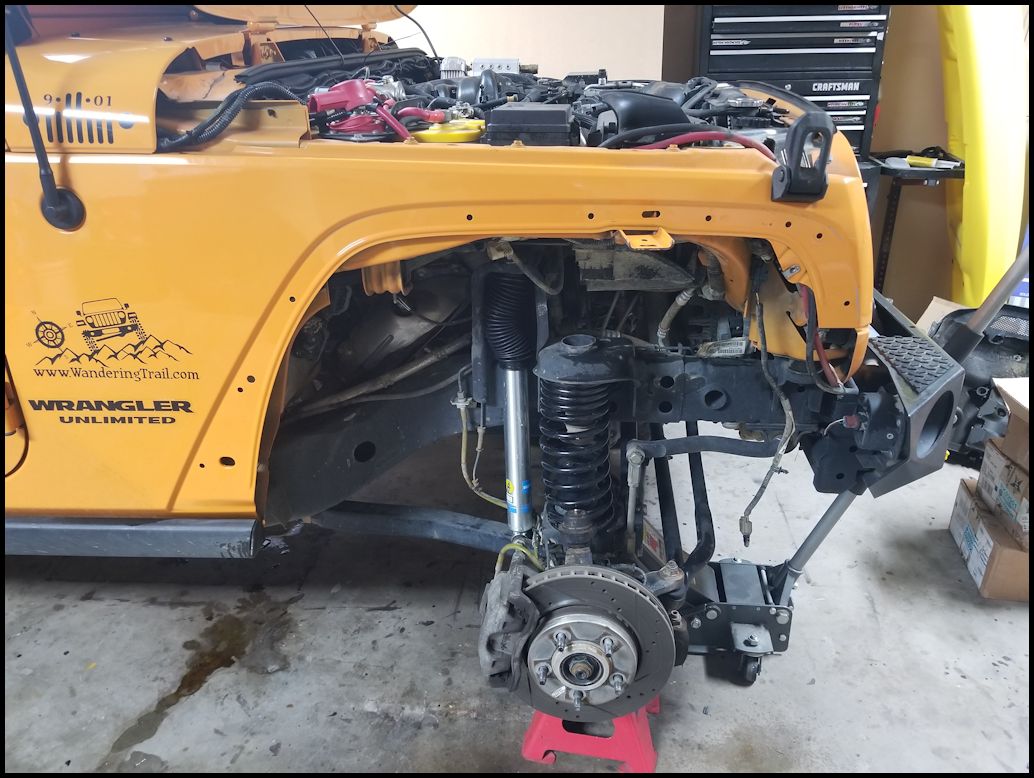
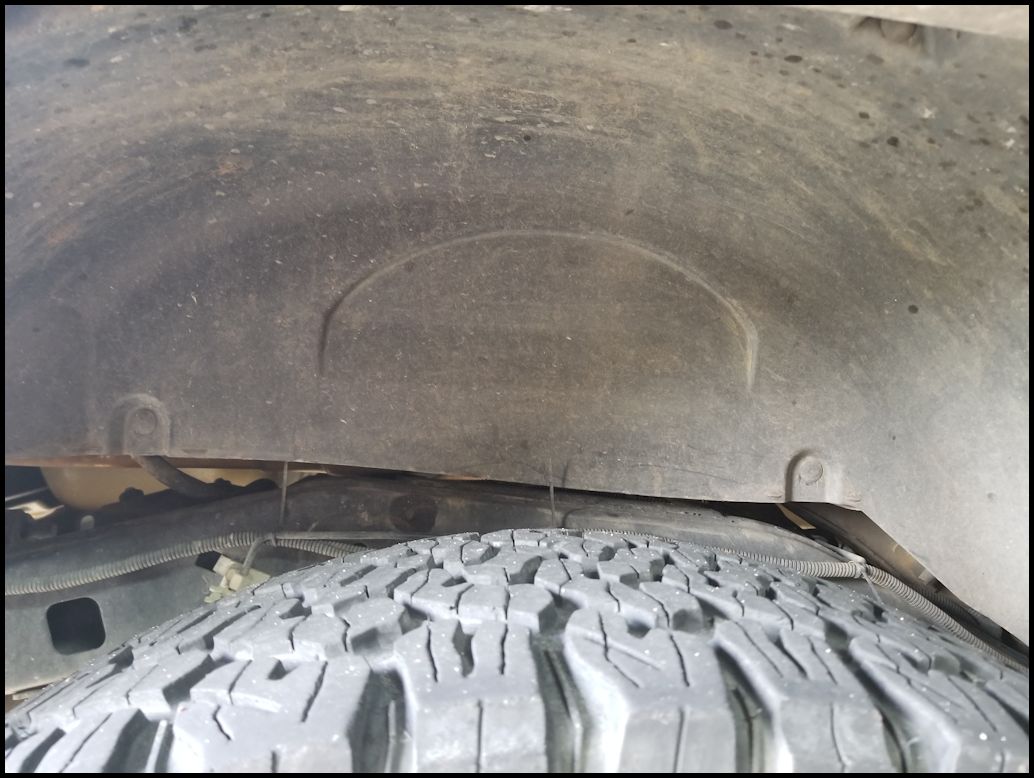
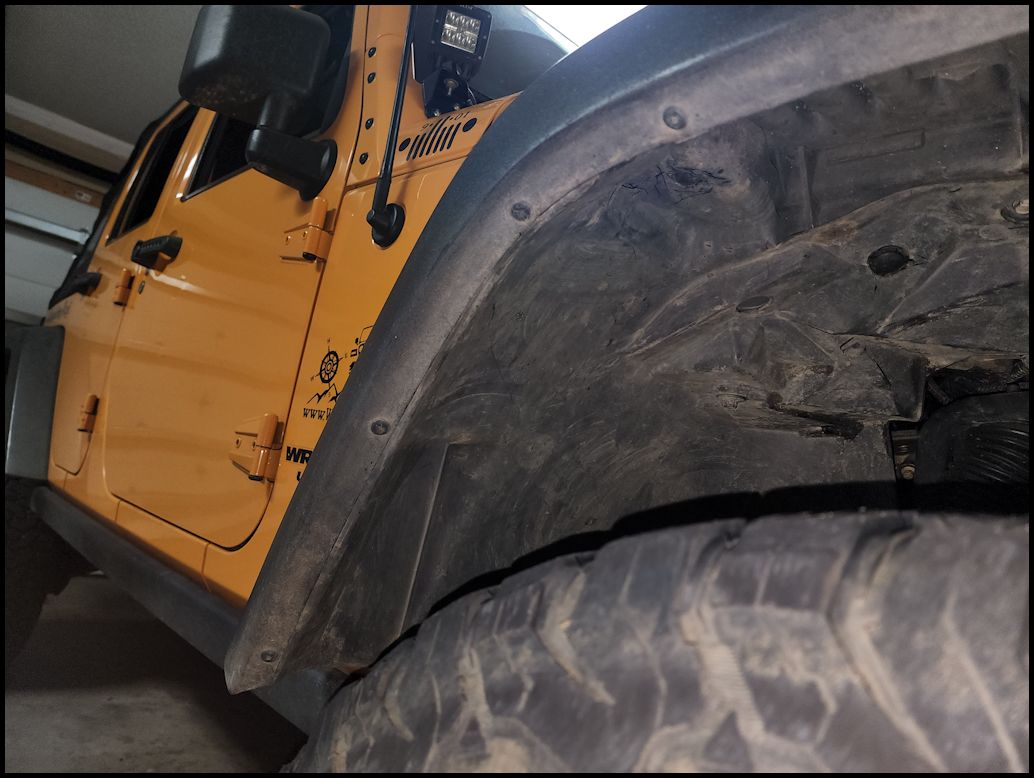
| You can jack up and remove the front tire if you want to. It just makes it easier to get to the bolts vice having the tire in the way. You don't really need to do this. The flare and the inner liner all connected together. |
 |
 |
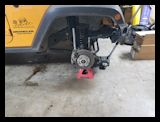 |
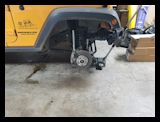
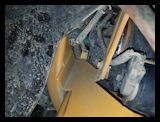
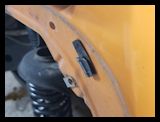
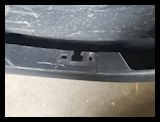
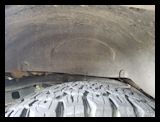
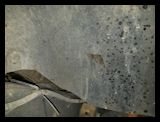
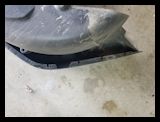
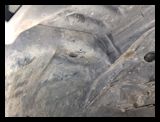
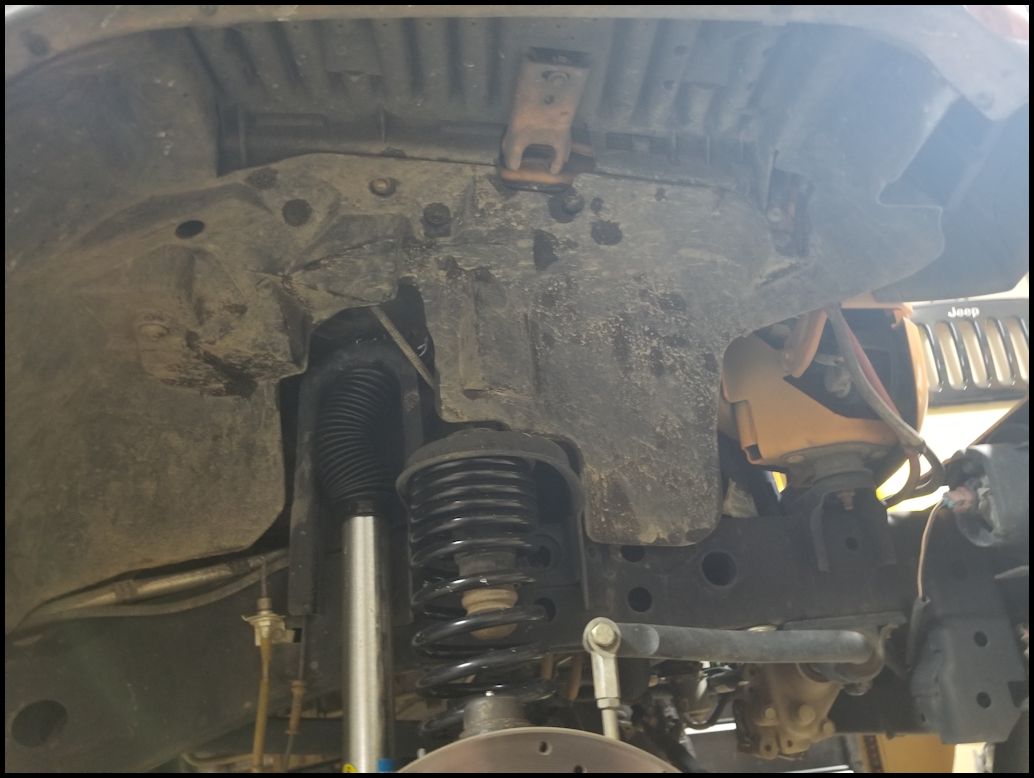
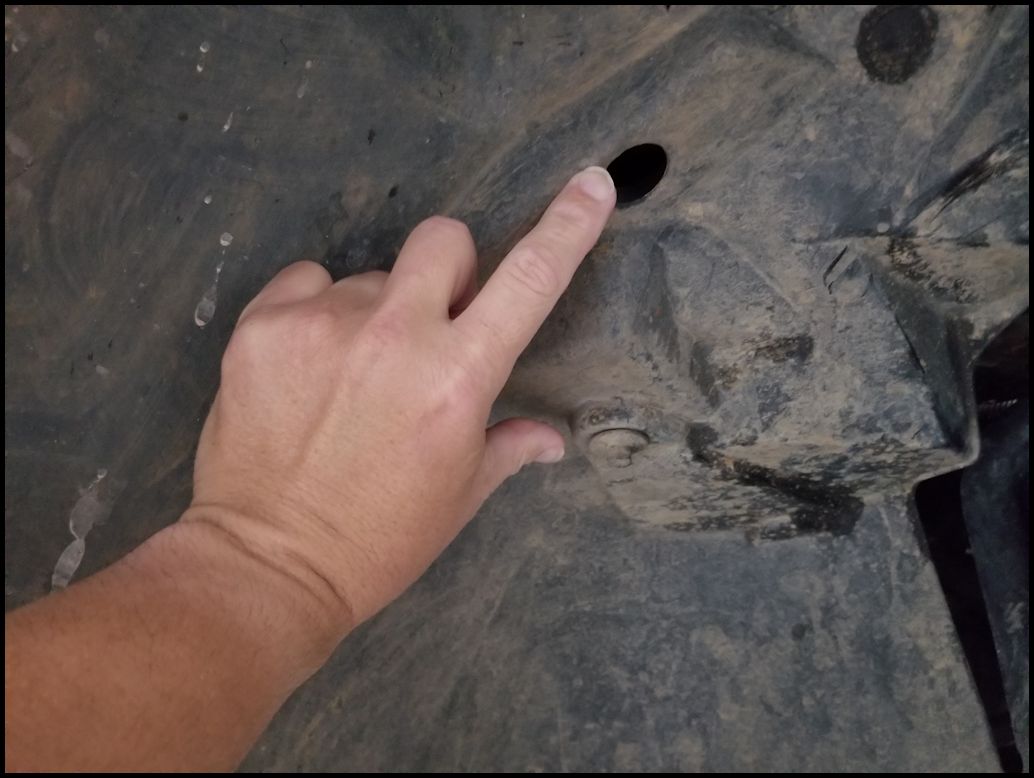
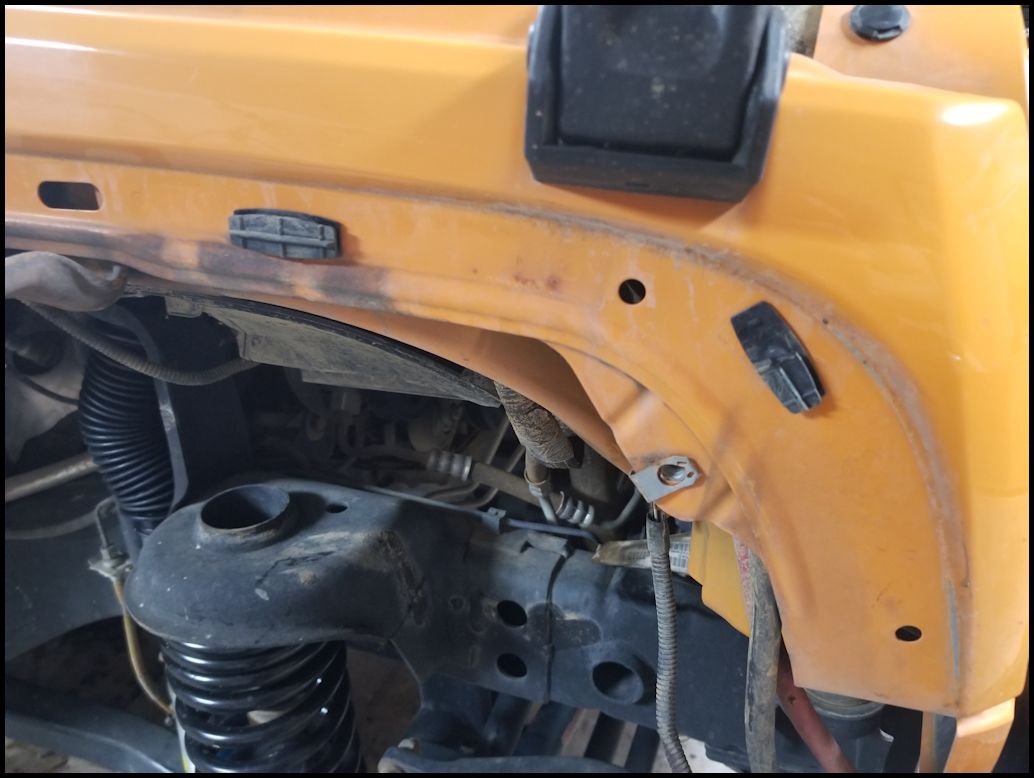
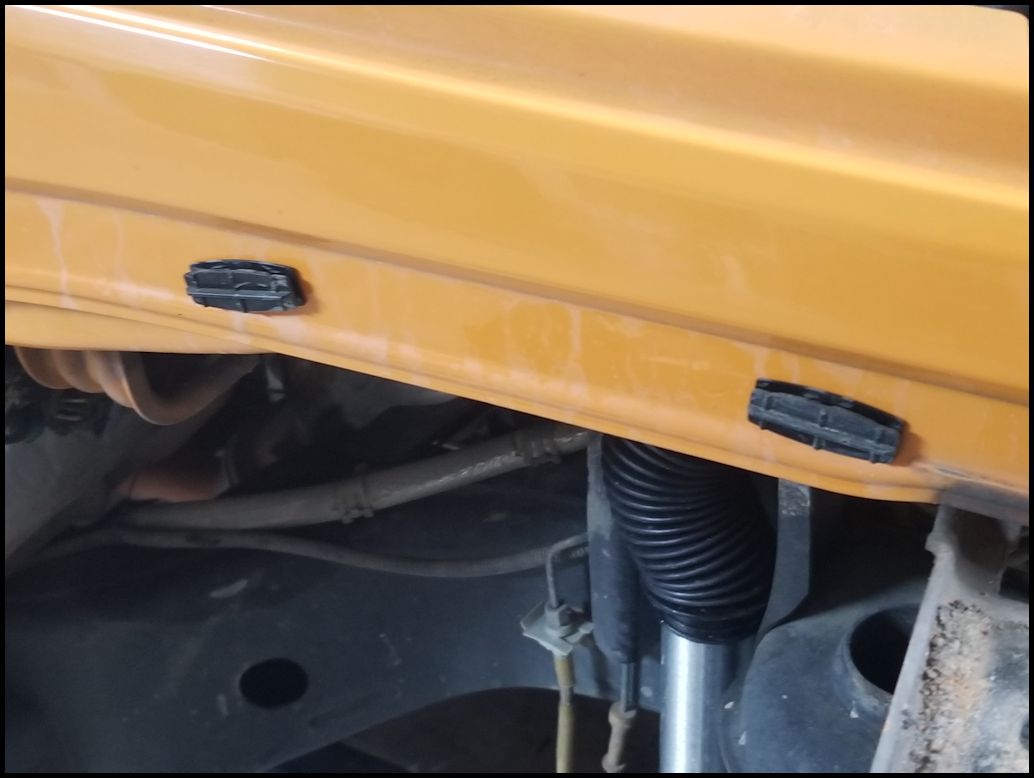
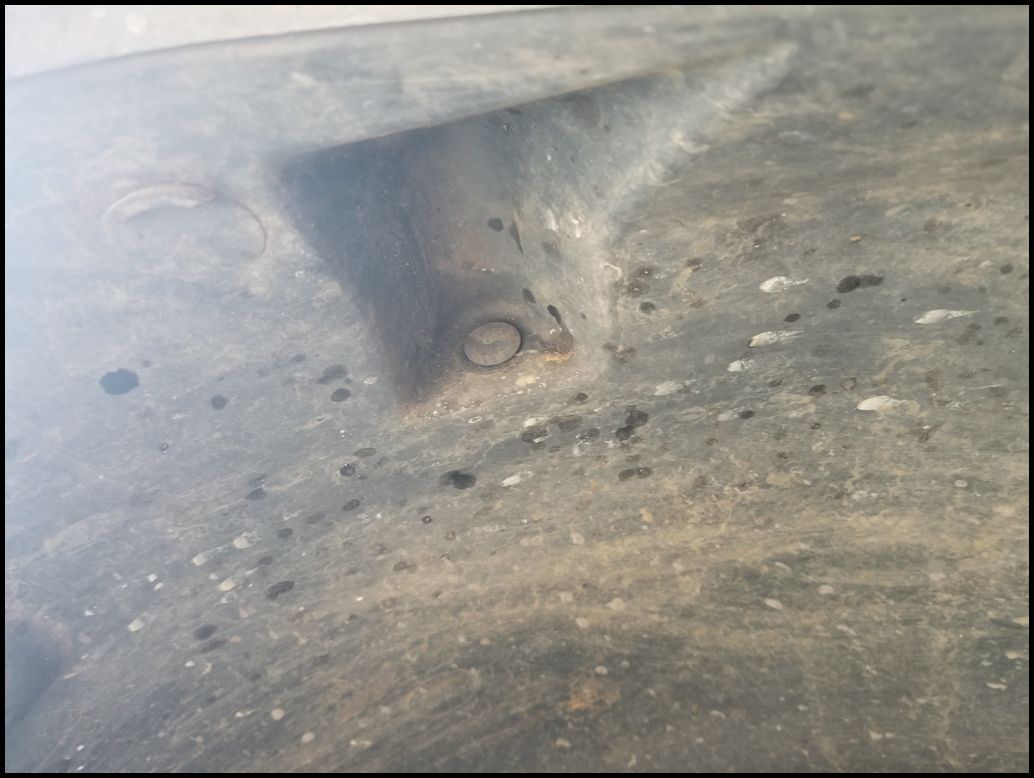
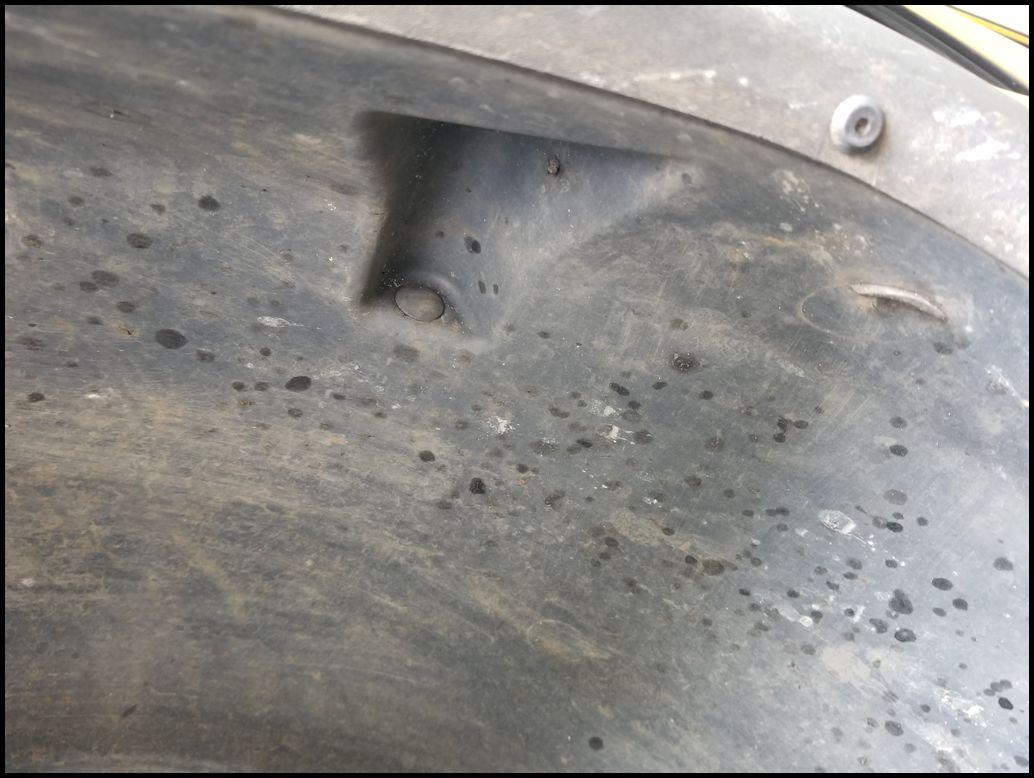
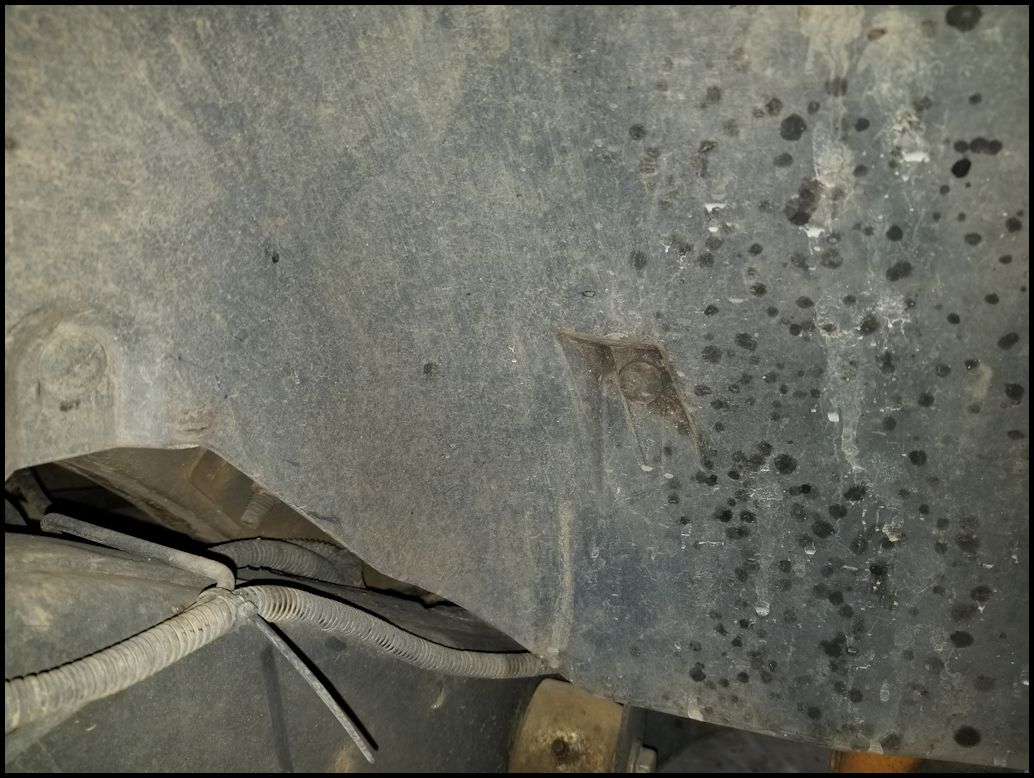
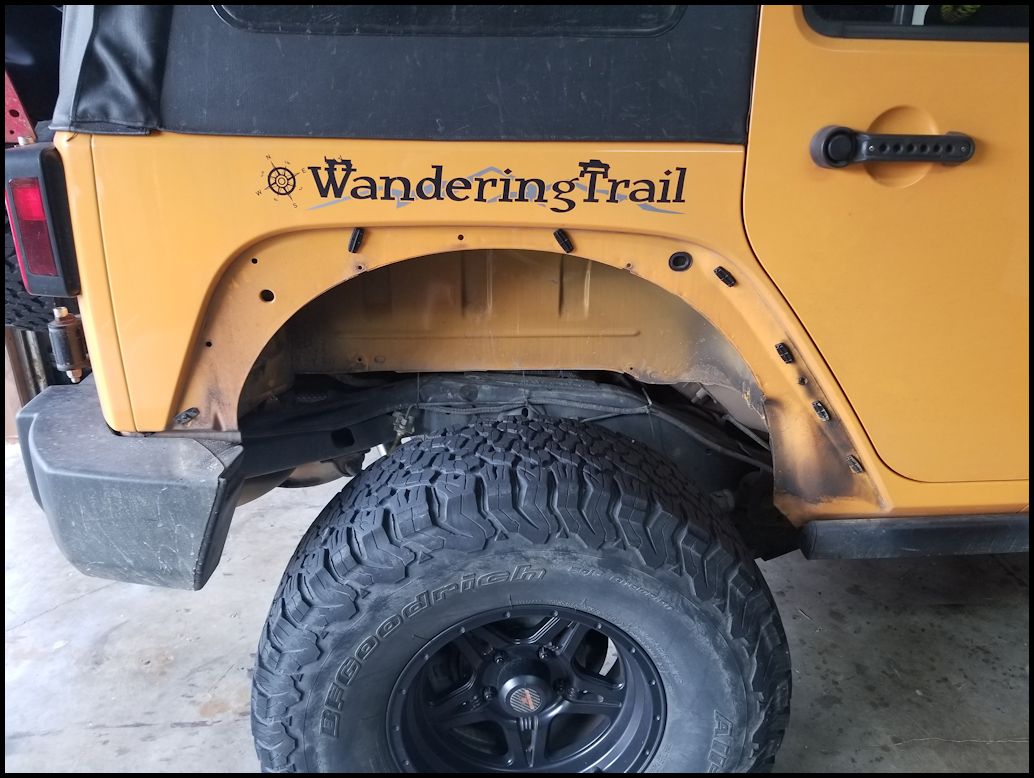
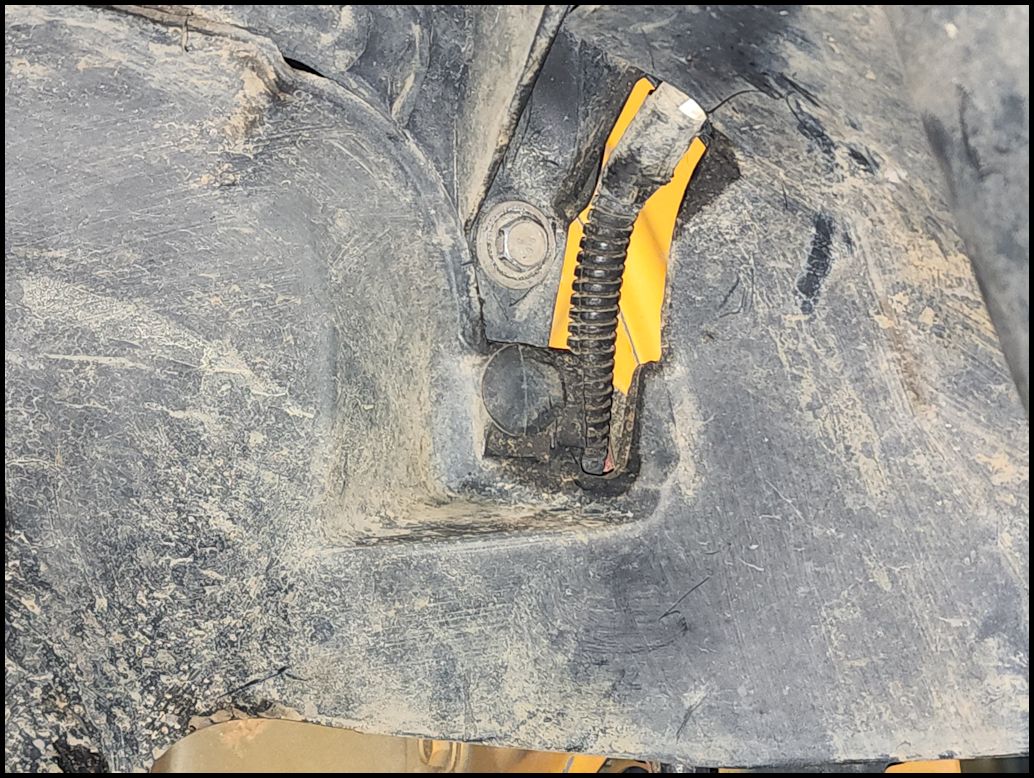
| You will need to remove six (6) bolts holding the flare to the body. Two are in the back (one is a female bolt and the other is up in the hole), another three are in the middle (one is on the body color bracket), and the final one is in the front. You will need a 10mm socket to remove these. |
 |
 |
 |
 |
 |
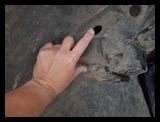
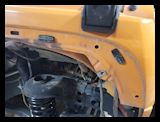
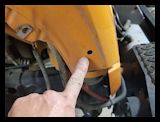
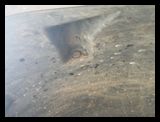
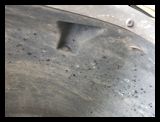
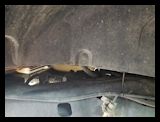
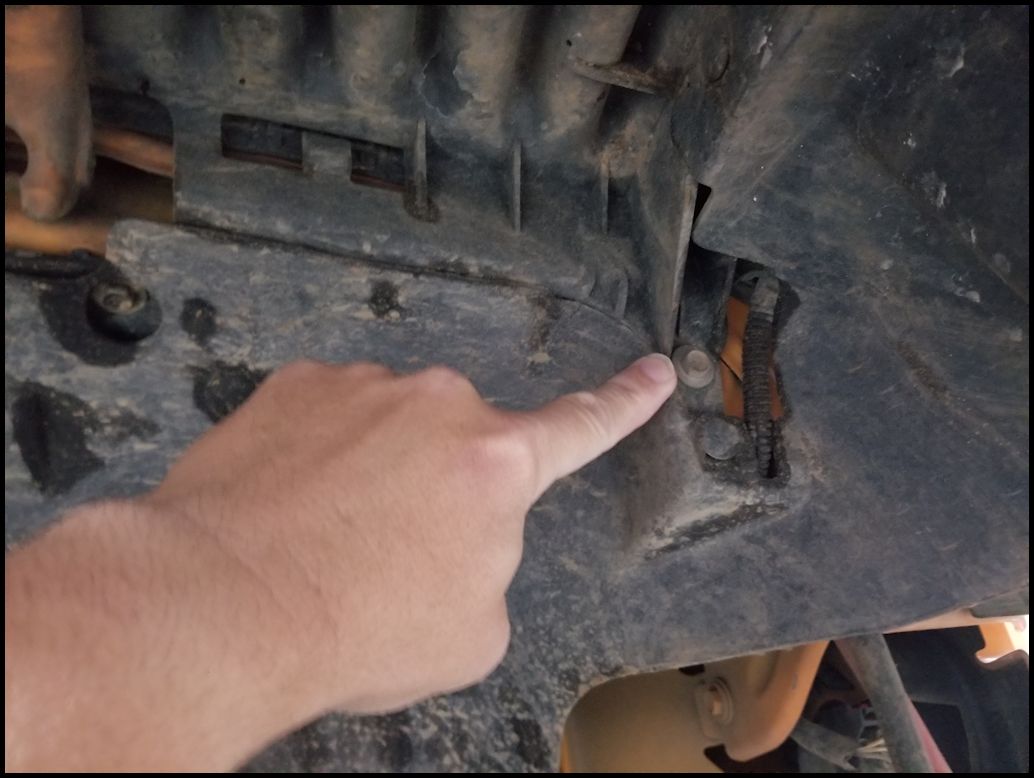
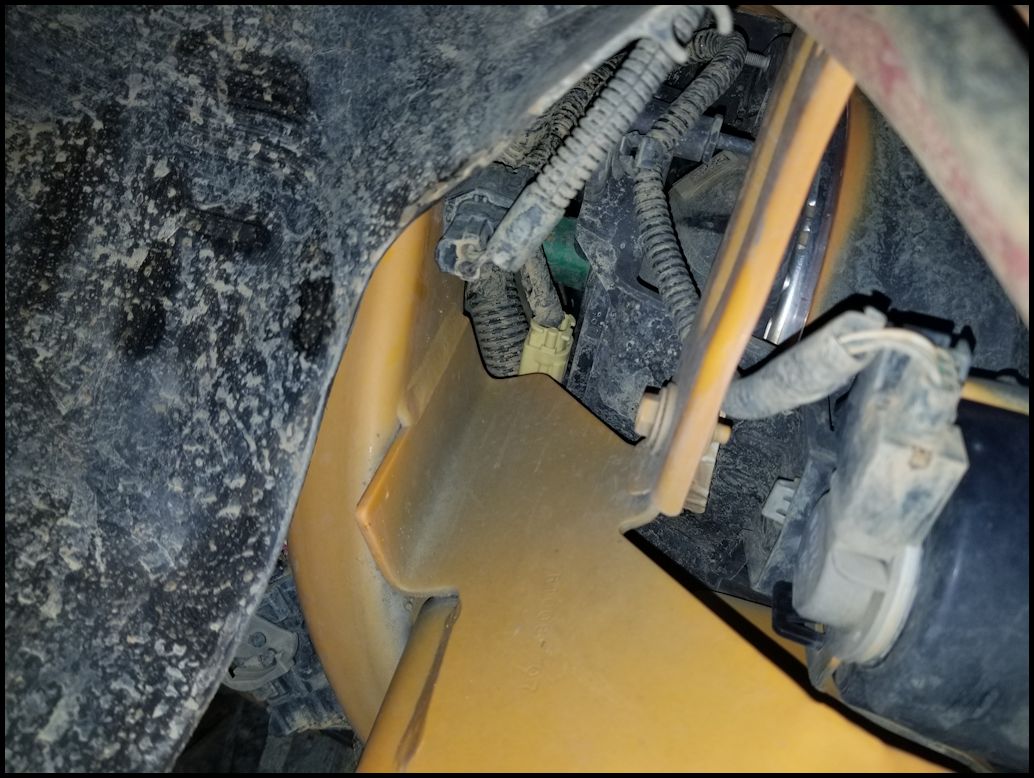
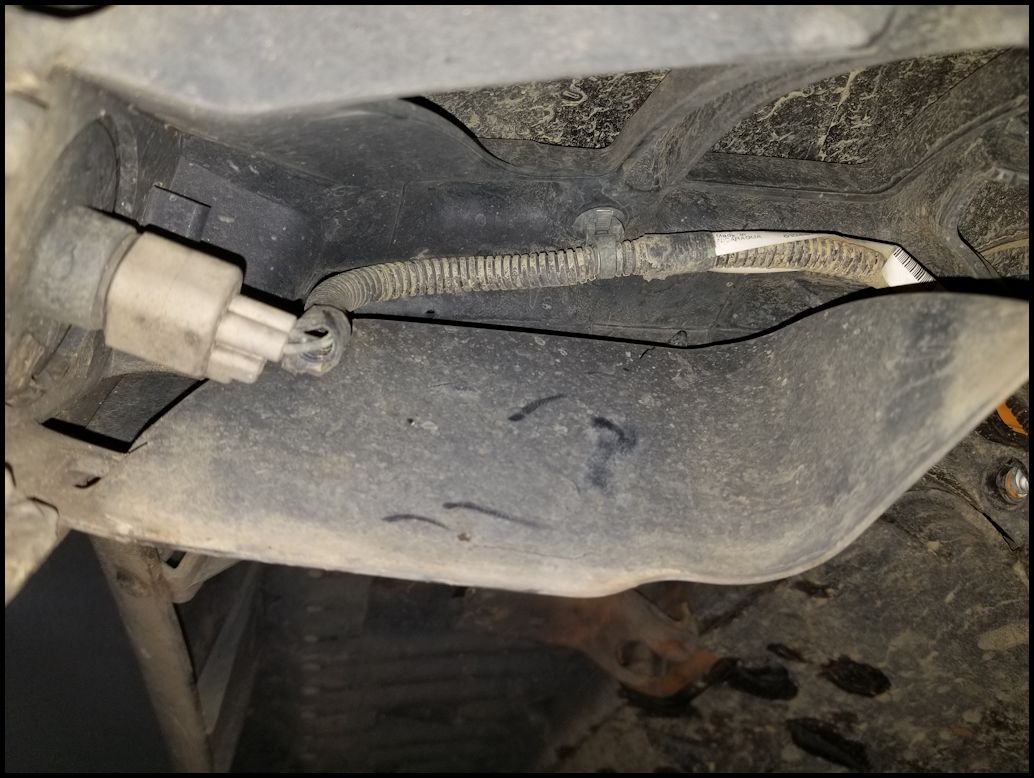
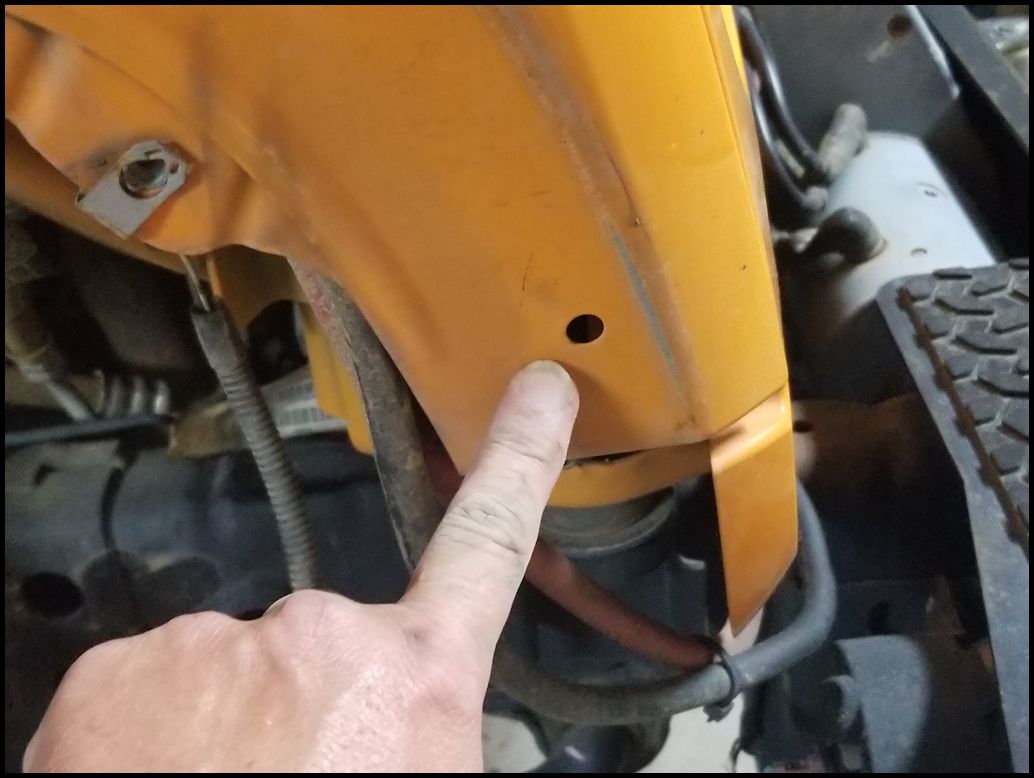
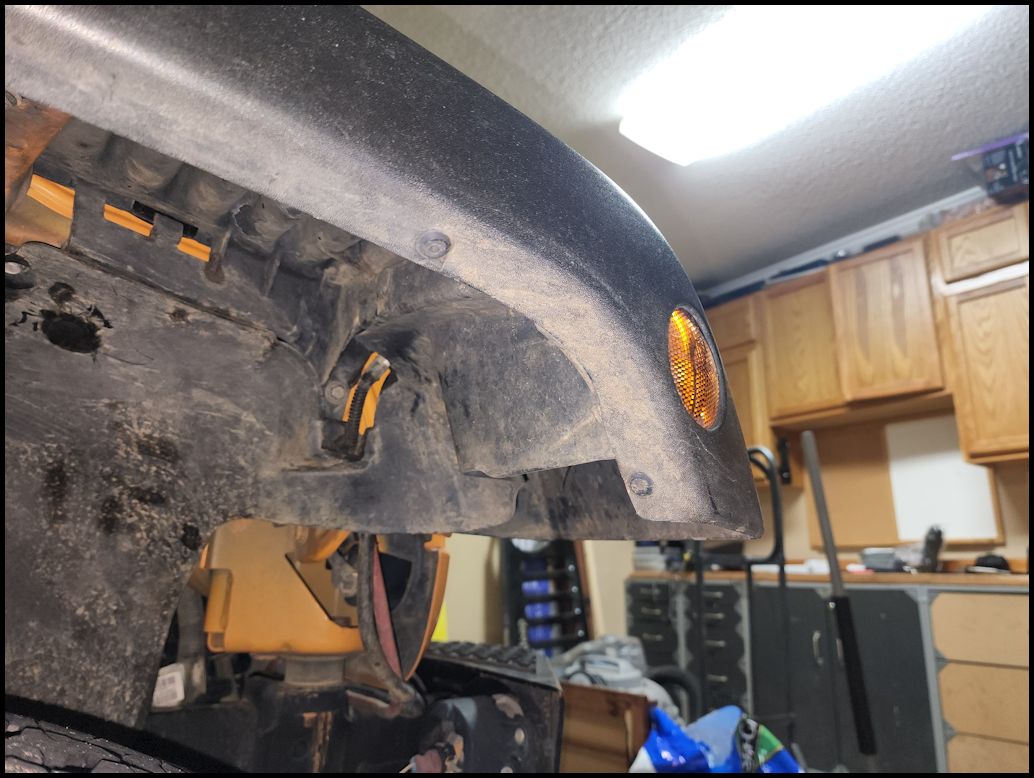
| You need to unplug the side marker light. You can do this by unplugging the entire cable from the body connector. This is extremely difficult to do, but the tab on the top of the connector. It is easier to twist out the light from the lense and use a trim tool to remove the tree holding the cable to the fender. |
 |
 |
| Pull the cable out and let it hang down along the side of the body to make sure you don't snag the cable and damage it when you pull the fender off. |
 |
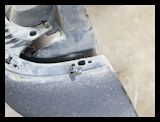
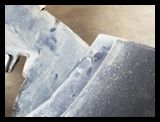
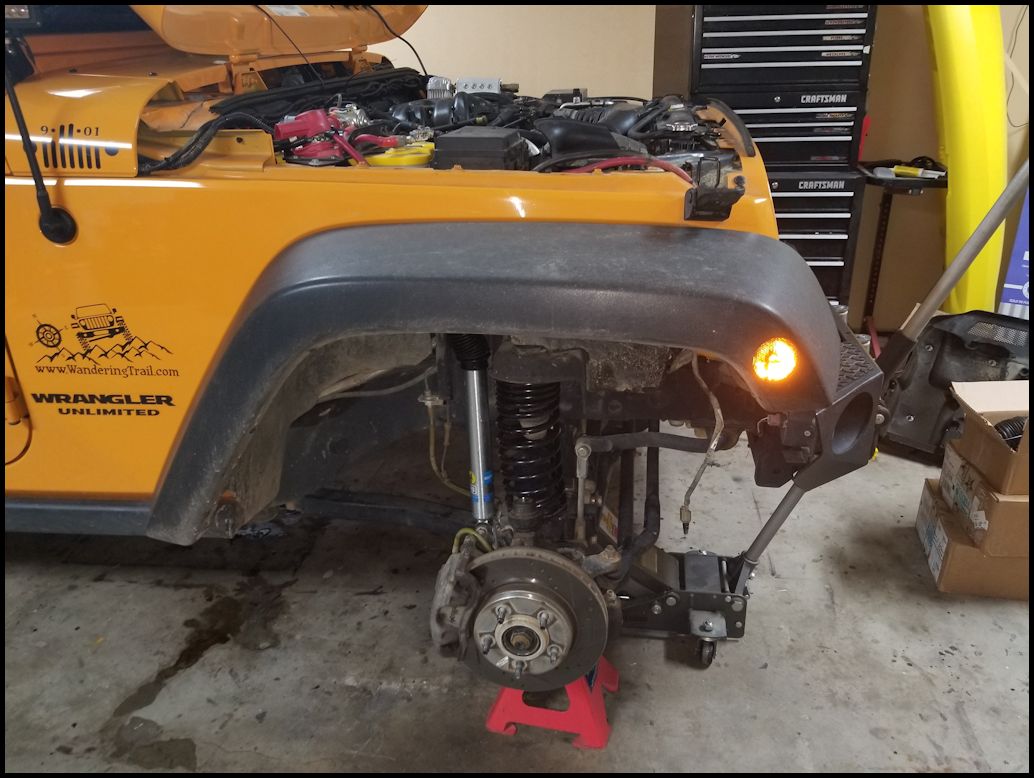
| Now comes the fun part. Grab the fender and give it a tag straight out from the body. The clips holding the fender to the body will either pull out of the fender, pull out of the body, or break off. Set the fender aside. |
 |
 |
 |
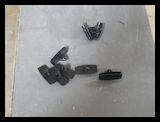
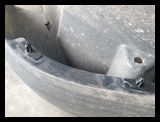
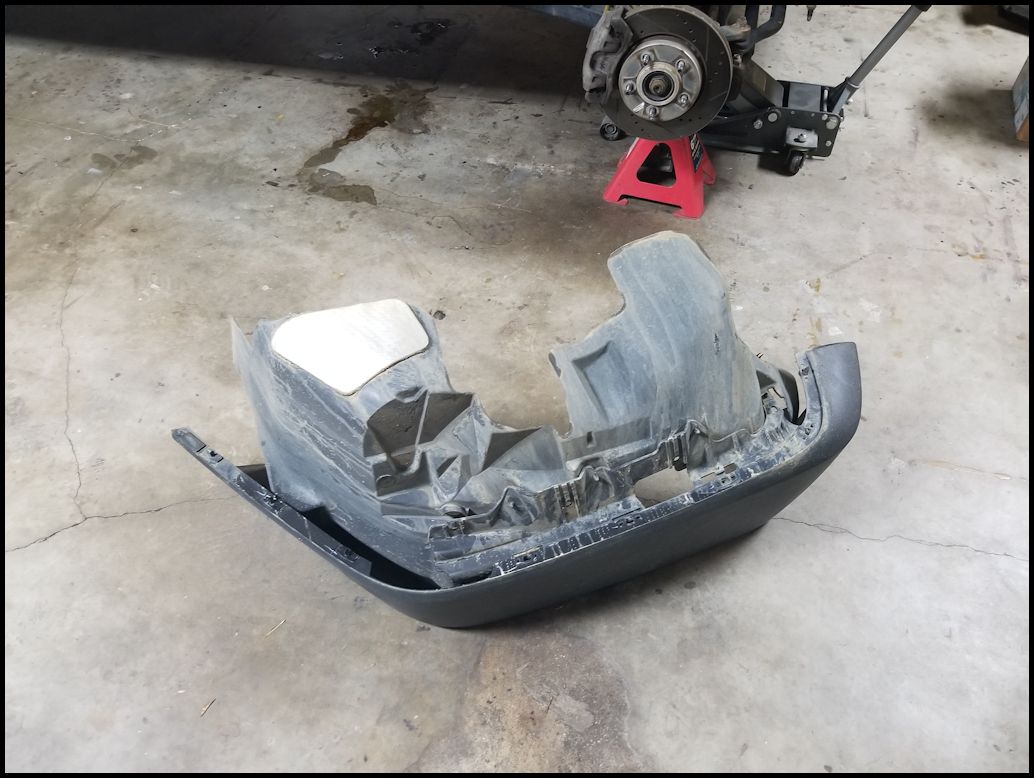
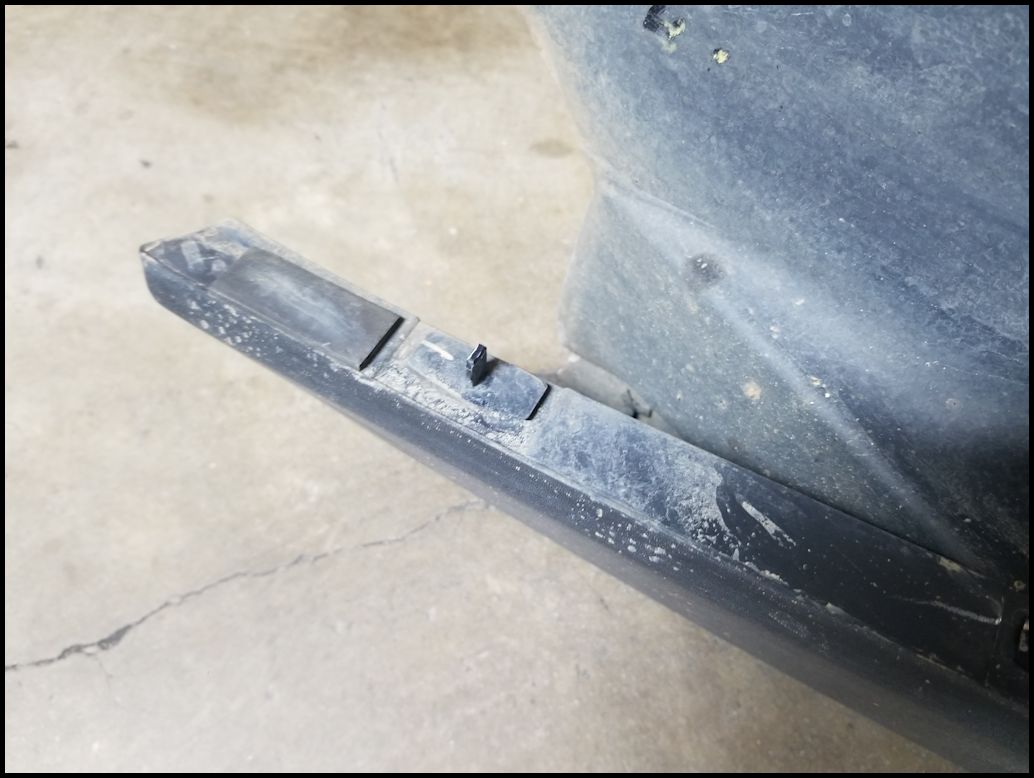
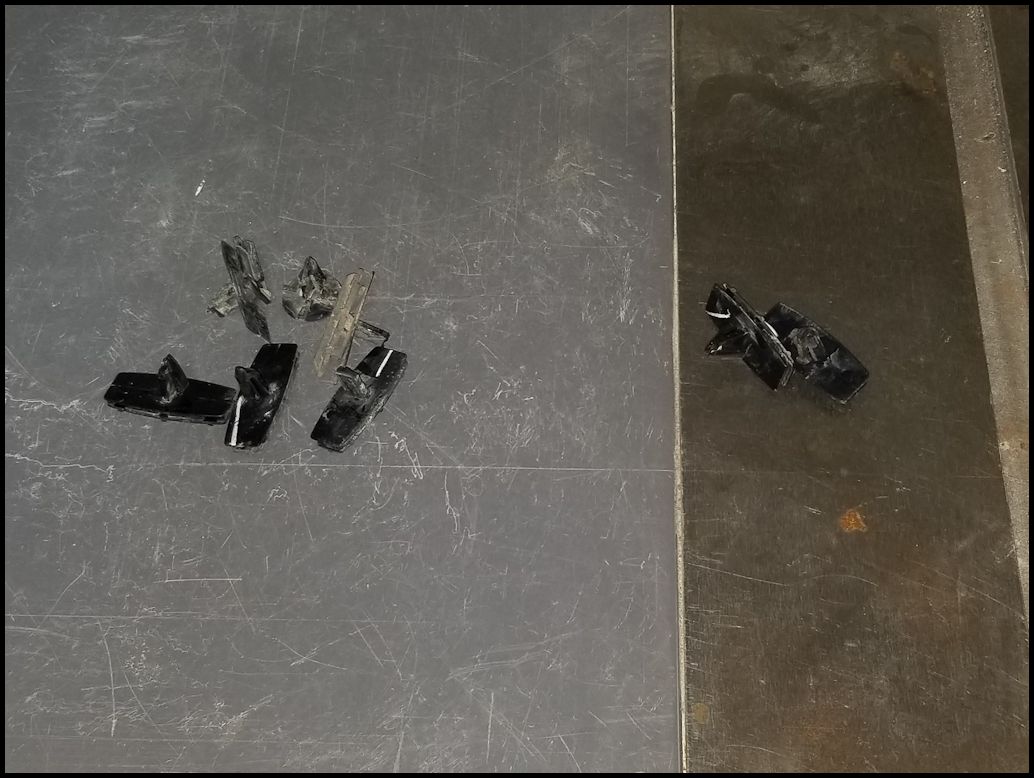
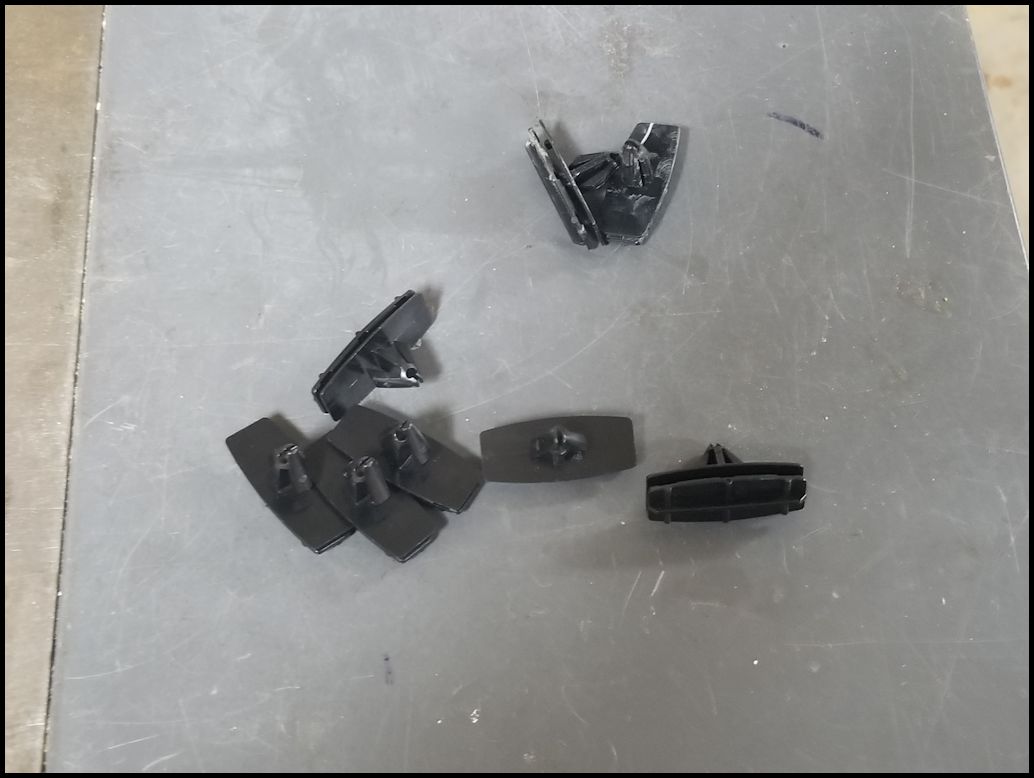
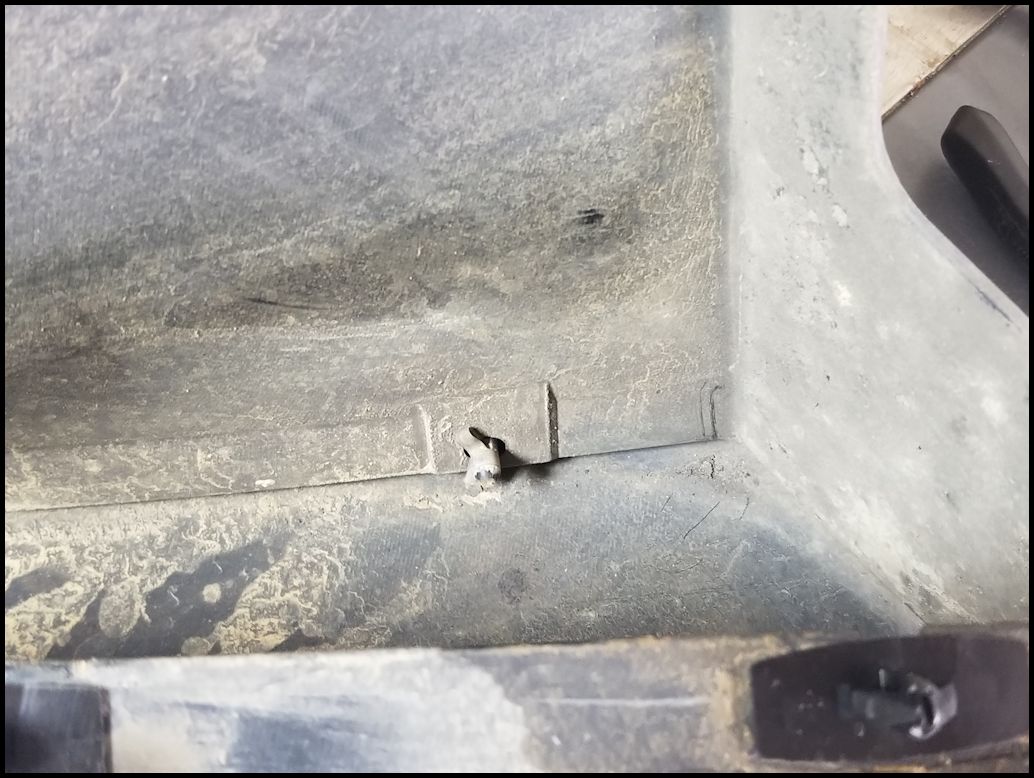
| Remove the broken clips from the fender and the body. You can try and slide a needle nose pliers up between the body panels and squeeze the tabs on either side of the push pin, or use a trim removal tool to pop them free. You can just throw these away, or try to reuse them if you don't have any spares. You will need to replace them eventually. |
 |
 |
 |
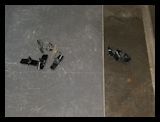 |
| Remove any of the good clips the same way. You can try and slide a needle nose pliers up between the body panels and squeeze the tabs on either side of the push pin, or use a trim removal tool to pop them free. |
 |
 |
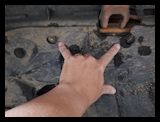
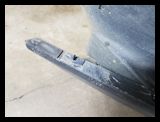
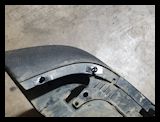
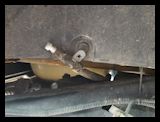
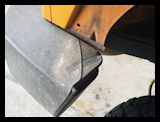
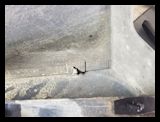
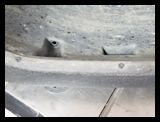
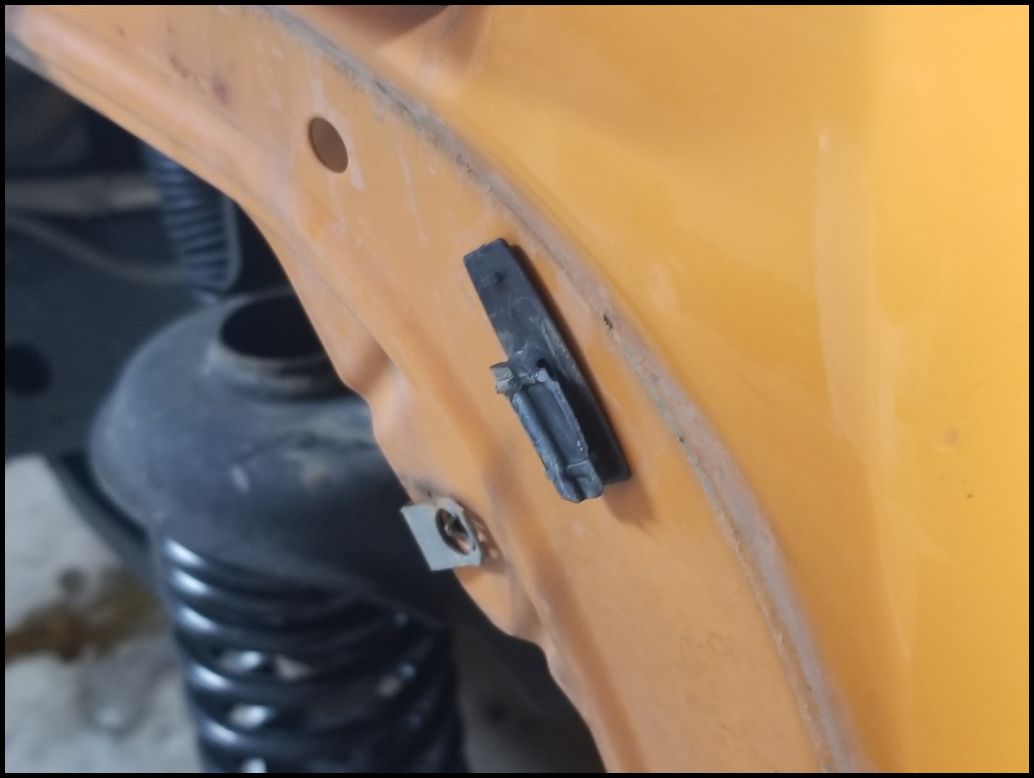
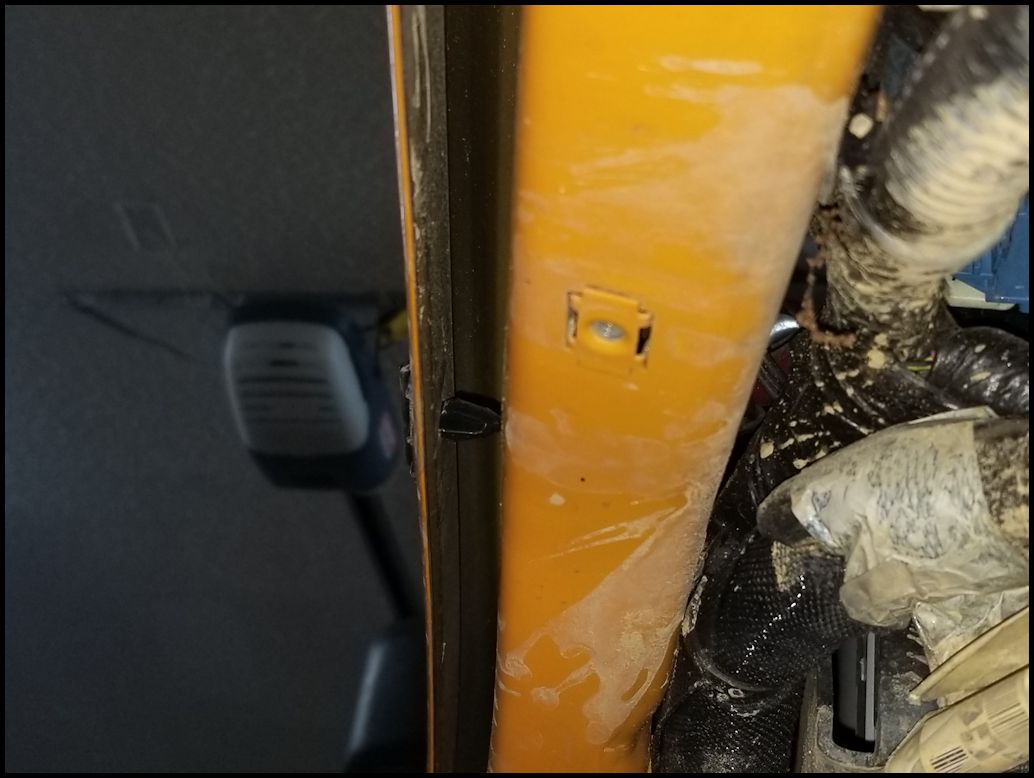
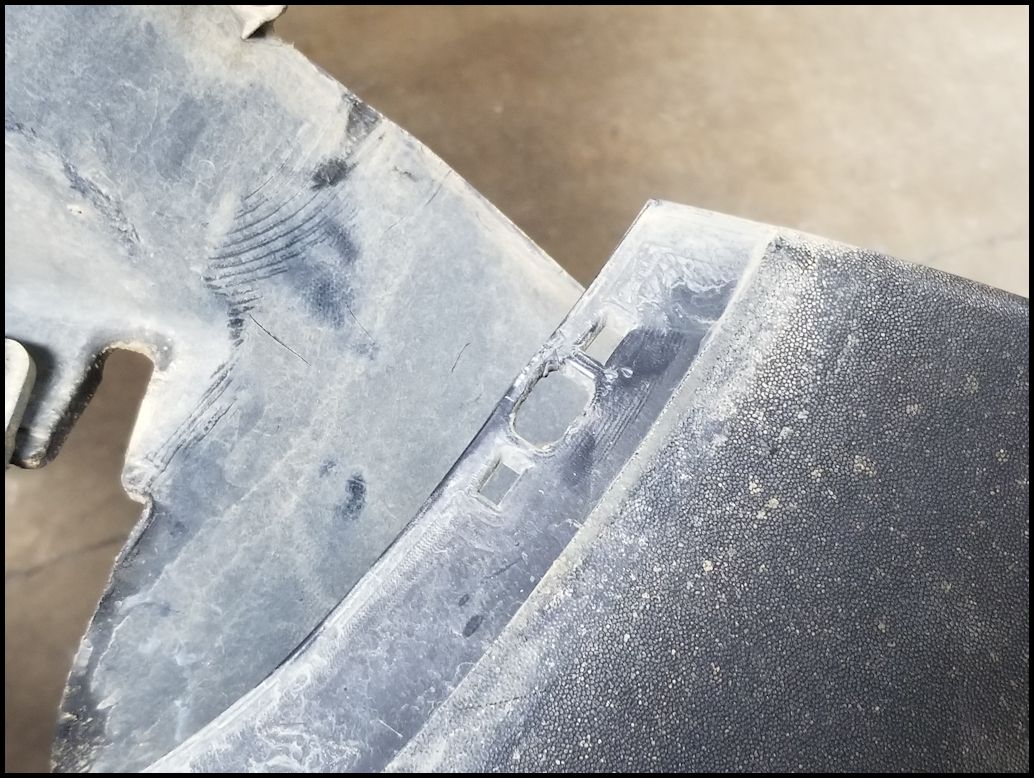
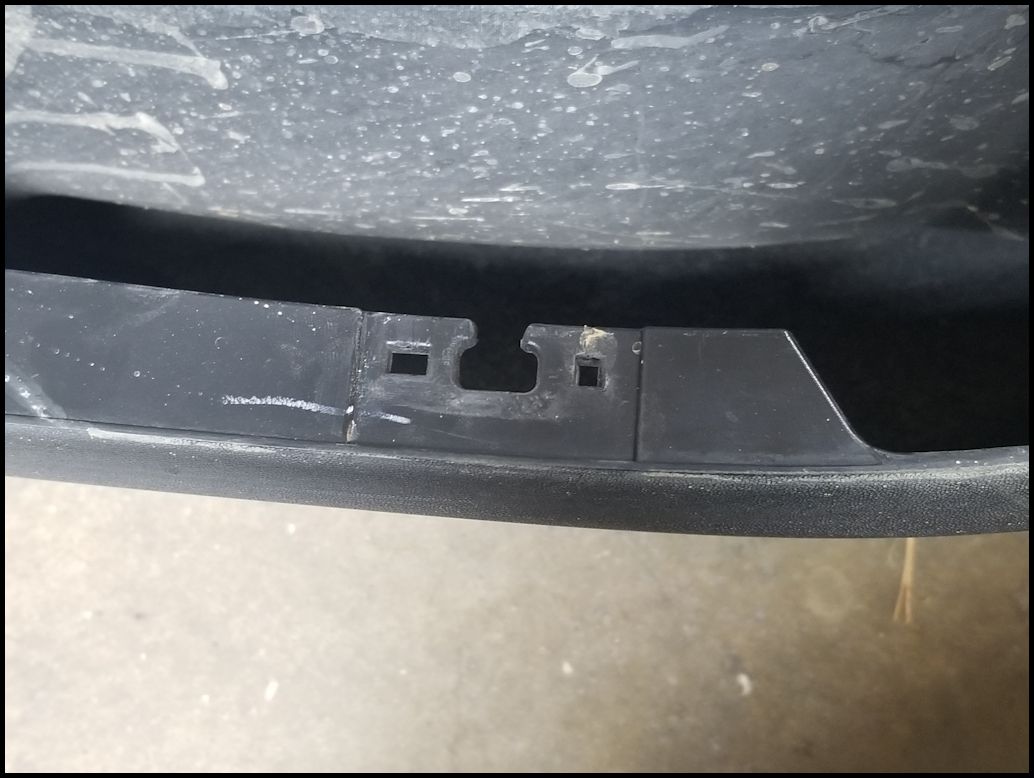
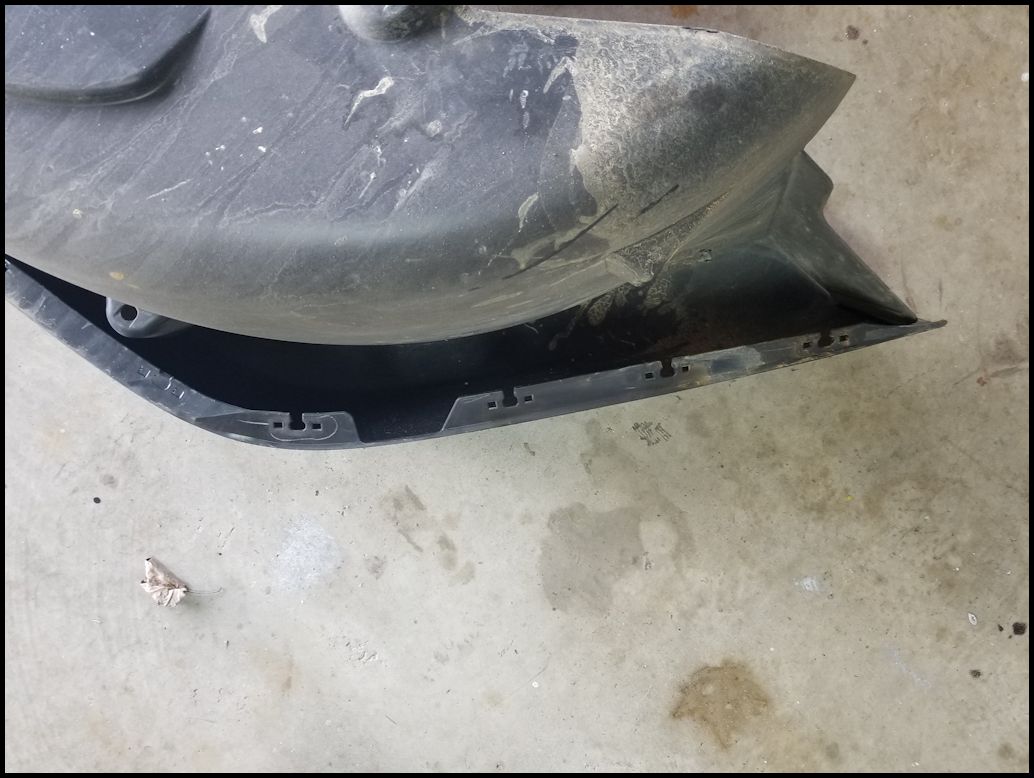
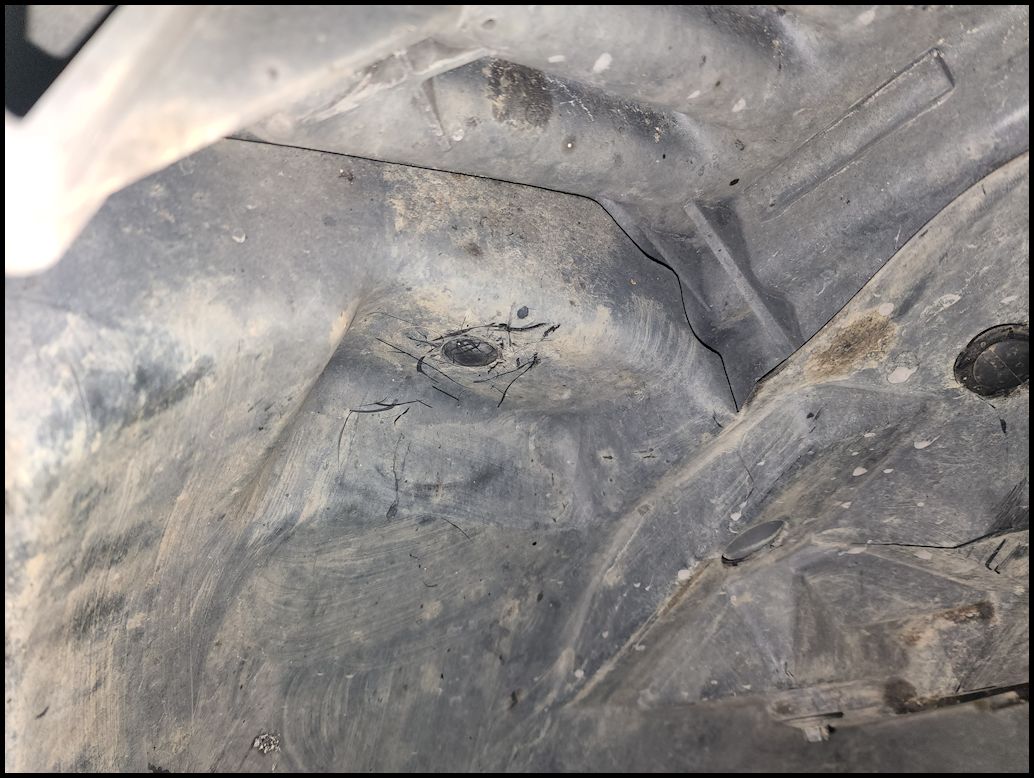
| The front lower corner didn't have a clip on this position. Instead it had a round headed push pin to hold it in position. I don't know when they changed this, but my 2007 had a clip in this position. You can see that the fender could hold a clip. I decided to clip the plastic and install a clip instead of ordering a different part. |
 |
 |
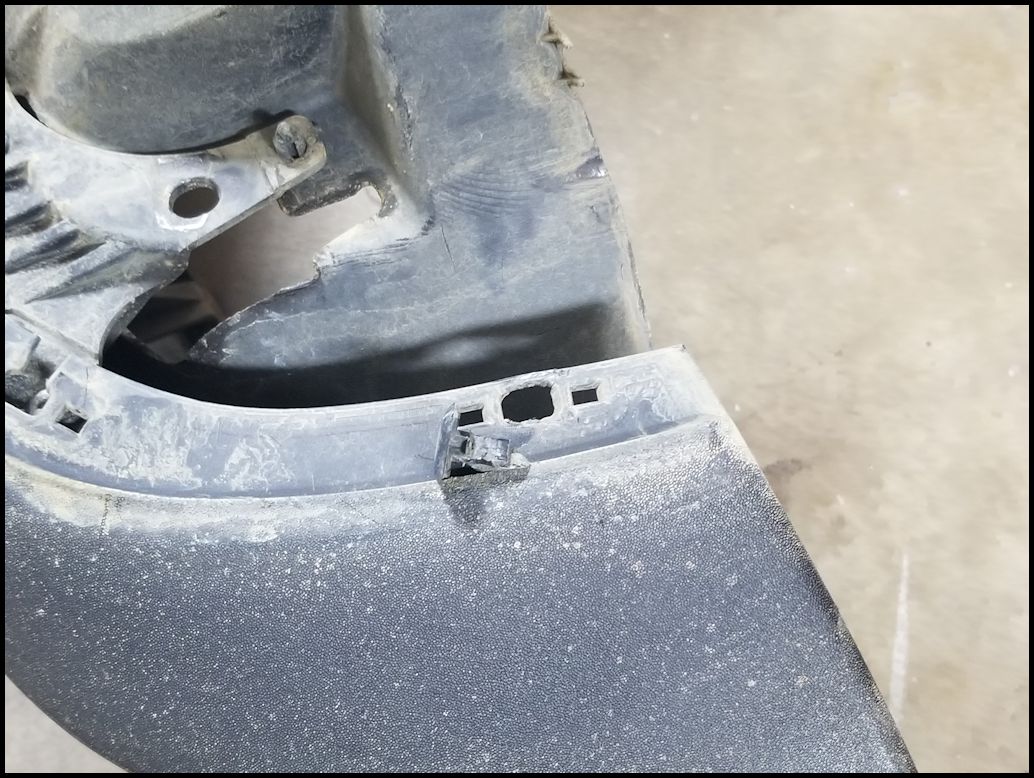
| I cut a notch in the front clip position so that I could slide a clip into it for reinstallation. I just used a diagonal cutter to cut the soft plastic. |
 |
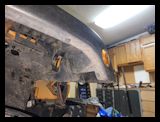
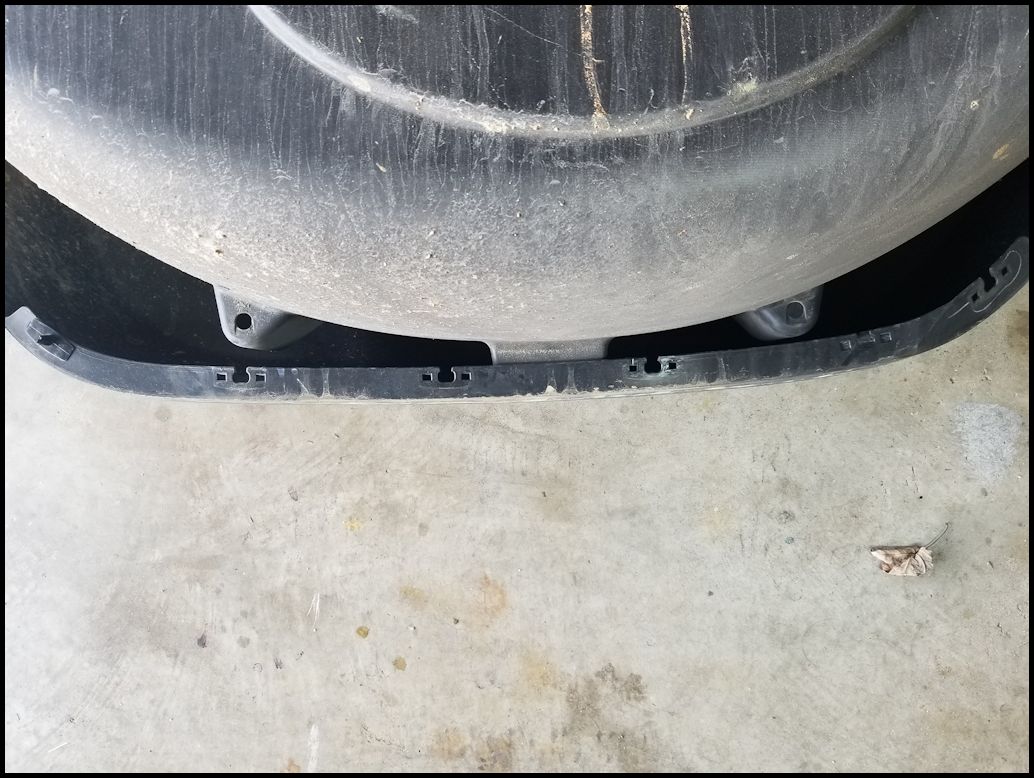
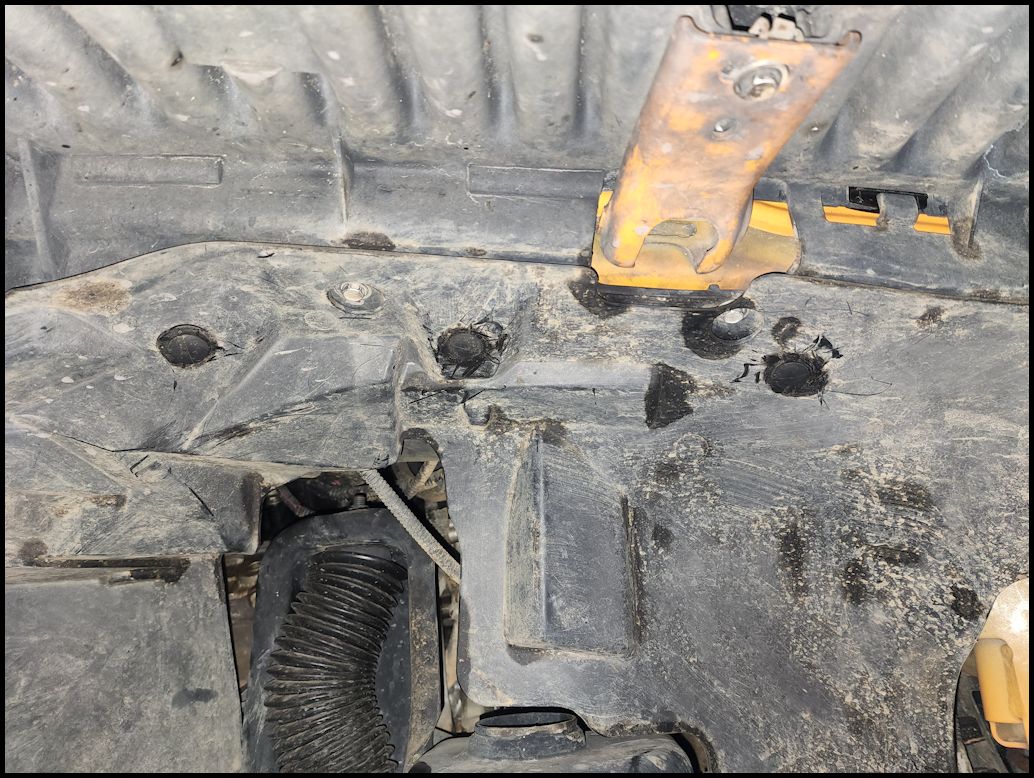
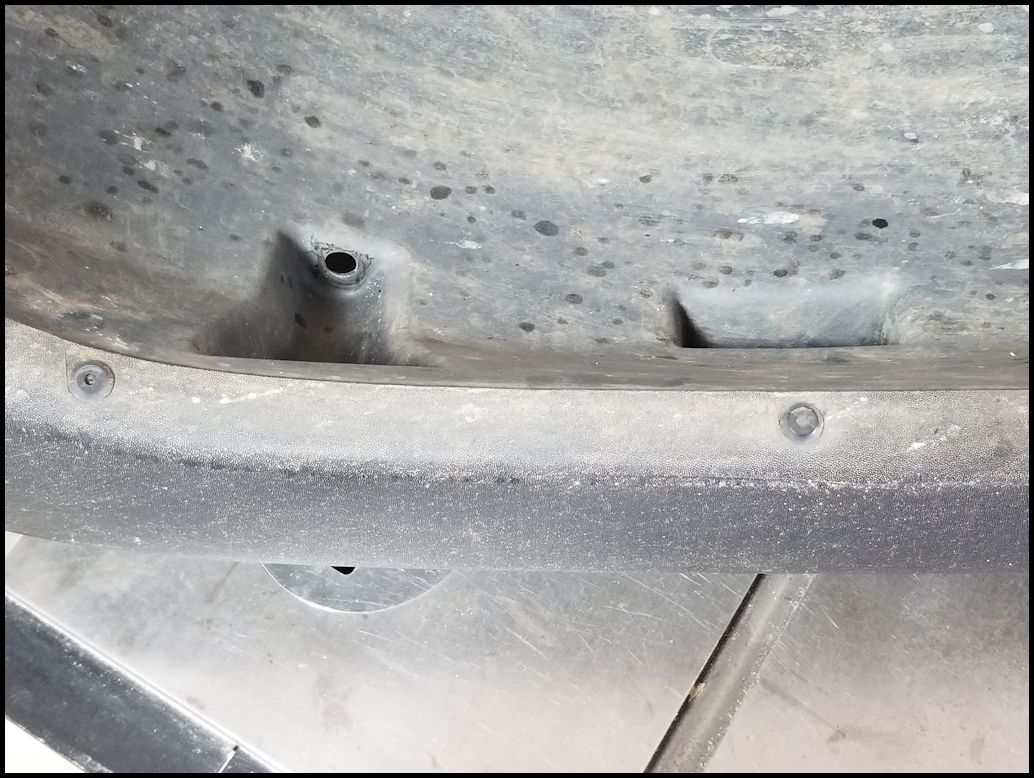
| Install the clips into the positions on the fender. The fronts have 8 clips. |
 |
 |
 |
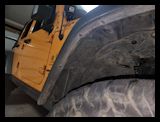
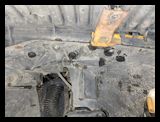
| Before you put the fender back on take the time to clean off the dirt and grime that has accumulated under the fender. |
 |
 |
| Reinstallation is just the opposite of removal. Line up the retainer push pins with the holes in the body and push the fender in, then reinstall the bolts. |
| |
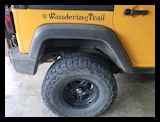
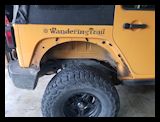
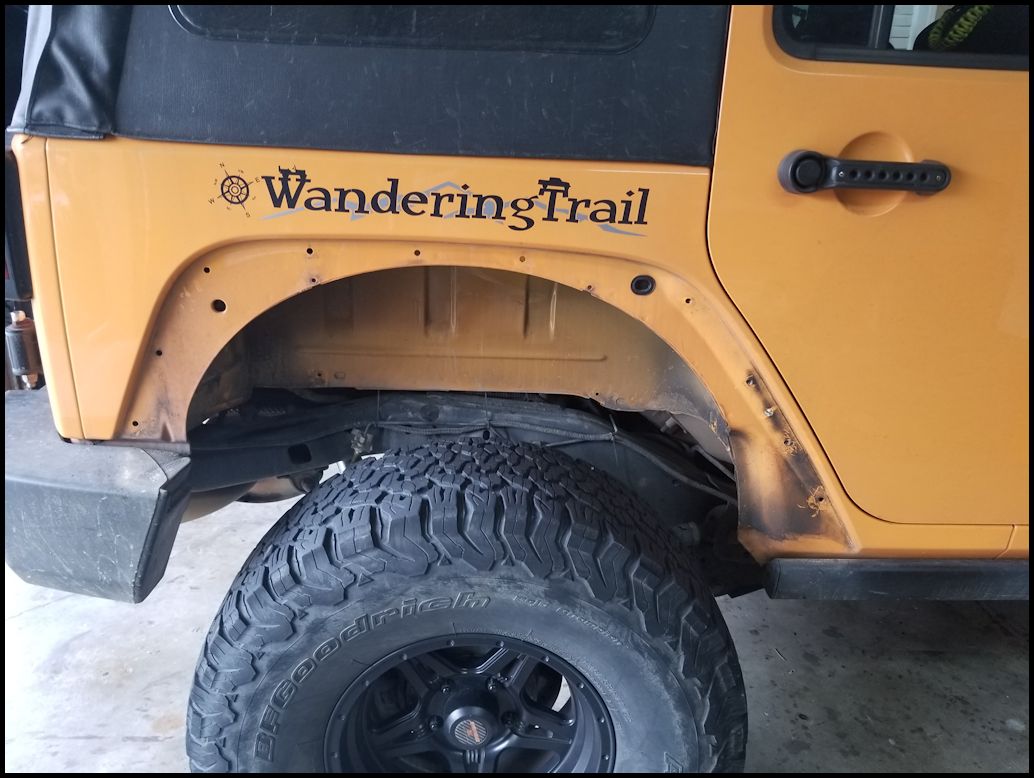
| Rear Flare Removal: |
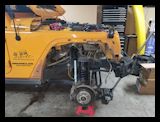
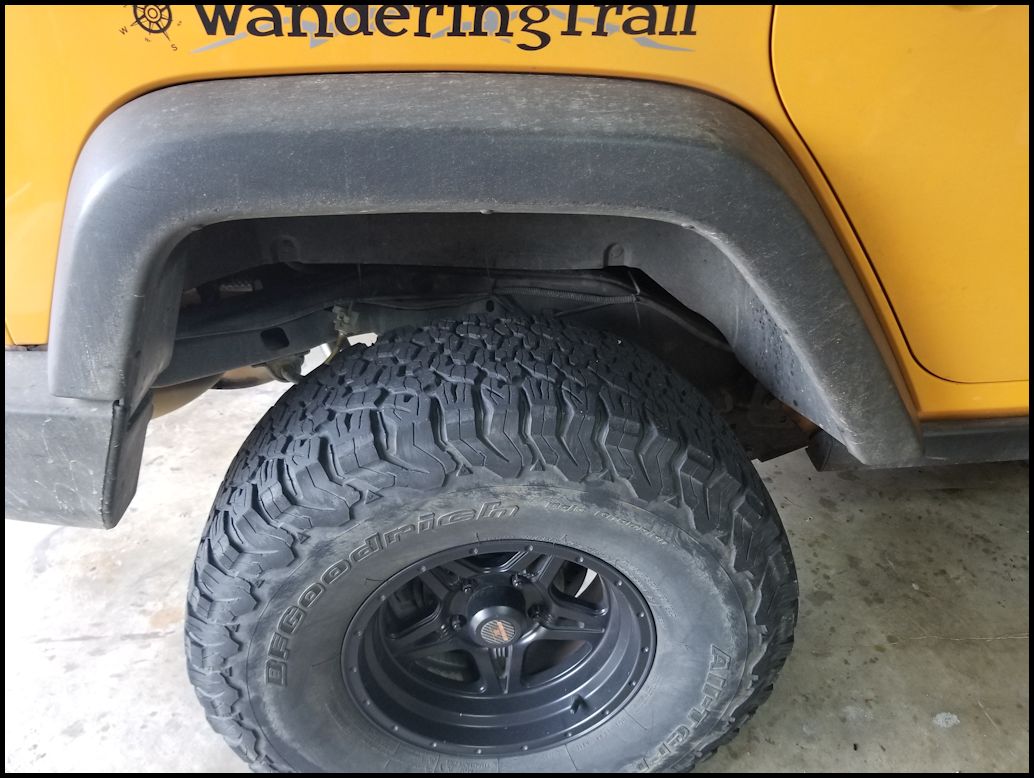
| You can jack up and remove the rear tire if you want to. It just makes it easier to get to the retainers vice having the tire in the way. You don't really need to do this. The flare and the inner liner all connected together. |
 |
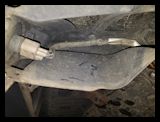
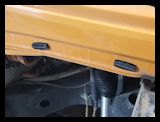
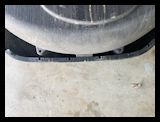
| You will need to remove five (5) retainers holding the fender liner to the body. Two are along the bottom lip, another two are in the middle top in little indents, and the final one is in the front in another little indent. You will need a trip removal tool to remove these. |
 |
 |
 |
 |
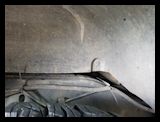 |
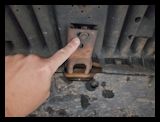
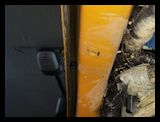
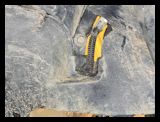
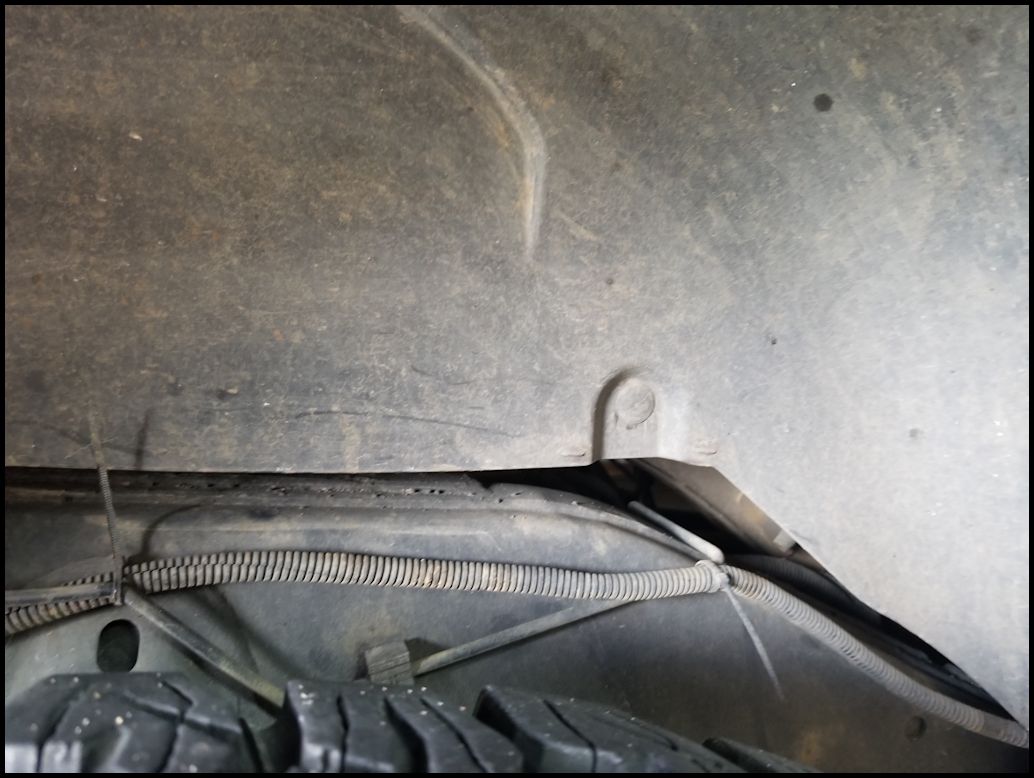
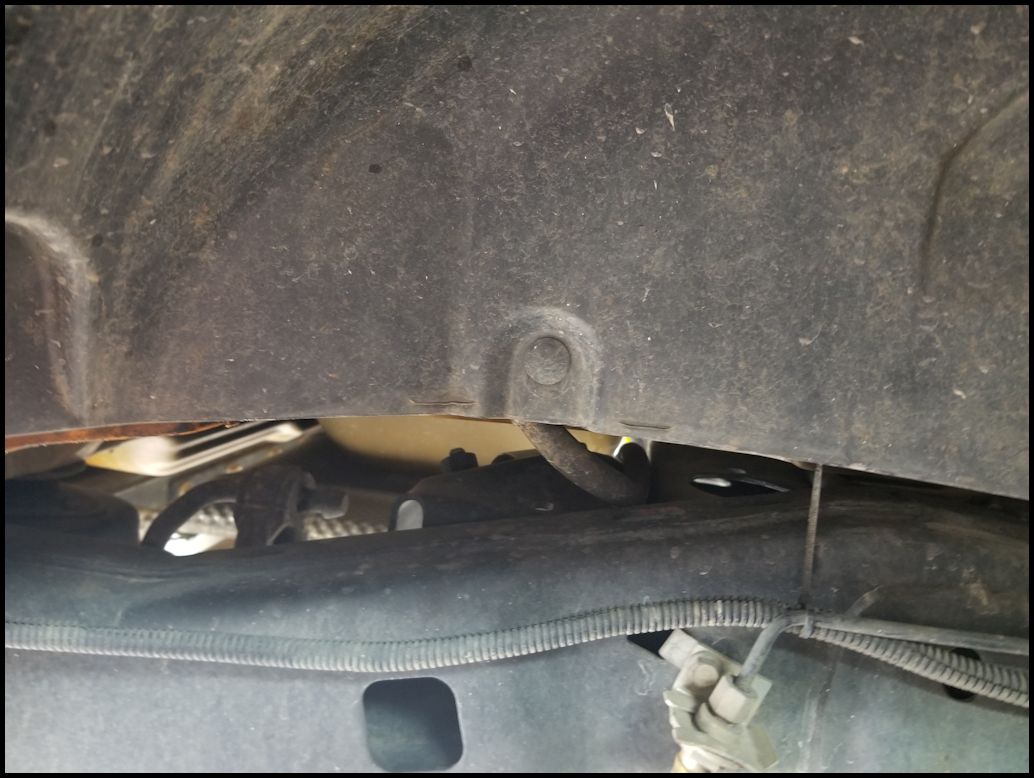
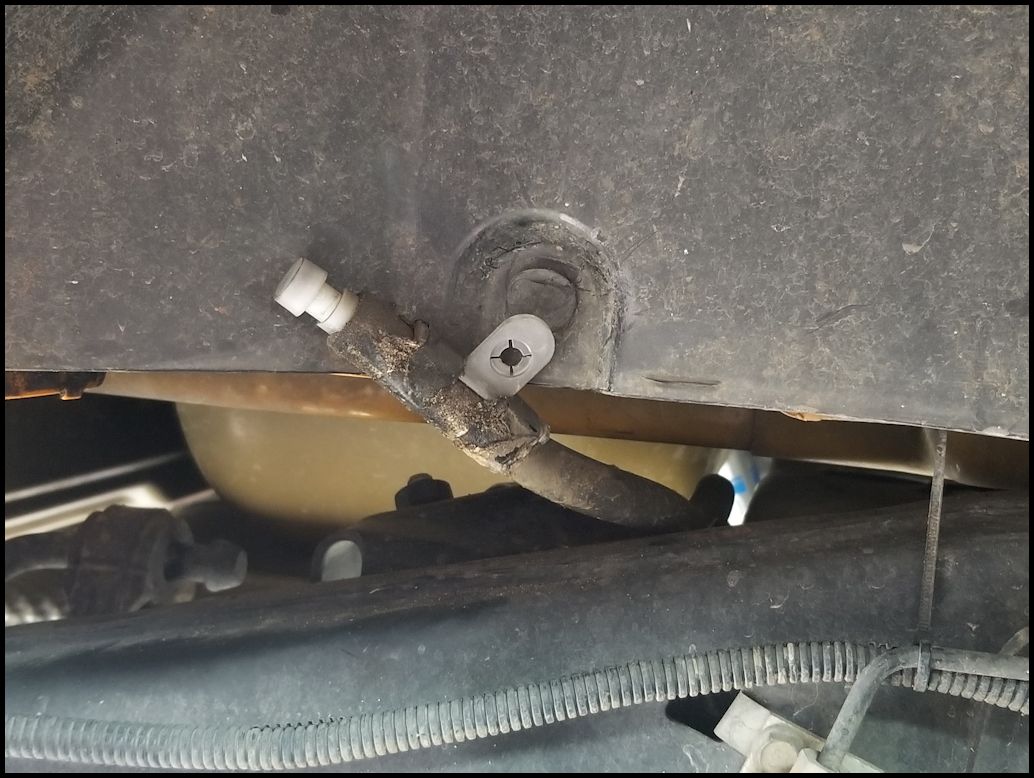
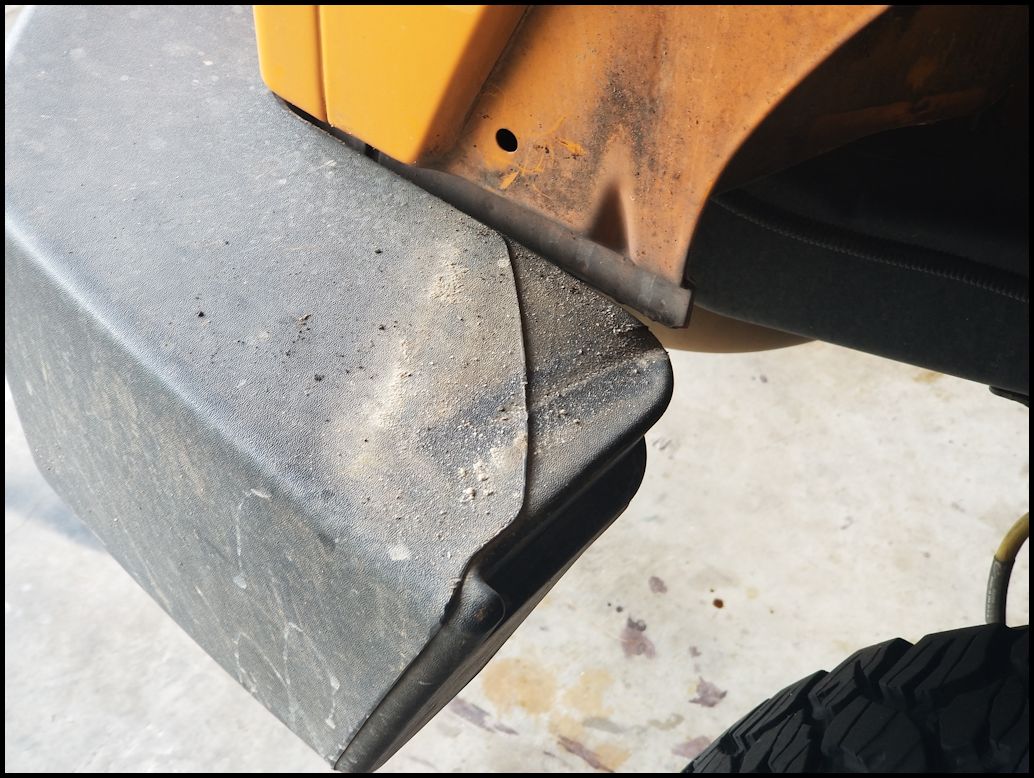
| The bottom rear retainer on the passenger side has the rear axle breather attached to the back side. You will need to reach up behind the lip of the body and pull the tab off of the back of the liner retainer. Then you can pull out the retainer with the trim removal tool. |
 |
 |
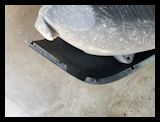
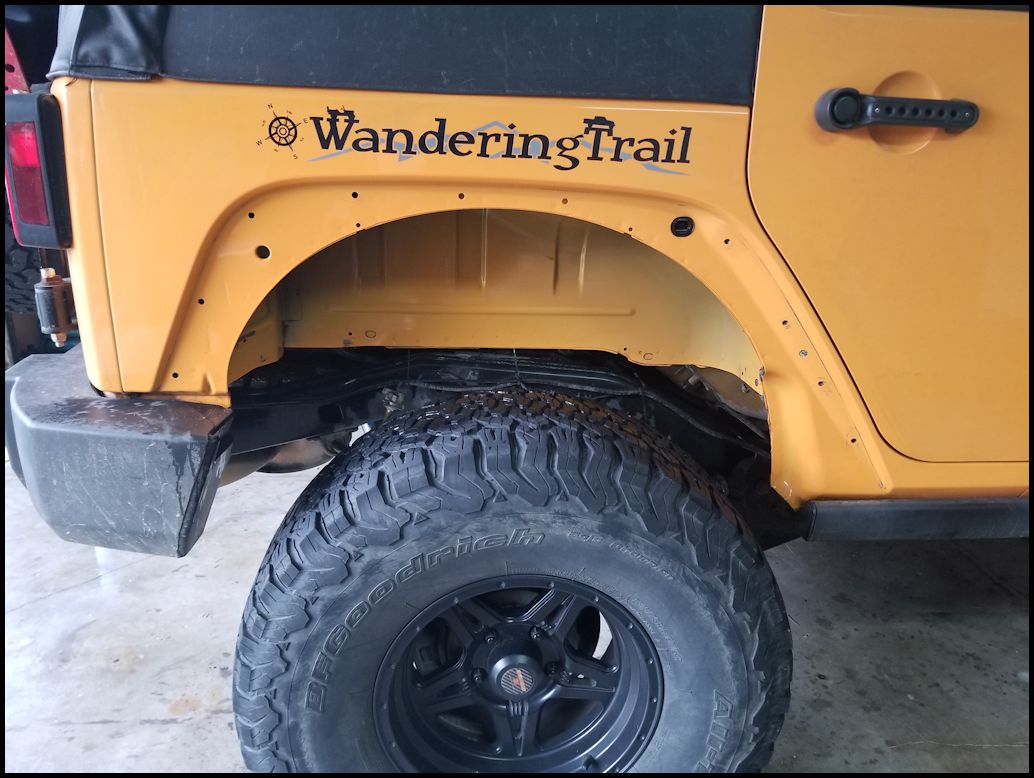
| Now comes the fun part. Grab the fender and give it a tag straight out from the body. The clips holding the fender to the body will either pull out of the fender, pull out of the body, or break off. Set the fender aside. |
 |
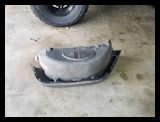 |
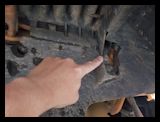
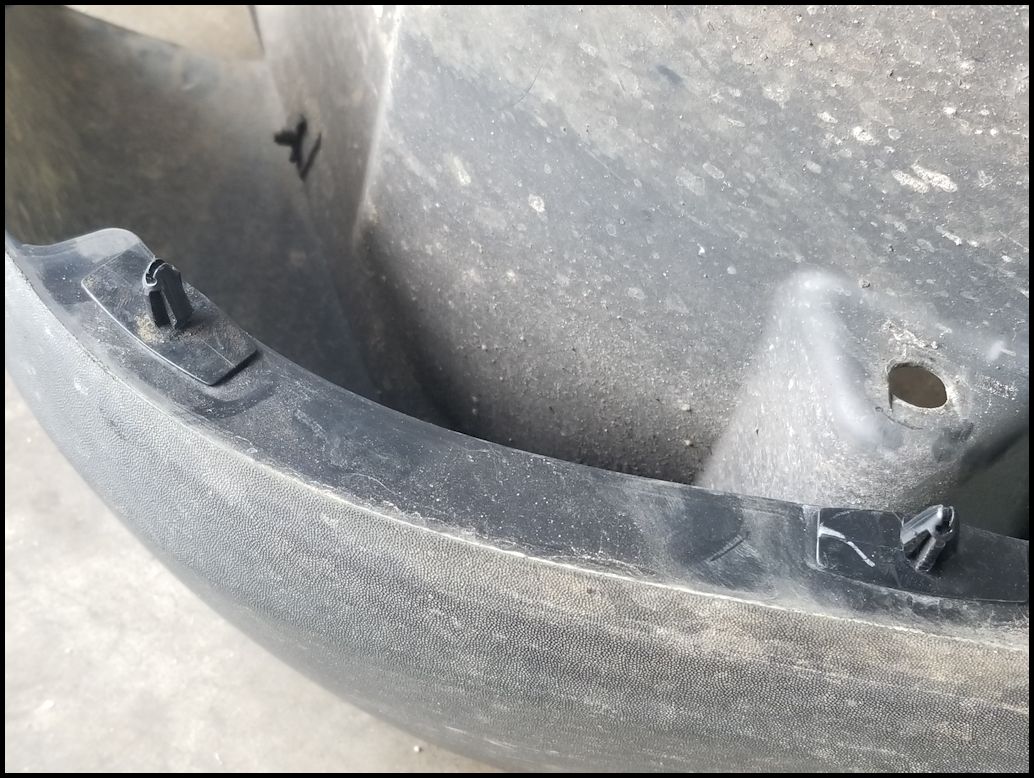
| Remove the broken clips from the fender and the body. You can try and slide a needle nose pliers up between the body panels (only the top centers are accessable, the others go into voids) and squeeze the tabs on either side of the push pin, or use a trim removal tool to pop them free. You can just throw these away, or try to reuse them if you don't have any spares, depending upon the condition. I was able to get most of them out of the body without breaking the retainer tabs on the push pins. |
 |
 |
 |
 |
| Before you put the fender back on take the time to clean off the dirt and grime that has accumulated under the fender. |
 |
 |
 |
| Install the clips into the positions on the fender. The rears have 10 clips. |
|
|
 |
| Reinstallation is just the opposite of removal. Line up the retainer push pins with the holes in the body and push the fender in, then reinstall the retainers. |
| |
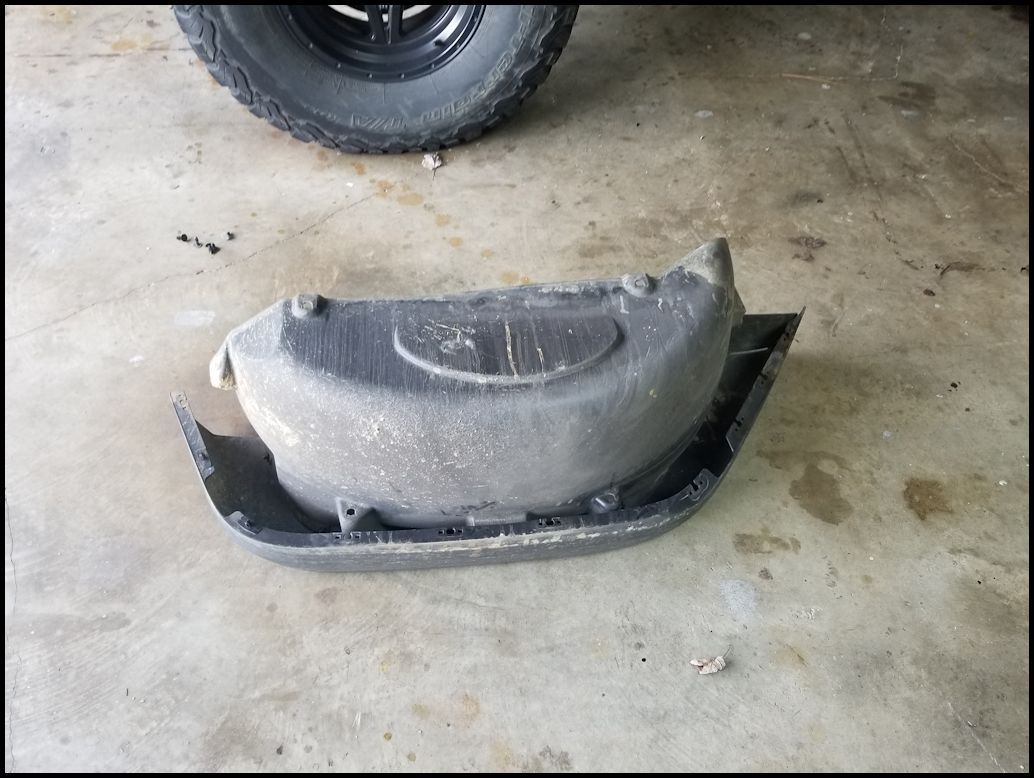
| Liner removal from the flare: |
| To remove the liner from the front flare you will need to remove all the plastic rivits from along the lip of the fender flare. You can either use a punch to press out the center of the rivit on each one, or cut them with a sharp razor knife by going under the edge of the rivit flange, or you can drill them out with an 1/8" drill bit, or grind them off with a dremel tool. |
 |
 |
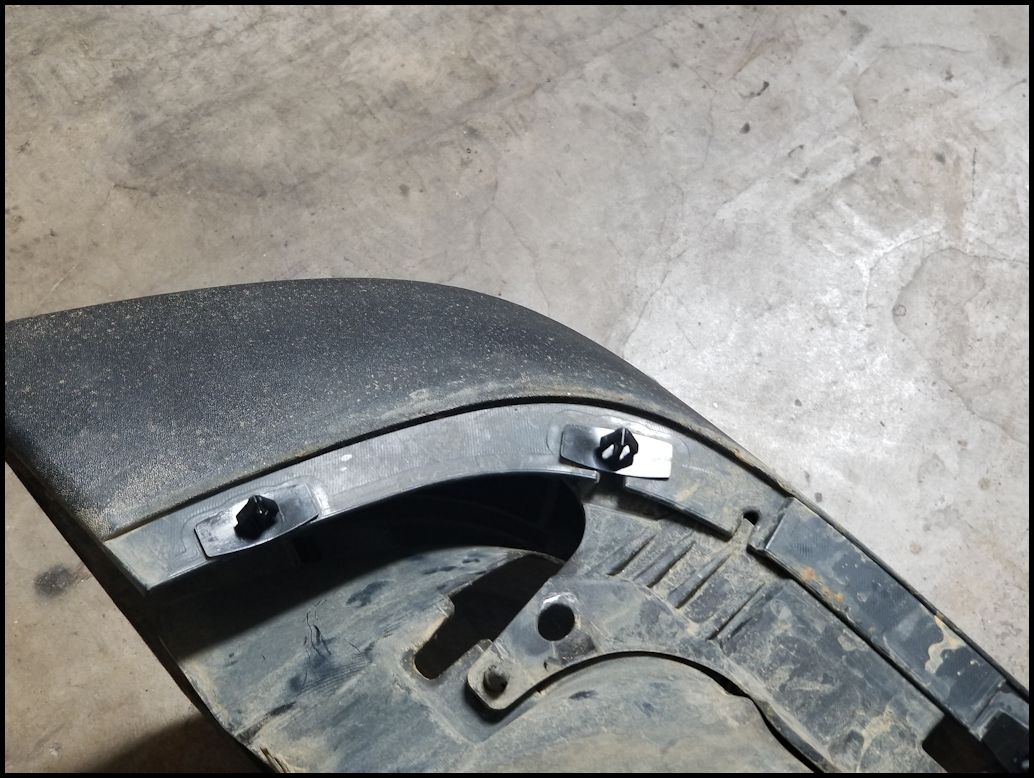
| Remove the 5 push retainers that hold the liner to the front fender frame. 1 is in the back upper section where it is squared off, 3 are across the center near where you removed two screws, and the last is in front right below the front screw. |
 |
 |
 |
| |
| To remove the liner from the rear flare you will need to remove all the plastic rivits from along the lip of the fender flare. You can either use a punch to press out the center of the rivit on each one, or cut them with a sharp razor knife by going under the edge of the rivit flange, or you can drill them out with an 1/8" drill bit, or grind them off with a dremel tool. |
 |
 |
| |


