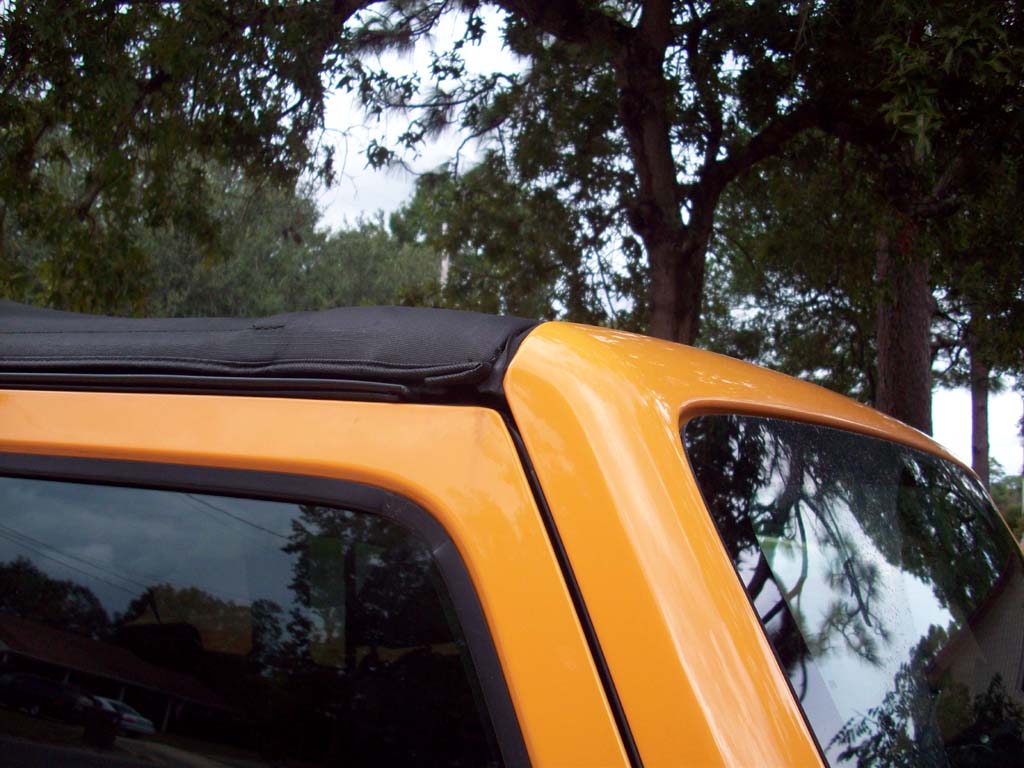
Nothing like driving down the road and hearing the air leaking into your Jeep from the soft top. Usually you don't hear this right away, but a few years down the road and many openings and closings of the soft top later you will start to hear an air leak Almost always this will come from the two front corners of the soft top. Jeeps foam seals in those areas have either rotted away, turn to dust, or just disappeared with all the openings and closings. It's really simple to replace these on the soft top, unfortunately, the seal that you need to replace on the door surround is part of a $144 kit, but I'll show you how to make that seal and save some money. If you have water leaks in addition to wind noise, you may need to buy the entire kit and replace most of the foam seals on the soft top door surrounds.
Additional
Parts:
Omix-ADA Soft Top Foam Tape Seal Kit (13510.71) or
Mopar 68078452AA
Door Surround Soft Top Seal Kit
Mopar Part #: 68003655AC
Omix-ADA makes a bunch of replacement parts for the Jeeps. I was able to see the Mopar parts at the dealership, and they looked identical, just a lot more expensive. I did need one more seal that came as part of an entire seal kit for the door surrounds and soft top. The price was outrageous. It was easy to look at one of my friends Jeeps and see what that seal looked like on their Jeeps. I included my design for anyone who needs to make one for their Jeep.
Installation:
1. Open your soft top and fold it back. This will make it pretty easy to just stand on the back seat and work on the top.
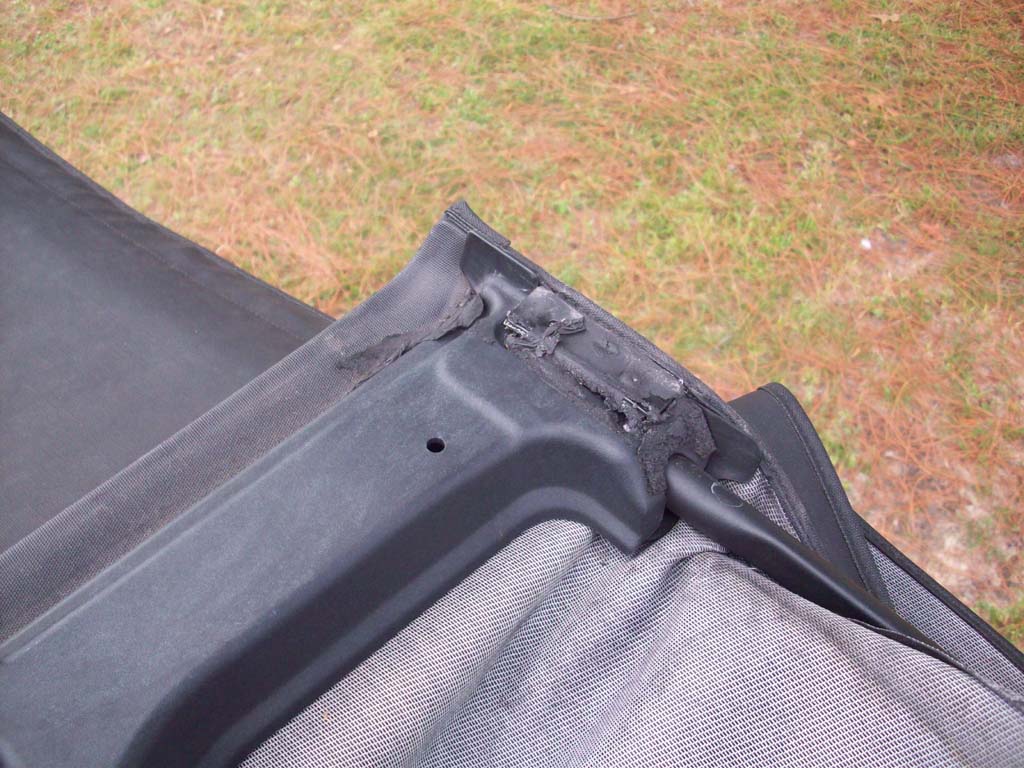
2. The problem here is pretty obvious, the leading edge seal, and header end seals are deteroriated or gone. Use a plastic scrapper, alcohol or gumout to remove the remains of the seals and clean up the area really good so that the new seals will adhere properly.
3. This is a good time to check the screws holding he header to the side arms using a #2 phillips screwdriver.
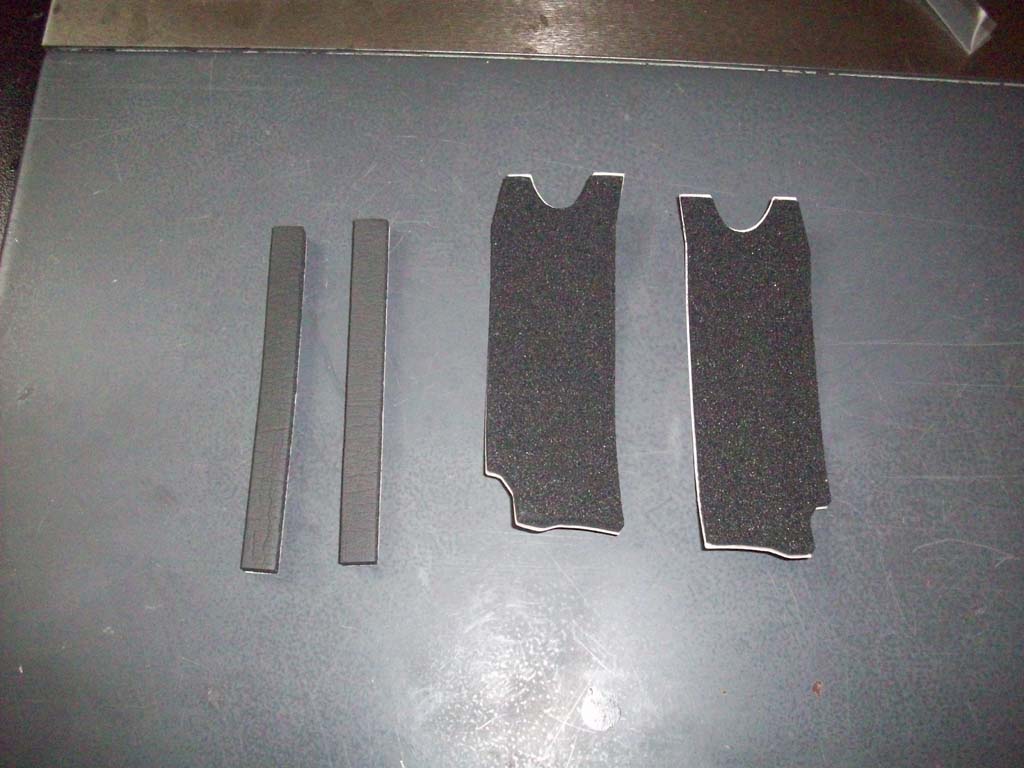
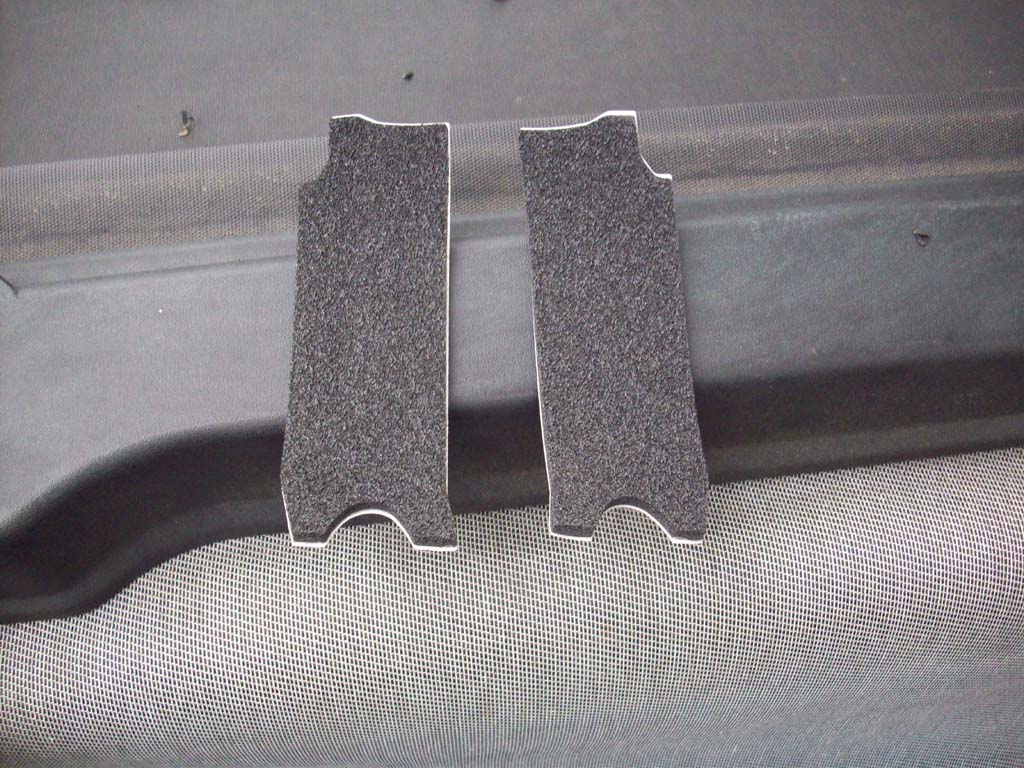
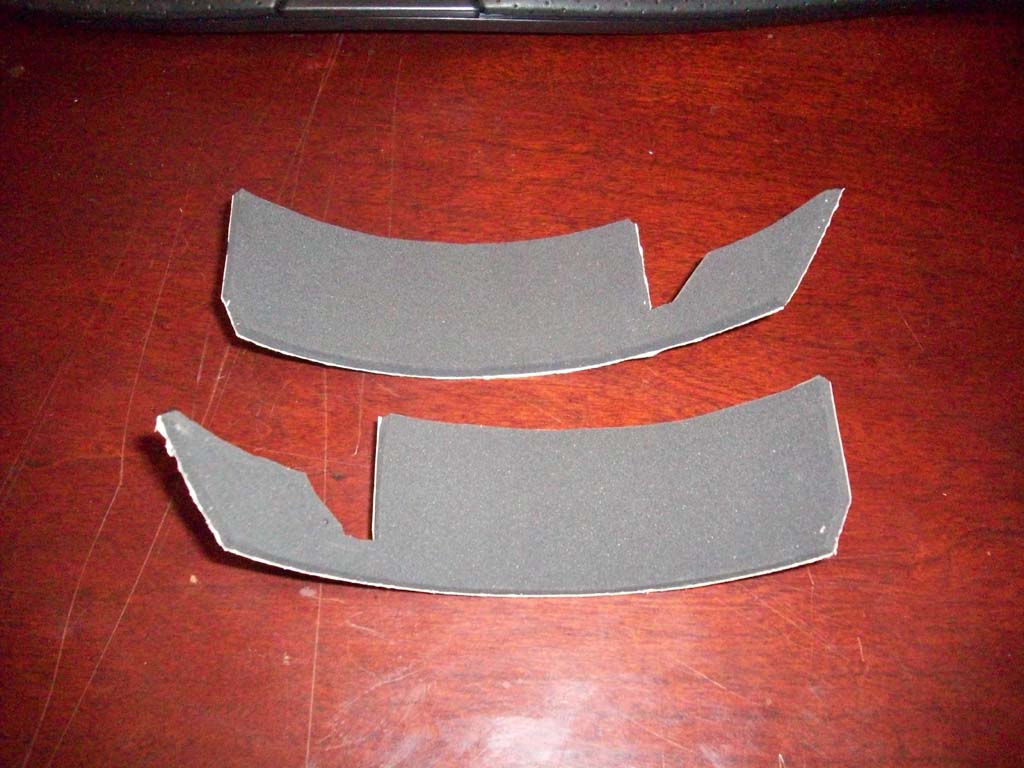
4. The header end seals need to go on the correct side. The seal on the left is the passenger side, right is the driver. Check the fit prior to pulling off the protective film from the adhesive.
5. Remove the adhesive protector. Line up the front edge of the seal and work your way back to the arm. Press down and make sure the seal is adhered to the header.
6. The last seal goes on the leading edge of the soft top. Start a little ways up the bend of the top and try to keep it straight.
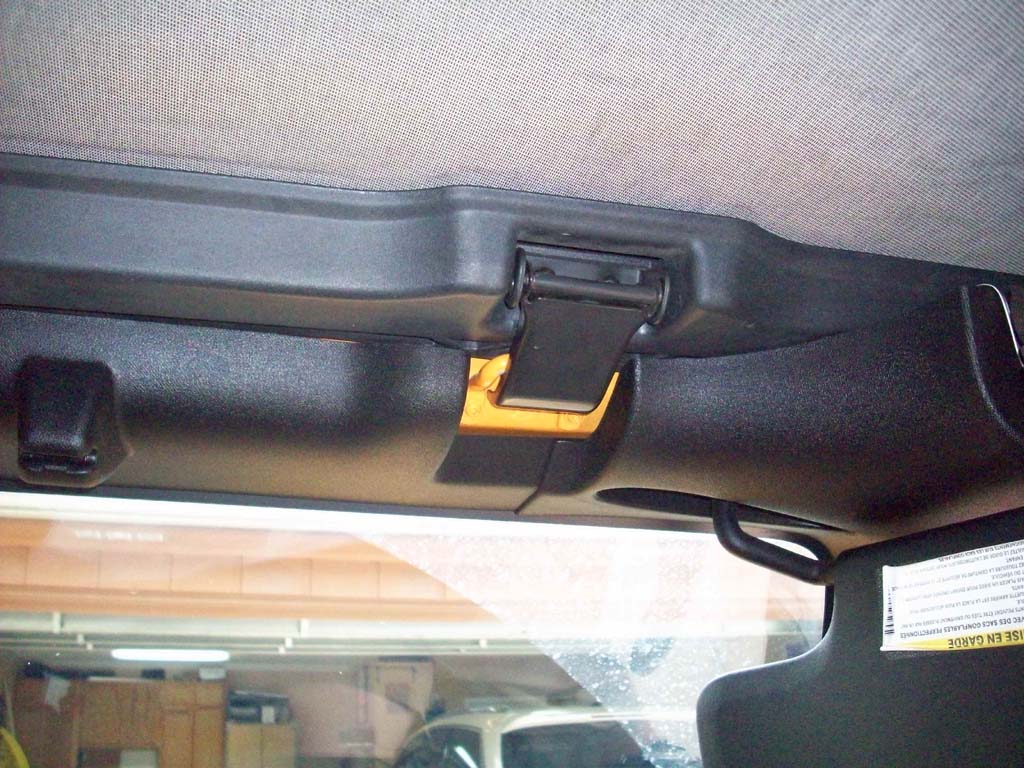
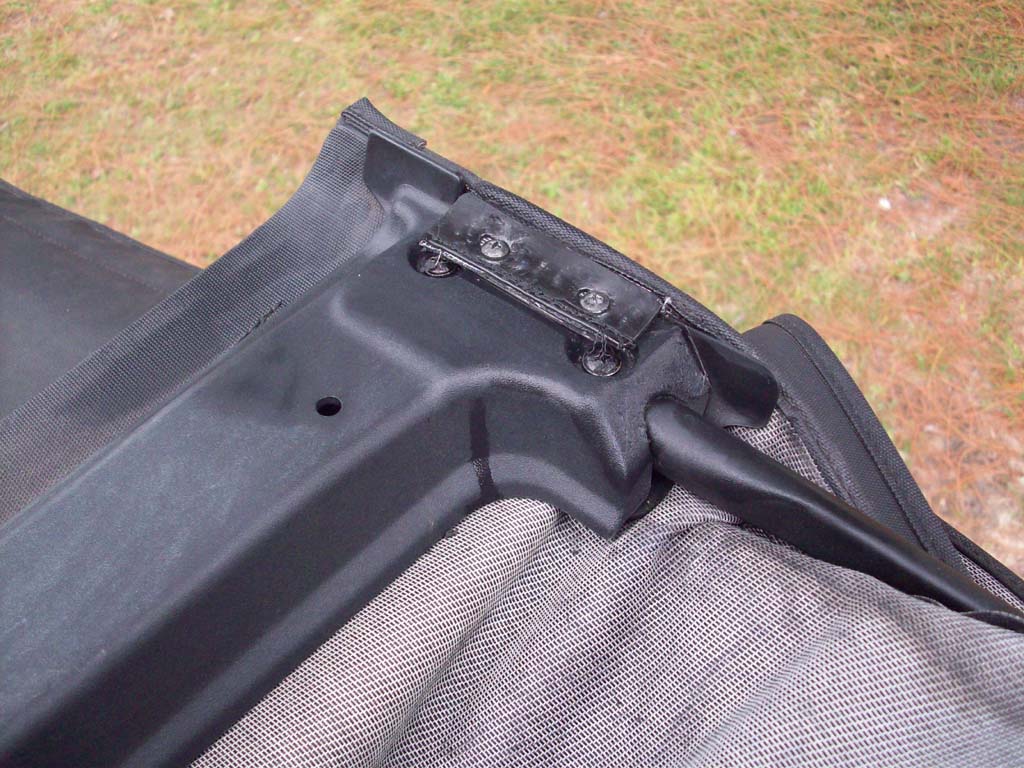
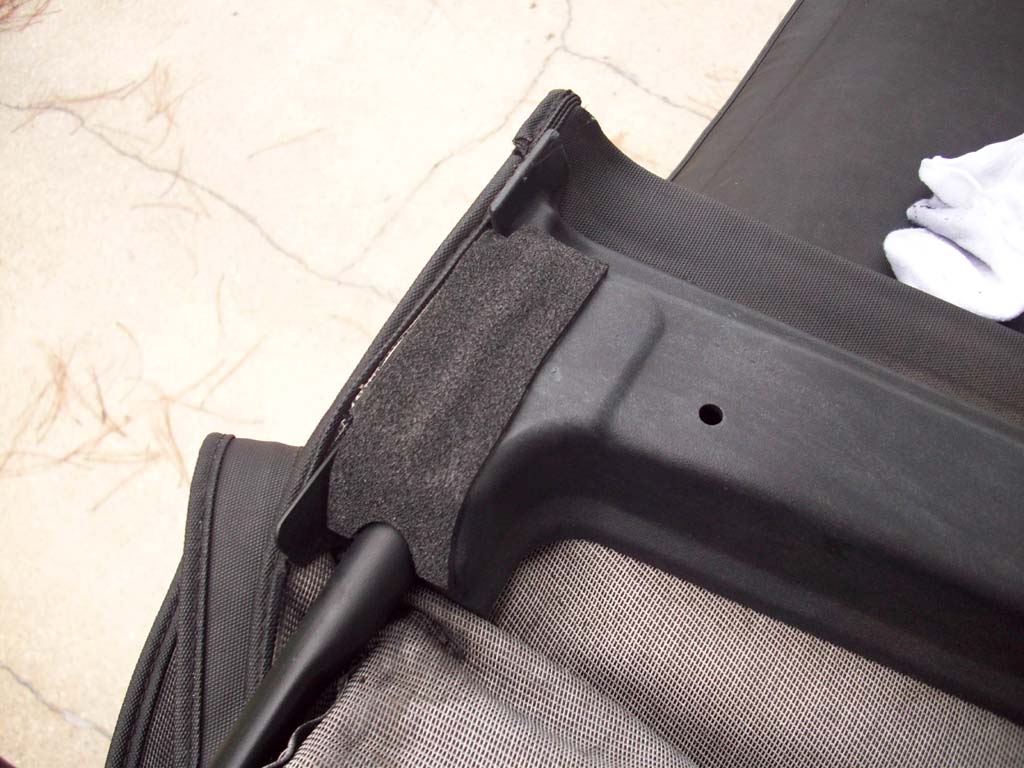
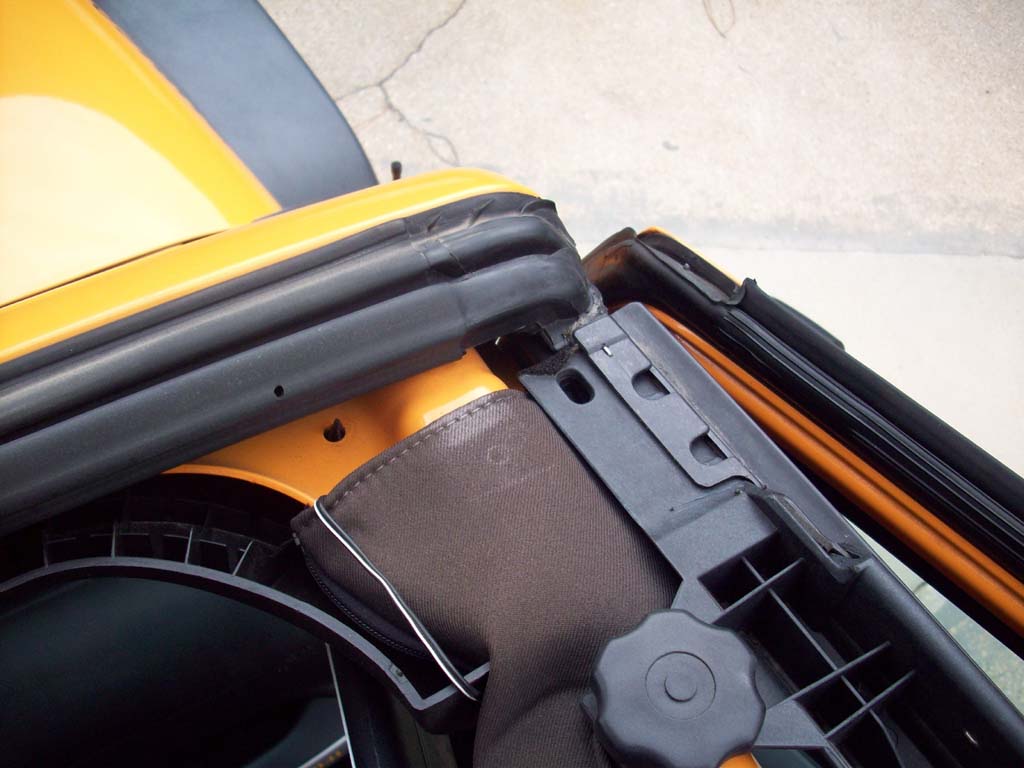
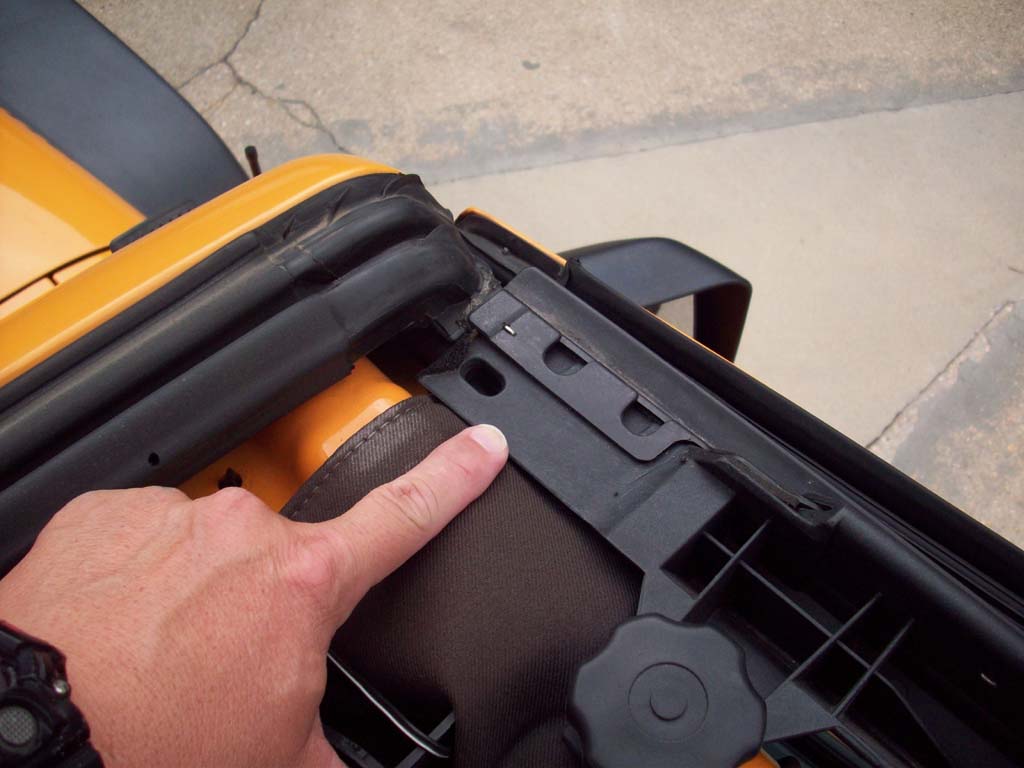
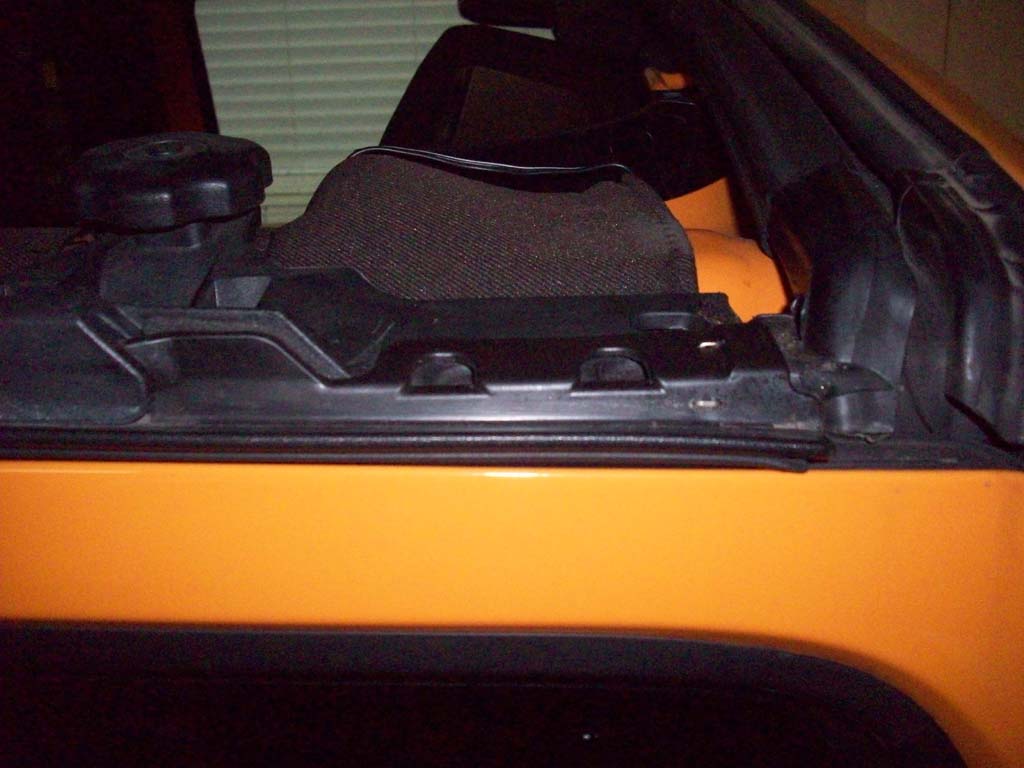
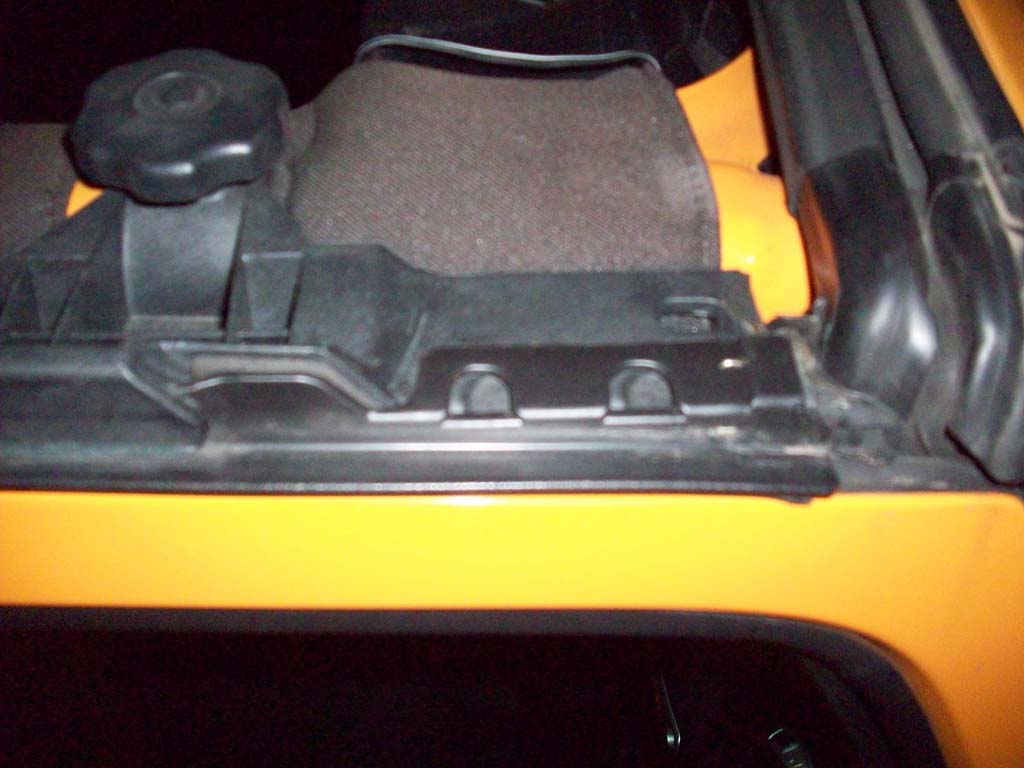
7. The last seal goes on the door surround right behind the windshield. This is the area that the soft top header sits down into when the top is closed. As you can see on mine, they are completely gone. There should be something here, I did check the soft tops on a couple of my friends Jeeps.
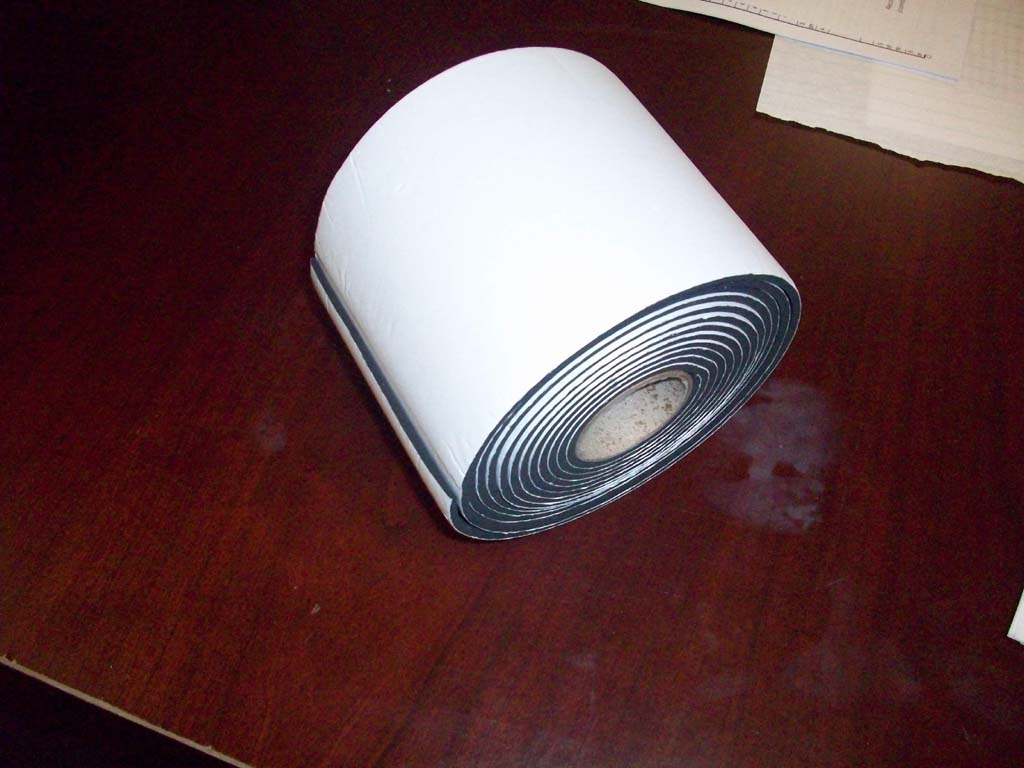
8. After looking at how the seals were in place on my friends Jeeps I decided that since none of the other seals were leaking I didn't feel like paying $145 for the seal kit just to replace 2 seals. I did have some 4" wide by 1/8" thick seal tape in my drawer, so I decided to make a template and make a seal out of what I had on hand. Picking up some seal tape that is 1/4" thick is better. I doubled up the top to get a better seal since I was using 1/8" tape.
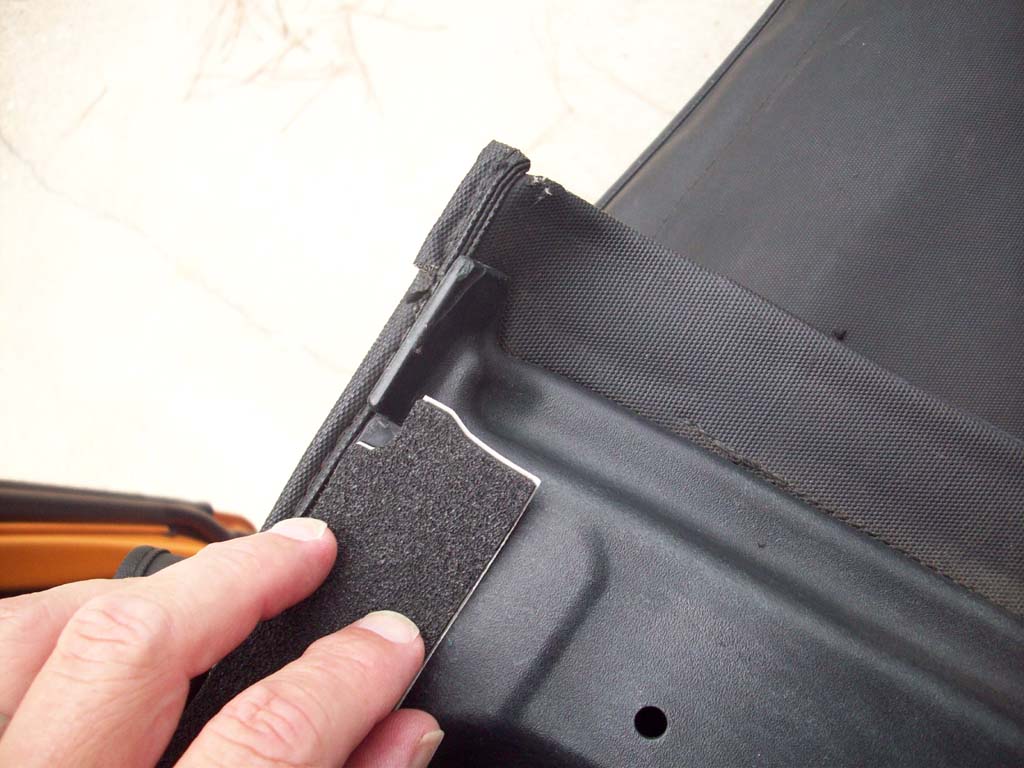
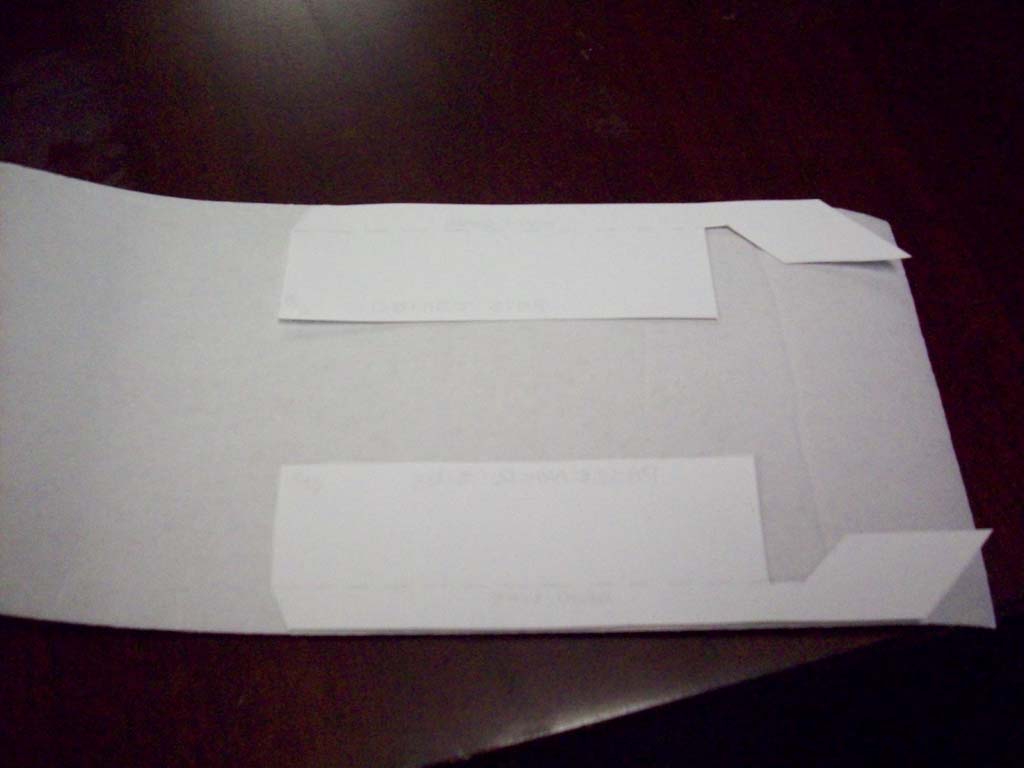
9. Cut out the template and a section of Seal Tape. Tape the template to the tape and cut it out. It really doesn't matter which side of the seal tape you place the template on as long as you place both of them on the same side. The bend line does need to be on the non-adhesive side. You may need to make a slight cut along this line to help it bend over the edge on the frame.
Note: The pics are of an older template, I modified it slightly to fit better.
10. Clean off the seating area with some Alcohol and rags. It needs to be clean so the adhesive adheres well. Any dirt or oily residue will prevent the tape from sticking.
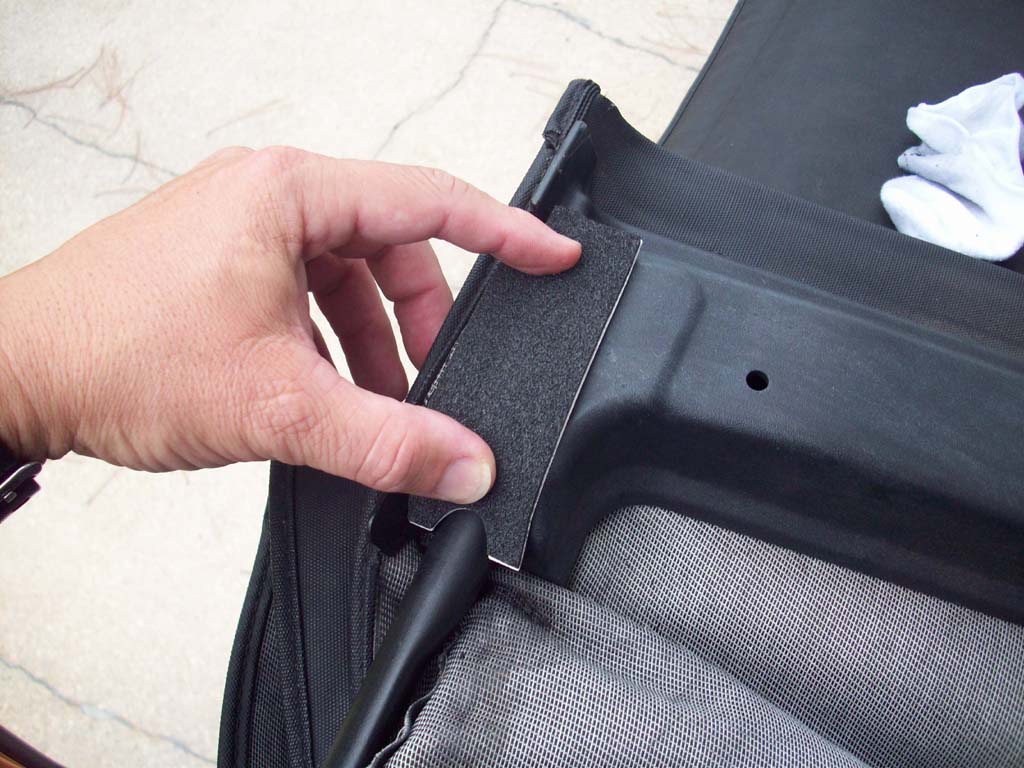
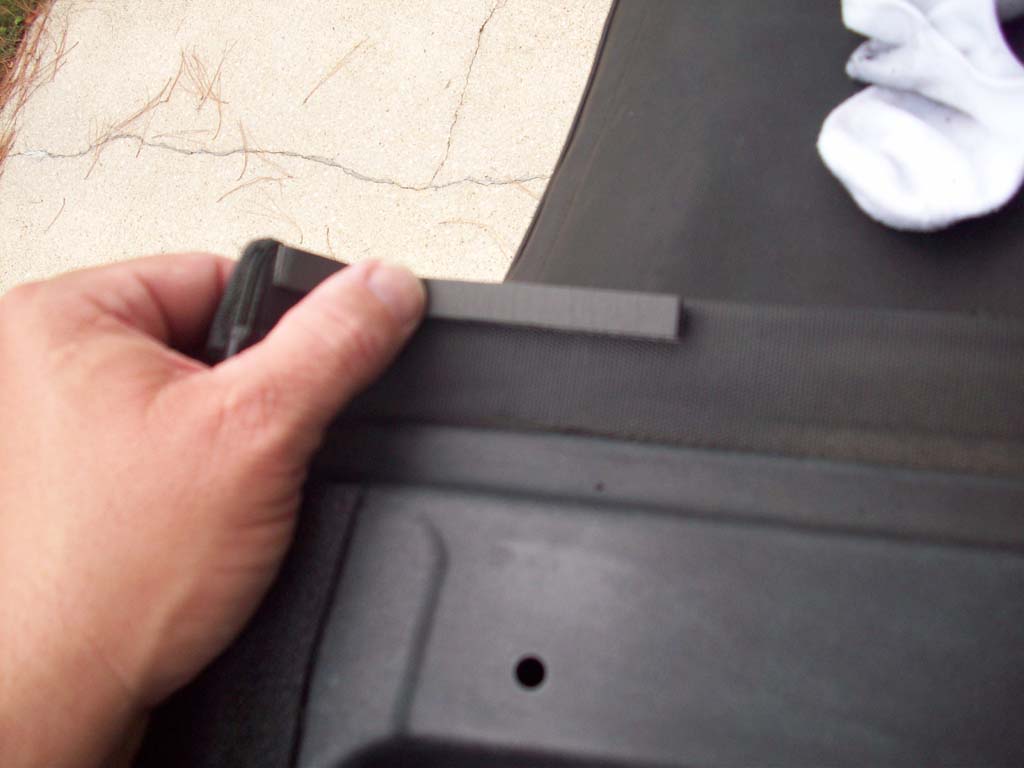
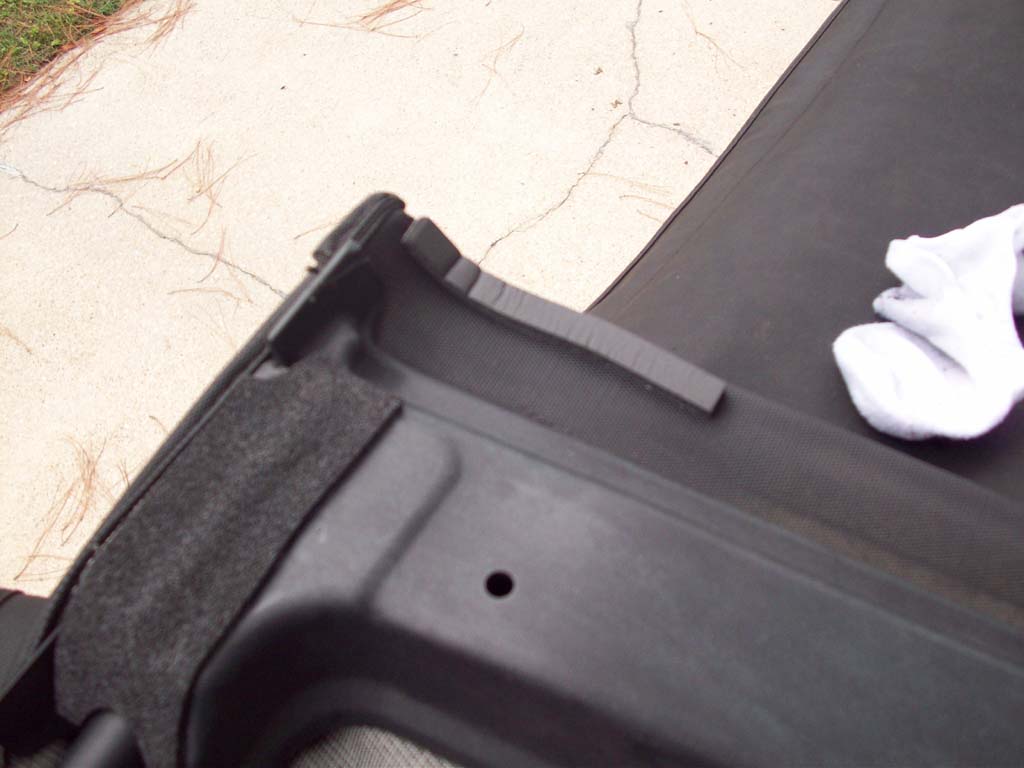
11. Line up the wedge section towards the rear with the same shape on the frame. The bottom edge will sit along the horizontal section the frame. Fold the large portion of the seal over the top of the frame. Make sure you press this down and get the adhesive to attache itself. I lowered the soft top and used it to clamp the tape down for a while.