After more than a few trips through the sandy water, muck that we call Florida wheeling, my rear brakes picked up a squeaking noise. Time to regrease the rear pads and while I was at it, I figured I would go ahead and throw on a new pair of pads since the originals had almost 40k miles on them. I didn't really need them, but since I had it apart to clean and regrease I figured I would do it.
| Caution: You will need to put the rear axle up on jack stands, chock the front tires, and release the parking brake to do this job. Use caution when working around the rear end, you are relying on just the chock, and the transmission to keep the Jeep from rolling. Open up your hood and check the master cylinder level. If you have added fluid to your master cylinder you may need to either bleed a little off via the brake bleeders, or suck a little out of the master cylinder with something as simple as a turkey baster. If it is fairly full, you may find that it will overflow when you push the pistons back in on the calipers. |
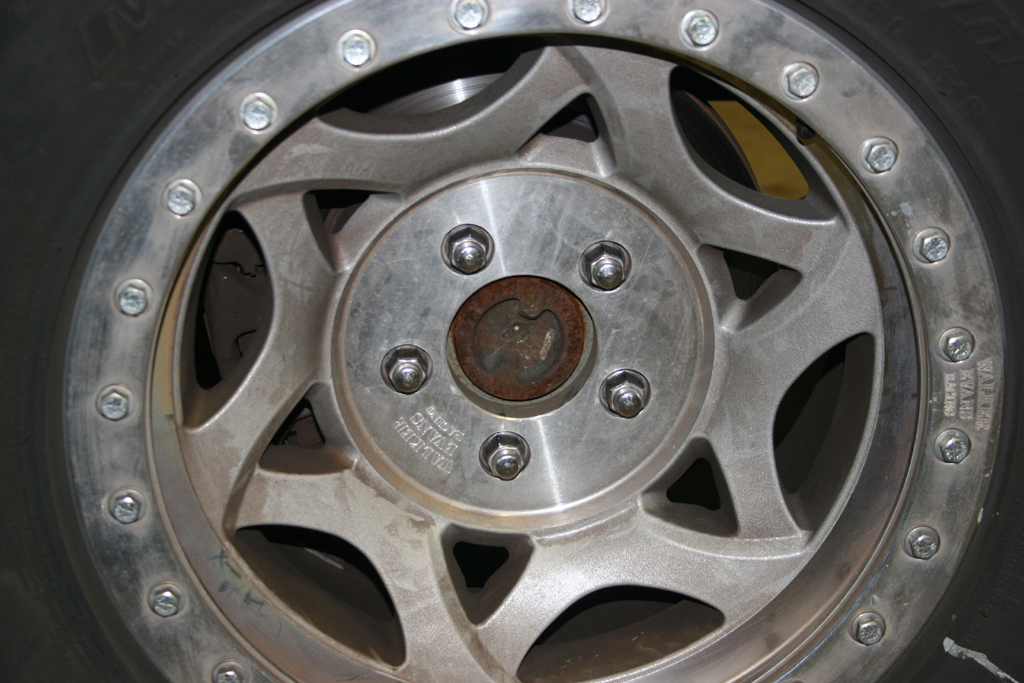
| 1. Remove the rear wheels. You will need a 19mm or 3/4" socket. |
 |
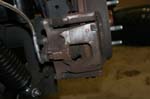
| 2. Remove the two (2) retainer bolts with a 18mm combo wrench. Remove the caliper from the rear axle. |
 |
 |
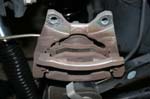
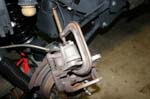
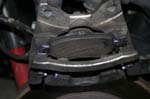
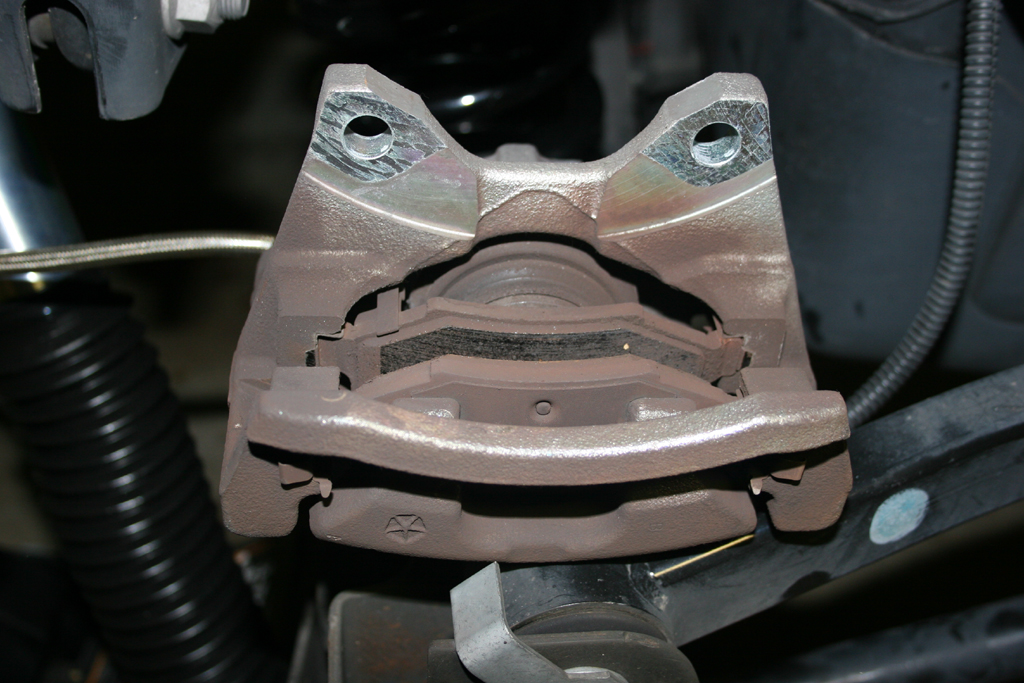
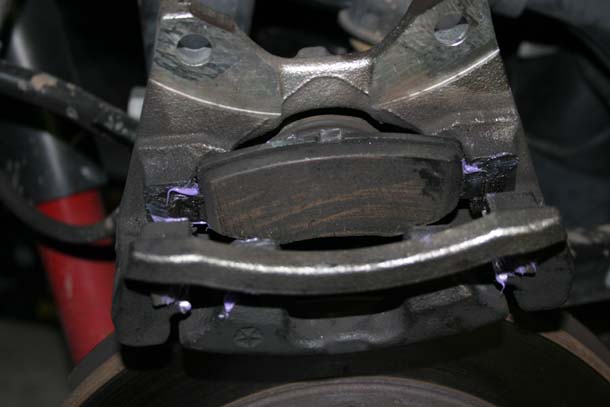
| 3. Pull the caliper off the rotor and remove the two (2) brake pads. Just push them towards the center and out of the caliper. It is easier to do the side opposite of the piston first. Be careful with the caliper, it is heavy and if you drop it, it can pull on the brake line. I usually just rest it on the upper control arm, and have a small bungee strap that I hook through one of the holes to keep in in position until I am ready to work on it again. |
 |
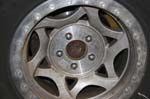
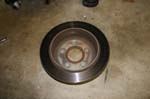
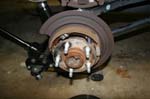
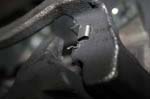
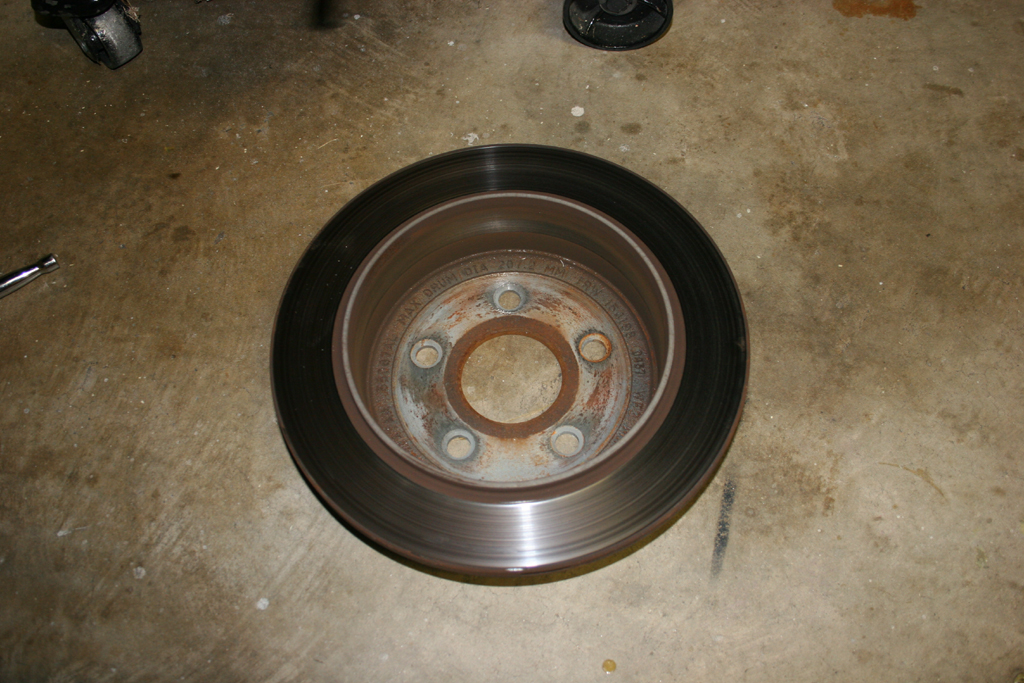
| 4. Remove the rotor from the axle. It can be a little tight at first. Just make sure you have your parking brake released. If you are doing this for the first time there may be a retainer ring over one of the wheel studs holding this on. Just remove that with a pair of needle nose pliers. This is a good time to check you axle seal and the condition of your parking brake pads and actuators. Reinstall the rotor when you have finished to protect the parking brake assembly. |
 |
 |
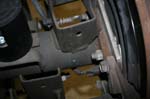
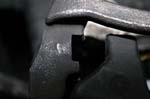
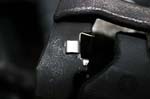
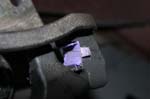
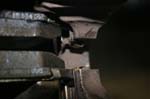
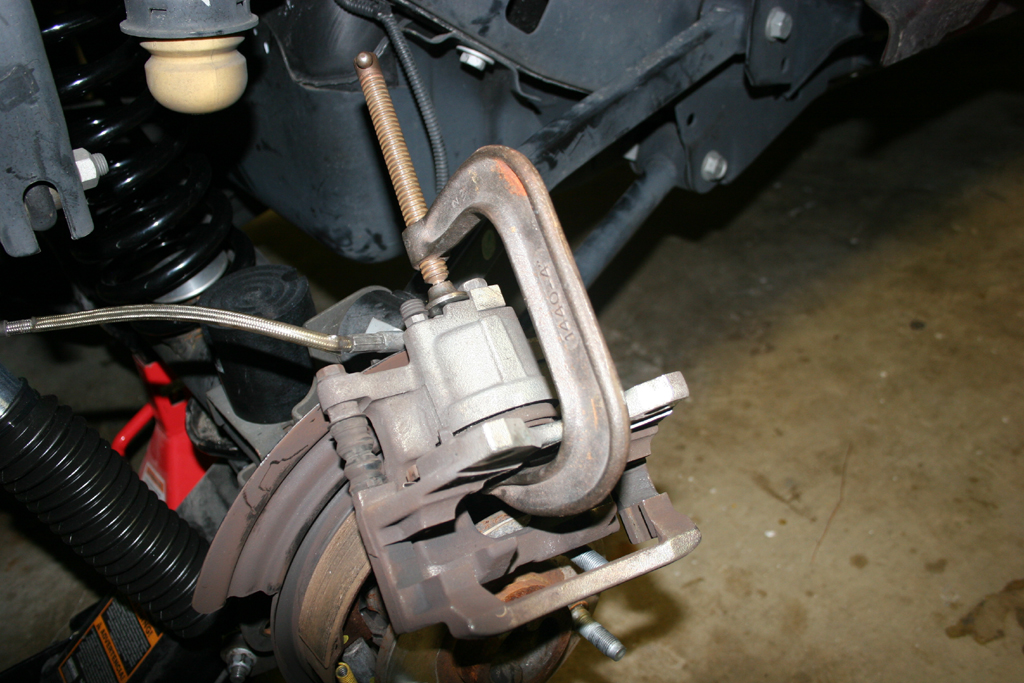
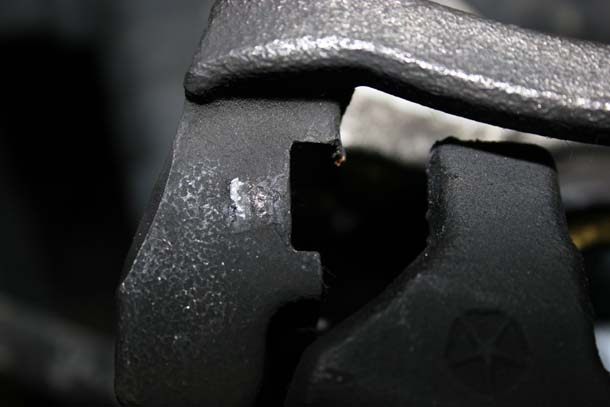
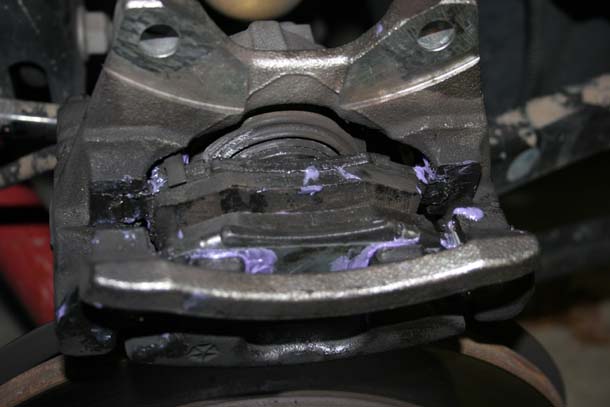
| 5. Take your C-clamp and small piece of wood. Place the wood against the caliper piston and use the C-clamp to push the piston back into the caliper housing. The block of wood is to protect the piston from the end of the c-clamp. Don't do what you see in the picture, the caliper is resting on the parking brake pad. Not a good idea |
 |
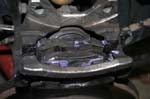
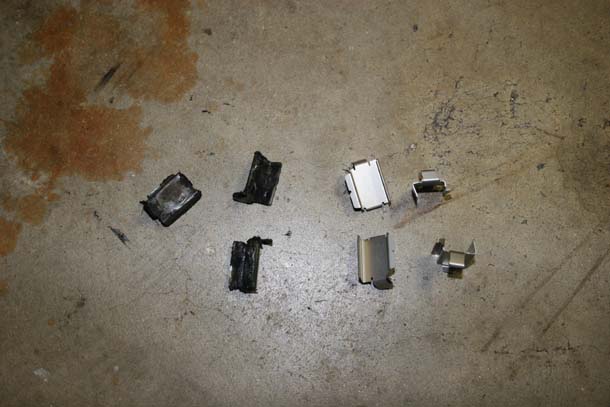
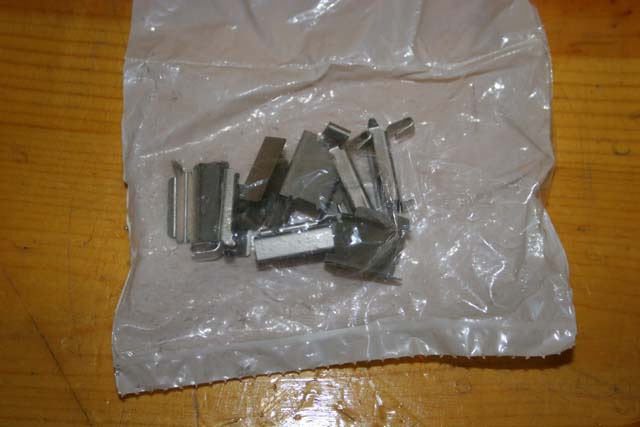
| 6. There are two (2) metal clips that go on either end of the brake pads, four (4) per caliper. They provide a sliding surface between the caliper and the ears on the brake pad. |
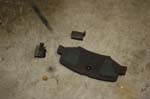 |
| 6a. Hmm somewhere one of my clips decided to take a vacation. I only had three on one caliper. |
 |
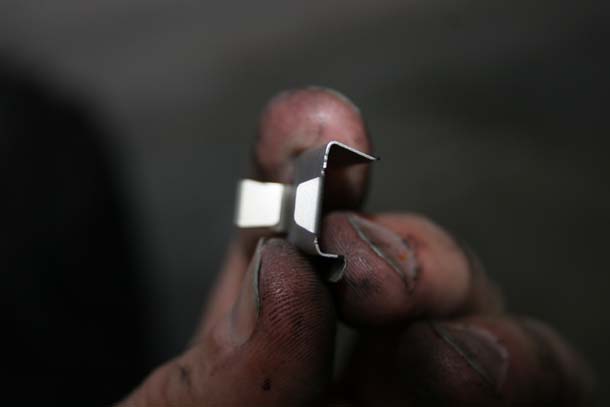
| 7. They do go in a specific way. There is a left and a right side clip. The spring tabs got towards the outside of the caliper. |
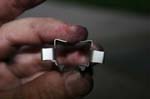 |
Note the shape |

Similar shape |
Spring tab out |
Bend down the little tang. |
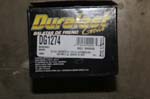
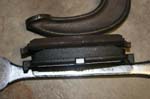
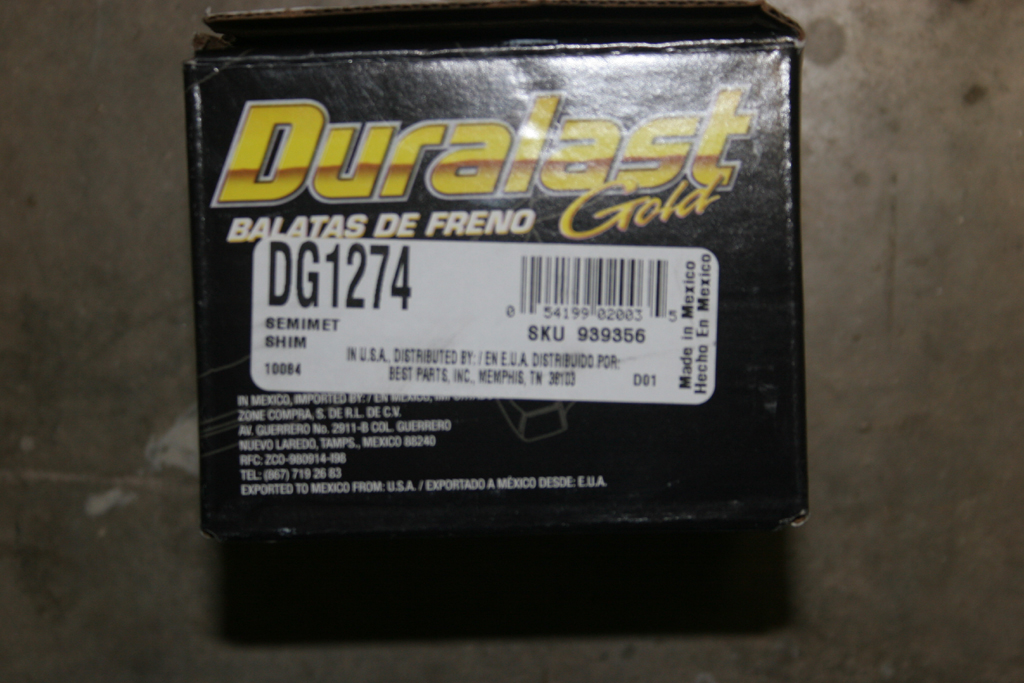
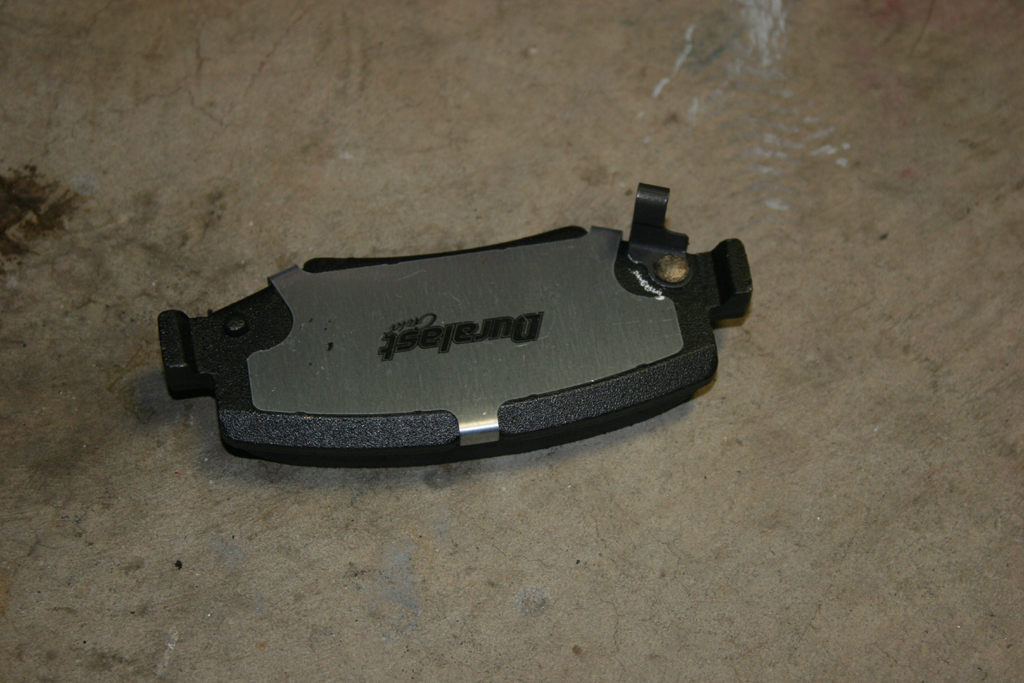
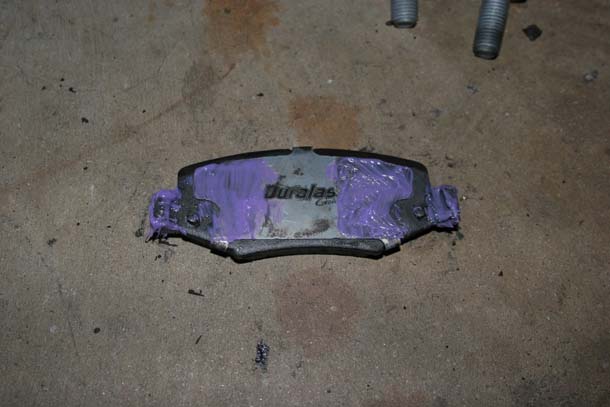
| 8. Unbox and inspect your brake pads, compare them to the ones you just took off. The first set I picked up were the right box, but had the wrong pads in it. It was a long walk back to the parts store...Don't forget to pick up the clips for the sides of the brake pads. You may be able to reuse the originals, but it's better to get new ones. (If you get the pads from Jeep, they come with it, otherwise they don't unless you buy the expensive kit which is about equivalent to pads and clips seperate.) |
 |
 |
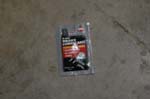
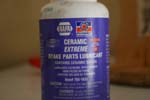
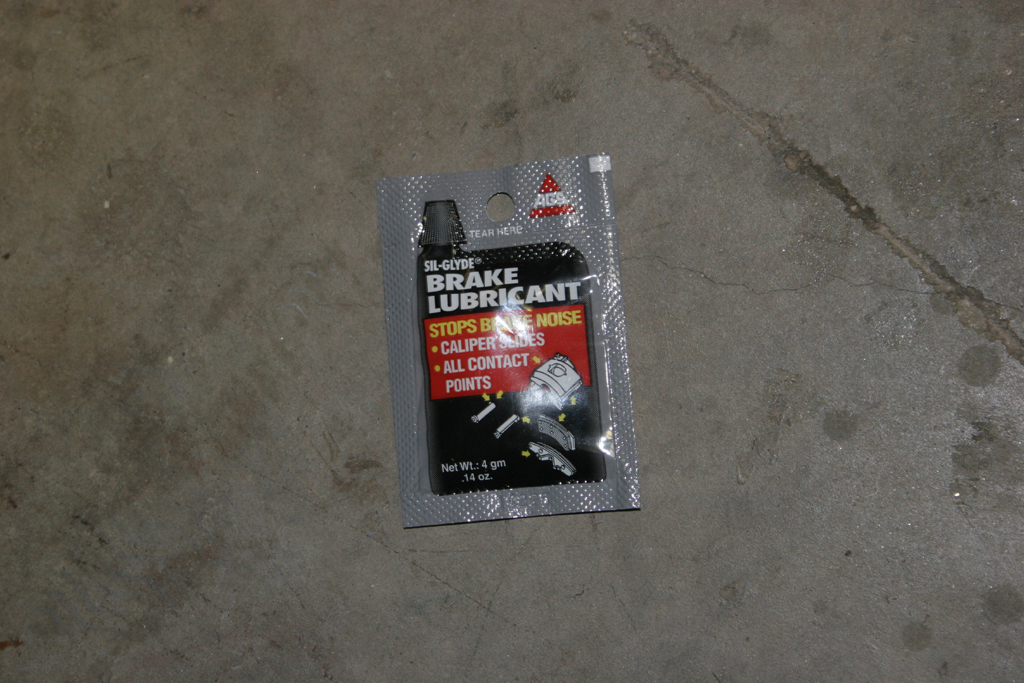
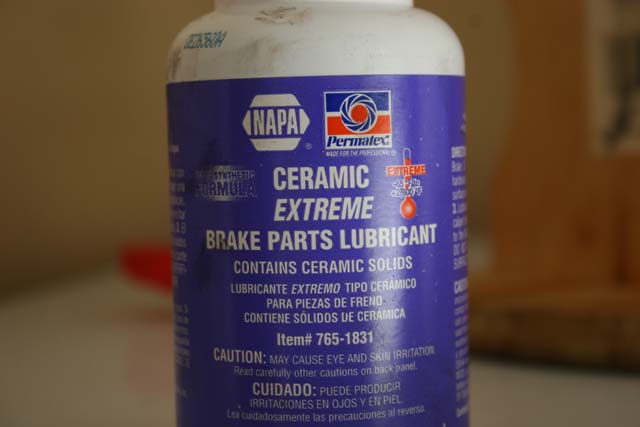
| 8a. You can buy this one caliper worth of brake pad lube in a little plastic container at most auto parts stores. I pretty much feel that it is completely worthless, I tried it just to see how well it would hold up, lasted about 2 weeks, or one trip off road through the muck. I prefer the ceramic brake grease that I picked up at NAPA. |
 |
 |
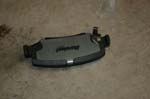
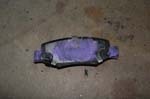
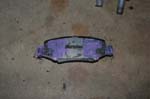
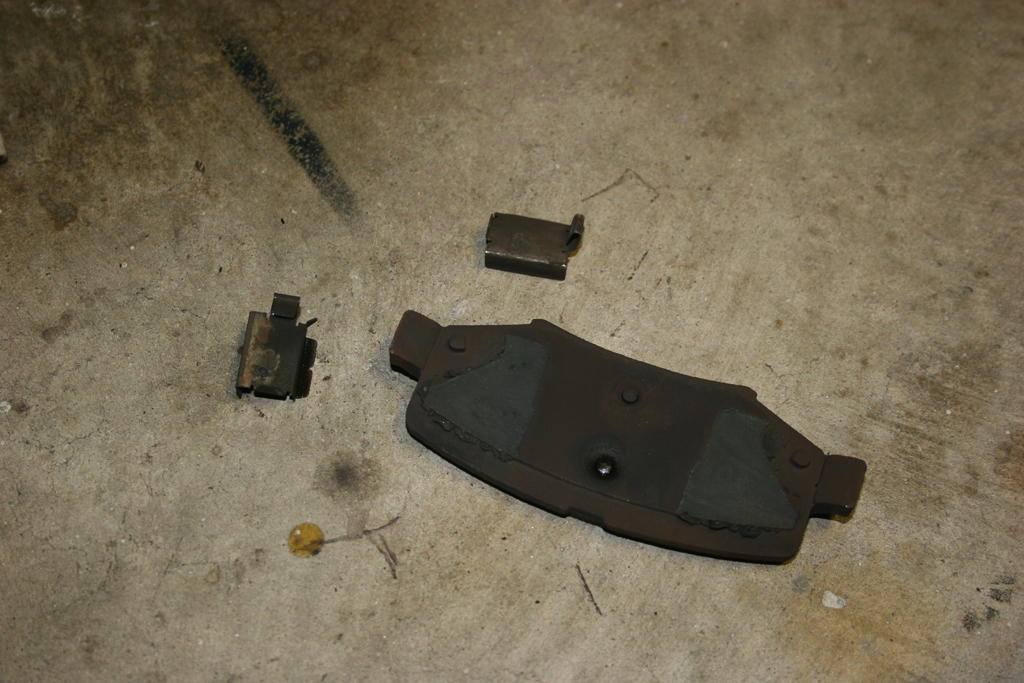
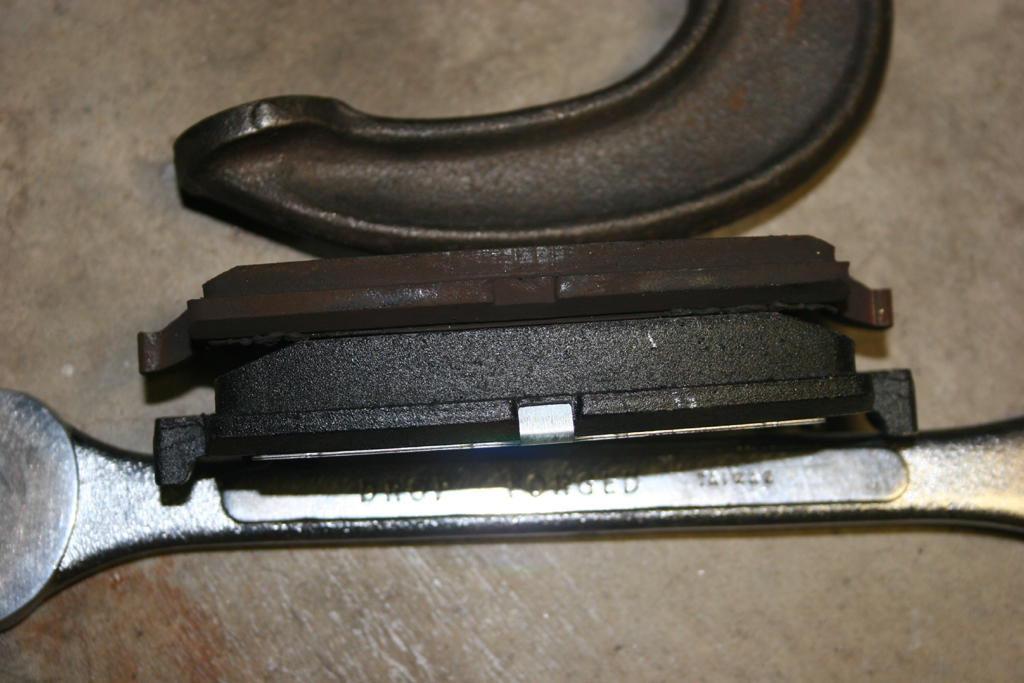
| 8b. Just a comparison shot, my old pads were about 2/3rds gone, and didn't have much before I would have started to hear the squeal, so changing them was a good idea. |
 |
 |
9. Grease up the metal clips. Grease up the back side and both ears of the brake pads.
Note: Be careful not to get any grease on the face of the brake pad. |
 |
Piston Side |
Outside |
| 10. Install the two (2) pads into the caliper, make sure the arc of the pad follows the arc of the caliper. Try not to get to much grease on the brake pads themselves. |
WRONG WAY! |
 |
| 11. With both pads installed, push them as far apart as possible, so you can slide the caliper over the rotor. Make sure you do not have the brake line twisted. |
 |
|
| 12. Reinstall the two (2) caliper retaining bolts into the axle. You will need a 18mm combo wrench. |
|
| 13. Reinstall the rear wheel with a 19mm or 3/4" socket. |
|
| 14. Set the parking brake, remove the jack stands and wheel chocks. |
| 15. Check your master cylinder level, add fluid as required. |


