I decided to go ahead and put out the money for a good set of rims from the beginning instead of using spacers on my stock rims. I originally looked at the AEV beadlocks, but since no one could give me a firm date on when they would be released. I had looked at the Walker Evan’s when I had my TJ and had really wanted them, but couldn’t afford them at that time. This time was slightly different. A passing conversation with David at Northridge4x4 sealed the deal. For those of you who like to color coordinate your Jeeps the rings also come in Red, Blue, Gold, Black, Green, and Orange.
From the Walker Evans Racing Site:
Walker Evans Racing is proud to announce our very own solid cast aluminum bead locked wheels. We have poured all of our racing experience into these top quality wheels. Over the years we have seen just about every racing wheel made. Used in many off road racing events, bead locked wheels firmly grip the tire onto the wheel. This prevents the tire from coming off the wheel especially when low tire pressures are used.
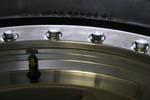
Most beadlocked wheels currently on the market start off as a standard wheel. The outer lip of the wheel is removed and a ring is welded to the wheel. This ring serves as the backing plate for the outer lock ring to bolt to. We take a different approach and cast the beadlock into the wheel from the start. Making the entire wheel from a single cast part eliminates the extra step of welding on a separate ring and reduces the chances of leaks. A single cast-design results in a stronger more reliable wheel. Our wheels are rated at 3,800 lbs per wheel. Much higher then nearly all other wheels on the market.
Each wheel features grade 8 hardened bolts to attach the outer ring. Each bolt threads into long steel inserts securely mounted in the wheel.
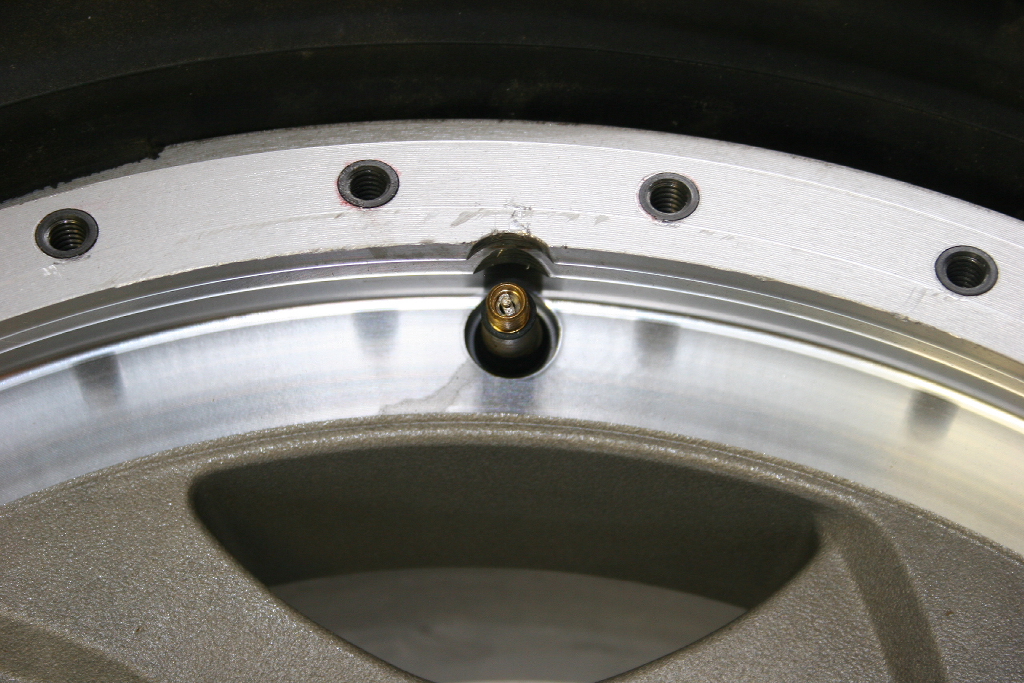
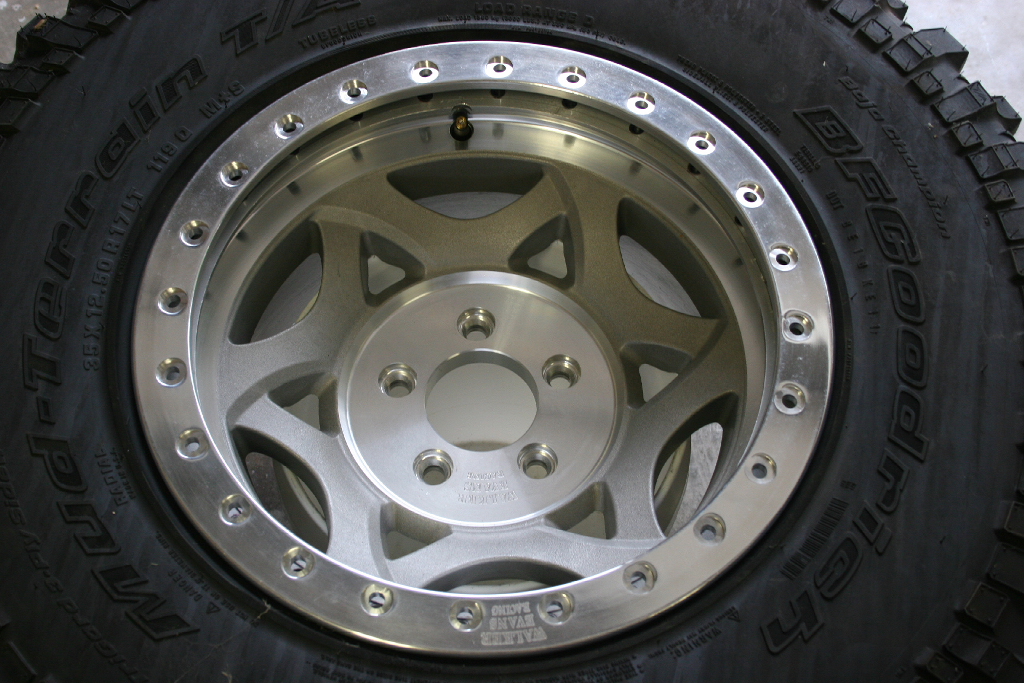
Making our own wheels also allows us the opportunity to relocate the valve stem. On most wheels today the valve stem is located near the outside of the wheel. It's not uncommon to see these damaged and even torn off by rocks, roots and other trail obstacles, resulting in a flat tire. By moving the valve stem further back into the wheel, out of harms way, the problem is virtually eliminated. We think we have the best built, best looking, strongest wheel design on the market!
Our first production wheels are cast in a 17" X 8.5" size. Backspacing is cut to order between 3.75"- 5". All Standard automotive bolt patterns are available from 5 lug to 8 lug including Hummer & VW applications.
Additional
Parts:
Tire Soap (if needed)
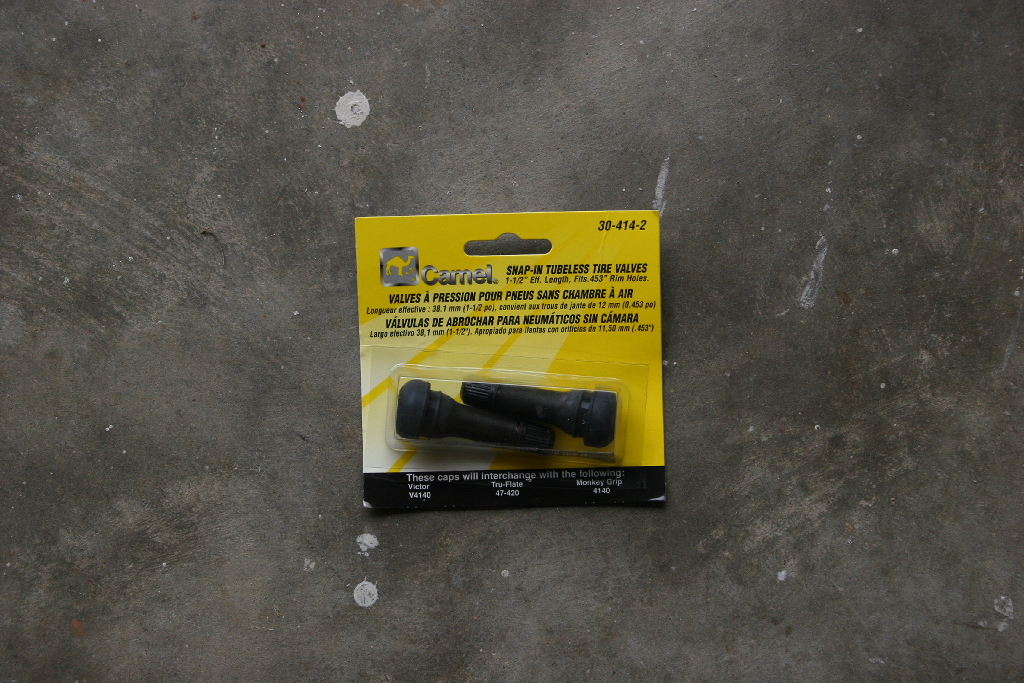
Valve Stems (.453 rim hole, 1 ¼” long)
Anti-seize compound
|
Tools
Needed:
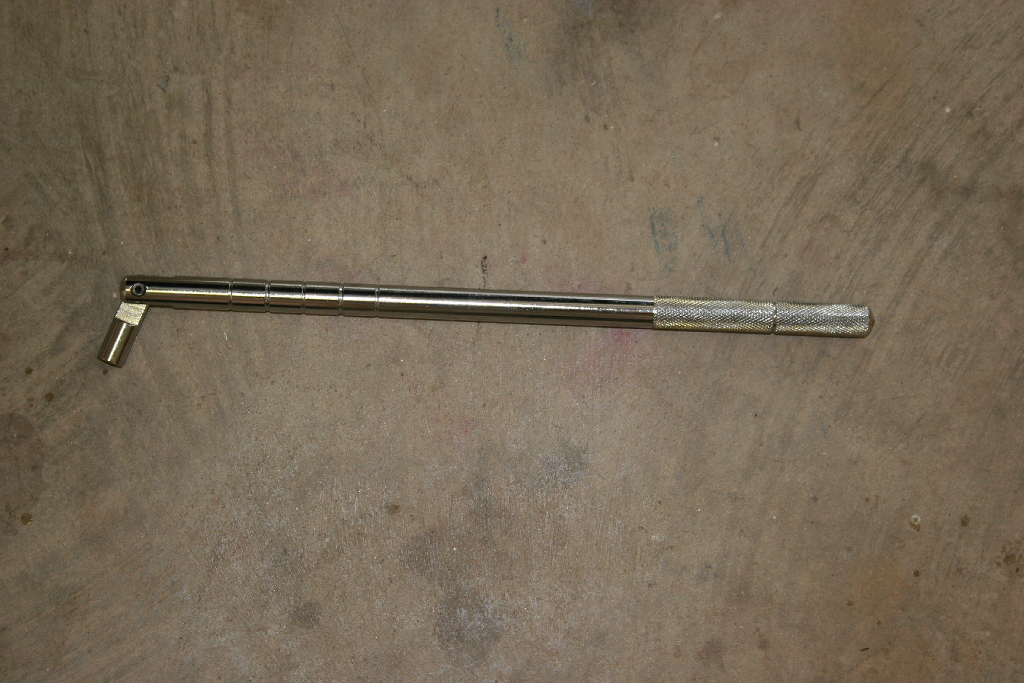
Valve stem tool
5 gallon bucket
Torque wrench
Ratchet
1/2” Socket
Heavy duty cordless drill / driver or air ratchet
Tire Irons (if needed)
Flat tip screwdriver (smooth tip)
Air Compressor (not those little cigarette lighter ones)
3/4" Socket or Lug Wrench
Floor Jack |
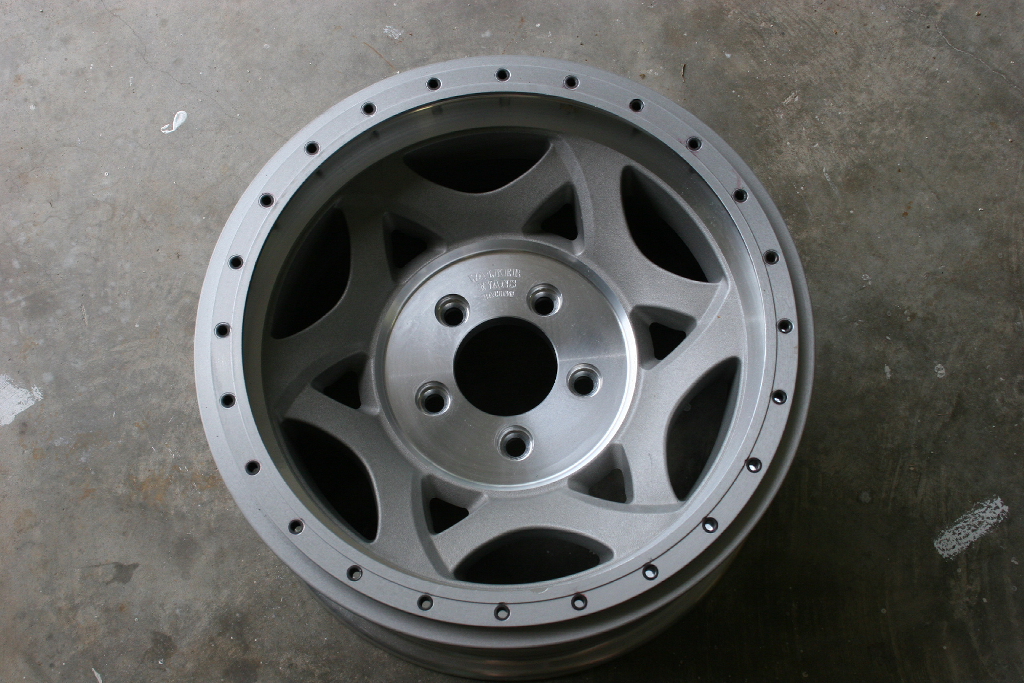
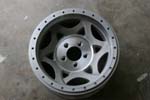
| Assembly: |
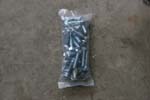
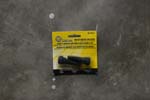
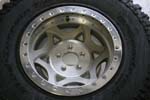
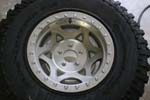
| Here is what is in the box! |
 |
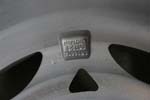
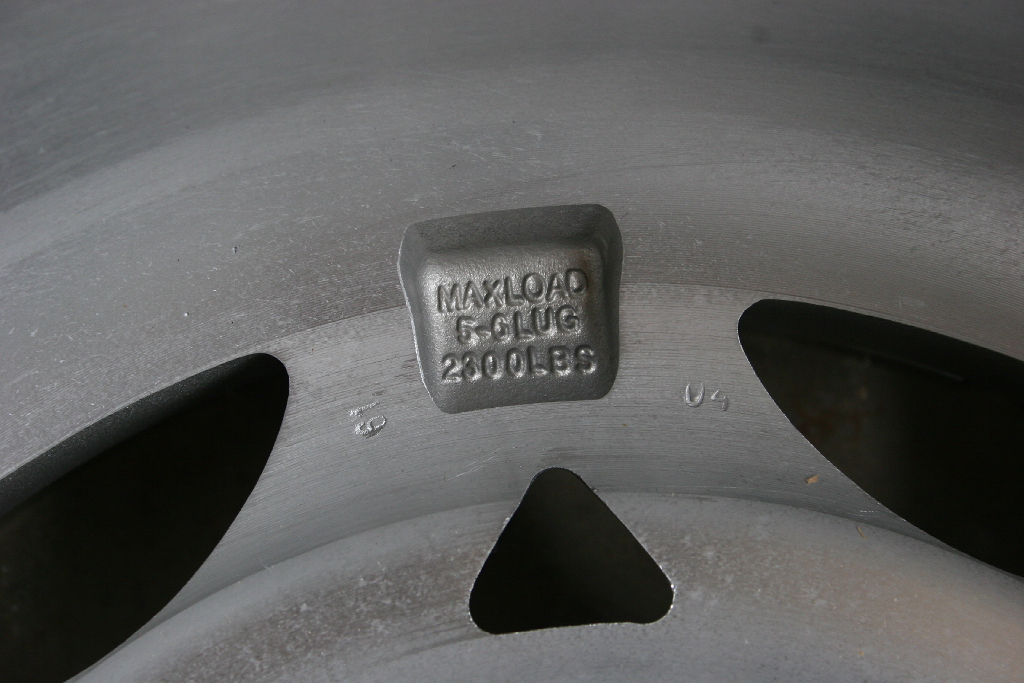
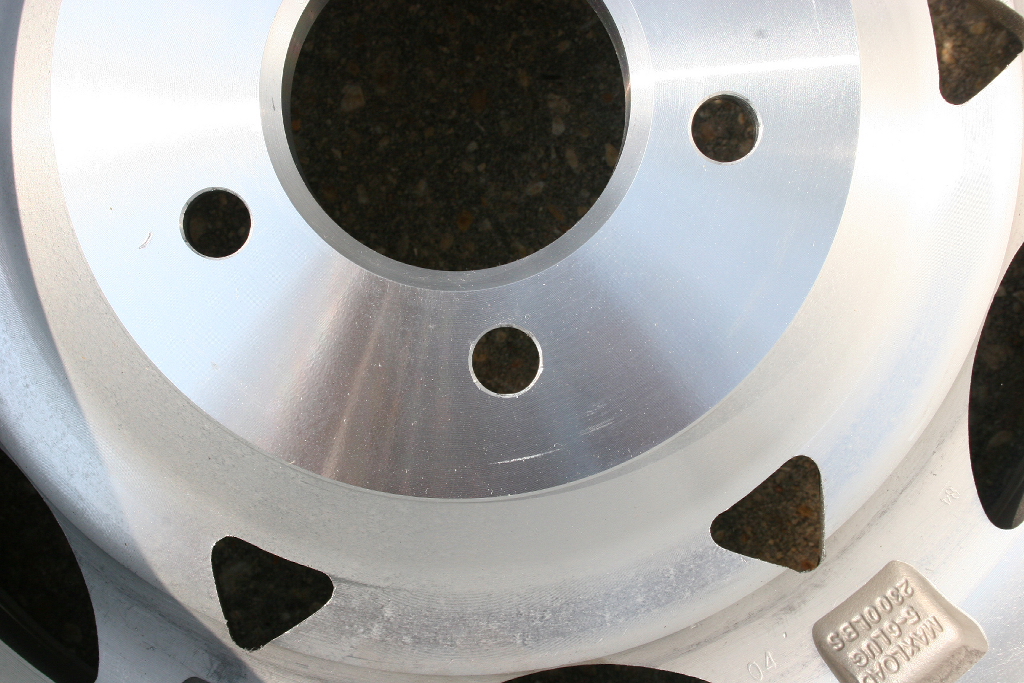
Max load 5-6 lug 2,300lbs |
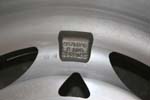
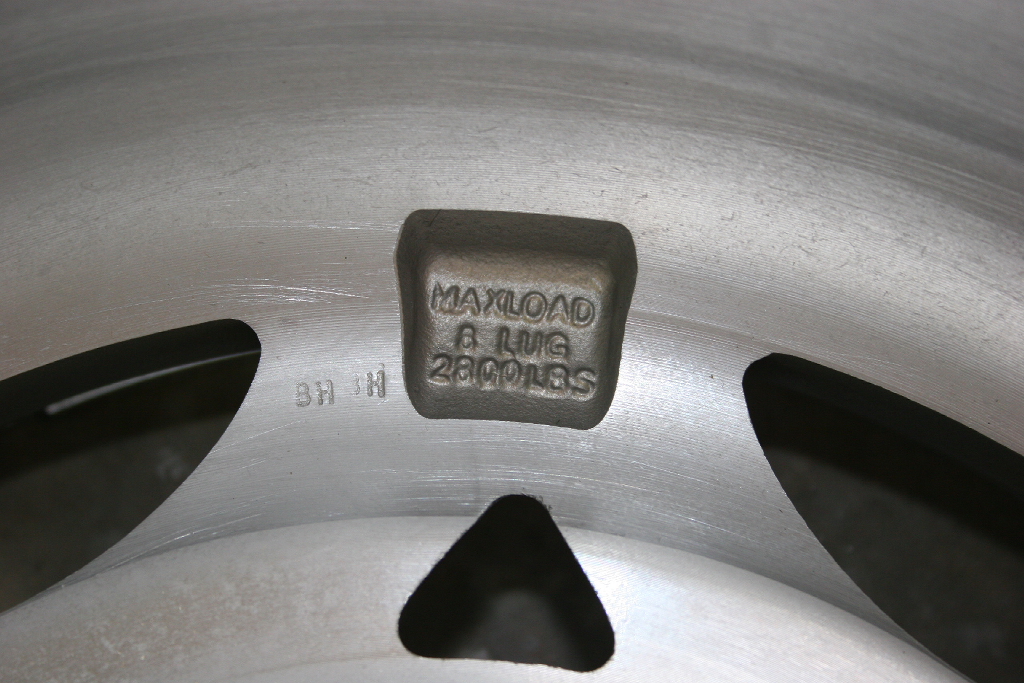
Max load 8 lug 2,800lbs |
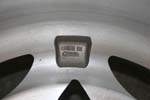
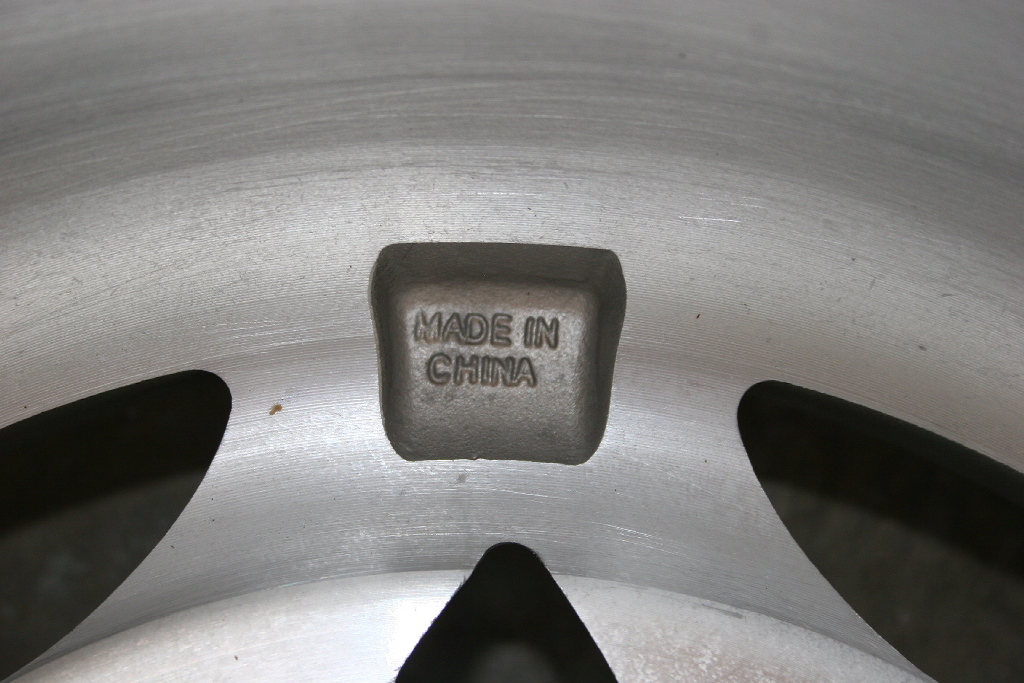
Made in China |
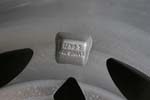
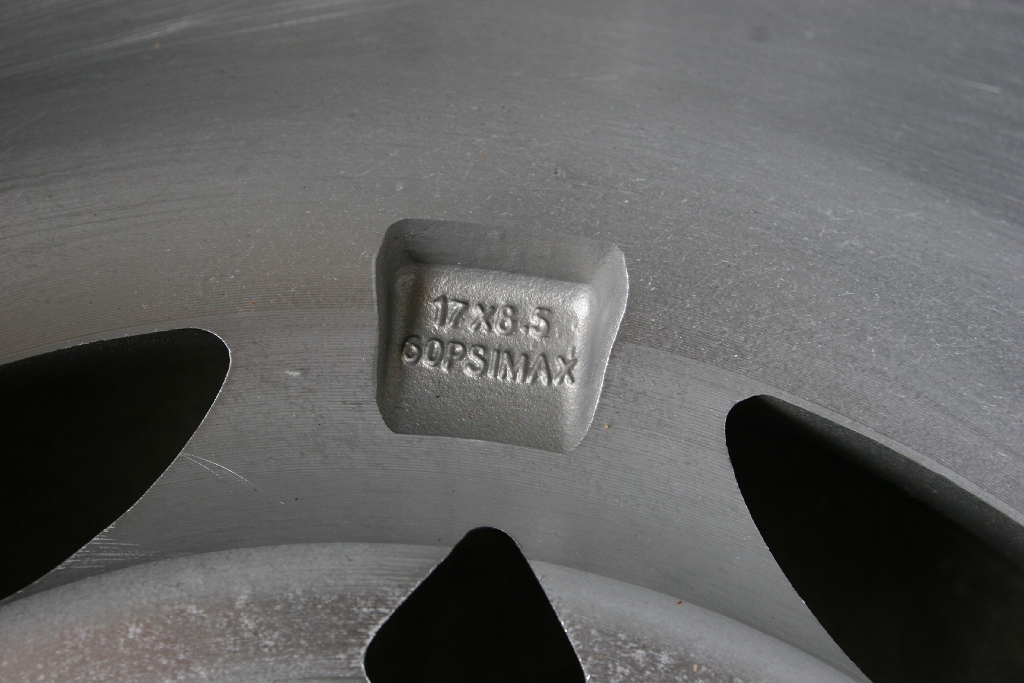
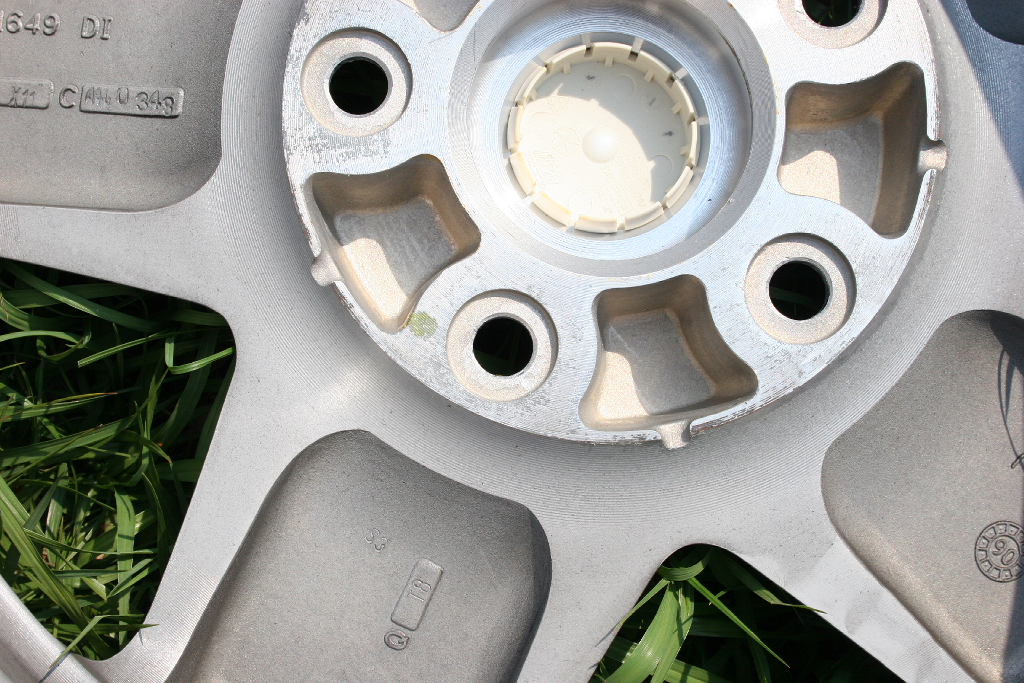
Rims size and Max pressure |
 |
 |
 |
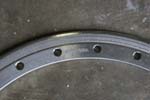
Yep, Made in China |
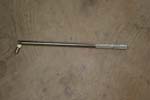
First step is to install the valve stems. Discovering your valve stem lying on the floor half way through bolting up the beadlock is not what you want to do. Don't even ask, I chuckled when I read something close to this on Stu's site and even then almost did it myself.
I saw two tools when I went to pick one up, there is one with just a T-handle with wire and a bar style. I picked up the bar style, since it offers the advantage of leverage. |
 |
 |
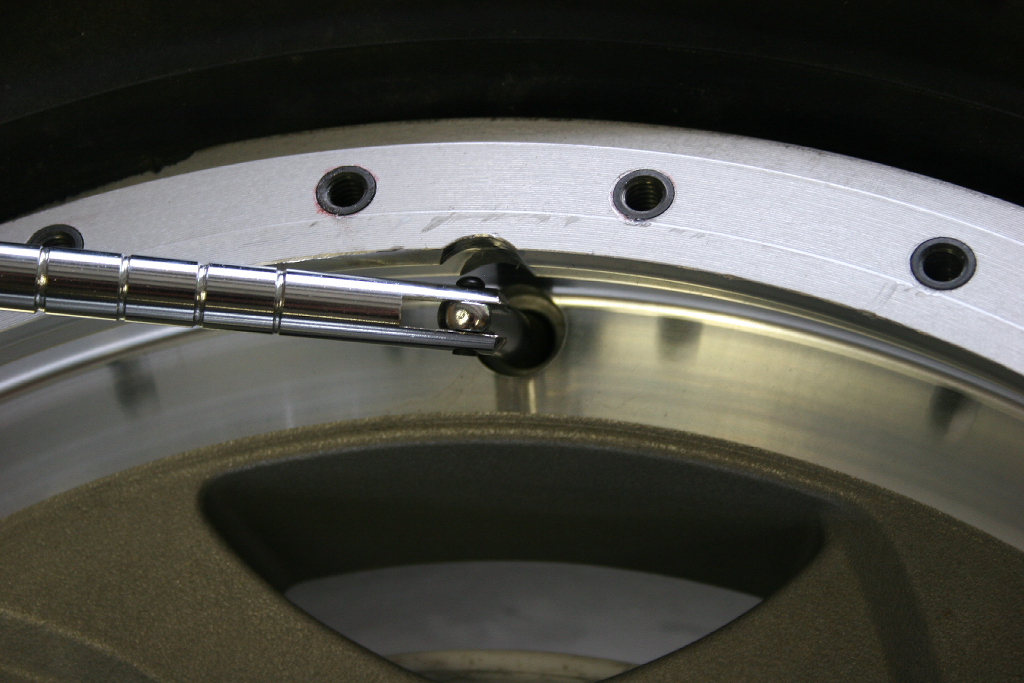
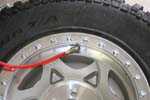
| Insert the valve stem insertion tool through the tire and thread the stem onto it. Then just pop the valve stem into position. You get the hang of it quick. |
 |
 |
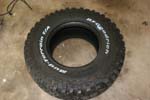
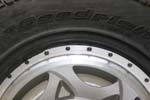
| If you are installing directional or white letter tires, check the direction of rotation and either black or white letters out, once again there are a lot of bolts if you get a tire on wrong. |
 |
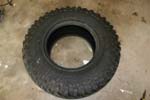 |
| Place the rim on the floor and work the inner bead over the locking ring. |
 |
 |
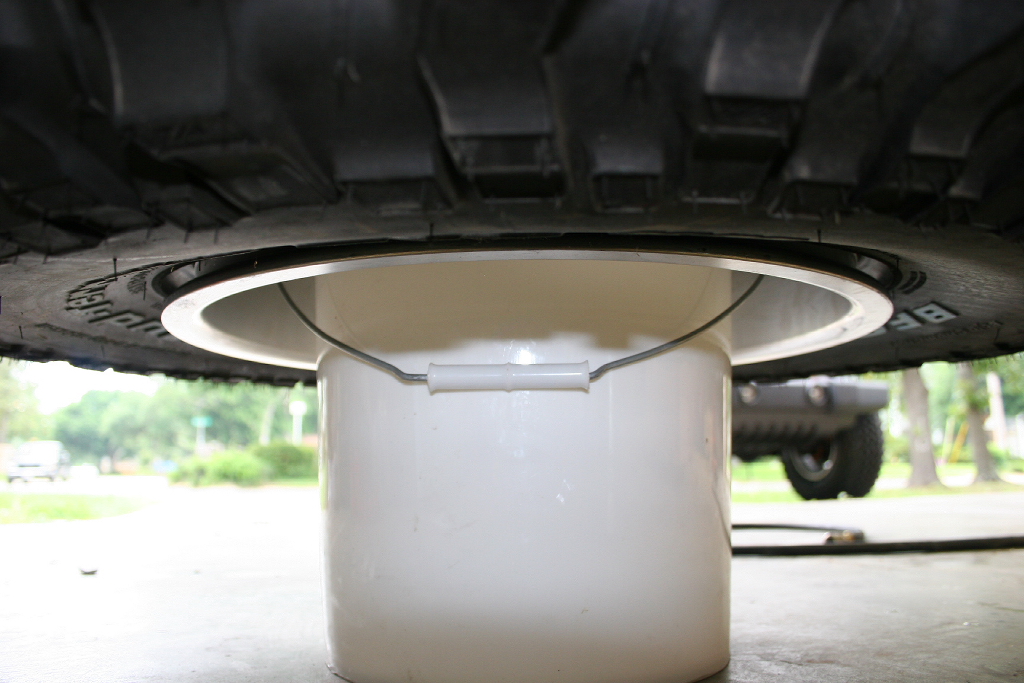
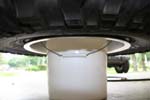
| Once you have the inner bead on you can place the rim and tire on the 5-gallon bucket and allow gravity to assist you. I did borrowed this trick from Stu Olsen’s site thanks. |
 |
| Now work the outer bead around the lip of the bead lock rim. You may need to use the tire irons or a smooth tip flat screwdriver to coax it into position. It is important that you get this nice and even. You could pinch the bead when you try to install the bead lock ring. |
 |
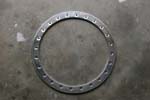
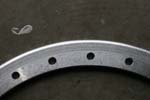
| Center up the locking ring on the bolt holes. You will notice the serrated edge on the ring to keep the tire from rotating on the rim. |
 |
 |
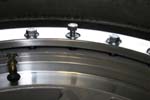
| Place the washers in the indents on the lock ring. This is actually easier than putting them on the bolts first. |
 |
| I placed a small amount of anti-seize compound on the end of the bolts. |
 |
| Place bolts in the holes and begin to thread by hand. This is not the point where you want to cross-thread a bolt. |
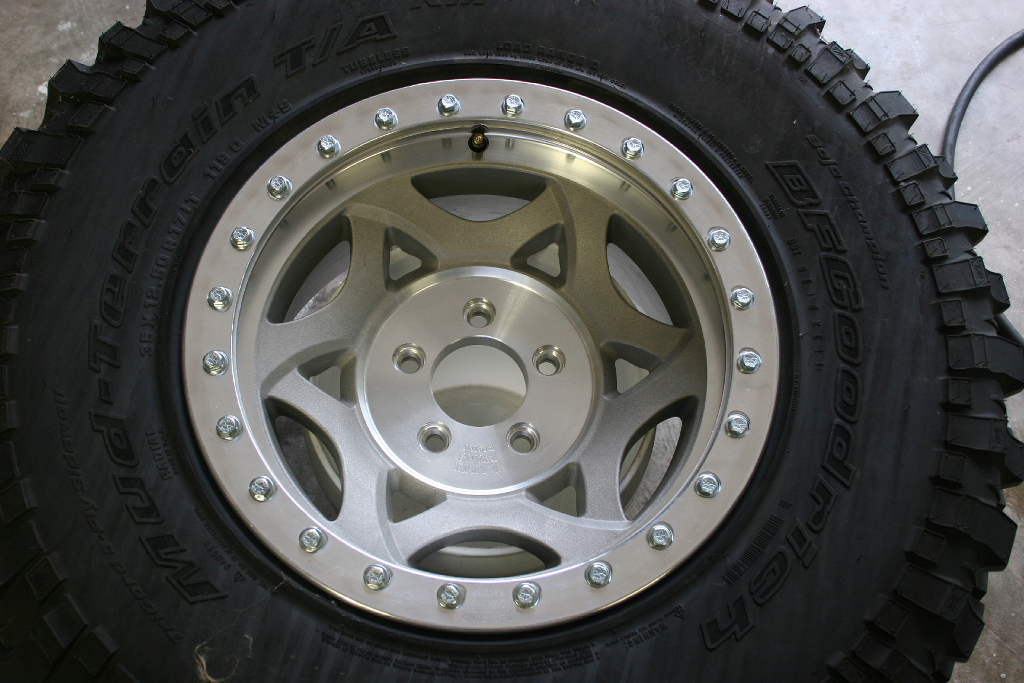
| Tighten every other bolt until all 24 bolts are snug. Work your way around the rim, tightening down a little at a time. |
 |
Shift to the loose bolts every complete circle. You want to keep the ring from binding as you tighten it down. |
 |
Once the ring just touches the rim do not tighten further, make sure that the ring is down all the way around. |
 |
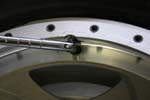
Once all the bolts are snug you will do 3 different torques to tighten the bolts all the way down.
- Torque bolts to 10ft/lbs in a circle
- Torque bolts to 15ft/lbs in a circle
- Torque bolts to 18-20ft/lbs in a circle
Take your time working around the wheel, on each torque setting, double and triple check before moving to the next torque setting. This will take you the longest of all to complete. I will agree with Stu on having a small stool to sit on saves the back. Not like handling 100lbs of tire isn’t going to do it’s work. |
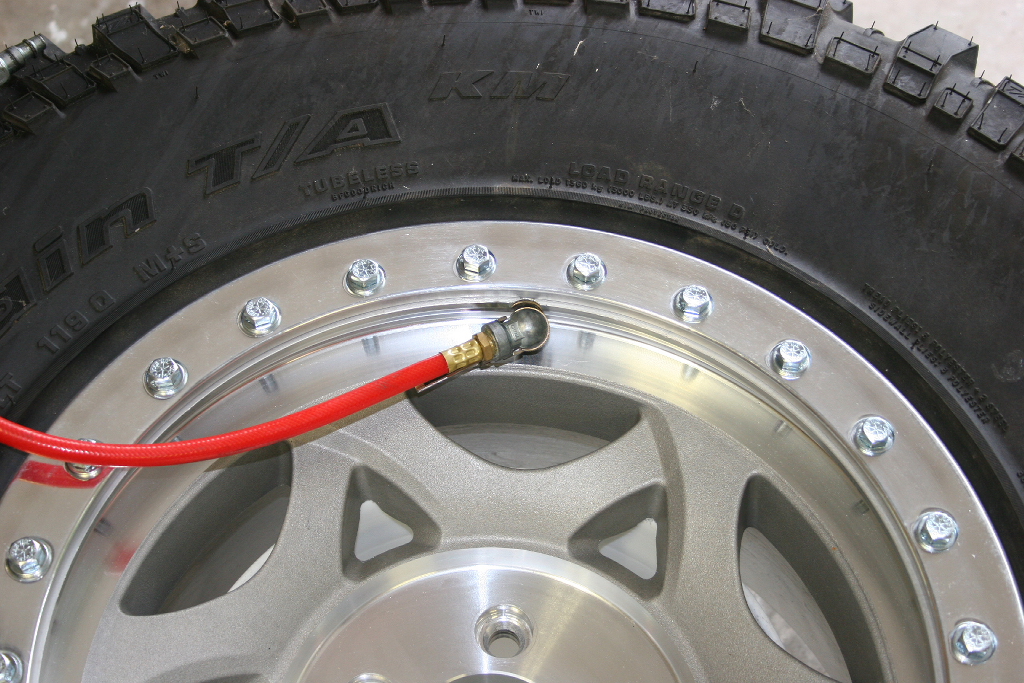
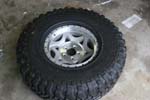
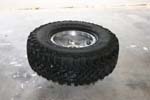
Clip the air chuck from the compressor onto the valve stem and start inflating the tire. The bead will seat itself. I had them seat anywhere from 20psi to 30psi. Tire soap would normally make this faster, but by the time I finished doing the beadlock ring the soap had already dried. The bead does seat with a loud pop.
Warning: Do not reach under the tire to check and see if the tire has seated itself on the rim. Placing your fingers between the bead on the tire and the rim will ensure that you are going to the emergency room. If you want to check it, just look. |
 |
 |
| |
| Mounting the Rim: |
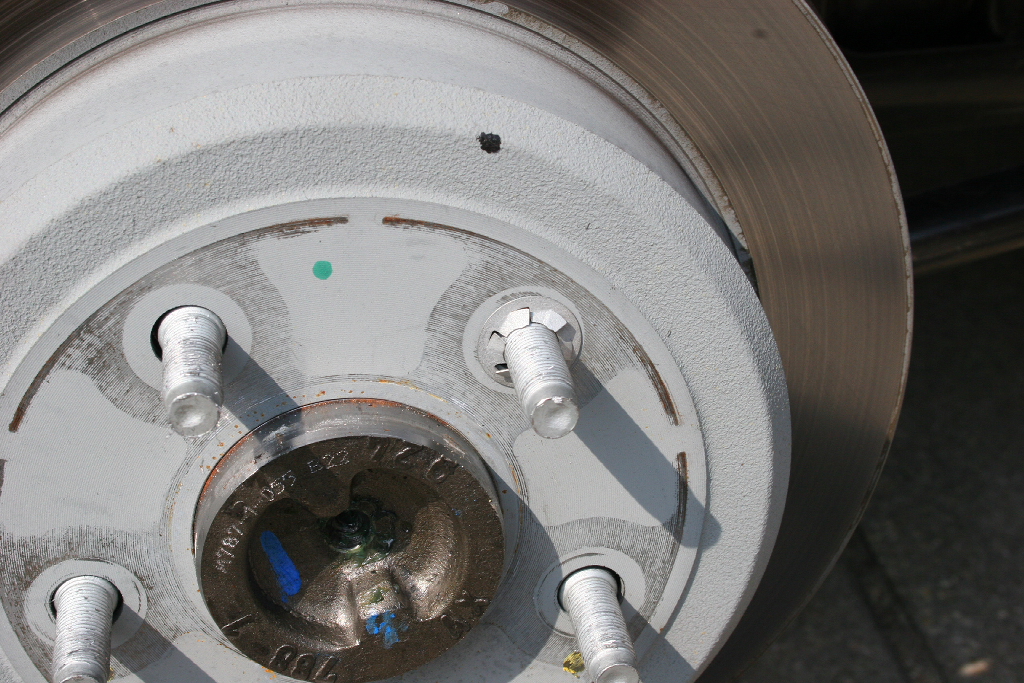
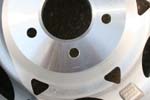
| There is a difference between the Walker Evan's beadlocks and the stock rims on the TJ's and JK's. The factory installs at least 2 clips on each lug stud to hold the rotors on during assembly. The Factory rims are machined to fit over these clips. The Walker Evan's are smooth on the back. |
 |
 |
| JACK UP THE TIRE! I had to put that in after someone mentioned that I didn't say to jack up the tire before I remove it. Ummm..... |
| Remove the 5 lug nuts holding the stock tires on with a 3/4" socket, or lug wrench. I cheated I took them off with the impact wrench. |
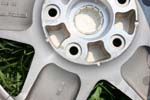
| Remove the clips from the lug studs with a needle nose pliers or flat tip screw driver. Just pry up on the edges of the clip to release it from the threads on the stud. |
 |
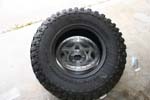
| Line up and set the Walker Evan's rims on the studs. |
| Install the lug nuts and tighten down evenly until they are all snug. The Walker Evan's rims are Lug Centric, so they use the lug nuts to center the rim on the tire. |
| Using a criss-cross pattern tighten the lug nuts to 100 ft/lbs. I rechecked these after driving to work the next day, and a few of them were loose. I'll recheck them again after a few days to see if any loosened up. |
Ā