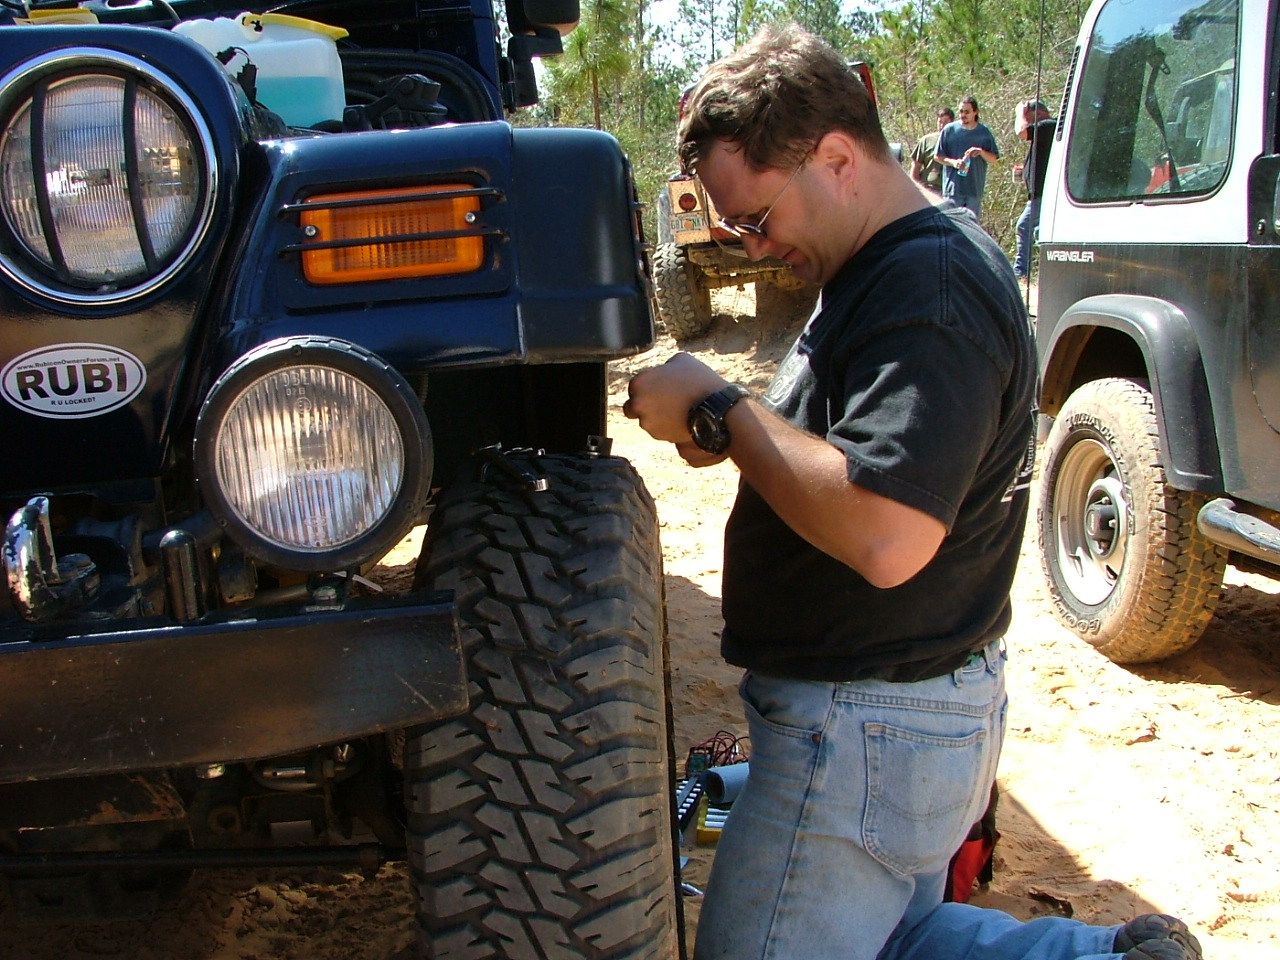
My first trip out with the Long Arm suspension for a little testing
caused this trail fix to happen. I had just come off a section
that stuffed the front Drivers tire and rear passenger tire into
the wheel wells. I then dipped nose first into a hole with
a very large wall on the drivers side. Even in 4lo, you ride
the brakes a little so you don't hit the wall that runs inches from
your side. Imagine my shock when I pushed the brake pedal
to the floor and the Jeep lurched forwards. No brakes.
Once I got through the obstacles I pulled over to find out that
I had ripped the Driver side brake line off. I had pinched
it between the tire and the shock tower when I stuffed that tire.
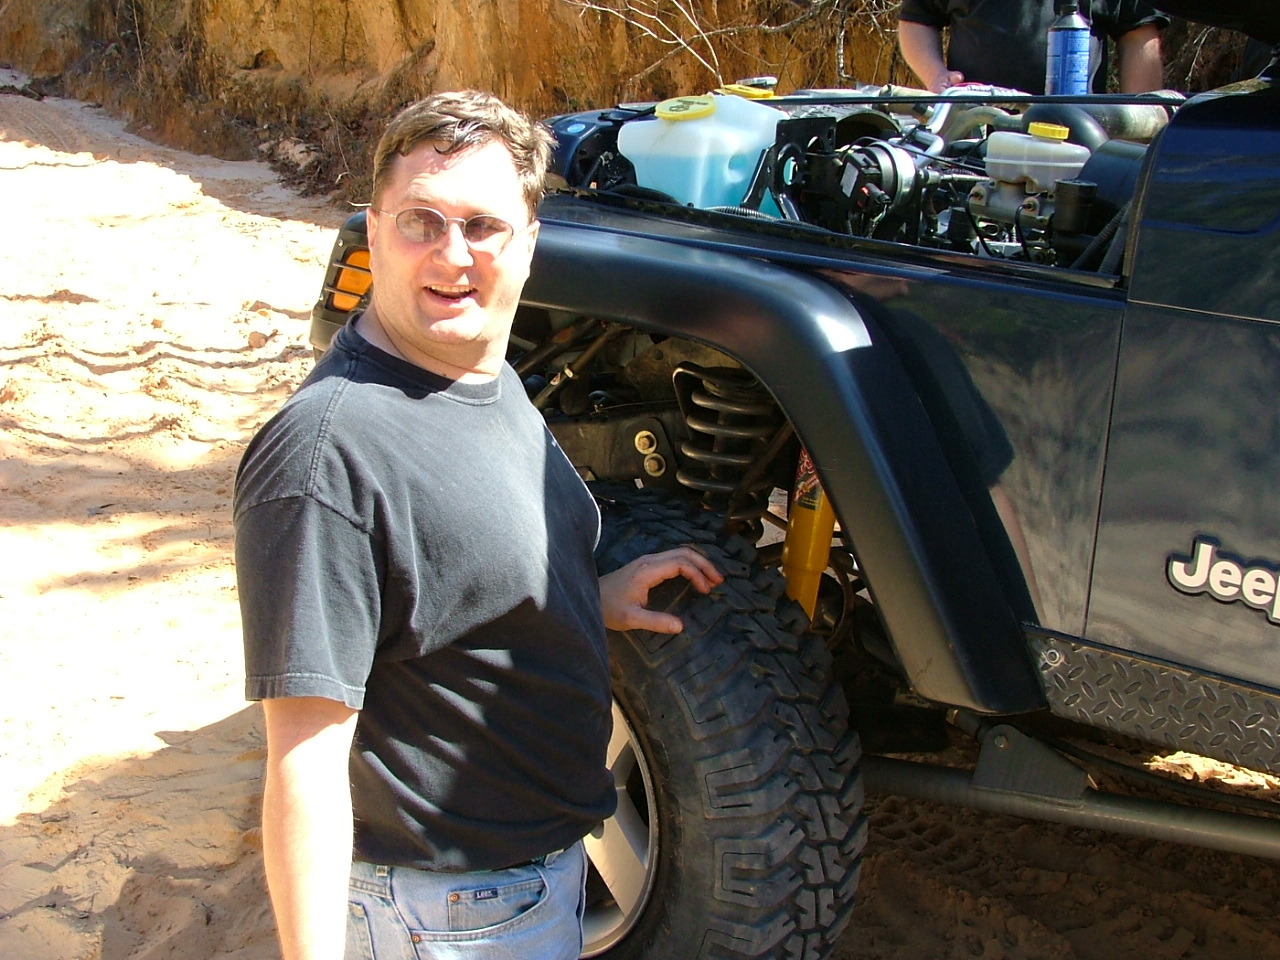
I now have the Spidertrax spacers in so I don't rub anymore so this
won't happen again. Of course I left my old brake lines at
home. Quick note, if you lose one brake line you will lose
all of your brakes, not a very pleasant thing to find out right
away. And of course we all know how well the Emergency brake
works on these Jeeps. I did adjust that later also. Luckily
I had ripped the Rubicon Express line out of its fitting and didn't
tear up the factory hard line.
The Repair
So
I disconnected the factory hard line from the Rubicon Express fitting
and then removed the Rubicon express fitting. I did this since
the fitting was stainless steel, and I would not be able to crimp
the small tip that was still protruding from it.
Since
the hard line was still in good condition, and I had the fitting that
it went into, this would be an easy fix. This will work on any
damage to the flexible hose leading to your brakes, as long as the
connection point to the hard line remains undamaged.
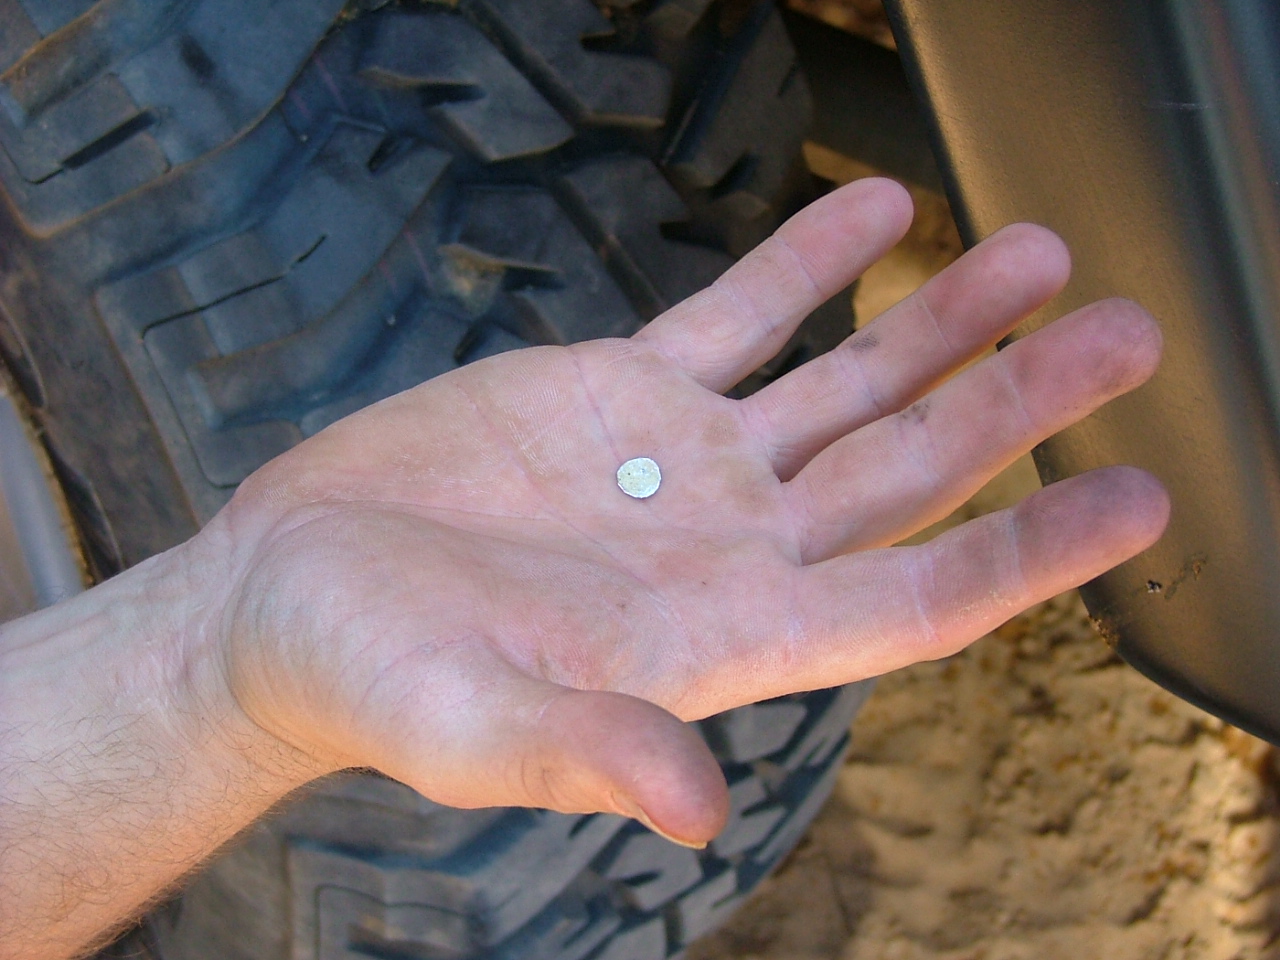
Now
that I had it all apart, I carefully cut 2 circles out of a soda can
so that they would just fit down into the opening on the Rubicon Express
fitting. Same thing applies if you are using a stock fitting.
I
then inserted one of these into the Rubicon express fitting, making
certain that it sat over the raised nipple in the center of the fitting.
I then threaded the hard line into the fitting and tightened it down.
I had someone pump the brake pedal to see if 1 circle would do it.
It didn't. I then removed the hard line and inserted the second
circle. I then threaded the hard line in and tightened it down.
I
had someone pump the brakes a few times to check for leaks.
I didn't have any leaks after the second circle.
Then
was just a matter of bleeding all the brakes again and being careful
for the ride. Hitting the brakes caused the front end to pull
towards the undamaged side, so you had to be real ginger with them.
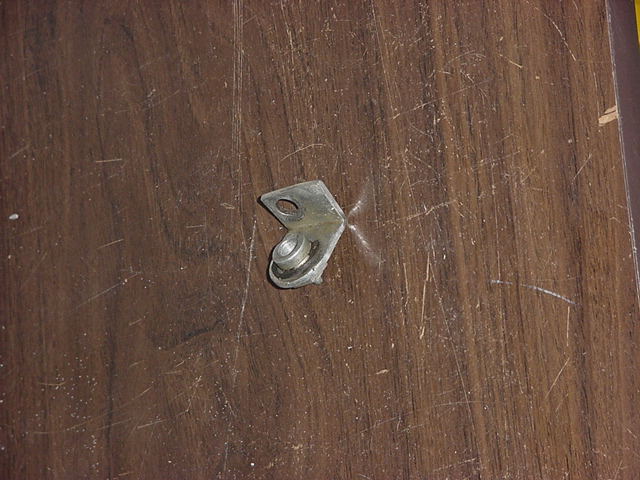
I now keep this fitting in my tool box just incase it happens again.
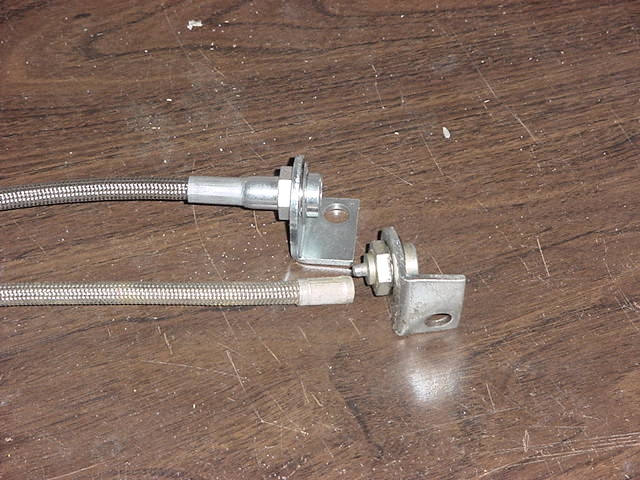
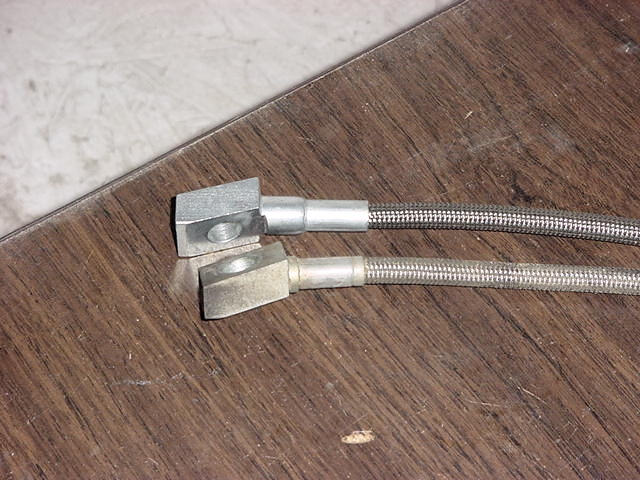
This
is what the new RE brake line looks like compared to the old line.
The new line is on top. You can see how the new line has a much
larger swag area where the line connects.
Here is
what the part looks like now. I am going to throw this into
the trail bag so that I have an easy fix later.