Well after a friend of mine whom I won’t mention,
right Mac, convinced me to not install a set of tabs on the front of my
Toys by Troy front stinger bumper, I went looking for a way to install
some D-rings to the front end with out having to do any welding. I was
satisfied with just using the tow hooks for the time being. They were
fine but had some limitations on pulls that were at any angle up from
horizontal. Even with the spring clips on the rope would work it’s
way off, or just make me uncomfortable having it at this angle. So when
Rampage products came out with their universal shackles I figured I would
give them a try. These shackle mounts will bolt on to CJ’s, YJ’s
and TJ’s. The plate is drilled to accept all the bolt combinations.
First off Rampage is the old Steel Horse as I am told and by the quality
of what arrived in this box I would say that's pretty much correct. Though
it did come with one nice part out of the pile. Though I can't say that
the price tag justifies this. If they wouldn't have screwed up and stated
that it was a set of 2 vice what the meant as 1 I wouldn't have even considered
getting these. Then again I won't mention who convinced me not to get
tabs welded onto my Toys by Troy front stinger bumper.
Additional Parts:
Anti-seize
Tools Needed:
T-55 Torx
3/4” socket
Ratchet
For the TJ installation, you will use the two holes furthest
from the shackle. TJ factory bumpers with rubber cushions require the
rear spacer on the shackle housing to raise the entire unit up for clearance.
You may also use spacers for clearance of some aftermarket bumpers. The
kit comes with two spacers. One, 2 hole spacer and One single hole spacer.
I was mounting on top of a Warn winch plate so I didn’t need any
spacers.
Installation:
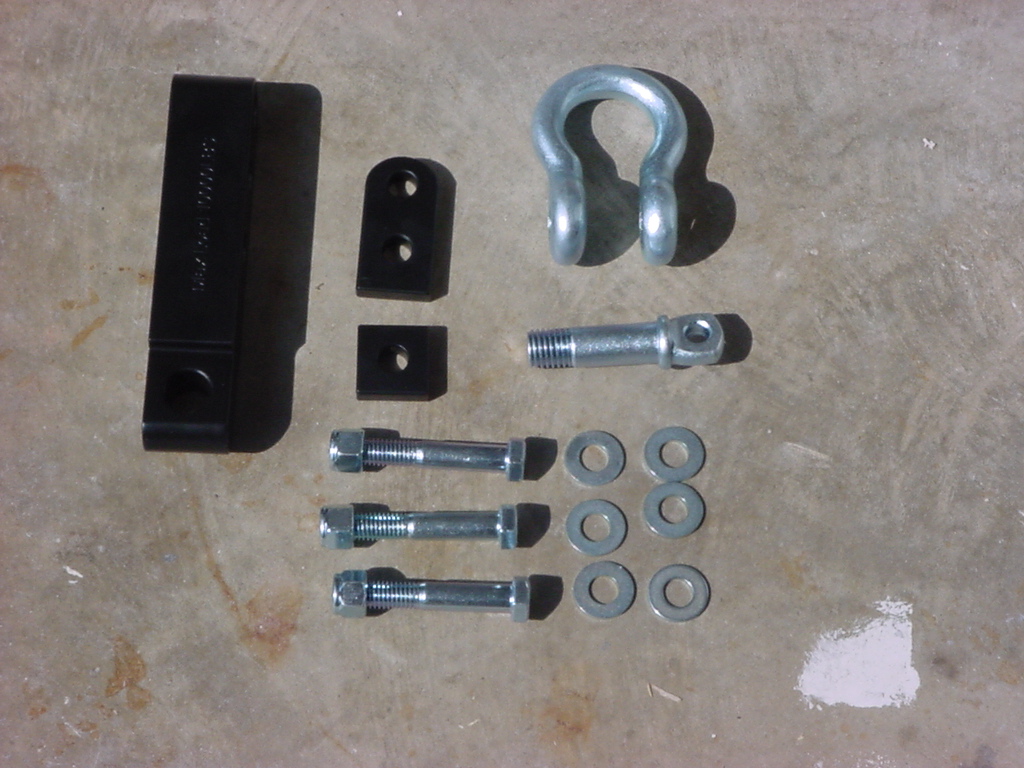
Here
is the parts that come in the kit. I threw out the d-rings and the
bolts. The D-ring had no markings on it at all, so I decided safe
was better than sorry. I dug up some of my d-rings that I had sitting
on my shelf. The bolts had a marking on them of BJE. I couldn't
locate this code anywhere, and after asking nobody that I knew was
able to find it. I threw them out in favor of some Grade 8's.
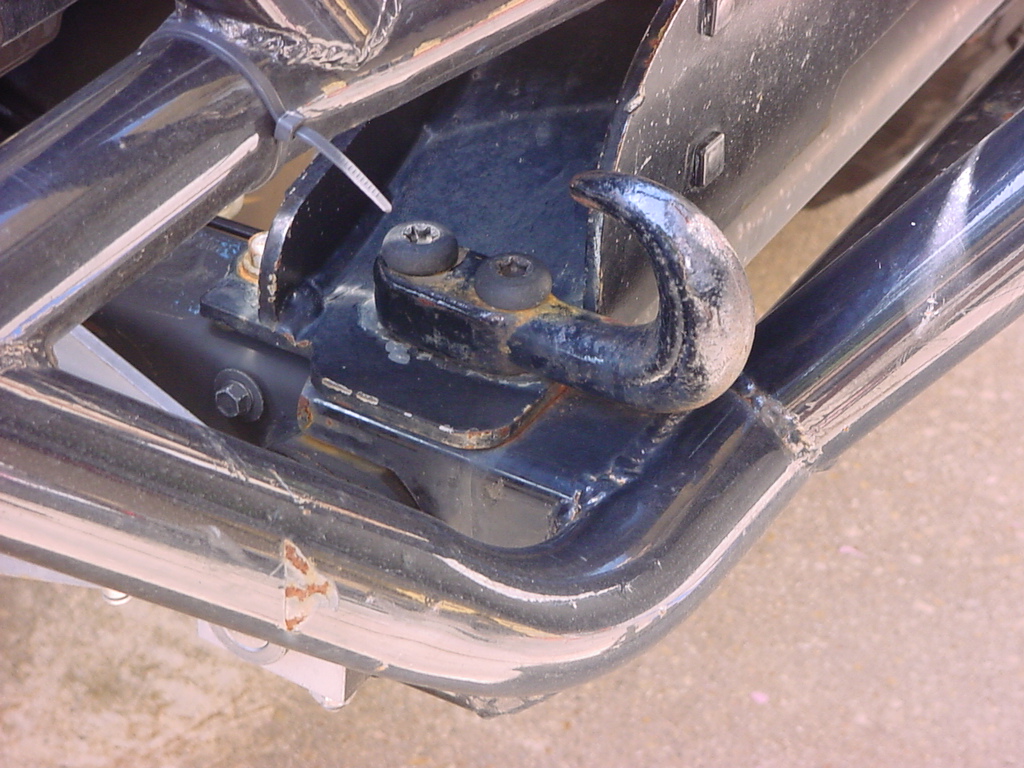
1.
Remove factory tow hooks or factory bumper bolts. Use a T-55 Torx
to remove the bolts.
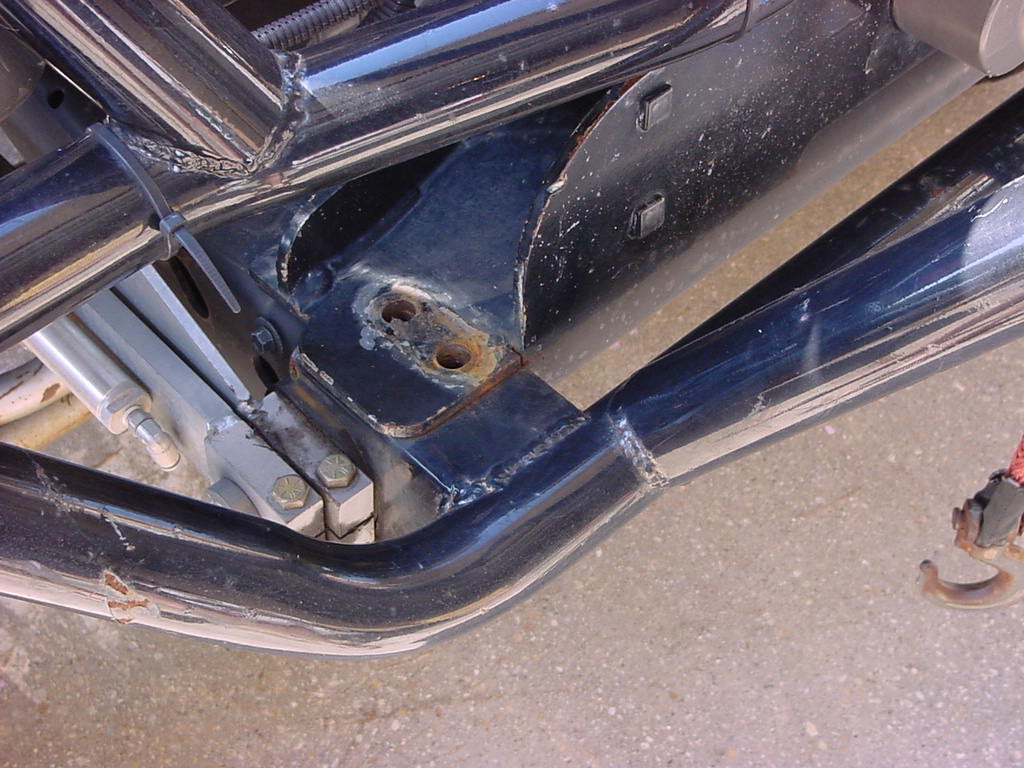
2. This would be a good time
to clean up the mount area, I had a little bit of dirt and rust under
mine.
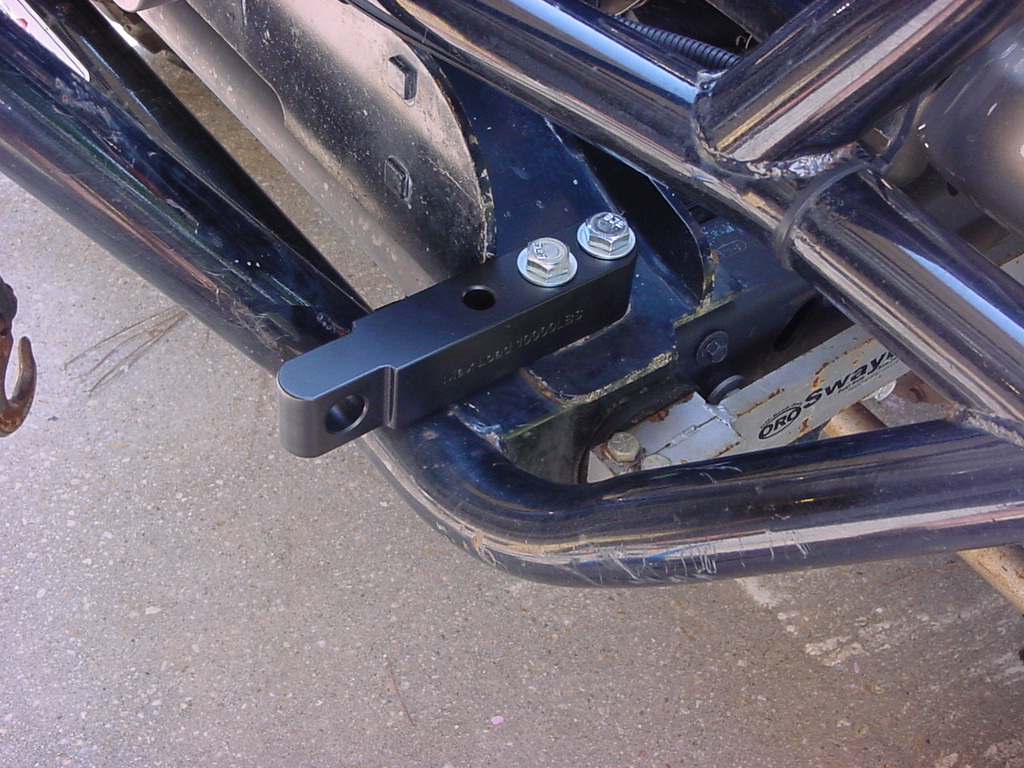
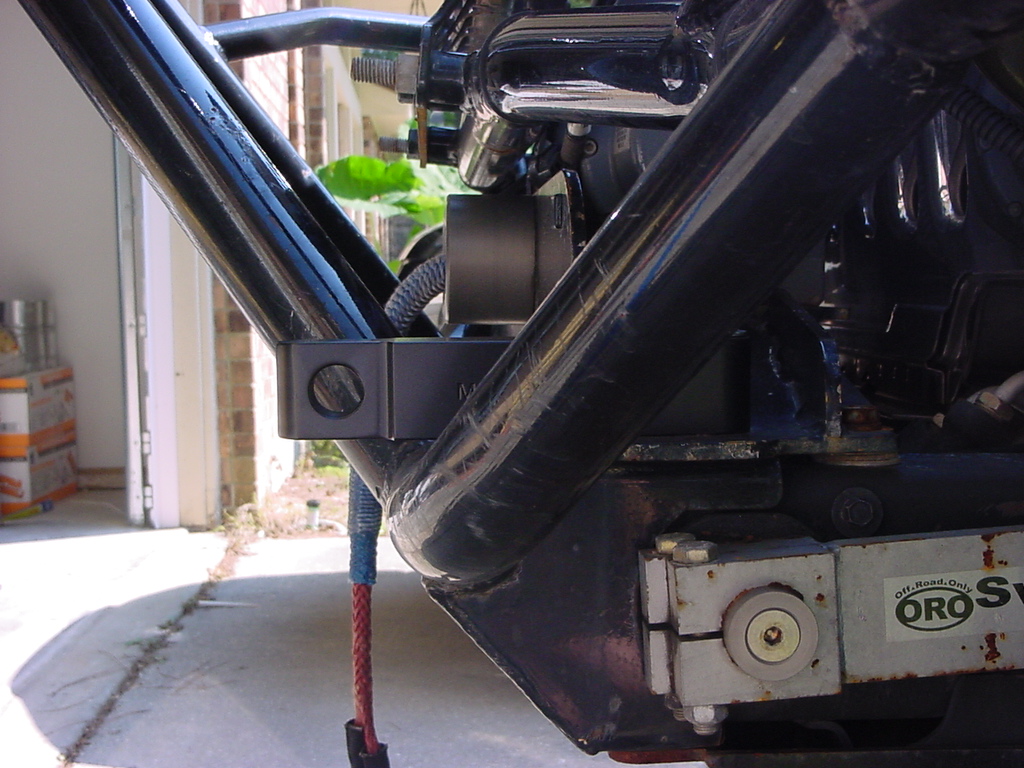
3. Mount the shackle with the
2 supplied 1/2 x 3” coarse thread bolts. Use a 3/4” socket
to tighten the bolts. Be careful that you don’t cross thread
these bolts. I put anti-seize on the bolts.
Note: You can mount the plate either way up, I just decided to put
the lettering right side up. Torque bolt to 60 ft/lb’s
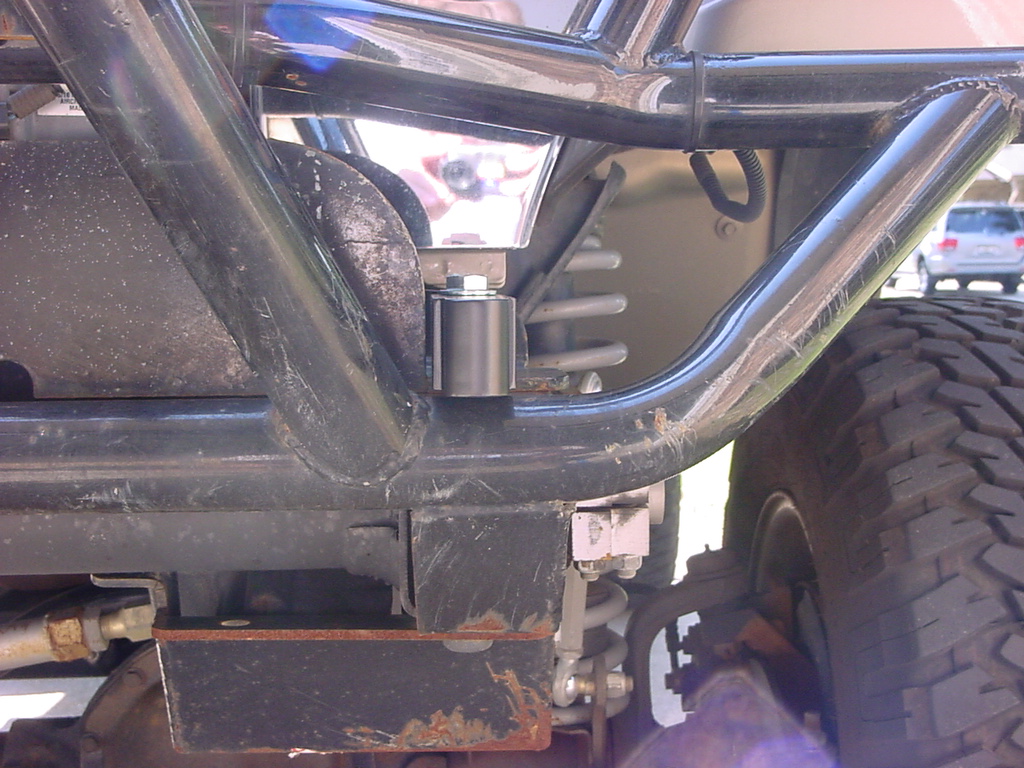
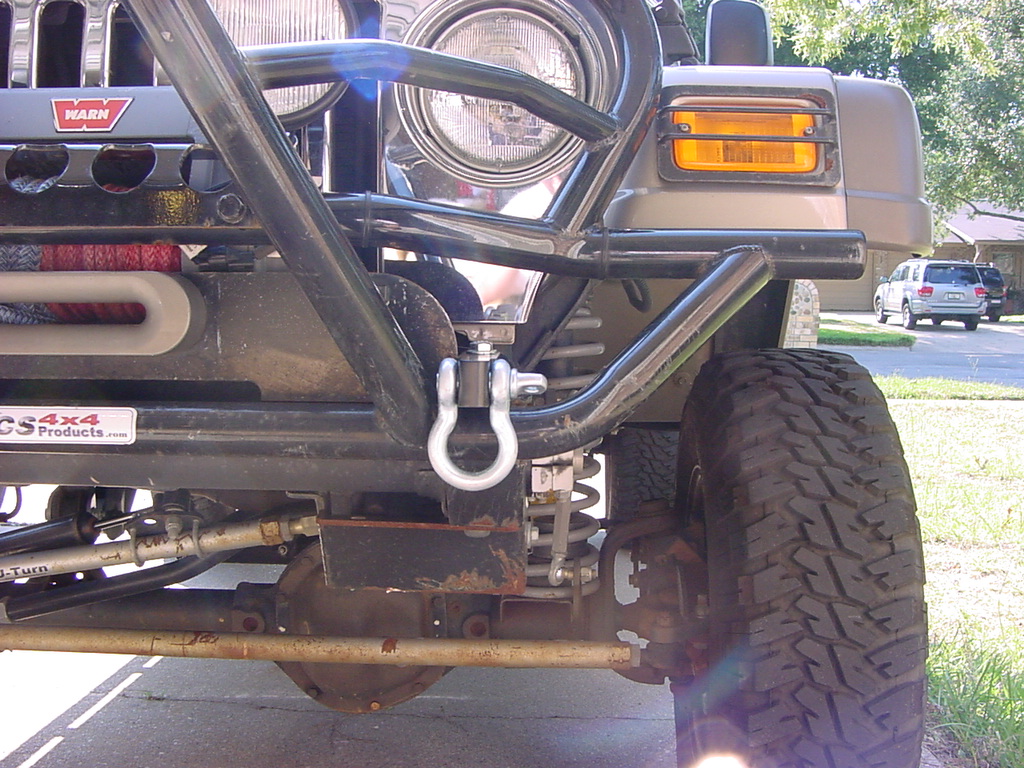
4. Here is what it looks like installed.
I just clears the bars in the bumper for a nice tight fit.
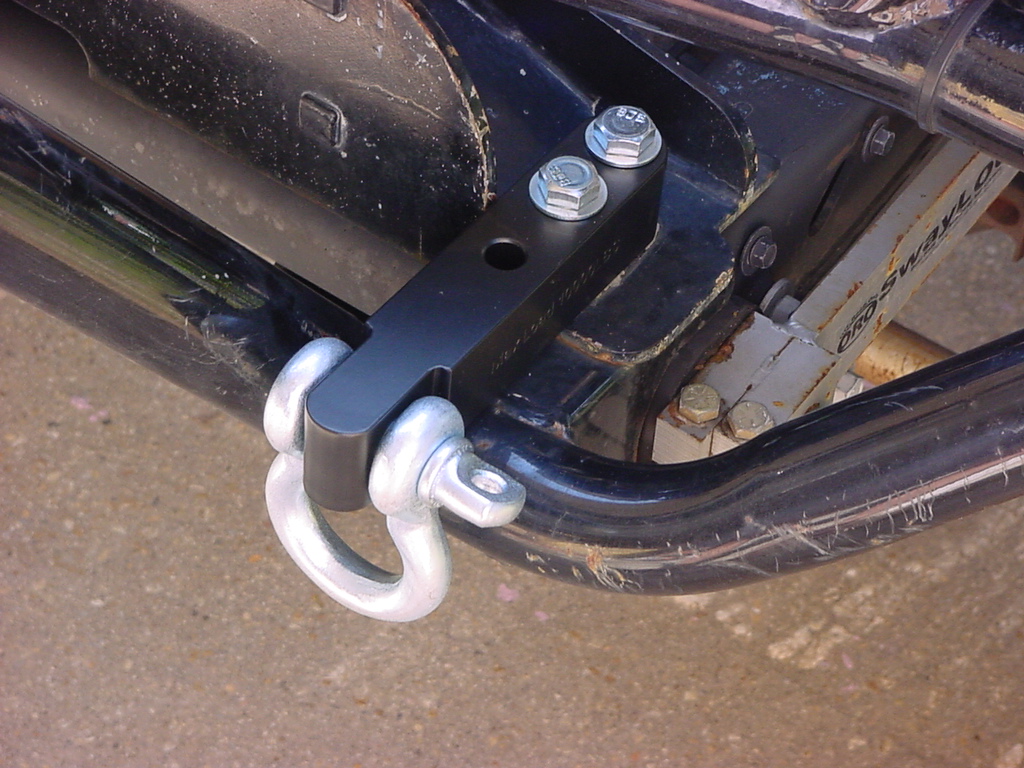
5. Attach the D-ring shackle
to the front of the plate.
These shackle kits can be mounted
on any flat surface on the frame of any vehicle using the supplied
nuts and bolts.
Opinions: Well to put it mildly there is
only one fairly good part on here and it's the bracket. The D-ring is
junk. The bolts are extremely questionable. The bracket is already starting
to show age, no corrosion yet, but I haven't taken any hard pulls on it.
Oh and the price is absolutely ridiculous. My recommendation is not to
buy these at all.