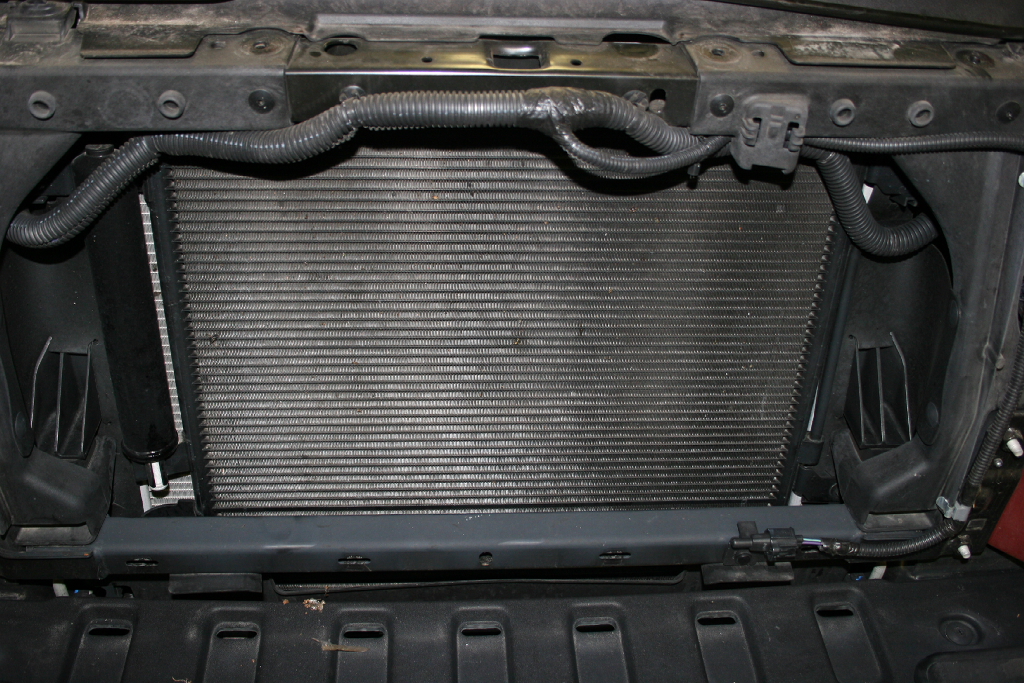
After cleaning out the dead bugs, leaves, and unidentifiable animal from the grill for a time I no longer counted I decided that it was time to pick up a grill insert so that I wouldn't have to do this again. I looked around the parts places to see what was available. I was shocked to say the least for how expensive these were. $200- $300 for the majority of them. I'm pretty certain these people were financing their mansion in Beverly Hills. I remembered an old TJ project that was done with some expanded metal, zip ties, and the small square stick on mounts. I also remembered seeing something similar done on one of the JK forums. So off to the local hardware store (yes, some of the cashiers know me by name.)
| Grill Disassembly: |
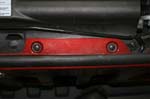
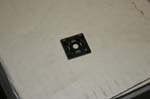
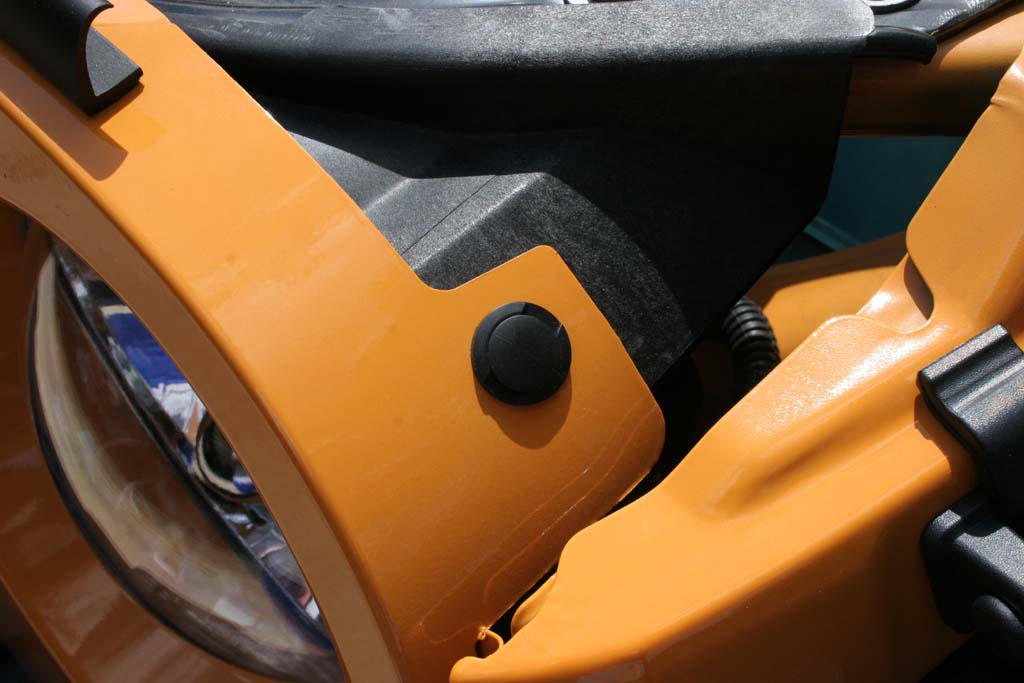
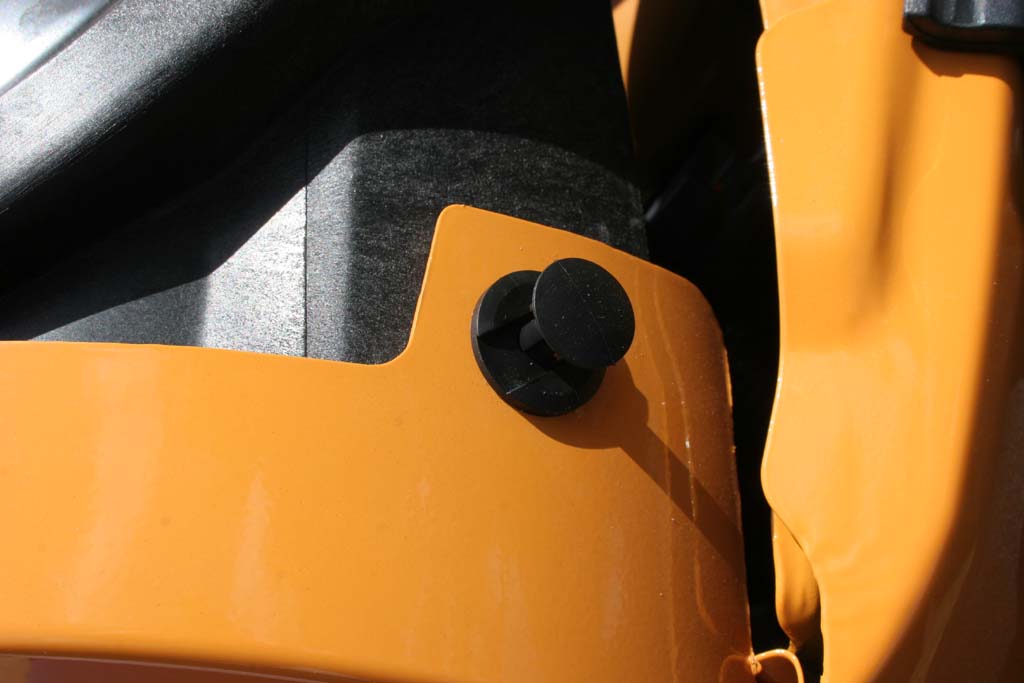
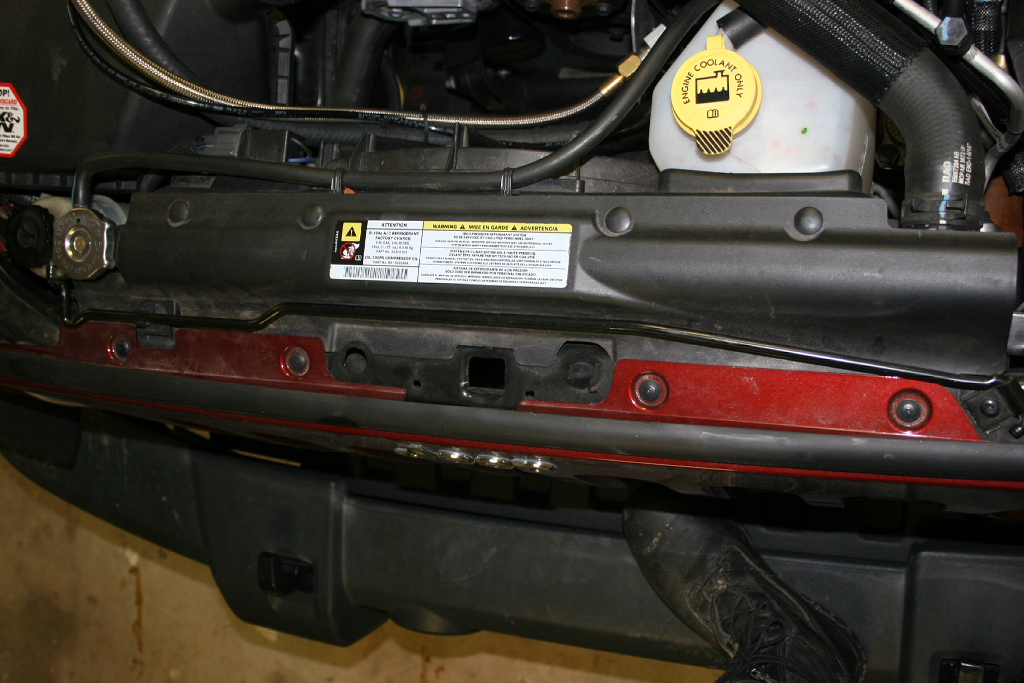
| 1. Remove the 6 retainers from the top edge of the grill. There are 4 in the center and 1 on each side. |
 |
 |
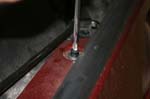
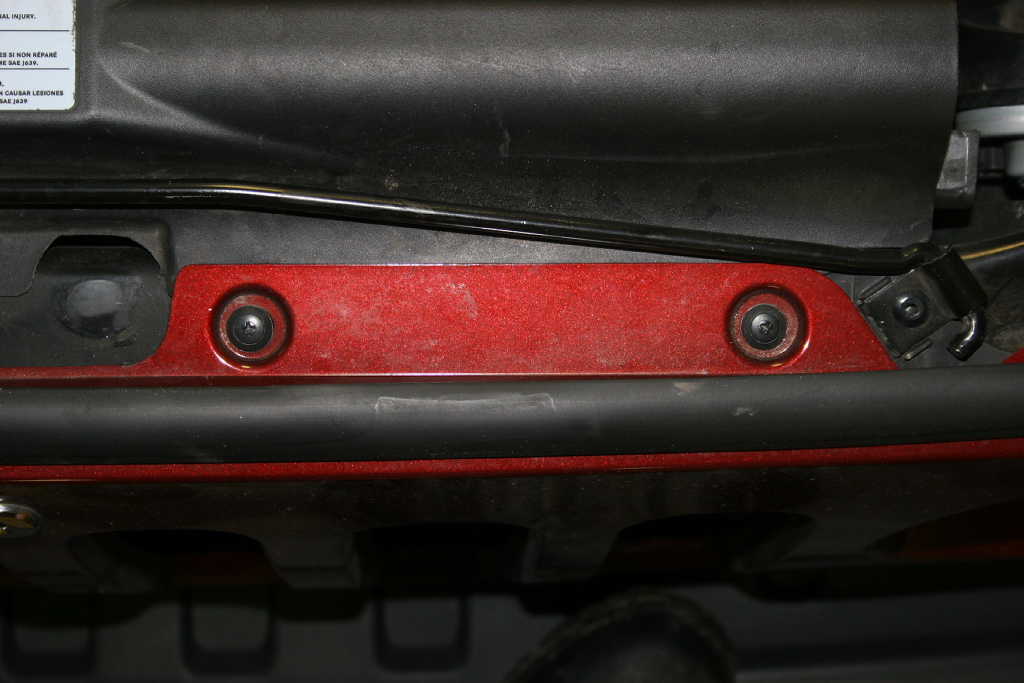
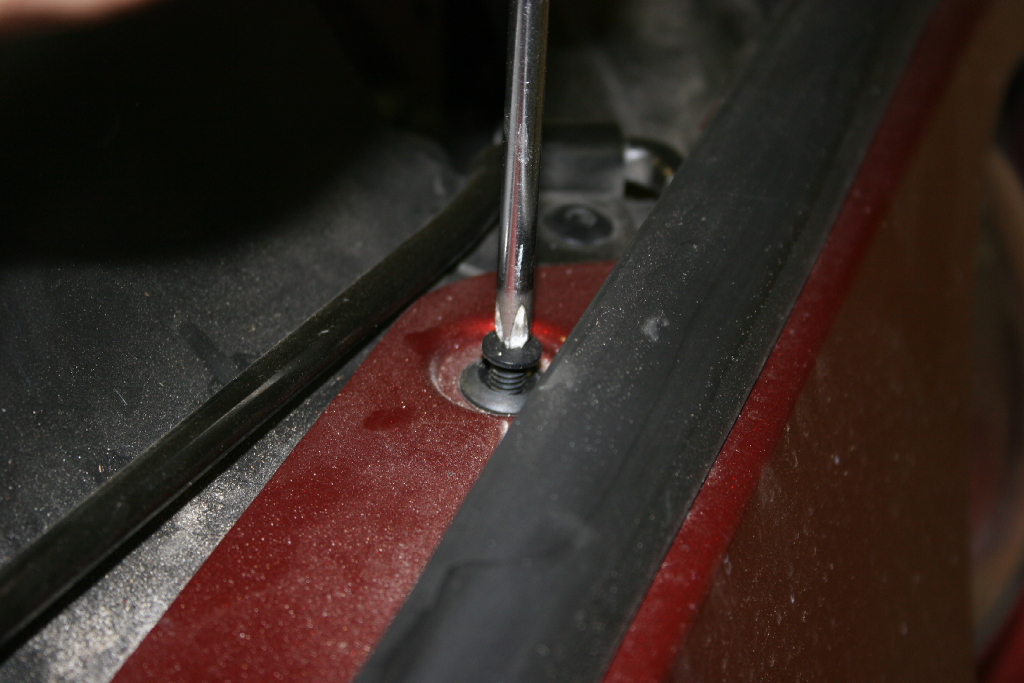
| 2. With very light pressure on the screw, back it out with a phillips screwdriver. Once you have it backed out, you can wiggle it back and forth to pull out the insert. The second picture shows what it looks like. I had 2 of them that the screw pulled out of, so I just pried them out with a flat tip screwdriver. |
 |
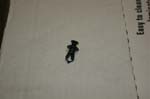 |
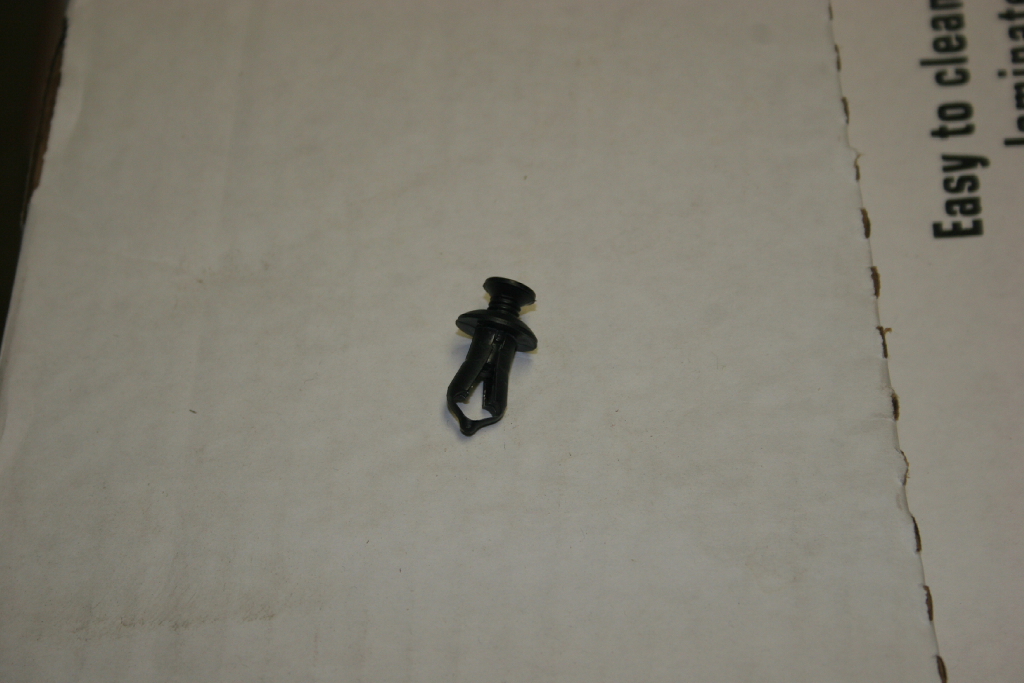
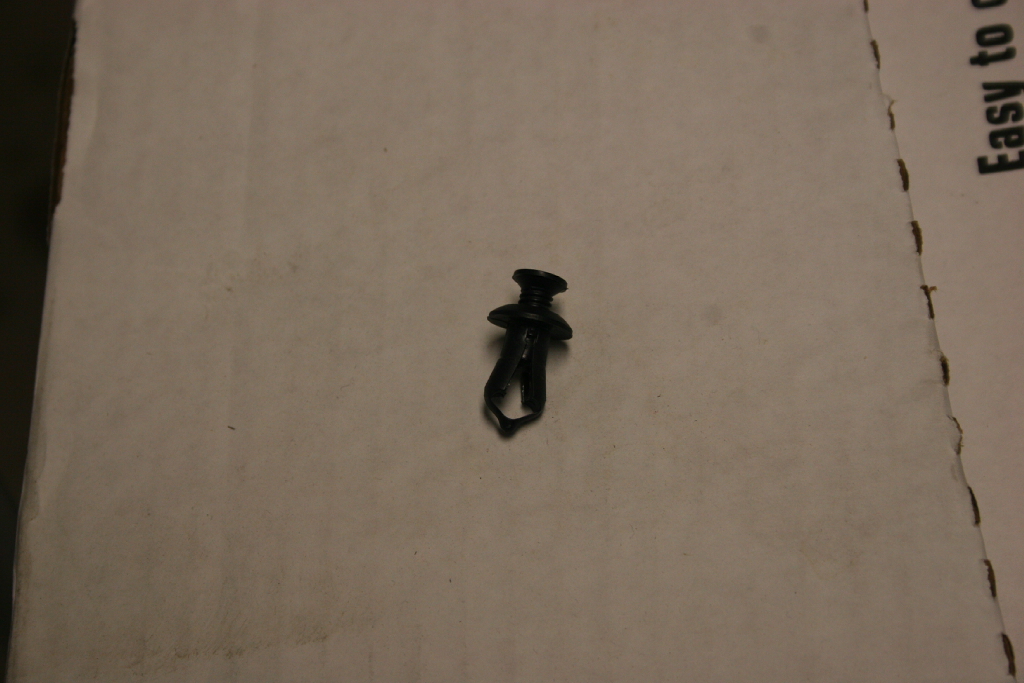
| On the 2012 they changed this to a push style pin. Just pry up the center point and pry out the retainer. |
 |
 |
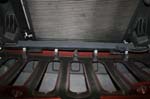
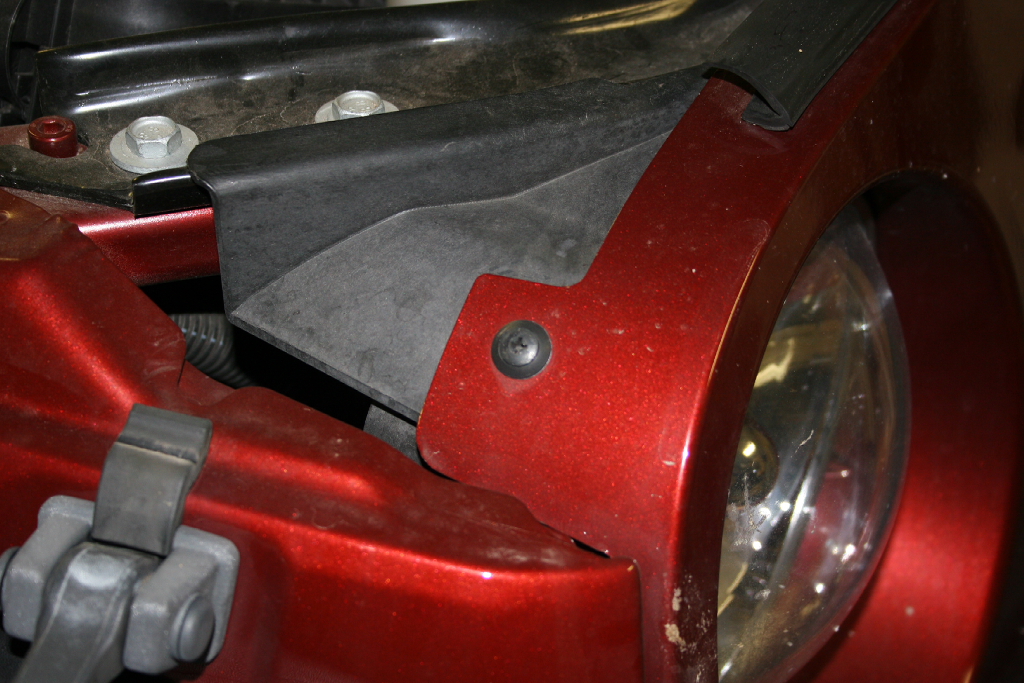
| 3. Tilt the grill forward to unlatch the retaining clips on each of the turn signals, then pull out the bottom of the grill to release the 4 retaining clips. |
 |
 |
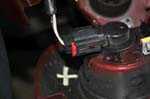
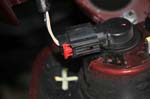
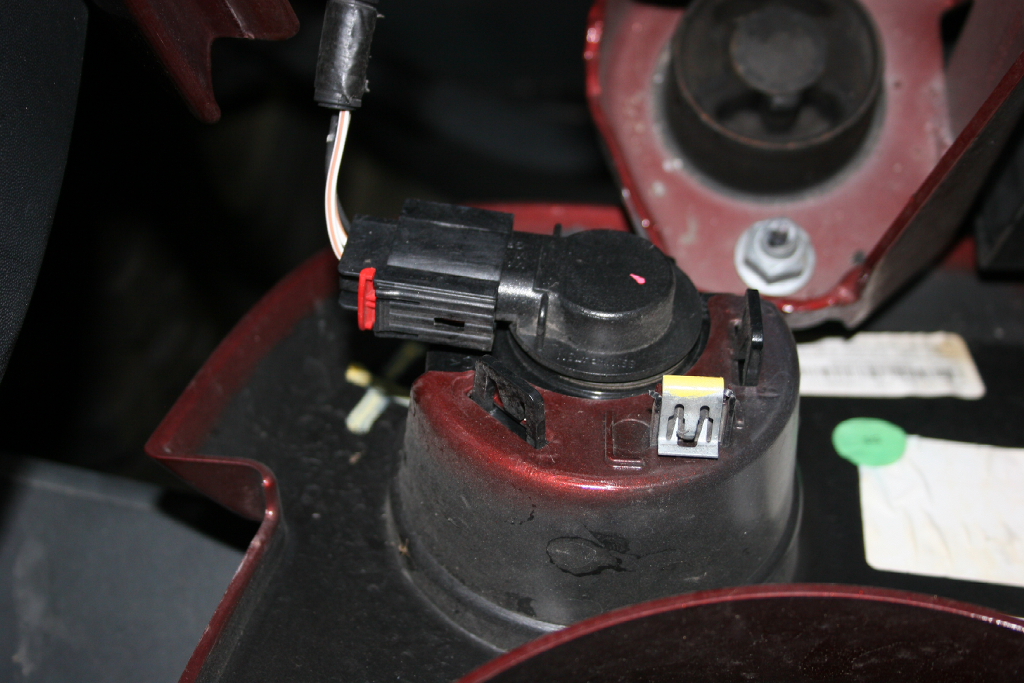
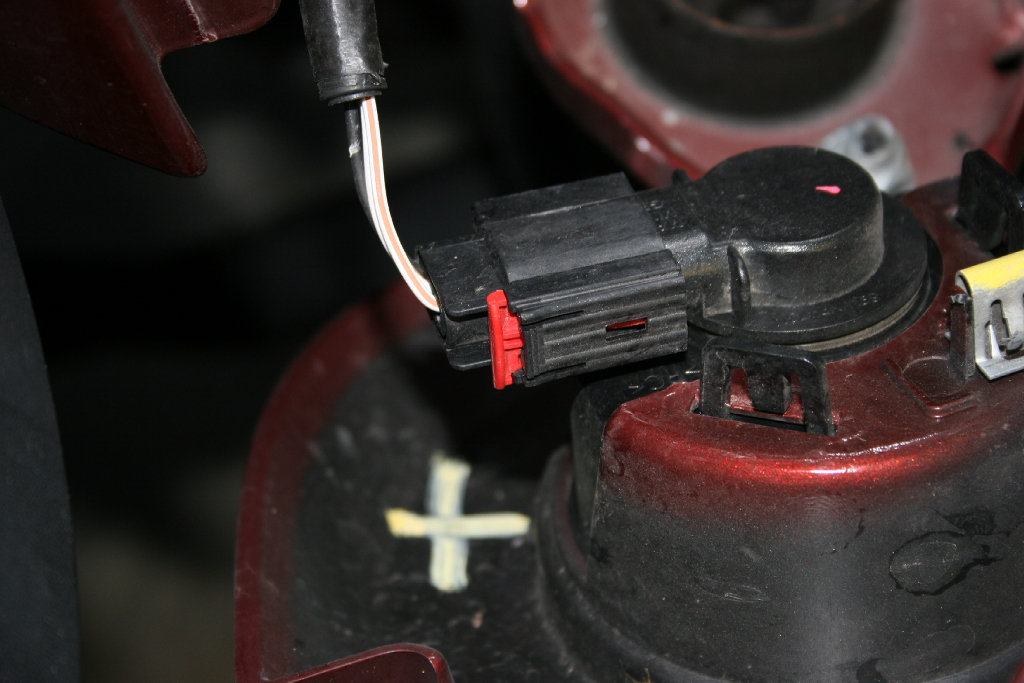
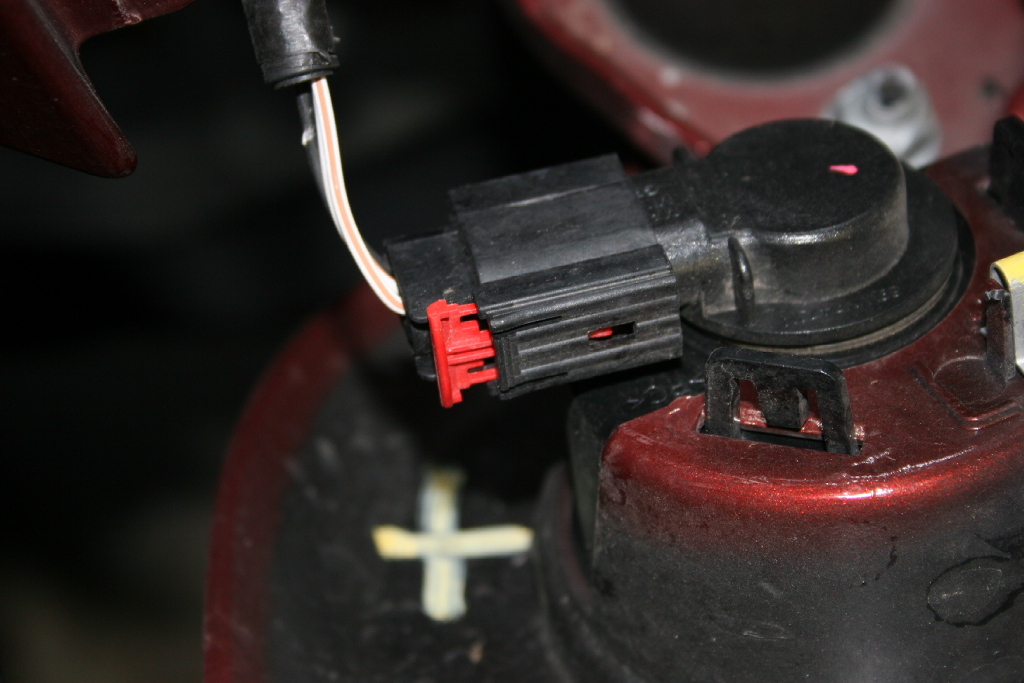
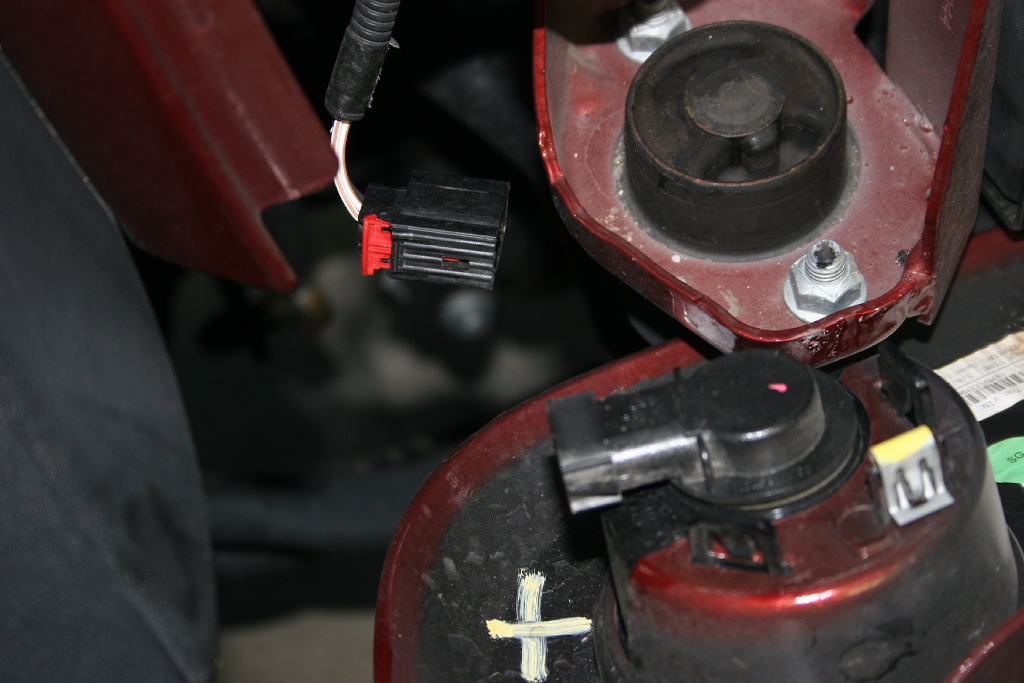
| 4. Pull out the red tab, press in the release lever and unhook the light harness from the turn signal. Or you can just turn the socket and pull the light out as if you were changing the bulb. |
 |
 |
 |
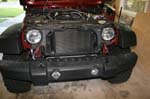
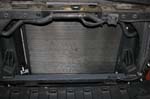
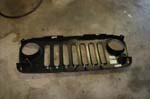
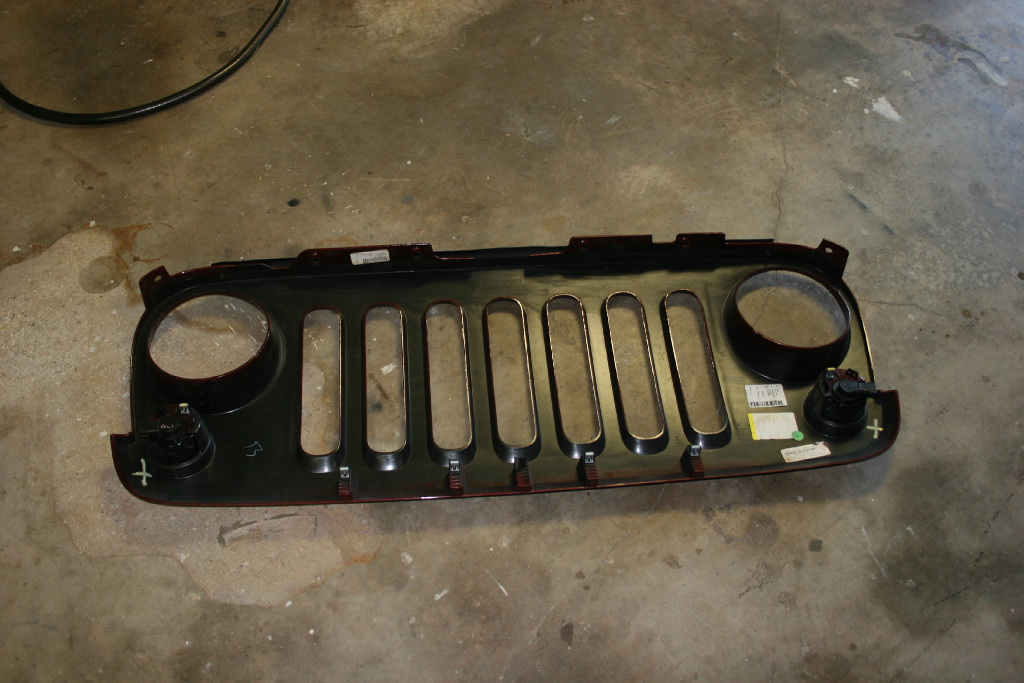
| 5. Remove the grill and set it aside on something soft so that you don't scratch it. This is a good time to clean out the grill and everything that catches down below in the cavity. |
 |
 |
| |
| Creating and installing the grill inserts: |
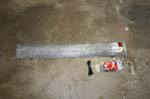
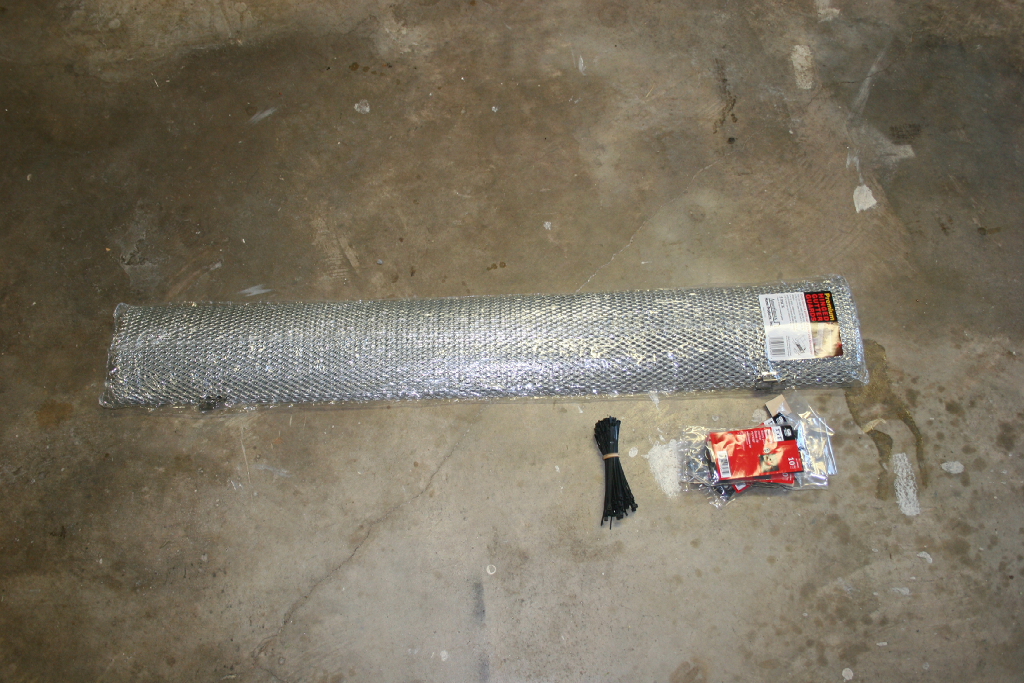
Here's the parts I collected from Lowe's. Probably all of about $20. |
 |
| Like I said before set the grill down on something soft so you don't scratch it. Call this lesson learned, though buffing does work for some scratches. |
 |
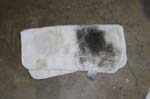
| 1. Clean the back side of the grill. Do a final wipe with isopropyl alcohol to make sure you got it clean. It still took me 4 good wipings to get a clean rag. That picture is wipe #1. Yuck. |
 |
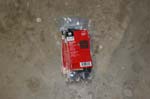
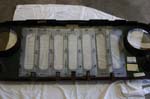
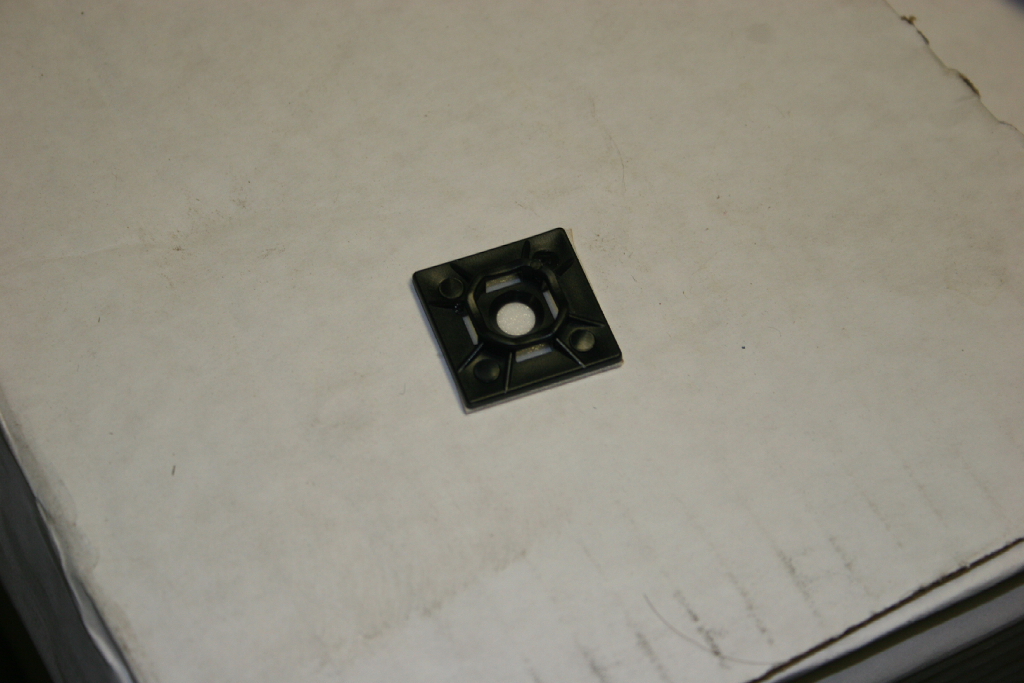
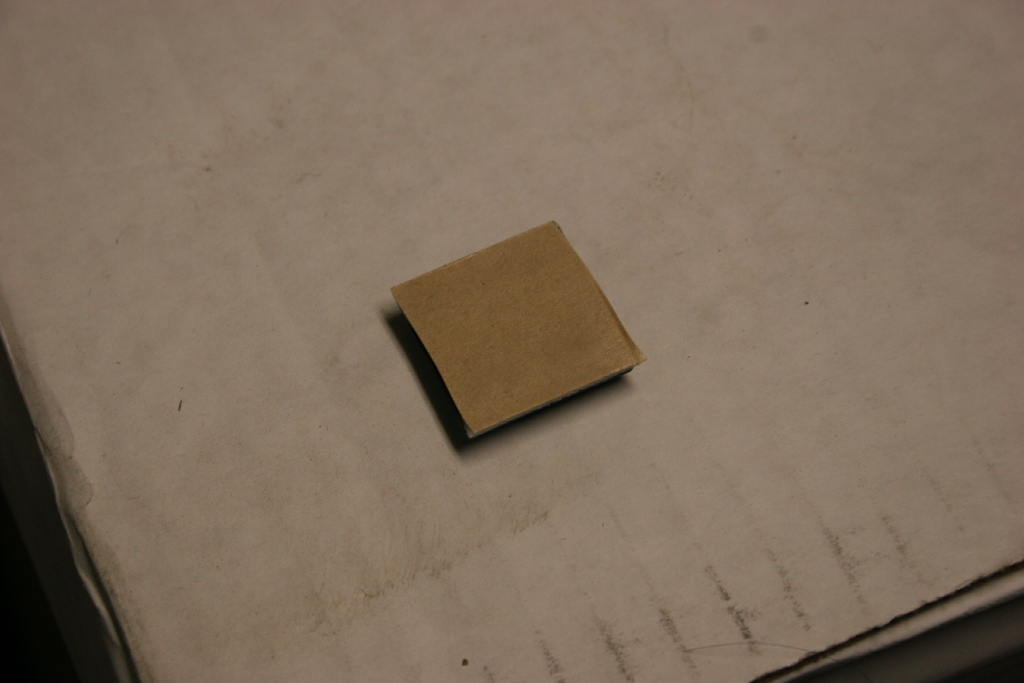
| 2. Open up the bags with the 1x1 mounting bases. Peel off the back and stick it to the back side of the grill. |
 |
 |
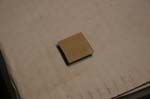 |
| You will use about 37 of these mounting bases arranged around the opening of the grill slots to hold the expanded metal gutter guard on. Push them down really good to get them to stick. |
 |
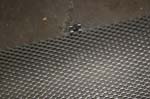
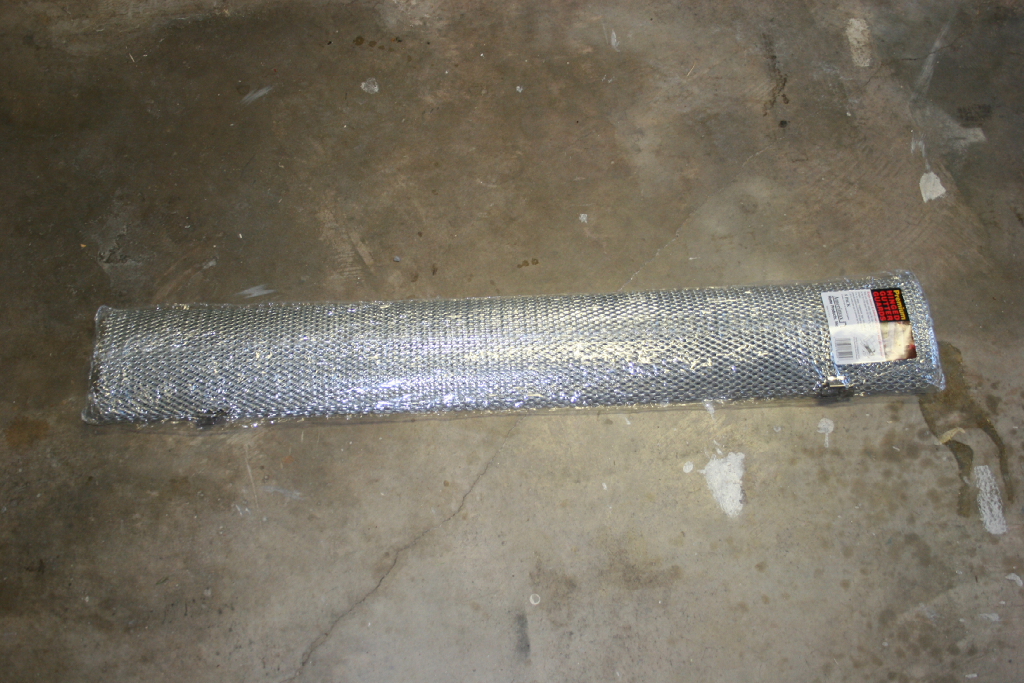
| Open up the pack of gutter guard. Be careful this has sharp edges and will cut you. |
 |
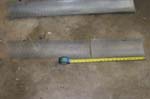
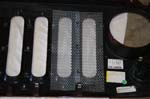
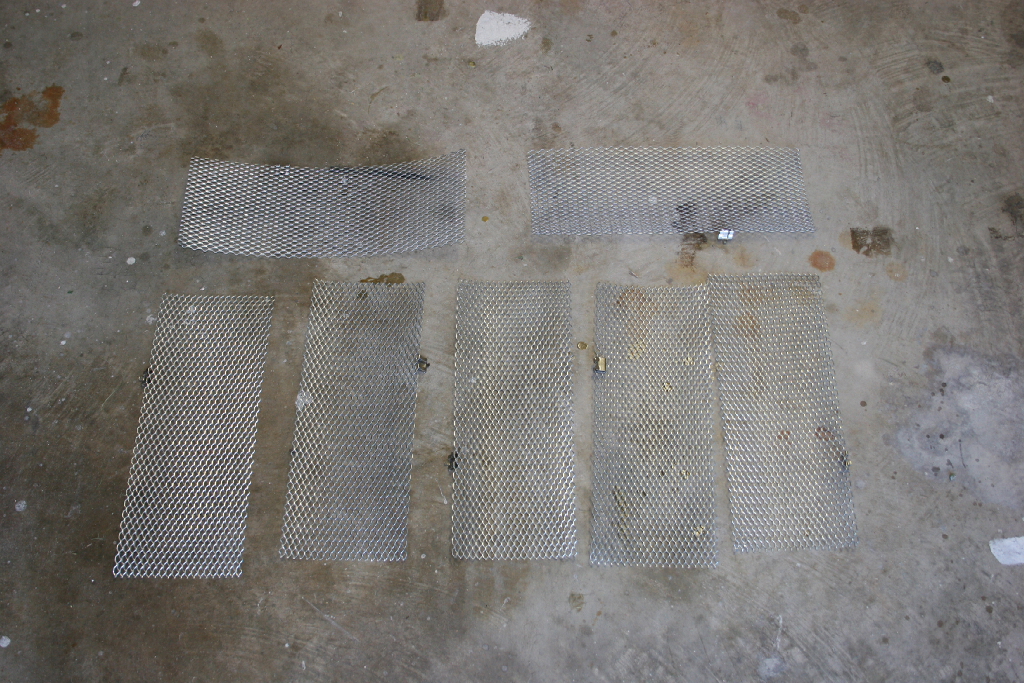
| 3. Cut seven pieces of gutter guard 14" long with the metal shears. Be careful this has sharp edges and will cut you. |
 |
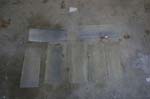 |
| 4. Now cut the seven pieces to 4 5/8 - 4 3/4" wide. I did 4 1/2" and it was pretty tight on width in a few sections, so I believe that 1/8" wider should be enough to give you one more row of holes. Make sure you cut off the side that has the hinge clip on it if the gutter guards came with it. Once again be careful this has sharp edges and will cut you. |
 |
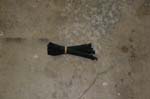
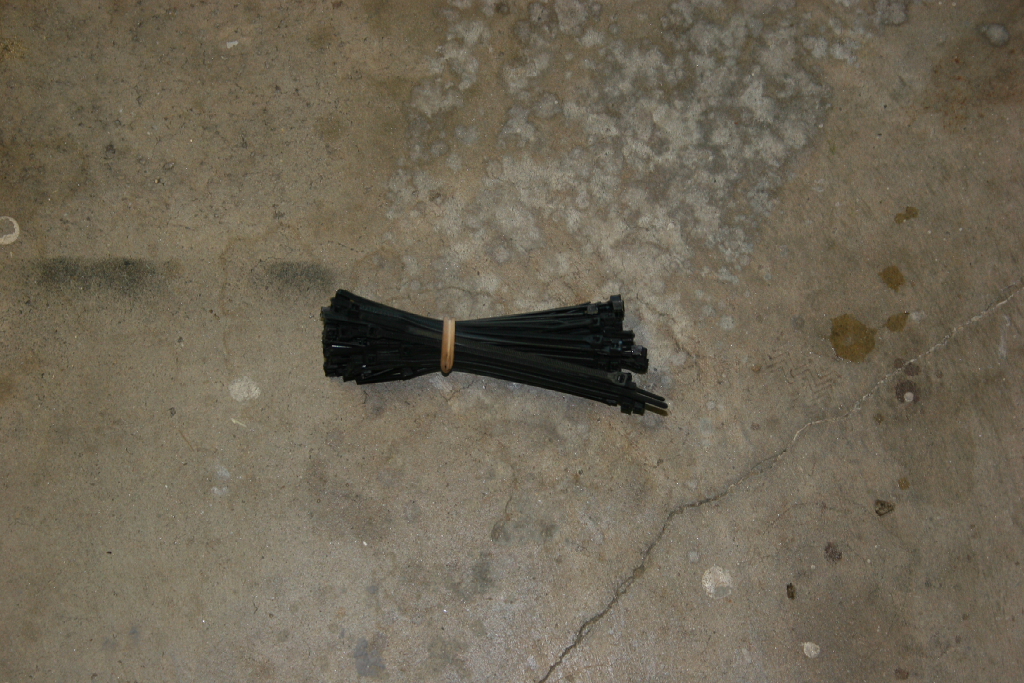
| Now get out your zip ties, but do not put them through the mounting bases, you will just need to pull them back out as you put the metal inserts in. |
 |
 |
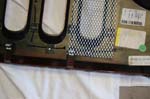
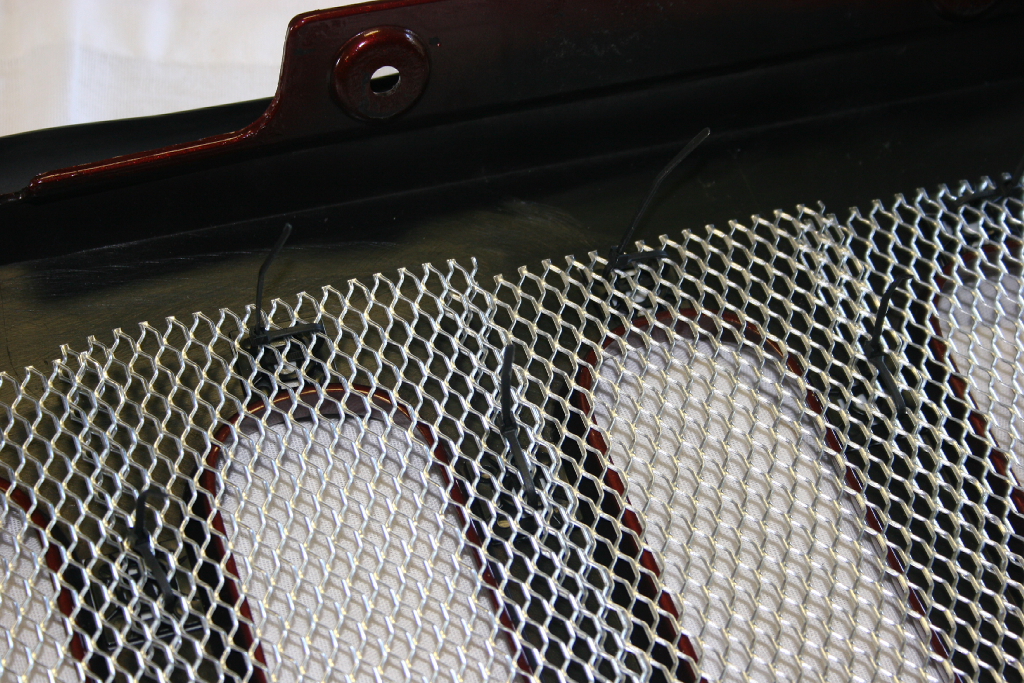
| 5. Line up the first piece. You will have to notch each piece to fit around the clips on the bottom of the grill. Insert the zip ties though the metal (do the top and bottom then outer edge), then the mounting base, then back up through the metal, but do not tighten them. You will do this last. Overlap the next piece and work your way across. If I were to do this a second time I would start with the center piece and work my way towards the outside, overlapping ontop of the center piece. |
 |
 |
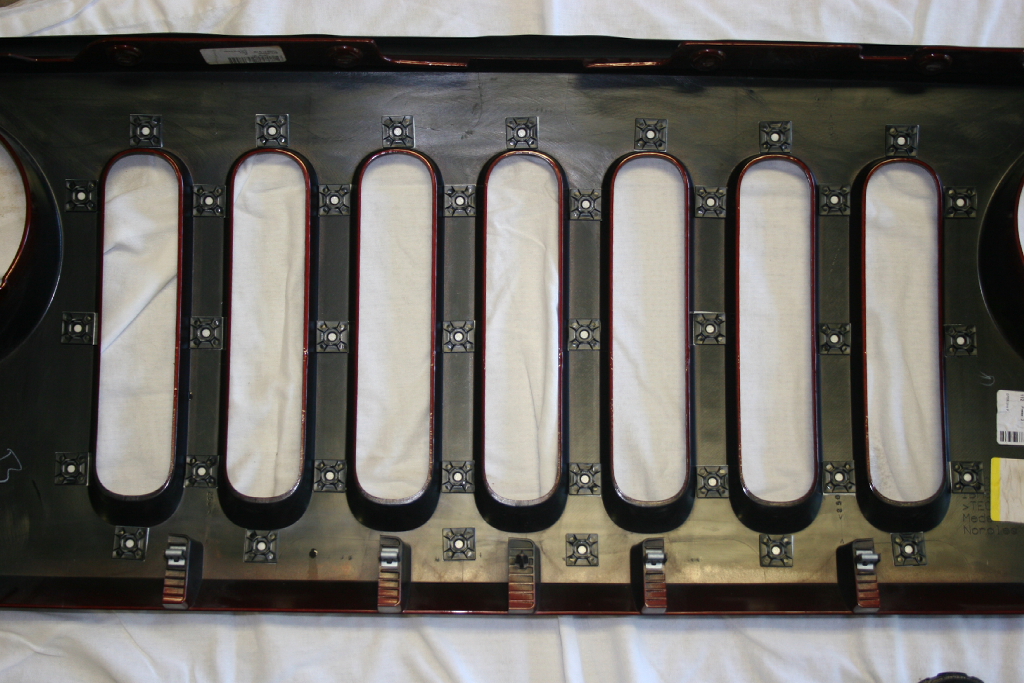
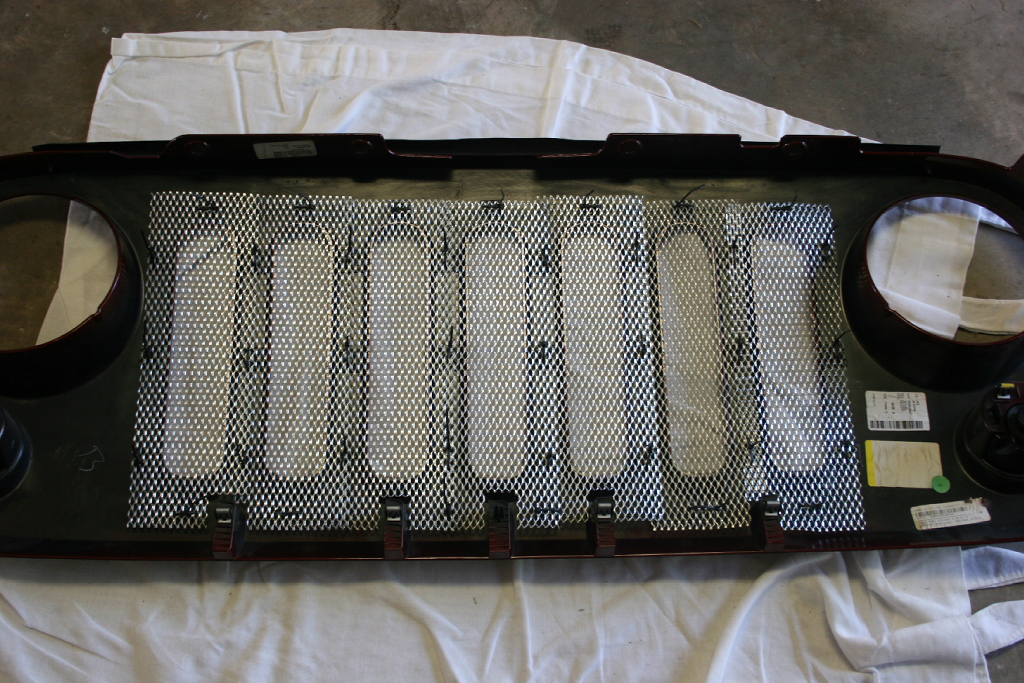
| 6. Once you have all of the pieces cut and installed, tighten up the zip ties. Do the very center row of zip ties first since the grill is curved, then work the row above and below, then finally the very top and bottom rows to get this all secured. Go back through and double check the zip ties. |
 |
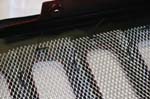 |
| 7. Flip the grill over and check to make sure that there are no big gabs in the screen edge. |
 |
| |
| Reinstall the Grill: |
| 1. Reconnect the light harness to the turn signal, push the red clip back in. |
|
|
|
| 2. Align the 4 bottom retaining clips and the center locator pin, tilt the grill forward and push in the 4 bottom clips. Then push right above each turn signal to insert the retaining clips there. |
|
|
| 3. With the screw turned out, insert the 6 retaining clips in the top of the grill. Then push the screw down to expand and latch them in place. |
|
|
|
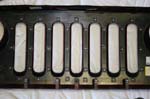
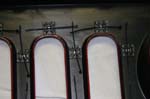
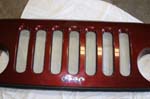
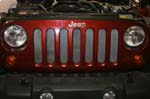
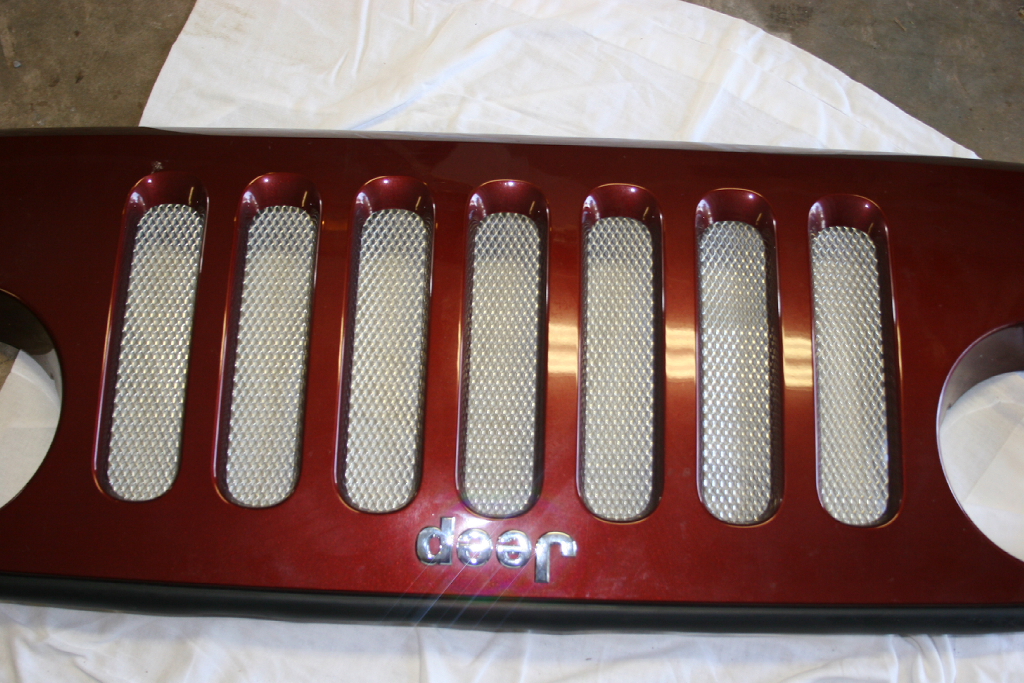
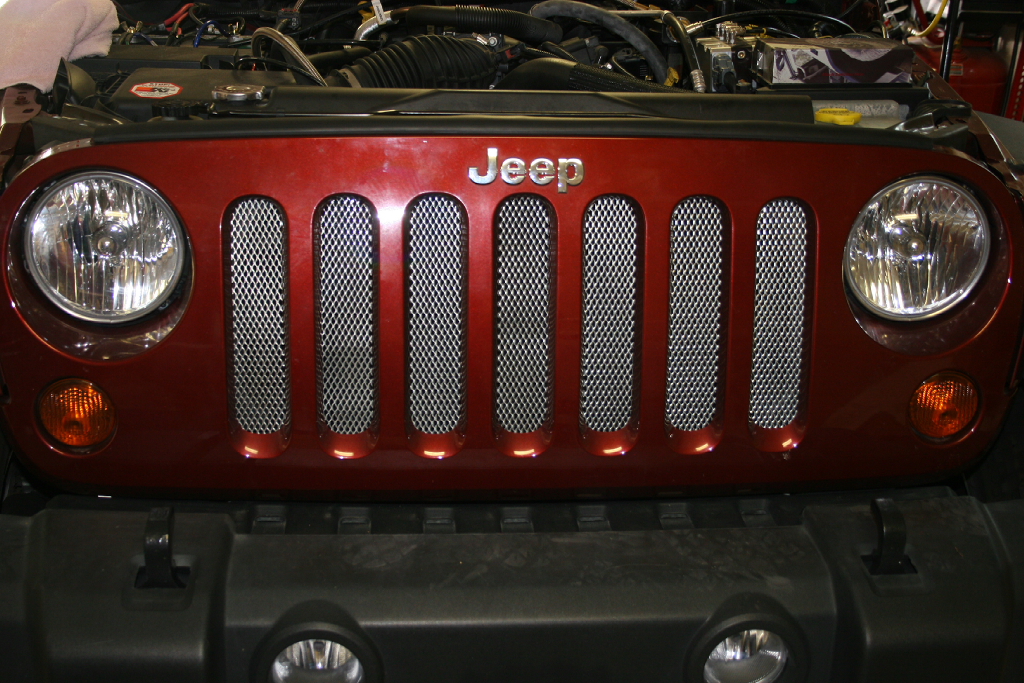
| This is what it looks like completed. I decided not to paint the gutter guard early on because black would not show up in the pictures well. My main concern with this will be the reduction of air flow off road, I will keep an eye on temperatures to see if this is a hazardous mod. I didn't take any pictures of my hands, but I have multipule cuts from the edges of the metal as I worked the zip ties in place. Doing the zip ties is probably the hardest part of this entire mod. |
 |


