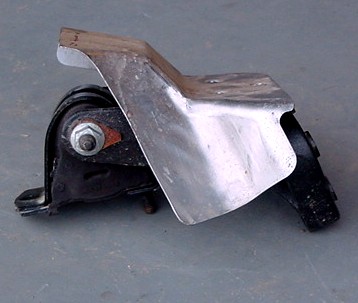
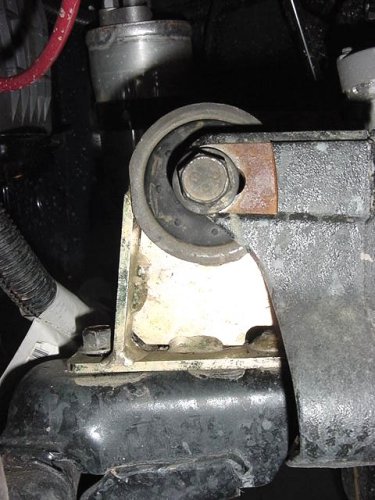
The reason I decided on getting this motor mount lift over
the other ones was the quality involved. I had seen the other ones
and wasn't to confident with their strength. These come with a welded
web inside, and rubber bushing that is similar to factory standards.
I won't say it is like the factory bushing, since it doesn't look anything
like it, but it is really quiet and doesn't transmit the vibrations like
the poly bushing do. The bushing actually looks like
the same ones that are used in the control arms.
Additional
Parts:
Anti-seize
Tools
Needed:
18mm combo wrench
18mm socket
15mm socket
11mm socket
Long extensions for the sockets
The Motor Mounts that I had came off my '99 TJ. Now they
were almost brand new, I had only bought them in August 2002. I was
starting another round of modifications and had installed these in preparation
to do a new NV4500/Atlas II when I was told that I could buy a Rubicon
instead. Okay twist my arm. I had been reading the boards seeing
that lots of people were having problems installing these and that raised a
little concern. I did have some rubbing on my '99, but that was an
installation issue. I realized from the boards that the problem was
centered on the passenger side. I had looked at how the vehicle was and
made decisions on where to start. Being an engineer and working on ships and jet
engines I am used to trying to figure out how to get things in and out of tight
places. Here is what I did. Now M.O.R.E's instruction have you start on
the drivers side.
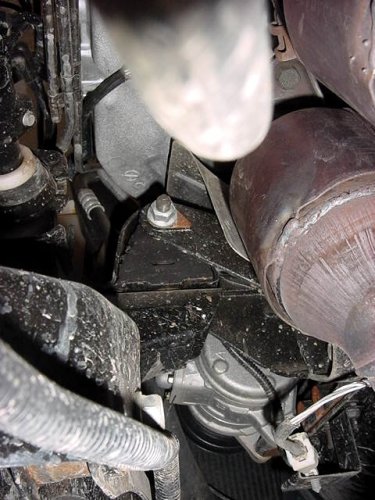
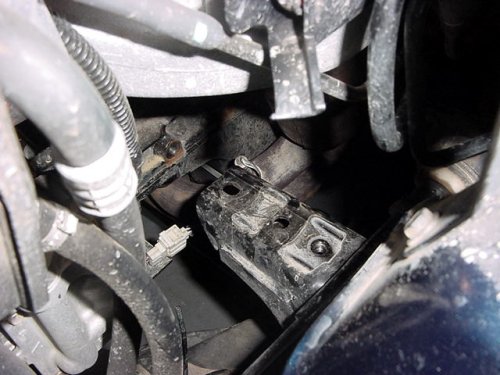
First thing was to throw out the directions. Okay I did this before, so I
pretty much know them. I started on the passenger side. I had noticed that this
engine bracket had an oval hole for the attachment bolt. The factory mount was
as far out as it could go in this hole. This is where I figure the problem was.
I did this install by myself in 2 hours, which included looking for my 18mm
socket, taking pictures, measuring and generally taking my time with it. I
did follow the directions when it came to taking off the fan shroud. I put
in a body lift at the same time so I didn't have to drill. The engine
lifted fine with a jack under the oil pan. I dented the oil pan slightly
when I lifted it, but that was my fault for not paying attention.
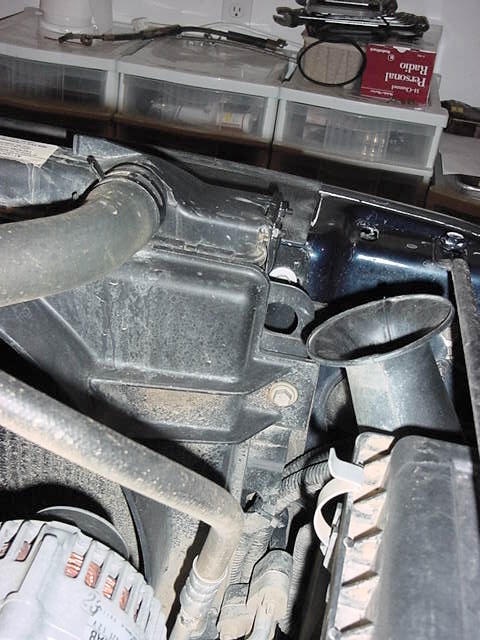
You
will need to remove the fan shroud from the radiator if you have not
already done a body lift.
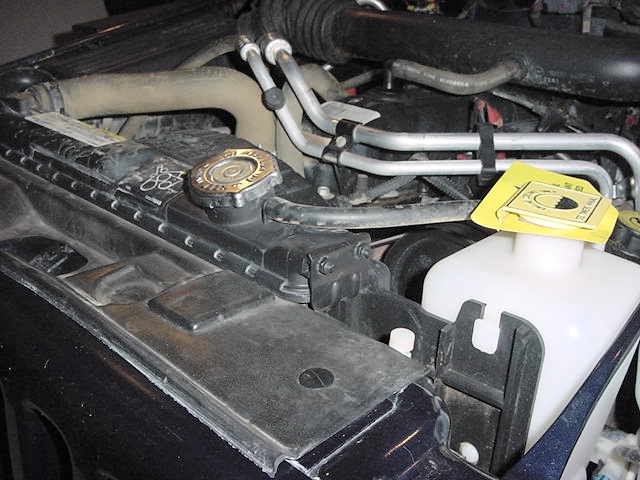
1. Make certain engine is cool and remove the radiator bottle.
You need to remove the hose from the nipple right below the radiator
cap, then push in on the bottle as you pull up.
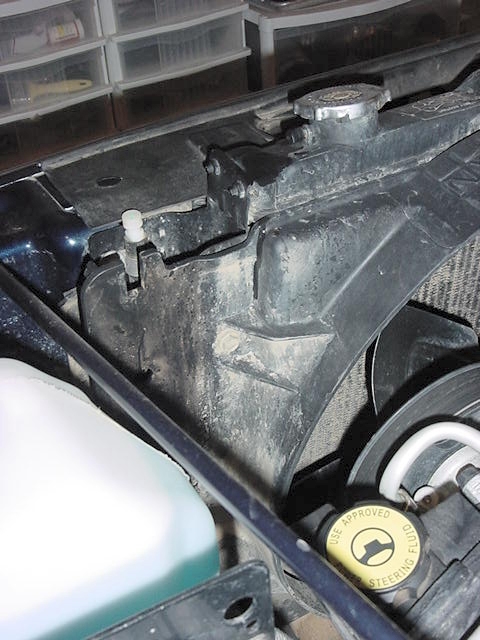
2. Then remove the 4 bolts holding the fan shroud to the radiator with
a mm socket.
Installation: (My way!)
Caution: Place block of wood between floor jack and bottom of oil pan.
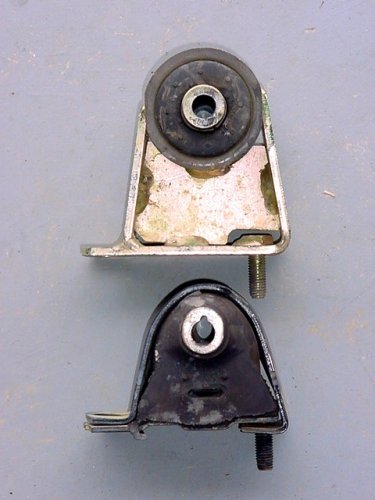
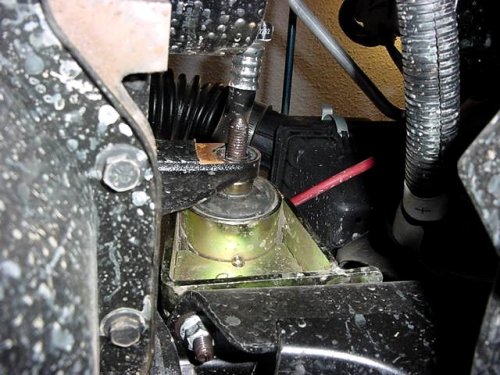
Comparison
shot:
1. Loosen both Motor Mount to Engine Bracket Bolts. This helps to allow
the engine to rotate up. Also loosen the Transmission to skid
nuts, this will allow the engine to slide around.
2. Brace engine with floor jack and piece of wood under the oil pan.
Be careful that you do not get the wood on to the oil drain area.
3. Remove Factory Mount on passenger side.
4. Install M.O.R.E. mount on to frame bracket.
5. Torque lower nut tight, being careful to keep the mount centered
on the frame extension. You will not be able to tighten this nut later.
I was able to get a stubby open ended wrench in there after the driver
side was done and check the tightness. You might be able to
get a thin wall socket on it, but I didn't have one to try.
6. Now to the driver side. You can do this two ways. I choose to remove
the entire assembly, and then undo the mount to engine bolt, but you
could take the nut off the bolt first. Either way if you have A/C
the engine bracket is coming off. Having no A/C compressor should
allow you to just pull the bolt out forwards and skip taking the engine
bracket off.
7. Remove lower nut from mount.
8. Remove 3 bolts from engine bracket.
9. Remove upper bolt from mount. At this point if you choose to remove
the nut earlier you can rotate the mount and bracket to get the mount
to bracket bolt out. Otherwise the entire assembly will slide down
along the side of the engine and pull out through the bottom.
10. Remove the mount to engine bolt. I tried the reinstall the assembly
with this bolt back in the correct direction, but I would have needed
3 people to do this, so I gave up. I didn't figure it was that important
to put the bolt in from the forward direction, besides it is much
easier to bolt the engine bracket to the engine, motor mount to the
frame and then line up the mount to frame bolt. I am going to
keep an eye on it to see.
11. Reinstall the engine bracket.
12. Install and snug the bolts on Motor Mount.
13. Lift Engine and reinstall the Driver side Motor Mount to Engine bolt
from the rear.
14. Install Passenger side Motor mount to engine bracket bolt. I needed
to tap the side of the mount to get it to line up perfectly.
15. Install nut and snug that bolt, lower the engine, but do not take
all the weight off the jack.
16. Tighten all the motor mount bolts.
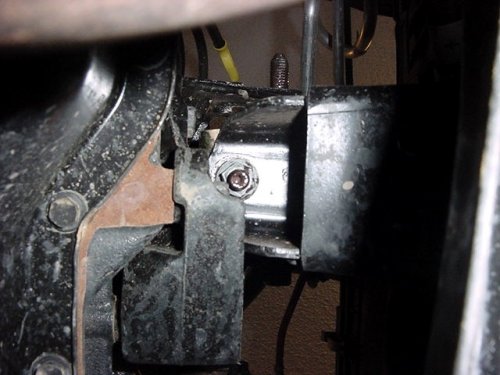
17. Now back to passenger side. Put a big screwdriver between the engine
bracket and motor mount. Pry gently, and tighten up the Mount to engine
bolt when it is all the way out in oval. This will give you
the clearance between the engine bracket and the frame bracket.
18. Tighten the Driver side mount to engine bolt.
19. Tighten the transmission to skid nuts.
I ran this around, and hit the construction site down the road from me. No
bangs, no contact, nothing, believe me I tried to get it to hit. Nice and quiet,
it appears to have plenty of clearance all around. I suspect that the oval hole
is the problem. Now I don't feel like turning around taking it all out just to
follow the directions from M.O.R.E to prove this, call me lazy.
I have since done this lift a couple more times and found that you can remove
both mounts, install the new ones and then lift the engine up to insert the
mount to engine bolts. It was actually easier this way. Installation
of the JKS Budget MML and Tri-County Gear MML follow the same basic outline,
only difference is the MML pieces.