After nearly 7 years and 70k miles I decided I needed to change the drive belt on the Jeep. The belt still looked good, but I figured age, southern heat, and the salt water were probably taking their toll on the belt and it would be a good idea to change it. Now since I've changed plenty of drive belts and a myriad of equipment, this couldn't be to hard, it's a Jeep. And actually it isn't very hard even though Jeep routed the drive belt around and through the alternator mounting bracket and installed a belt tensioner designed by Hercules, but a little patients and the right size tool makes it easy. You will need an assistant to help you.
| Getting Access to the Drive Belt: |
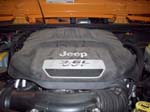
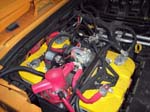
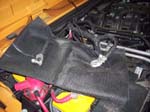
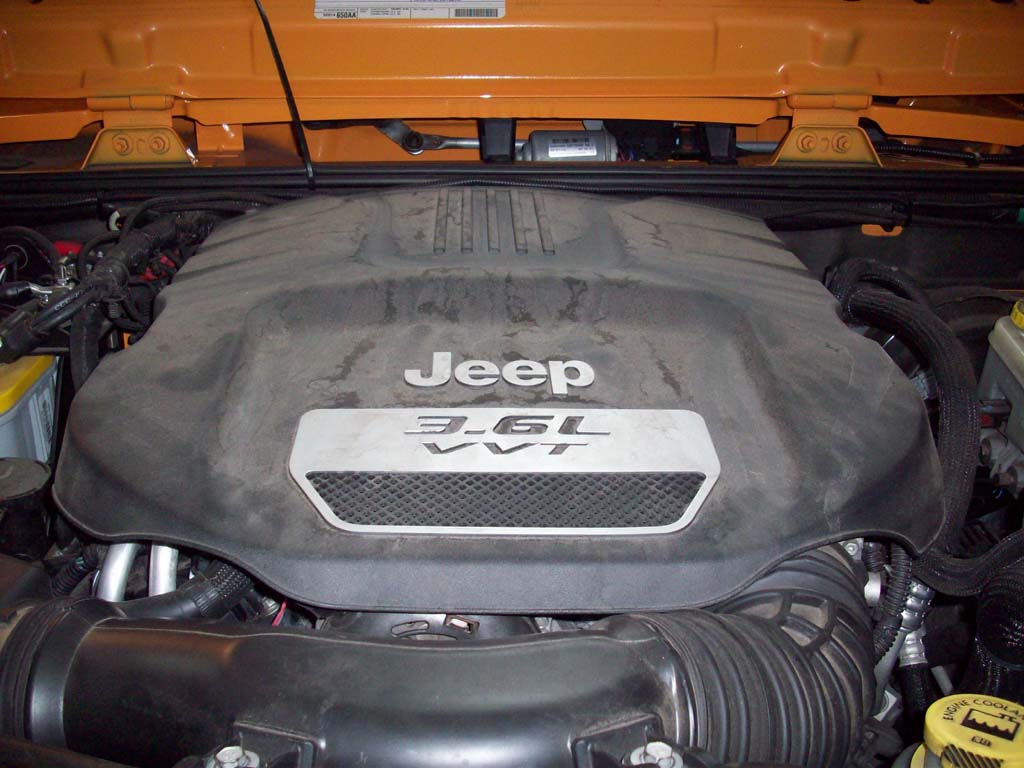
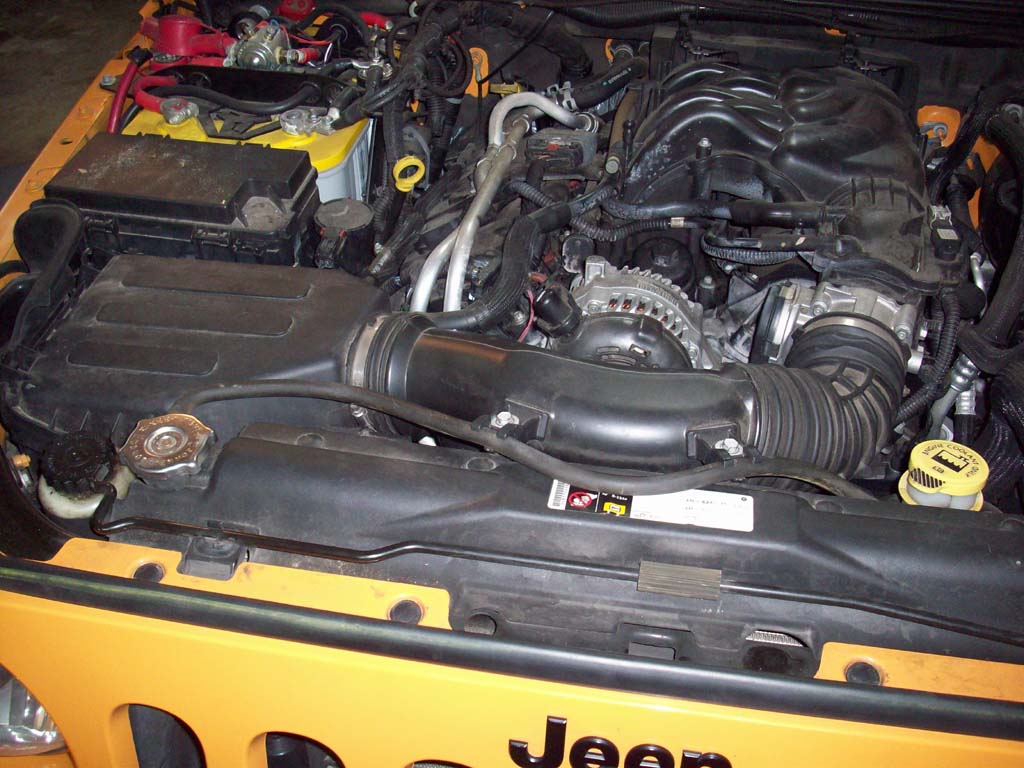
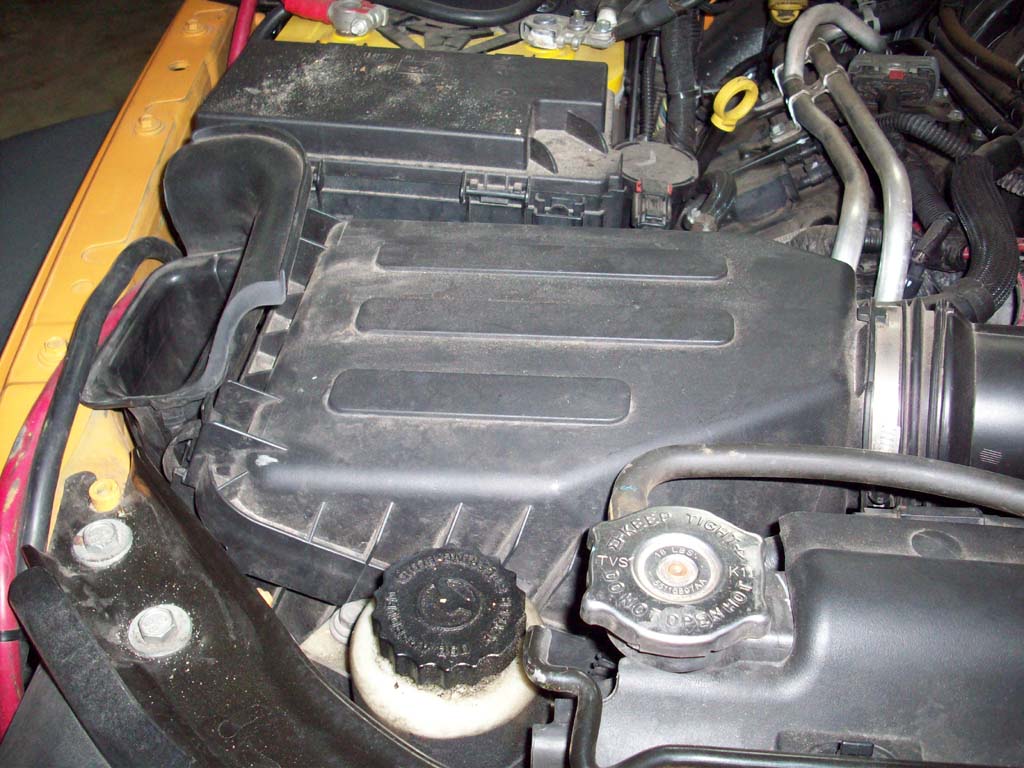
| 1. Open the hood and remove the engine cover. Pull the front lip upwards to pull the pins out of the gromets ontop of the engine, then pull it forwards out of the clips in the back. Put this aside out of the walk way, it's kind of slippery if you step on it. |
 |
 |
 |
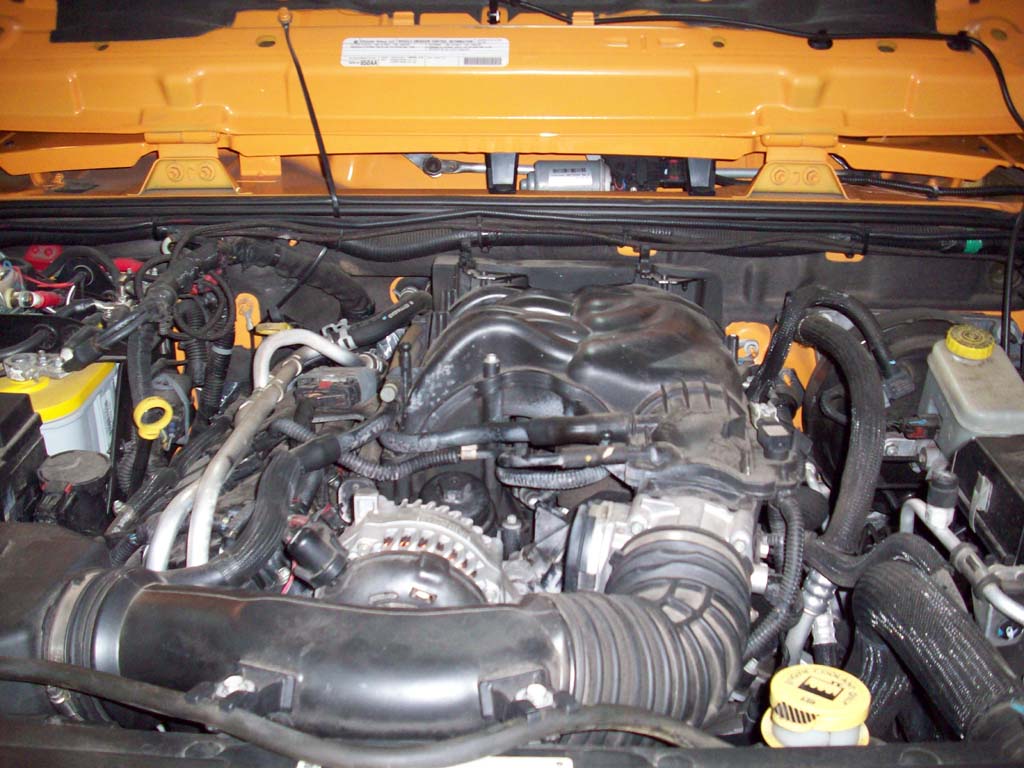
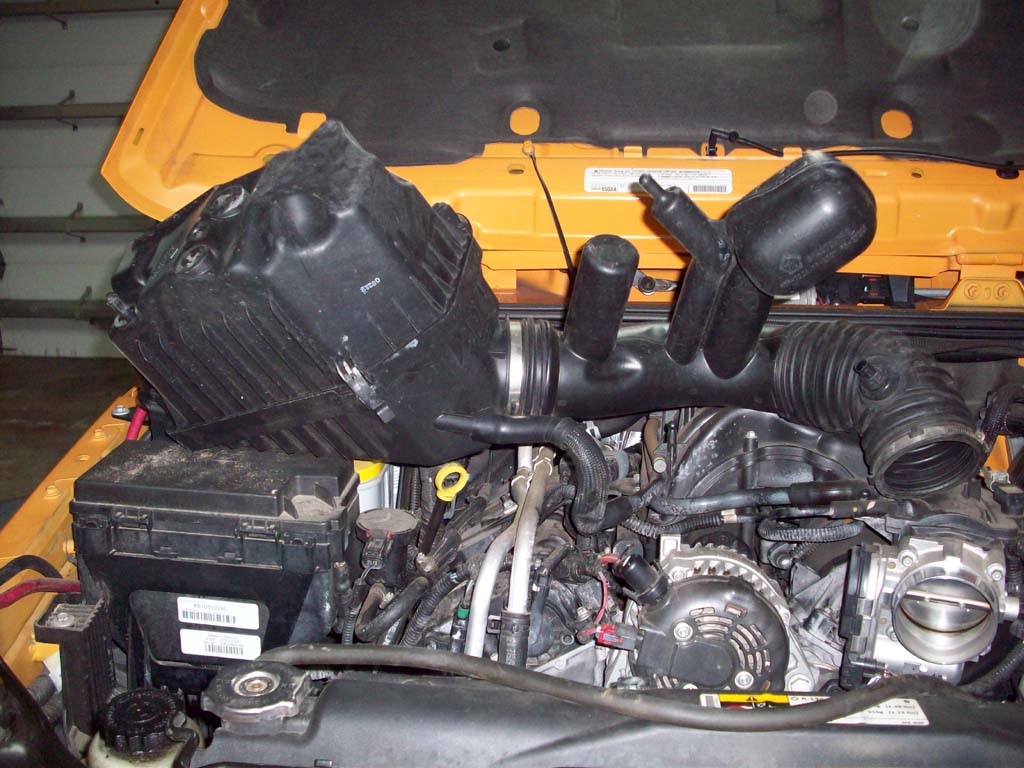
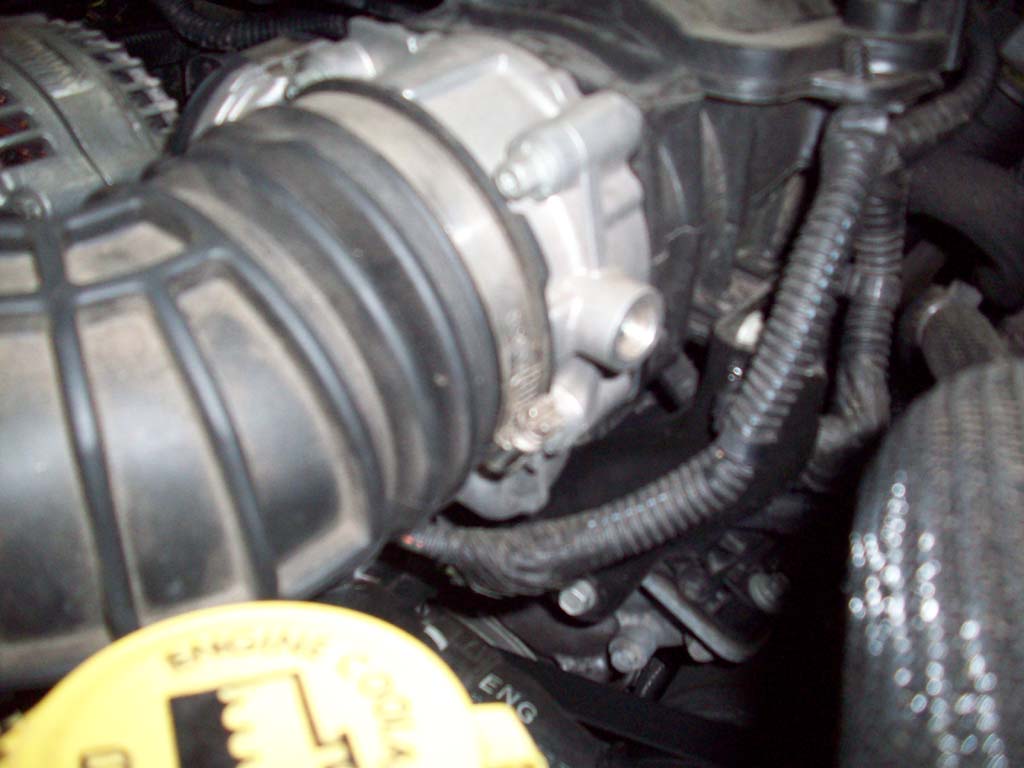
| 2. Remove the air intake box and hose. You can probably just remove the hose and leave the box, but I needed to change the air filter anyways, so I just pulled the whole thing out to give me more room. |
 |
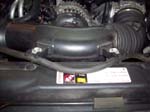 |
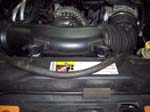
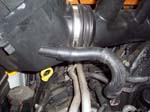
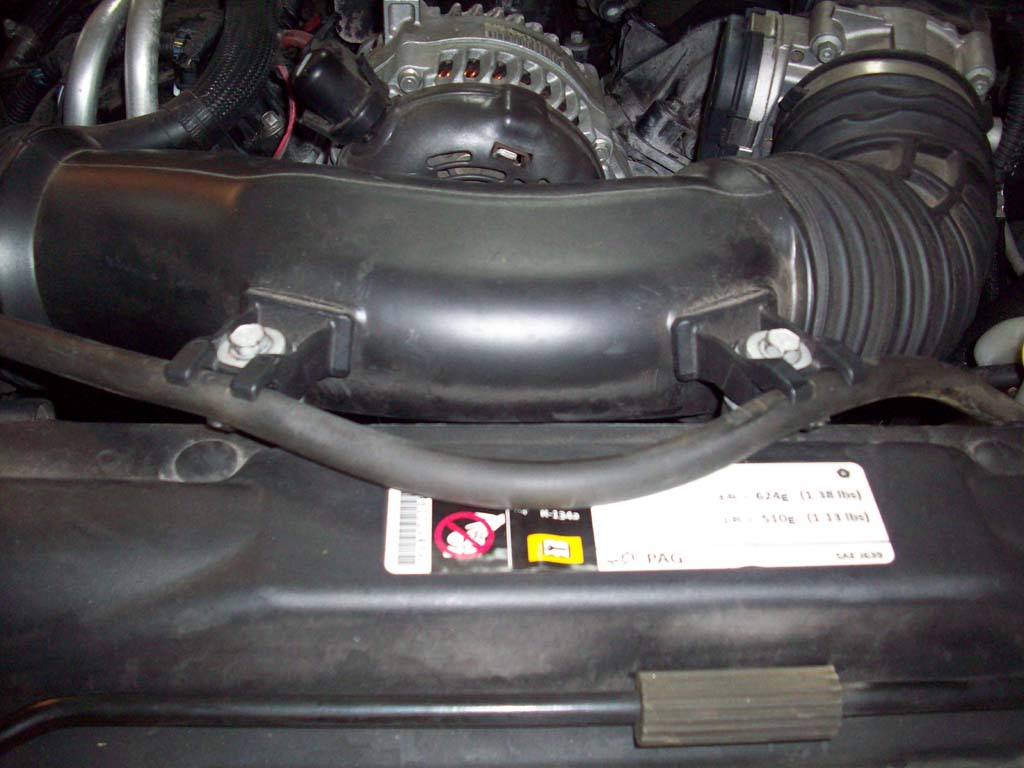
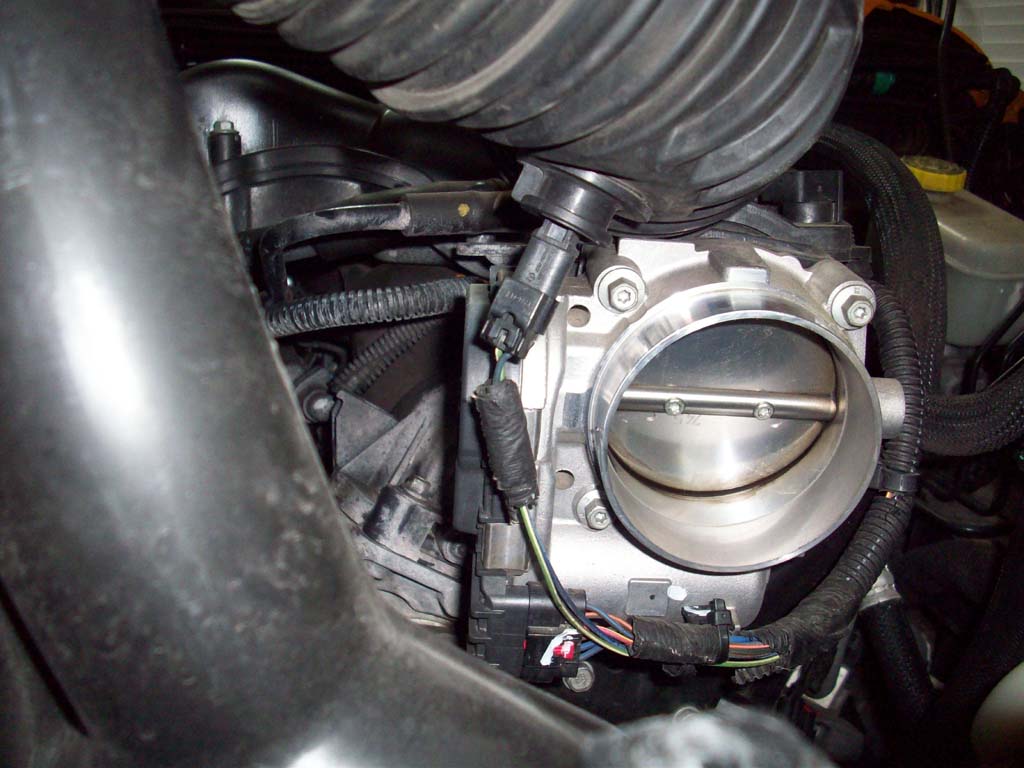
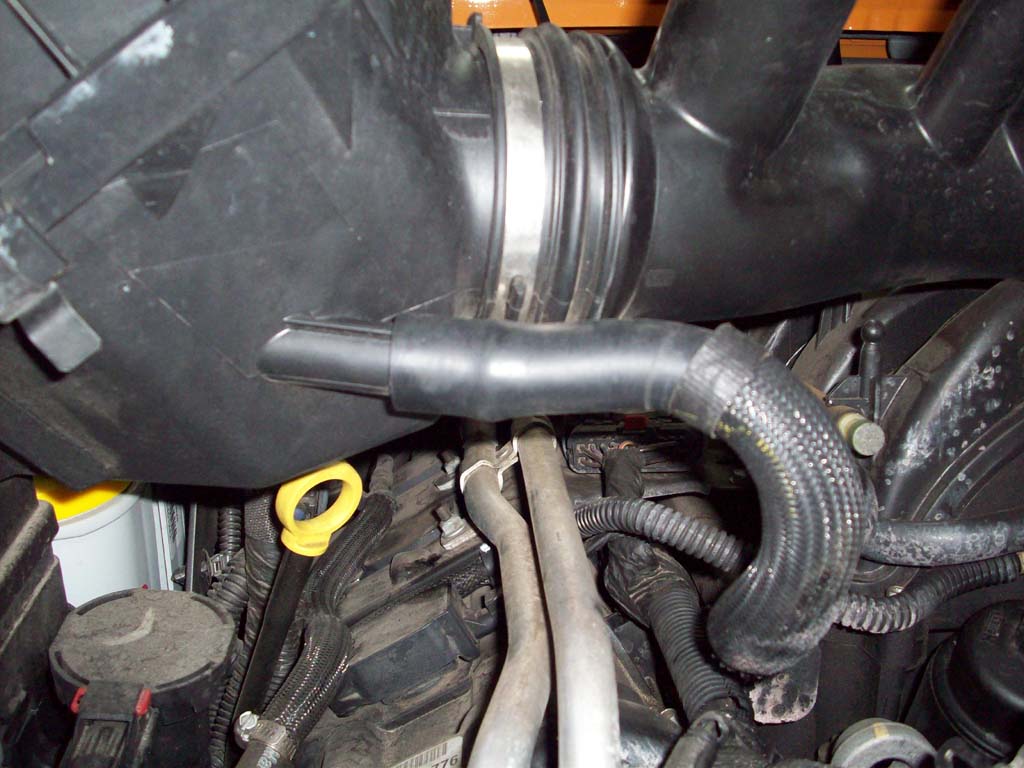
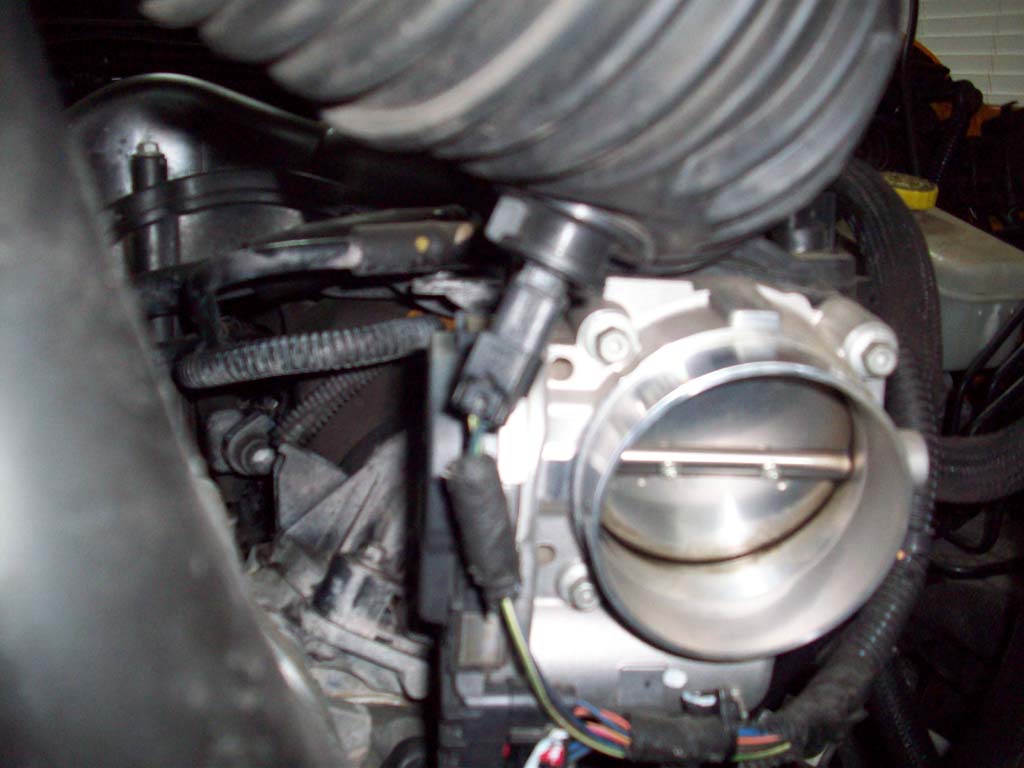
| 3. Use a flat tip screw driver to loosen the band clamp holding the intake tube to the throttle body. |
 |
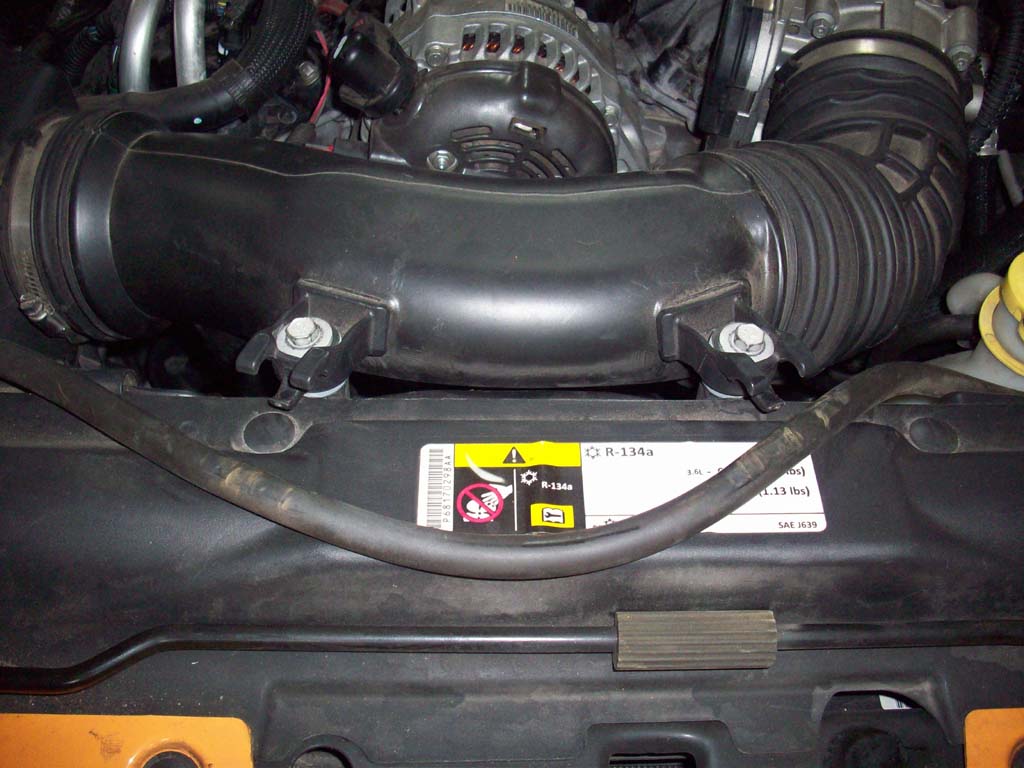
| 4. Remove the radiator overflow hose from the intake tube. It just pulls out of the bracket. Remove the two (2) bolts holding the intake tube to the body with a 13mm socket and ratchet. |
 |
 |
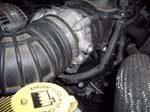
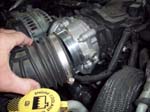
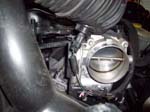
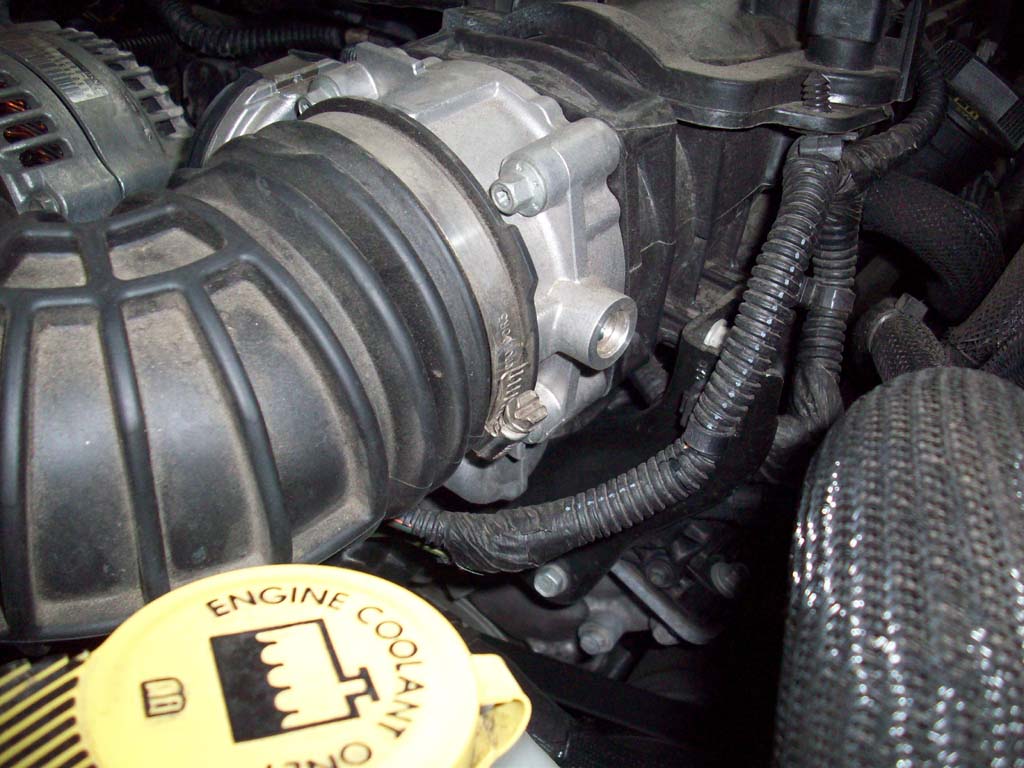
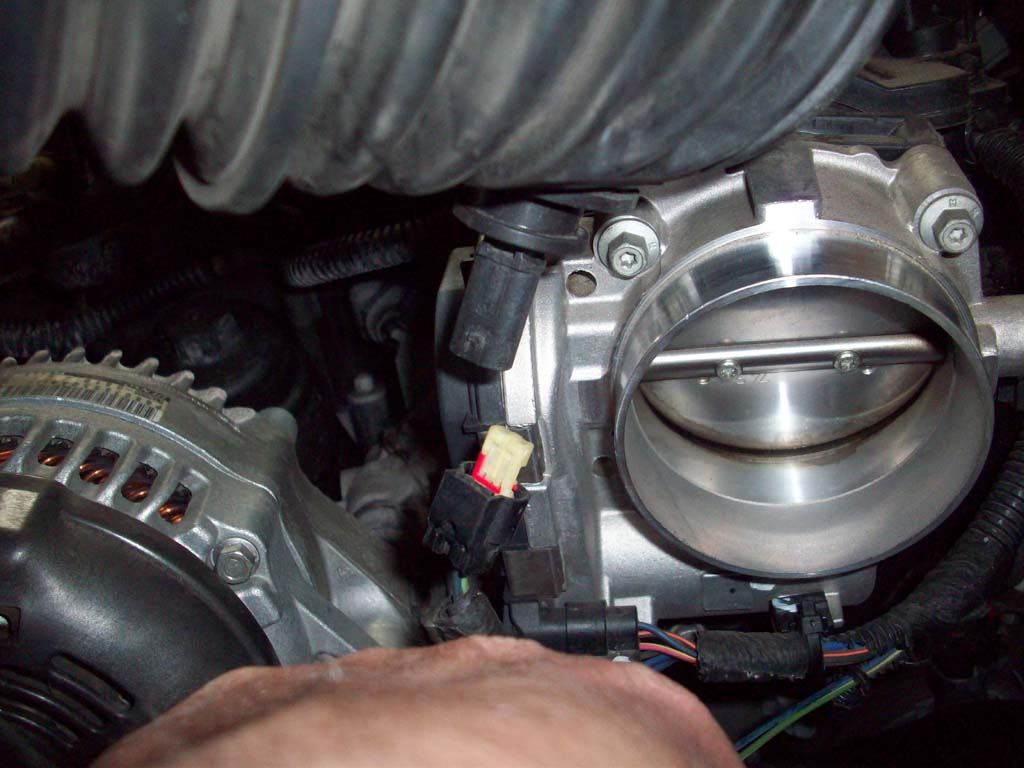
| 5. Remove the end of the hose from the throttle body and carefully lift up the hose to expose the IAT sensor mounted underneath. Disconnect the wire lead going to the sensor. |
 |
 |
 |
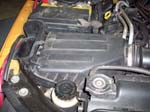
| 6. Pull up on the air intake box to free the 3 push pins underneath from their grommets. Do Not twist or pry the box sideways, you can break off the pins. Alternately, you can undo the clips and remove the top of the box, or undo the band clamp on the air box side and remove the tube. |
 |
 |
| 7. Disconnect the crankcase vent line from the bottom of the box. This is just a slip fit, so you will need to do some gentle twisting to get it to break free and wiggle it off. Set the entire box aside. |
 |
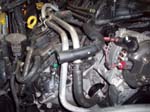 |
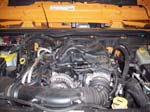
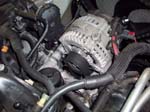
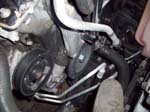
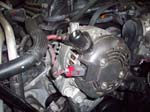
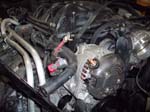
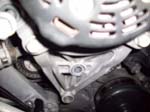
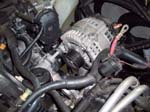
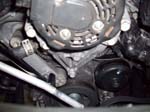
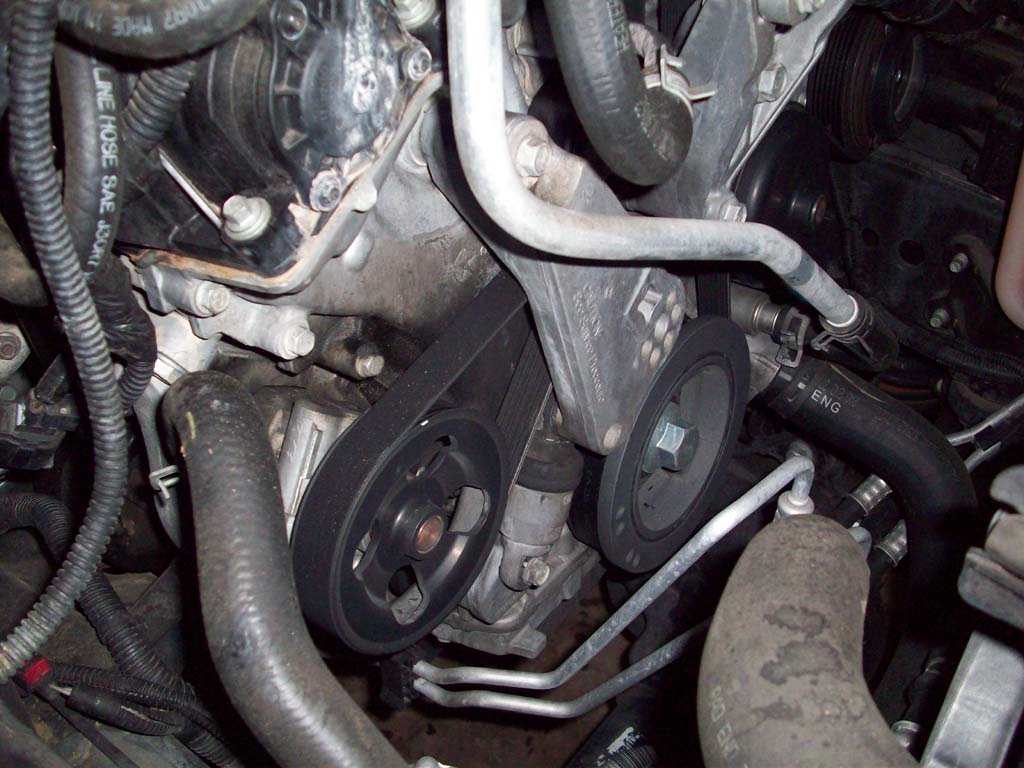
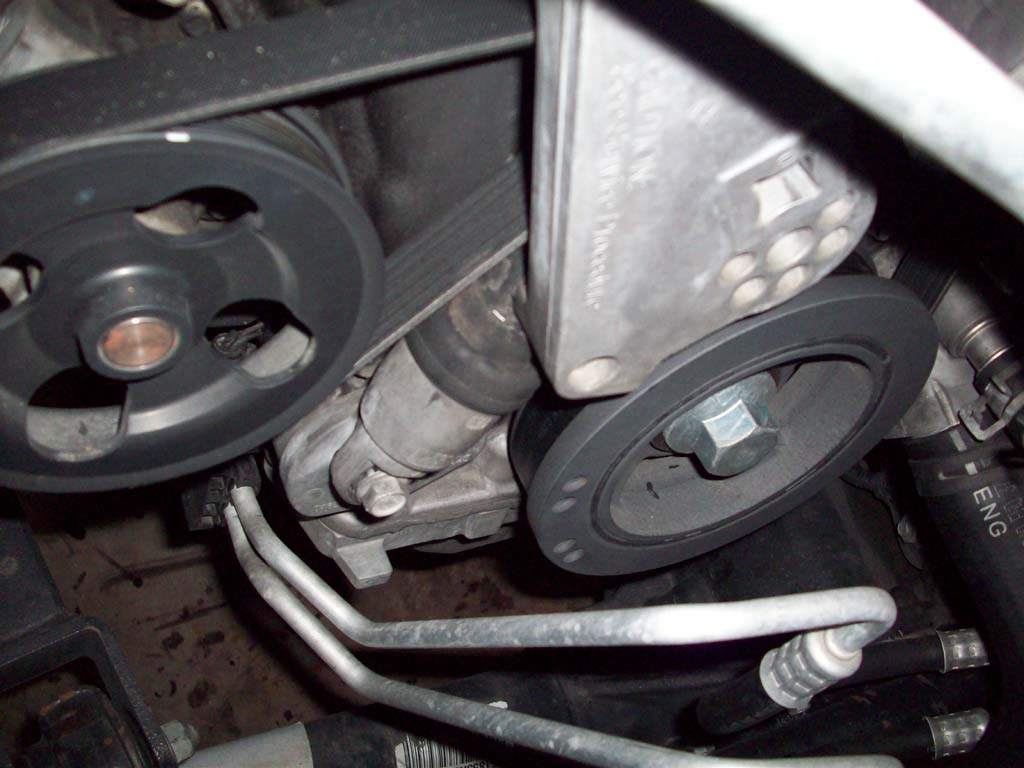
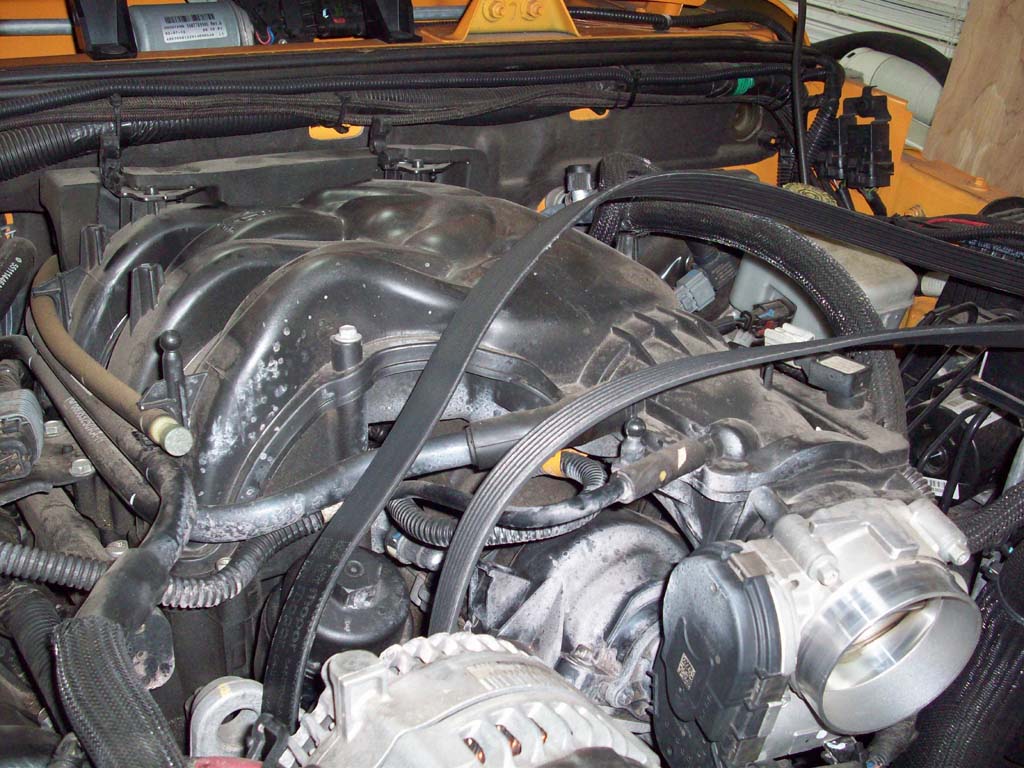
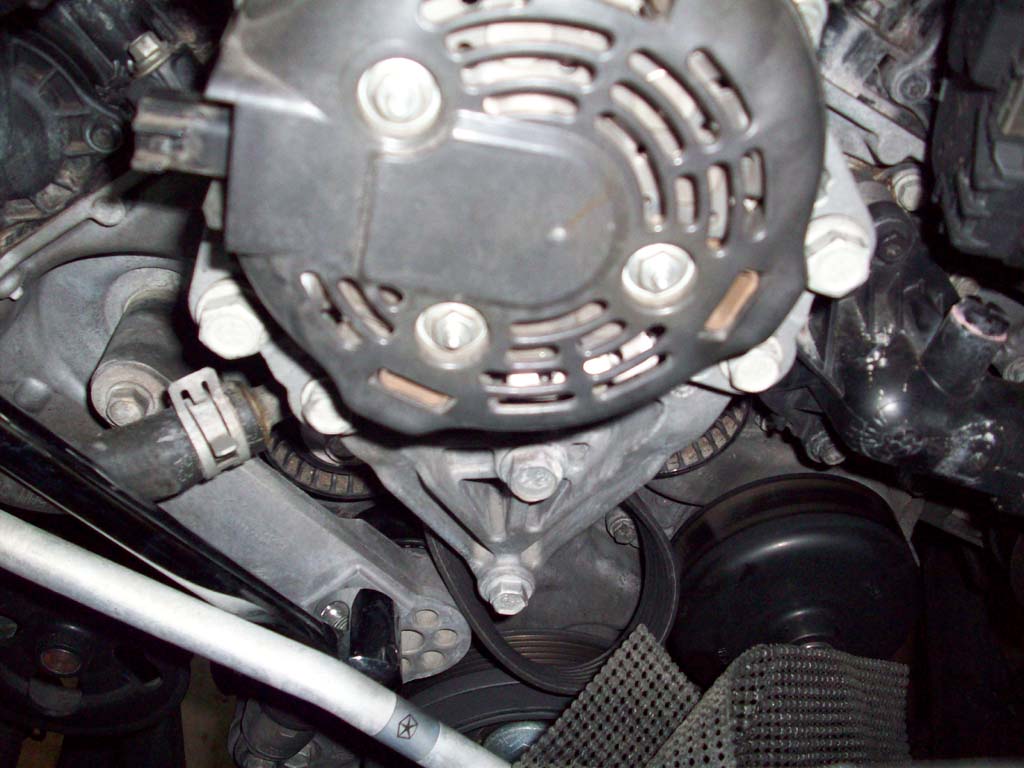
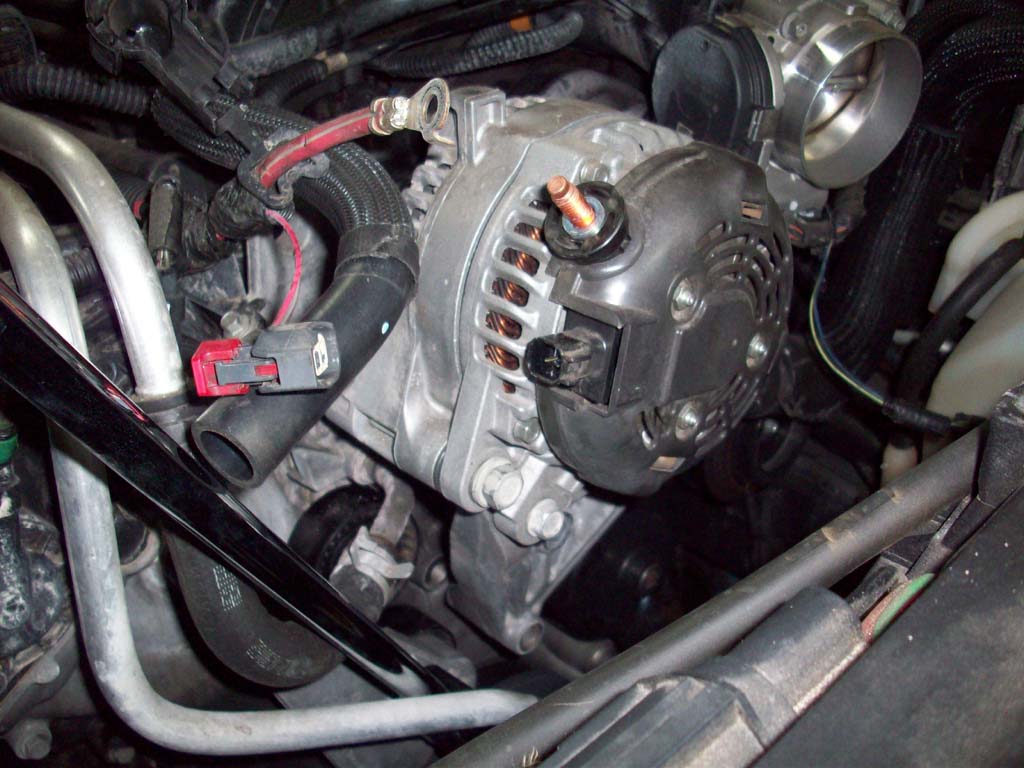
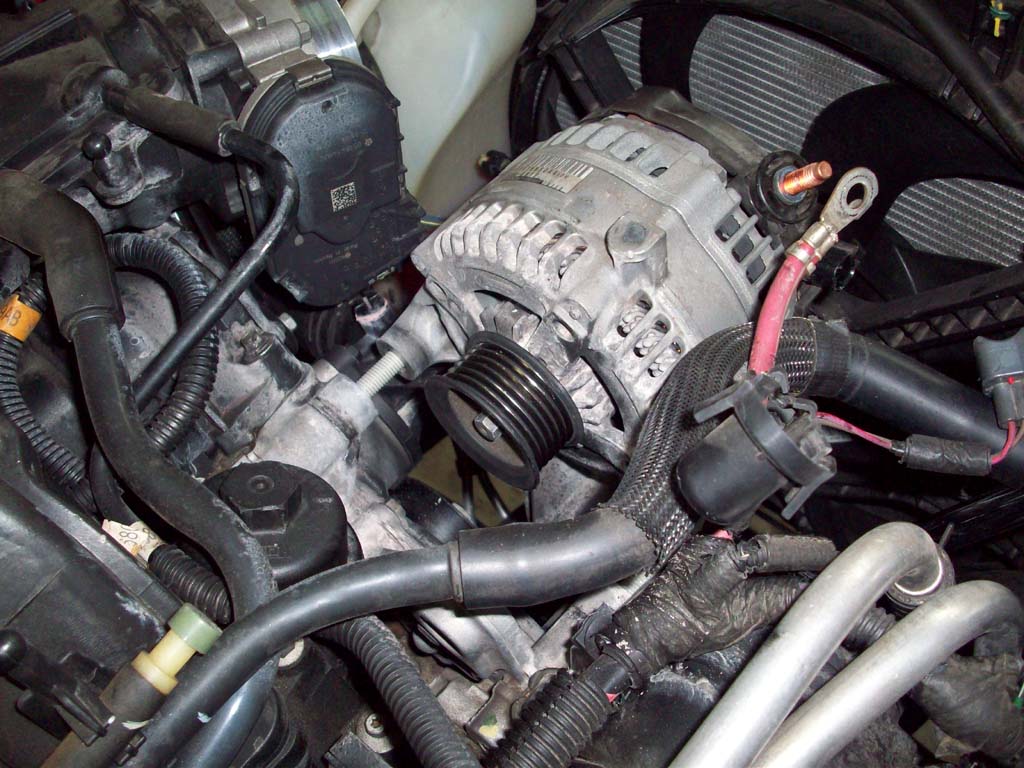
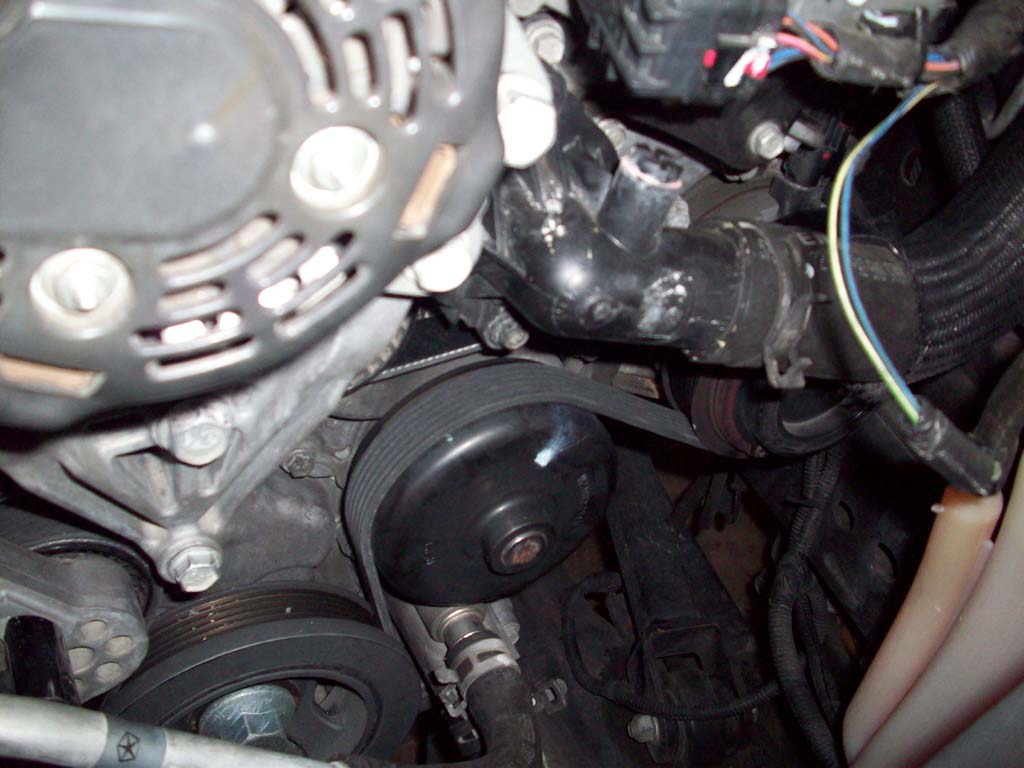
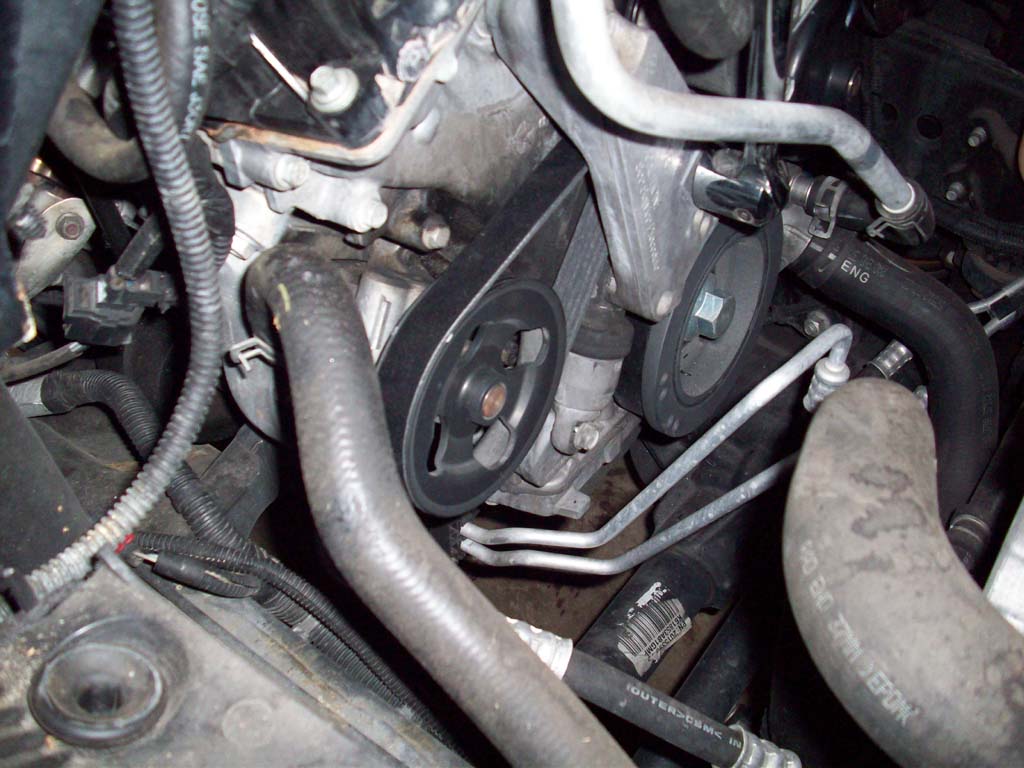
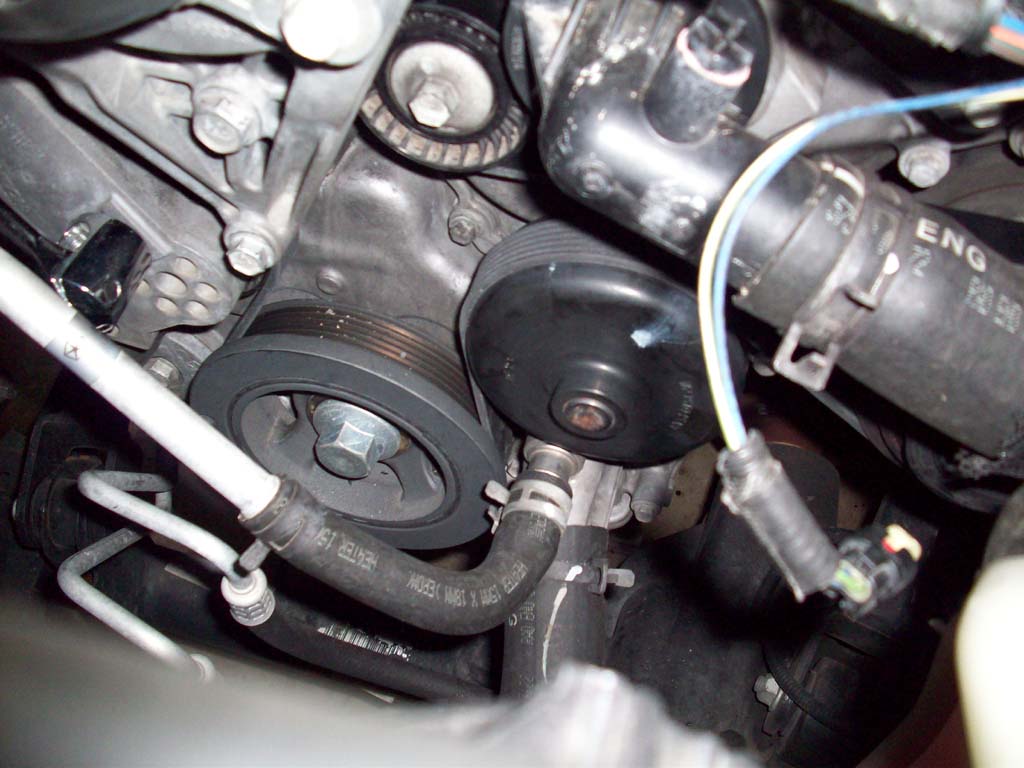
| 8. The belt wraps around everything and has very small clearances where it passes between pullies. The alternator is mounted backwards and the belt wraps around it's mounting bracket. |
 |
 |
 |
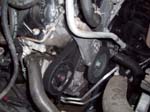
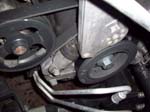
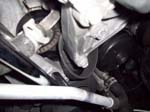
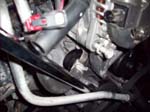
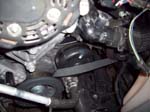
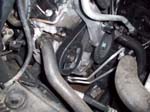
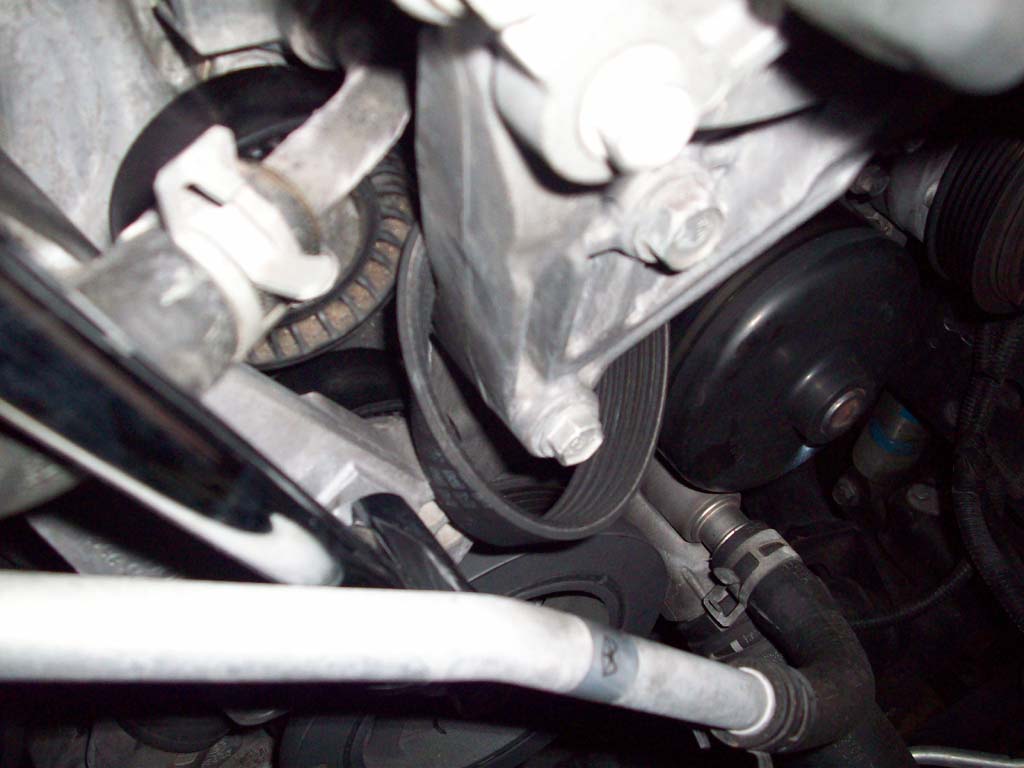
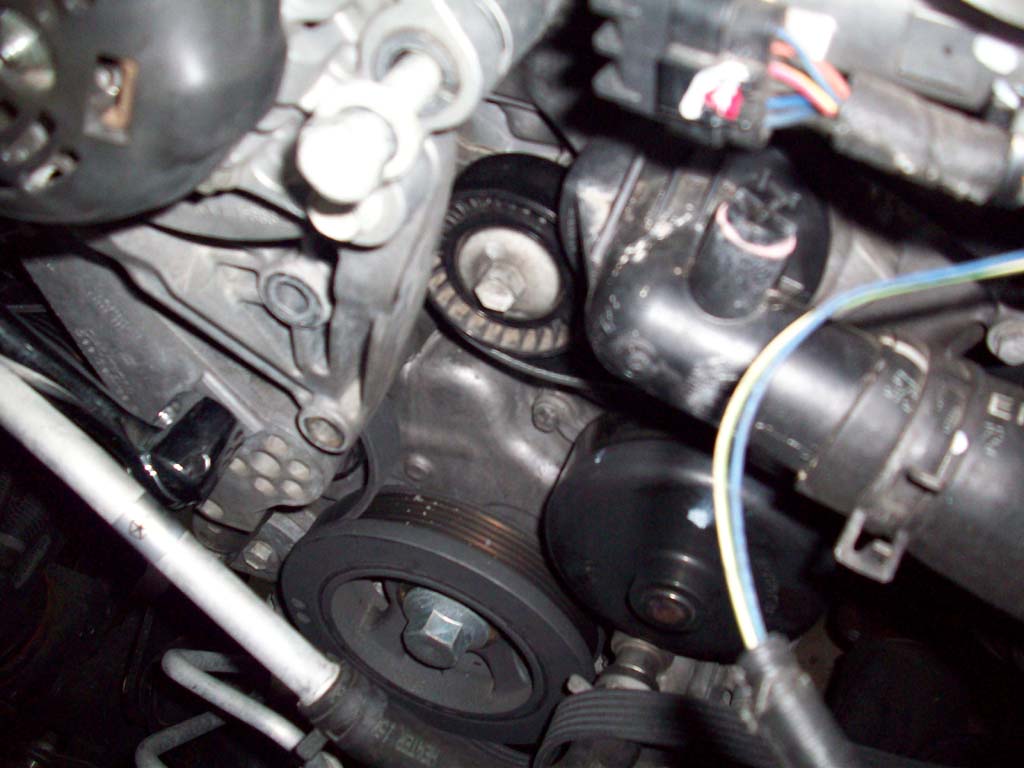
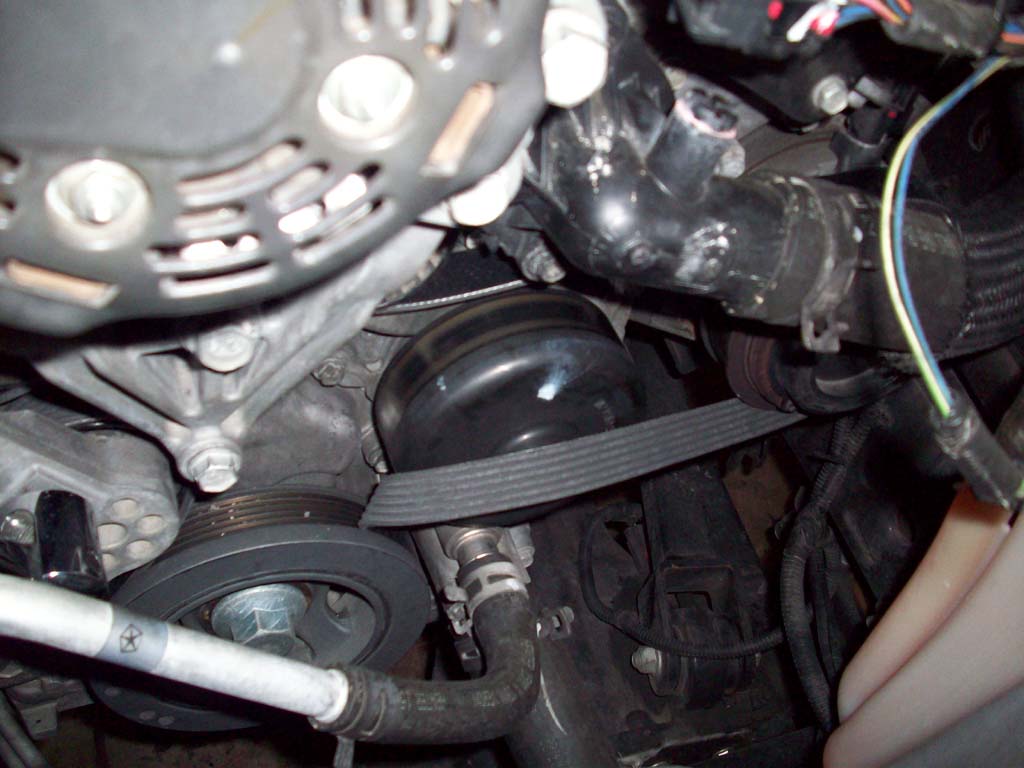
| 9. Release the tension on the belt tensioner. This is a very strong piston type tensioner. You will need a 1/2" breaker bar at least 24" long. I tried it with some shorter ones and just couldn't get enough force into it. Insert the end of the breaker bar into the square hole on the tensioner bracket and push the bar towards the drivers side from the passenger side. The piston will slowly retract, so don't try to force it quickly, you can't rush it. Once you have the piston compressed have a helper pull the belt off of a pulley. Once you have the belt off of a pulley, you can let the piston back up slowly. |
 |
 |
 |
 |
 |
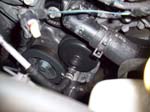
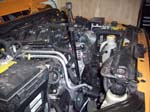
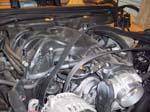
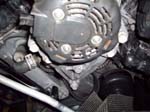
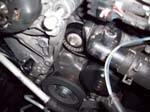
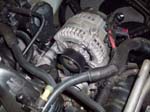
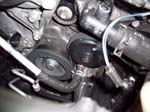
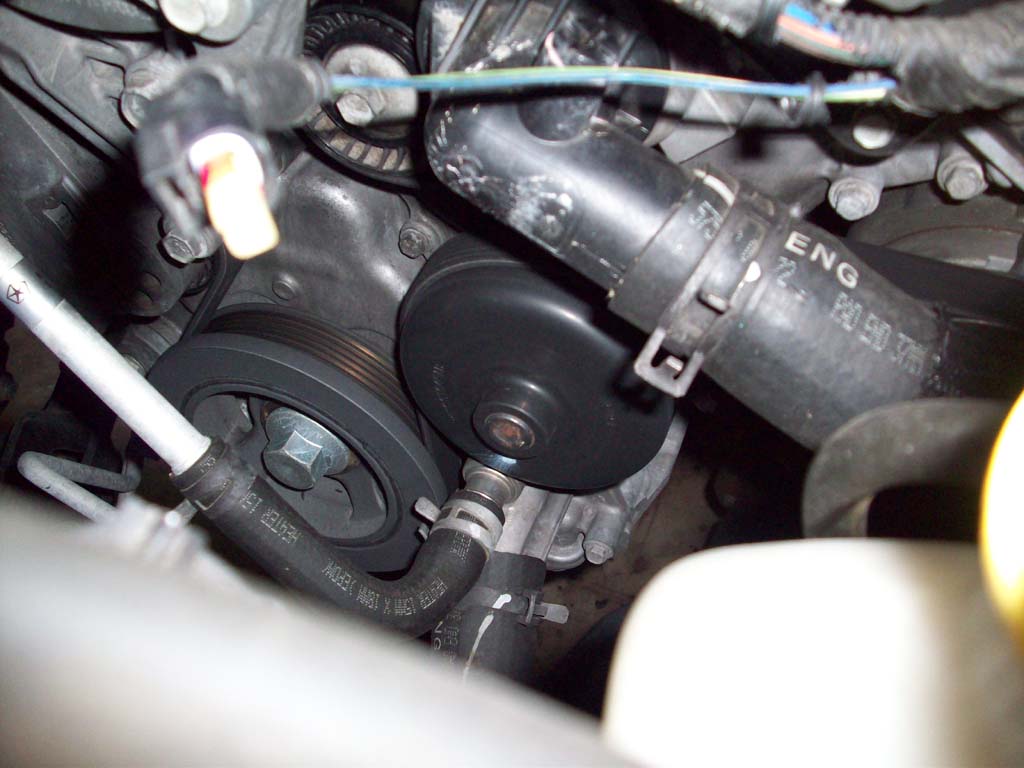
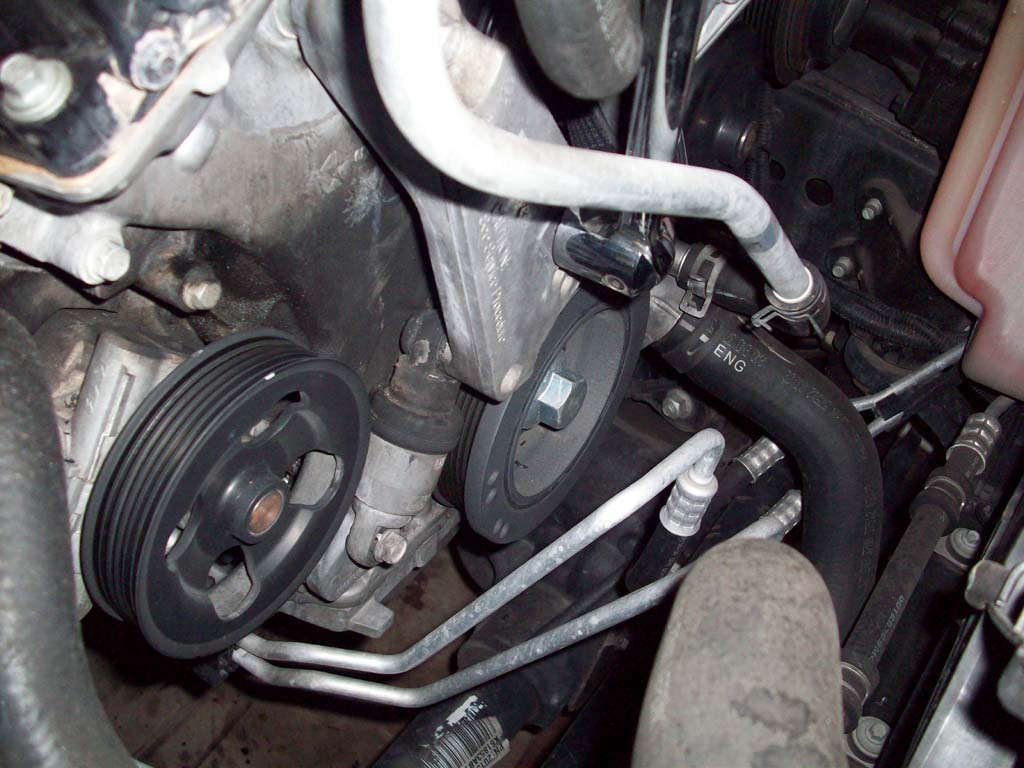
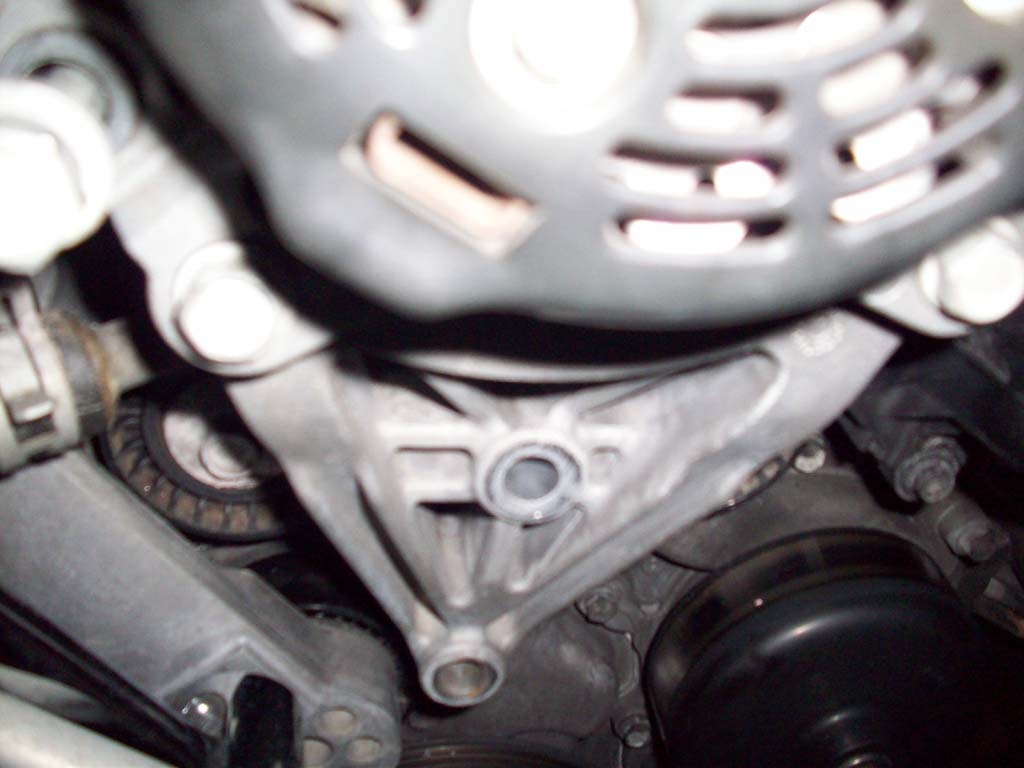
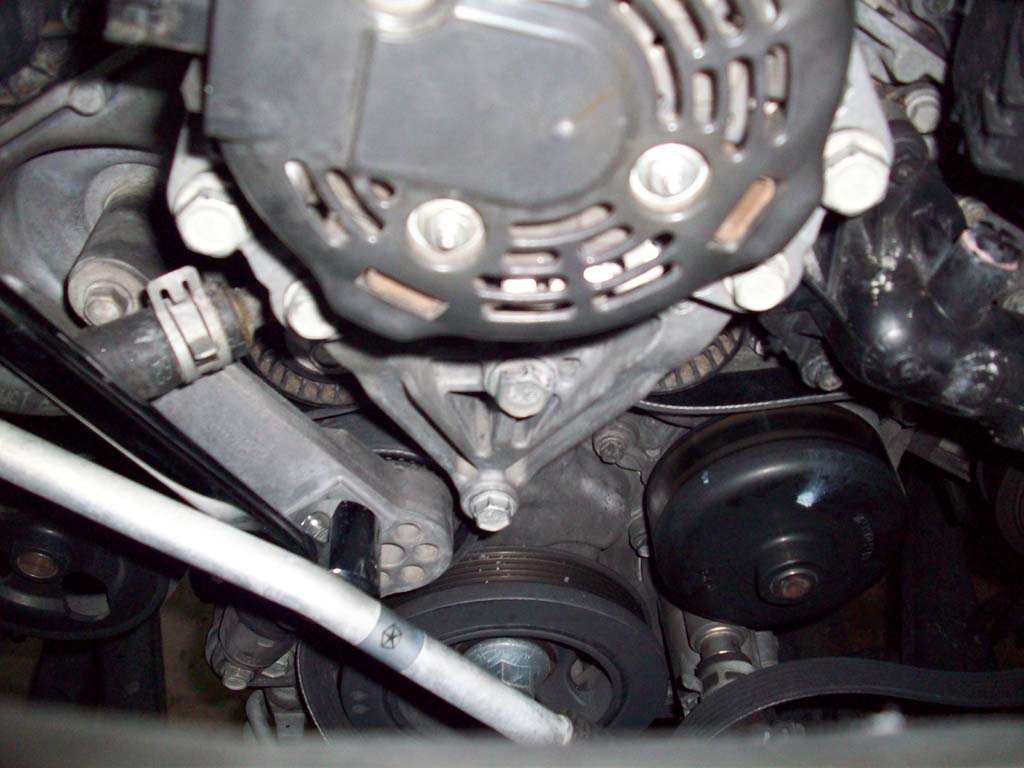
| 10. As you can see removing the belt from the pulley's gets you to the point where it is wrapped around the bottom of the alternator mounting bracket. The alternator doesn't have to come all the way off to change the belt. |
 |
 |
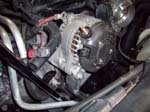
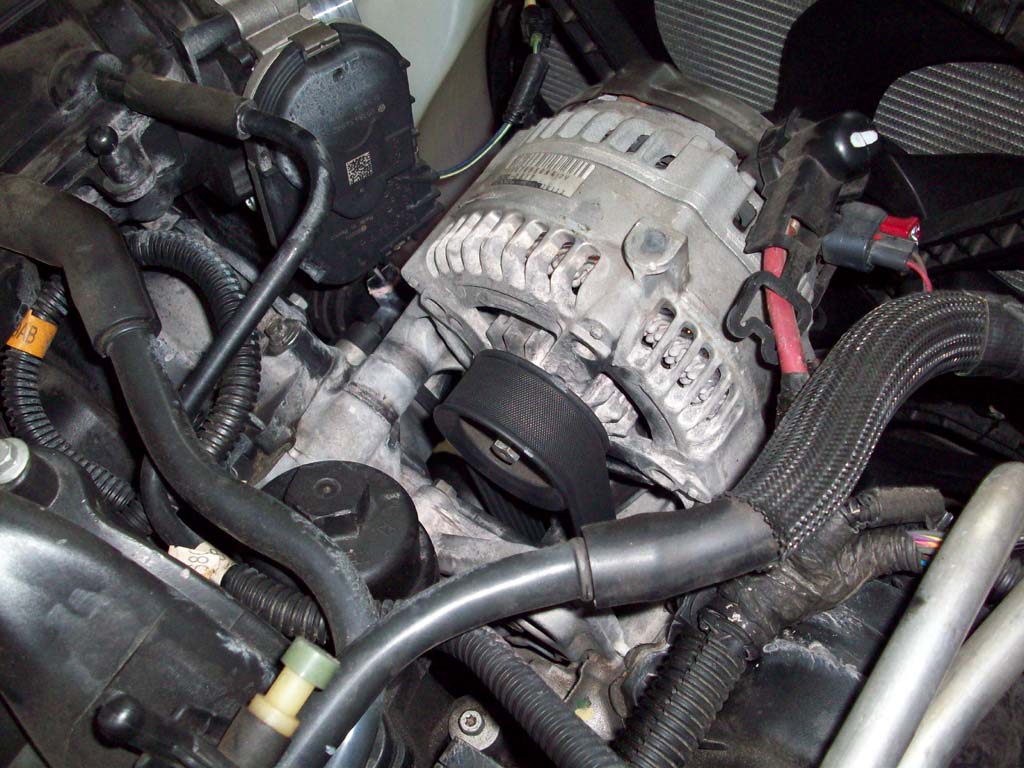
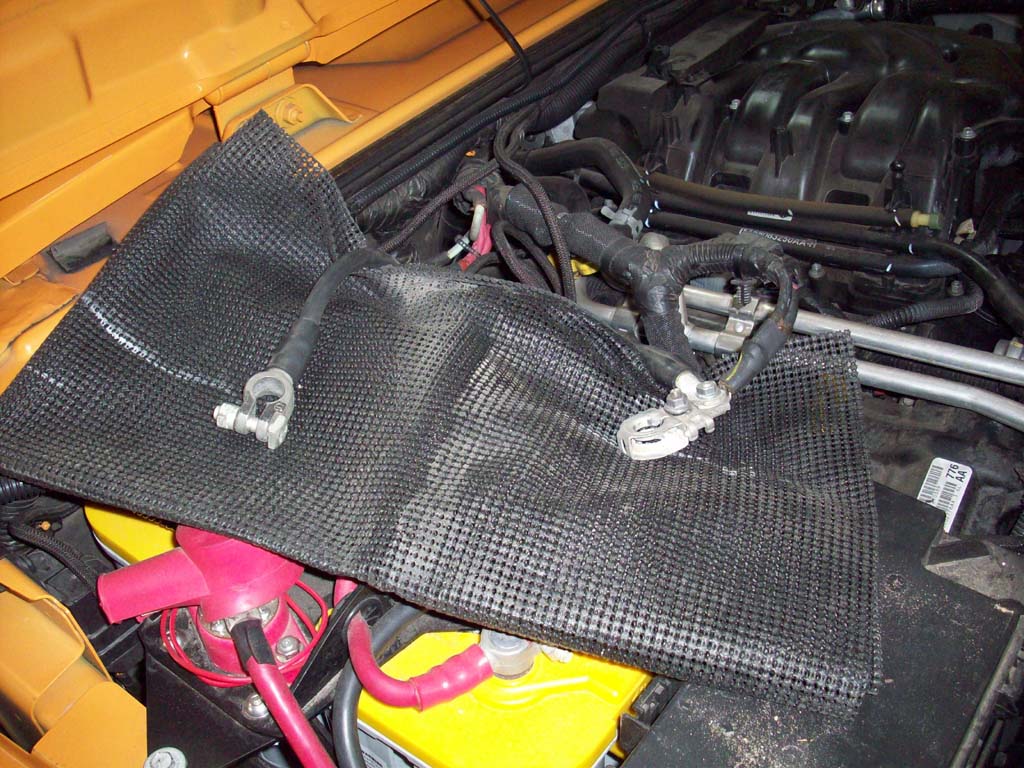
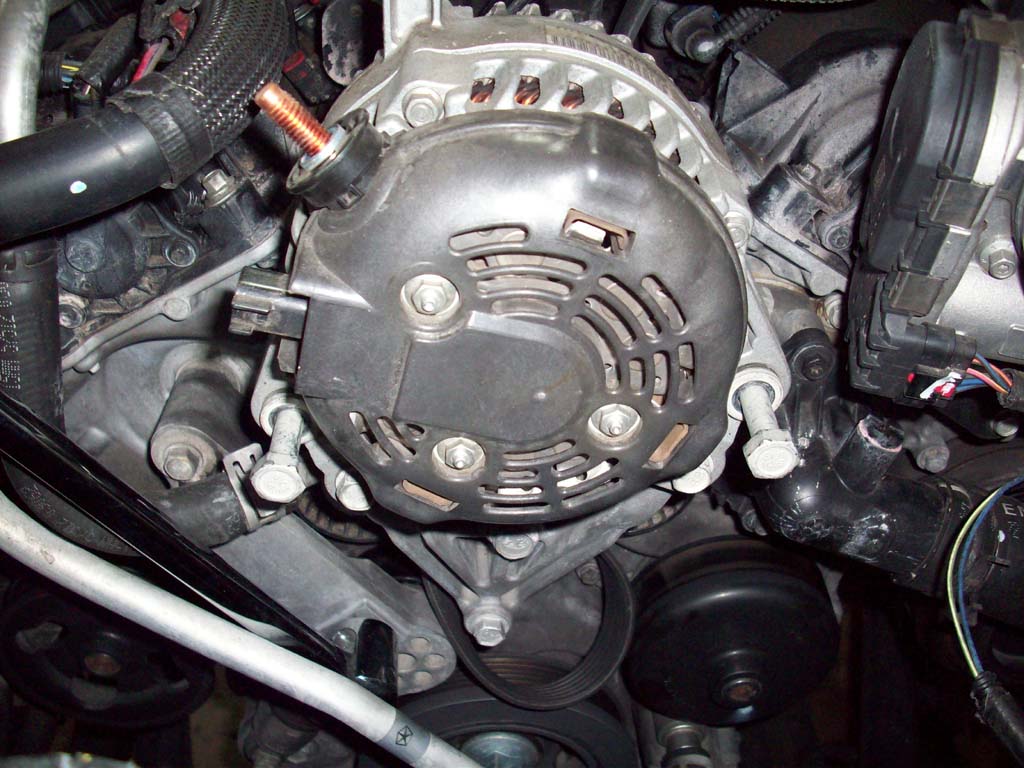
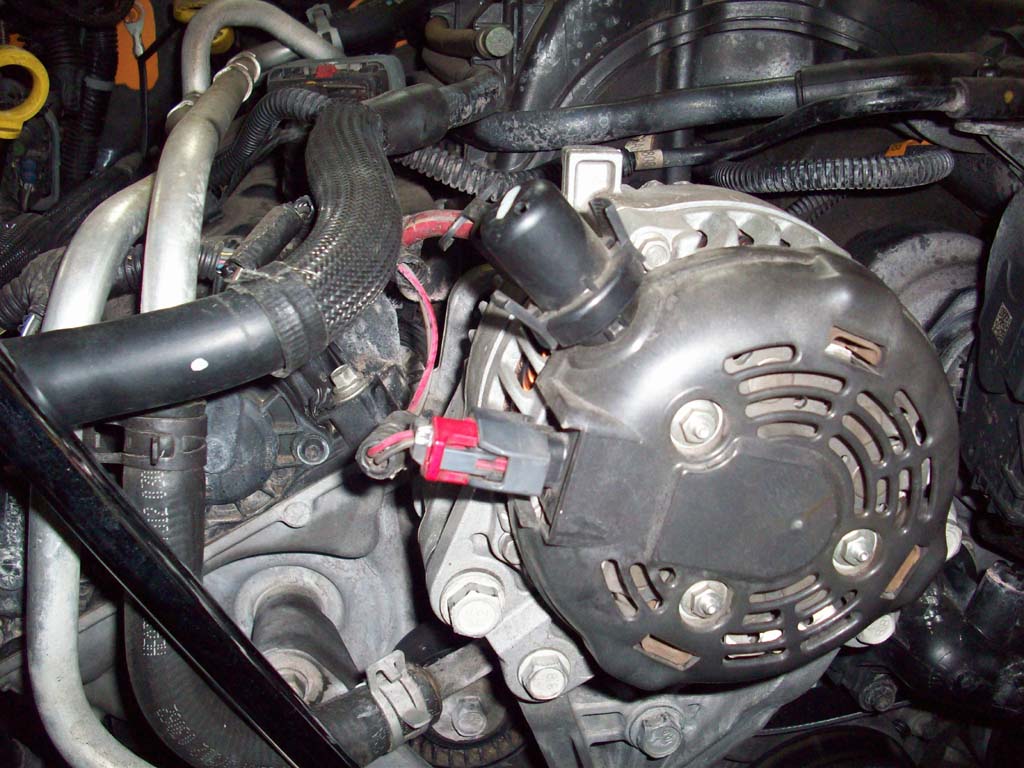
| 11. Since I was going to be playing with the alternator, I decided that disconnecting the electrical was a good idea. Disconnect the negative cable(s) and isolate them from the battery terminals. The cables have different size nuts on them depending on your setup. A 12mm is the most common. |
 |
 |
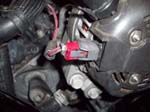
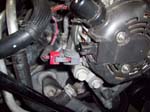
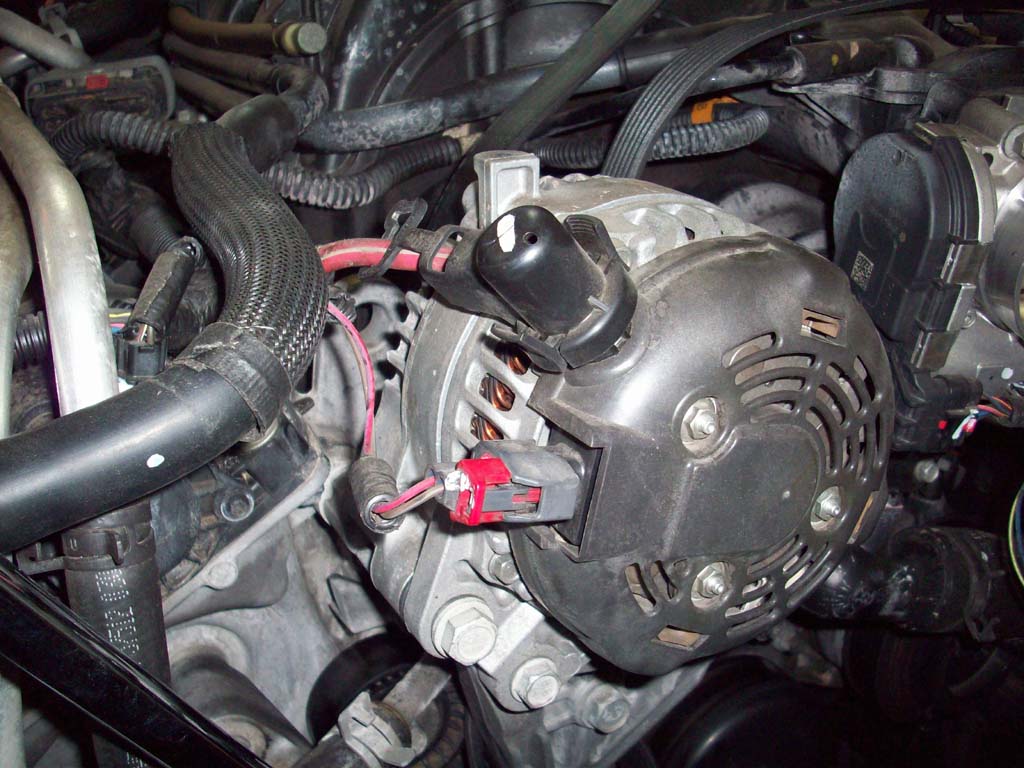
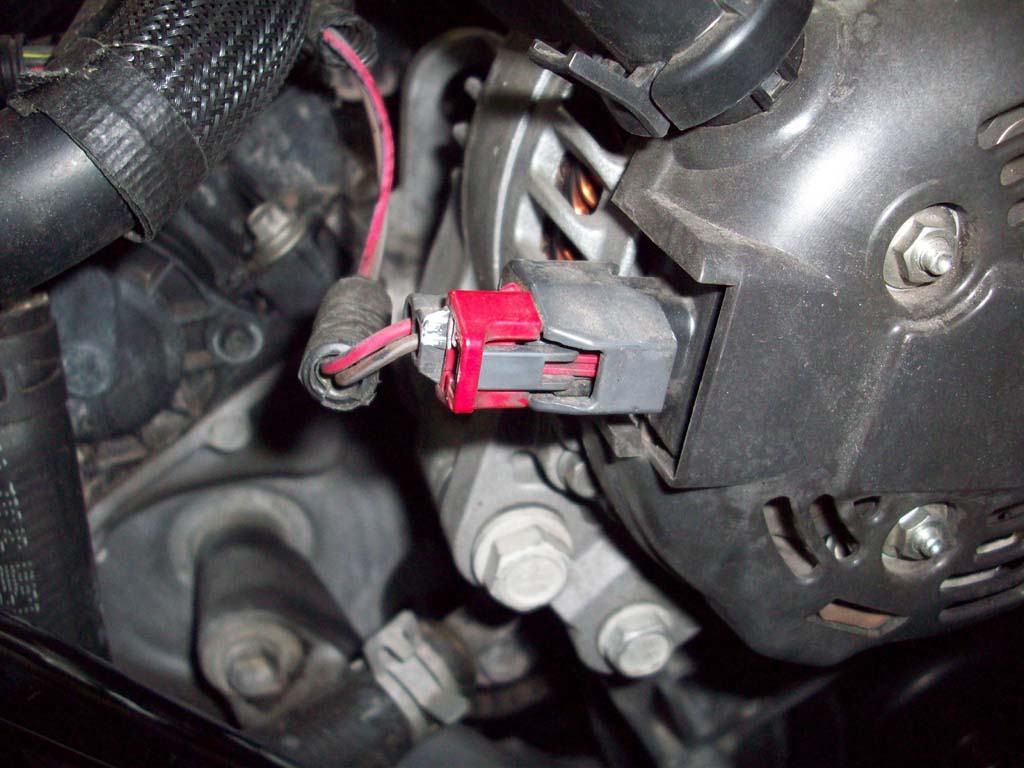
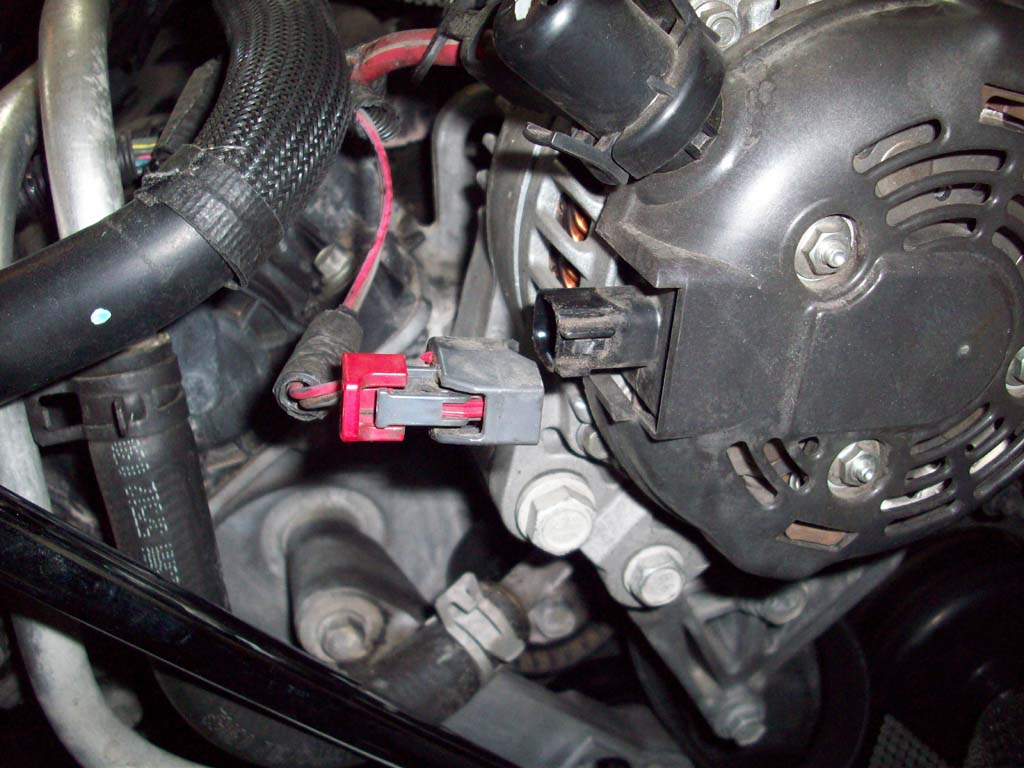
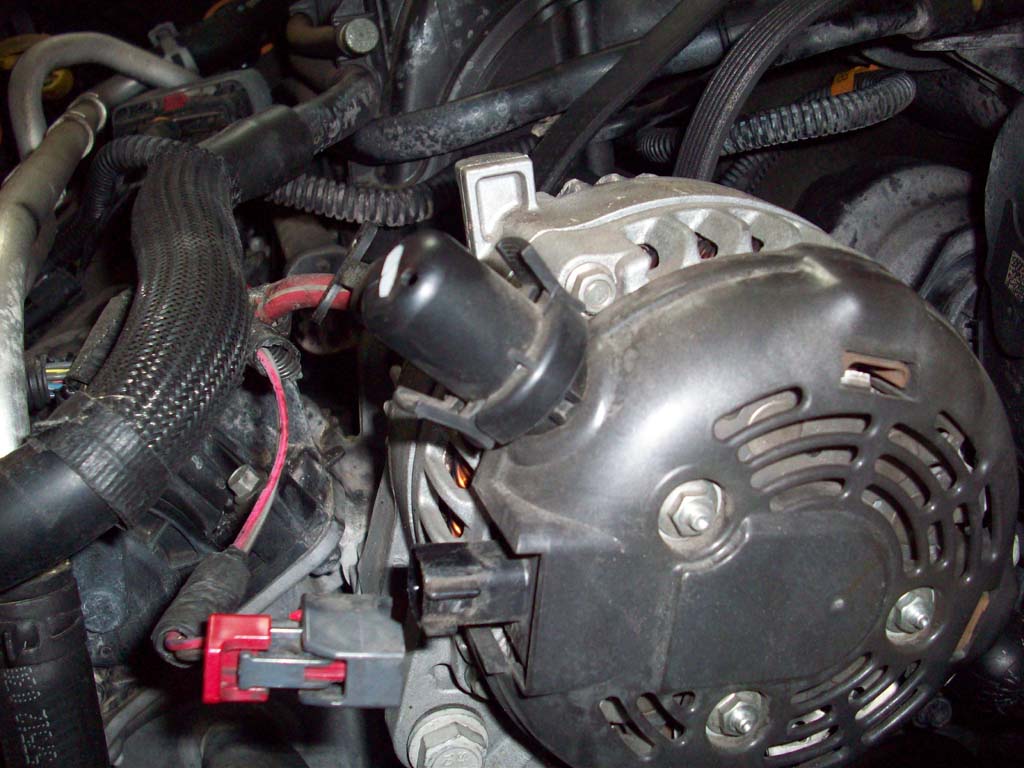
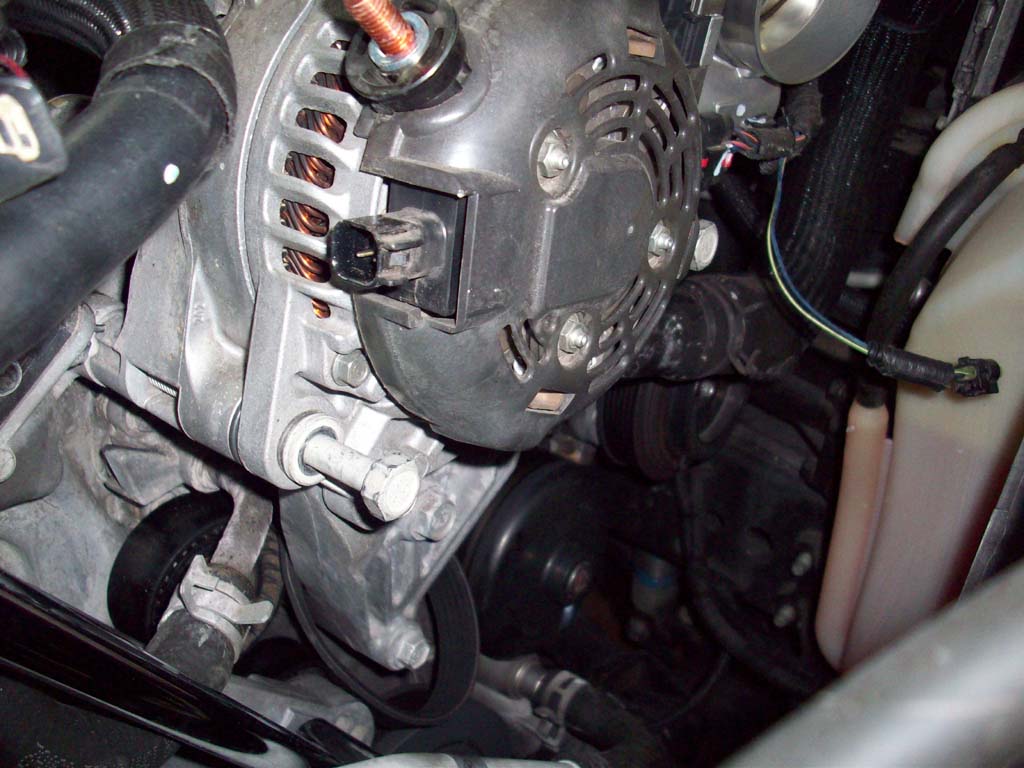
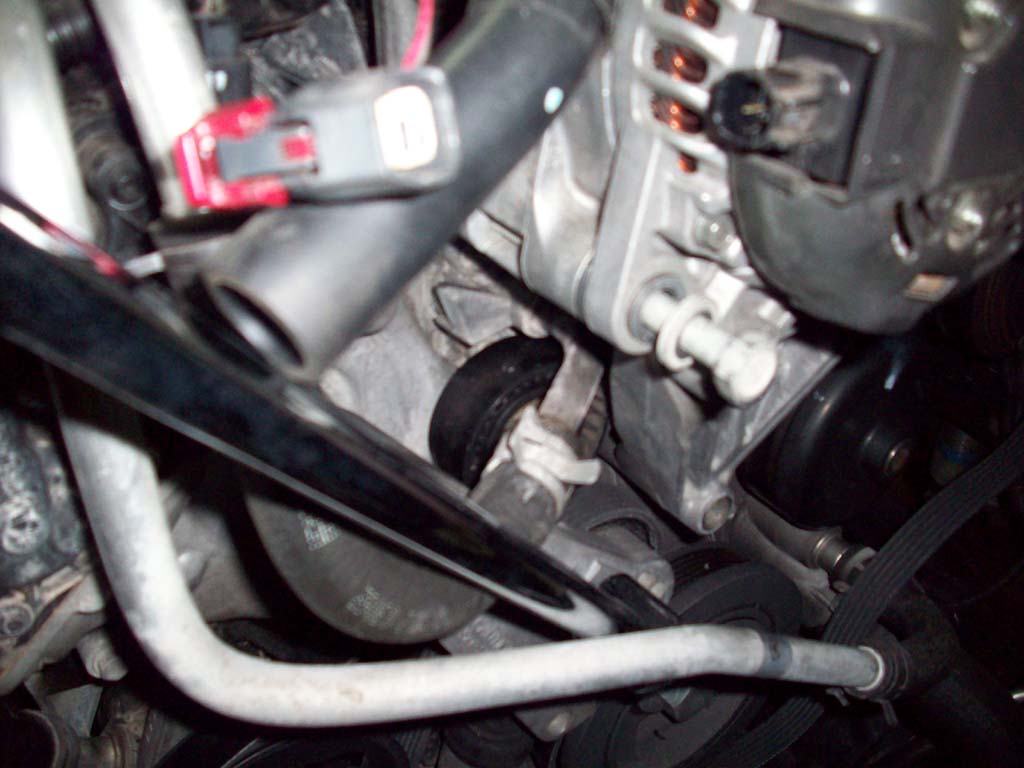
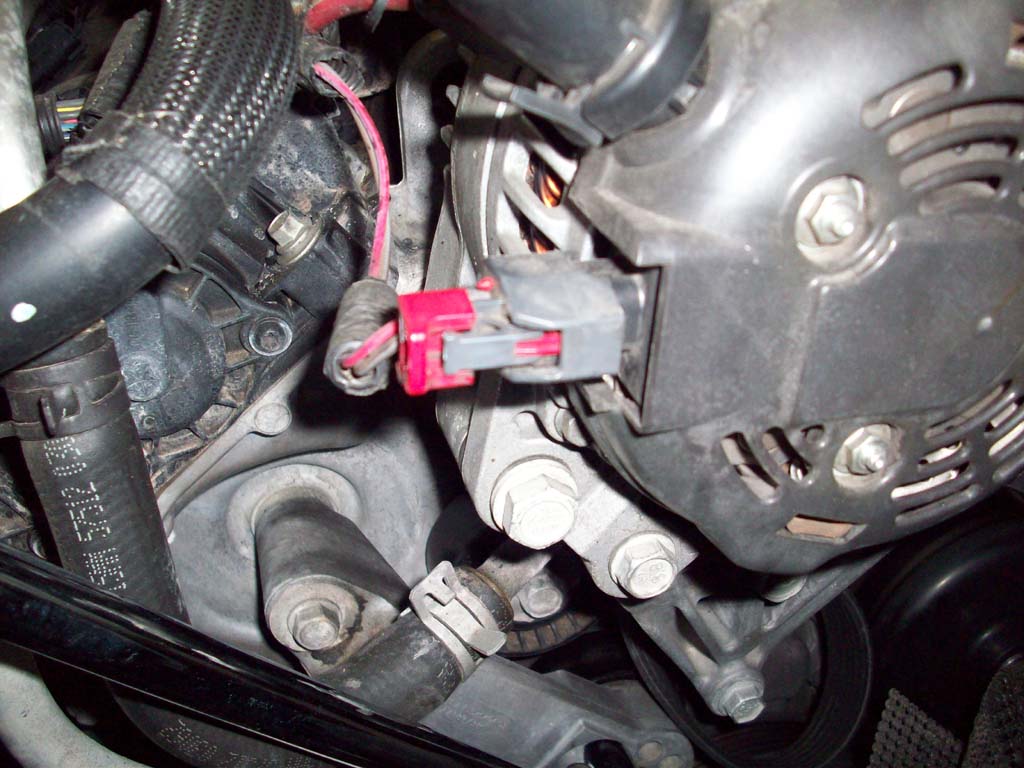
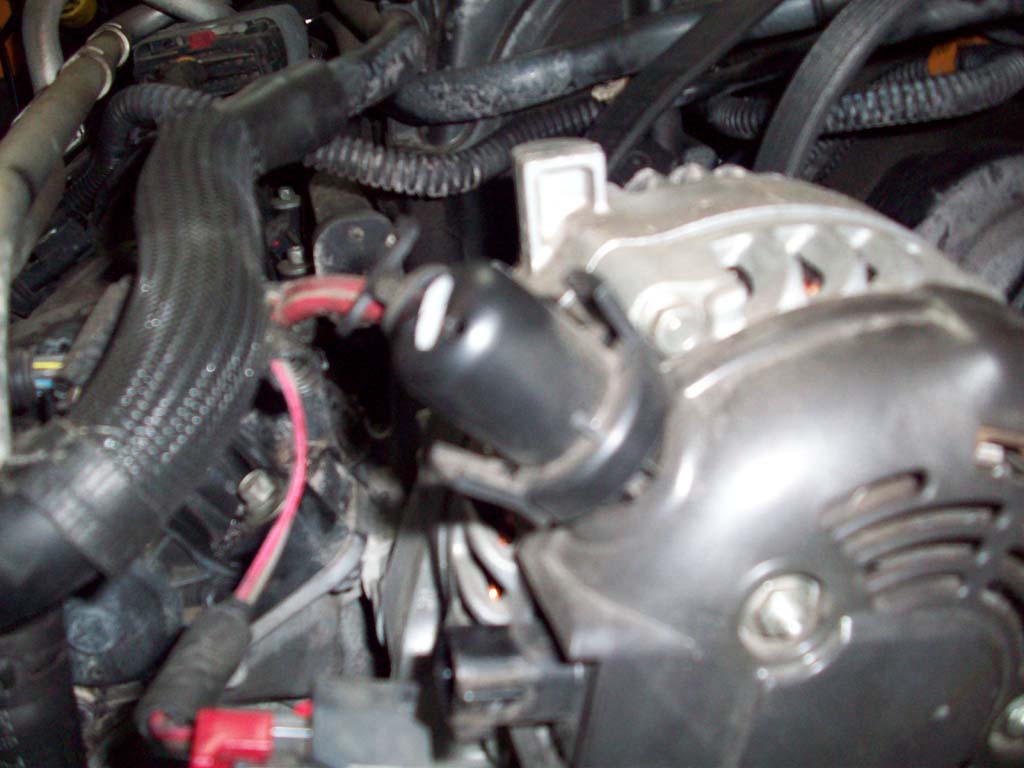
| 12. Disconnect the positive (red) cable and the control lead from the alternator. Pull the red tab out and press down on the release to remove the control lead. |
 |
 |
 |
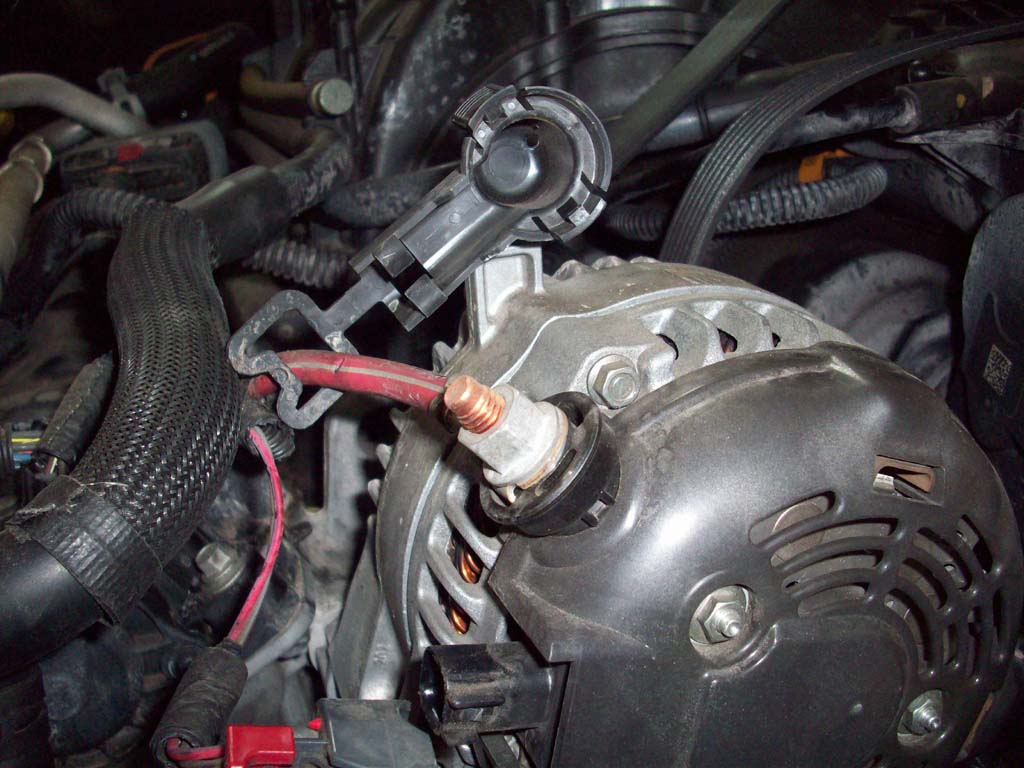
| 13. Squeeze the two (2) levers and lift on the positive cable cover to remove it. It's clipped around the cable, so you can just slide it back along the cable to get it out of the way. Remove the nut with a XXmm socket. Lift the cable off of the terminal and push it aside. I screwed the nut back onto the terminal so I wouldn't lose it. |
 |
 |
 |
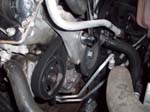
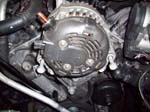
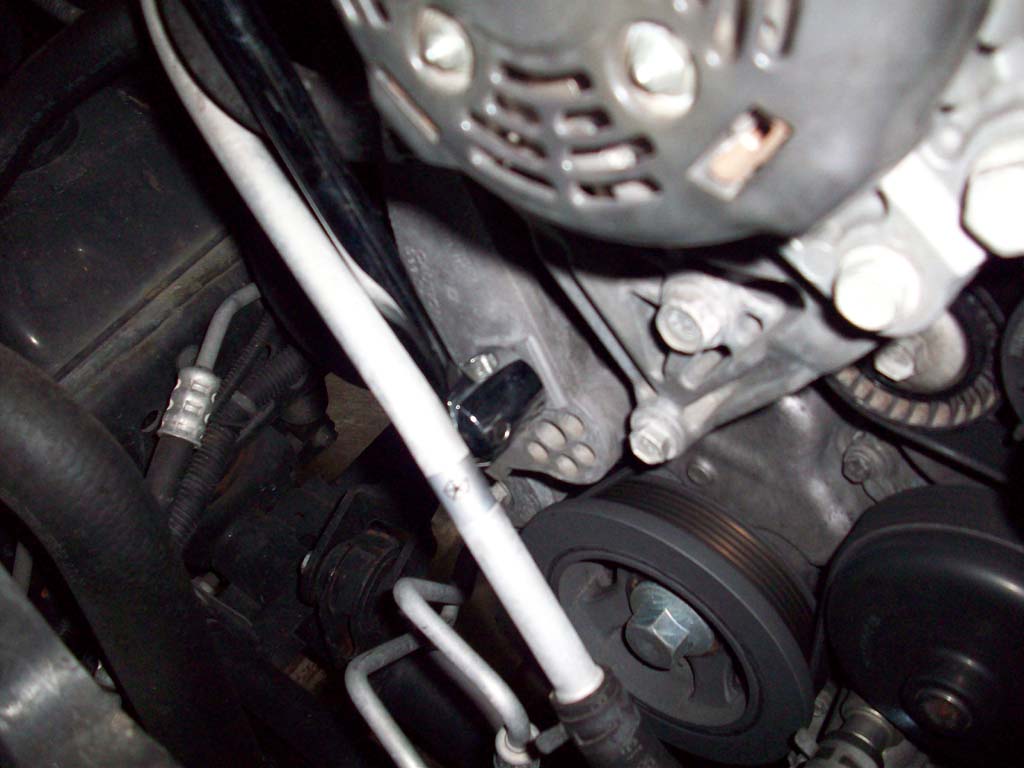
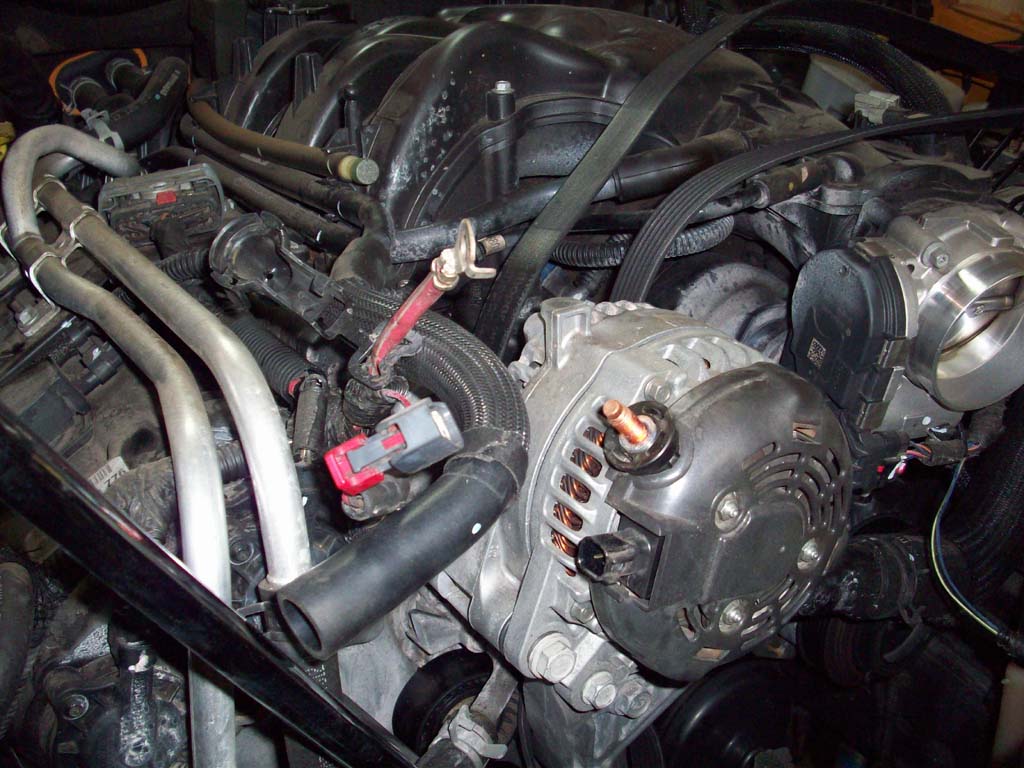
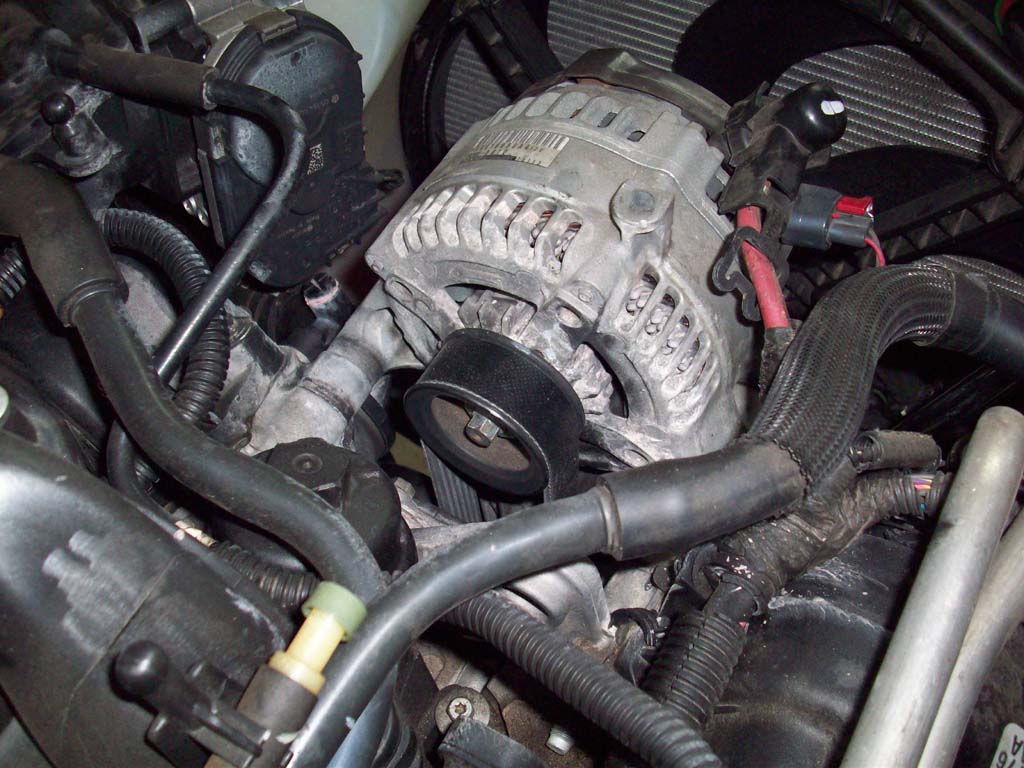
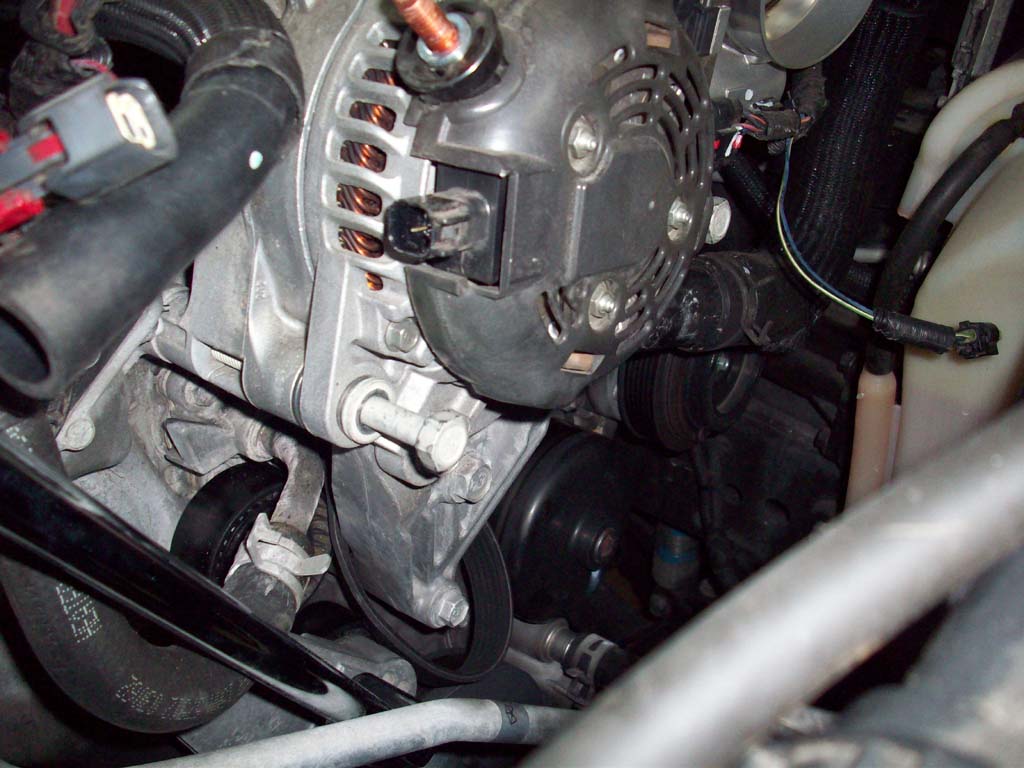
| 14. There are four (4) bolts that hold the alternator bracket onto the engine block. We won't remove the alternator from the bracket, but we will disconnect the bracket from the engine block. The bolts we will be removing are the top left and right, and then the two in the center on the bottom. |
 |
| 15. One at a time remove the top left or top right bolt. You will need a XXmm socket and ratchet. These are in really tight. Once you have the bolt removed, screw it back in a couple of turns and then repeat for the other side. We will be using these bolts to support the bracket and alternator as we slide it back to get the belt out. |
 |
 |
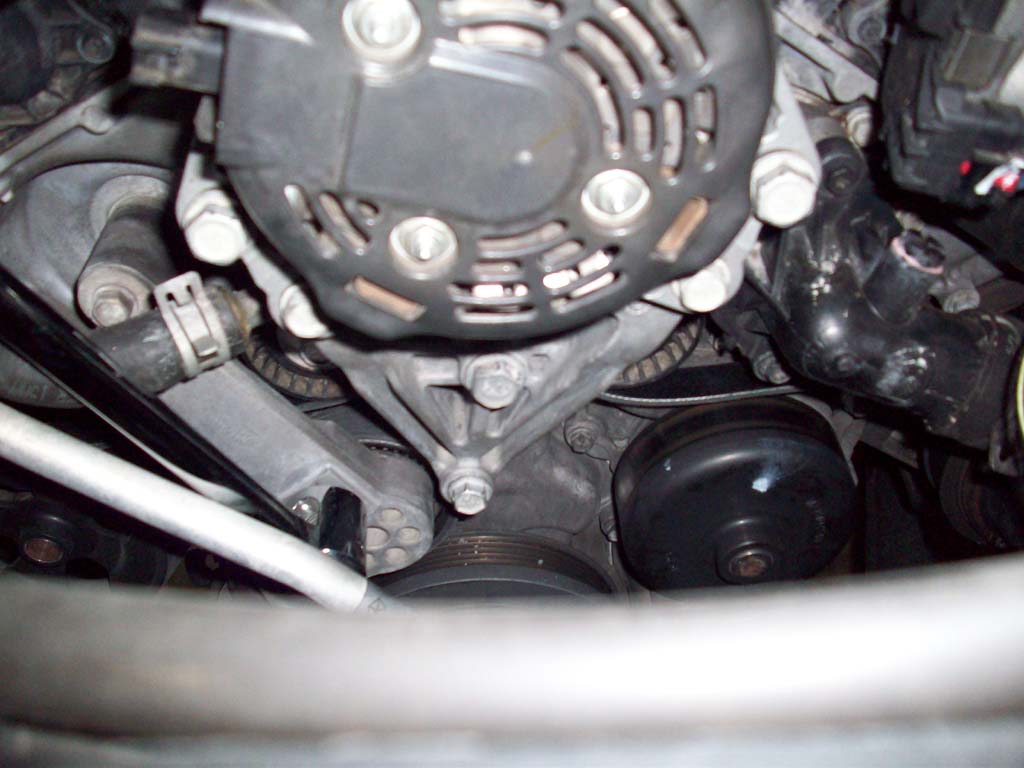
| 16. Remove the bottom two (2) bolts. You will need a XXmm socket and ratchet. These are in fairly tight also. Put these aside you will be reinstalling them shortly. |
 |
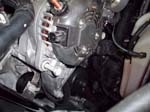
| 17. Slide the alternator and bracket forwards so that you can slip the belt out past the two lower bracket mouning points. |
 |
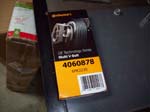
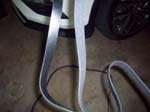
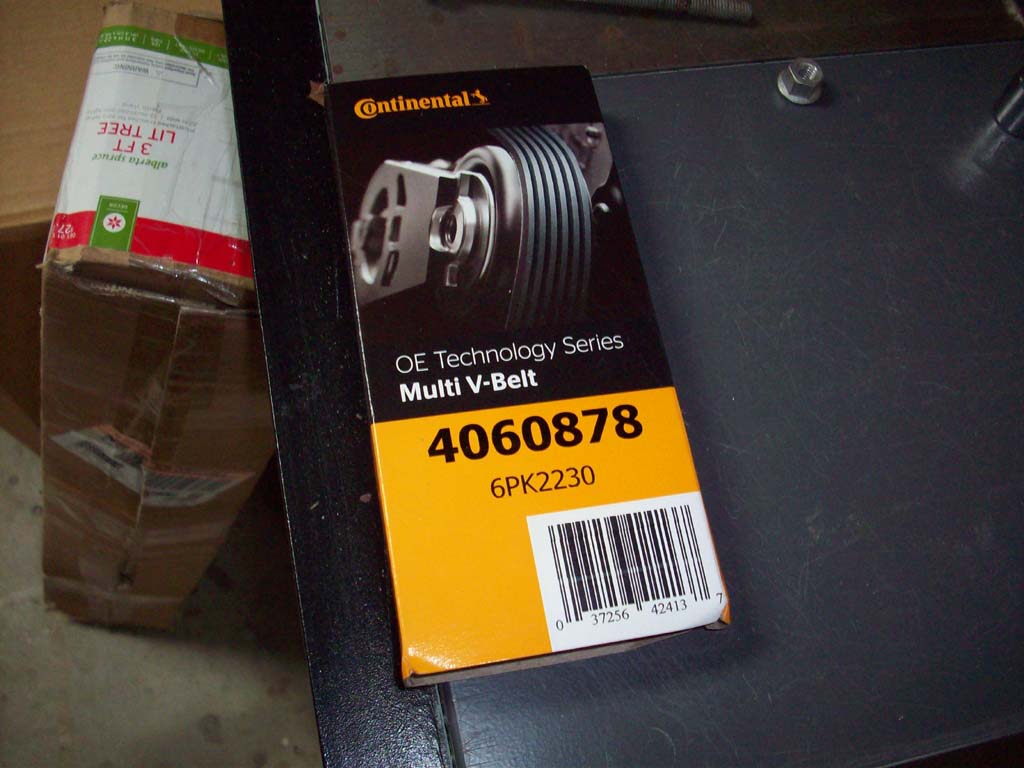
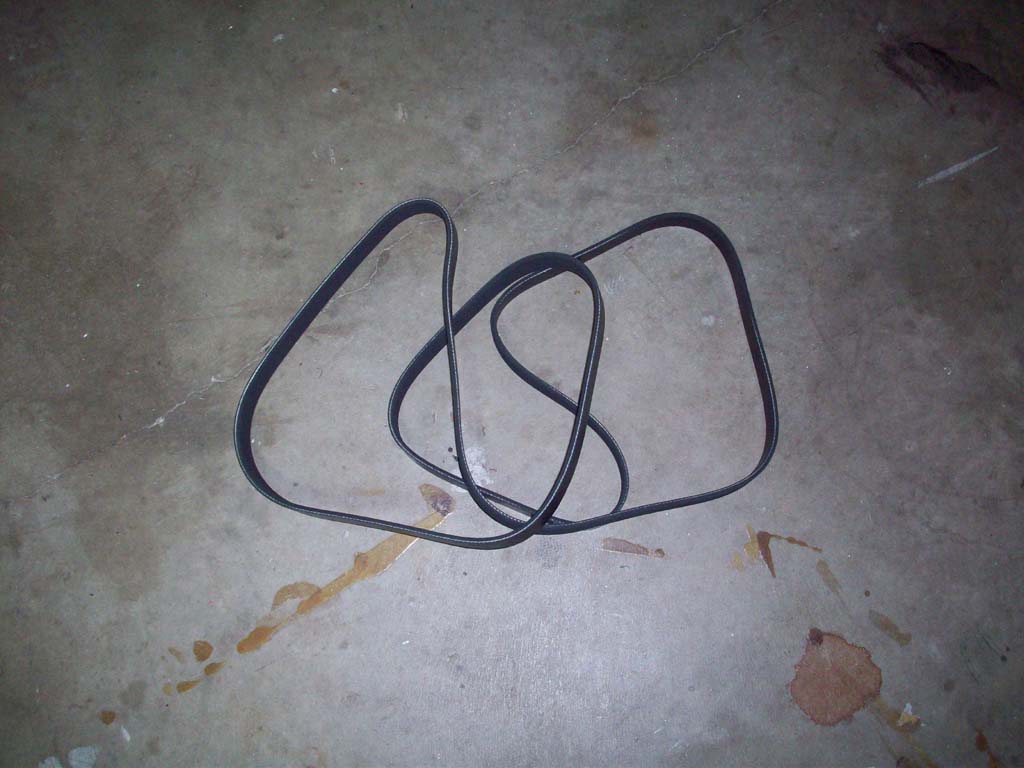
| 18. I used a Continental drive belt that I picked up at my local Autozone for about $35 and a rebate. They generally range from about $28 to $35. Somehow, I managed to pull it out and promptly drop it on the floor where I tripped over it a moment later. |
 |
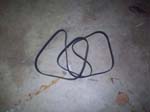 |
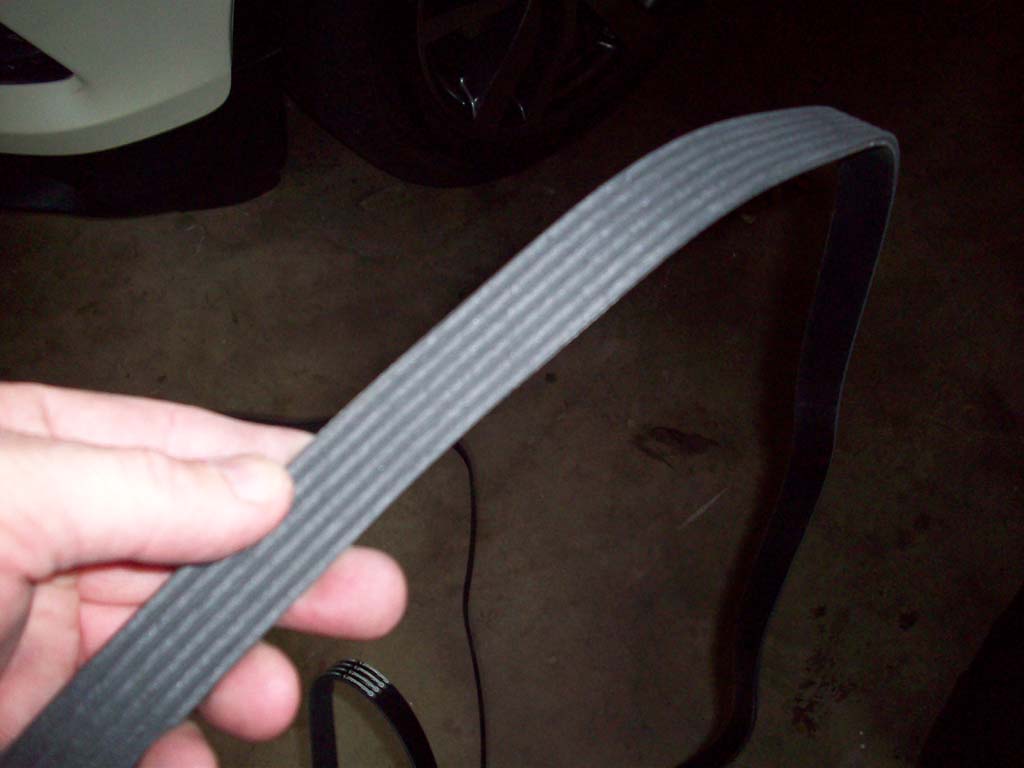
| 19. I looked at the nearly 7 year old belt that I had on the Jeep and it actually looked really good, no cracking along the groves and no real wear on the back side. I threw this in the offroad kit as a spare belt, though I need to remember the big breaker bar also. |
 |
 |
| 20. Feed the new belt down through the top of the alternator and around both of the bottom bolt holes in the alternator bracket. |
 |
| 21. I then feed the belt left and right past the idler pulleys, around the |
 |
 |
| 22. Reinstall and tighten down the bolts on your alternator bracket. |
 |
| Belt Routing Diagram |
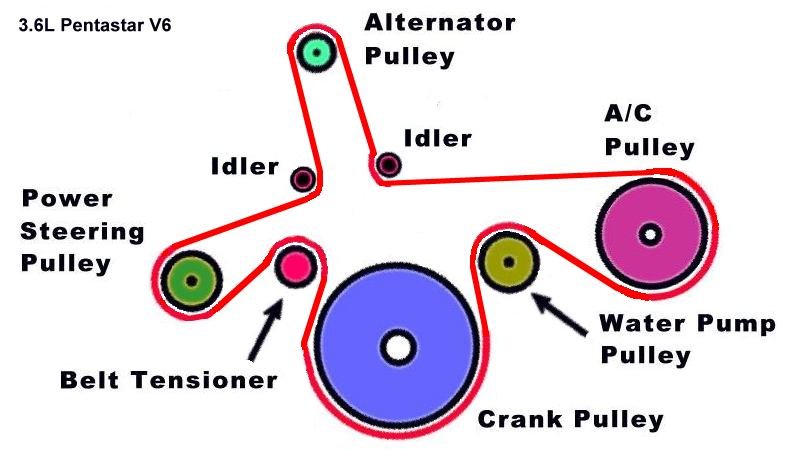 |
| 23. Feed the belt around the crank pulley and then using the breaker bar push the tensioner pulley down. Have a helper put the belt up and over the . Once fingers are clear you can release the tension on the tensioner pulley. |
 |
| 24. Reconnect your alternator cable and control line. |
 |
| 25. Double check your routing and make sure that it is sitting on all of the pulleys correctly. Once I made certain that everything was clear of the engine intake and that nothing could get sucked in, I started the engine and double checked the belt to make sure it was running correctly. Your choice here, depending on how comfortable you are with the intake being wide open.. |
 |
 |
 |
 |
26. Reinstall your Air intake and engine cover. Don't forget to reconnect the IAT sensor.
Note: Double check your alternator/generator bracket bolts after driving it a few days. |


