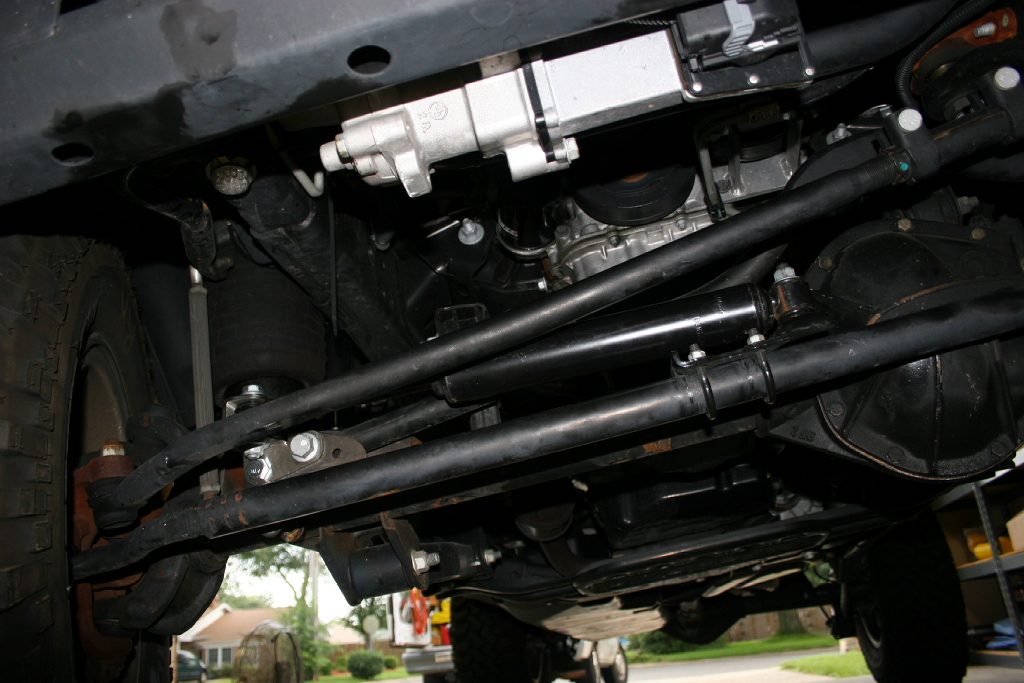
The steering stabilizers on the Jeeps have always been in a vulnerable position. With the change in steering setup on the new Jeep Wrangler JK’s it’s even more of a problem. Now your stabilizer is one of the first things to take damage on the front of the Jeep. A few relocation brackets are out on the market. All of them move the stabilizer up and out of harms way. Okay for the most part out of harms way.
| |
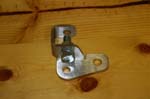
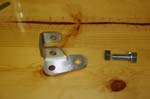
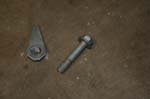
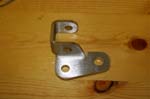
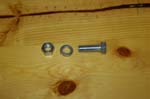
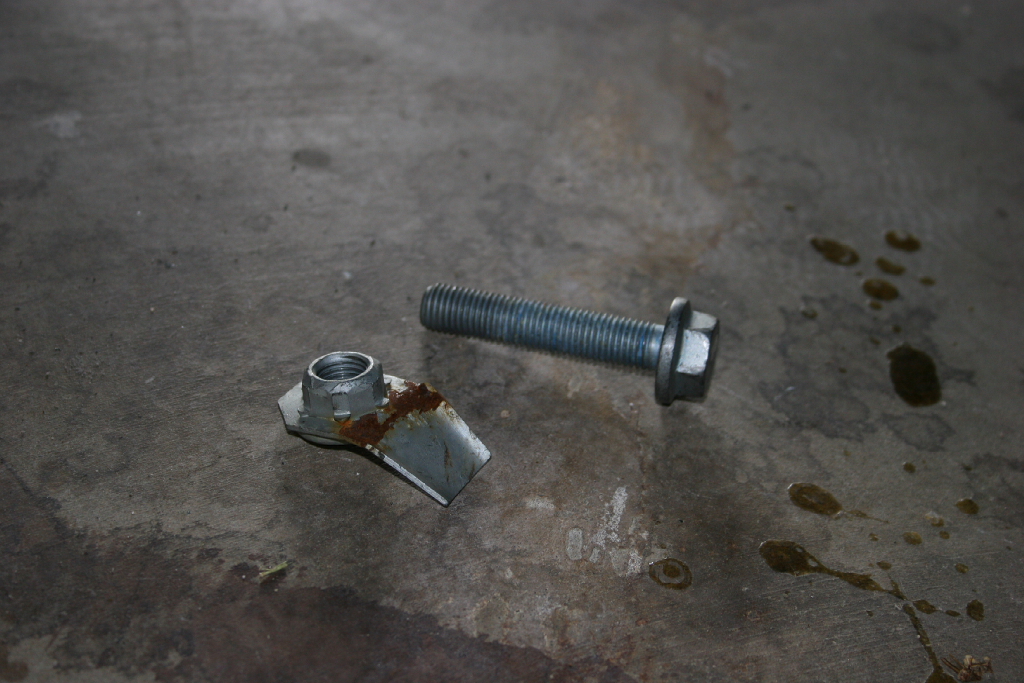
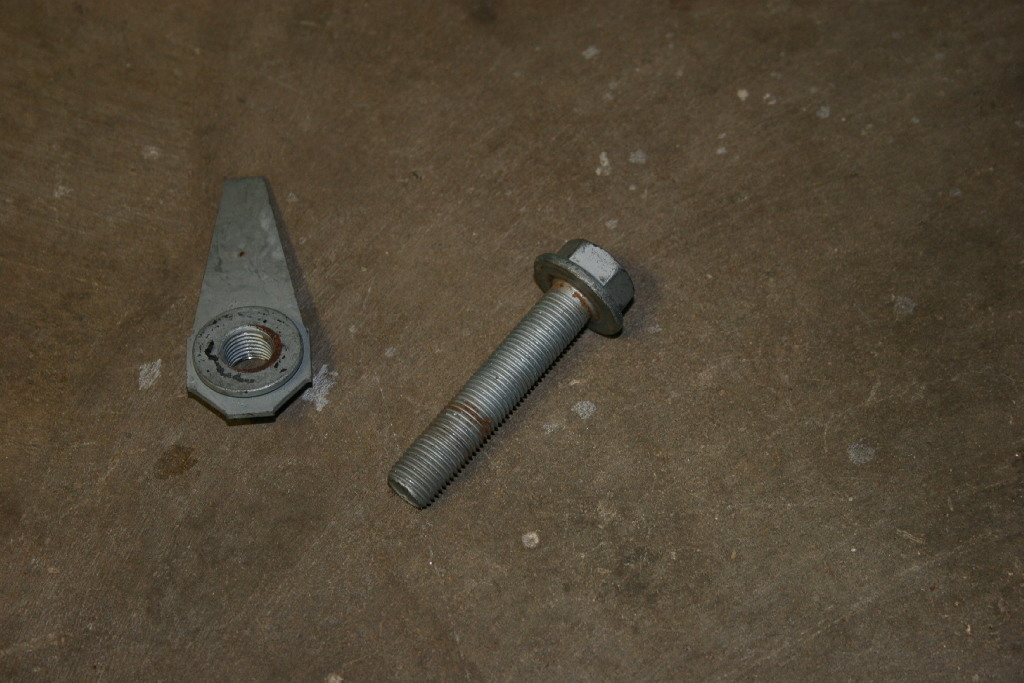
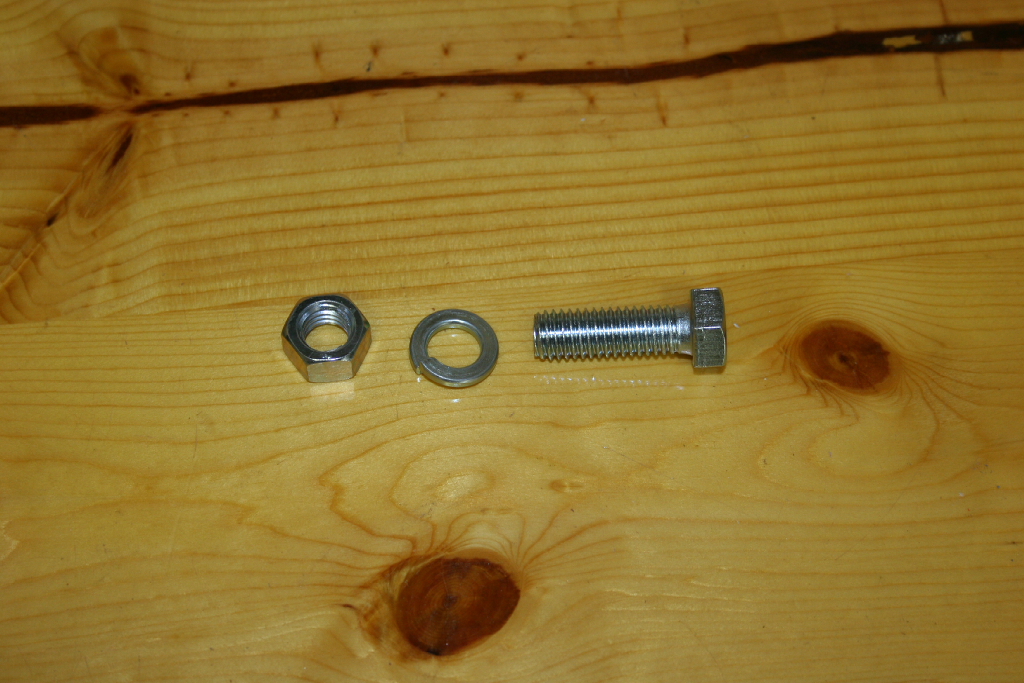
| Here's what comes in the box (bracket, bolt, and a set of not pictured instructions). Remove the bolt from the bracket. It should only be finger tight, or grab a set of 3/4" or 19mm combo wrench's. |
 |
 |
| Park on level ground. Woods instructions tell you to turn the wheel all the way right in the beginning, but I was unable to get the bolt out of the steering stabililzer axle bracket, so needed to keep it straight. You can do most of this install with the steering straight, but will need to turn the steering all the way right to reinstall the steering stabilizer. |
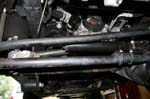
Check your steering stabilizer, it should have the rod end connected to the axle and the tube end connected to the tie rod. Some of the older 2007 models came with the stabilizer reversed. If it is not this way, you will need to flip it over. |
Remove the nut from the stabilizer tie rod stud with a 17mm socket or 17mm combo wrench. |
 |
 |
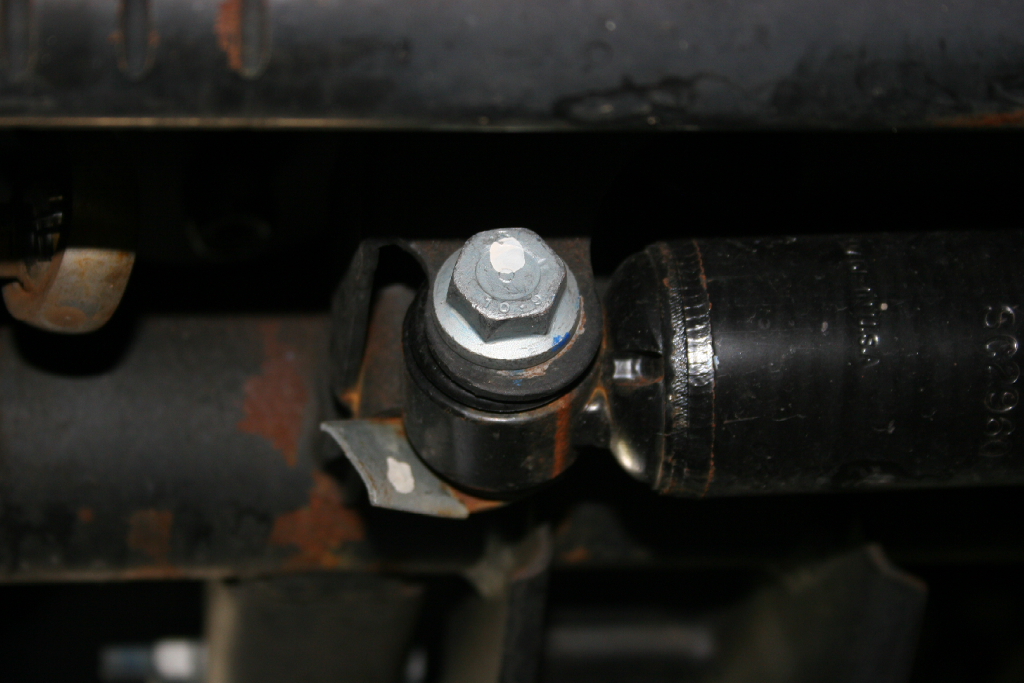
Remove the steering stabilizer to axle bolt with a 17mm socket. Place it aside. |
 |
 |
Remove the steering stabilizer from the tie rod and axle |
 |
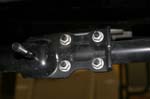 |
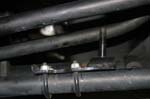
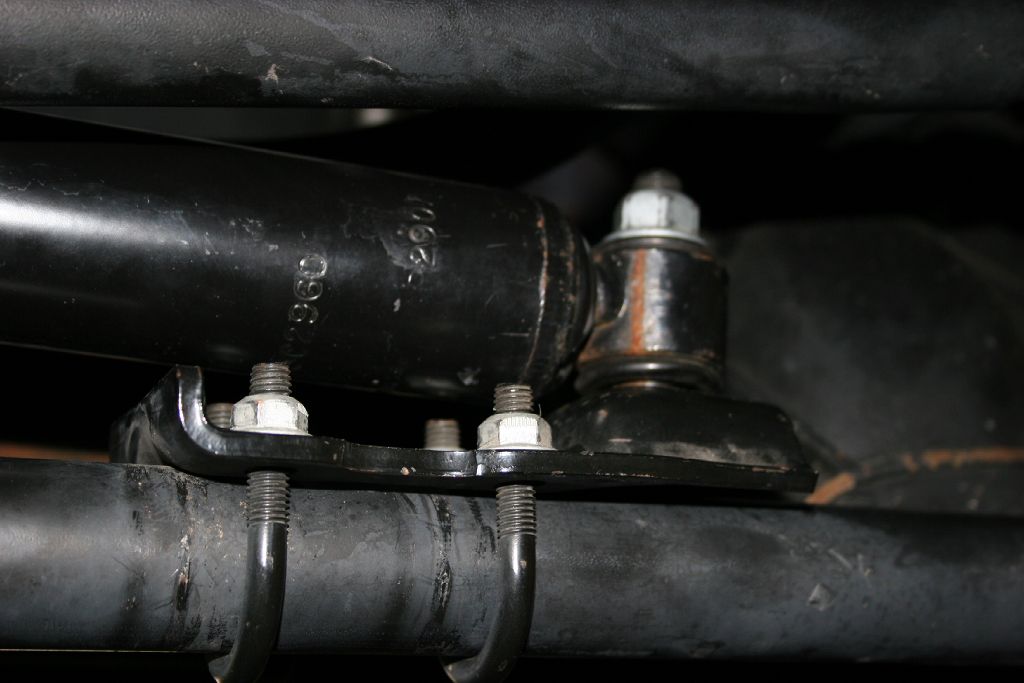
Loosen the tie rod bracket U-bolts with a 13mm socket. |
 |
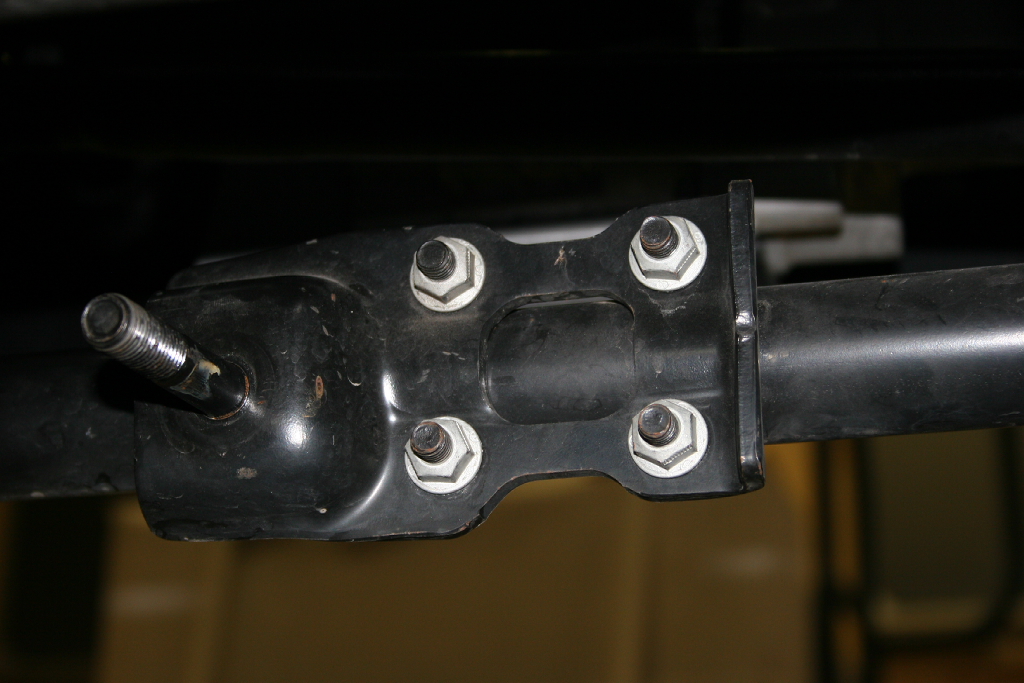
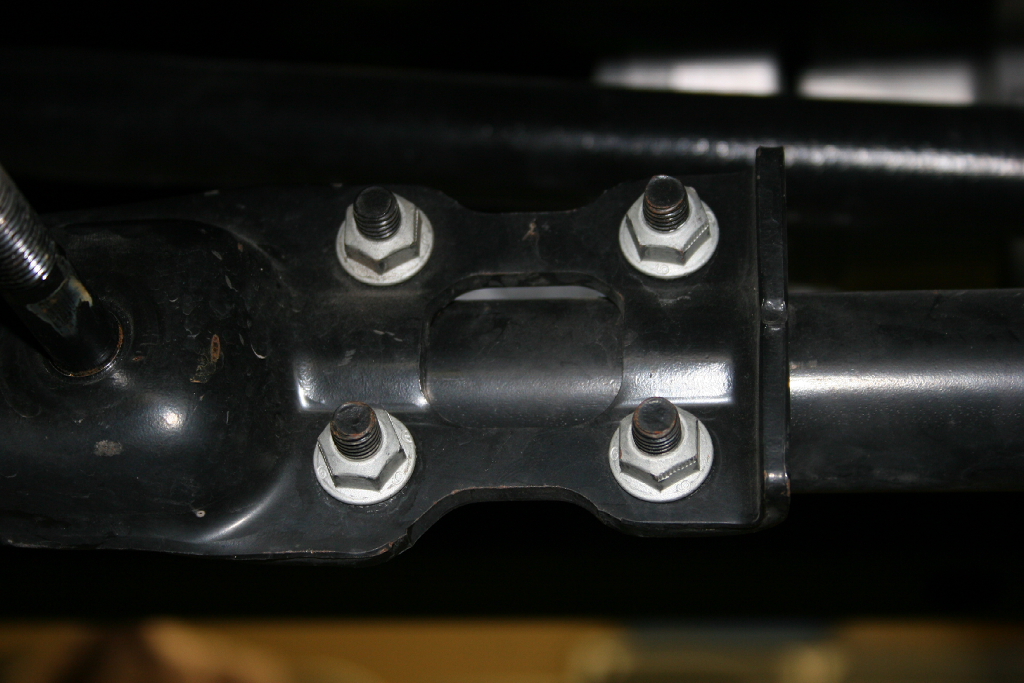
Rotate the factory tie rod bracket up so that the stabilizer tie rod bracket stud is on top of the tie rod. |
 |
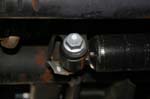
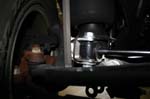
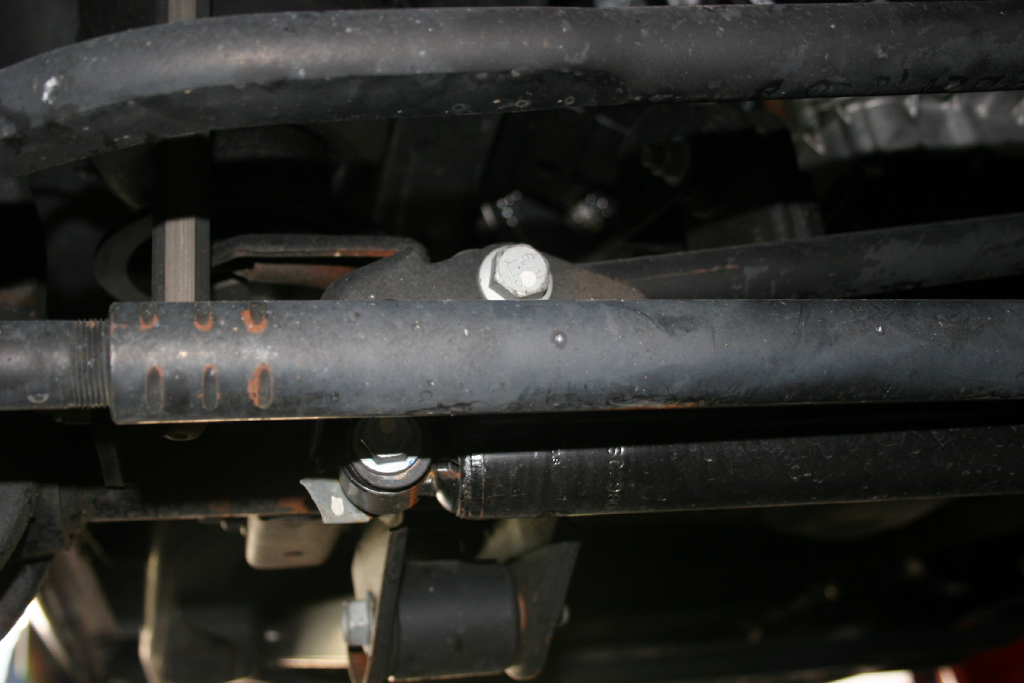
Remove the track bar to axle bolt with a 21mm socket. |
 |
 |
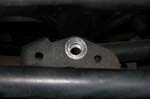 |
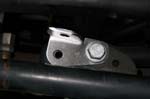
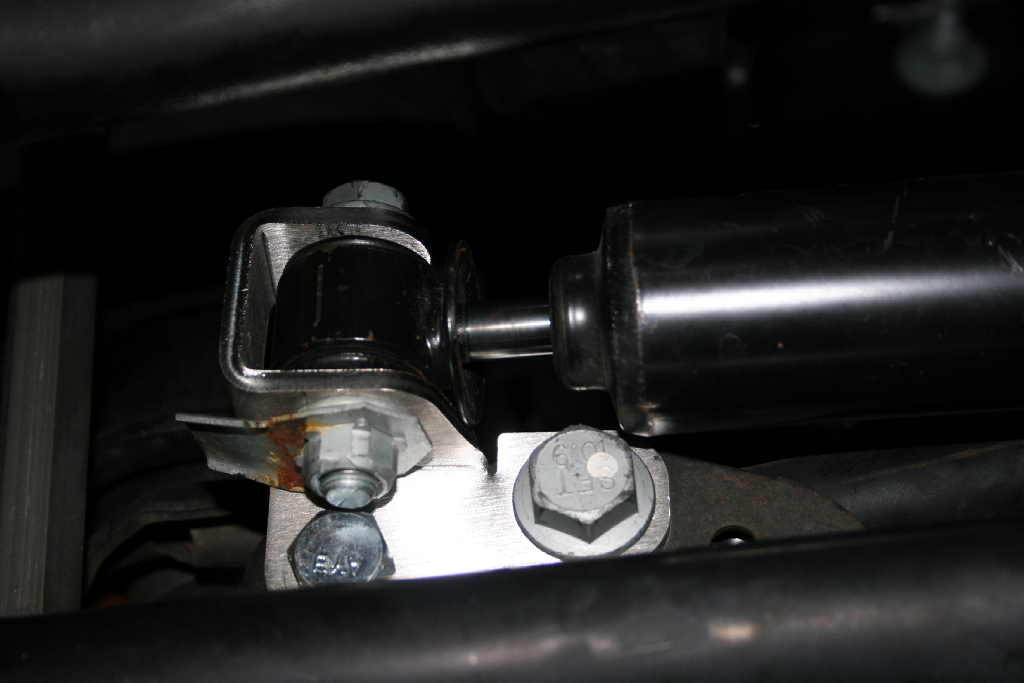
Holding the new steering stabilizer bracket, insert the track bar bolt through it, the axle bracket and track bar. Note: you may need to rock the vehicle, or have someone to turn the front wheels to get the track bar to line back up. It usually doesn’t take much, so you can do this with the engine off. |
 |
 |
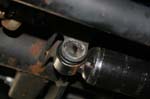
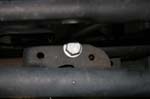
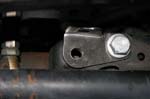
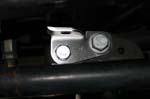
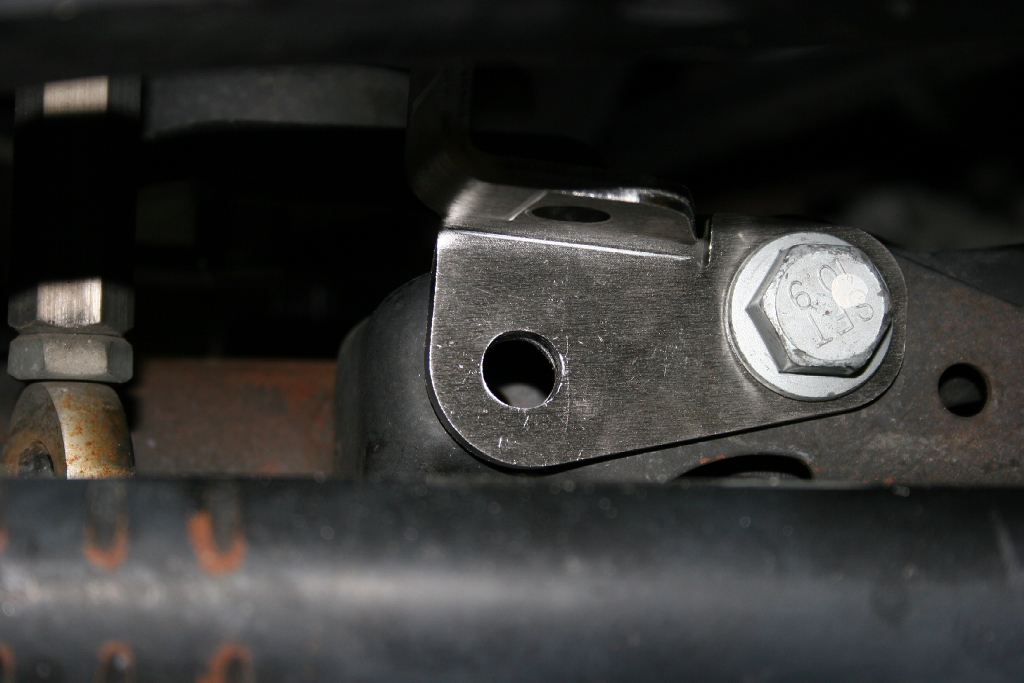
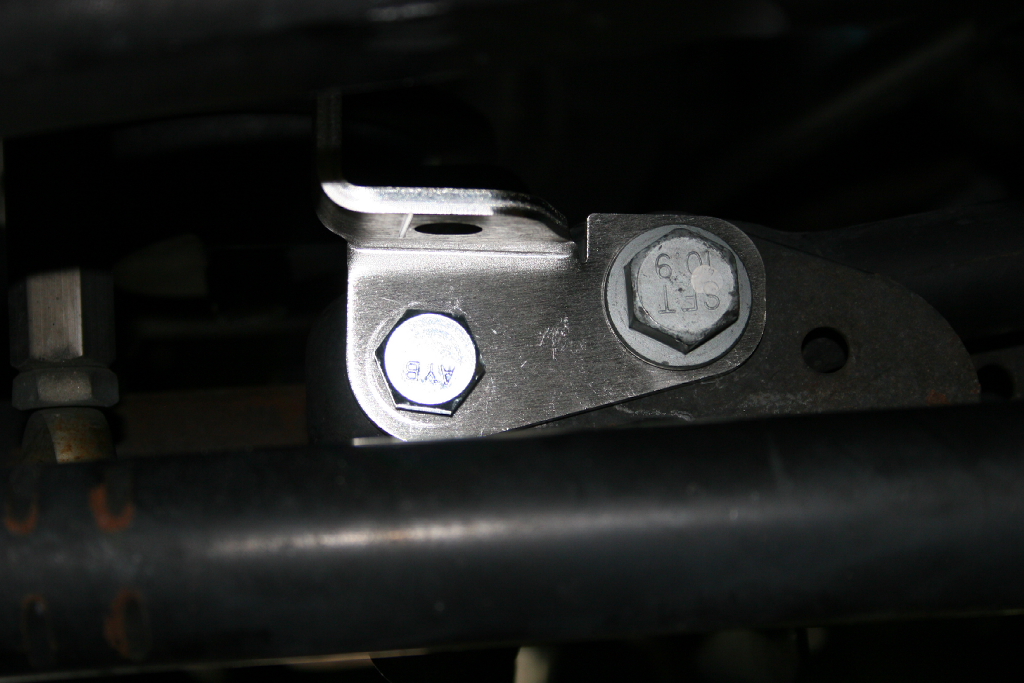
Align the relocation bracket hole with the stamped hole in the factory track bar axle bracket. It probably won't line up exactly on center. Noter: Other picture provided for reference. Do not drill out the hole before you install the bracket. |
 |
 |
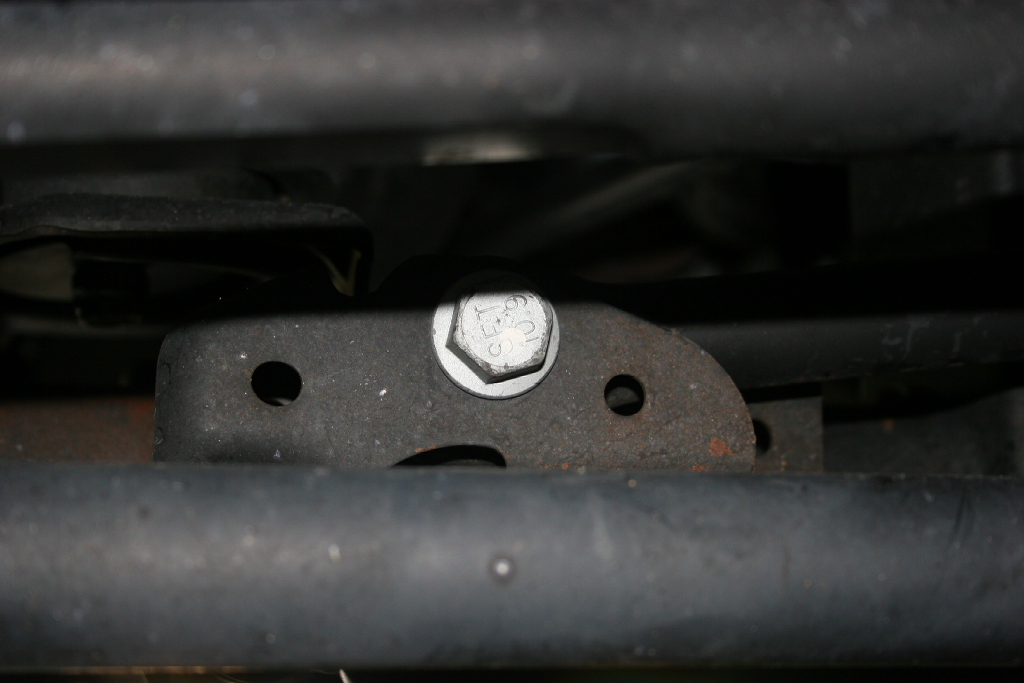
Torque the track bar bolt to 125ft/lbs. This will hold the bracket in position for proper drilling. |
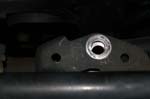
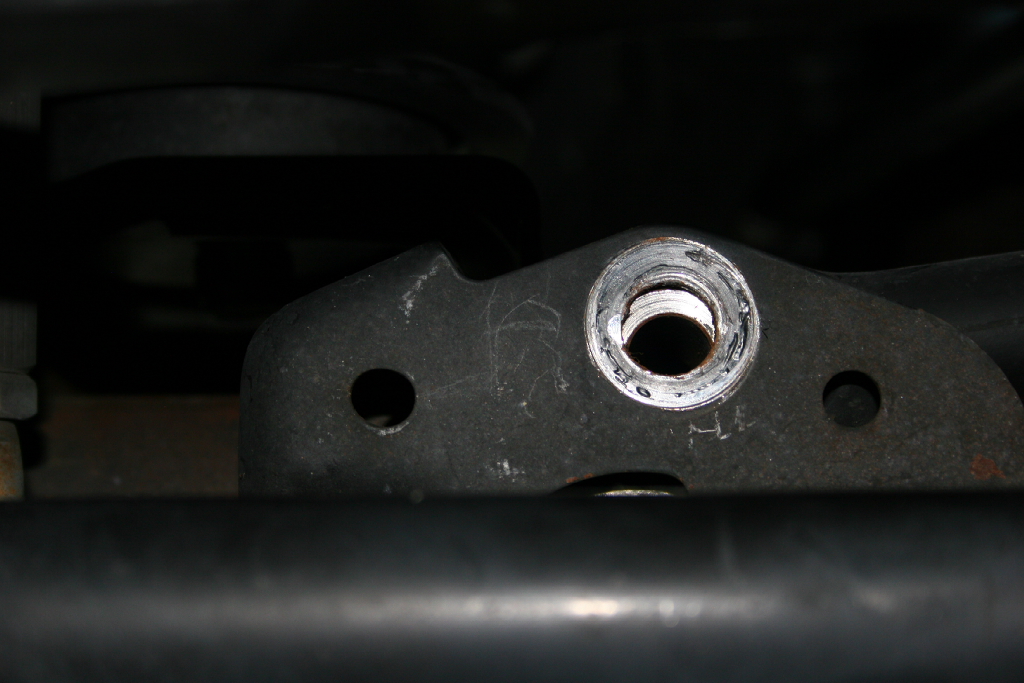
Using the bracket as a guide, drill out the hole to ½” |
|
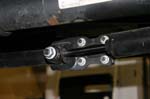
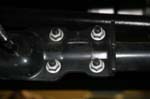
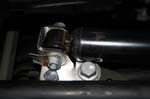
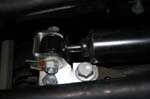
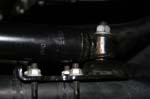
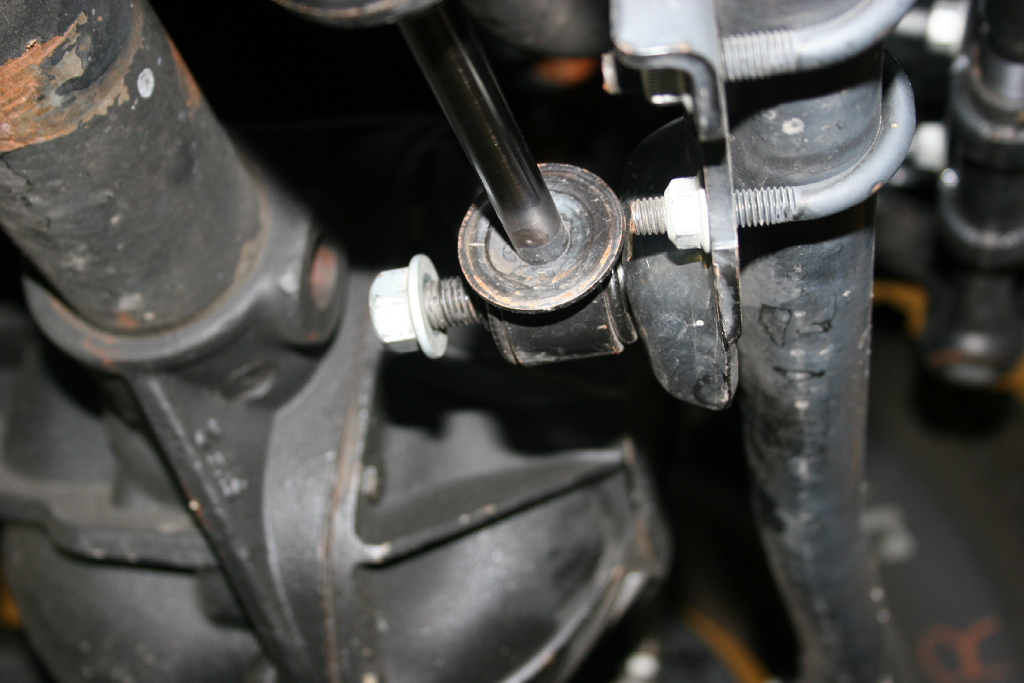
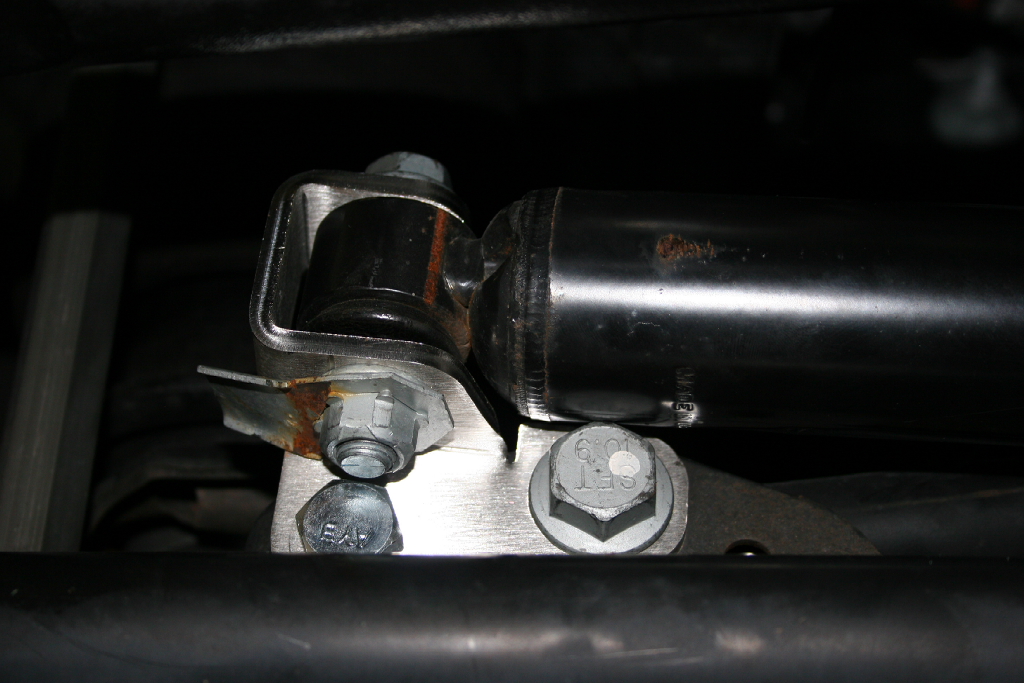
Install the supplied ½” bolt, lock washer and nut. The lock washer and bolt will be installed inside of the factory bracket, you will need to install the bolt just a little ways, while you work the lock washer and nut on to the end. You can use a 3/4" or 19mm socket and Combo wrench. |
 |
 |
Torque the ½” bolt to 75ft/lbs |
Recheck the torque on the track bar bolt. |
| If you started the install with the wheels straight, you will need to turn the wheels all the way to the right. This will allow you to install the steering stabilizer correctly. |
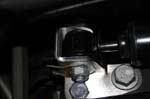
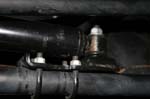
Reinstall the steering stabilizer with the steering stabilizer with the tube end on the tie rod stud, and the rod end on the relocation bracket. |
Wrong way |
 |
 |
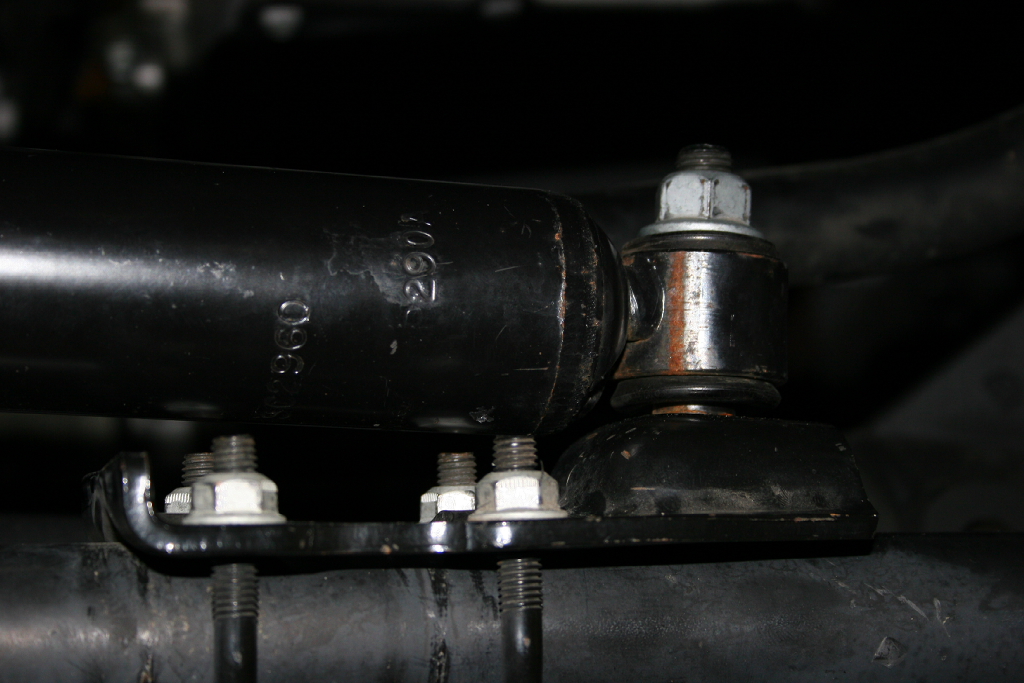
With the steering at full right, you should have 1/8” to 1/4” of stabilizer rod exposed. Tighten up on of the U-bolts on the tie rod bracket. I have the bigger Monroe Steering stabilizer on mine, so the tube inteferred with the bracket and had to be extended. If you have this problem, you will need to check to ensure that you have enough length on the stabilizer to go all the way left. |
 |
 |
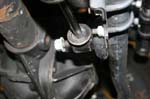
Start the engine. Turn the wheels all the way to the left. Turn off the engine. |
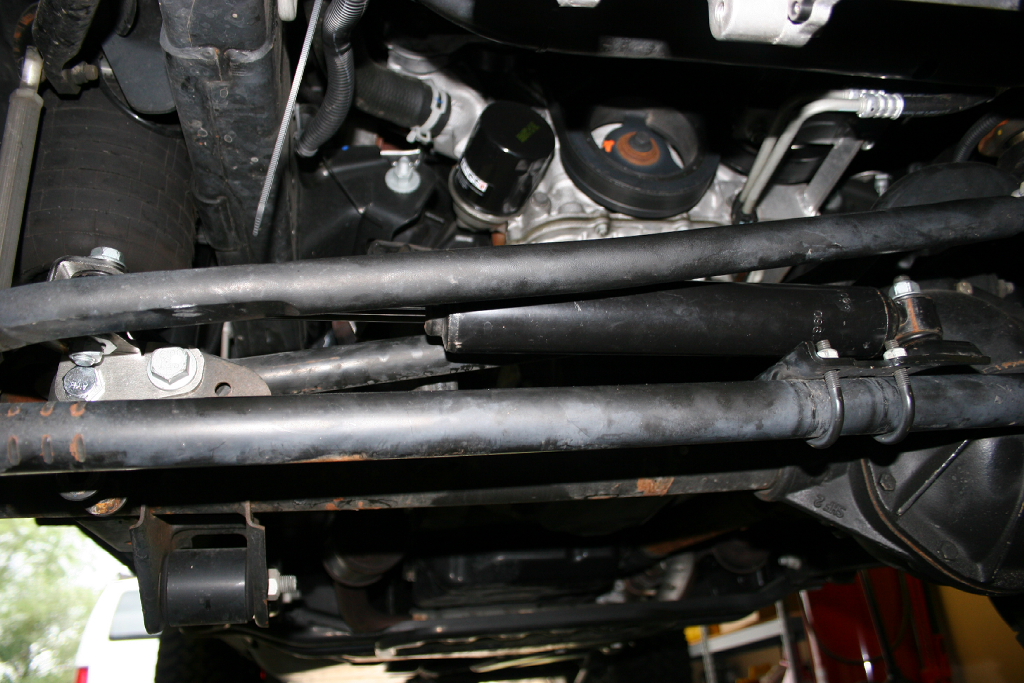
Loosen the tie rod bracket U-bolt and adjust the bracket rotation so that the steering stabilizer just clears the rear edge of the tie rod. Mine was pretty much verticle. Check for clearance at both ends. |
 |
 |
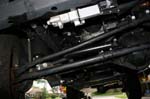
| Disconnect the sway bar and double check your flex. Place a jack underneath the drivers side and lift the front wheel. Check the clearance on your tie rod bracket and adjust it as necessary to for clearance. |
 |
 |


