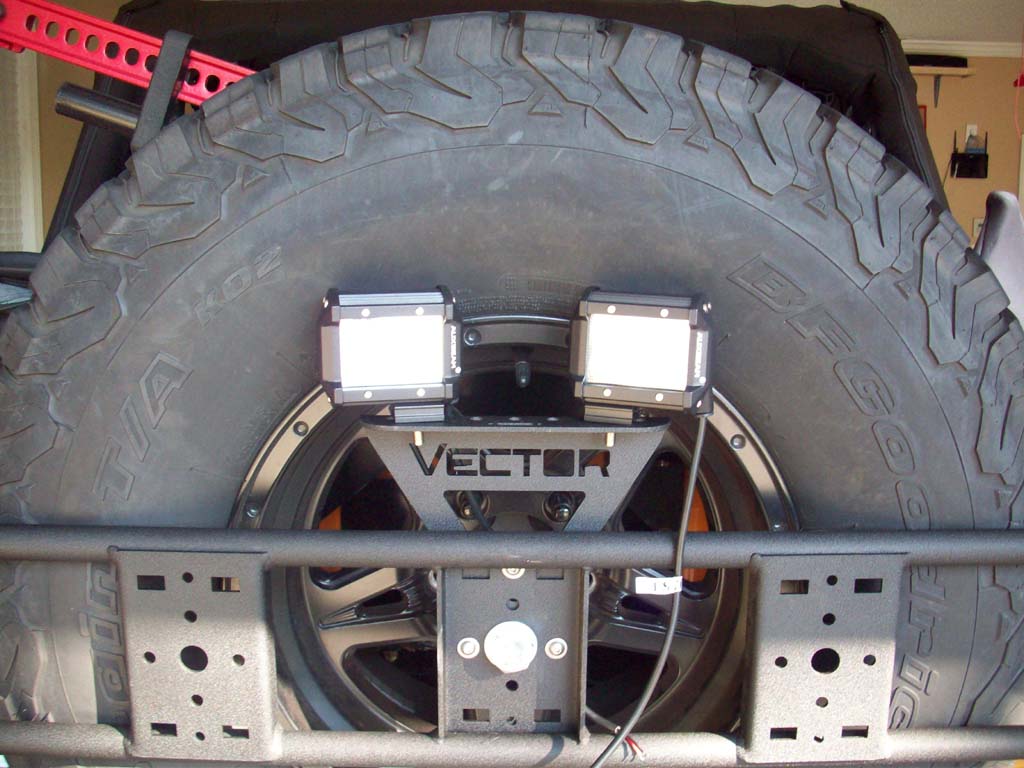
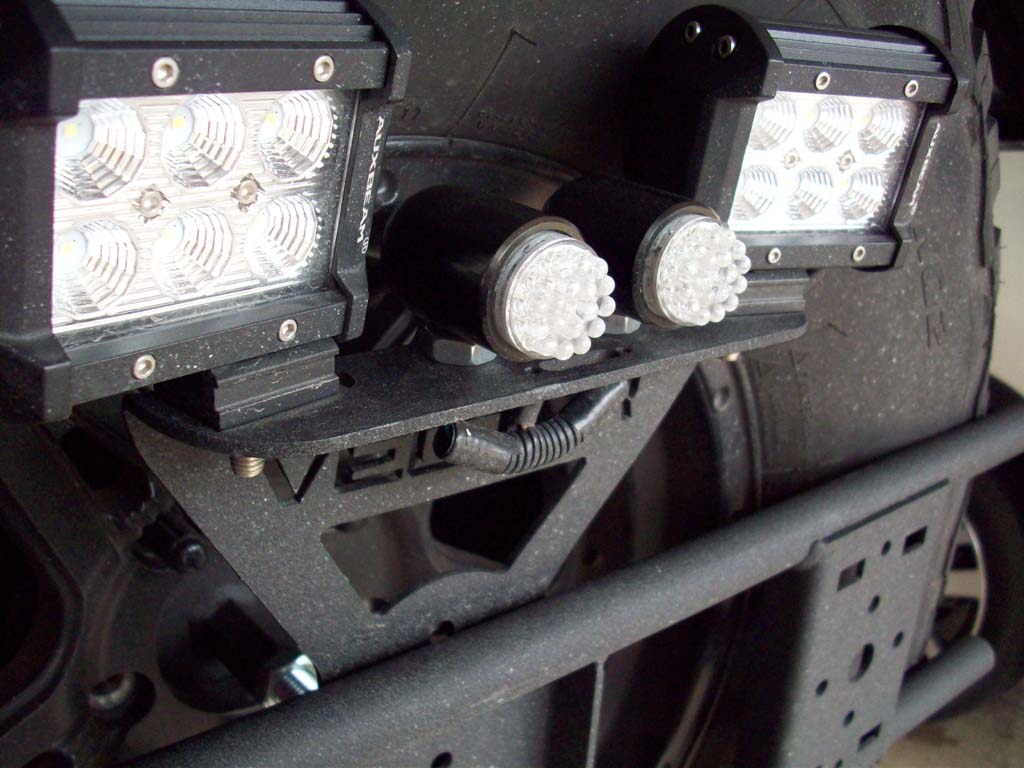
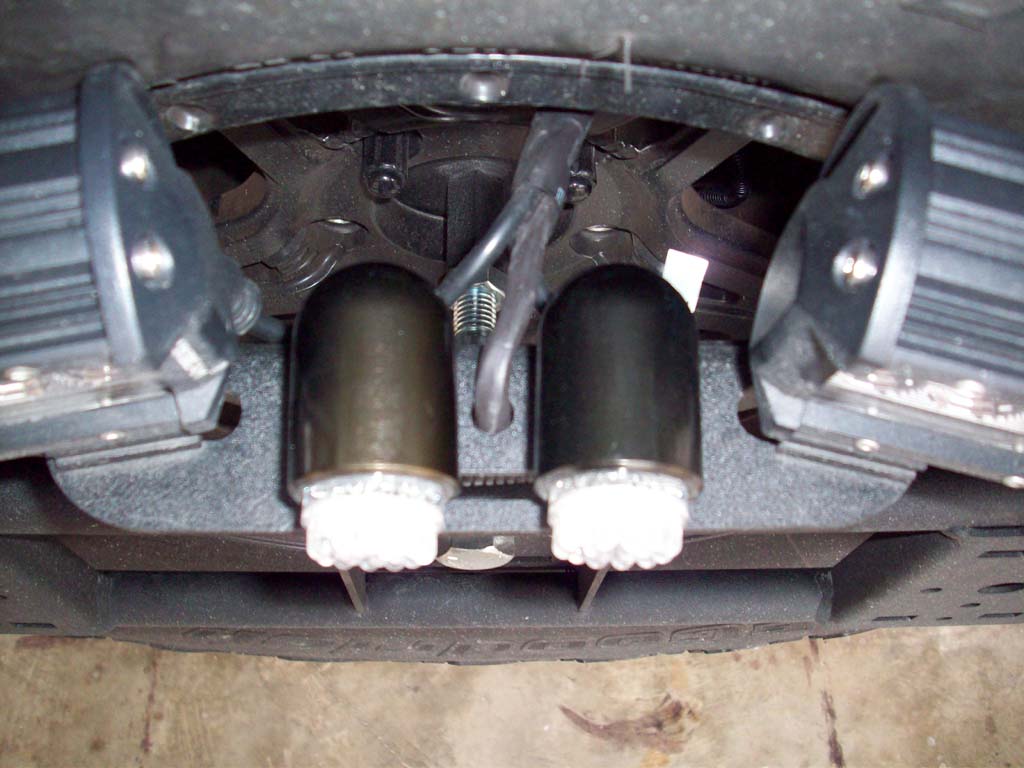
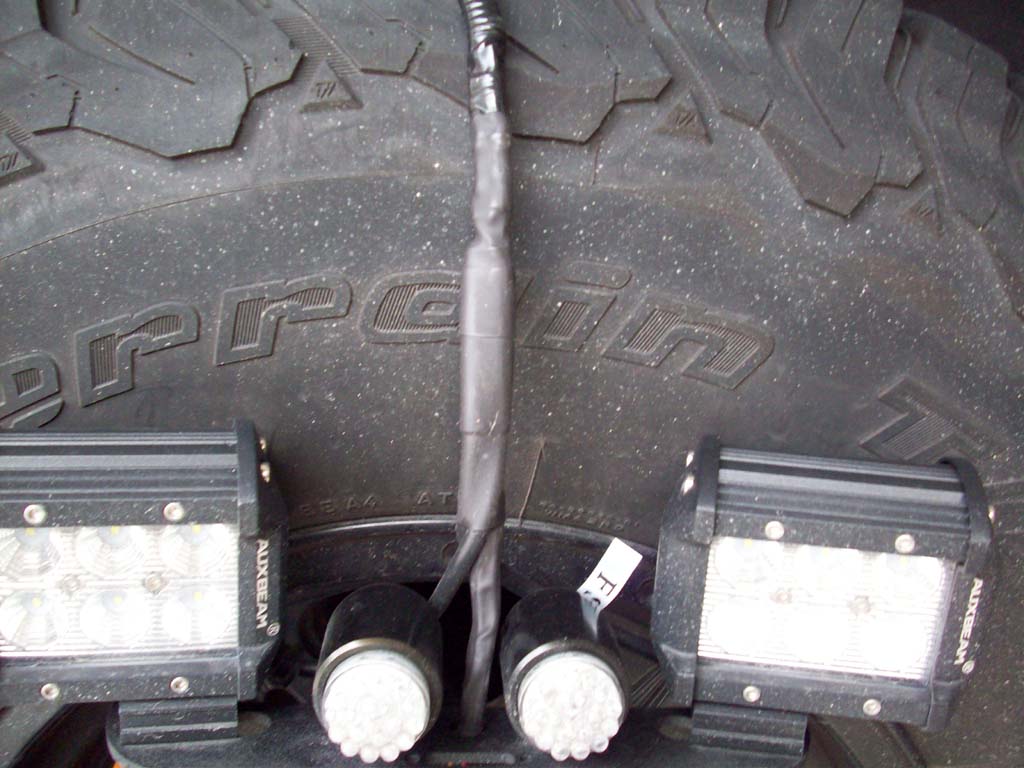
Since I installed the Crawler Conceptz Body Mounted Tire Carrier I have been without a 3rd brake light in the back, So I decided to mount one on the Vector ExoRack that I had. Problem was finding a good bright LED light that actuall fit between my mounted reverse lights. I Harley Owner friend of mine suggest I use a set of tail lights from a Harley. Now that was an idea. I did find a set of lights from OZG Motor Sports that were both a combination of brake and tail lights. I wouldn't be using the tail light function, but since I was mounting both of them pretty close and higher than a motorcycle I was a little concerned as to how bright they would be. After having them installed for a little while they are definately attention getters when I hit the brakes. Not enough to blind, but definately attention getters.
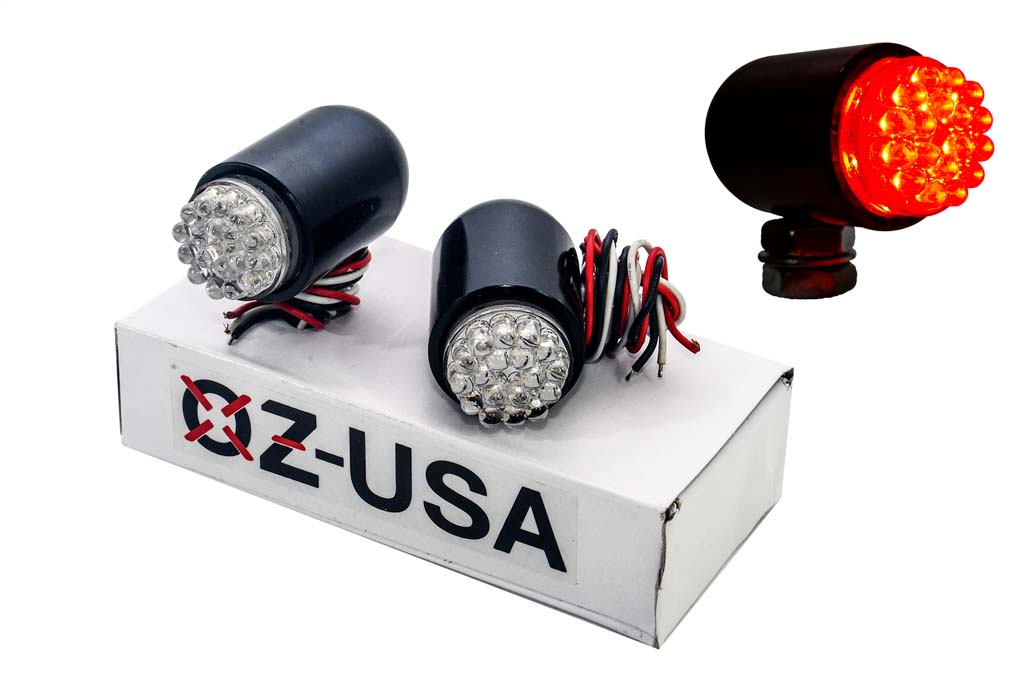
Motorcycle Tail Brake Light OZ-USA® Turn Signal Red LED Black Custom Cruiser ATV 12 volts
•Brand new, one pair, OZ-USA® High Output Rear Red LED lights for motorcycle.
•High quality, aluminum housing, color: black.
•LED's have two internal lamps and can be hooked up for both rear running light & turn signals or brake & tail light.
•Each has ultra bright 18 RED LED's + 6 side LED lights for maximum visibility.
•100% water and weather proof. Applications: All 12v motorcycles, tourings, cruisers or any custom applications.
Specifications:
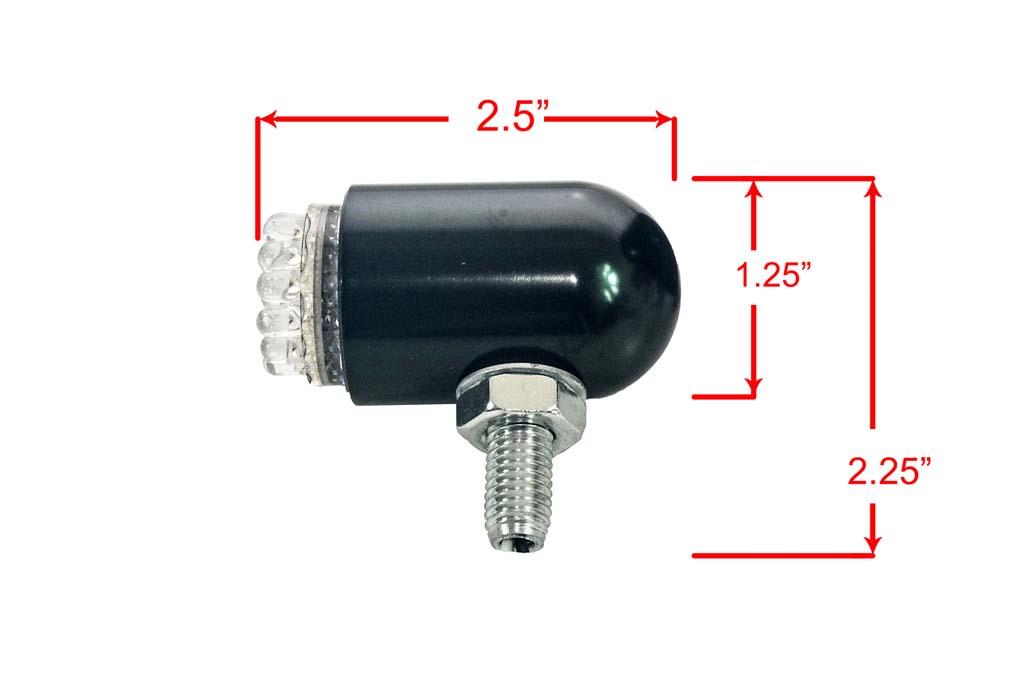
Dimensions: 2.5" x 1.25"
Voltage Input: 12 volts
Power Consumption: 3 watts ( pair)
Mounting stud: 1.0"
Thread size: 5/16" (8mm)
Applications: Motorcycles, dirtbikes, atv's, choppers, cruisers and many others.
Manufactured in China to OZ-USA®'s high end specifications. USA Shipping (California), USA Warranty: 1 year.
Additional
Parts:
Electrical wiring
Electrical wire taps
Heat shrink tubing
Solder
Weatherpac connector
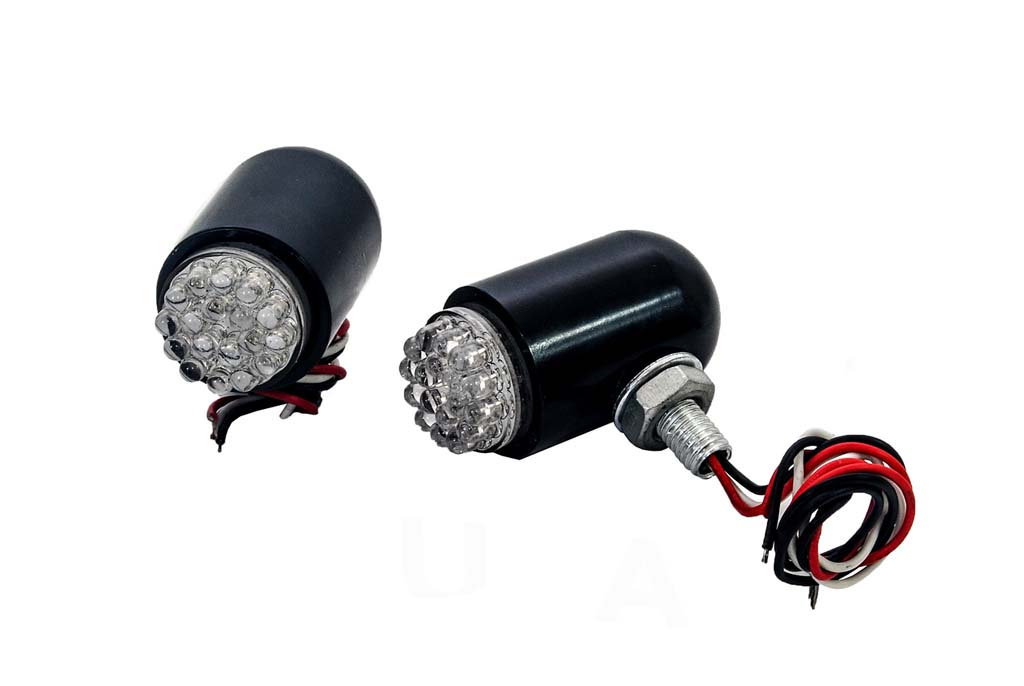
Red LED Brake Light
The lights come in a metal houseing and appear well constructed. The studs were tight and the lenses were installed straight and tight. I tested them with a 9v battery and they are pretty bright.
Installation:
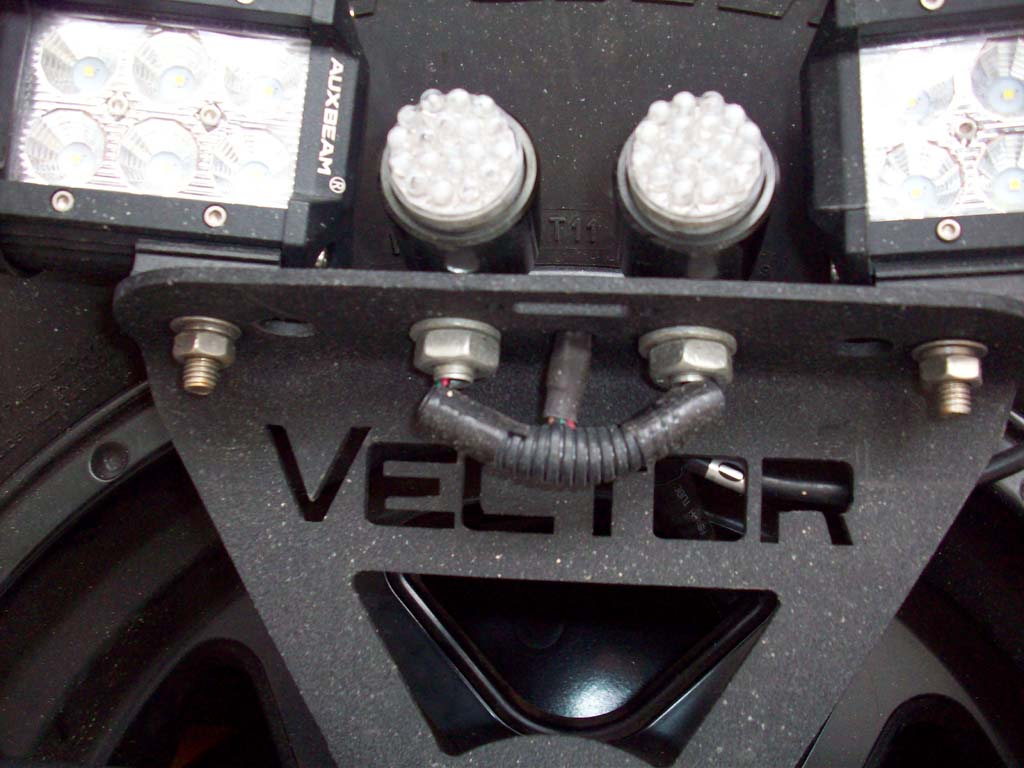
1. Insert the wires and mounting stud down through the holes in the top of the light riser bracket.
2. Install the washer and nut. You will need a 17mm combo wrench to tighen the nut.
3. Double check your wiring to see which wire is running lights and which wire is brake lights. You can use a simple 9v battery to see. There is a black (ground), red (brake), and green (running light). I just clipped off and sealed the green wire since I wasn't going to use it.
Note: Looking directly into the light when triggering it will result in see spots for a little while.
4. I joined the ground wire in with the ground for the reverse lights and ran the power lead to an additional port on the weatherpac fitting that I had previously installed.
Note: Since I'm running reverse and a 3rd brake light I used a 3 port weatherpac coupling, if your just using the 3rd brake light you would only need a 2 port coupling.
Alt. Method would be to just splice the third brake light into the old wiring harness for your OEM 3rd brake light.
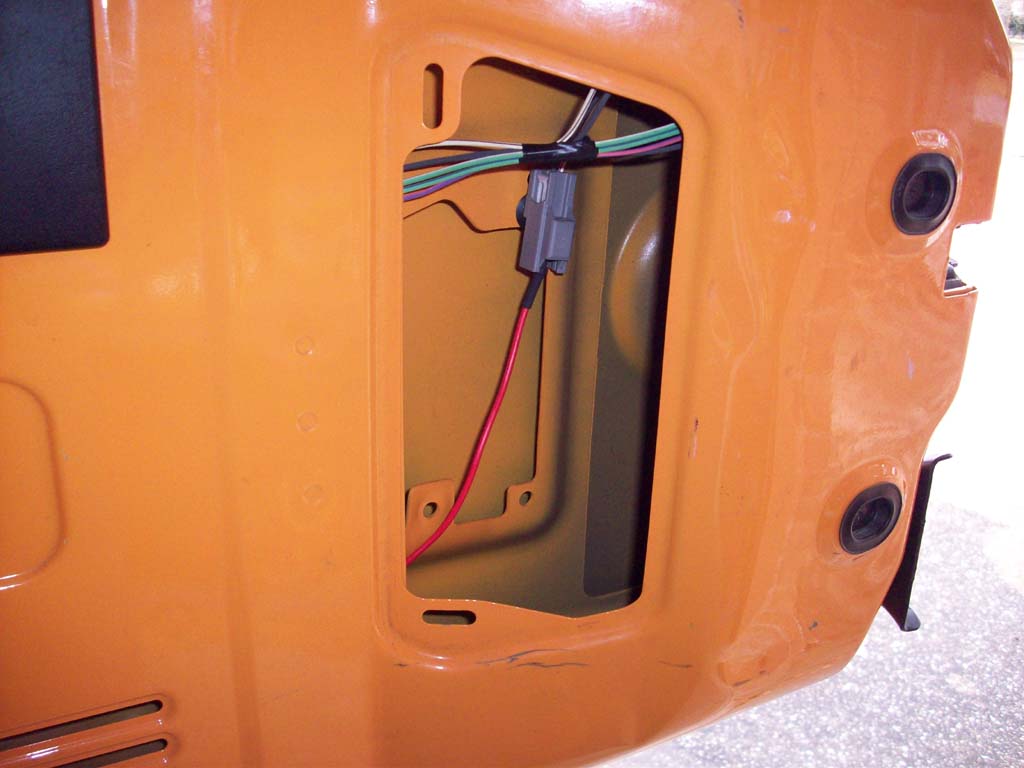
5. I removed the vent cover from inside the tailgate. You just need to pull out on the long verticle side so that the clips release from the tailgate. Then just fish the wire through the tailgate until you can get ahold of it.
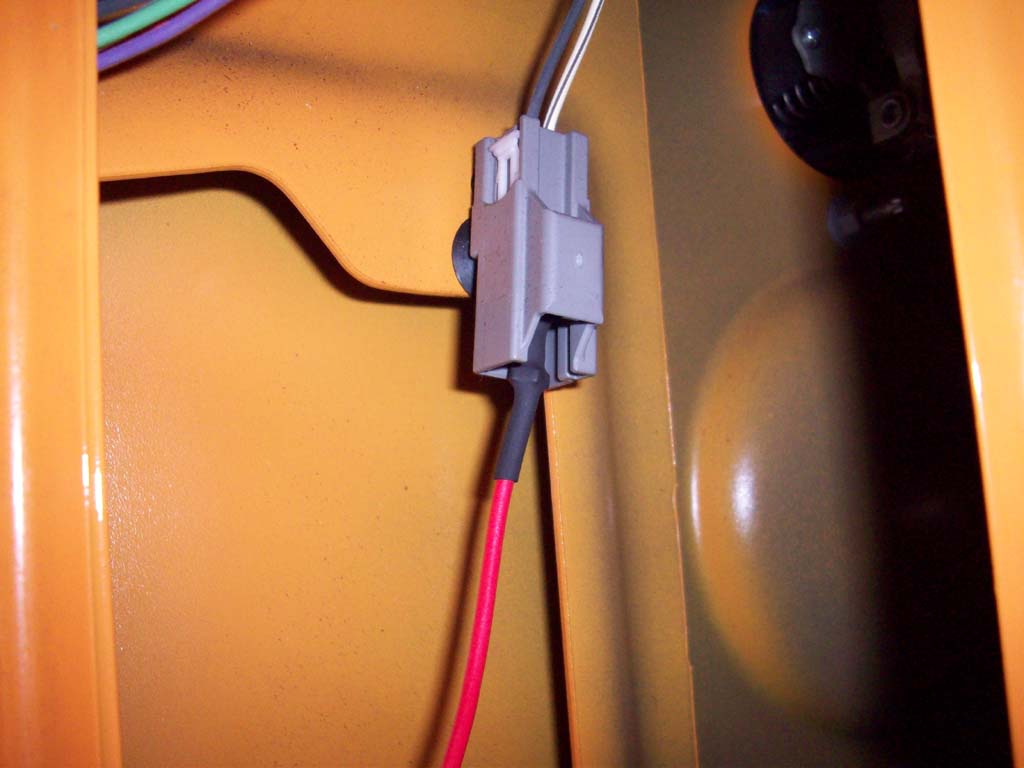
6. For power I installed a small connector onto the end of the wiring, protected it with some heat shrink tubing and just pushed it over the pin inside the connector. The right pin is the power. The black factory wire is ground.