I usually end up backing out early in the morning and getting to work when it is still dark outside. The dark tinted rear soft top window that is by now scratched up makes it a little harder. Maneuvering out of the garage and into the black roads and into the parking spots can be a real pain. Especially with having joggers, bikers and dog walkers early in the morning. Reflective clothing is reflective if you shine a light against it otherwise it's just dark. Not just the normal daily driving of the Jeep can be helped, but when your trying to back up off road on a night run can be a pain. So since I installed the Exo-rack with the light riser plate I decided to add a few spot lights to illuminate things. I decided that while Rigid makes a good quality light for the back I didn't want to put that price tag on something that stuck out and was removeable. Things have a tendency to get banged, smashed, left on the face and generally have accidents when they get removed from the vehicle. I have backed into something with the tire and if I do it again and smash one of these lights I'm out just a few bucks. So time to look for a cheap knockoff on Amazon.
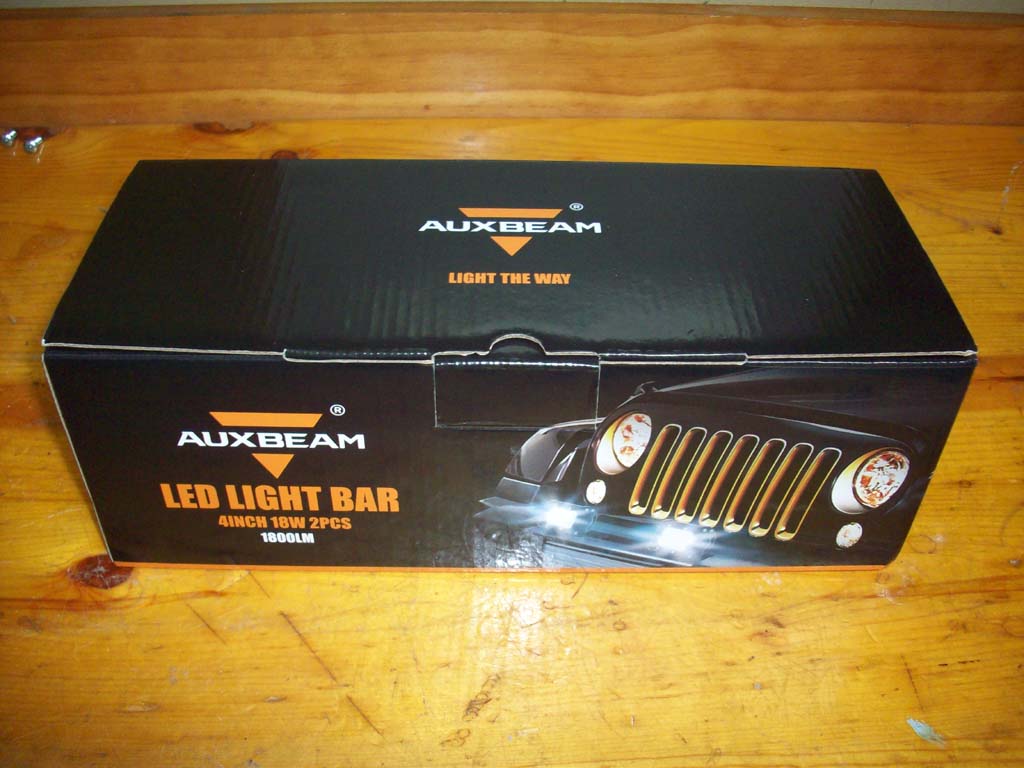
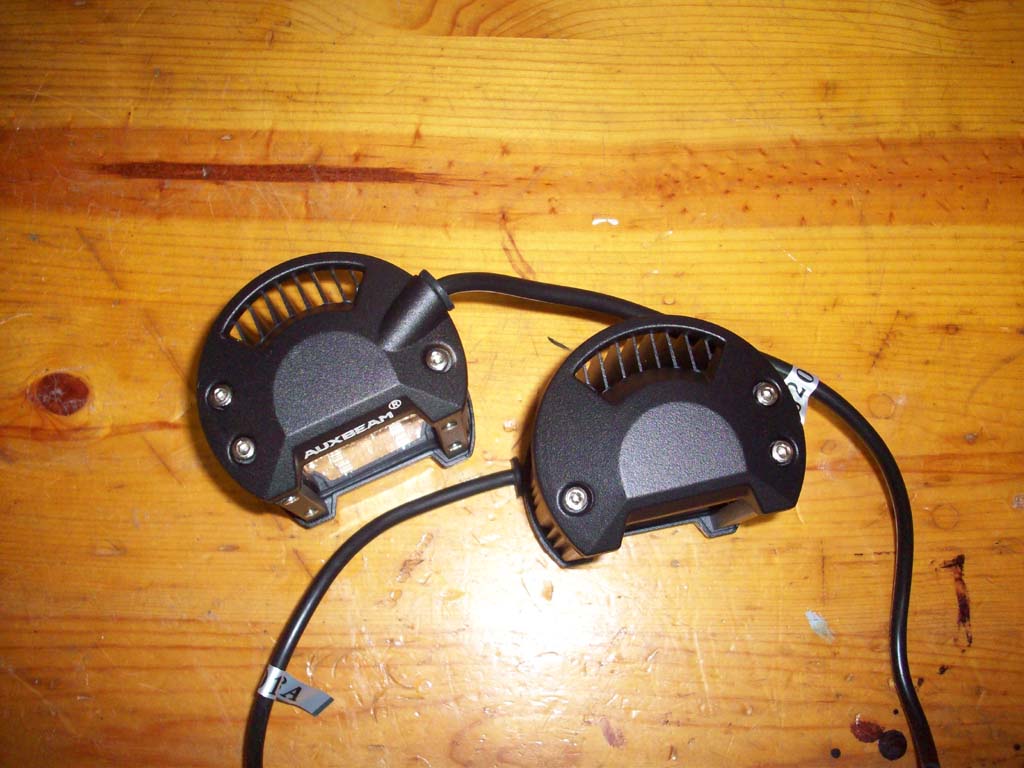
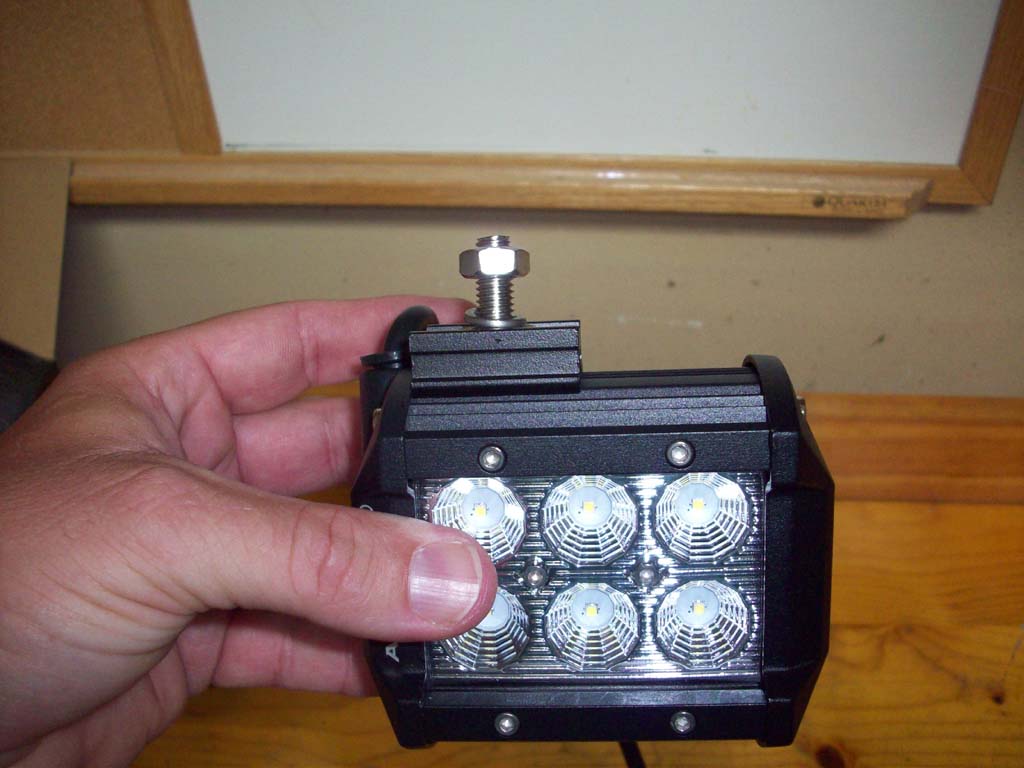
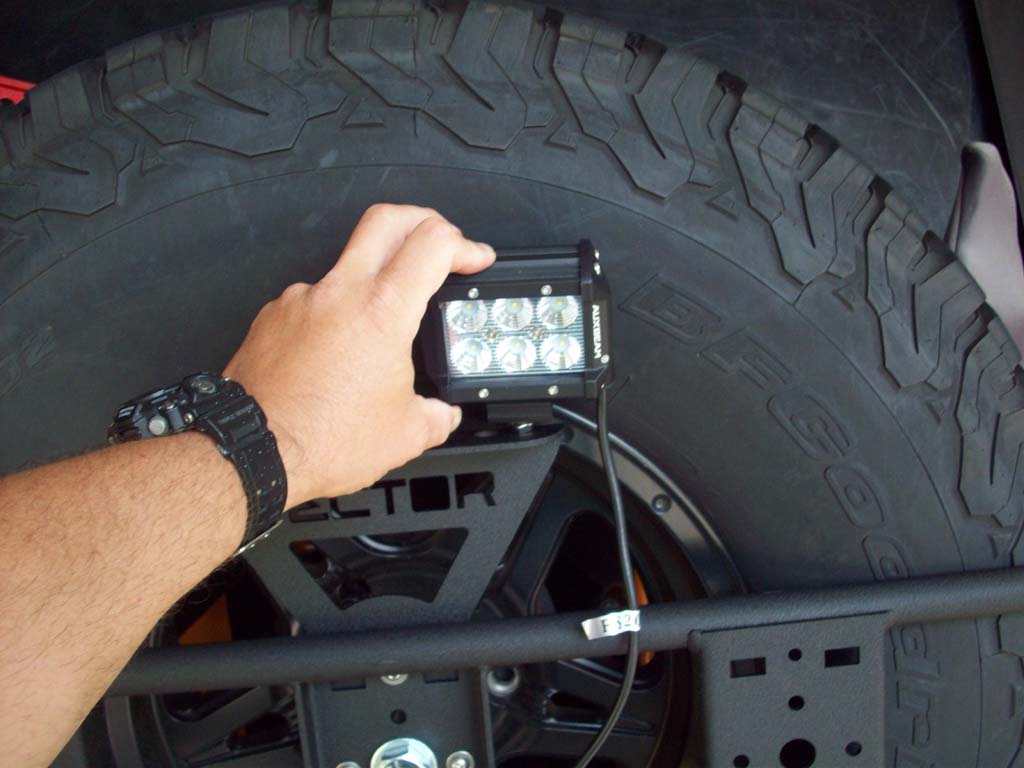
I was actually pretty surprised at the packaging and the quality of the lights. I figured for the price I would get something that was just laying in a box and looked cheap. These are actually pretty good quality.
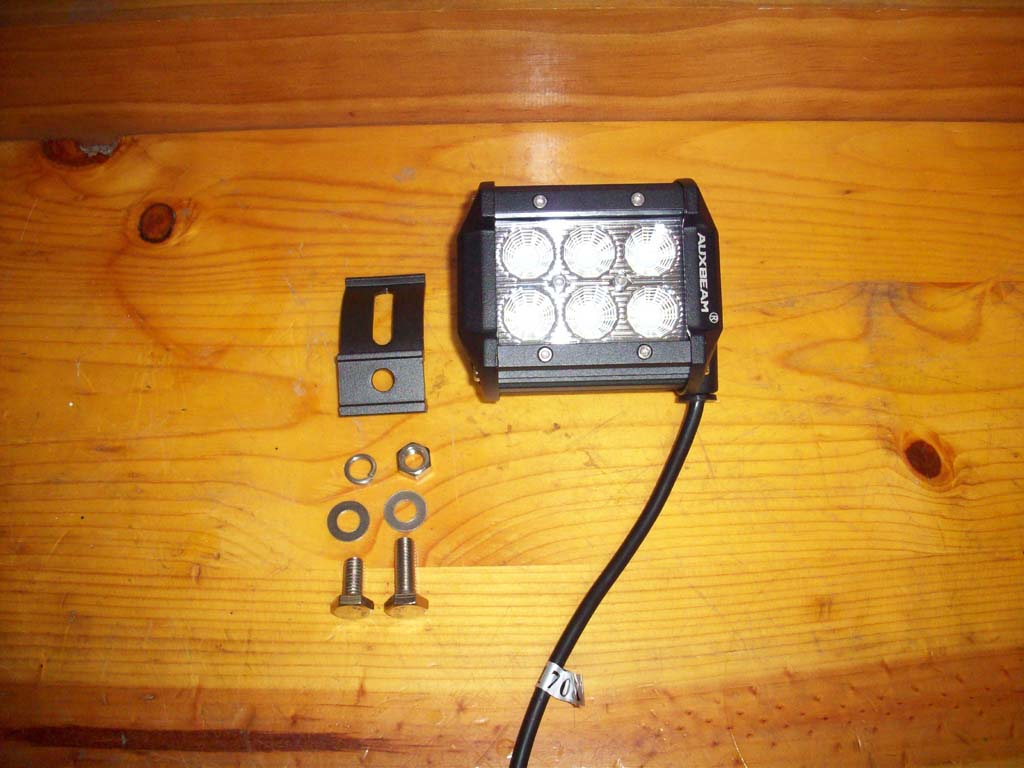
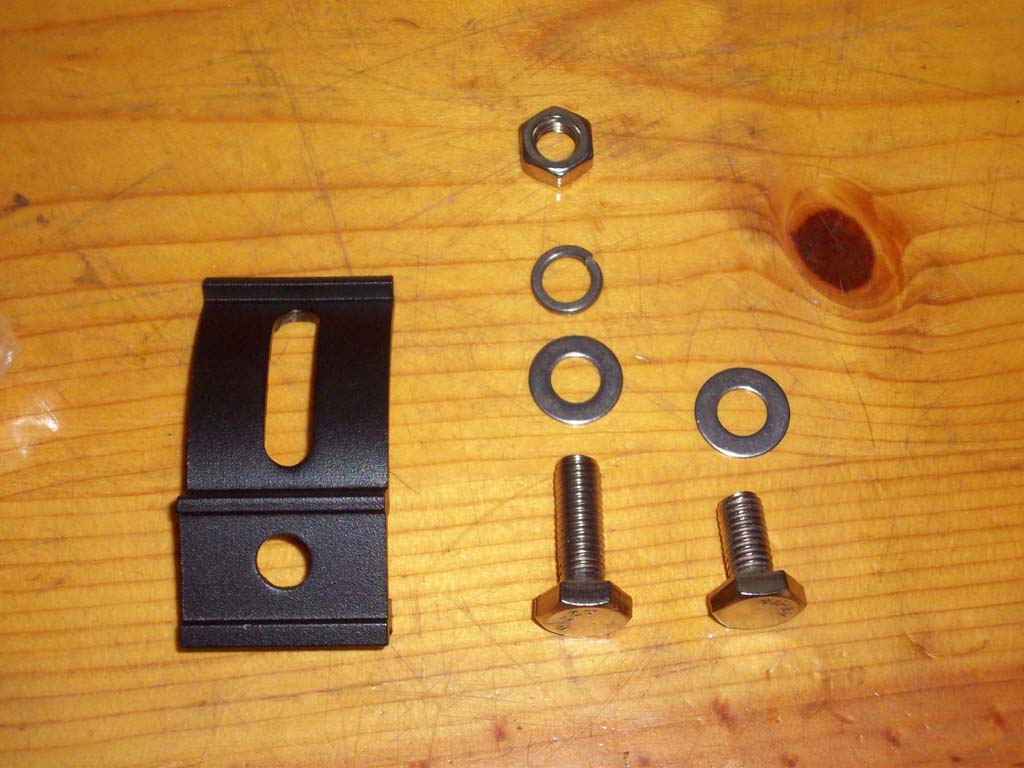
Assembly:
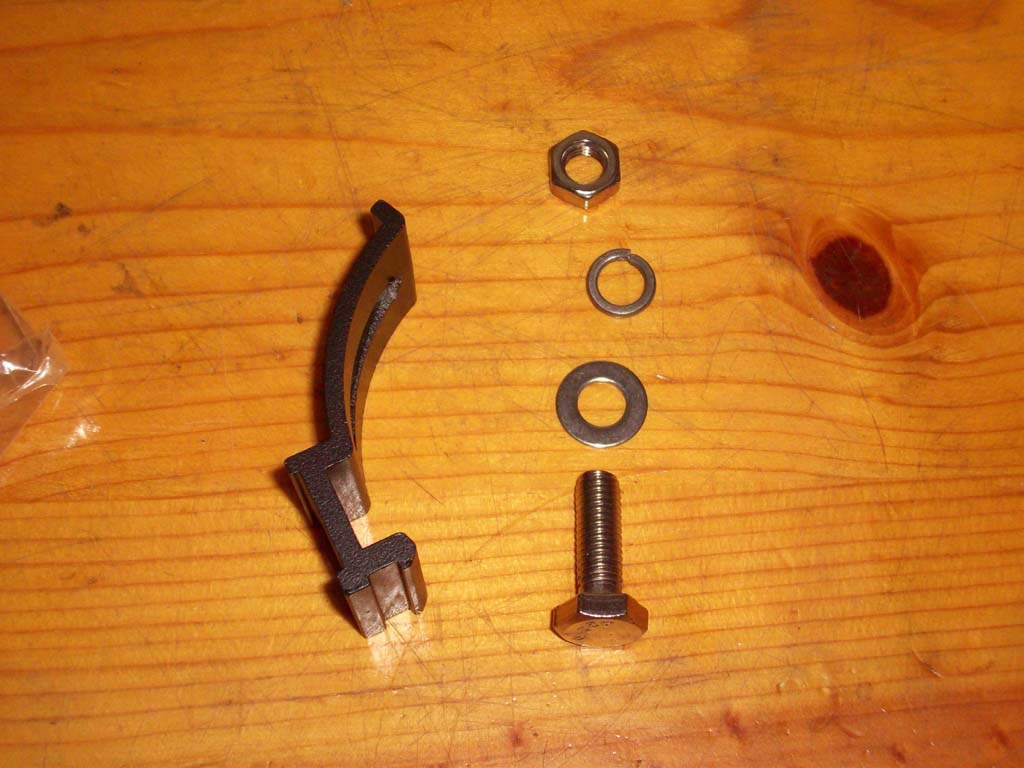
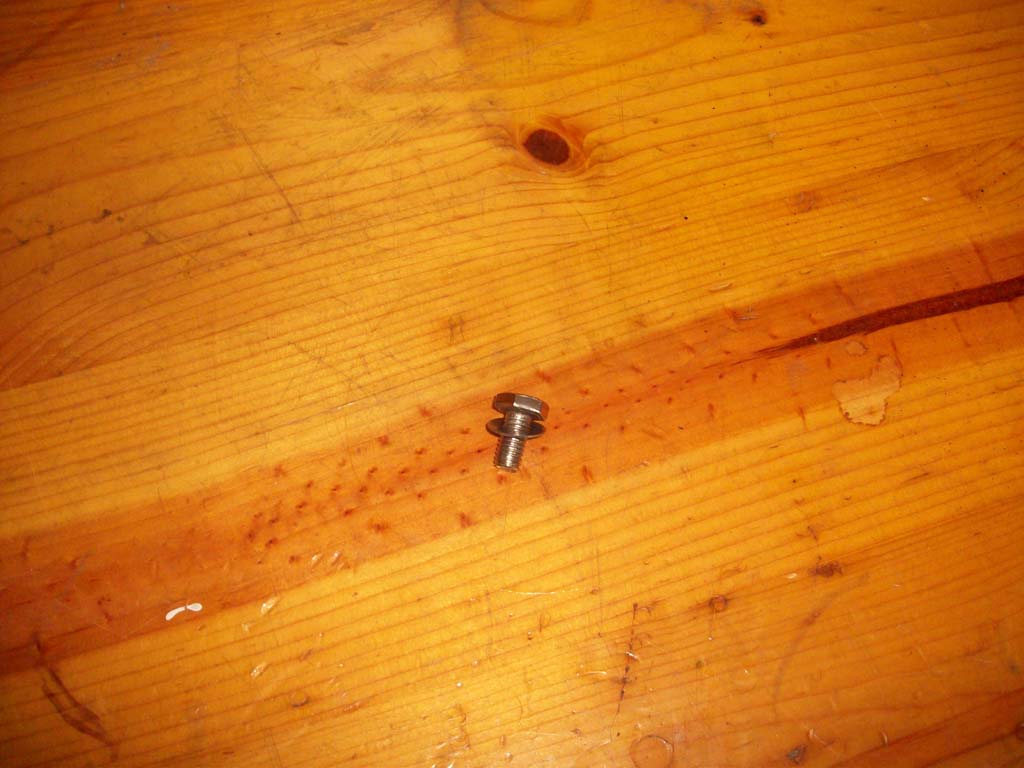
1. Install the longer bolt through the bracket and then install the washer, lock washer and nut onto the bottom.
Note: If your installing these immediately you can skip putting the washers and nut on, I just did is so I knew where they were since I was going to have a gap before I got them mounted up.
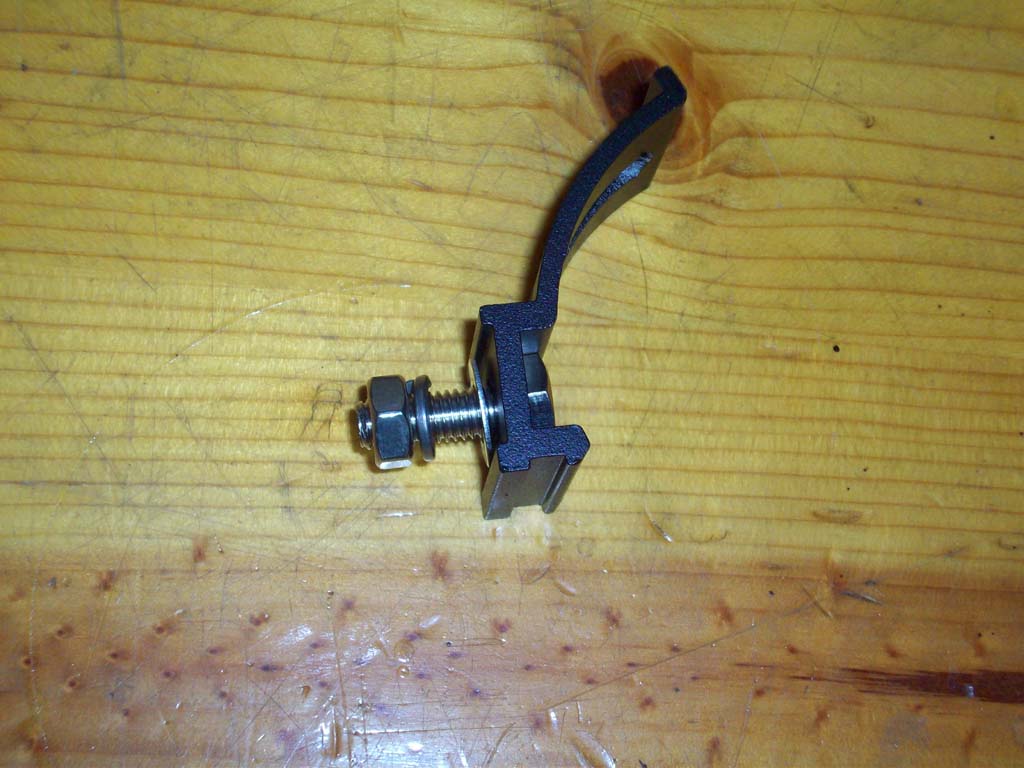
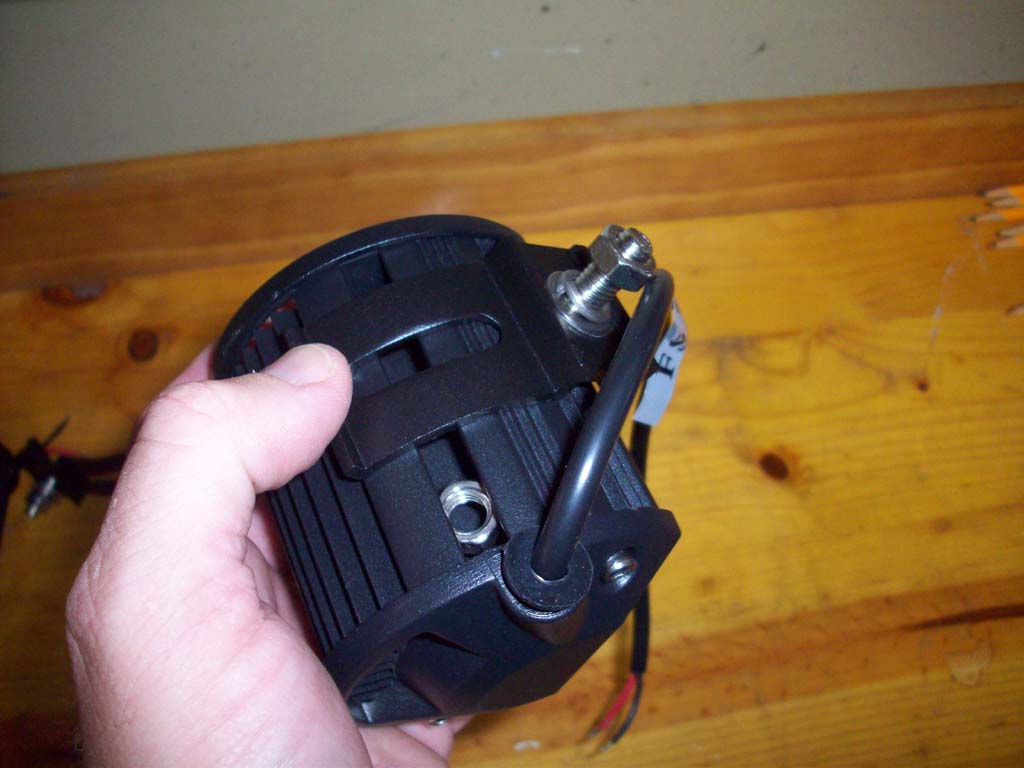
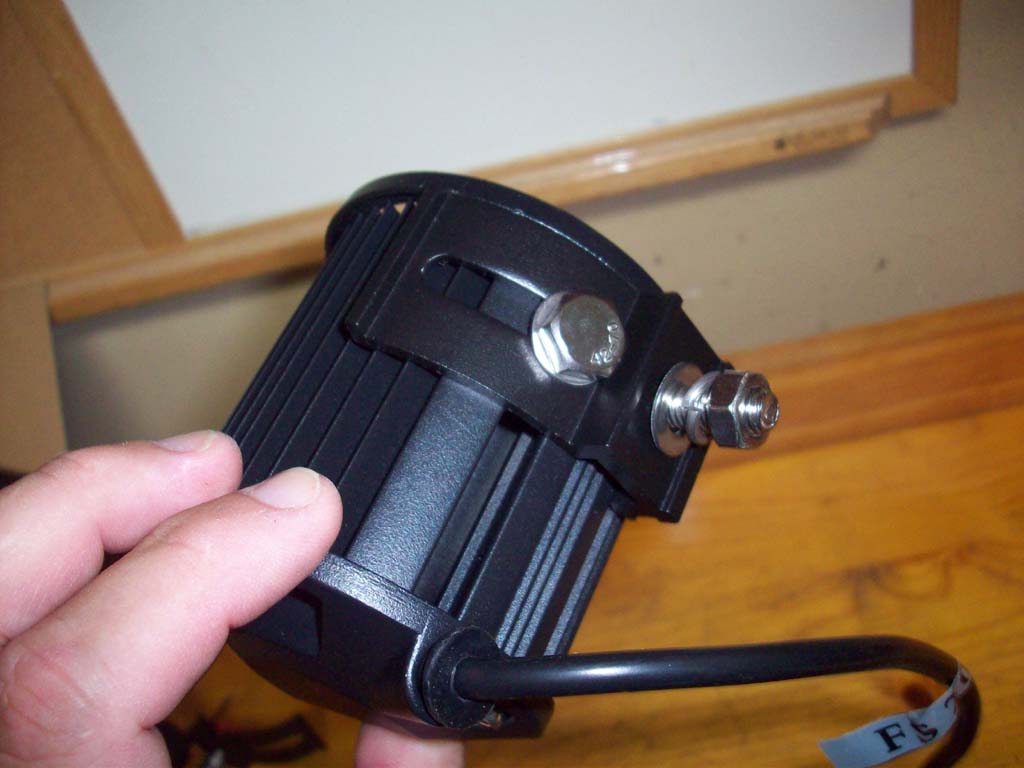
2. Install the bracket onto the light using the smaller bolt and washer. Do not tighten yet, just snug so you can move the light around to position it.
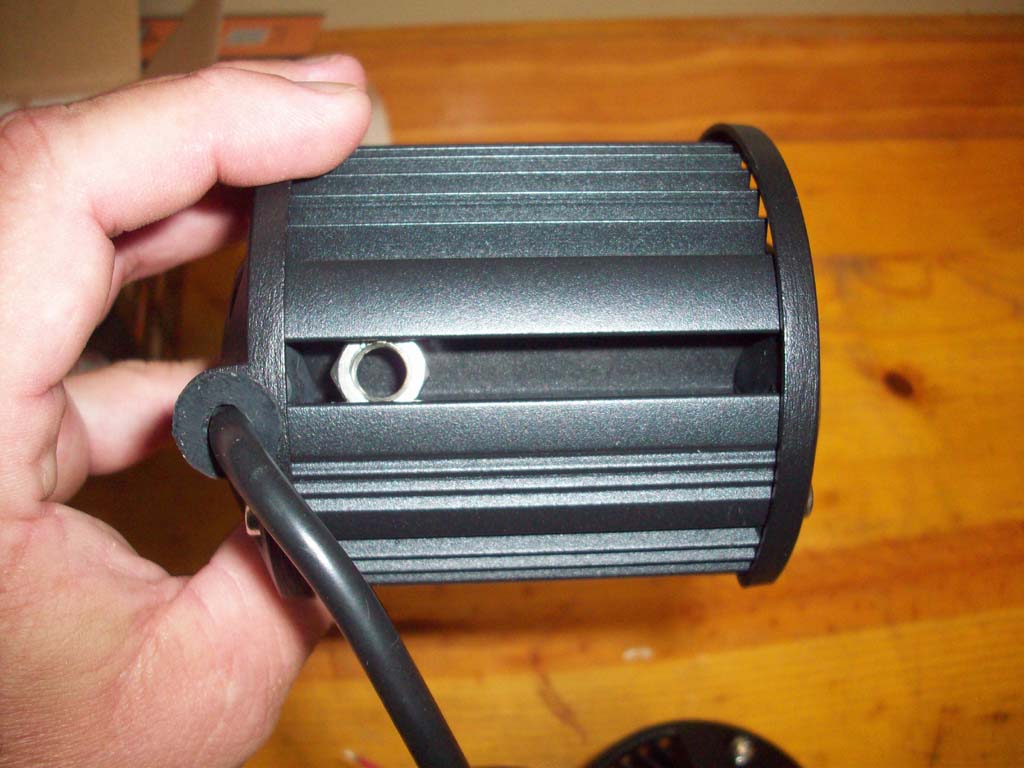
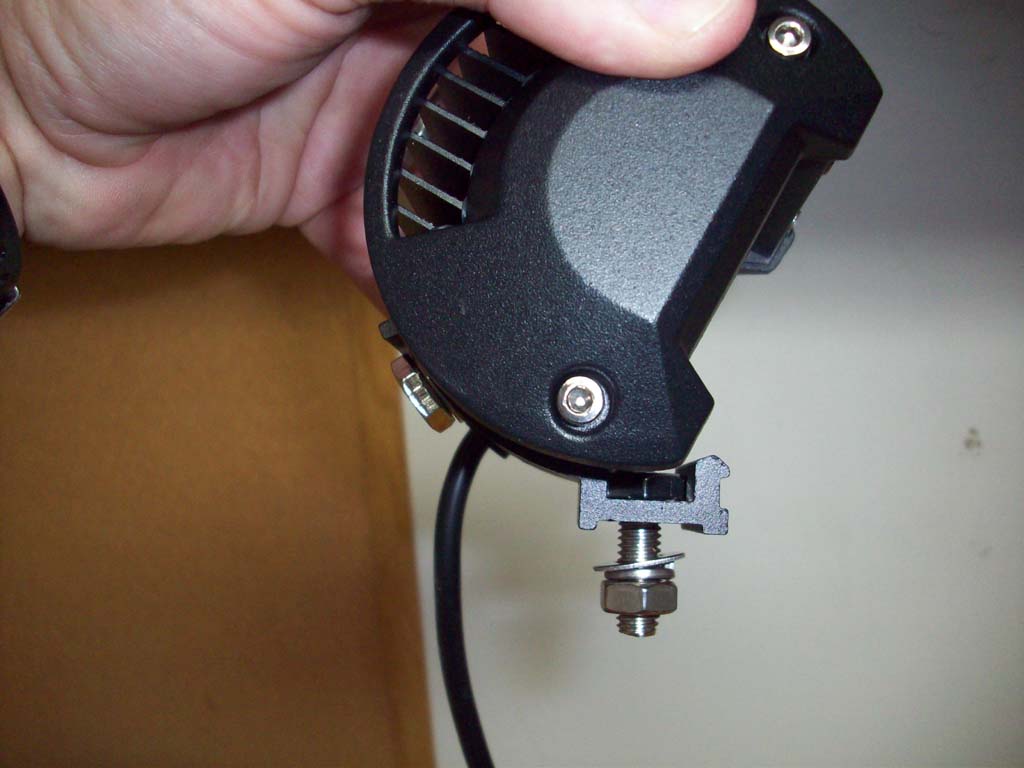
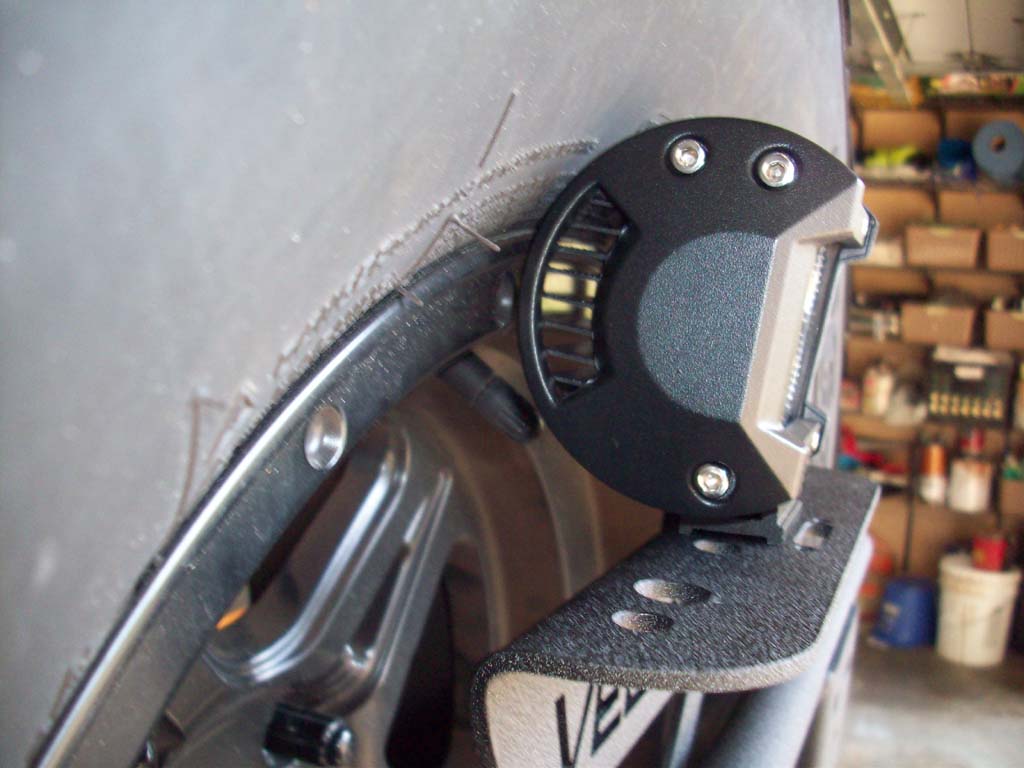
Here you can see the level and extent of the adjustment that the bracket allows for. You could mount these pretty high and still get a good downward angle to them.
Installation:
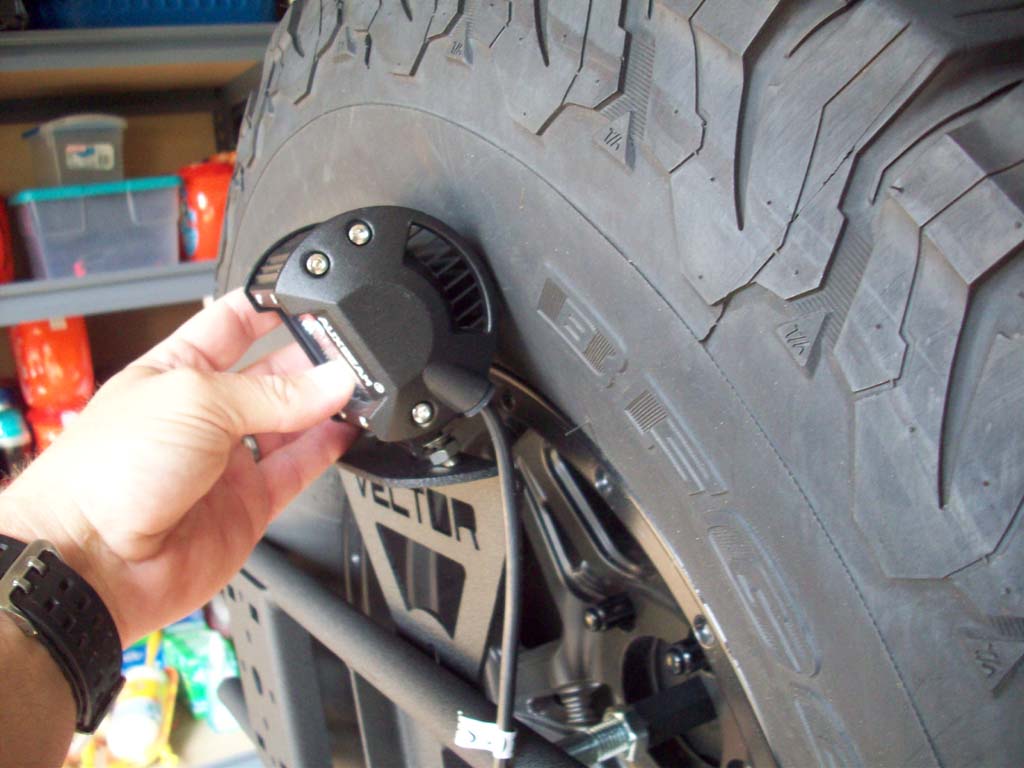
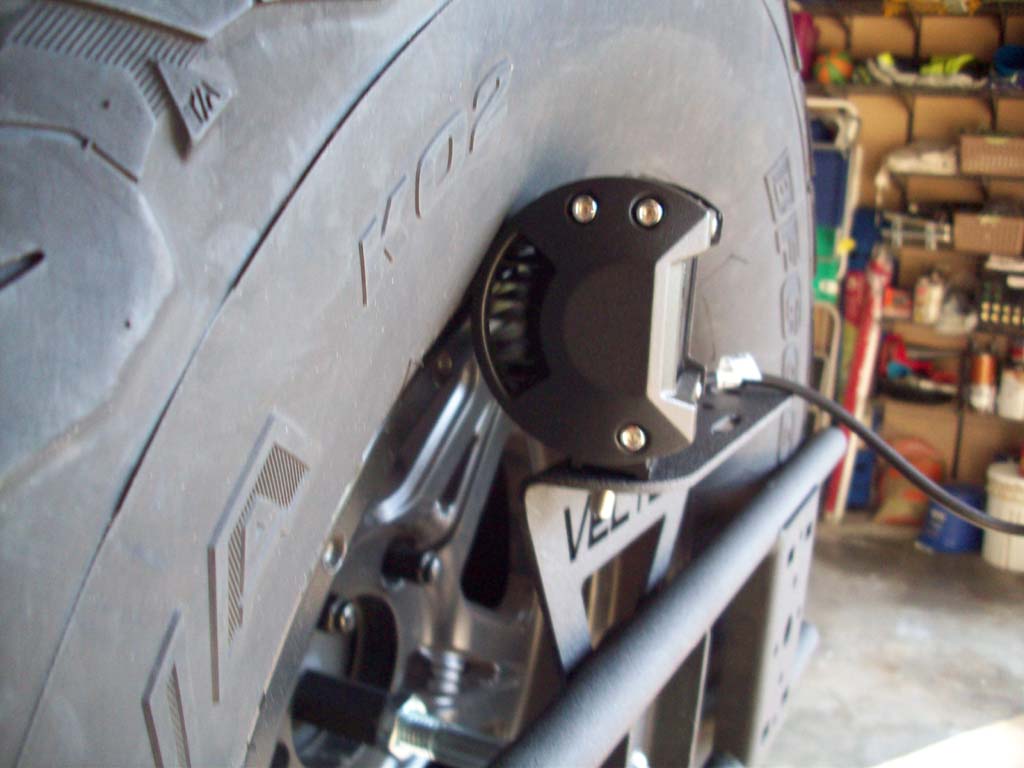
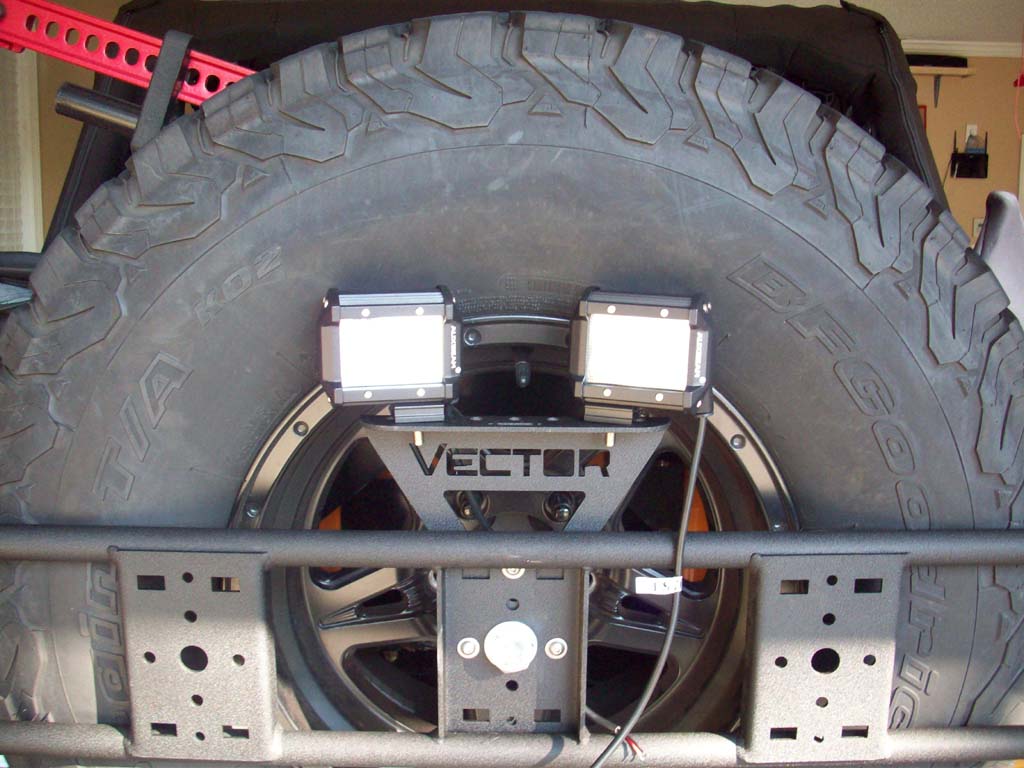
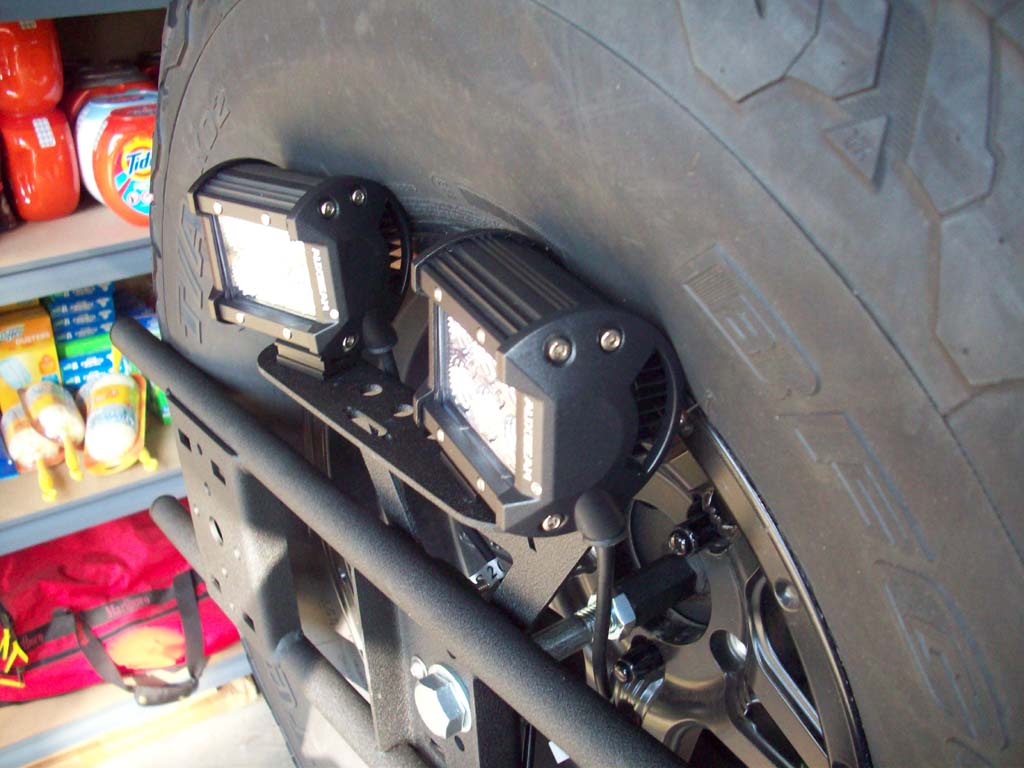
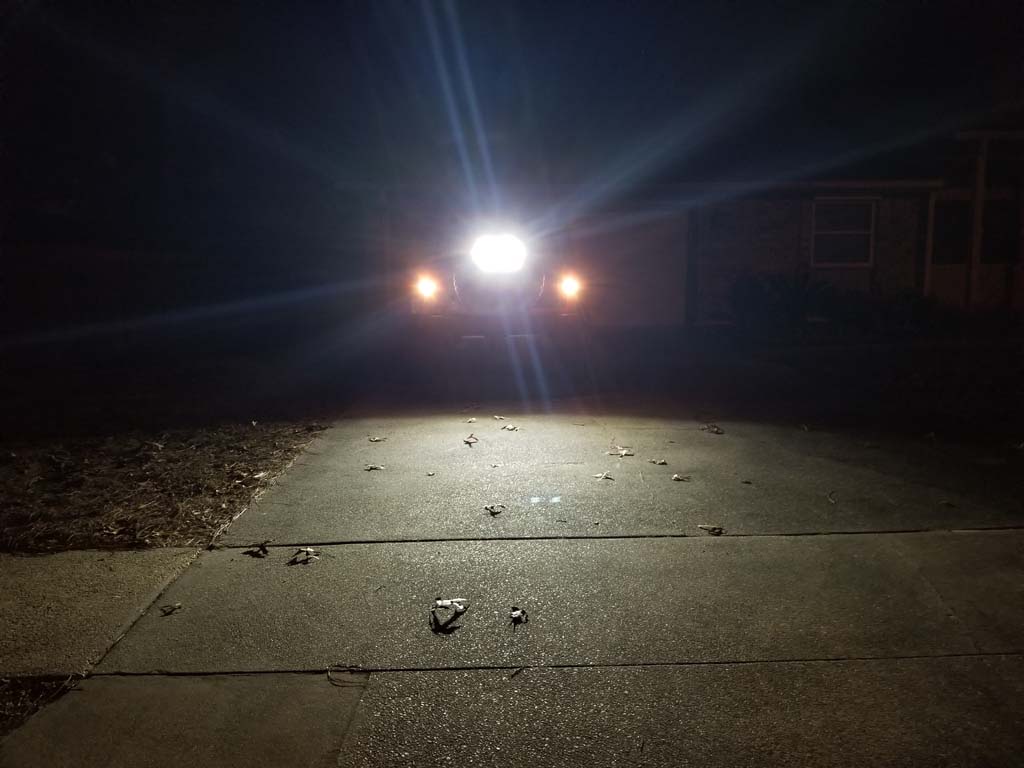
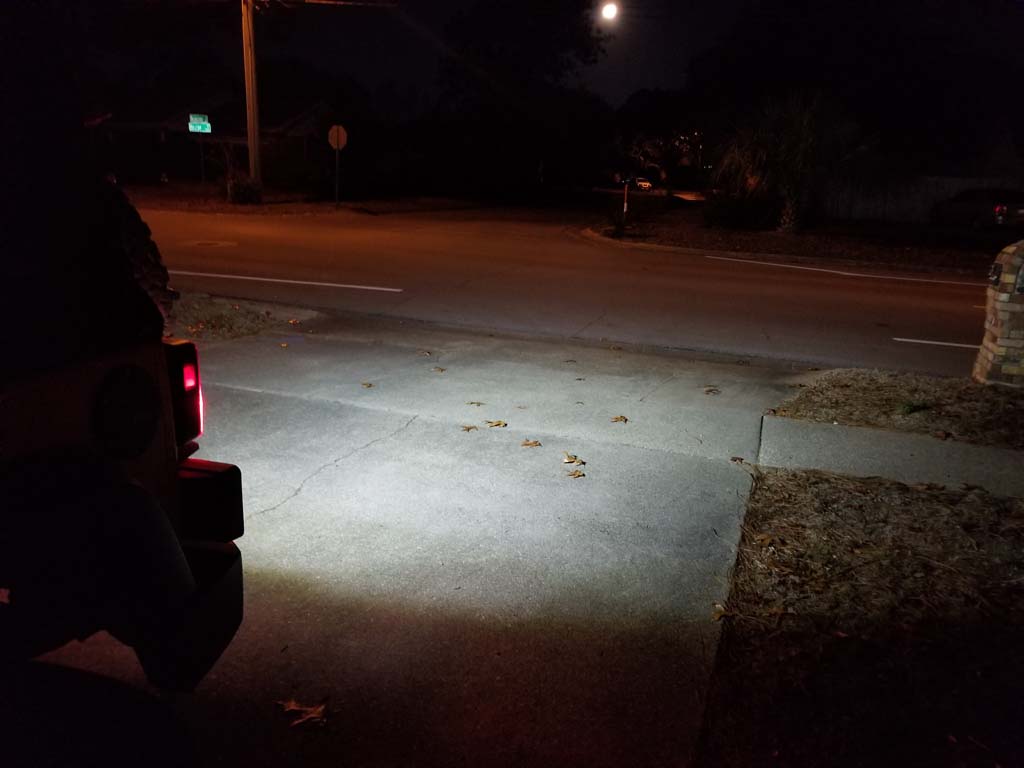
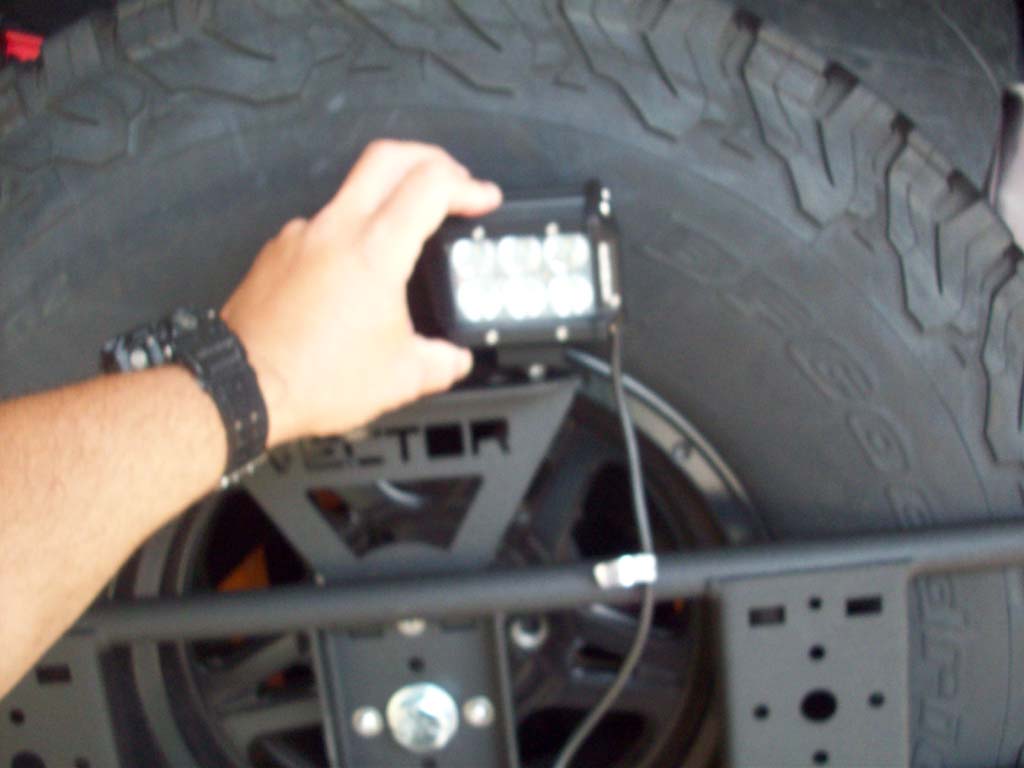
The hardest part was figuring out what position worked the best on the Vector light riser bracket. I ended up with the Exo-rack position all the way down with the light riser bracket up to clear the roto-pax. The lights are also positioned outboard on the mounting bracket and pointed in towards each other to clear the tire. The lights are wide angle's so this still throws plenty of light behind the Jeep so not an issue. I did end up bending the light riser bracket a little so that the lights weren't resting directly on the tire. They aren't on long enough to get hot, but decided to take a little precaution anyways.
I did think about just installing one in the center, but I wanted to mount my 3rd brake light and possibly and antenna in that spot, so outboard holes received the reverse lights.
2. Insert the bolt through the holes and install the washer, lock washer and nut on the bottom. You will need a 1/2 " combo wrench to tighten the mounting bolt and a 9/16" combo wrench to tighten the adjustment bolt in the back once you have them aimed the direction that you want them.
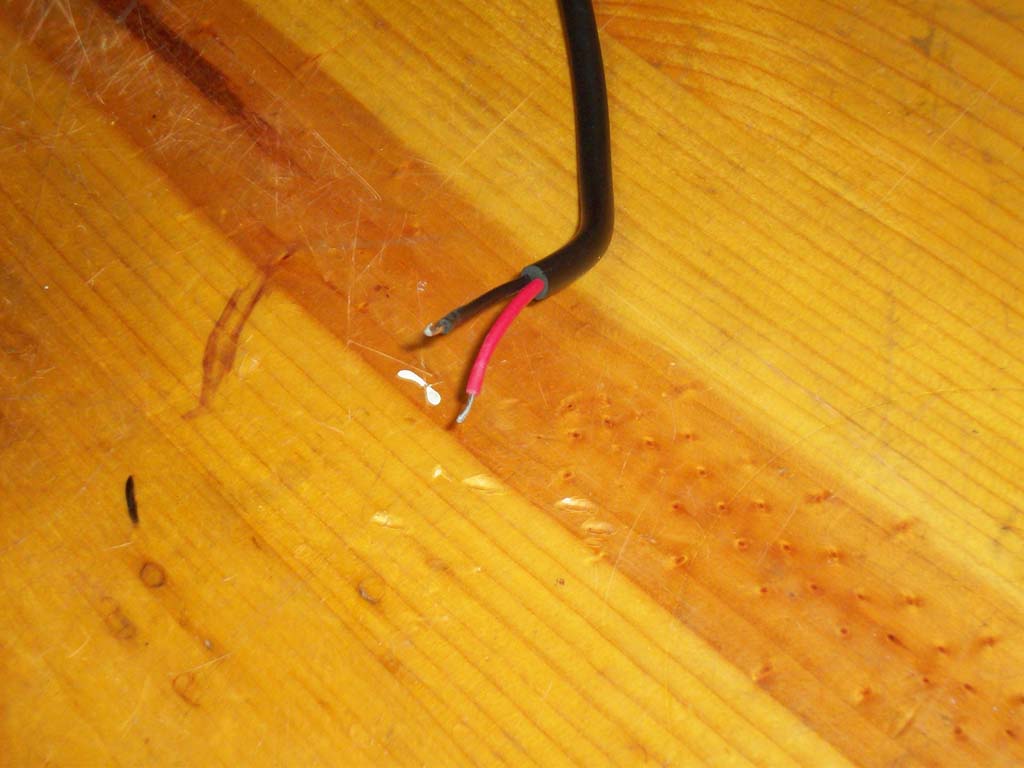
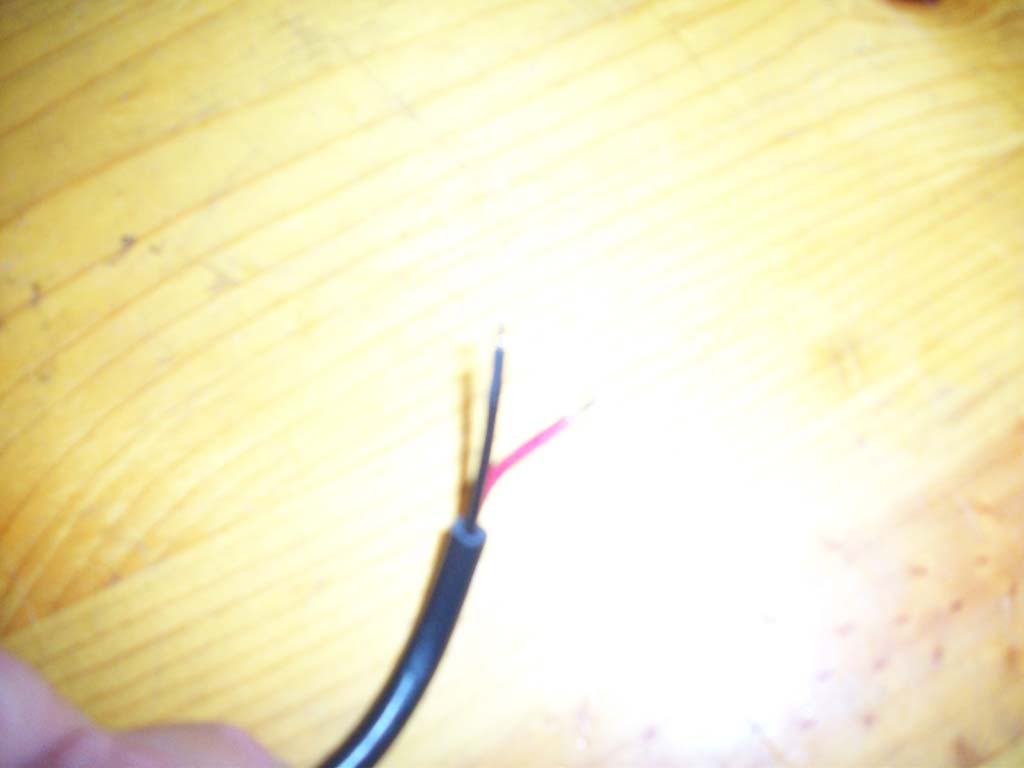
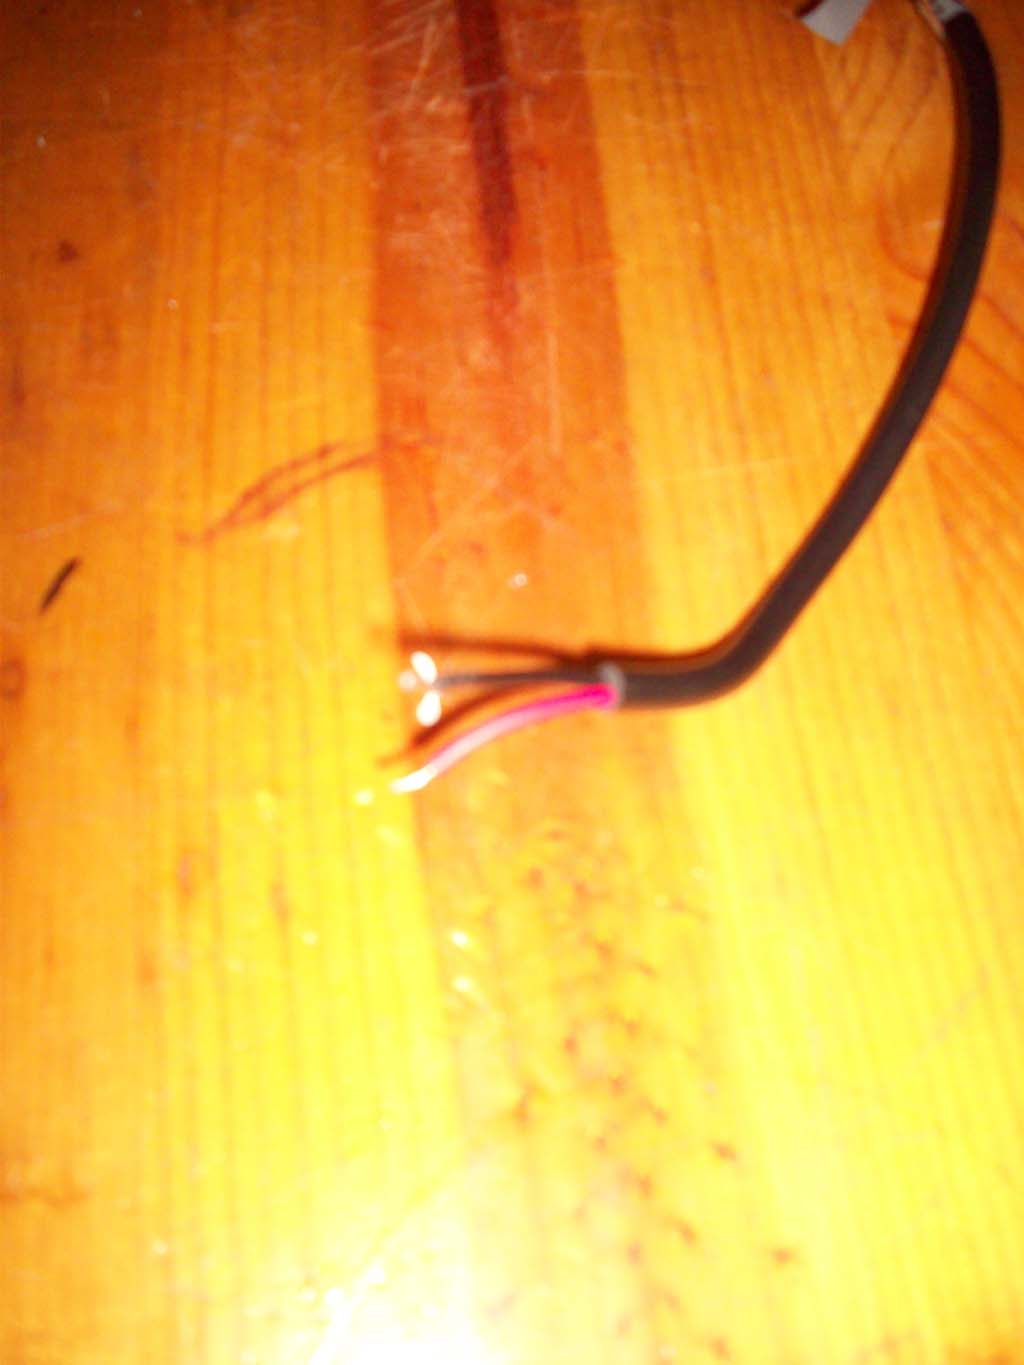
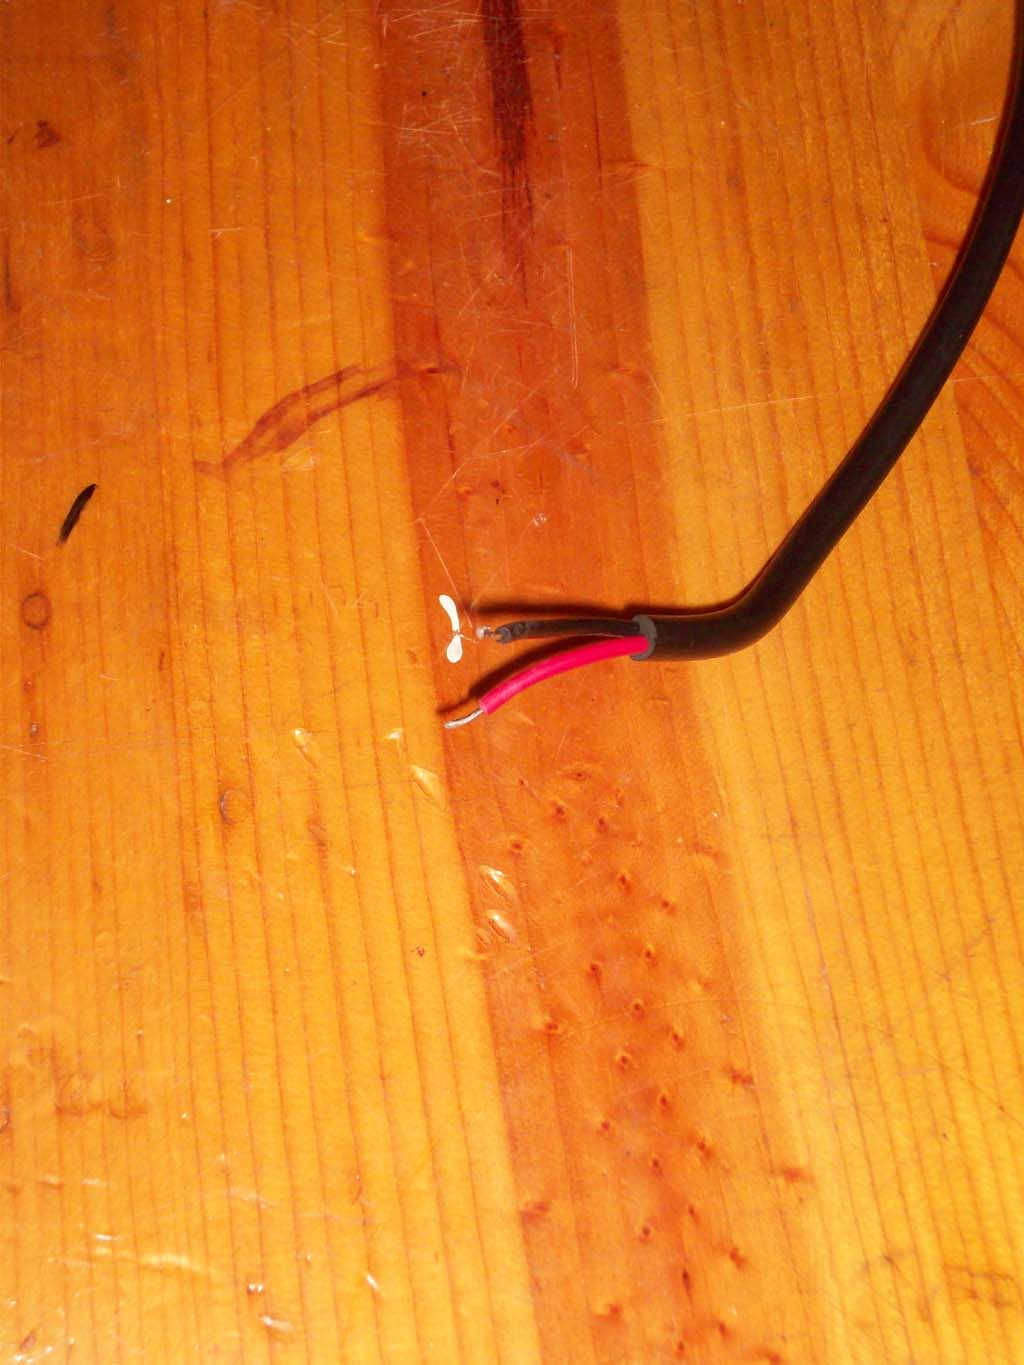
3. You will need to strip back a little more of the wire insulation and then join the wires together. There are a couple of options you could go from this point. You could wire them directly into the reverse lights like I did, or you could wire them to an external switch, or you could use a relay and wire them both into a switch and the reverse light circuit.
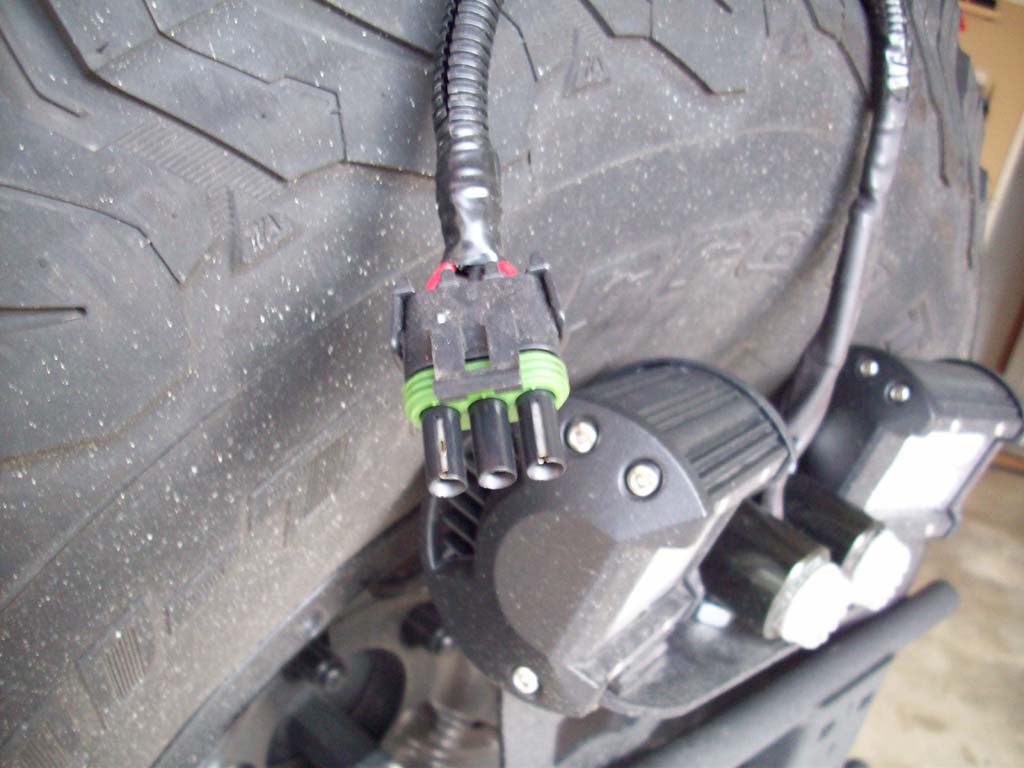
4. I stripped the wires and added an extension on to them going to a weatherpac fitting so I could easily unplug them and remove the exo-rack.
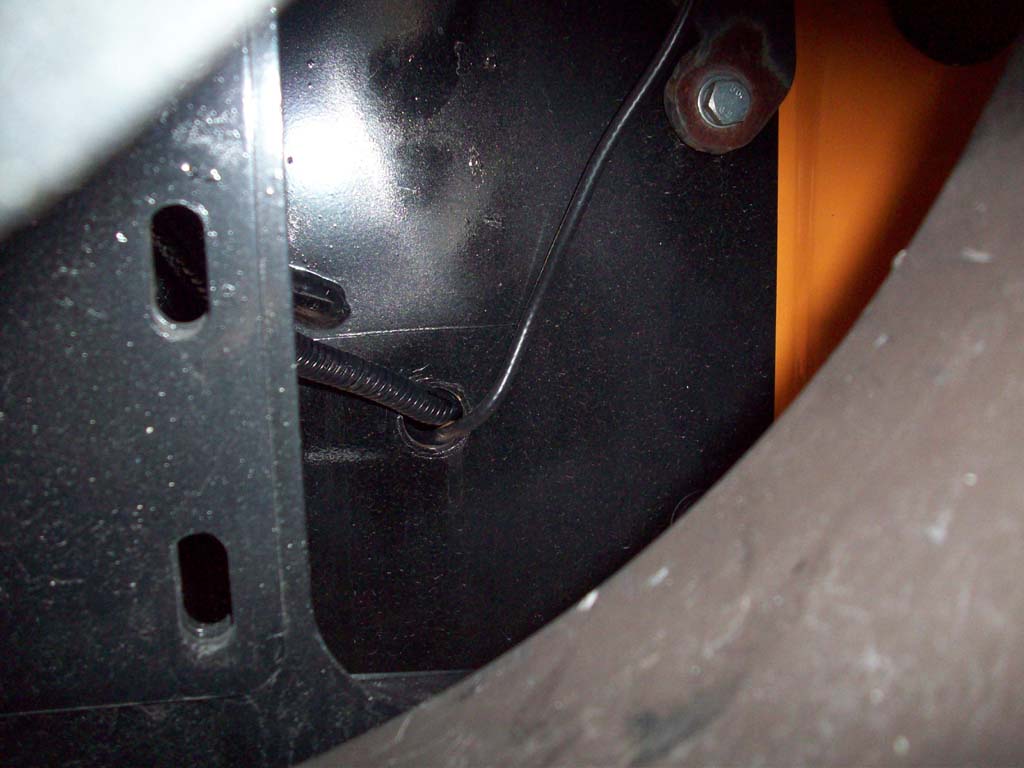
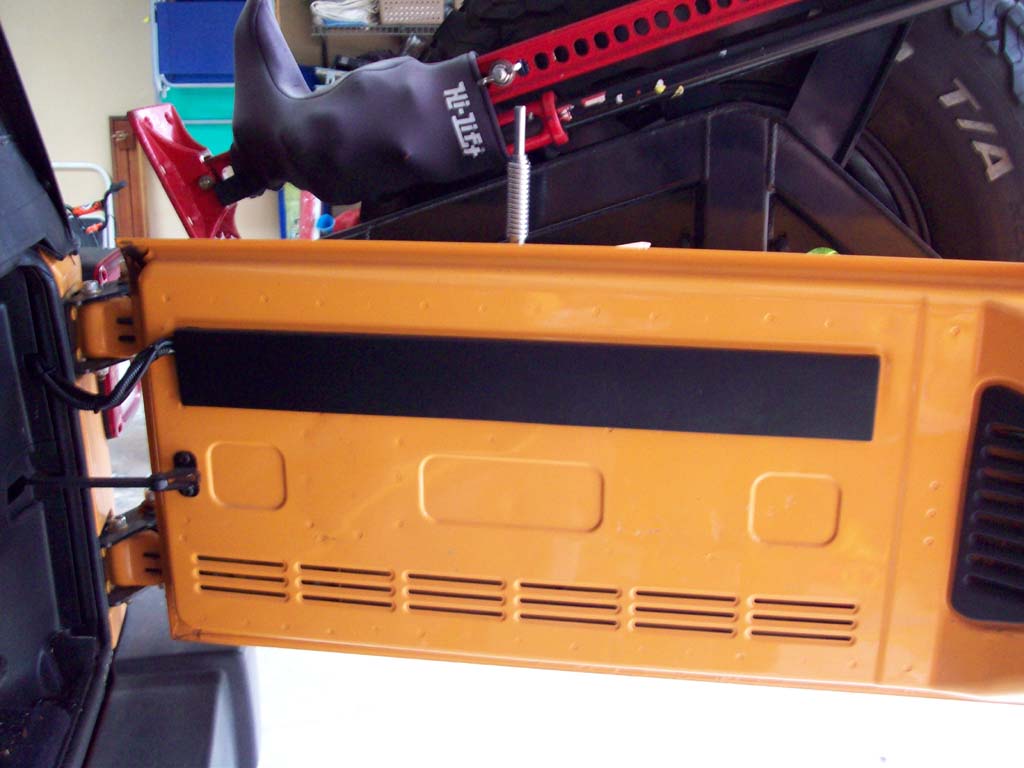
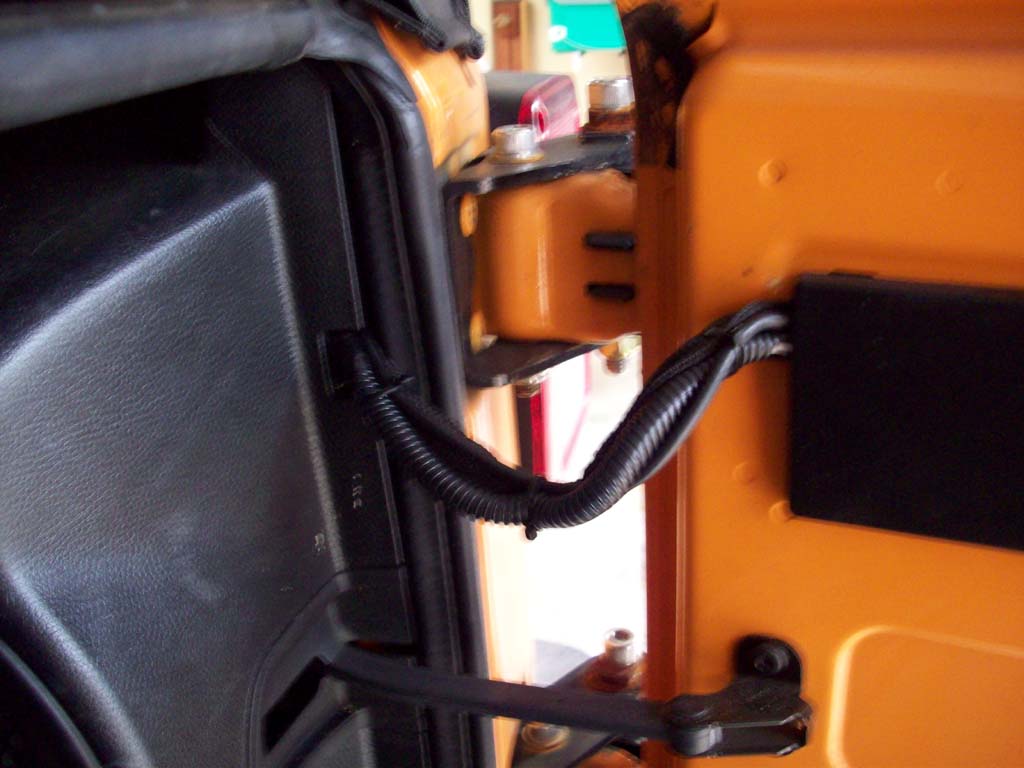
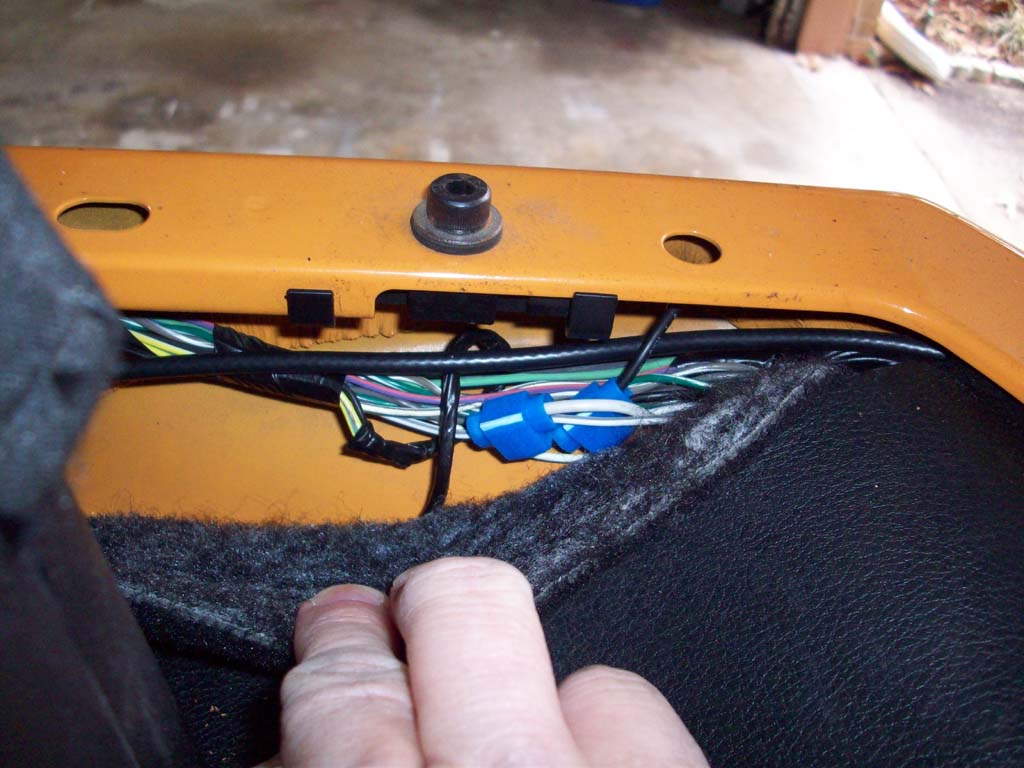
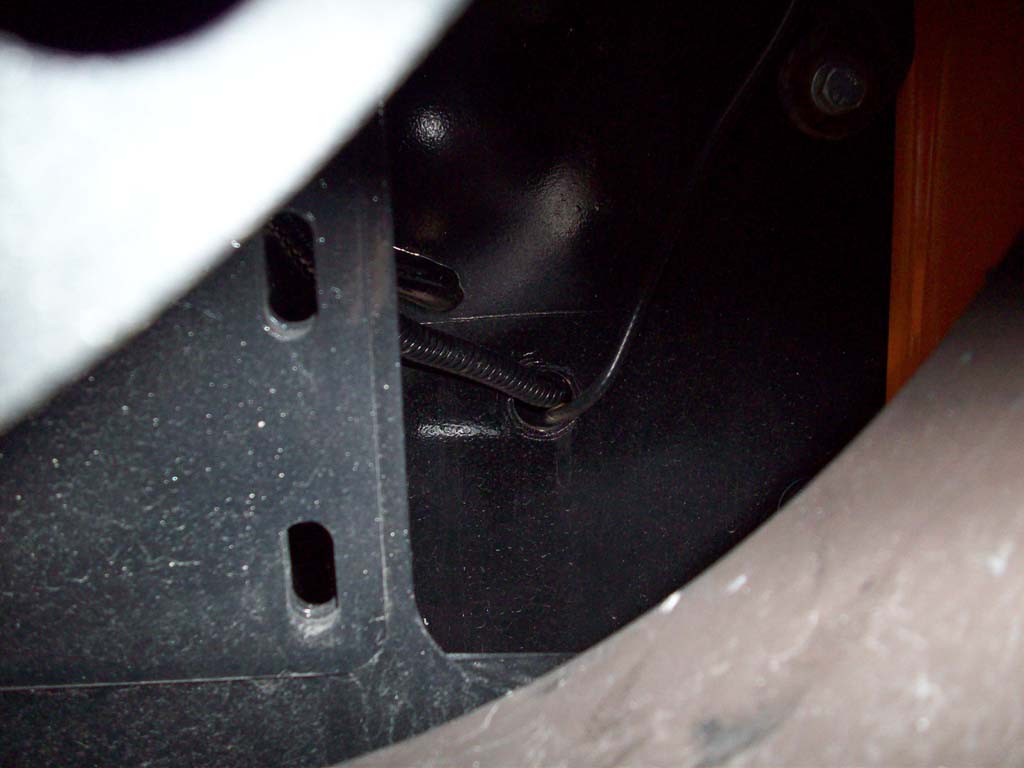
5. I ran a wire from the mating weatherpac fitting through a hole in the tailgate and up underneath the plastic trim piece on the inside of the tailgate. Just pull up from the bottom first to pop the clips free. The top is held in by some plastic tabs.
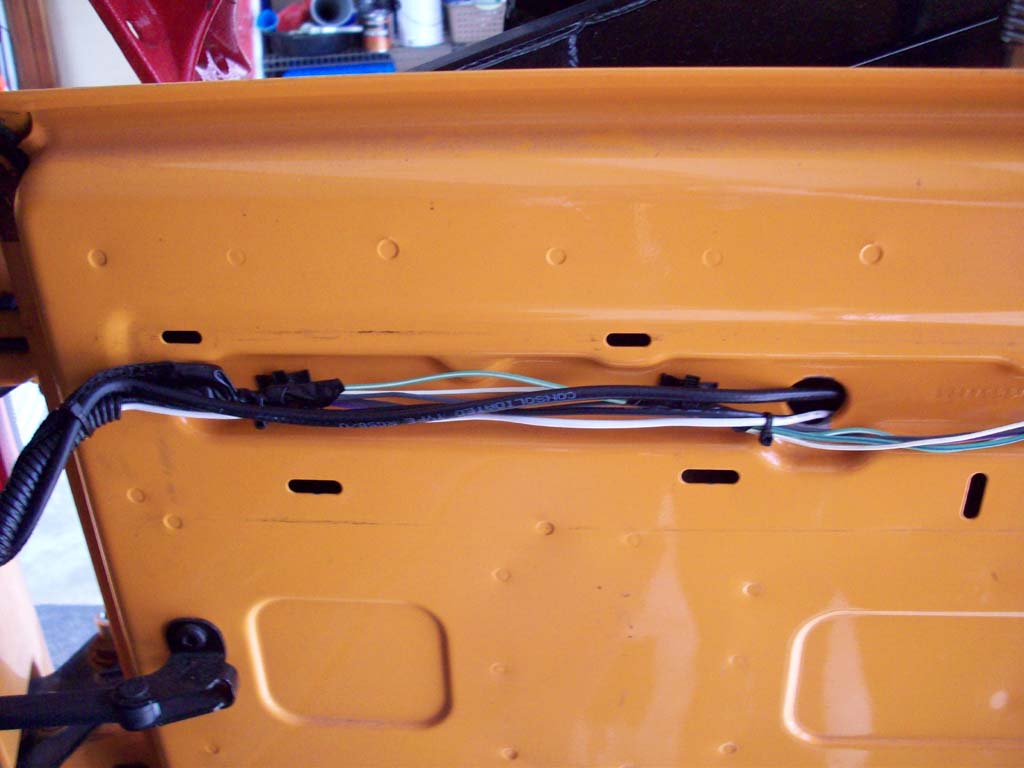
6. I then ran the wires along the existing brake light harness between the tailgate and body. I used some wire taps to connect into the reverse light circuit. On mine is was the black for ground and the white wire with light blue stripe for the reverese light power.


