Well after a few years, I managed to pretty much mangle,
crack, gouge, scrape, etc my stock flares. Now since I don’t have to put
the larger flares on my Jeep, I kept an eye out for a set of stock flares
in good condition and I finally scored a set of them for a good price.
Now to just put them on.
Installation Rear Fender Flare: |
1.
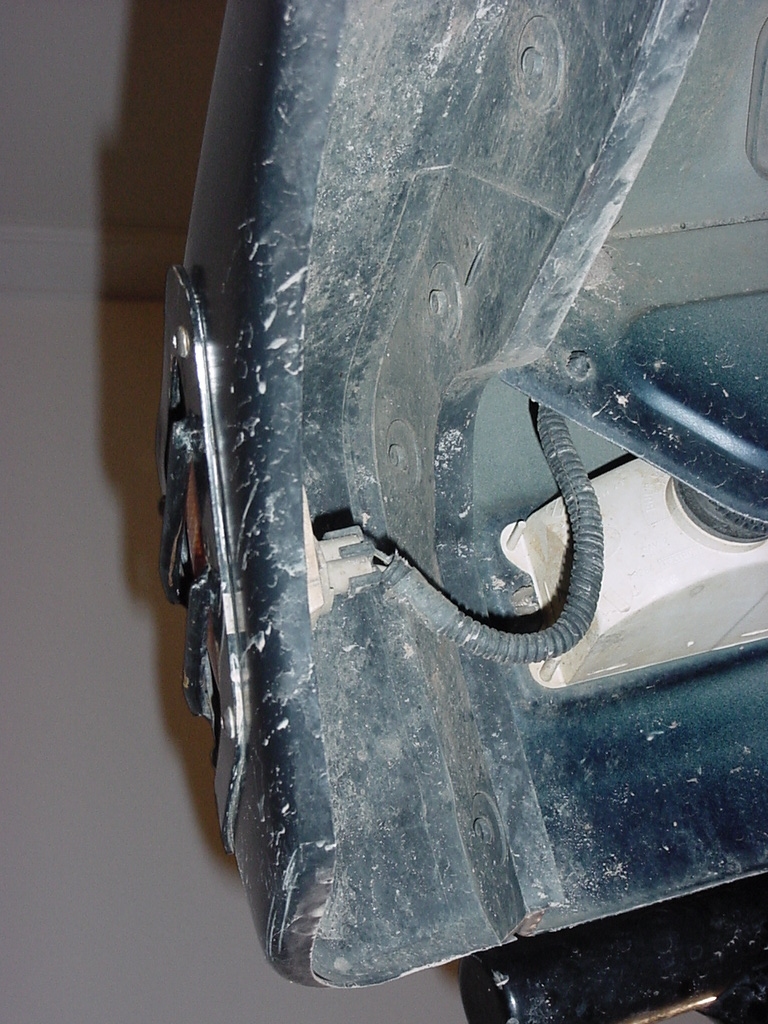
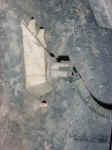
I did the rear first. Remove the wheel well liner to access the
nuts on for the fender.
|
|
2.
Remove the 7 push retainers holding the wheel well liner to the
body.
|
|
3.
Pull the bottom of the liner out away from the frame and the top
will follow, once the liner is free, just pull the top out past
the wheel and set aside. The liner has two tabs on the top that
go into the body, these may hang up the liner.
|
|
4.
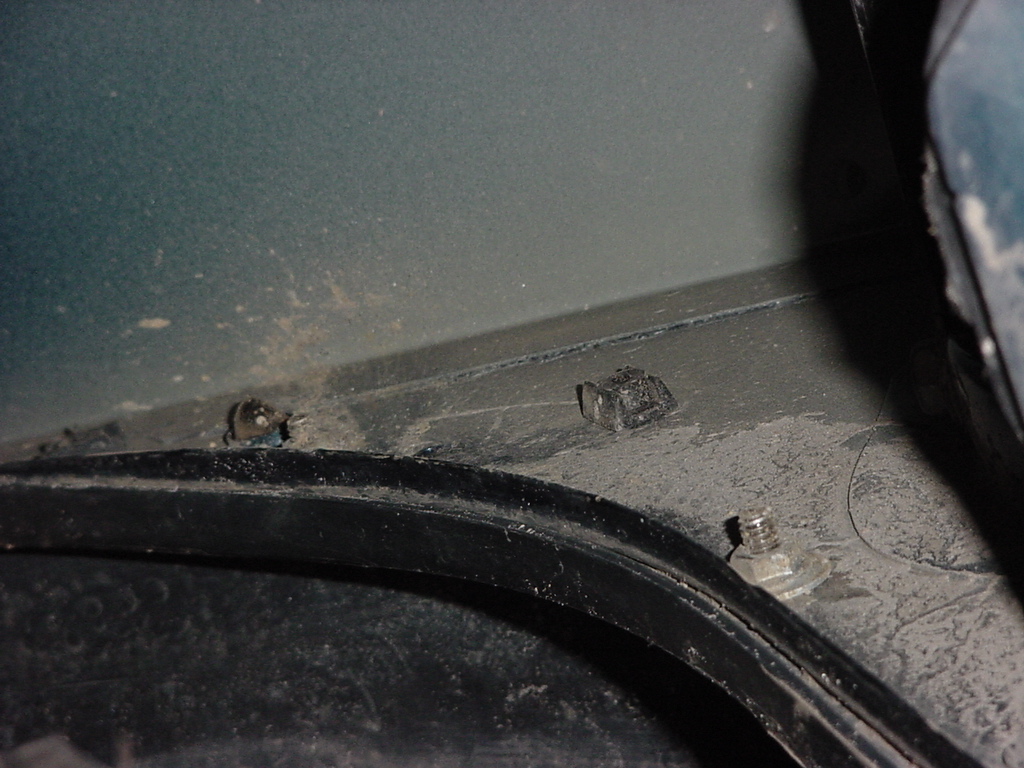
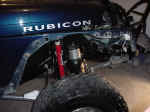
Now remove the bolts from the flare. You will need a 5/16” ratcheting
box end for this, otherwise it’s really slow going. The center set
of bolts have a plastic nut on the back side, that you can normally
spin with your hand once you get them loose. These bolts have a
coarse thread on them so keep them matched up with the plastic nuts.
|
 |
5.
The bolts towards both ends of the flare are inserted into well
nuts on the body so do not have a plastic nut behind them. These
bolts are different than the others so be careful when reinstalling
them.
|
 |
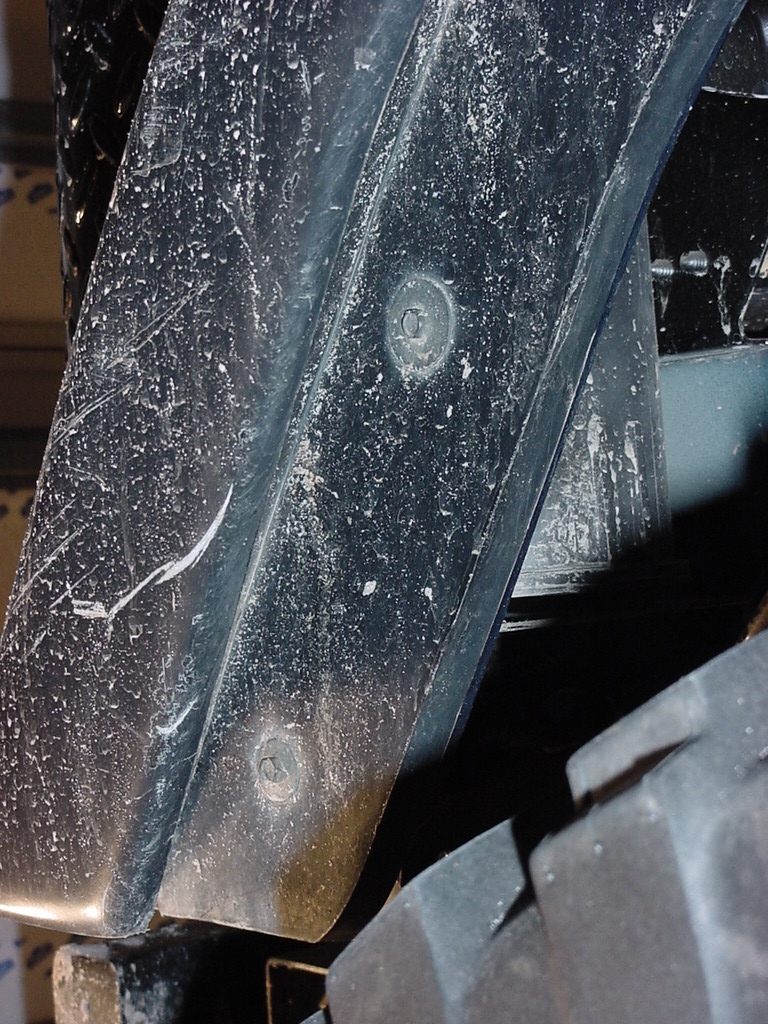
6.
Remove the flare. It has 2 prongs that go into holes on the body,
that may require a little tug to get free.
|
|
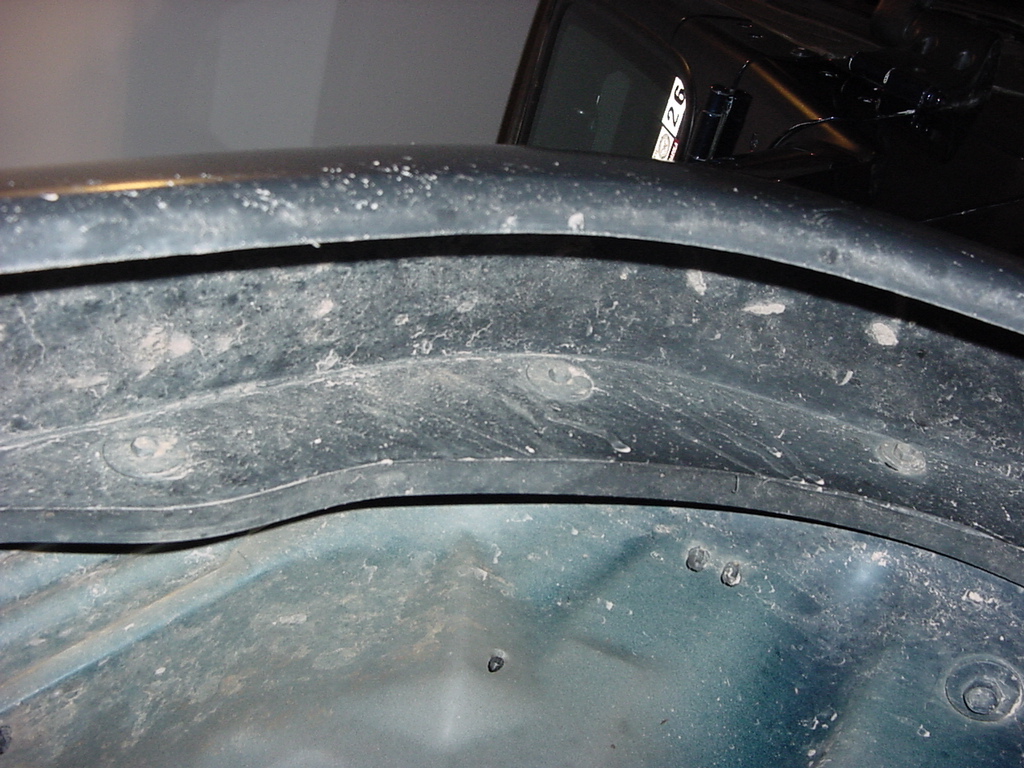
7.
Clean the area behind the flare. You might want to touch up any
paint damage and/or apply a coat of wax to this area.
|
|
8.
Install the flare in reverse order from above. Don’t forget the
difference between the bolts. |
|
| |
| Installation Front Fender
Flare: |
1.
The front is a little simpler to do than the rear.
|
|
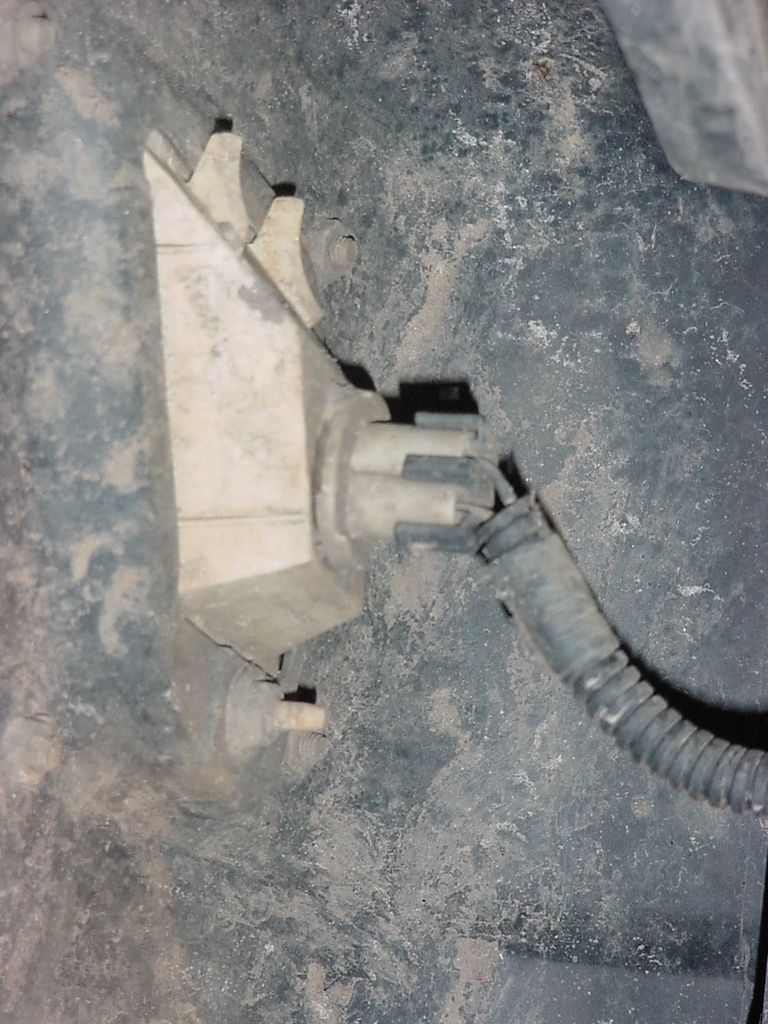
2.
Disconnect the front side marker light by rotating and pulling out
the light socket from the backside.
|
 |
3.
Now remove the bolts from the flare. You will need a 5/16” ratcheting
box end for this, otherwise it’s really slow going. The center set
of bolts have a plastic nut on the back side, that you can normally
spin with your hand once you get them loose. These bolts have a
coarse thread on them so keep them matched up with the plastic nuts.
|
|
|
4.
The bolts towards the bottom end of the flare are inserted into
well nuts on the body so do not have a plastic nut behind them.
These bolts are different than the others so be careful when reinstalling
them.
|
|
5.
Remove the flare. It has 2 prongs that go into holes on the body,
that may require a little tug to get free.
|
 |
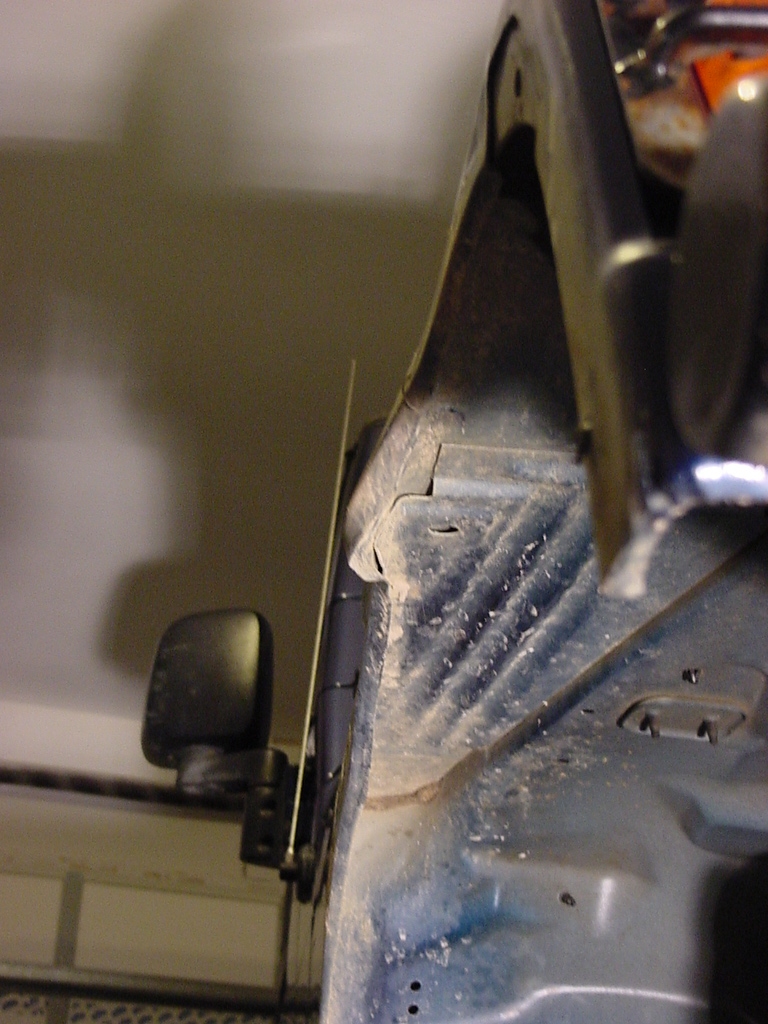
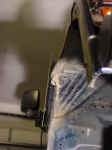
6.
Clean the area behind the flare. You might want to touch up any
paint damage and/or apply a coat of wax to this area. I needed to
do a little bodywork to my mounting point where I had bent it up.
The tab on the front does point out at an slight angle, so if yours
looks bent, just note that. Of course, my flare was crinkled on
this side.
|
 |
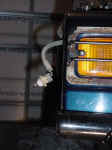 |
7.
Remove side marker light from fender flare. Remove the nut from the
backside and pull the marker light out of the flare. The nut requires
a 1/2" Combo wrench. (I had to remove my light guards first to
get the marker light out)
|
|
| 8.
Install side marker light in new flare. |
|
| 9.
Install the flare in reverse order from above. Don’t forget the difference
between the bolts. |
|