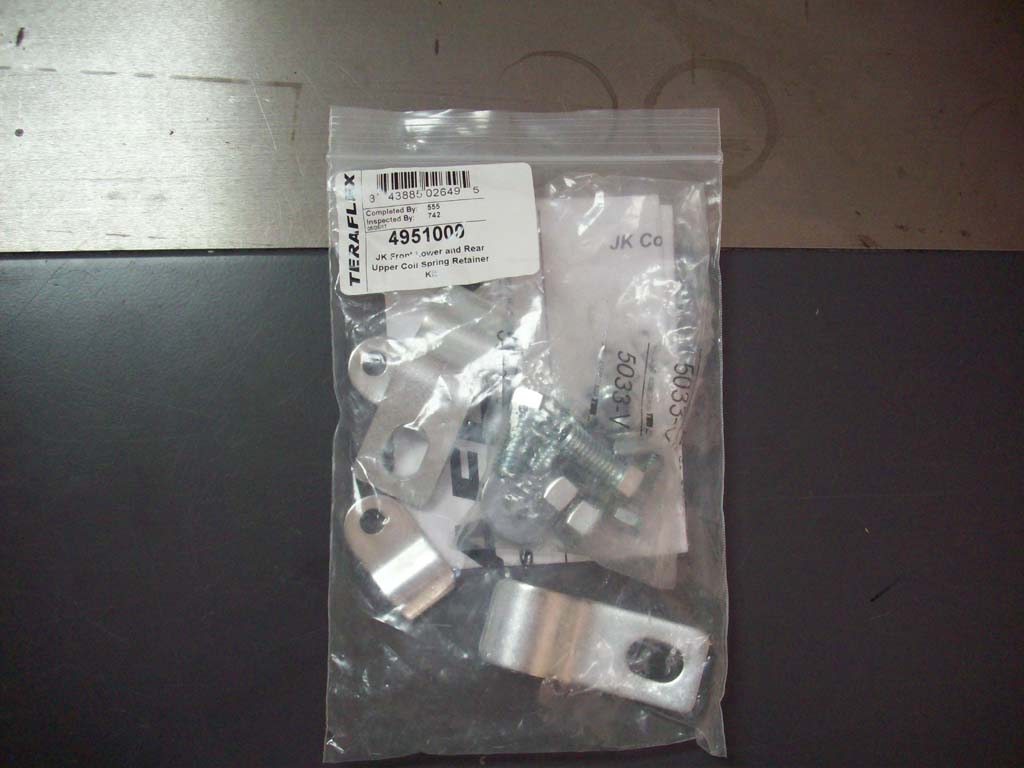
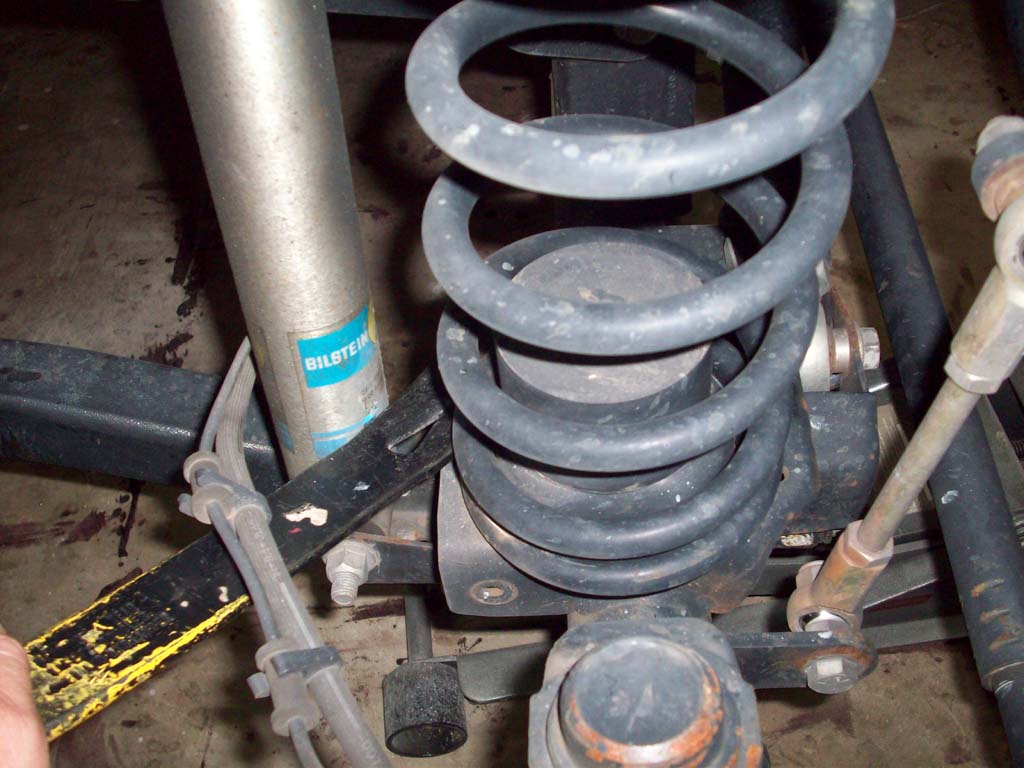
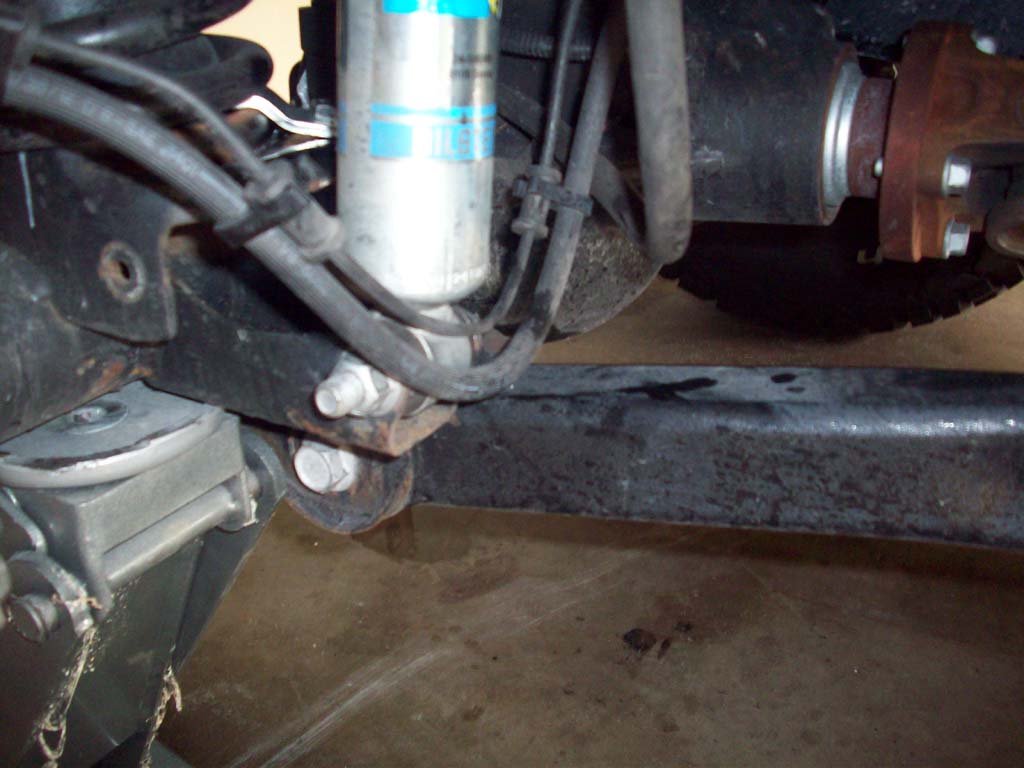
This kit is made up of Front Lower Retainer Kit (PN: 4951300) and Rear Upper Retainer Kit (PN: 4951400). Those of us that wheel regularly have probably seen a coils spring end up laying on the side of the road because our suspension cycled a lot further than the extent of the spring and pop, clang.... there goes the spring. This can be a real pain and dangerous to try and reinstall a spring on the trail. Better to keep them where we put them. The front typically has bump stops on the bottom spring perch and the long bump stop cup on the top, so having a front come out isn't as common as the back. Still they can get free of the lower perch and get tangled up in the ABS lines, brake lines and steering gear located up front. The old TJ's had a spring clip installed up there that later got removed to save a few bucks in assembly costs. The rears only sit over a small nub on the rear axle and push up against the top spring bucket, nothing to really keep them in.
Additional
Parts:
Tools
Needed:
Prybar
Marker/Center Punch
Drill
3/8" Drill bit
9/16" Socket
3/4" Socket
18mm Socket
9/16" Combo Wrench
3/4" Combo Wrench
18mm Combo Wrench
Ratchet
Large flat tip screwdriver
This is the easiest of the two to do, so I spent about 10 minutes and installed this section.
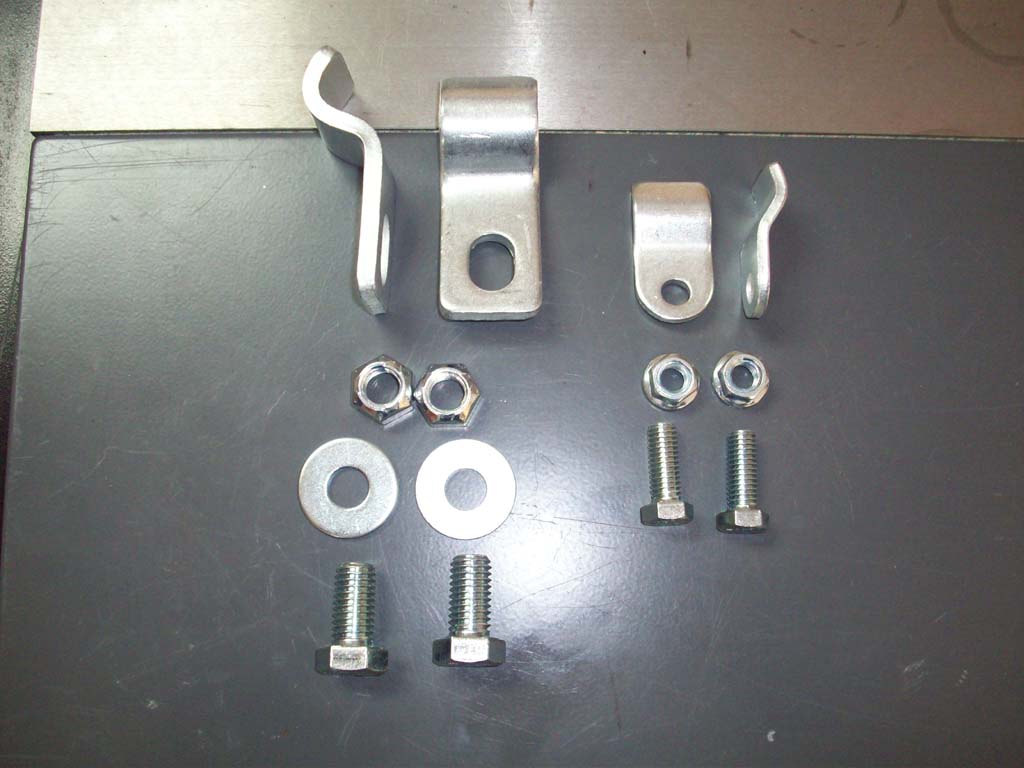
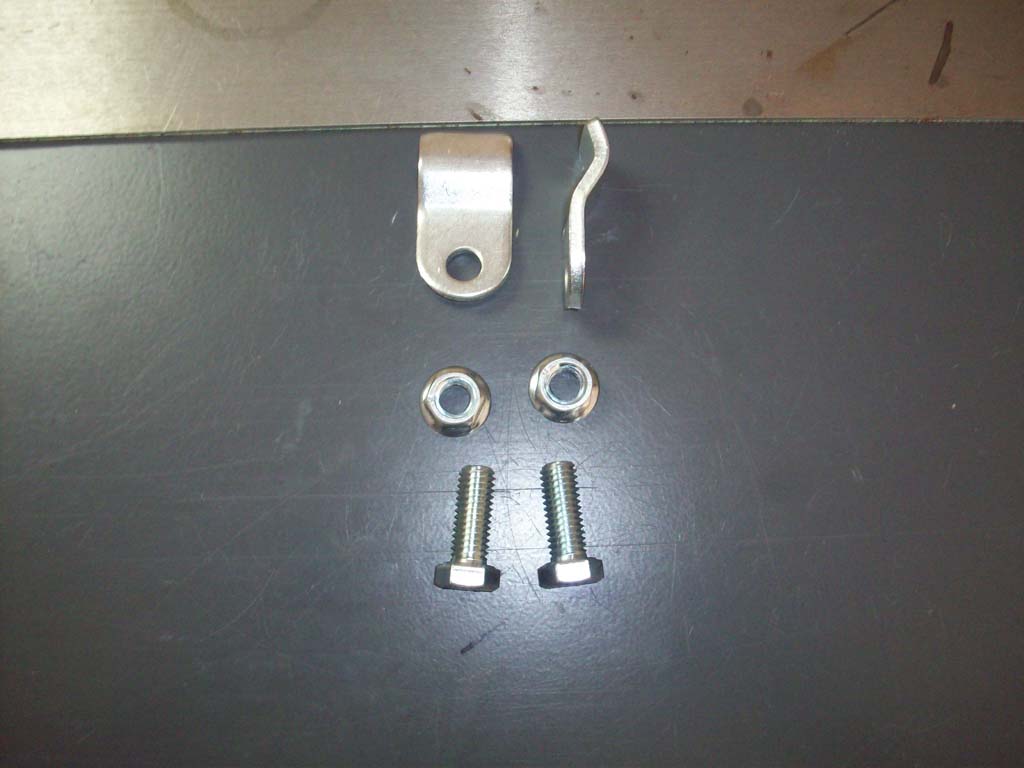
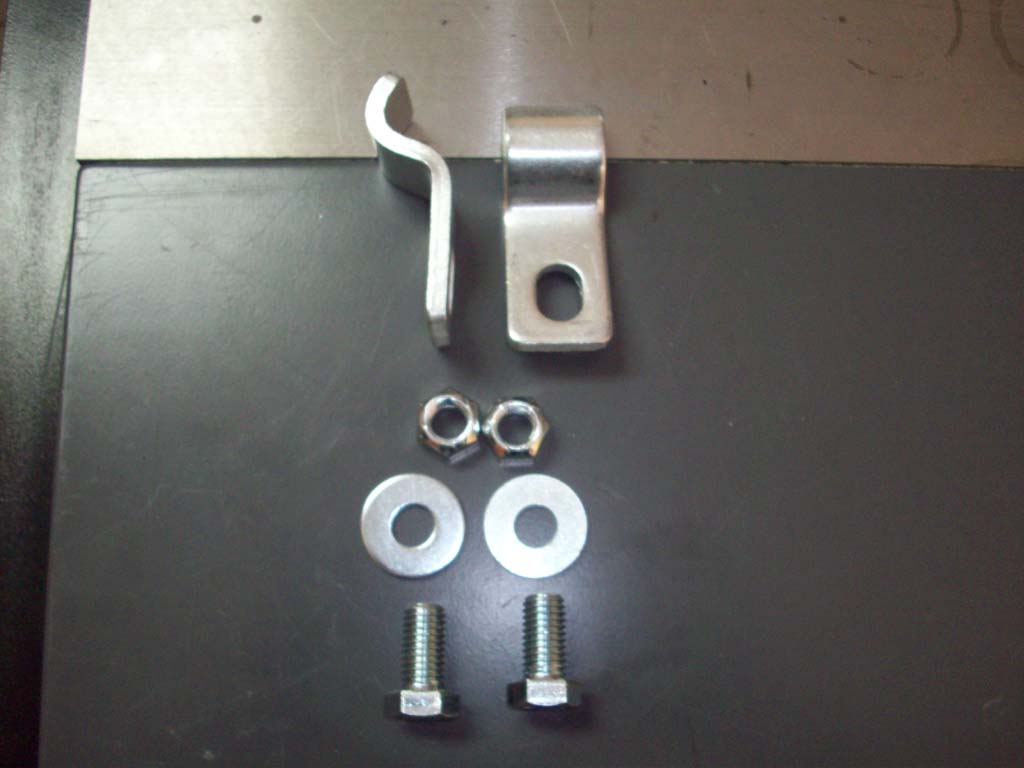
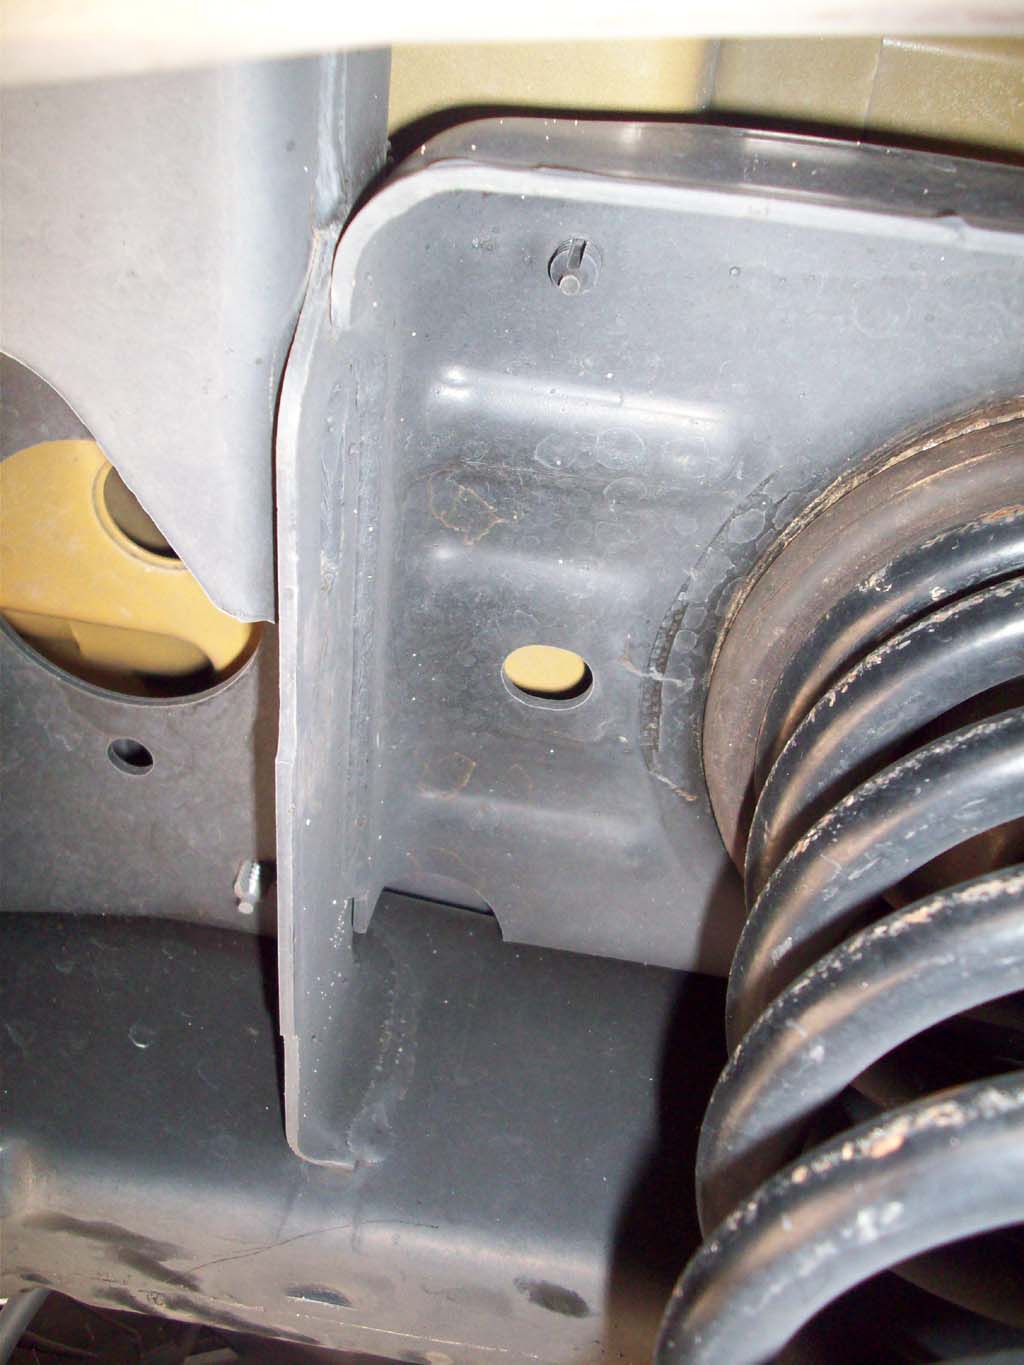
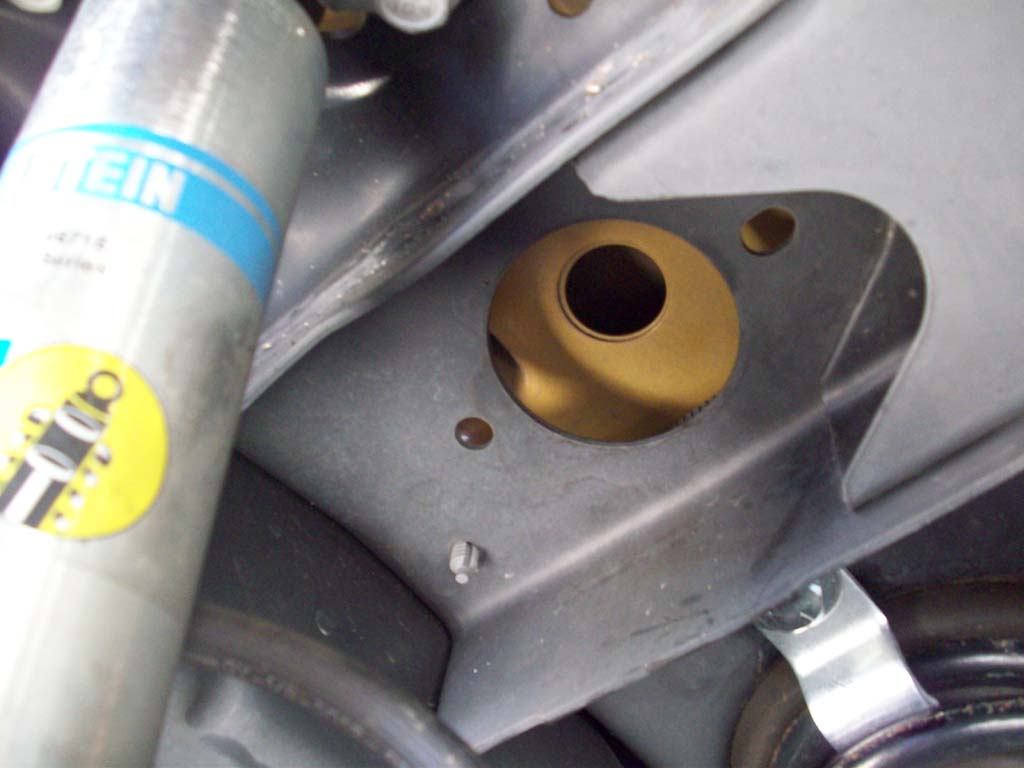
1. Locate the factory hole near the frame side coil bucket.
2. Install the coil spring retainer between the top two coils of the spring.
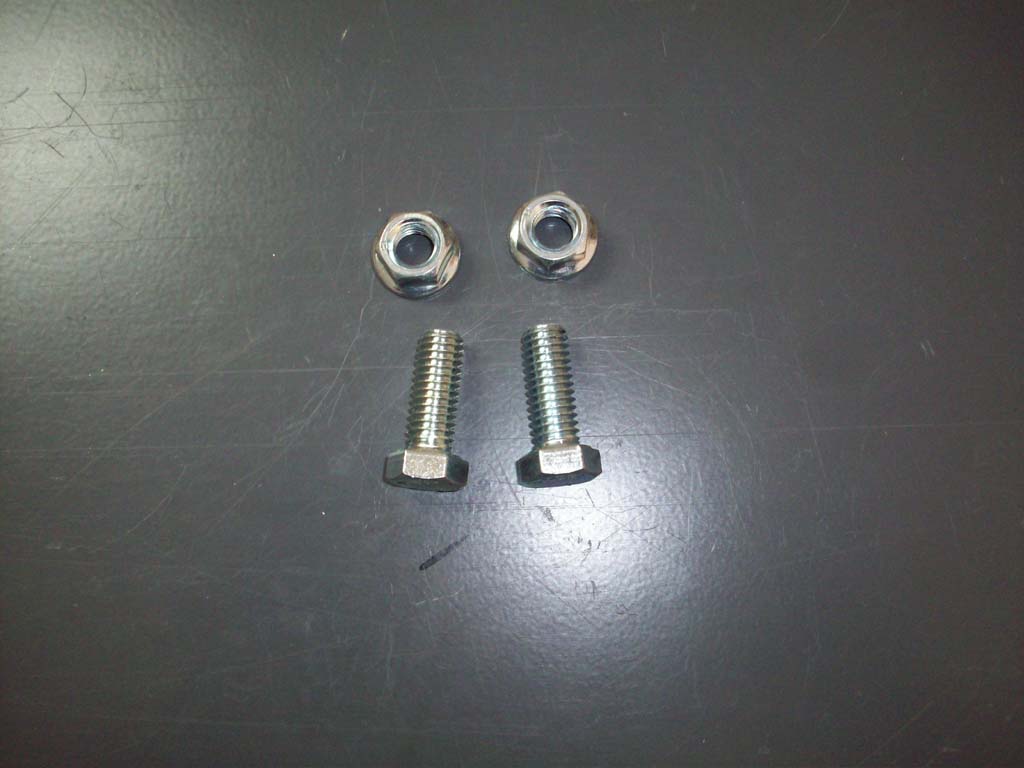
3. Install the bolt and washer up through the coil spring retainer.
4. Thread the nut onto the bolt from on top of the coil spring bucket. It is easiest to come in from the rear side of the bucket with the nut. There is a large hole in the cross member that you can get your hand in.
5. Tighten the nut and bolt with a 3/4" socket and combo wrench. Torque to 50 ft-lbs.
Front Installation:
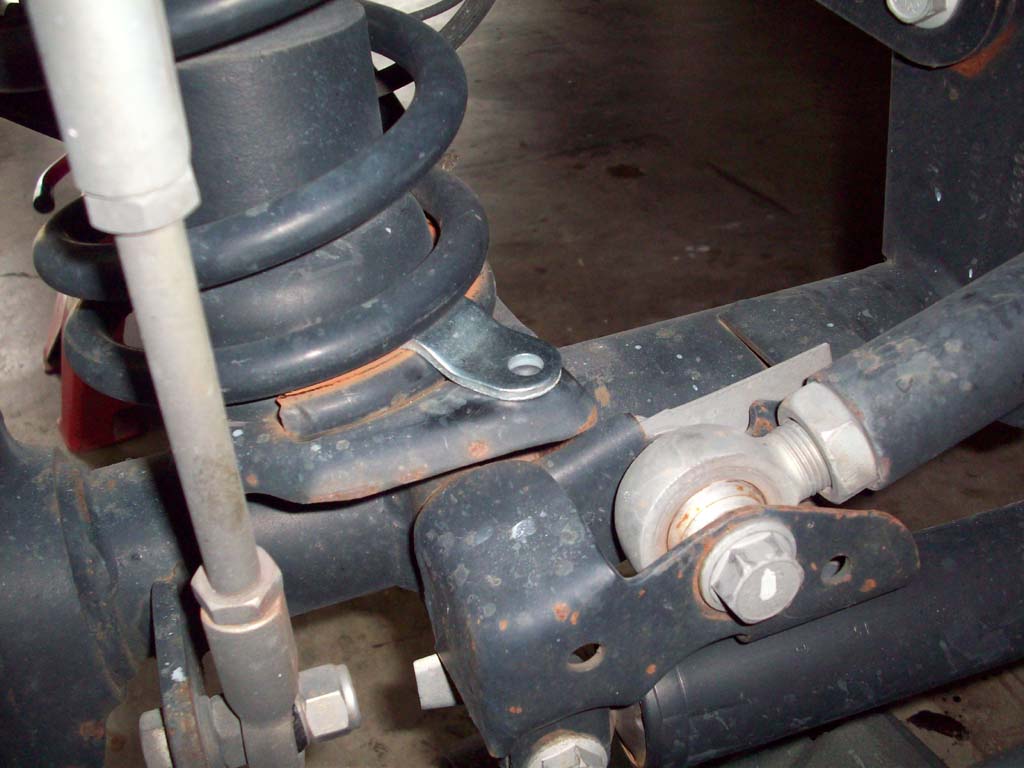
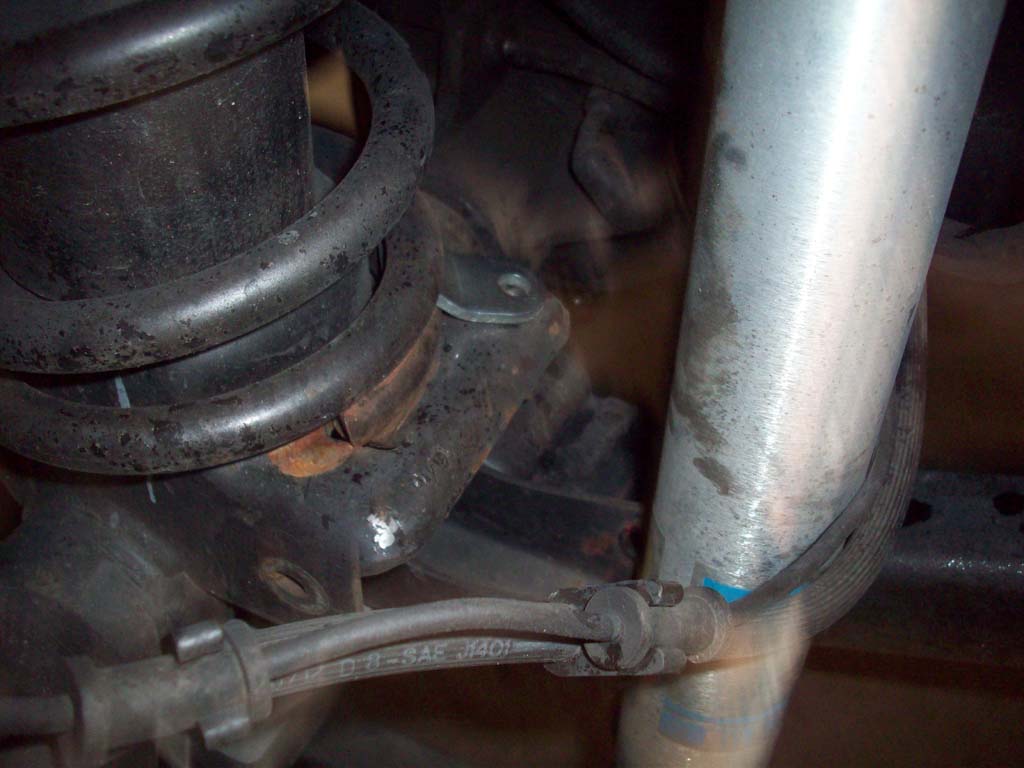
This is a little more difficult and is easiest done when you are doing the lift kit and installing the new front springs.
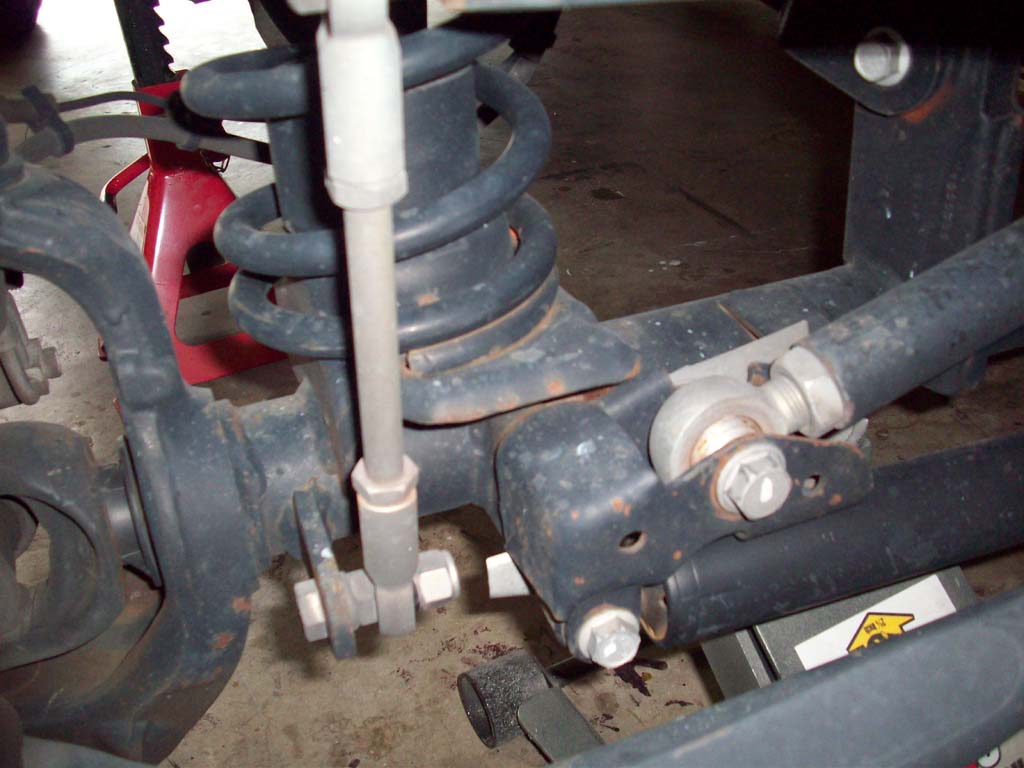
1. Jack up the front axle and support the frame with jack stands. This will allow the front axle to droop and give you more room to work with the drills.
2. Remove the tires.
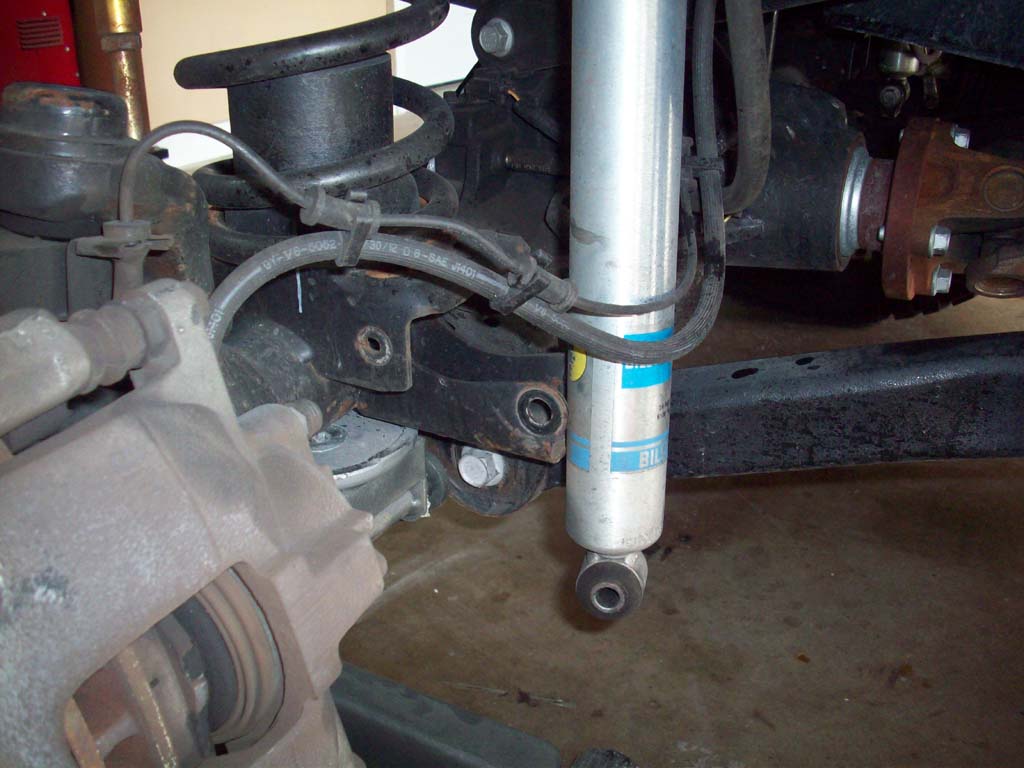
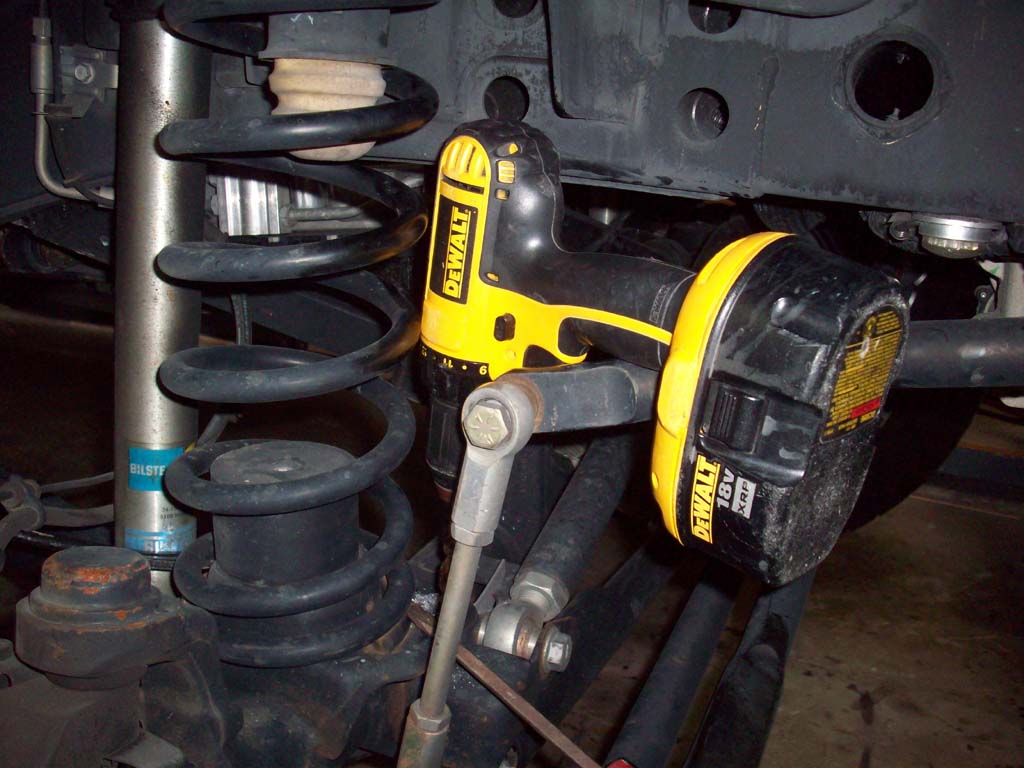
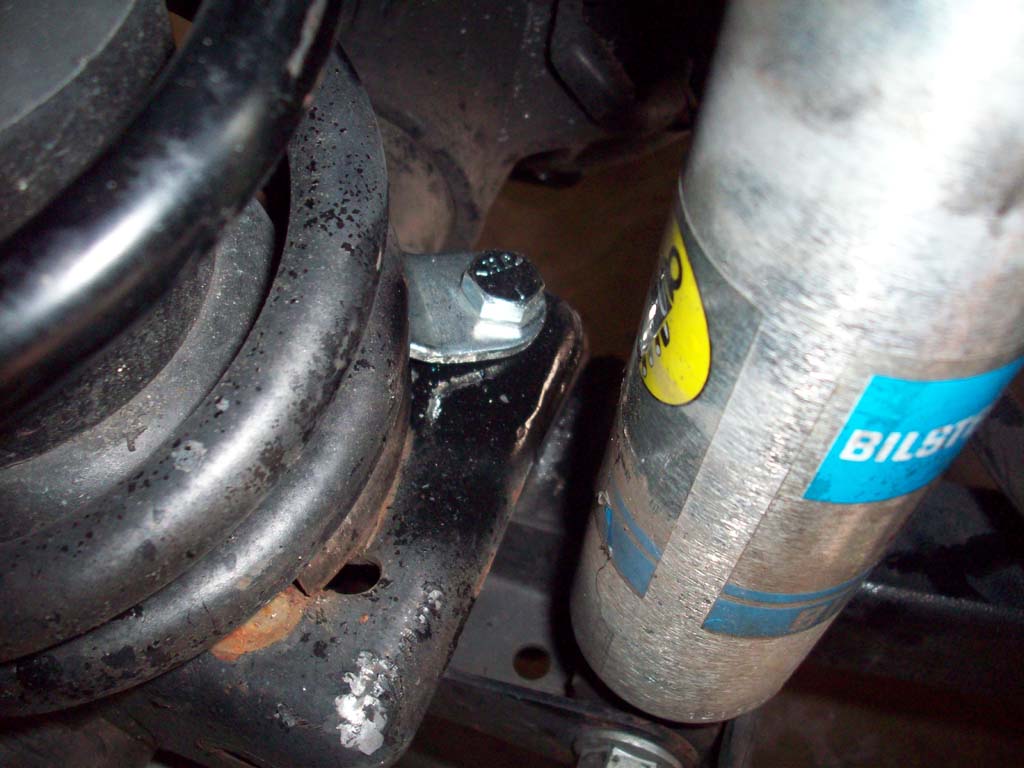
3. On the driver side you will need to remove the lower shock mount bolt to move the shock out of the way. You will need an 18mm socket, 18mm combo wrench and ratchet.
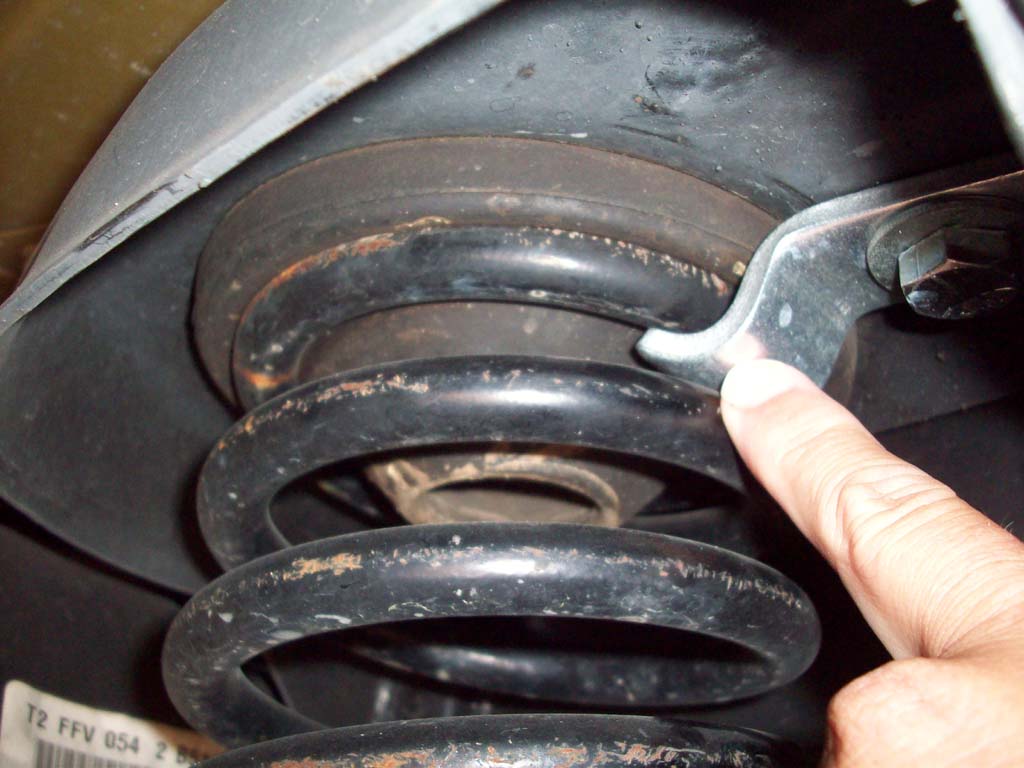
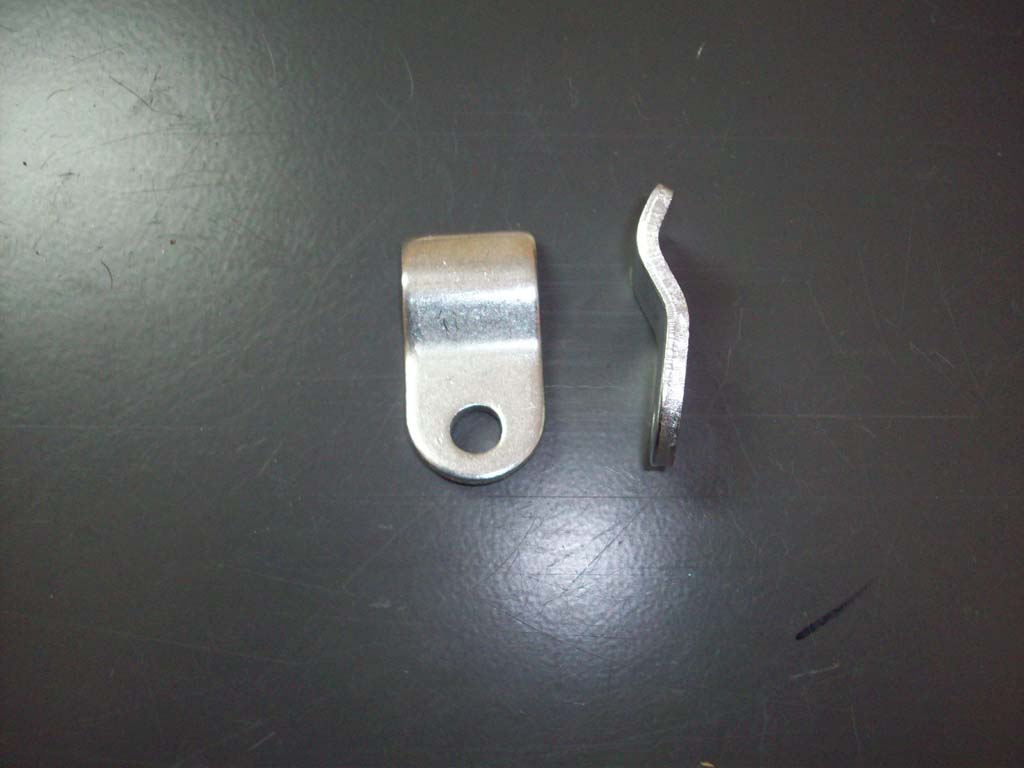
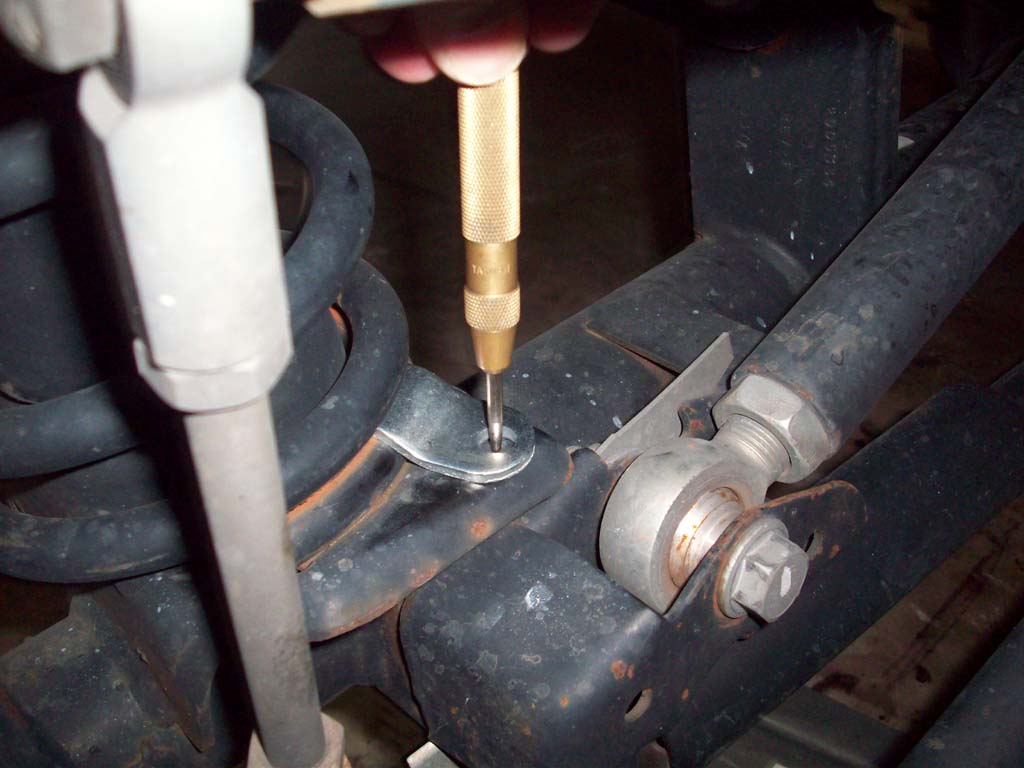
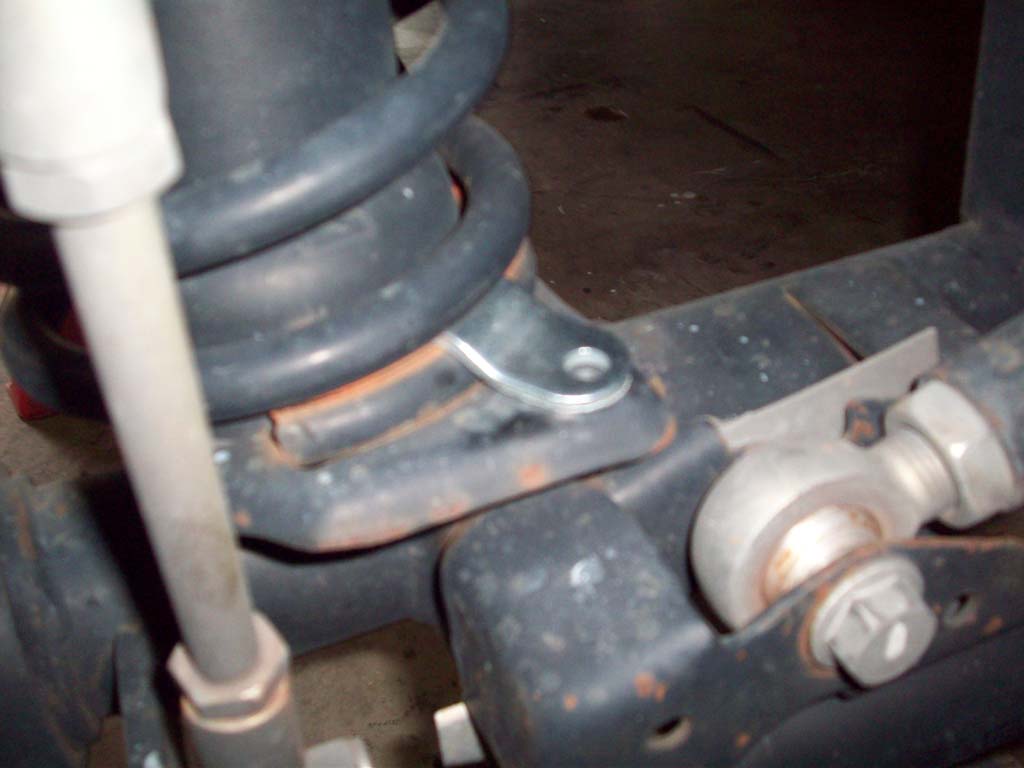
4. Install the front coil retainer by inserting it in between the coils of the spring near the end of the spring pigtail. This is the section the fits down in the divit on the lower coil spring perch. Use a prybar and large flat tip screwdriver to spread the coils apart.
Caution: Watch your fingers when spreading the coils. They can pinch your finger if the prybar or screwdriver slip.
5. Position the coil spring retainer so the hole is over the coil spring perch. On the passenger side it should be front outer corner and the driver side the rear inner corner.
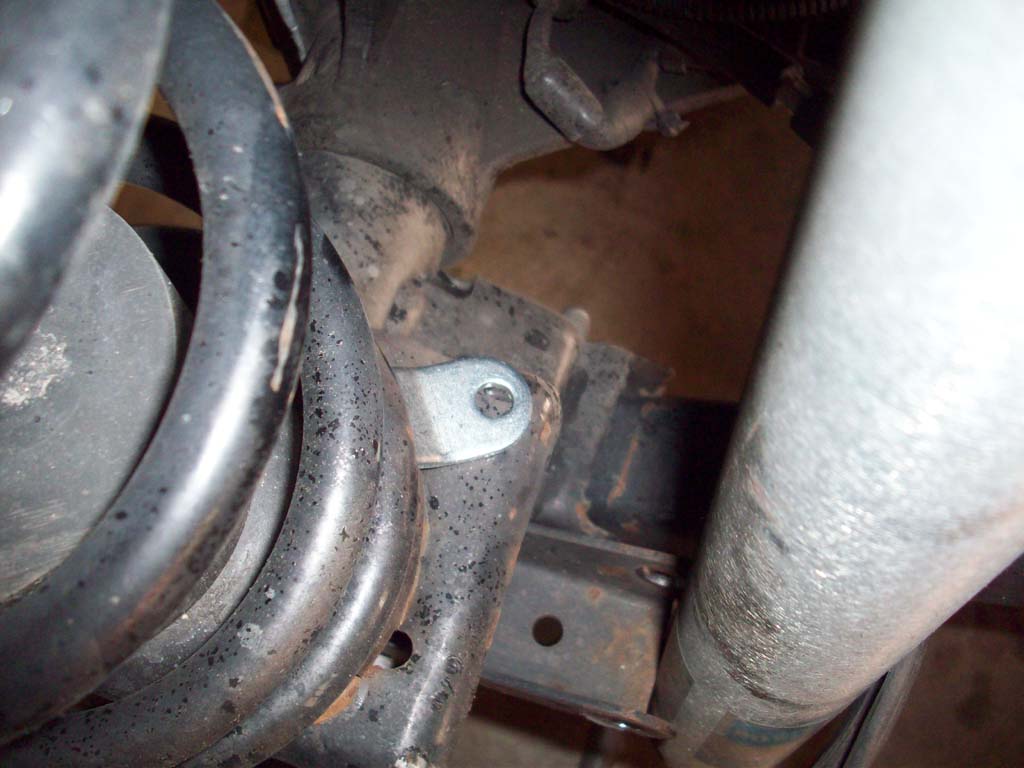
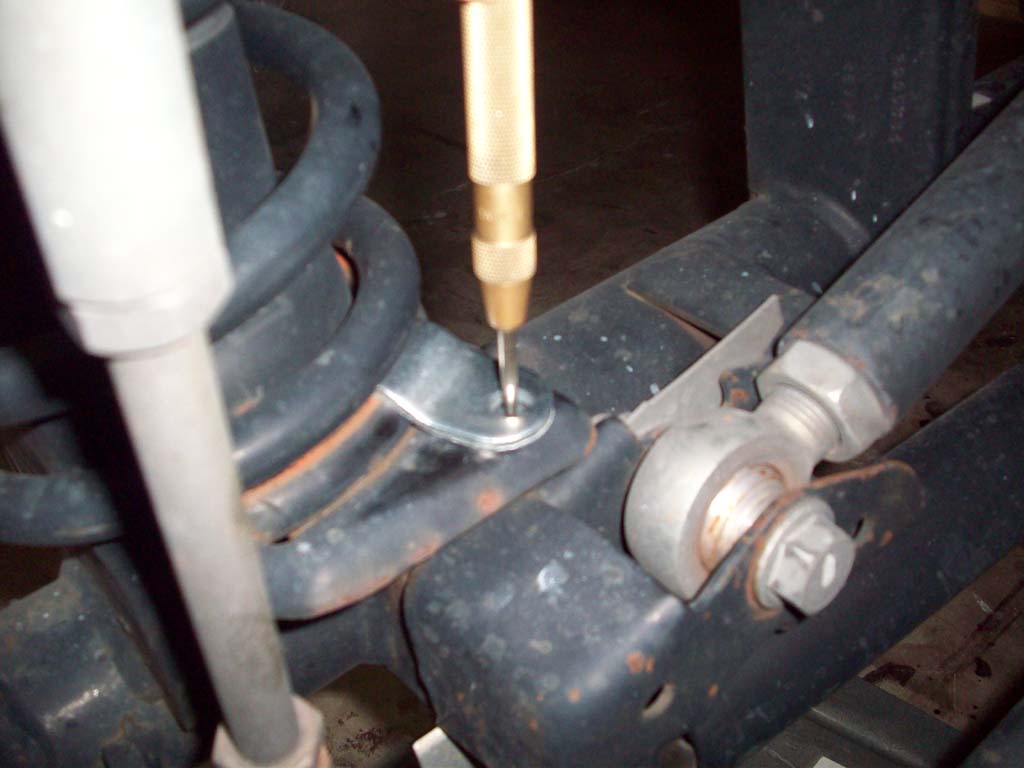
6. Mark the position of the hole with a marker or center punch.
7. Remove the coil spring retainer and drill out the hole to 3/8" using a 3/8" drill bit and drill.
8. Touch up paint the drilled hole.
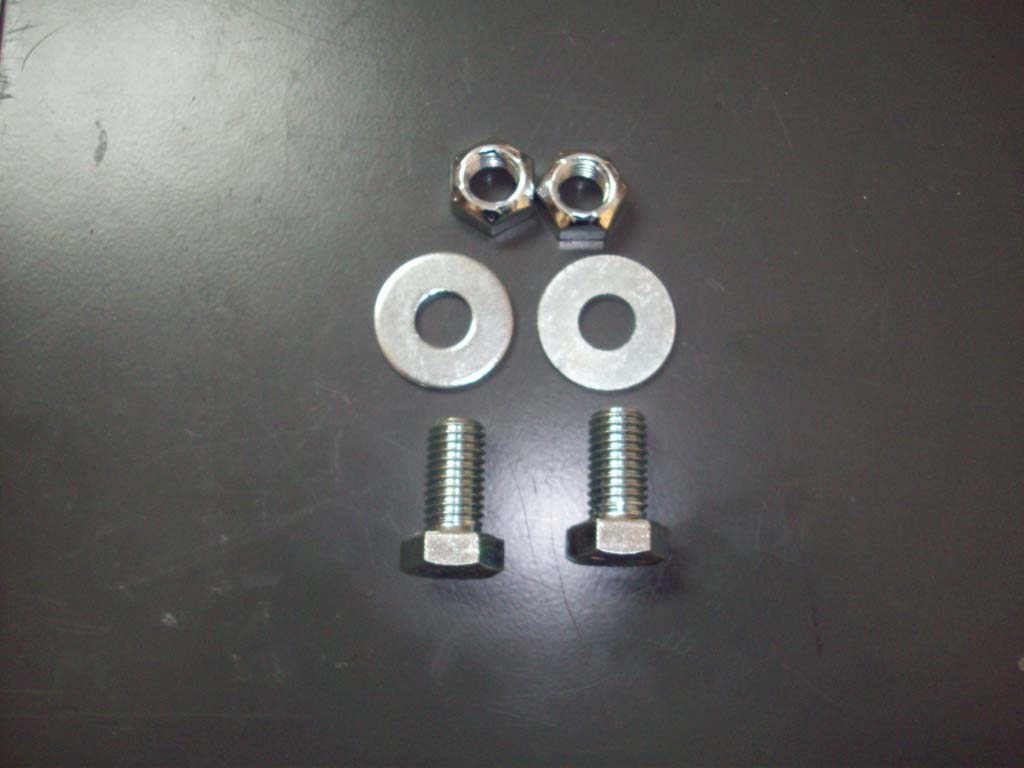
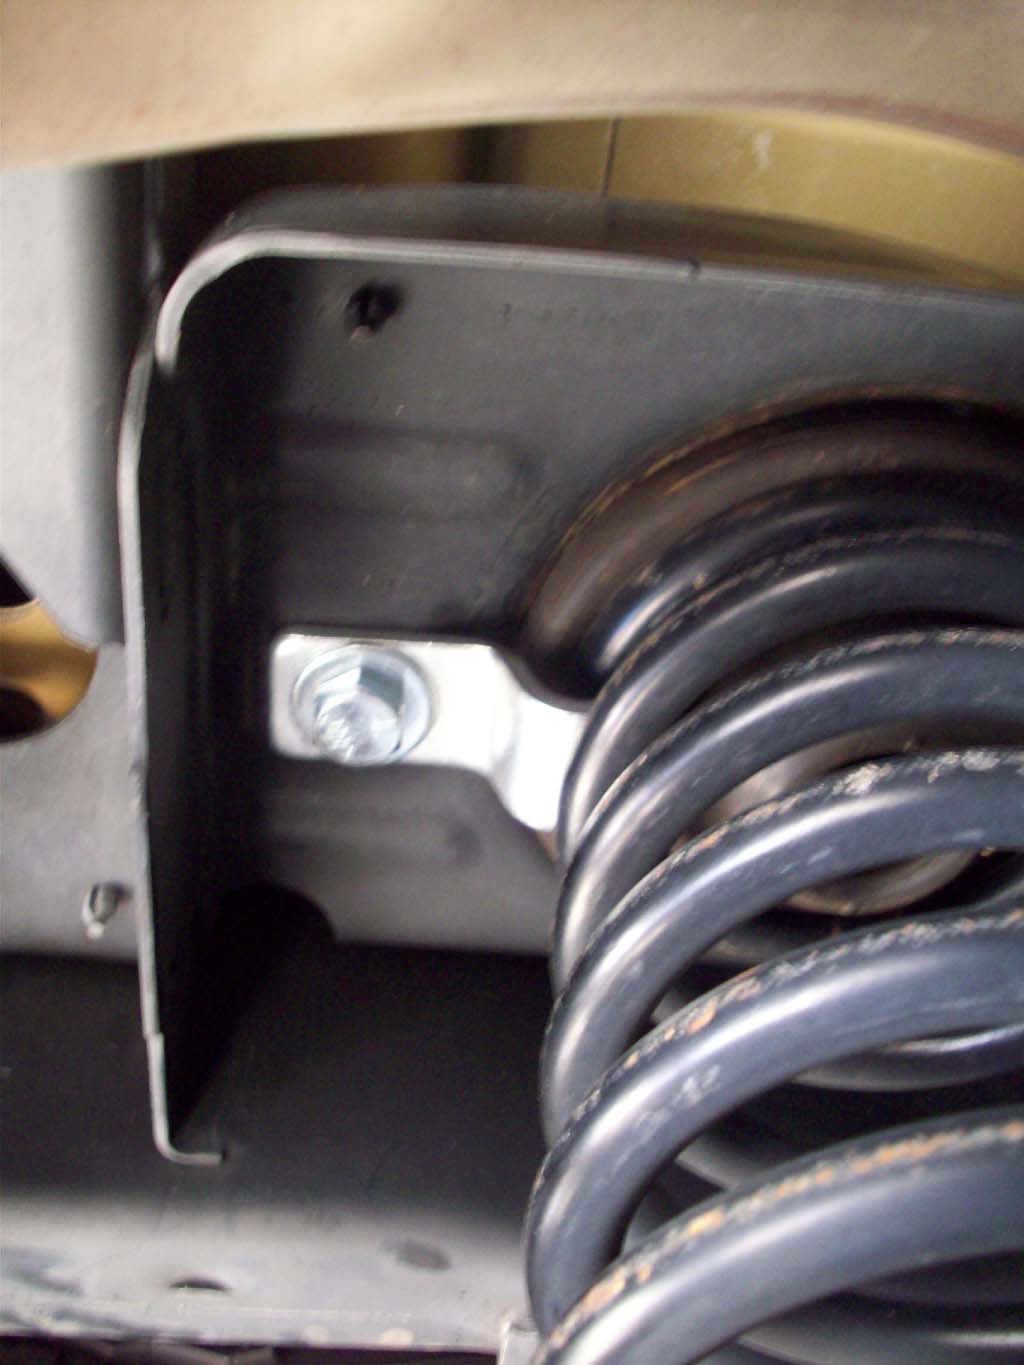
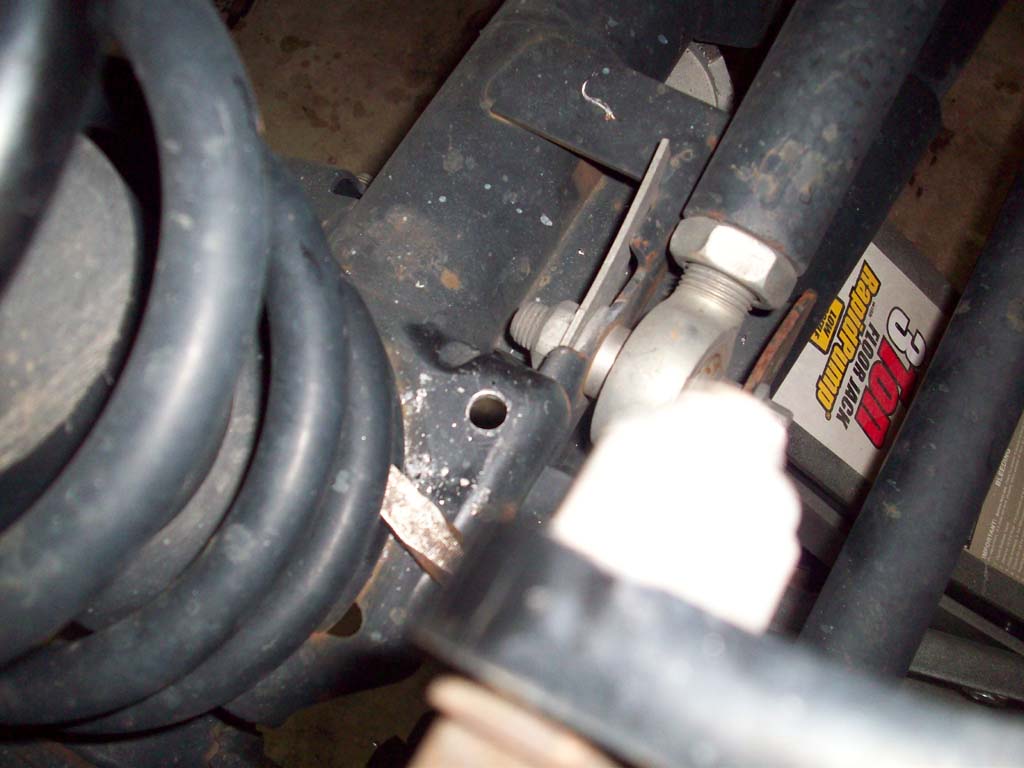
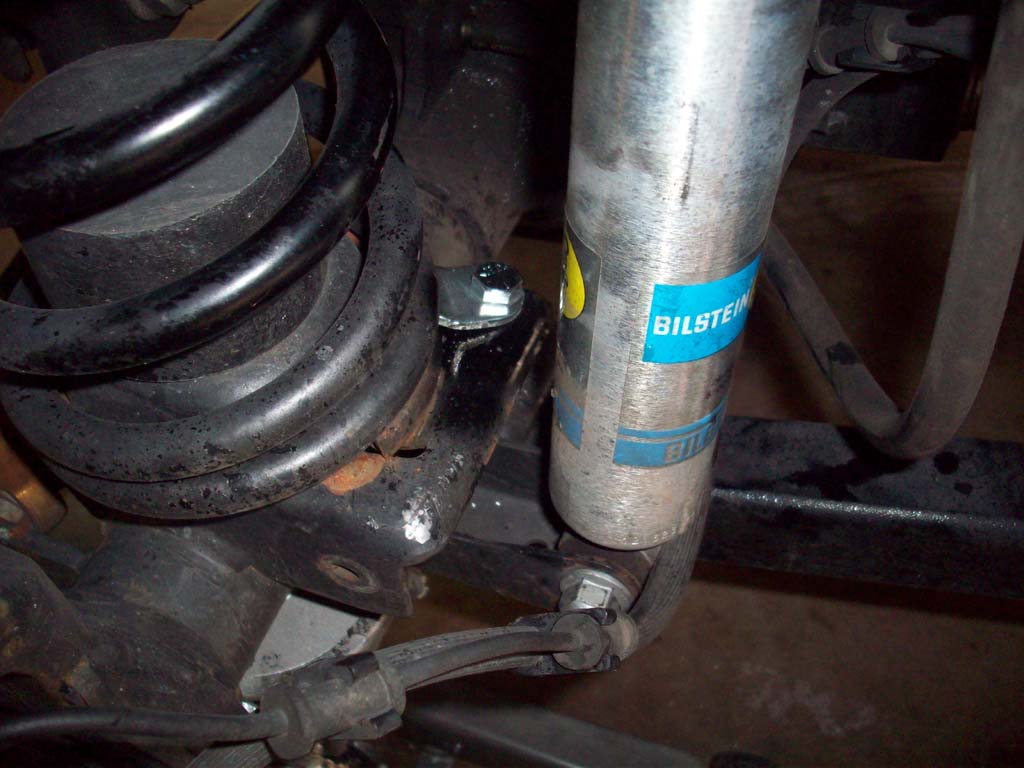
9. Reinstall the coil spring retainer in the coil and install the supplied bolt and nut. Torque to 20 ft-lbs.
10. Reinstall the lower shock bolt on the driver side.
11. Reinstall the tires and remove the jack stands.
Teraflex, Inc
5241 S. Commerce Dr.
Murray, UT 84107


