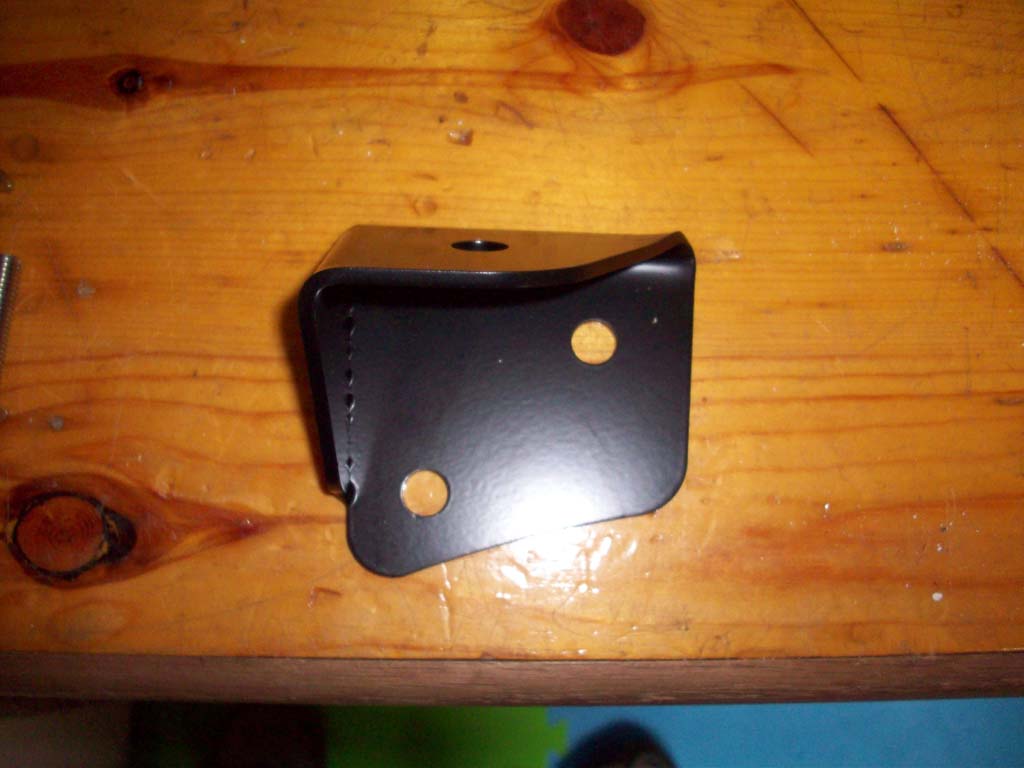
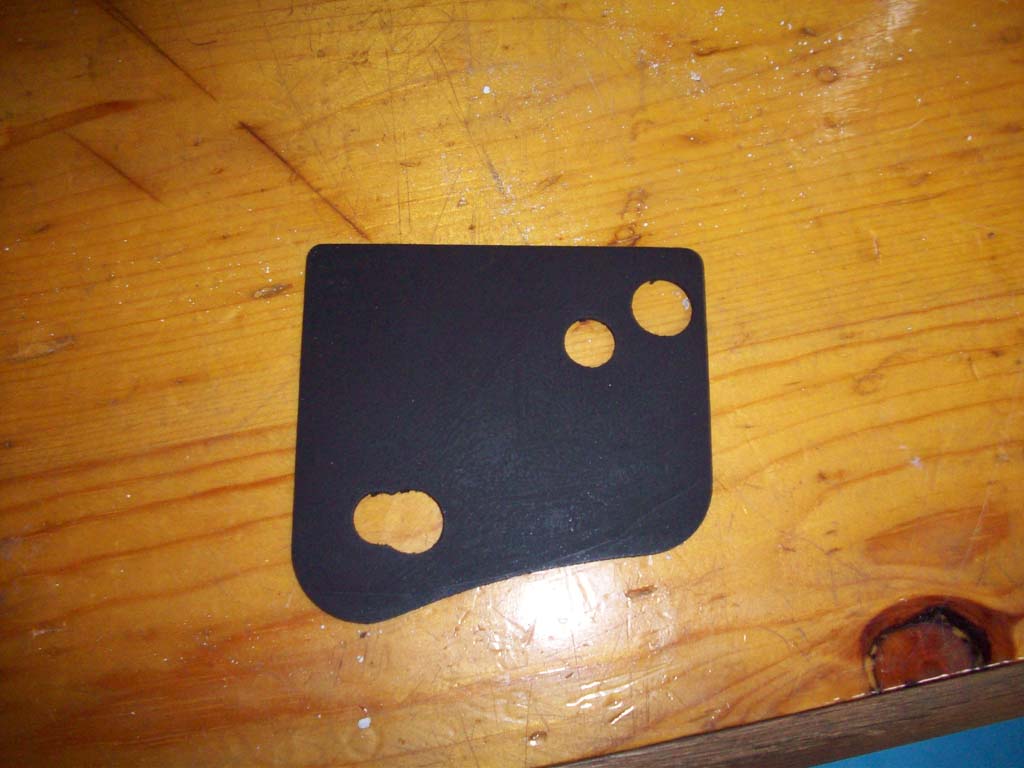
The Poison Spyder JK Lower A-Pillar Light Mounts provide a convenient way to mount a pair of off-road lights on to the lower A-Pillar area of the Jeep JK. Designed specifically to fit the Rigid Industries Dually or Dually D2 LED lights, they may also fit other brands of compact off-road lights (the light mounting hole is 7/16"). The brackets are CNC laser cut and brake-formed steel, powder coated semi-gloss black. They are sold in pairs and include rubber liners to protect the Jeep's paint.
Now that you read the blurb from the Poison Spyder website about these light brackets. I was looking to move my lights off of the front of the fender and up to the windshield so I could have a little better lighting than what was provided in the previous location. Nothing terrible wrong with having lights on the front of the fender, but since they mounted the light a an angle I had issues with some not wanting to throw a good pattern when mounted at an angle. So I looked around at some of the windshield brackets out there and all of them were pretty decent, some were heavier, some were lighter, some held 2, some held 1, some mounted them inward, some outward, most mounted right to the paint. It really just came down to which one I liked the best. The Poison Spyder ones were one of them that made the final list (all the ones that made the final cut were from reputable manufacturers). They all had really good weight, construction, powdercoating and welding. Poison Spyder had the extra of a rubber gasket to go along with it and there was a holiday sale at the time so price wasn't bad.
Note: While these don't really seem to weight much in your hand, do not drop them if you are wearing flip-flops in the garage during the install. Owww..
Additional
Parts:
Tools
Needed: T-40 Torx
Ratchet
5mm Allen wrench
Level
Towel or Pad
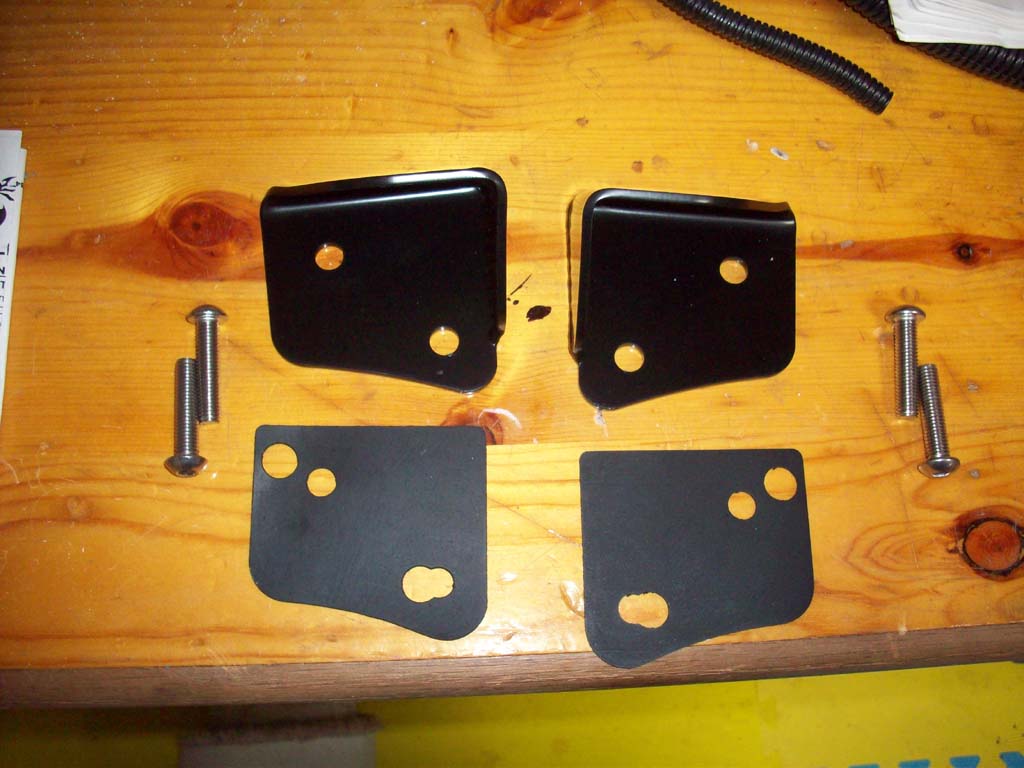
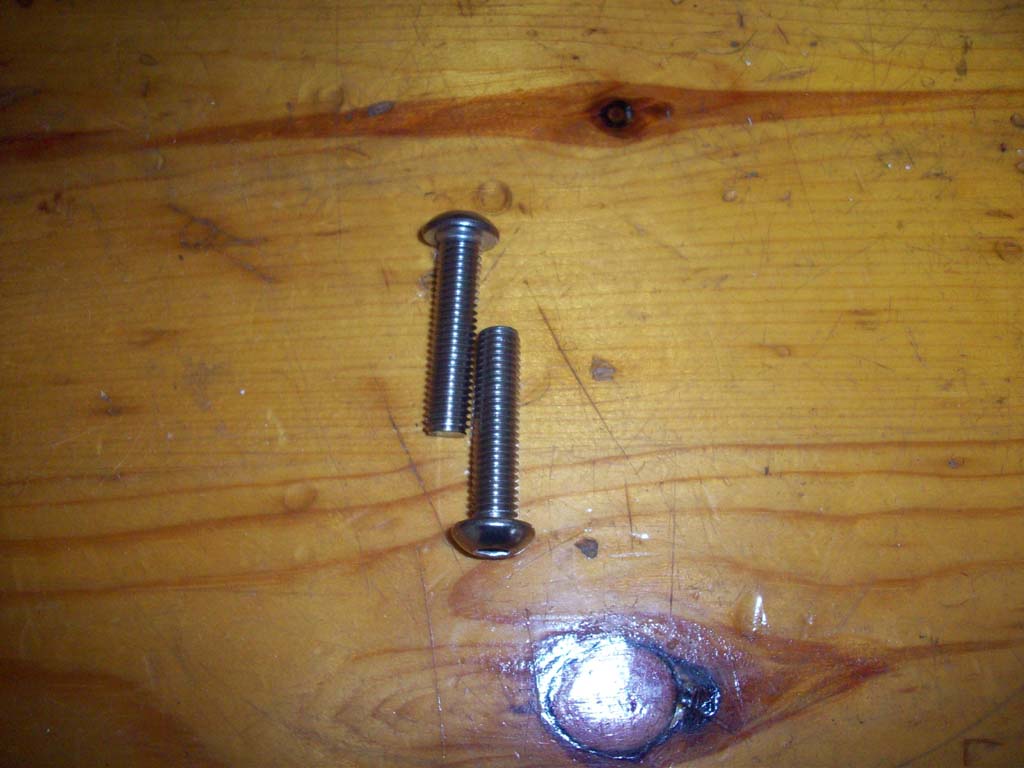
The Poison Spyder Bracket comes with the two brackets, 4 button head bolts and two rubber gaskets.
Installation:
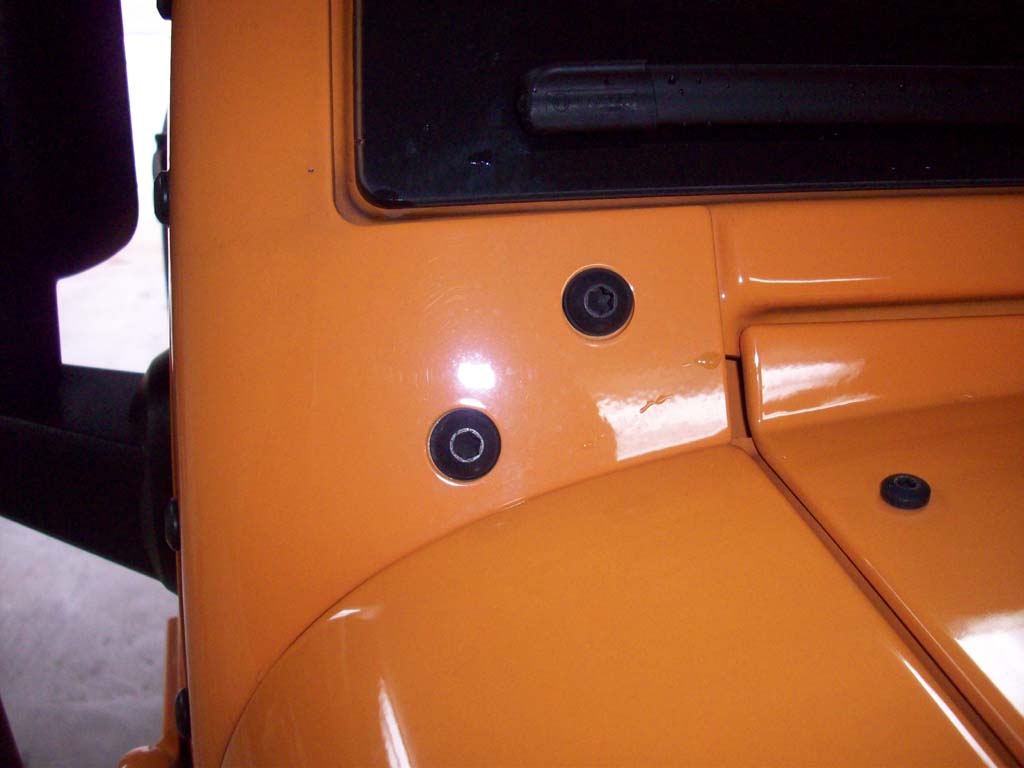
1. Remove the two (2) torx head bolts from the windshield bracket. You will need a T-40 torx head socket to remove them. I recommend drapping a towel over the edge of the cowel so you don't bang your paint job if you slip.
2. Clean up the area under the bolts. I managed to actually get dirt under these even though I haven't removed them in the past.
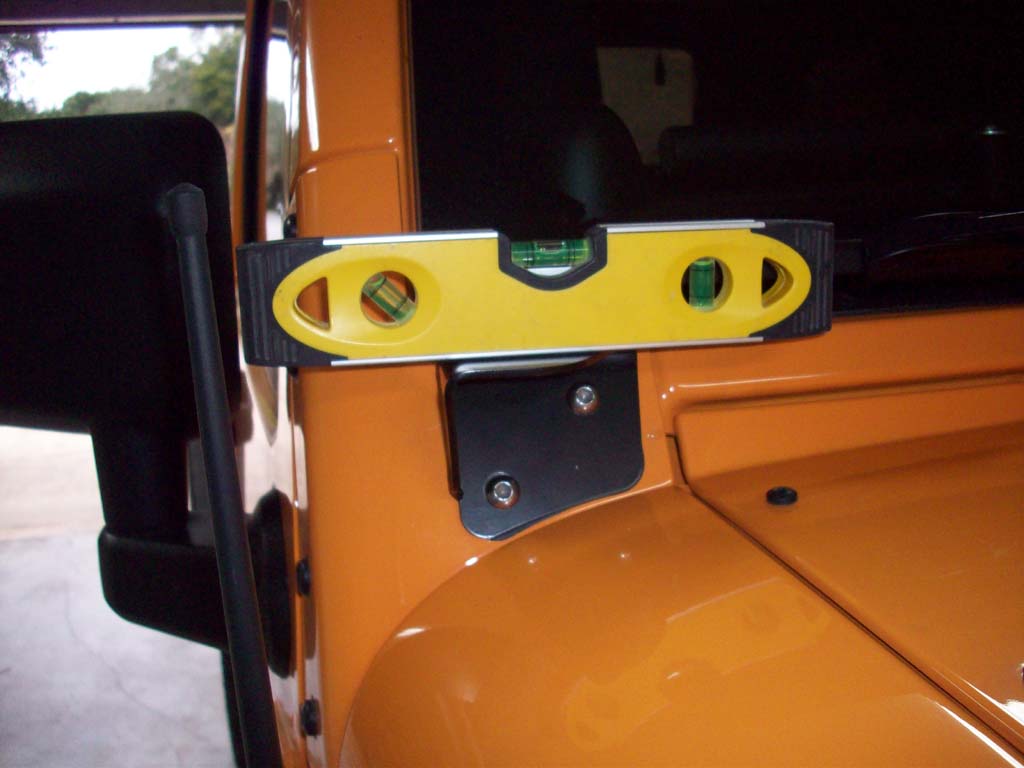
3. Now line up the gasket with the light bracket and install the two supplied allen head bolts. I used a level to get straight and then tightened down the bolts. You will need a 5mm allen wrench.
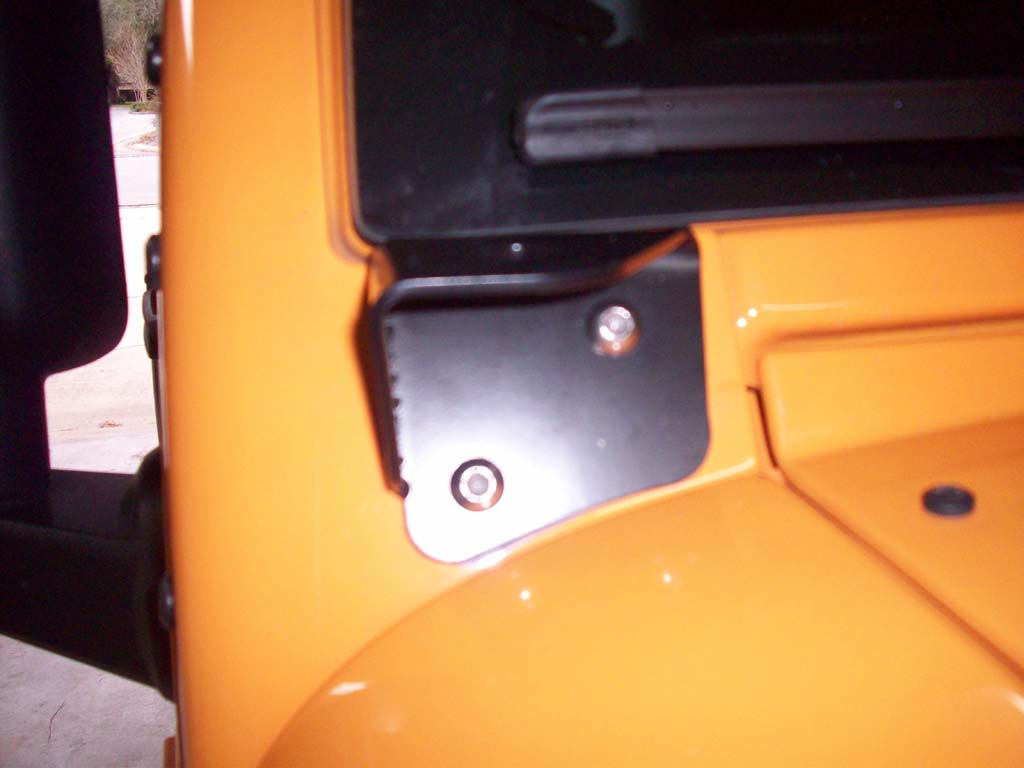
Here is what they look like installed.
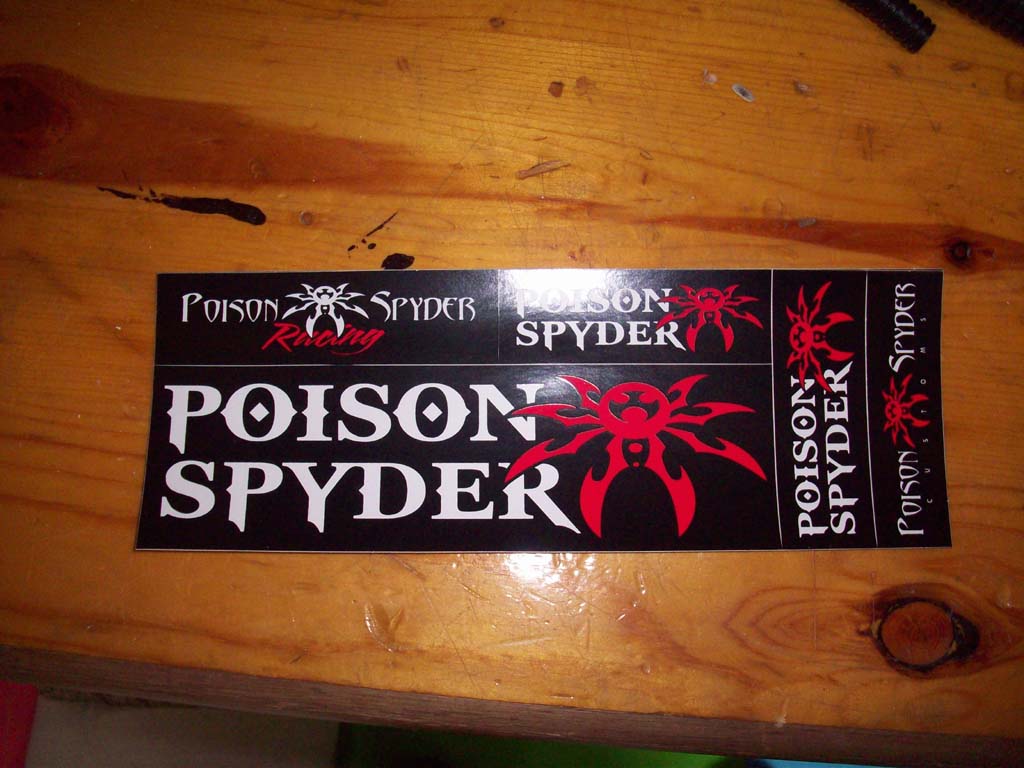
Almost forgot the cool stickers that come in the box. Though they disappeared soon after my son saw them.


