I was looking for another way to quite down the rattle from the D-Rings mounted to the bumper. I had seen these for some time and wondered if they actually worked or would just come off driving down the road. I was ordering a couple things from Amazon and figured for another $10 I'd slip these in. Time will tell how they hold up and how they work.
| Installation: |
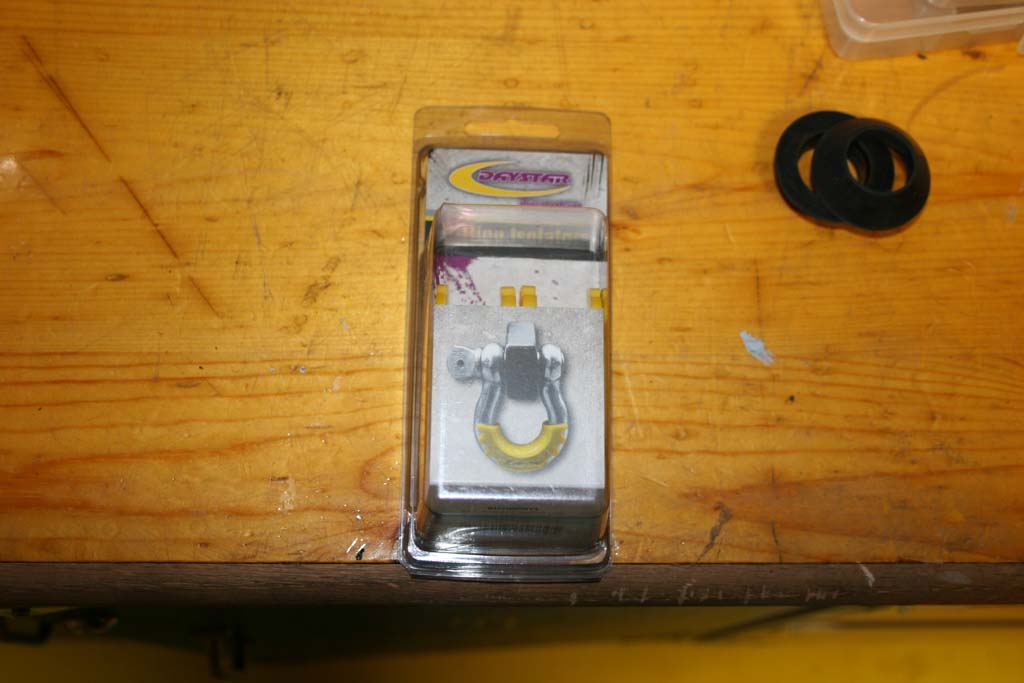
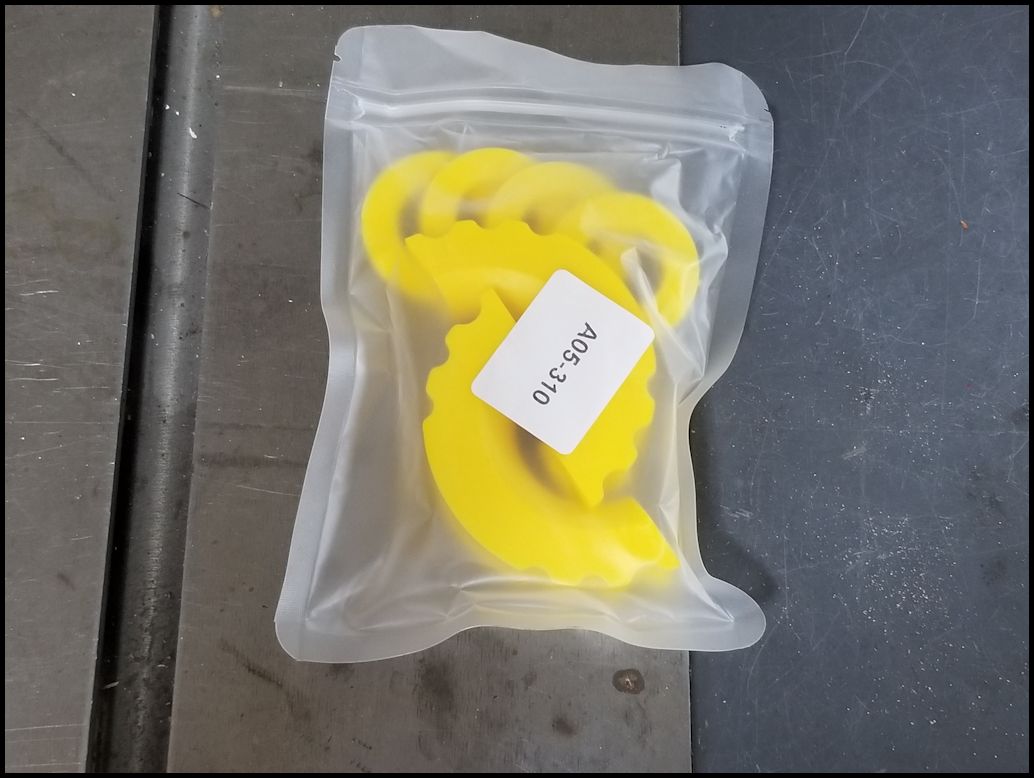
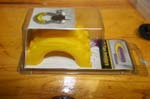
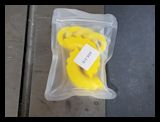
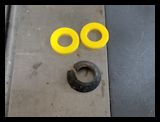
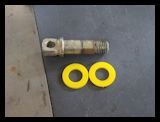
| Here is how it comes. Nice plastic package, but nothing more is really needed. |
 |
 |
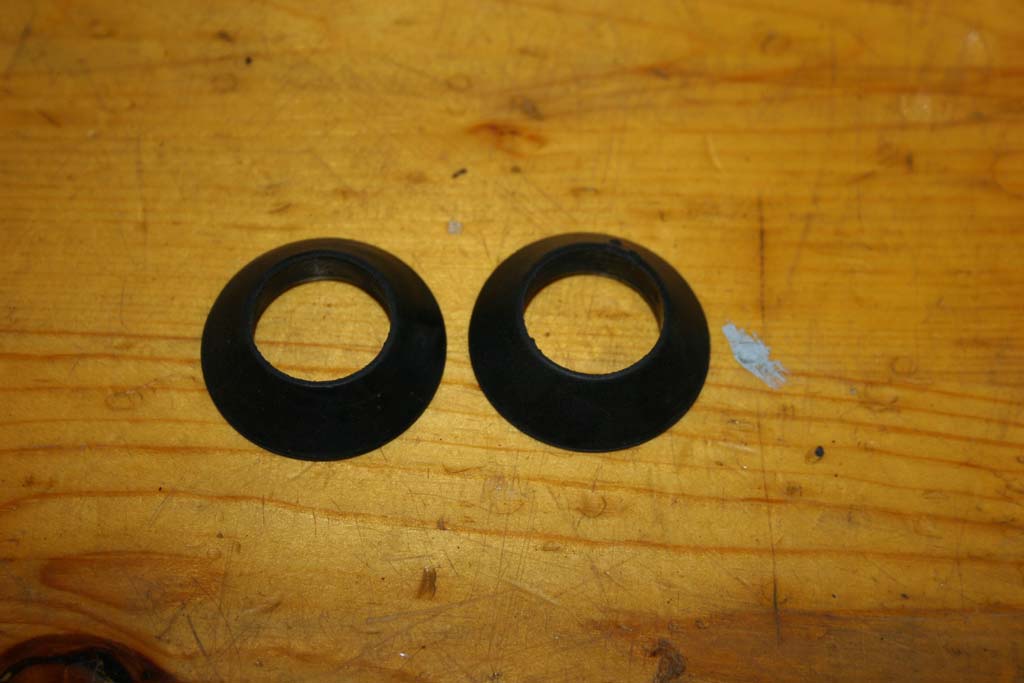
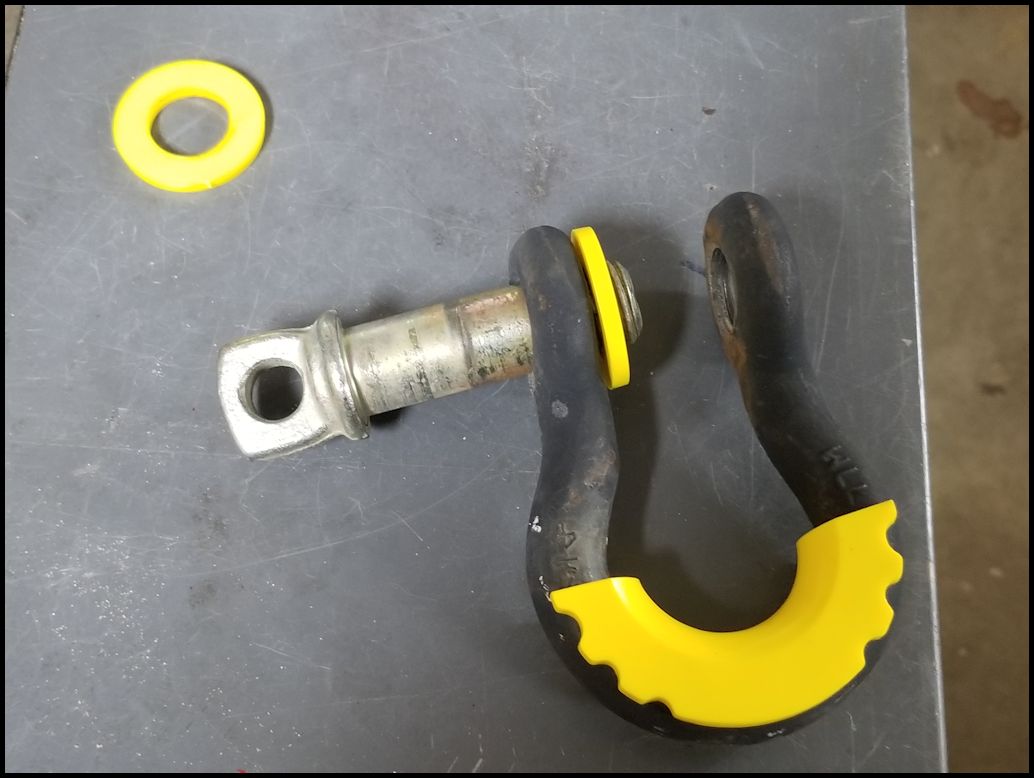
| I normally have at least one 'ballcock shank washer' installed on the D-ring pin to help keep it stable on the mount. Just slide one over the pin before you install it. I'll keep them on for this project also. |
 |
 |
 |
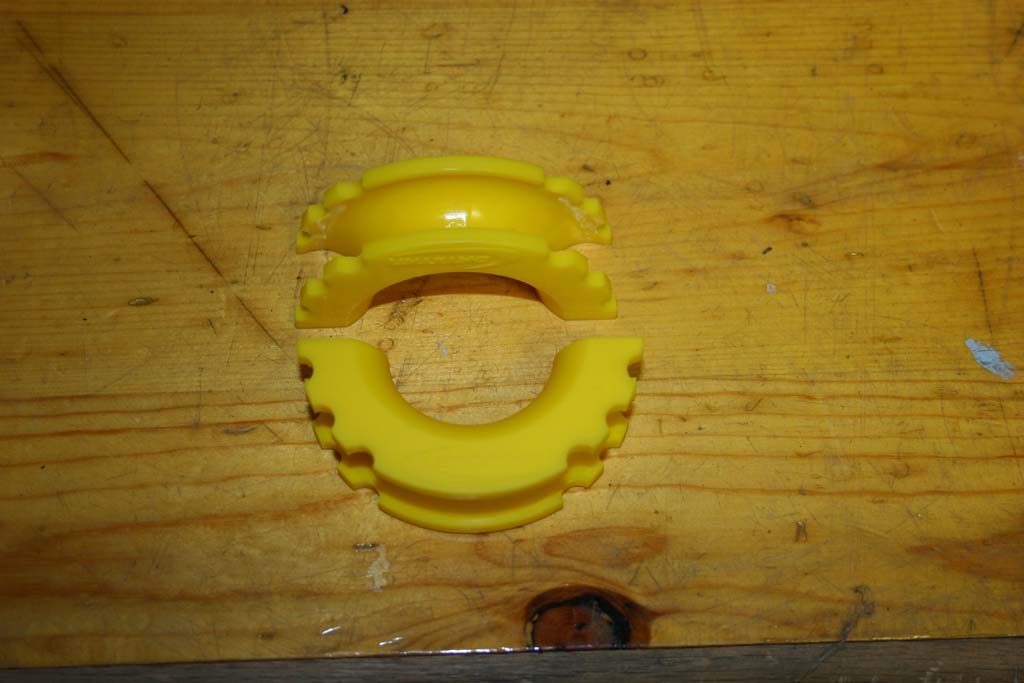
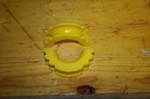
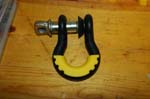
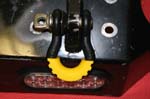
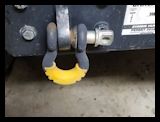
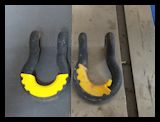
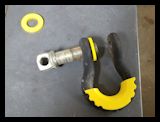
| 1. Install the D-Ring Isolator into the D-Ring. They just bend and slip on. Alternately you could remove the pin and insert them down through the D-ring mouth, but they have plenty of flexibility and bending them a little isn't an issue. |
 |
 |
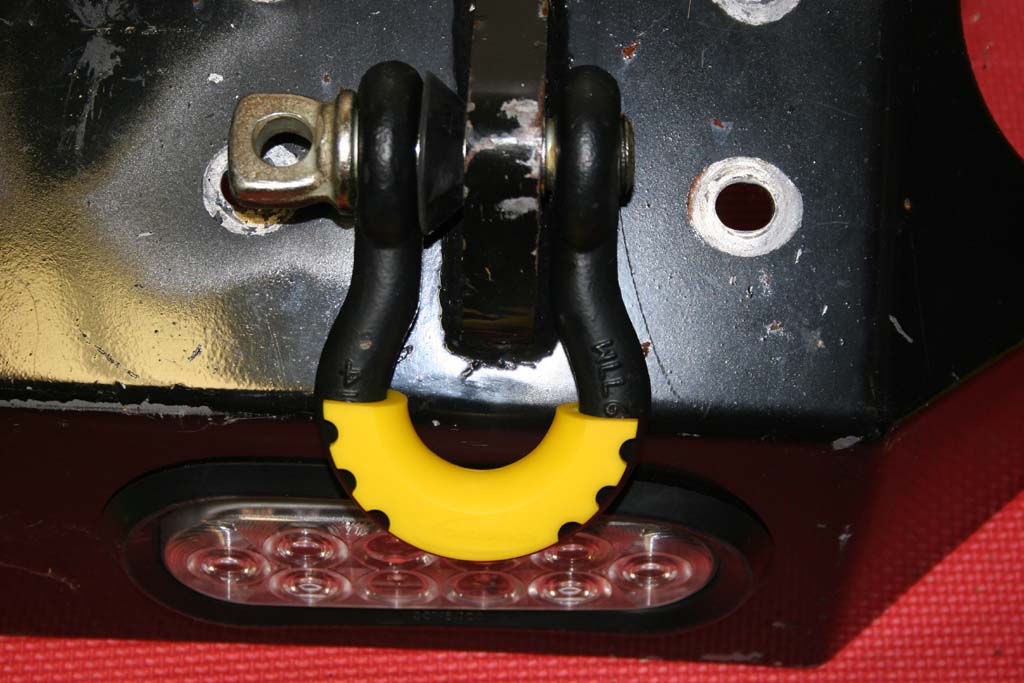
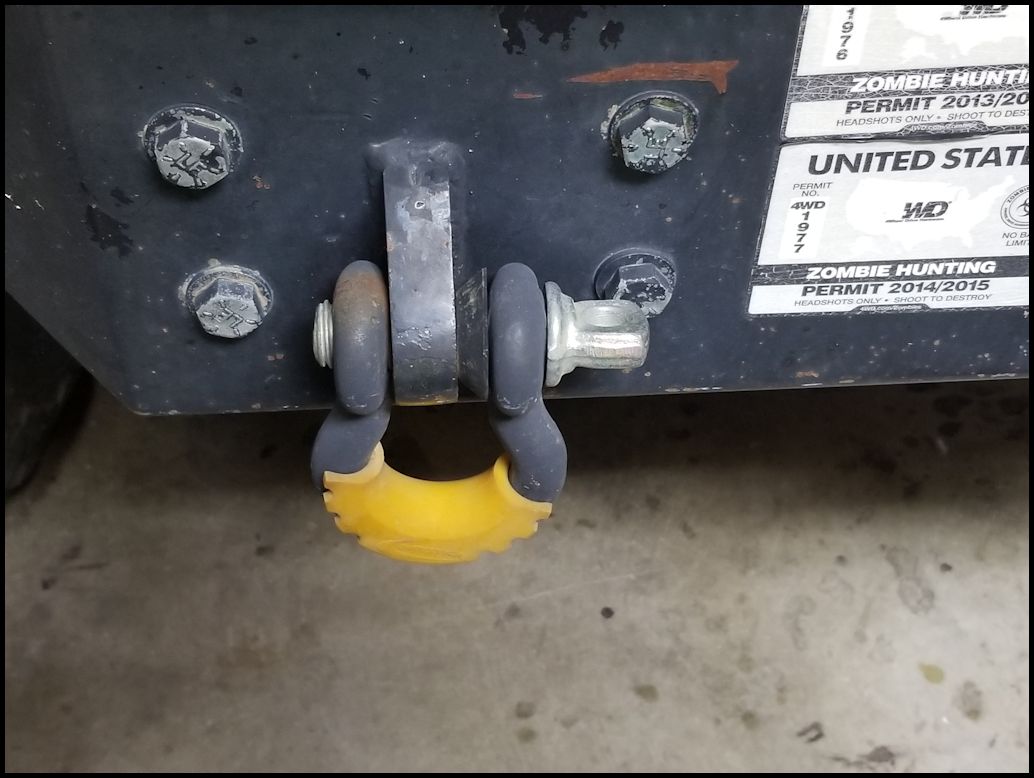
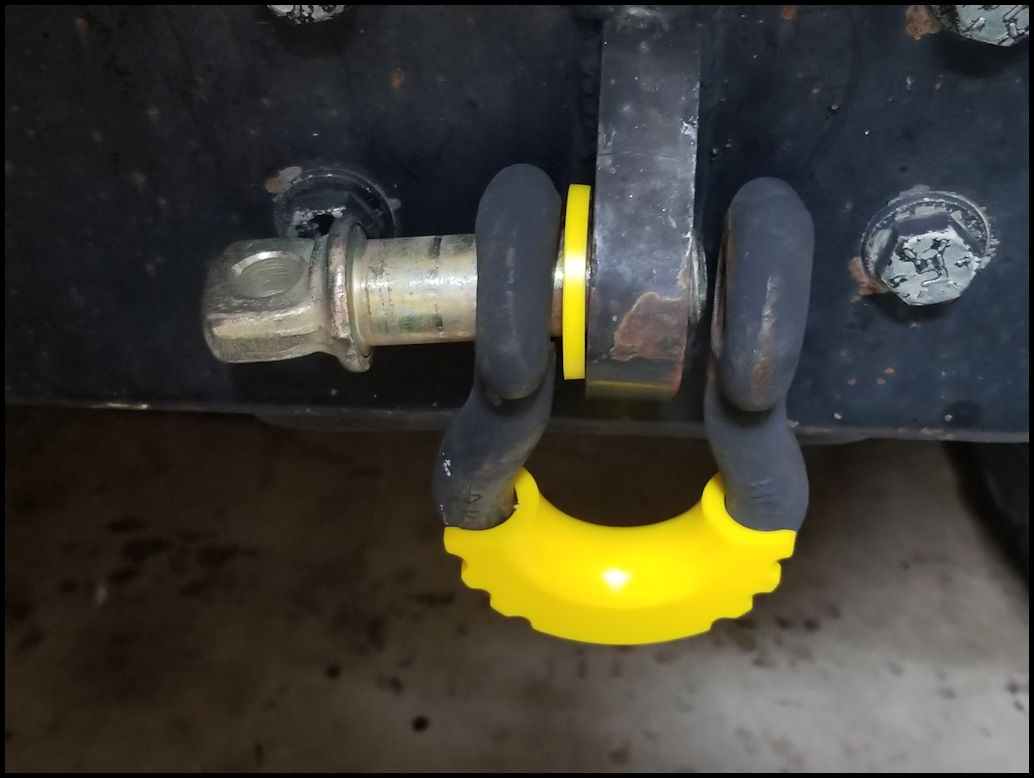
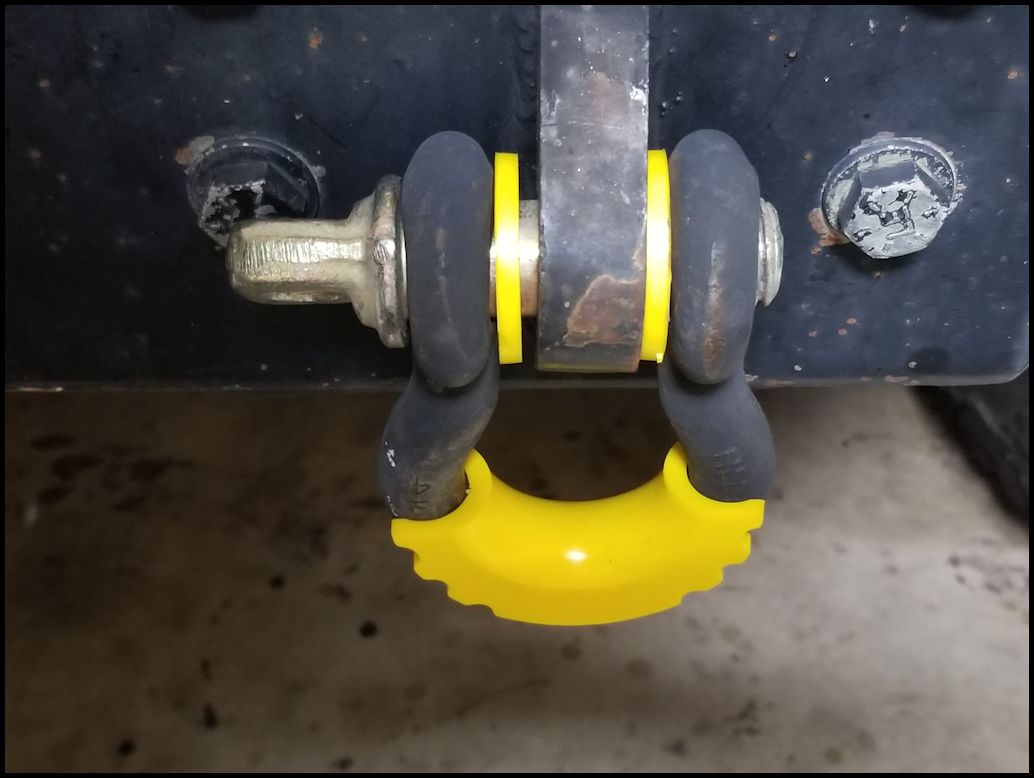
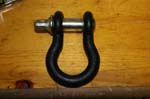
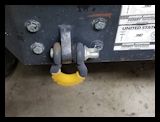
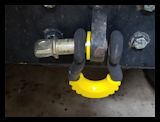
| 2. Reinstall the D-ring on your bumper. |
 |
| |
| Thoughts: |
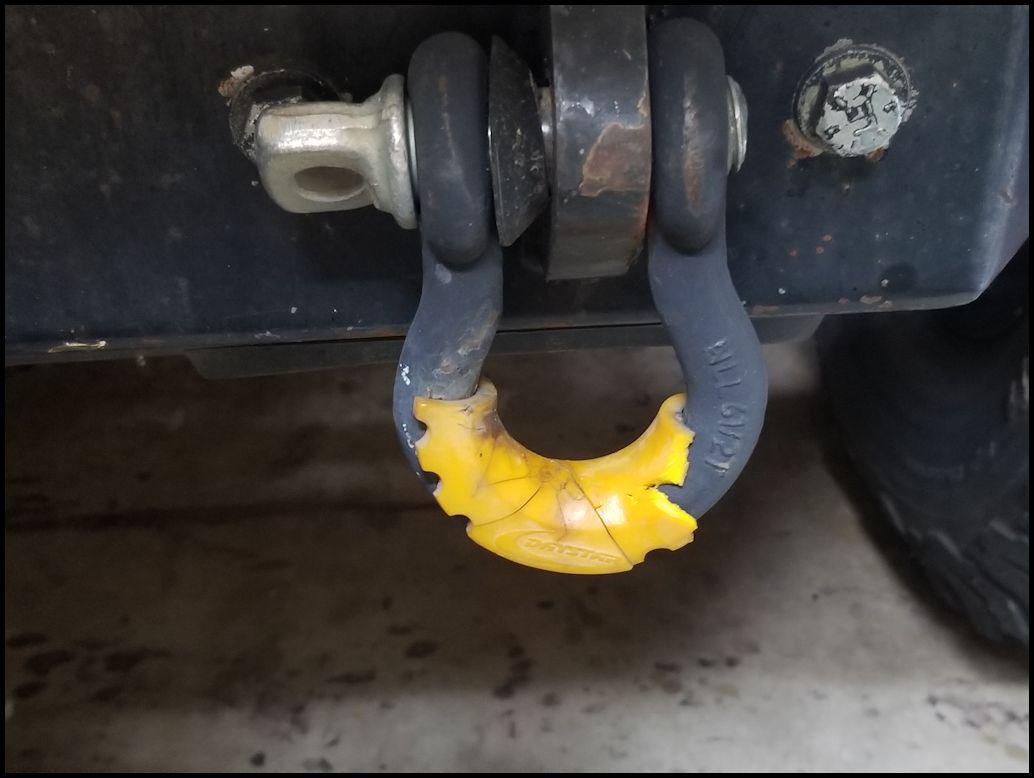
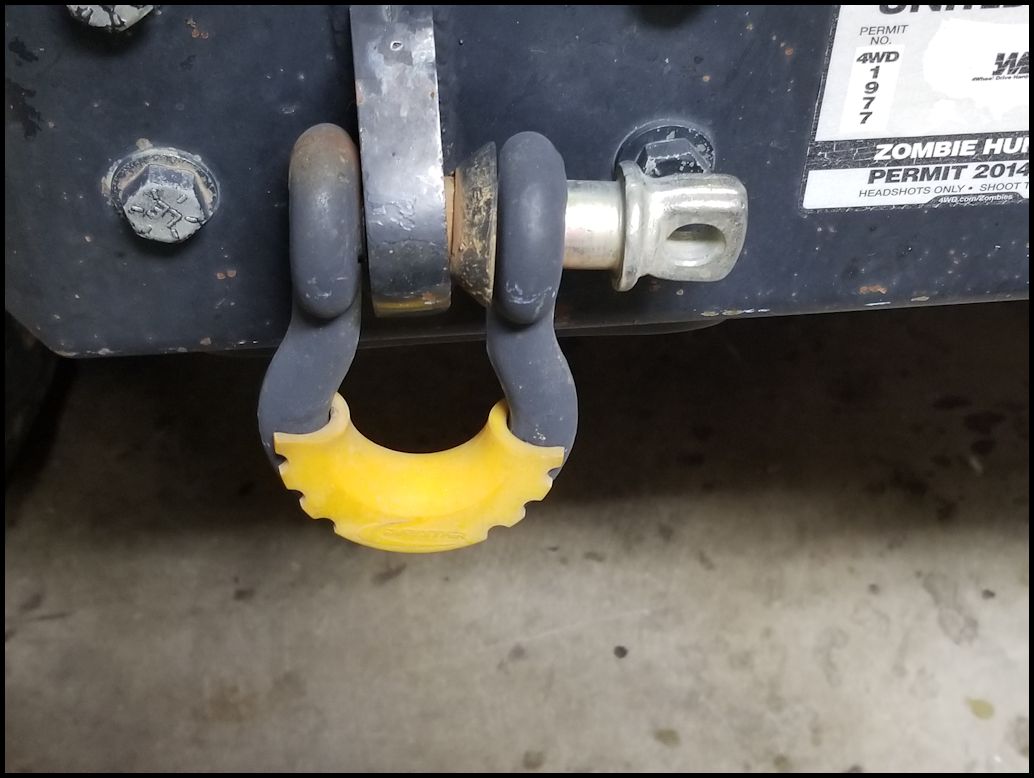
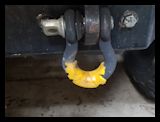
| I installed the D-rings on my front bumper and quickly realized that they don't even touch the metal face since it angles right where the top of the isolator sits. So currently other than some yellow decoration they serve no purpose. The other thing is while they may cut down on the noise on a bumper where they actually hit in that area they need to be removed when you put a rope or hook on them. So the potential to get lost on the trail is pretty high. So since I paid for them and they do kind of match the Jeep I'll just leave them there. |
| |
| |
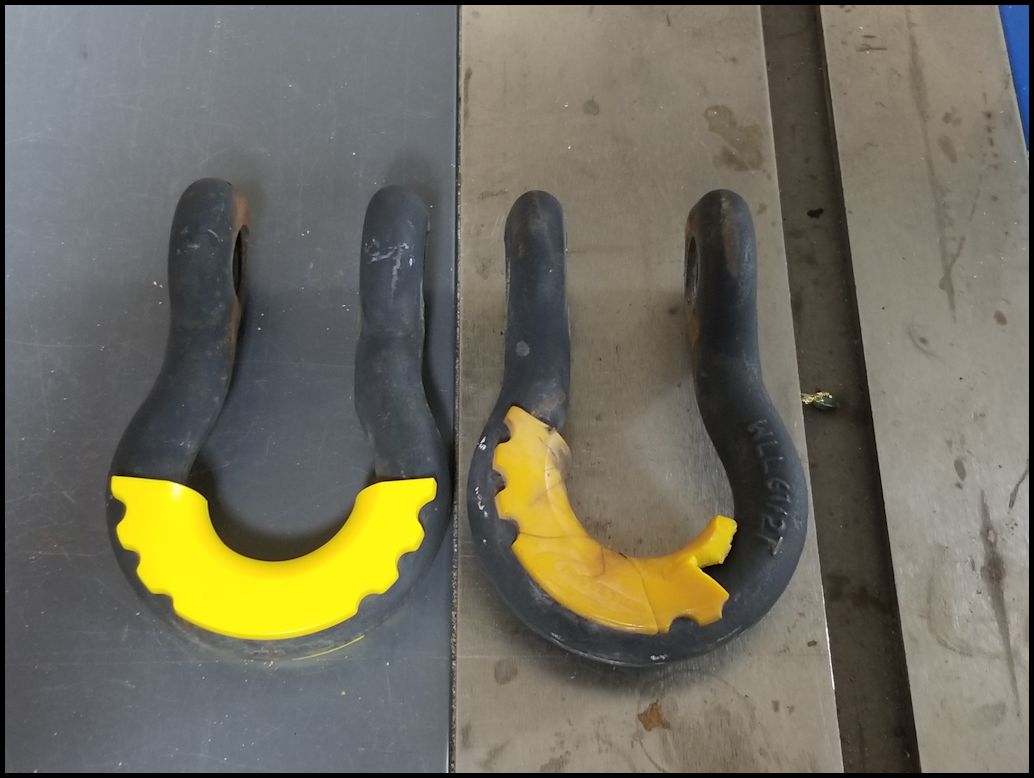
| 8 years ago I installed the Daystar isolators on the front D-rings of the Jeep. I finally needed to replace them. The plastic and rubber had finally hardened and rotted away. Not bad for surviving saltwater and Florida's hot and humid weather. |
 |
 |
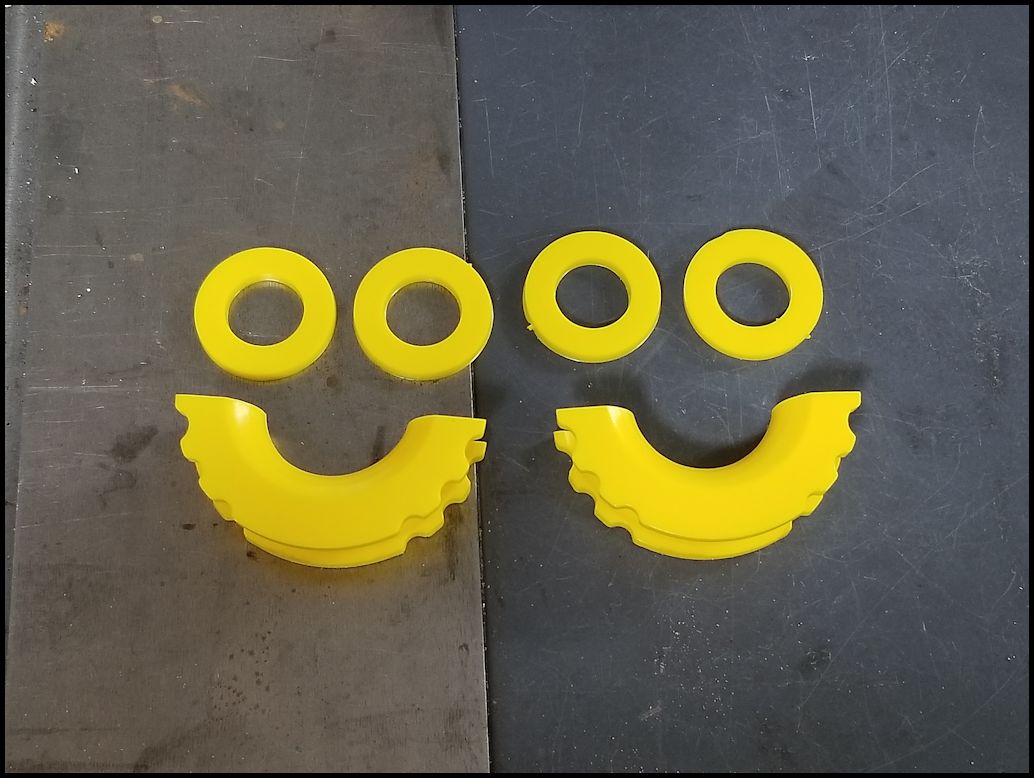
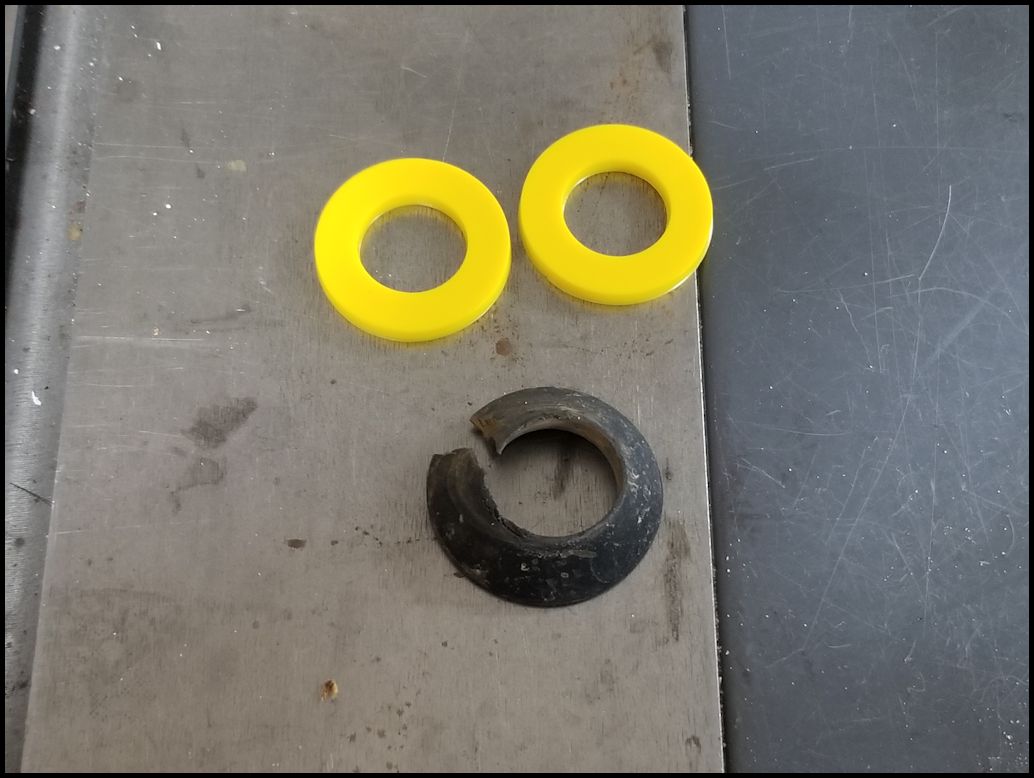
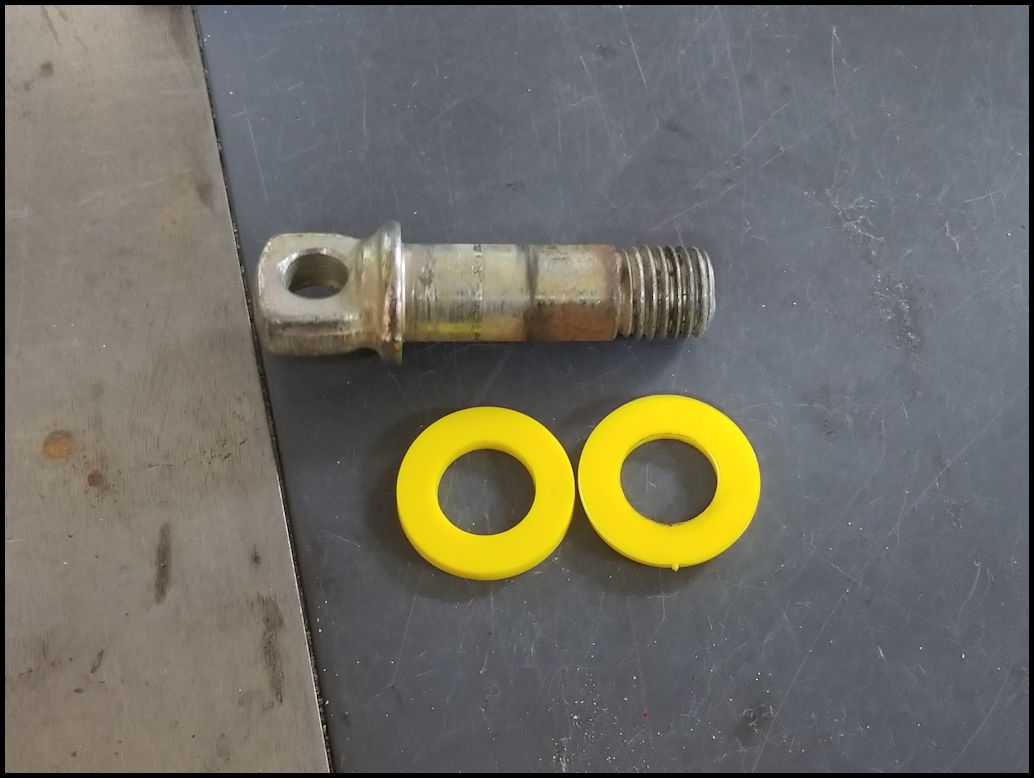
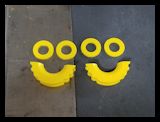
| 8 years ago Daystar was pretty much the only ones on the market, but now you have a lot of choices on Amazon, so I just picked up some cheap ones to see how they work. For less than $10 I picked up a set of 4 isolators and washers. I will see how these last in comparison to the Daystars. They appear to be about the same thickness and hardness as the Daystars. |
 |
 |
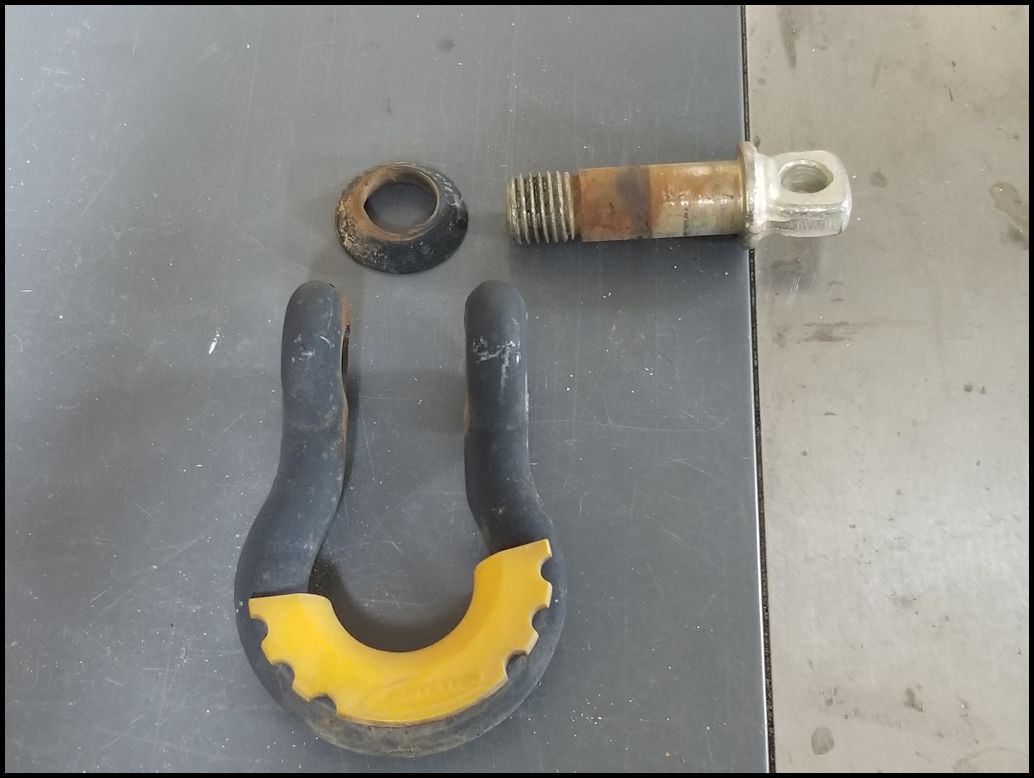
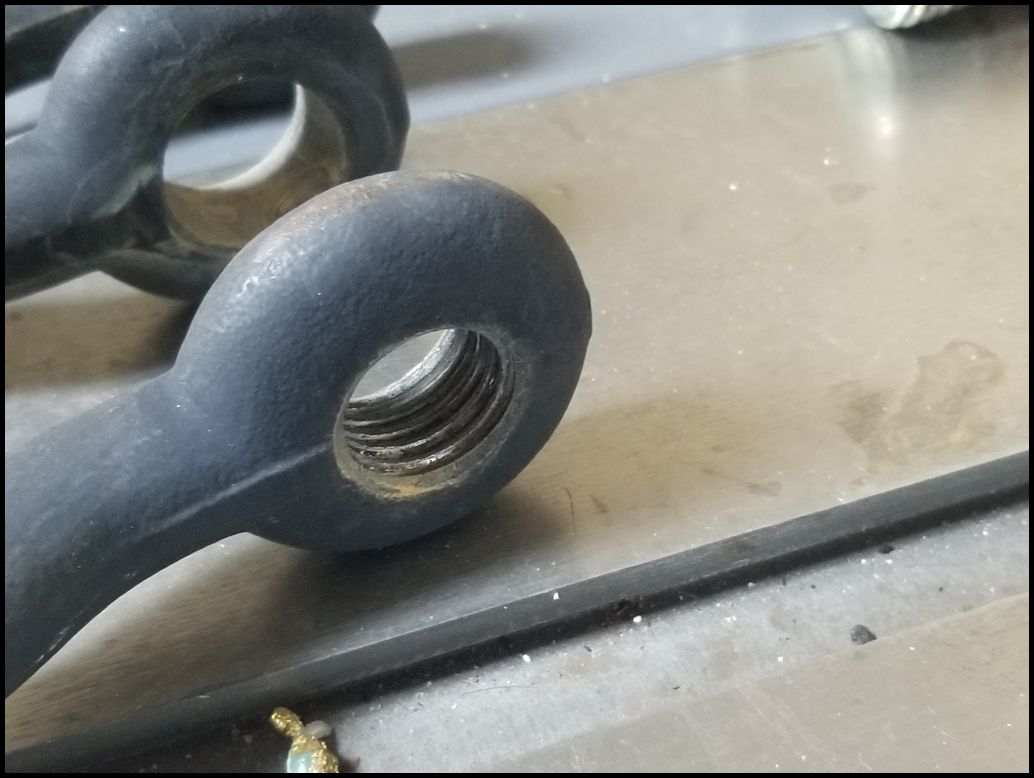
| 1. Unscrew the D-rings from the bumper shackles. I needed to use a flat tip screwdriver to loosen the pins since I keep them fairly tight after having a set walk away. |
 |
 |
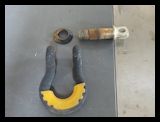
| 2. Once the D-rings are removed, you can pull the old rubber washer and isolator out. |
 |
 |
| As you can see they old stuff is pretty hard and rotted. |
 |
 |
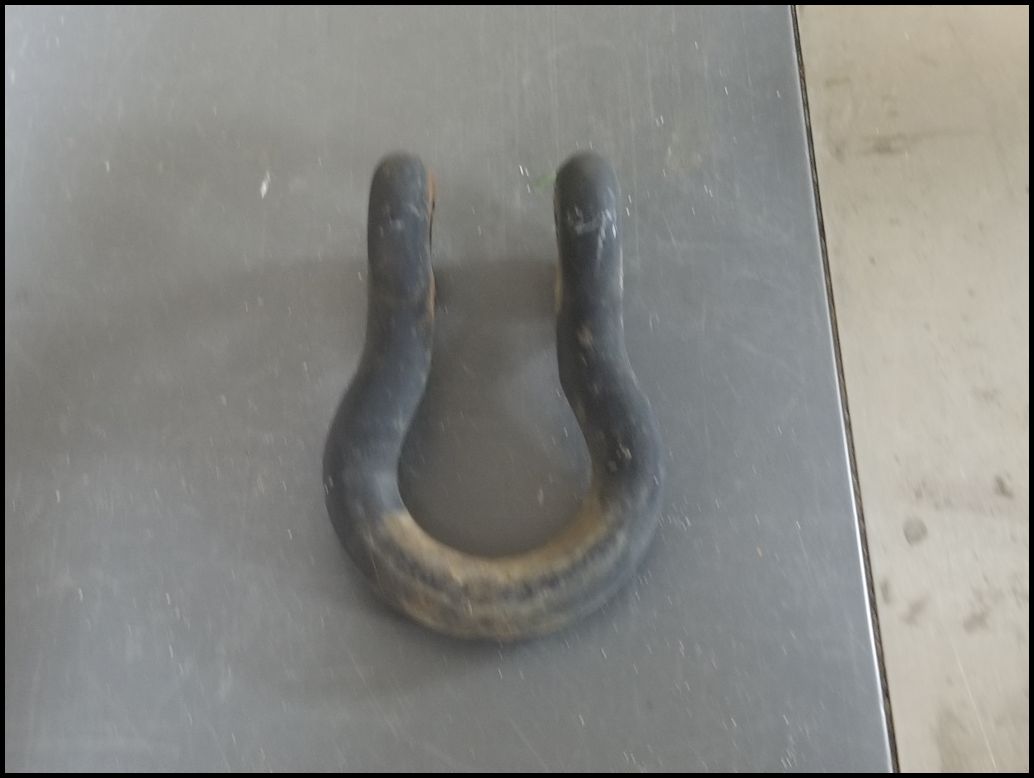
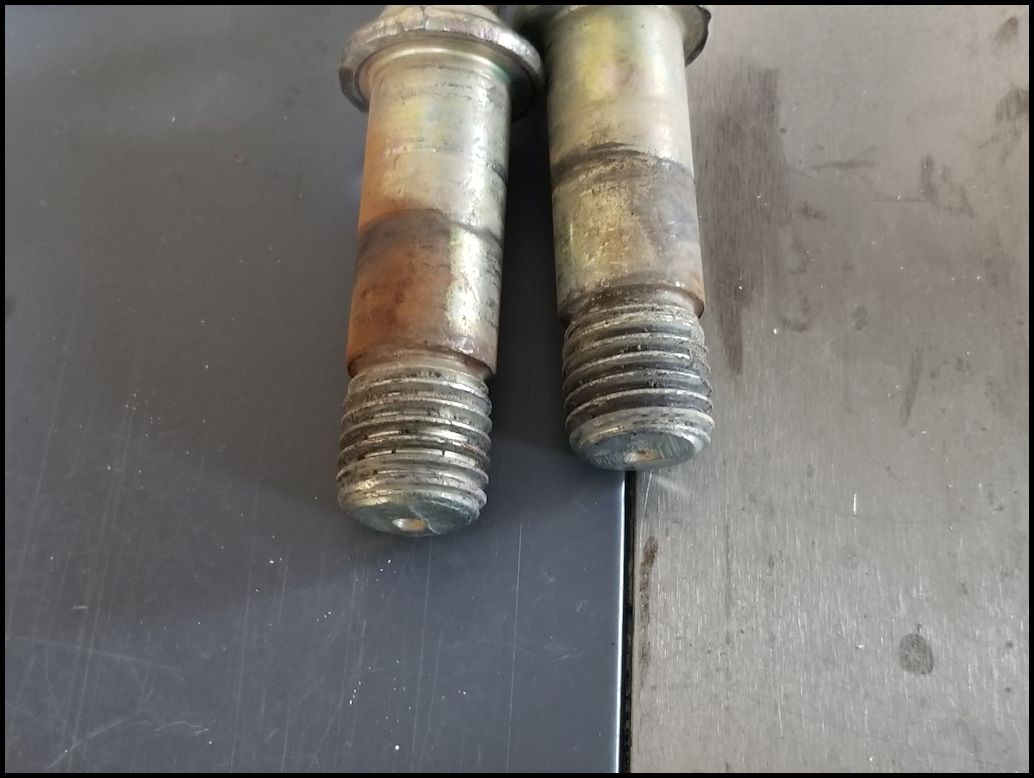
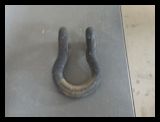
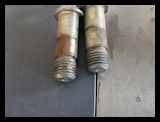
| 3. Take the time to clean the threads on the pins and ring. I thought about giving them a new paint job, but I still need to pull the bumper and winch to repaint also. |
 |
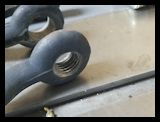 |
| 4. Install the pin through the non-threaded end of the shackle and install one of the washers over the end of the pin. |
 |
 |
| 5. Install the pin through the shackle tab on the bumper and then slide the other washer in, while threading the pin into the shackle. Tighten down the pin so the D-ring doesn't wander off. |
 |
 |
| |