Main Menu Vehicle Trails Mechanicals TJ/LJ Mods JK Mods Gallery
Kilby Gas Tank Skid

Kilby's Gas Tank Skid

Part #:

We did this one on a friends Jeep.  The Kilby's skid is a brute.  Shipped at 69lbs.  Weighs in at 61lbs.  Real nice.  We used the FSM to take this thing apart and install the new skid.  Some people have managed to do this mod without dropping the tank, just unbolting the straps and skid.  We choose to do it the other way.  Drop the tank.  You will need to make certain that you get as much gas out as possible from the tank otherwise it will be really heavy and hard to move around.

Additional Parts: (Possibly)
Zip Tie
Tools Needed:
13mm Socket
Scribe
Small Screwdriver
Diagonal Cutters
T-25 Torque
Phillips Screwdriver
Pliers
Floor Jack


Installation:

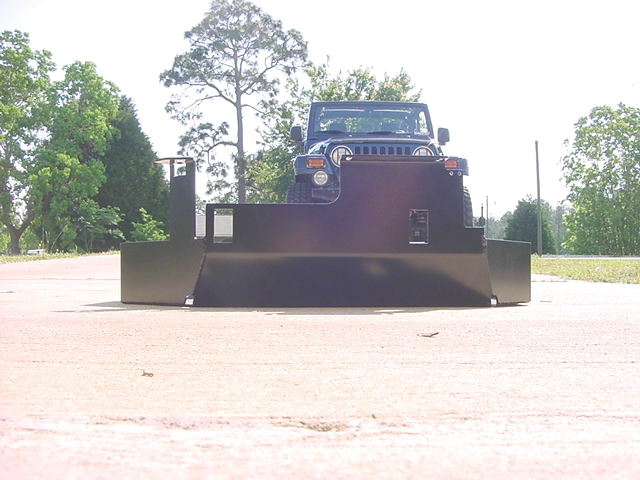
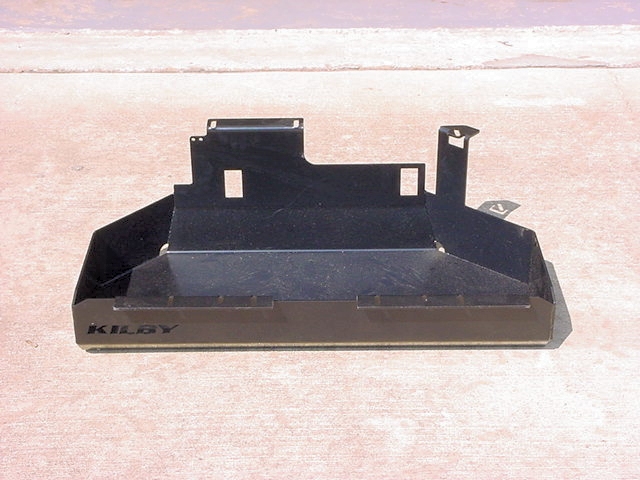
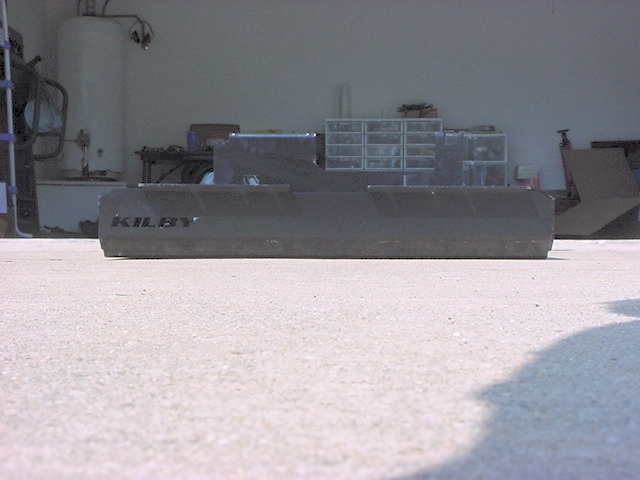
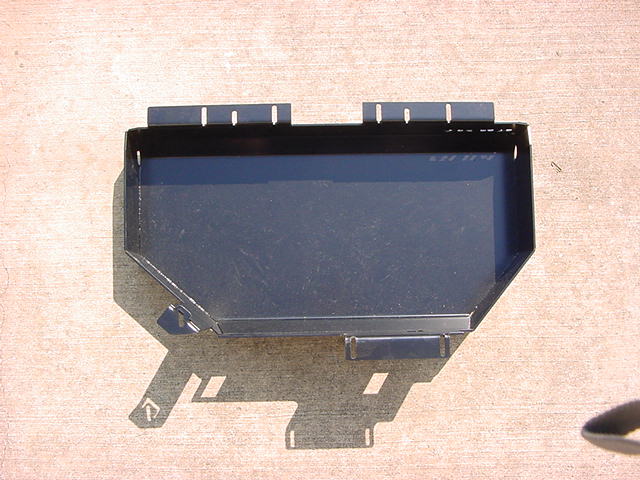
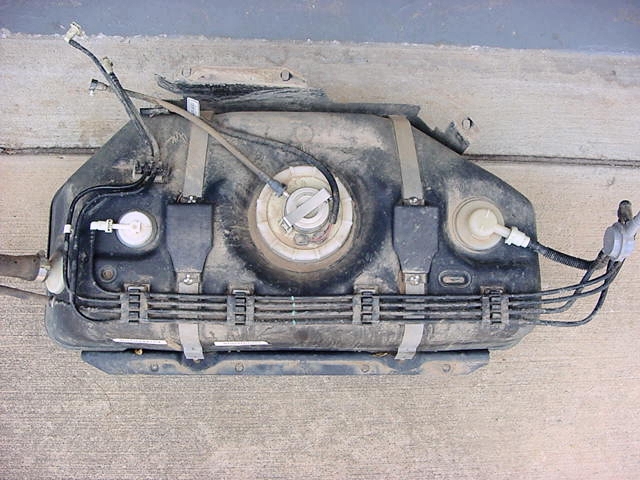
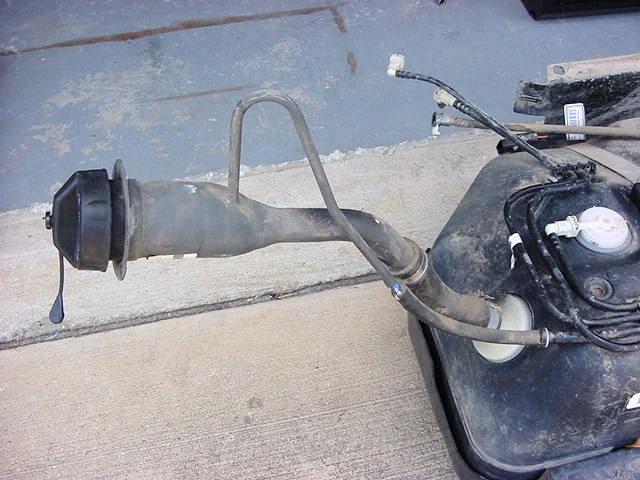
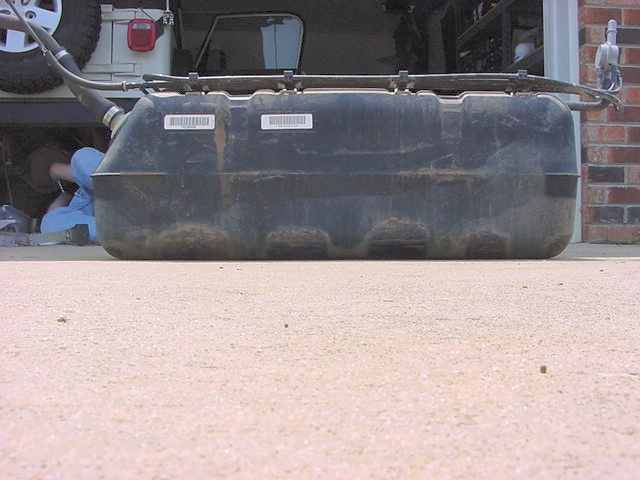
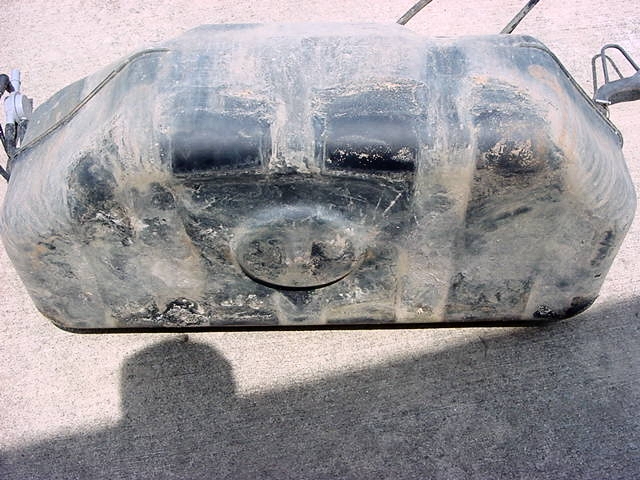
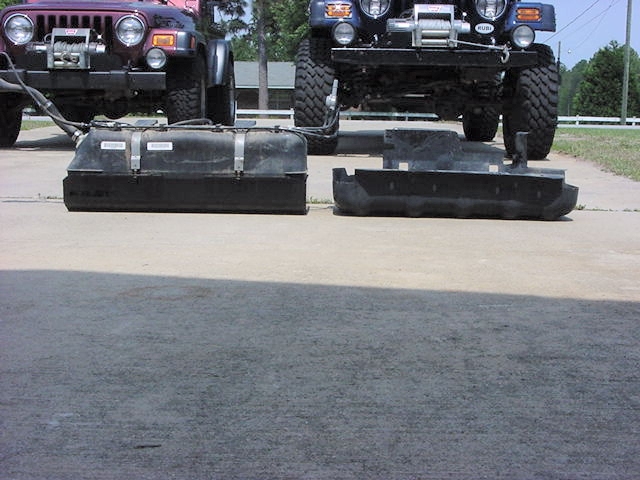
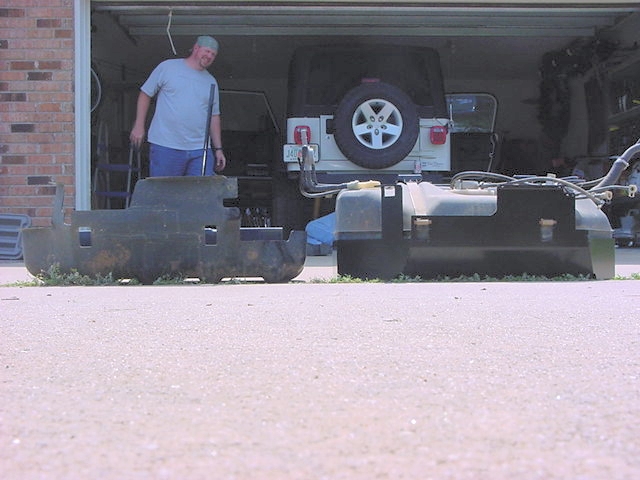
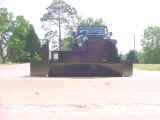
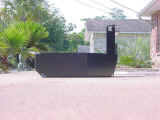
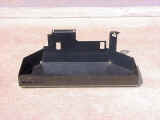
Here are a few pics of the Kilby's skid.   

front view
side view angle view rear lip top view

1. Release some of the pressure from the fuel system.  I took the below from the FSM, but didn't follow the whole procedure to the end.  Just took the high pressure off the lines coming from the Fuel Pump.

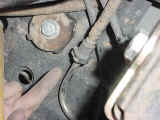
2. Remove fuel fill cap.  You will need to take the tether out of the plastic bezel also.  It just pulls out.  If it doesn't, wait till you remove the bezel later then take it out.


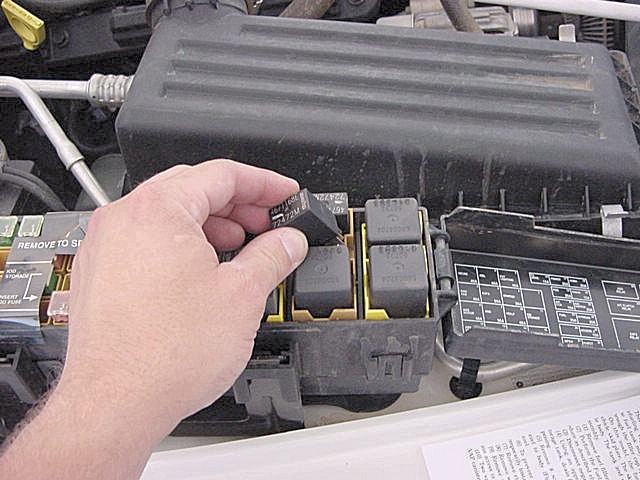
3. Remove fuel pump relay from Power Distribution Center (PDC). For location of relay, refer to label on underside of PDC cover.

pull relay

4.Start and run engine until it stalls. Attempt restarting engine until it will no longer run.  Turn ignition key to OFF position.  Reinstall fuel pump relay.  Some Jeeps may have a schrader valve on the fuel rail underneath the hood that will allow you to depressurize the line also.

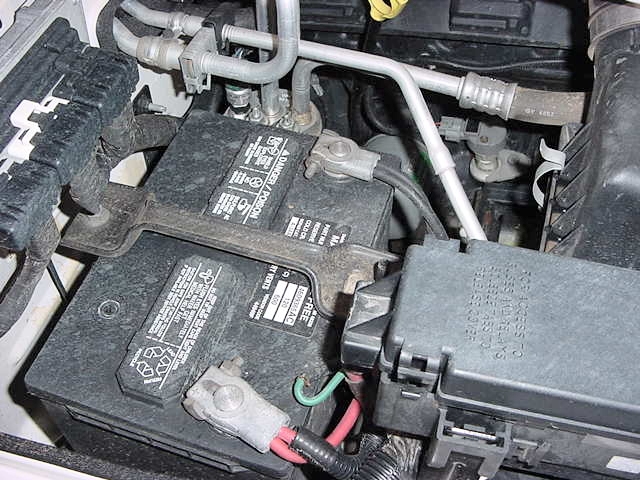
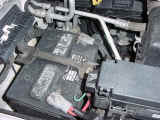
5. Disconnect negative battery cable.

disconnect battery

6. Using an approved portable gasoline siphon/ storage tank, drain fuel from tank through filler cap opening.  If required.  Note: Be careful of the spring loaded cover inside the filler hose.  It will pinch the siphon line, so you will need a long screwdriver to hold it open when you pull out the hose.


7. Remove 8 screws retaining plastic fuel filler bezel to body.  Remove plastic fuel filler bezel.  This may either be a T-25 Torx or a Phillips screwdriver.


8. To prevent contaminants from entering tank, temporarily install fuel cap to fill hoses.


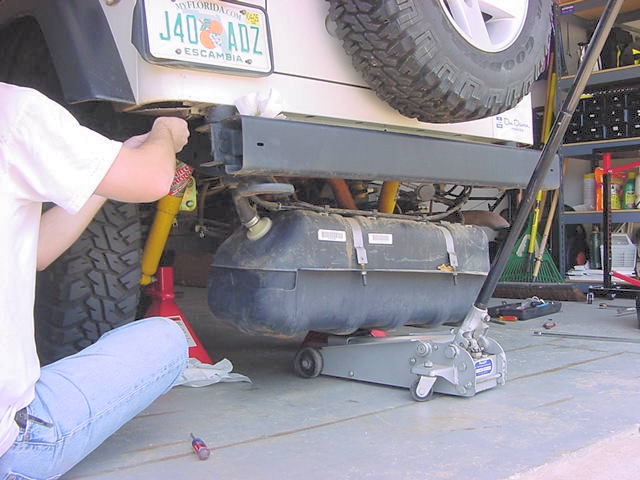
9. Now Jack up the rear axle just high enough to get the tires off the ground.  Remove both rear tires.  The FSM says only the Right, but trust me.  If you have really big tires, on, I would suggest lowering the vehicle down after you get those tires off, so that you can actually reach the gas tank with a floor or transmission jack.  If you got a couple buddies then they can lift the tank for you.

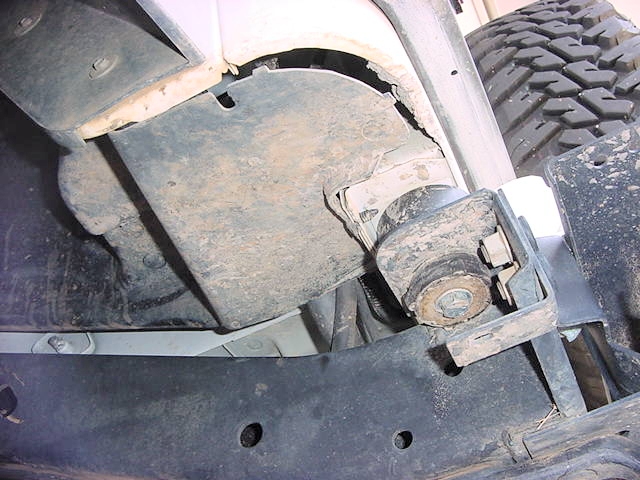
10. Remove wheelhouse liner at right/rear wheel.  This requires you to pull about 7 small plastic trees out of the wheel well liner.  Then work it out from the bottom edge near the frame.  It's a little bit of a pain, but it will come.  The top outer edge needs to move in about an inch to disengage 2 prongs up there.  remove passenger fender well passenger fender well

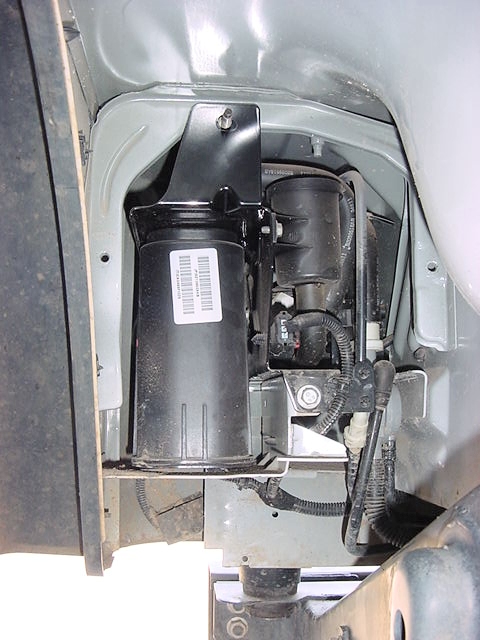
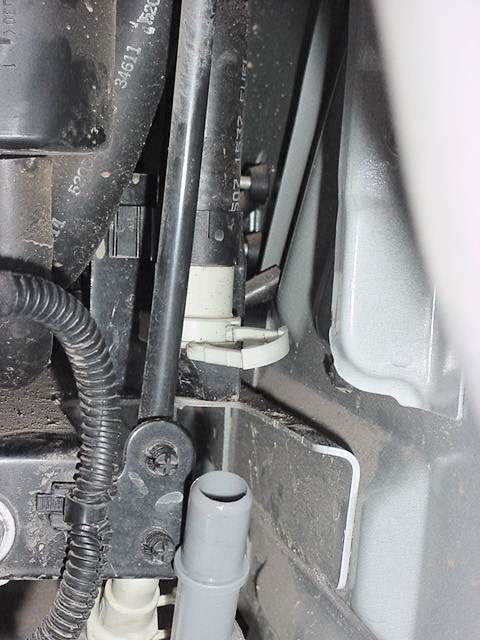
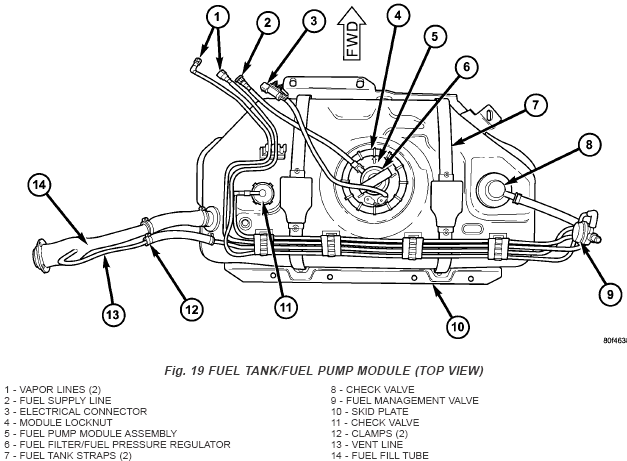
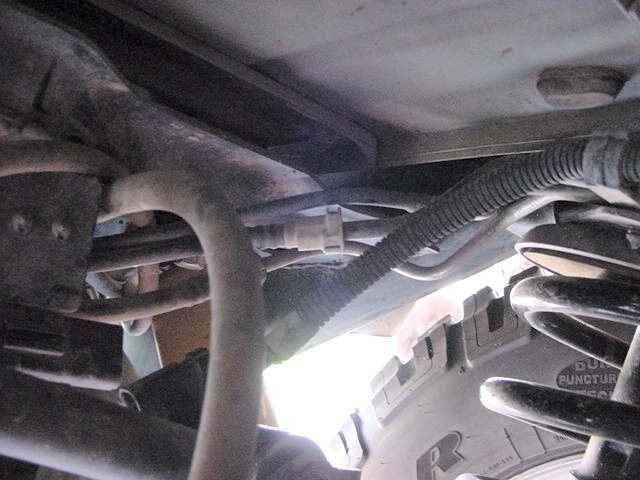
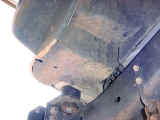
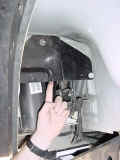
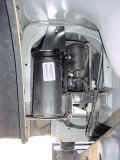
11. Now look towards the back of the opening you will see the Evap canister and a bunch of hoses.  You will also see a black cover (bracket) in front of all of this.  Remove vertical support bracket to gain access to 2 ORVR vapor lines.  13mm socket (Deepwell).

evap shield evap cannister


Fuel Line Clips
Before we start taking fuel lines apart I figured it would be best to talk about these.  They will break if you are not gentle with them.  The ones we discovered on this TJ were fairly easy to get out.  The clip is shaped like a U with 2 hooks on the ends.  This goes through the fitting and clamps around the line.  We used a small screwdriver and or our fingers to get these clips to spread as we slowly worked the clip out.
Another way to get these lines apart is to push in on the end of the clip so that it will spread open inside and just pull the line out. 

fuel fitting

This is a fairly good picture of the clips.  We found that once they are loose, if you pull one side out of the holder carefully, the hose comes out real easy.  You do not want to break one of these since you can't buy it as an individual part.

12. Two vapor lines connect the fuel tank to the EVAP canister and Leak Detection Pump (LDP). This connection is made near the right/rear corner of the fuel tank. Carefully disconnect these 2 vapor lines near top of flow management valve. Be very careful not to bend or kink the vapor lines. If lines leak, a Diagnostic Trouble Code (DTC) will be set.

evap diagram evap lines difficult clip cifficlult clip
disconnected close up view disconnected another view disconnected

13. Cut plastic tie wrap securing rear axle vent hose to fuel fill hose.


14. Disconnect fuel tank electrical connector at left/front of fuel tank.  It has a small plastic red tab that needs to be pulled out on it.  It is really hard to get to because of where it's located.  Item 3 in the diagram.

tank diagram electrical connection

15. Disconnect 2 vapor lines at left/front of fuel tank. Item 1 in the diagram.

vapor lines vapor lines

16. Disconnect quick-connect fitting from fuel supply line at front of fuel tank. Item 2 in the diagram.

fuel supply line

17. The fuel tank and skid plate are removed as an assembly. Centrally position a transmission jack (or equivalent lifting device) under skid plate/fuel tank assembly. Secure tank assembly to jack.

 
18. Remove three skid plate-to-body nuts at front of tank. Remove one of the nuts through access hole on skid plate.  Of course 13mm socket and extensions  

19. Remove four skid plate-to-body nuts at rear of tank. Do not loosen tank strap nuts those are the long ones  between the bolts.  They should have covers on them. Of course 13mm socket and extensions


20. Lower the tank assembly very carefully.  You will need to snake the filler hose down and through the body.  Or you can Disconnect fuel filler hose at tank. Before disconnecting, mark and note the hose rotational position in relation to tank fitting.  Pull back the flap on the driver side to get your hands up in there.  Here we are snaking that fill hose through, having the tire off would have been easier.

driver side fender flap dropping the tank
tank out top view of tank
Be careful of that white connection on the left, that is the roll over check valve and you can snap it off fairly easy.
passenger view of tank fuel filler line
You will need to give this a little twist to get it out as you can see by that bent vent line.

21. To separate tank from skid plate, remove two protective caps at tank strap studs and remove tank strap nuts.  Of course 13mm socket.    Measure how much of the thread is sticking out beyond the nut.

remove straps
22. Remove both straps and remove tank from skid plate.  You may need to loosen the hose assembly from the top of the tank.  This is a simple clip that you just need to push in with a screwdriver and it pulls up like shown. unclip lines
Here is what the tank looks like.  You can see the dimple on the bottom where the fuel float sits.    stock tank pulled dimple on bottom
You can also see how much junk has accumulated in this skid already.  Now is a good time to take a good luck up where the skid was to clean out any accumulations of trail stuff. Nasty debris look ma no tank
And of course how the Kilby's looks next to it.  Just ignore the individual in the background it's not me. skid comparison skid comparison


Reinstallation:

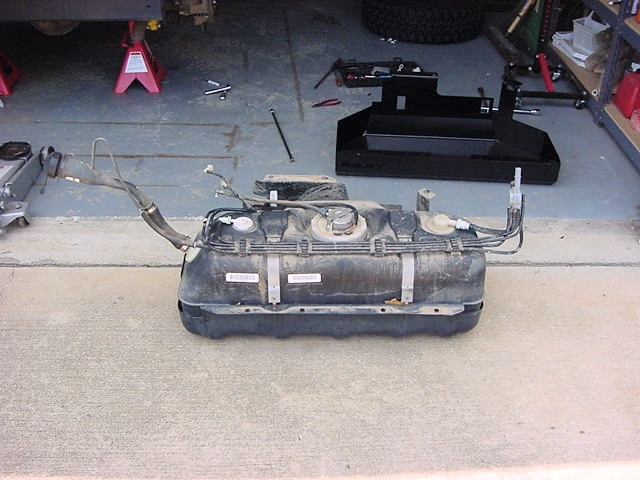
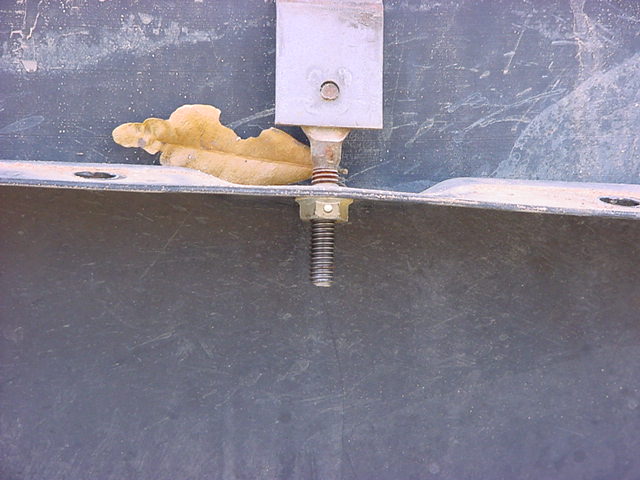
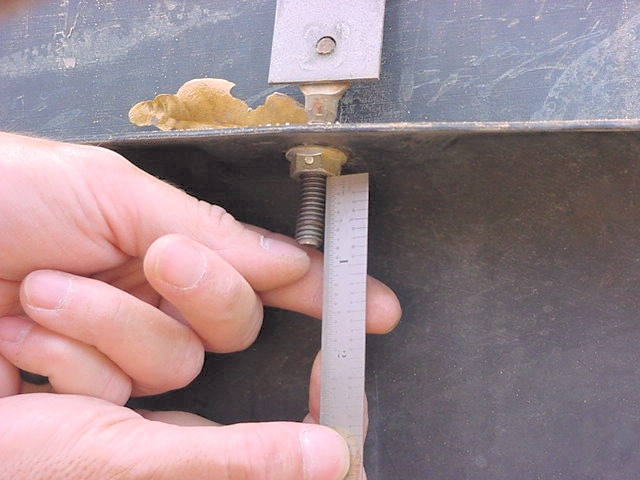
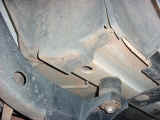
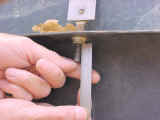
1. Place fuel tank into skid plate. Wrap straps around tank with strap studs inserted through holes in skid plate. Tighten strap nuts to attain 30 mm (±2 mm) between bottom of nut to end of strap stud using a 13mm deep well socket. Do not over tighten nuts. This wasn't anywhere close to what it was from the factory so I choose to ignore this measurement. I tightened down the straps until I couldn't move them anymore, then went 1 turn more.

reinstall straps

2. Install two protective caps to tank strap studs.


3. Connect fuel fill hose at tank if you removed it earlier. Tighten hose clamp.


4. Raise skid plate/fuel tank assembly into position on body while carefully guiding plastic vapor lines and fill hose.  A floor jack works well for this.


5. Install 7 skid plate mounting nuts. Tighten to 16 N·m (141 in. lbs.) torque.  You will need a 13mm socket and a couple extensions to reach the ones in the front.


6. Remove tank jacking device.
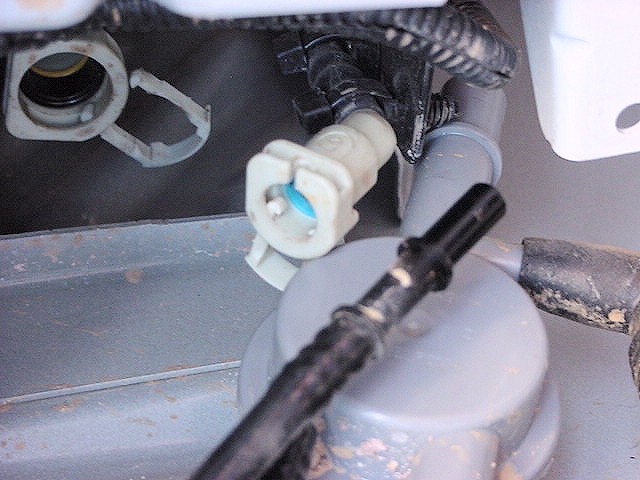
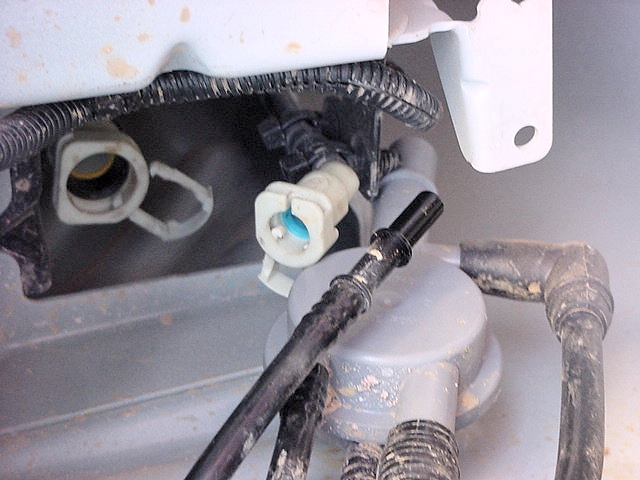
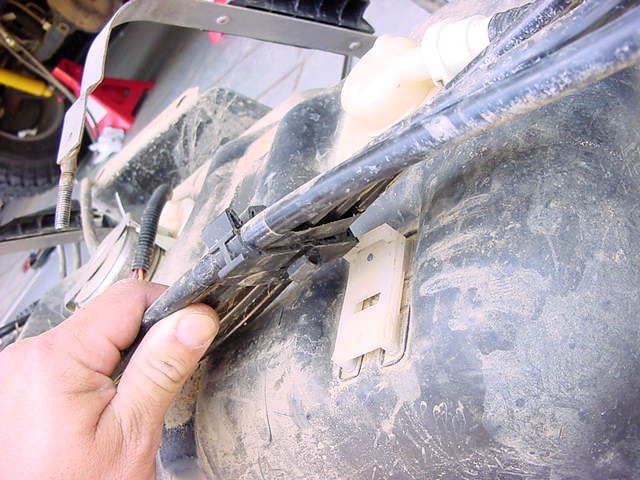
 

7.Carefully connect the 2 vapor lines near top of flow management valve. Be very careful not to bend or kink the vapor lines. If lines leak, a Diagnostic Trouble Code (DTC) will be set.  The clips should go in fairly easy, don't force them.  If you are having a difficult time take the line back out and put it in again, make certain it goes all the way in.

reconnect lines

8. Install EVAP canister bracket.

reinstall evap shield

9. Install wheelhouse liner at right/rear wheel.  Don't forget to put all the trees back in.


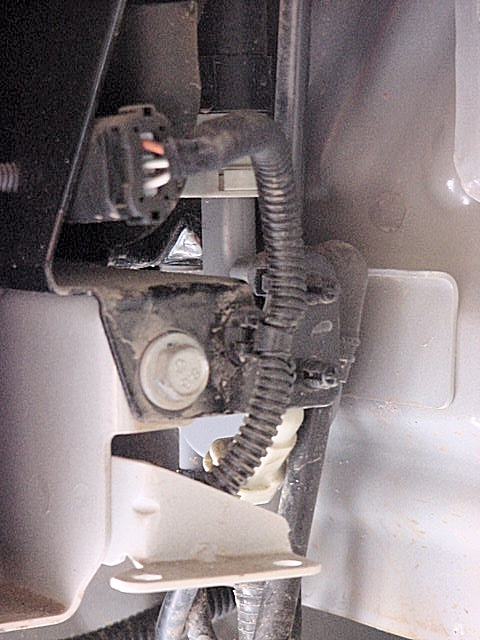
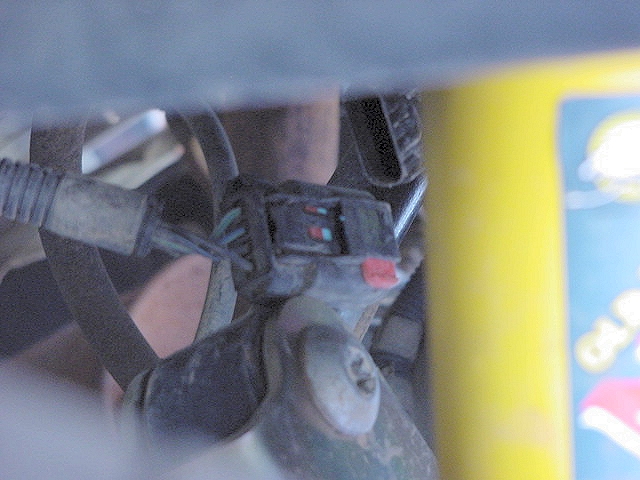
10. Connect electrical connector at left/front of fuel tank.

reconnect electrical line

11. Connect 2 vapor lines at left/front of fuel tank.

reconnect vapor line

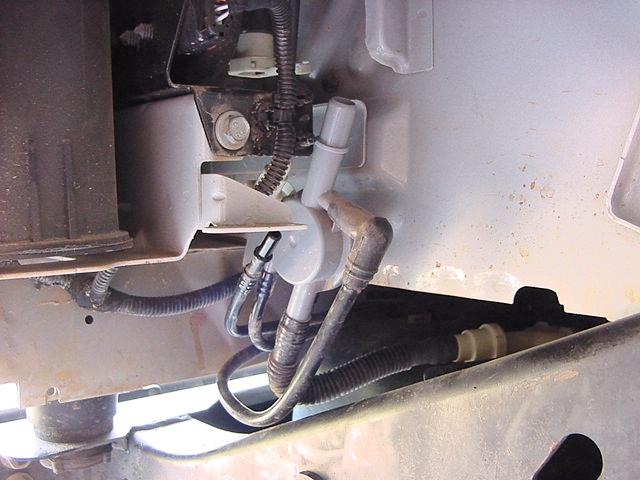
12. Connect quick-connect fitting to fuel supply line at left/front of fuel tank.

reconnect fuel supply line

13. Use a new plastic tie wrap to secure rear axle vent hose to fuel fill hose.


14. Remove gas cap and position fuel fill bezel to body. Install 8 screws and tighten.  You may need a T-25 Torx or a Phillips screwdriver, be careful you don't send anything down the tube.


15. Install filler cap.


16. Install Rear wheels.


17. Put required amount of fuel in tank, a couple gallons should be good if you emptied it.


18. Connect negative battery cable to battery.

reconnect battery
19. Start vehicle and inspect for leaks.  


  N-m Ft. Lbs. In. Lbs.

Skid plate mounting nuts

16 - 141

This page last updated: 16-Apr-2008

Content and Design © 2002-present WanderingTrail,  Ronald Seegert
Common Sense and Safety should always be observed when working on your vehicle or doing modifications. Jackstands, wheel blocks, disconnecting the battery are a few of the basic safety precautions that should be used and may not be mentioned in the write ups on this site. You are responsible for your own installation, these write ups are a helpful guideline and should not be taken as an official installation instruction. My write up may be different from the kits currently out there, so alwasy double check the manufacturers installation instructions when installing anything. I try to keep the site up to date with changes that have occured as I discover them, but may not have the latest unless someone lets me know. If you feel that an install is above your capabilities after reading my write ups, I recommend getting together with a club and getting some help. Only a few times have I needed to employe some actual help from a shop to get something done. Usually welding or A/C work. While I have spent many years working on mechanical systems, I am not an expert, nor do I pretend to be one. I hope these write ups have been useful to you.
All trademarked names & logos are property of their respective owners
This site is in no way associated with Stellantis.
Jeep is a registered trademark of Stellantis.