I ran AiROCK on a past Jeep and patiently waited for Steve at Off Road Only to release his AiROCK kit for the JK's. This kit comes complete with the Onboard air system, so you don't need anything else for it. This is one of the very first kits put out, so there may be some changes from this kit into the future. Steve did an excellent job at taking as much of the user install steps out that he could. You still need to run air lines, but the wiring harness couldn't be simpler, just one harness handles everything, no extra wires to run. This write up is not yet complete, I'm missing a few pictures and some additions that I know are coming from ORO to complete the kit. I will correct as I go along. This is the closest to a set of instructions at the moment. I recommend going to ORO's site and downloading the older operators manual and the short arm install instructions for further assistance with this install.
Additional
Parts:
10w-30 Motor oil (non-synthetic)
Teflon tape
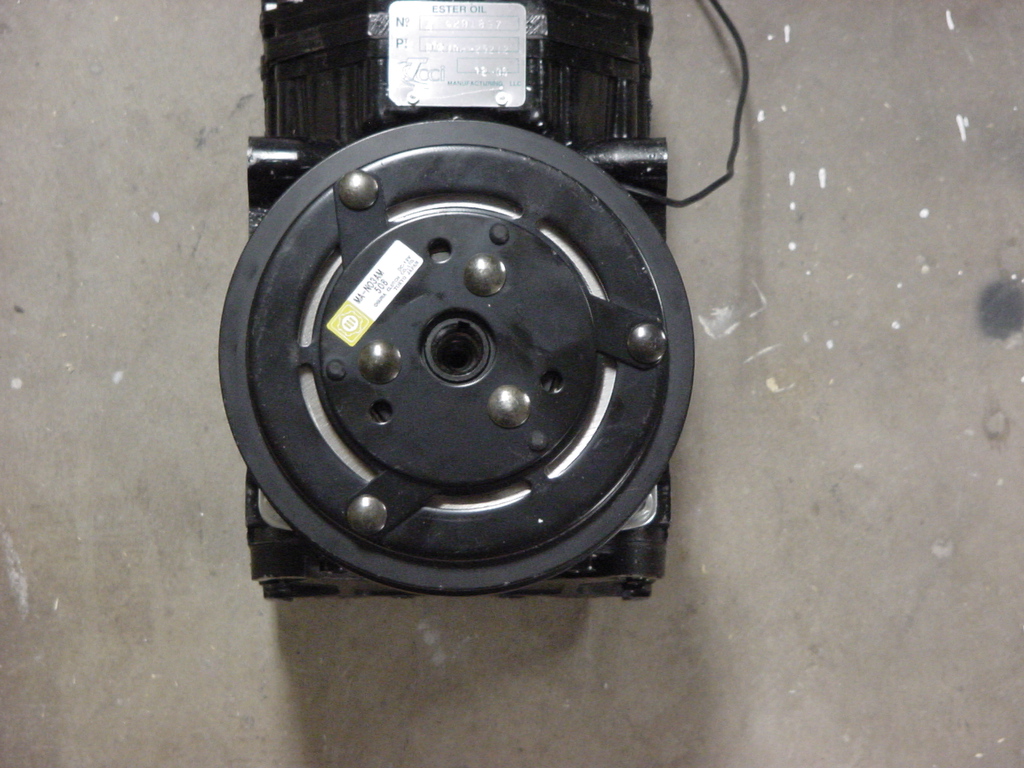
The compressors from Off Road Only come already assembled with the clutch installed. I left this part in here, just in case you want to see what assembling the compressor clutch is like. I had a bad pulley on my clutch that wobbled and I needed to change it out.
Assemble the compressor:
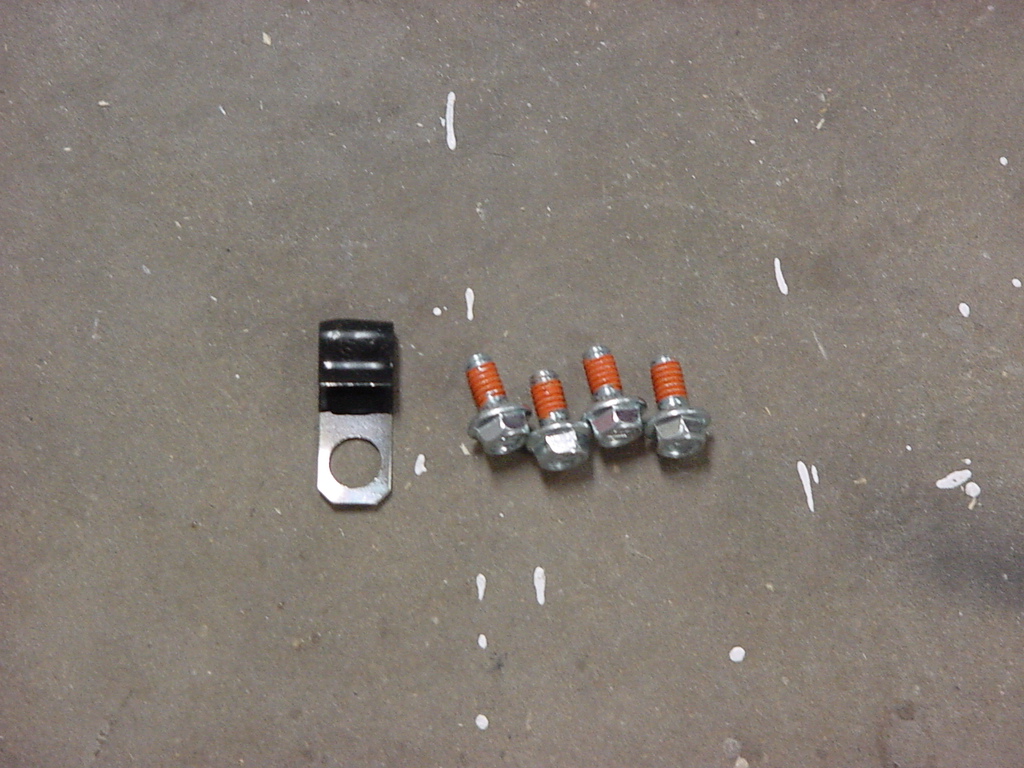
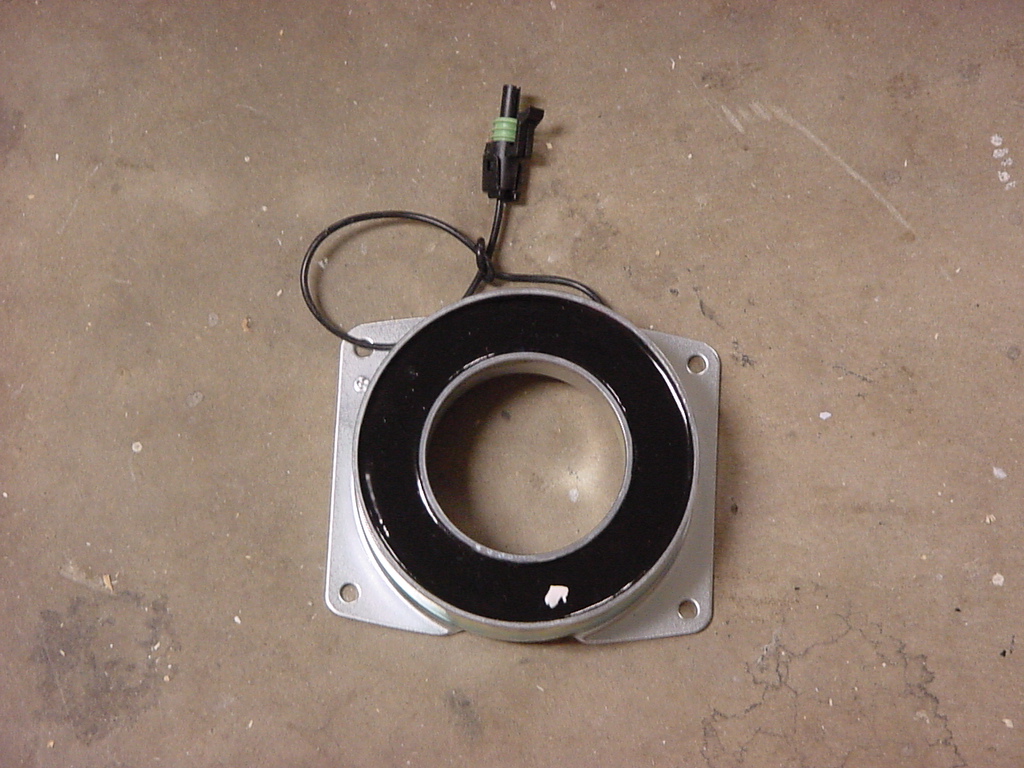
1. Install the magnetic clutch onto the compressor housing. I decided to install the clutch with the wire on the top so that it was out of the way of the belts. Thread the four bolts into the housing then tighten with a 3/8" Socket. Tighten the four clutch mounting bolts to 13-19 ft. lbs. (17.6-25.8 N-m). NOTE: Only use bolts that have a loctite patch on the threads.
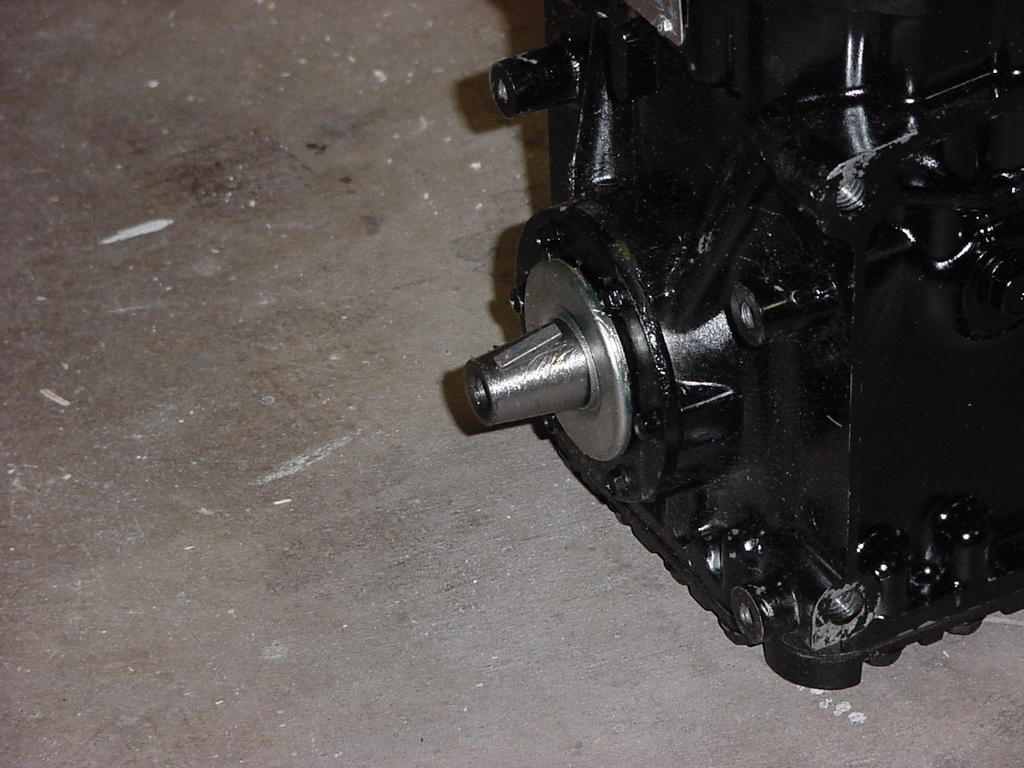
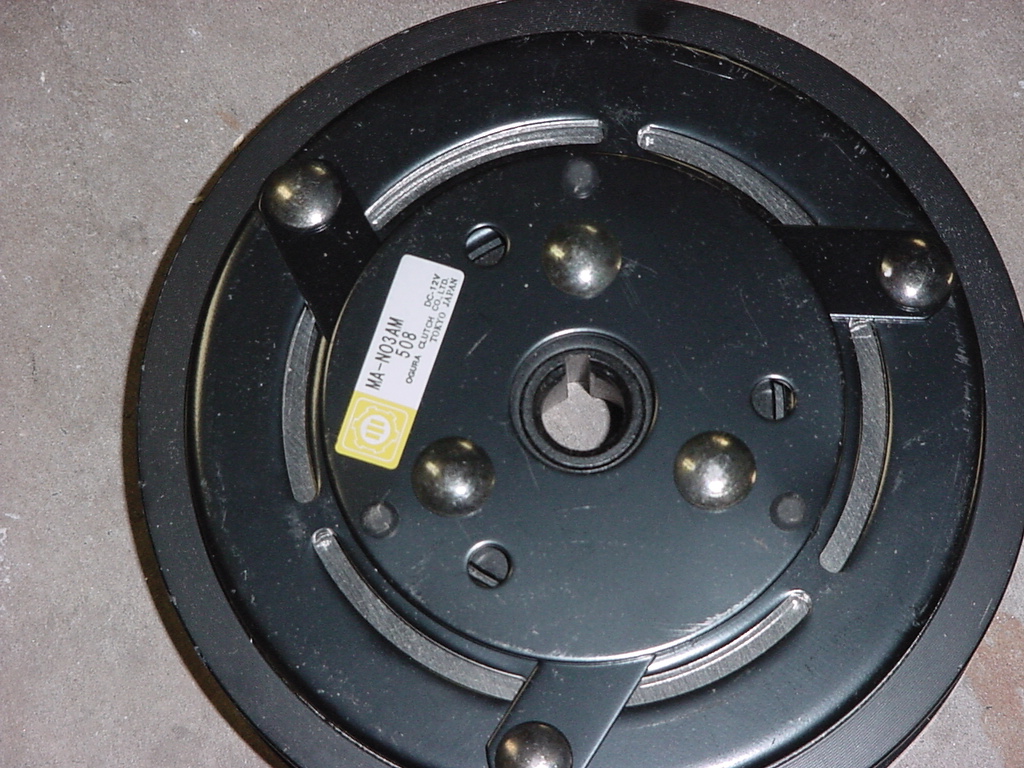
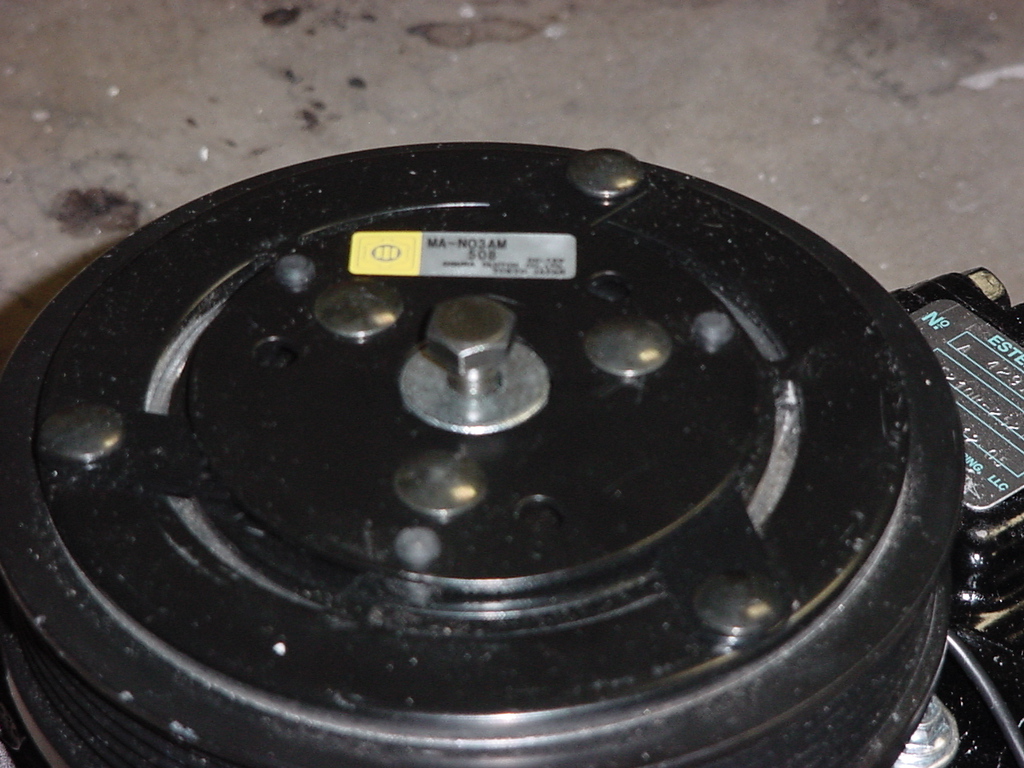
2. Install the pulley onto the shaft. Align the keyway in the pulley with the key on the shaft of the compressor.
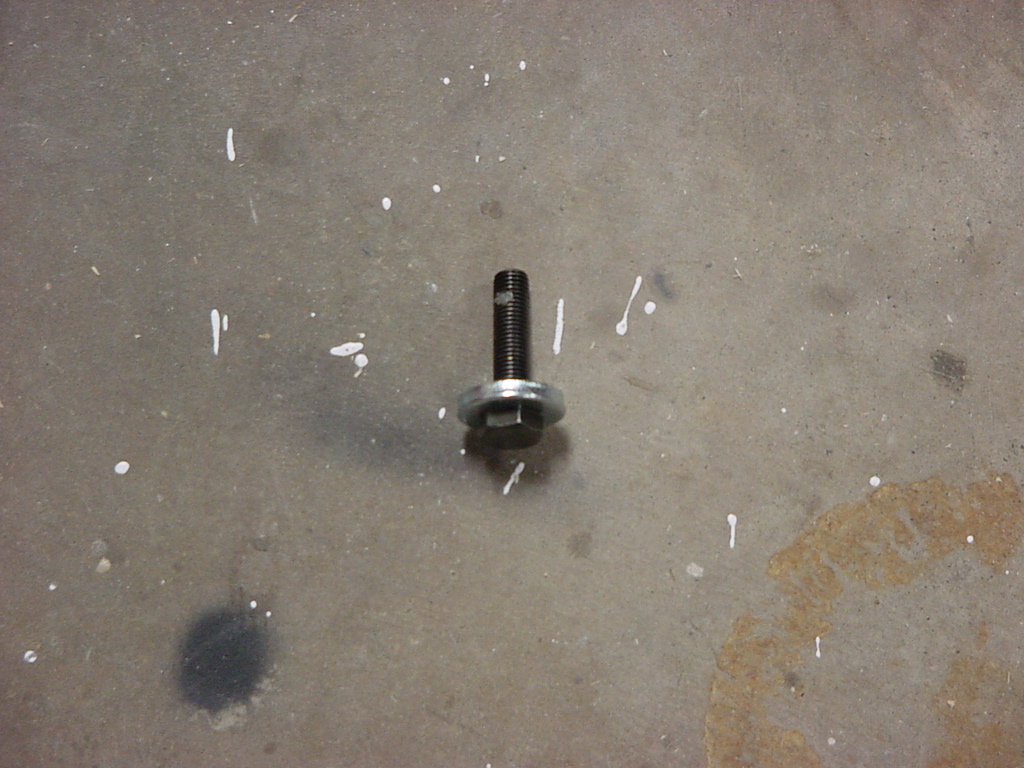
3. Then insert the washer onto the bolt and thread the bolt into the shaft. You will need a 1/2" socket to tighten the bolt. Tighten the clutch center bolt to 20-25 ft. lbs. (27.1-33.9 Nm).
Changing the oil:
Off Road Only changes out the oil for you and should come with a tag. Mine spent some time upside down, so a lot of oil was in the box. I felt it was prudent to redo the oil in it.
We will need to drain the refrigerant oil out of the compressor. The York compressors come with oil that is designed for use in a refrigerant system. Since we will be using them as an air compressor we will need to change the oil out. Normally these compressor only have about 12-16oz of oil in them when they come from the factory.
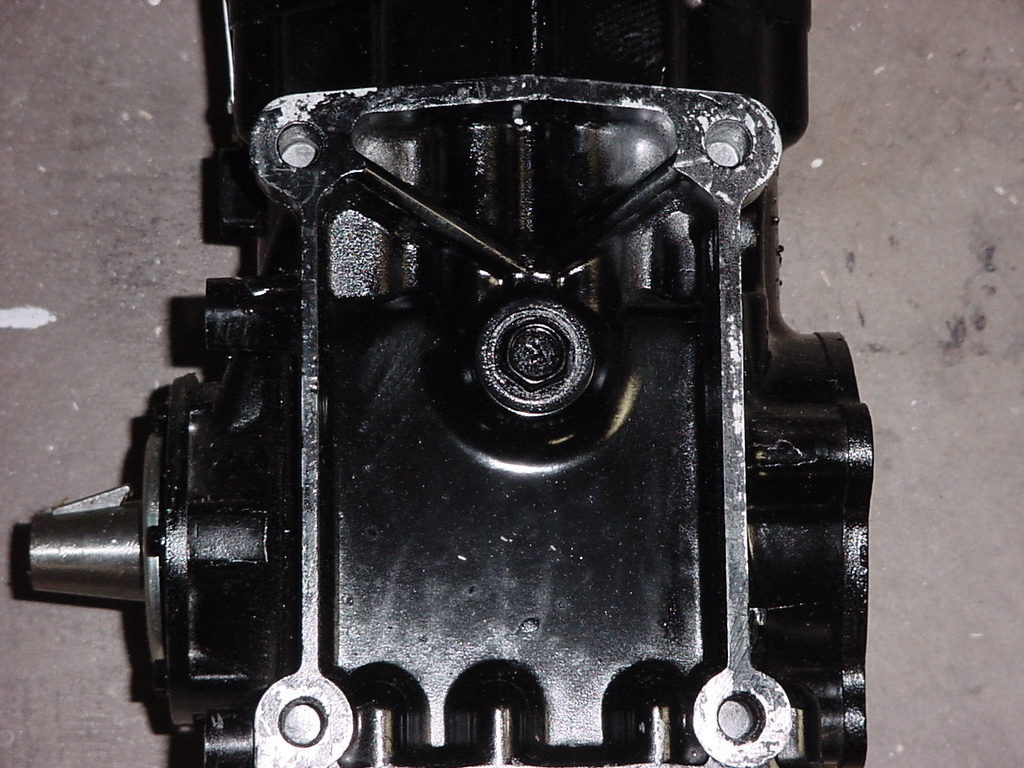
1. Remove the oil fill plugs from both sides of the compressor.
2. Tip the compressor over onto one side and allow the oil to drain out into a measuring cup, this will give you a good indication of what was in the compressor to begin with.
3. Once all the oil has drained out, wipe the oil hole clean, and reinstall the oil fill plug on the left side of the compressor.
Note: When inserting the oil fill plug, the sealing “O” ring is slipped over the oil fill plug threads in such a manner that the “O” ring is not twisted. Insert the oil plug in the oil fill opening and tighten the plug snug. If the plug leaks, do not attempt to stop the leak by over tightening the oil
fill plug. A leak may be caused by dirt under the “O” ring or on the seat, a fractured “O” ring, or a damaged seat on the oil fill plug or oil fill opening.
4. Lay the compressor on its side with the open oil fill hole up. Using a small funnel, pour 12oz’s of 10w-30 (non-synthetic) oil into the compressor. Take your time, or you will make a mess. You can also do this with a turkey injector if the small funnel doesn't work.
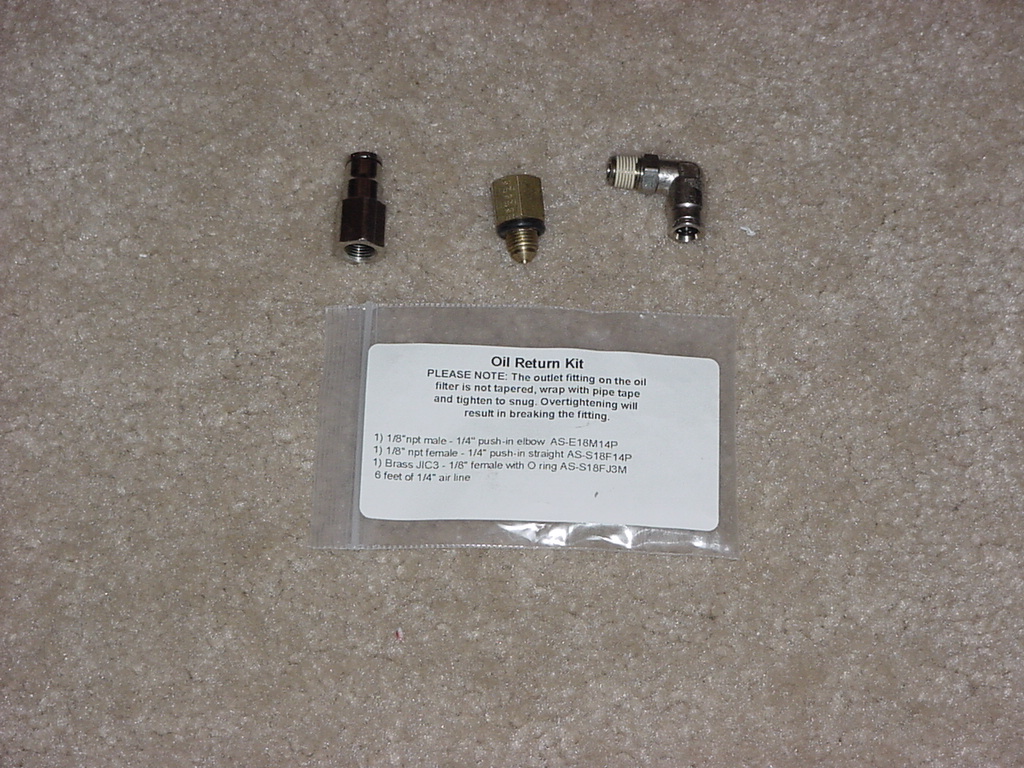
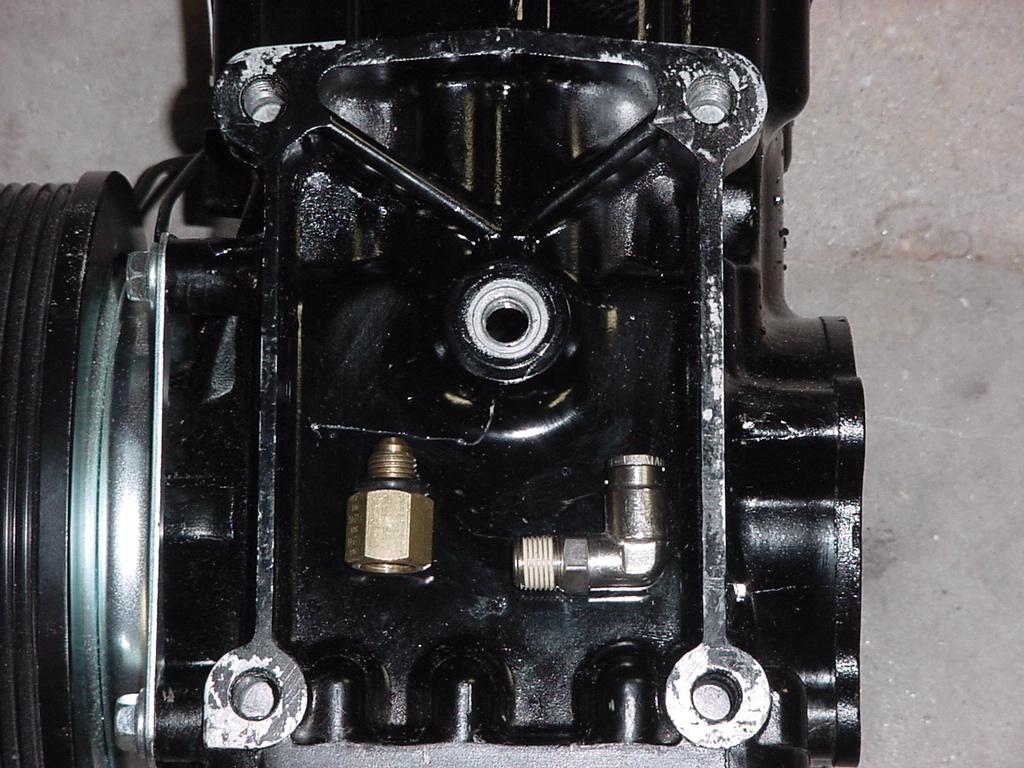
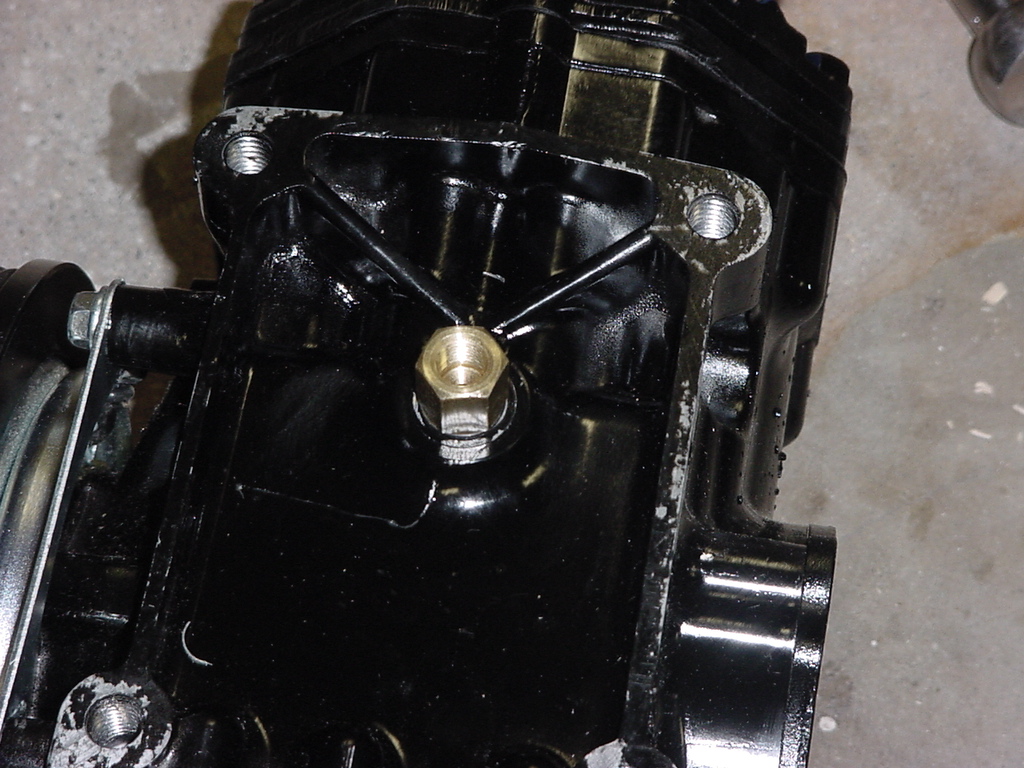
5. Install the oil return fitting (Brass JIC3 - 1/8" female with o-ring) in the oil fill hole. Do not over tighten; you will damage the o-ring seal. Tighten down with a 9/16” combo wrench. This will go on the right side of the compressor as you look at the clutch assembly
6. Install the 1/8" npt - 1/4" push in elbow fitting into the oil return fitting. This will require you to hold the oil return fitting with a 9/16” combo wrench and tighten the fitting with a 7/16” combo wrench.