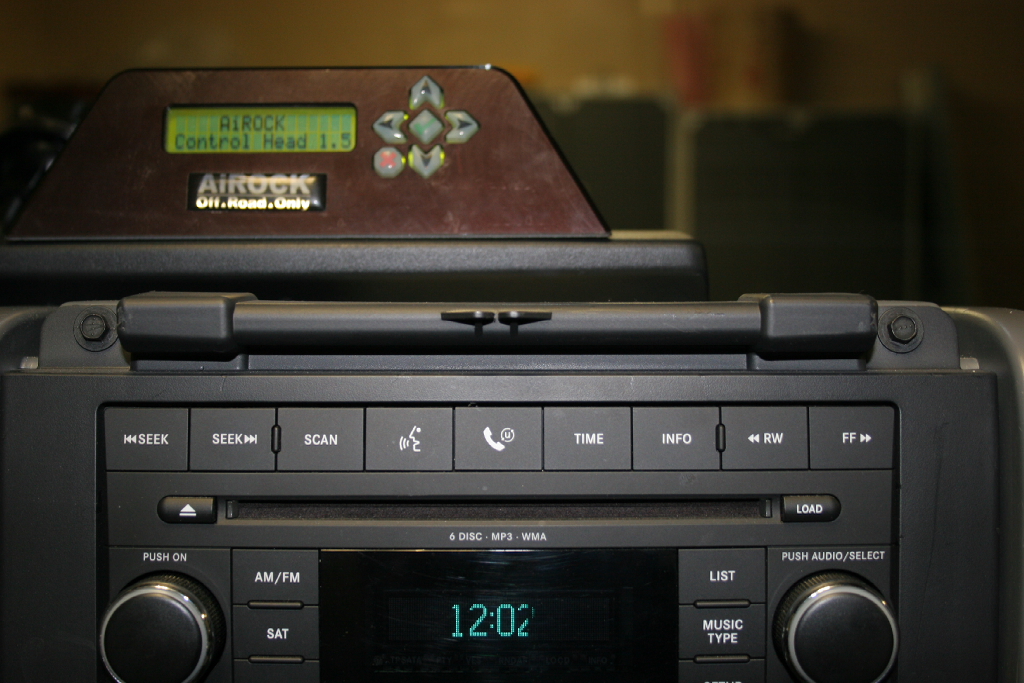
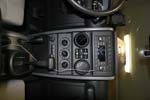
One thing that I have disliked from the beginning is that the controls on the center dash console do not light up very well. I personally like the lights dim, and turning them up on the dash just gives a really big glare off of the speedometer and tachometer. I saw a mod where some small led lights were installed to help light up the console, so I went that route first. While it was adequate, it didn't give me a nice even light across the controls. One day I was in Walmart and wandering past the clearance section I saw some RED LED strip lights and wondered.... So I picked up 2.
| First LED Mod: |
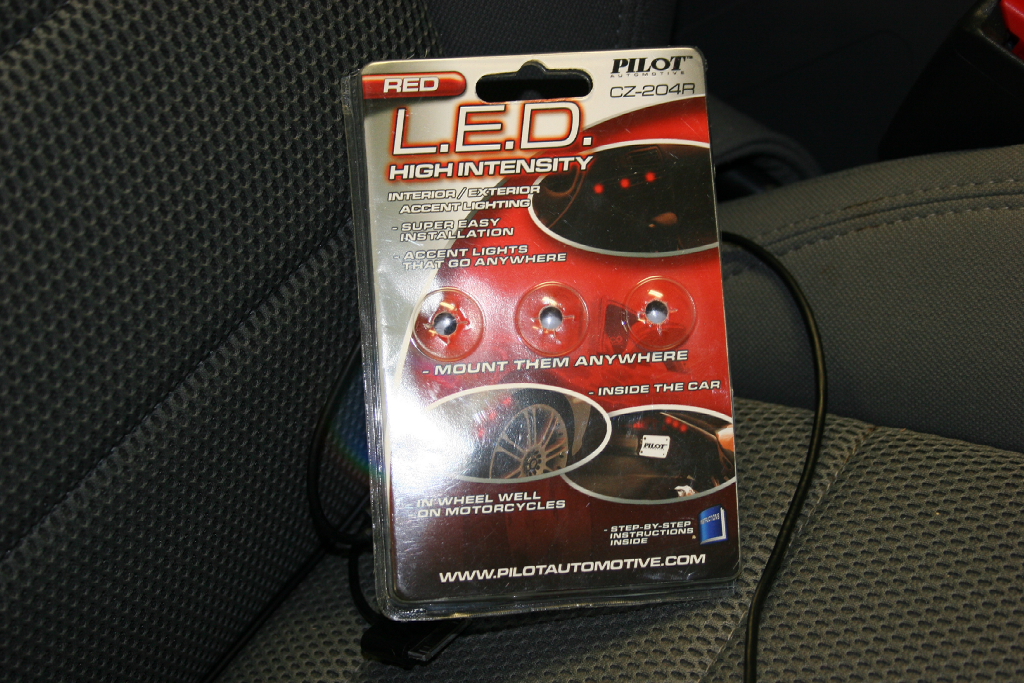
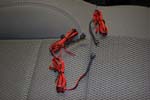
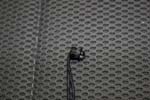
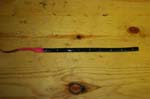
| Here's what I picked up for the first try. Just a simple set of 3 RED LEDs. I choose the red to help with night vision. |
 |
 |
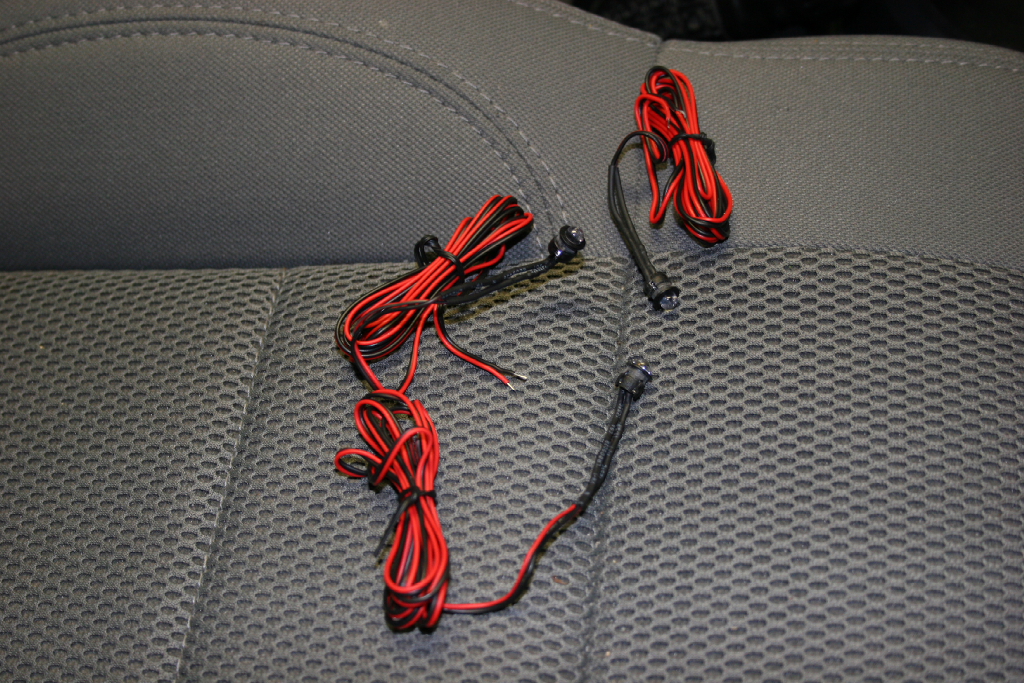
| I intend to install them on the underside of each level of the center console. I didn't originally install them under the radio, but when I did the strip LED's later I did. |
 |
 |
 |
| |
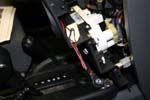
| Center console removal and LED installation: |
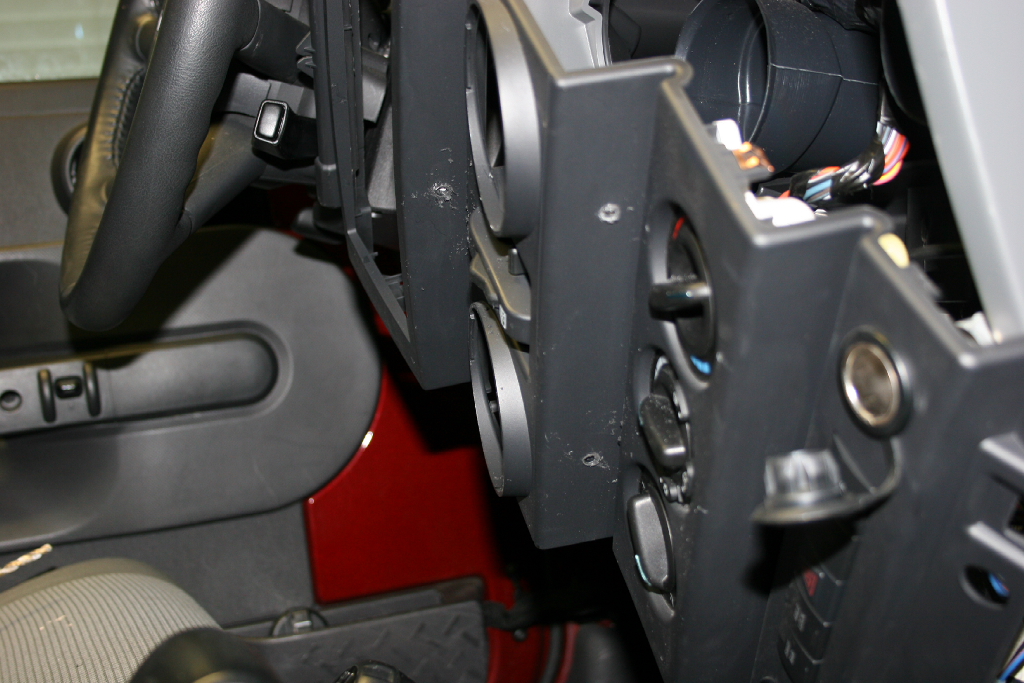
| Time to gain access to the backside of the center console. It's a pain to get off, but luckily we don't have to fully remove it to get to where we need to. |
 |
| First set the parking brake and block the rear tires to keep the Jeep from rolling. Shift the Automatic to low 1, or place the stick in one of the gear positions furthest away from the console (i.e. 2, 4, or 6th) |
 |
 |
Remove the bottom panel by sliding a trim removal tool or a flat tip screwdriver into the top edge and pry outwards.
Note: Be careful the plastic is soft and will scratch up. |
 |
Remove the top by prying up on the back side near the windshield with a trim removal tool or a flat tip screwdriver. Once the back is up, slide it forward to clear the tab that holds the front down.
Note:Be careful the plastic is soft and will scratch up. |
 |
 |
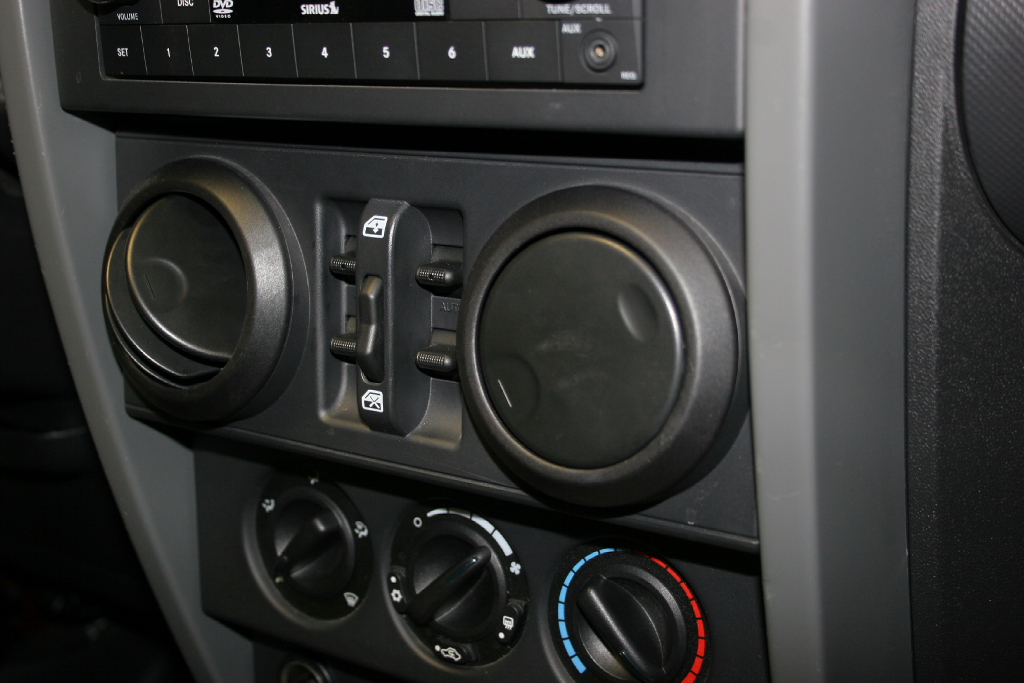
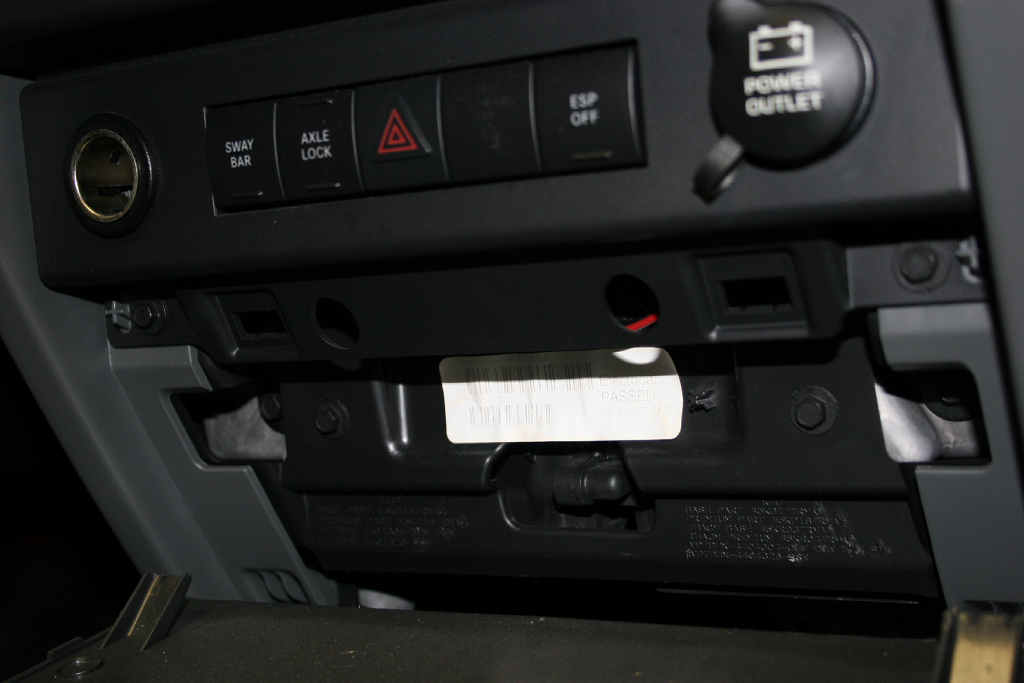
| Remove the two (2) vents by twisting and pulling out on the outer rings. They come out as an assembly. |
 |
| Remove the two (2) screws from the top, and the two (2) screws from the bottom with a 7mm socket. DO NOT drop these. They will find a way to get down underneath everything and cause you to remove more stuff than you need to just to retrieve the one screw. |
 |
 |
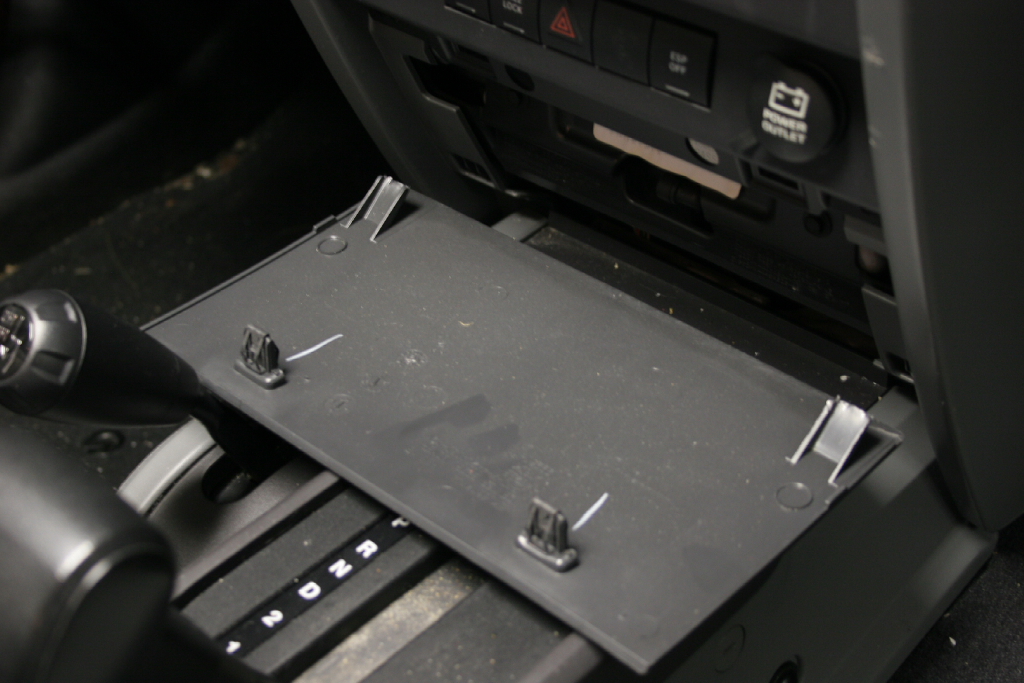
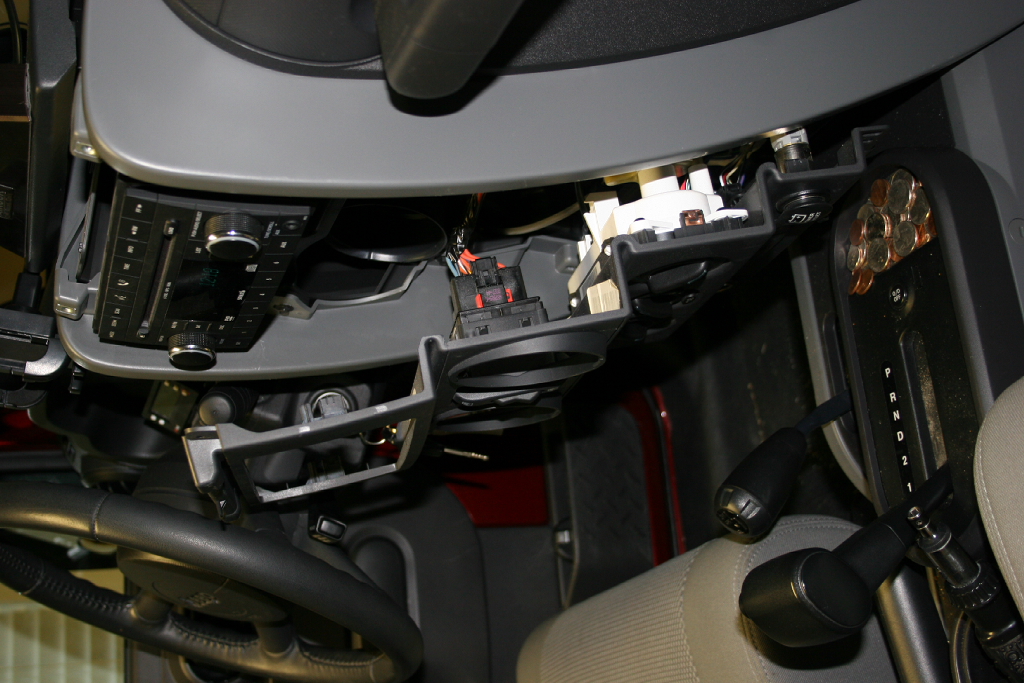
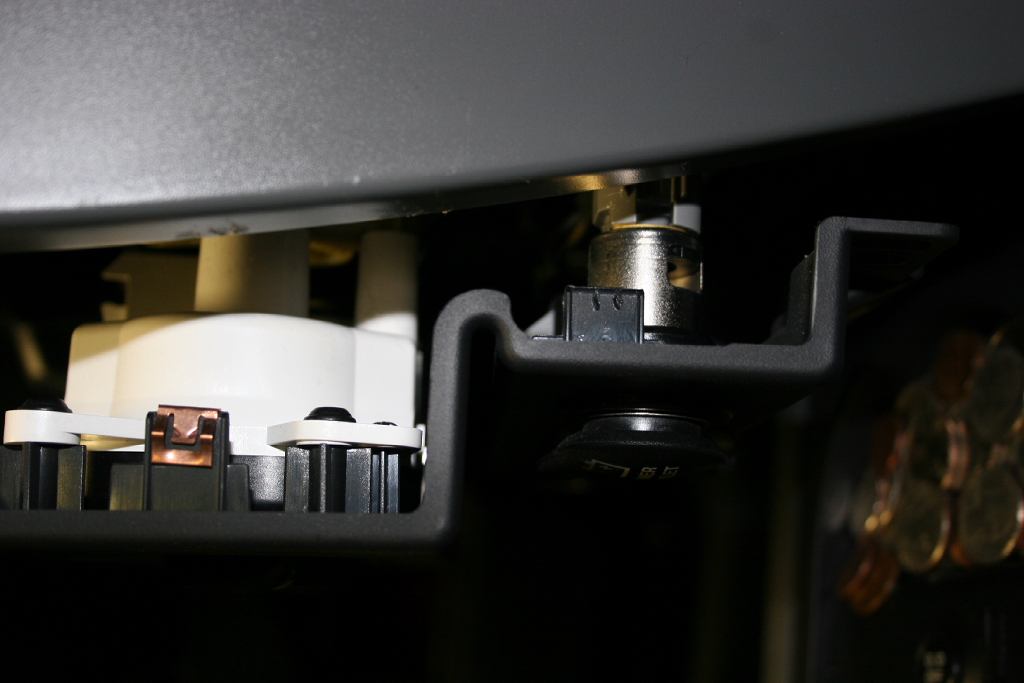
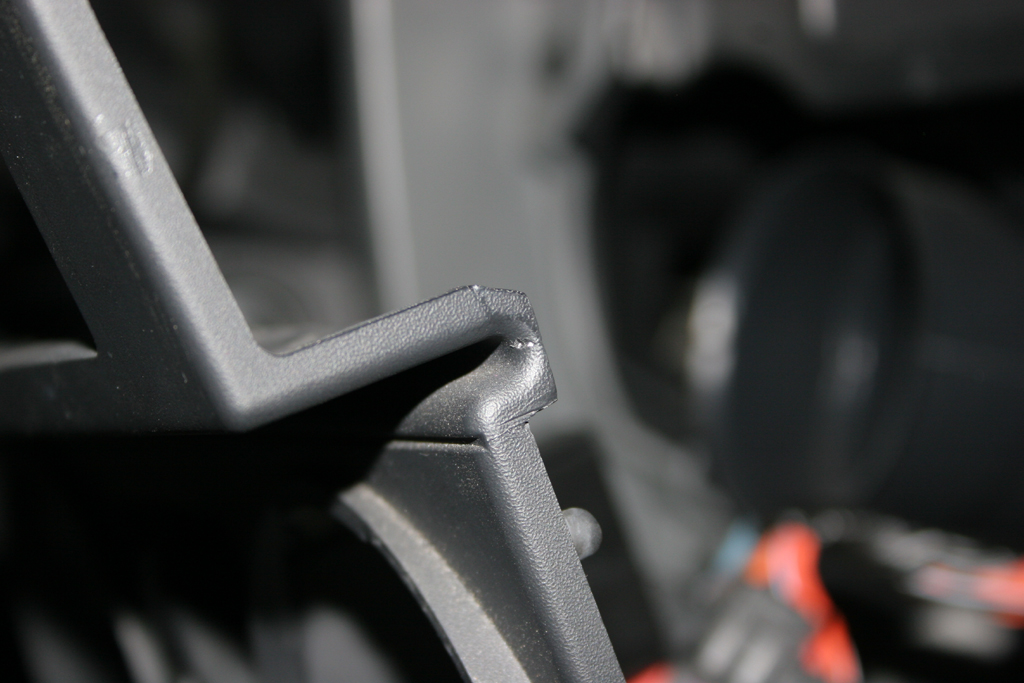
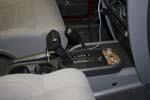
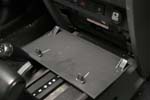
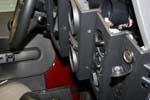
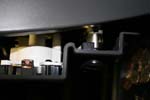
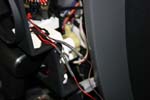
| Carefully pull the center console free of the dash. It is held in by tabs with little metal clips on the ends. Some of the clips may stay in the dash holes, some may stay on the tabs, others may fall down. Make sure you have all of them. |
 |
| The LED's came with a plastic insert that the bulb rests in. You will need to check the size and drill the appropriate size. The packageing came with a drill size, but I found that the insert didn't seem to fit into the JK thick plastic, so I had to go up a drill size to make it work. |
 |
 |
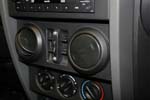
| I drilled 3 holes. One centered under the radio, and two centered under each vent. This didn't provide adequate light in my opinion, so after finding the strip lights I reworked it at this point. |
 |
| |
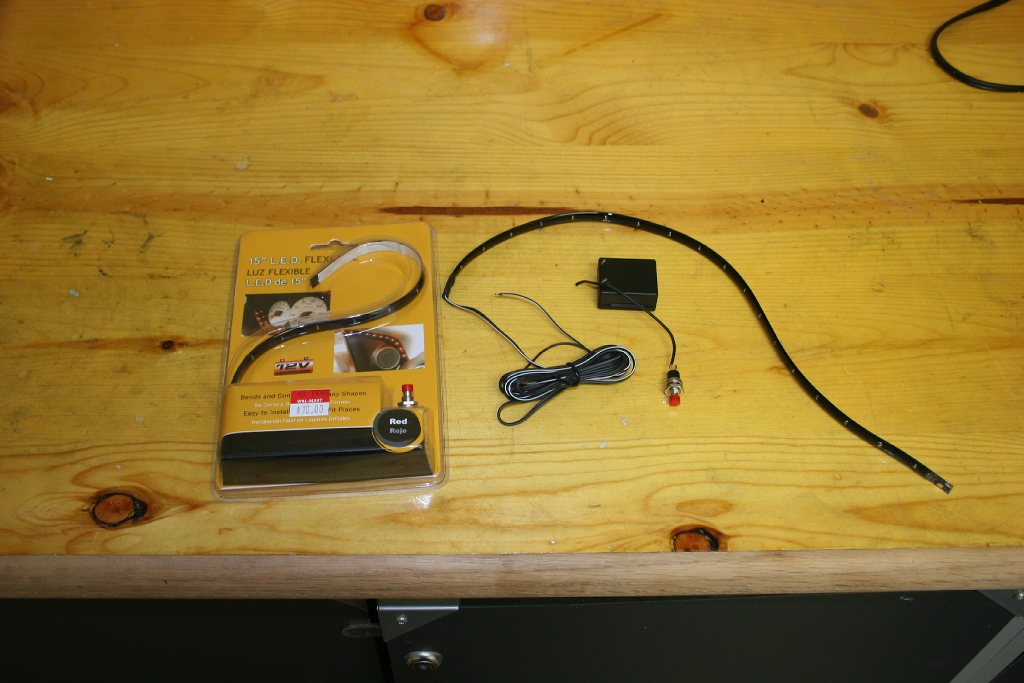
| LED Strip lights rework: |
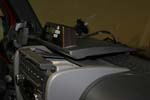
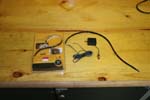
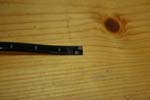
| Here is the 15 inch red LED strips. |
 |
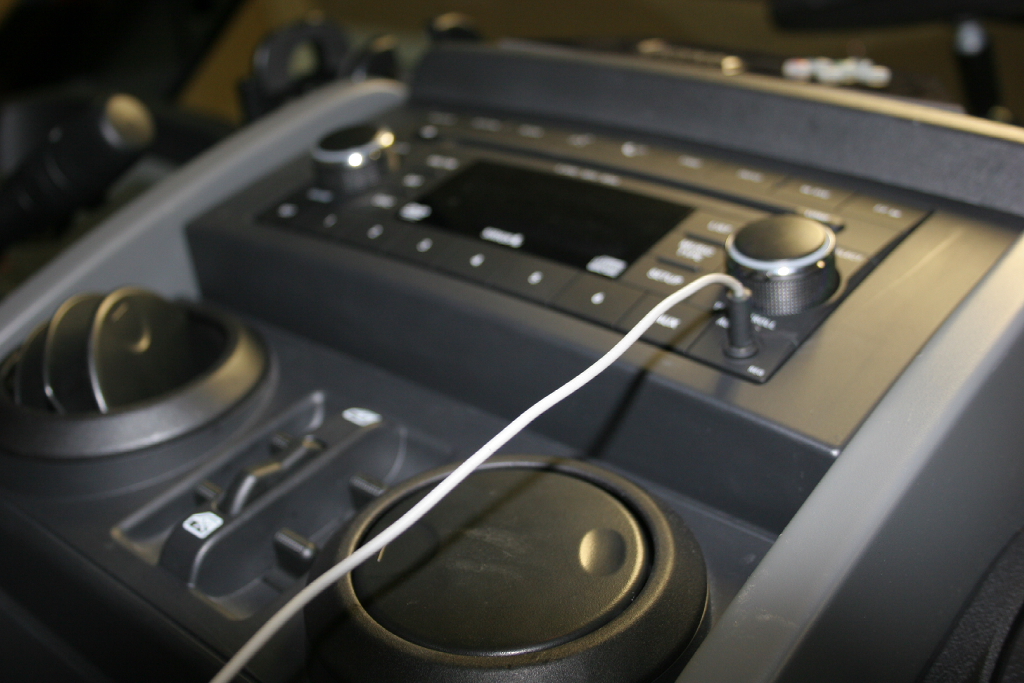
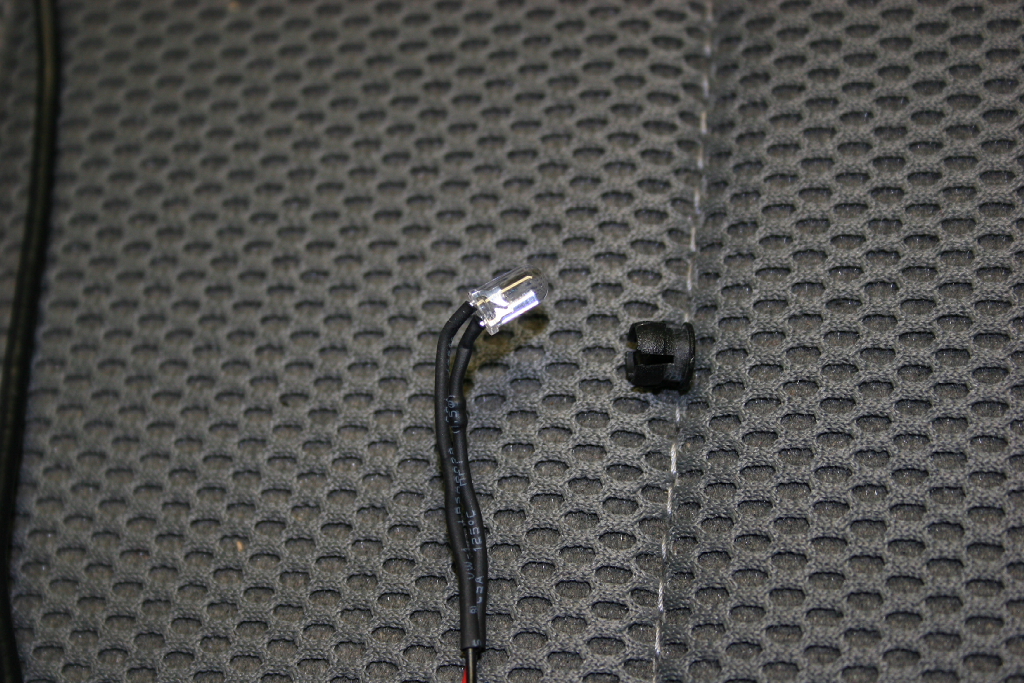
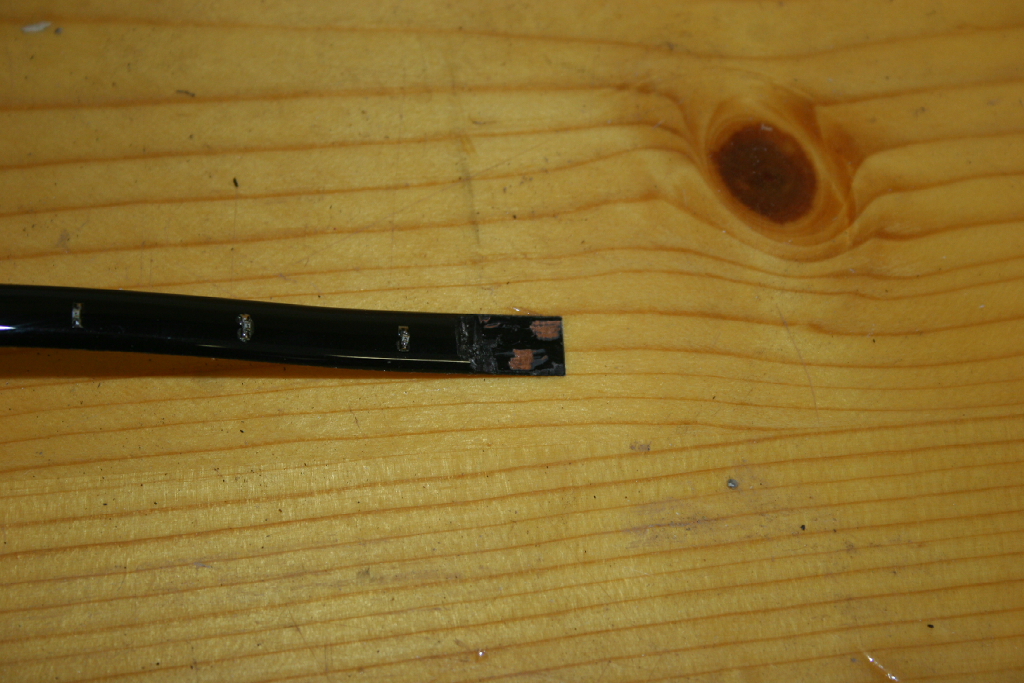
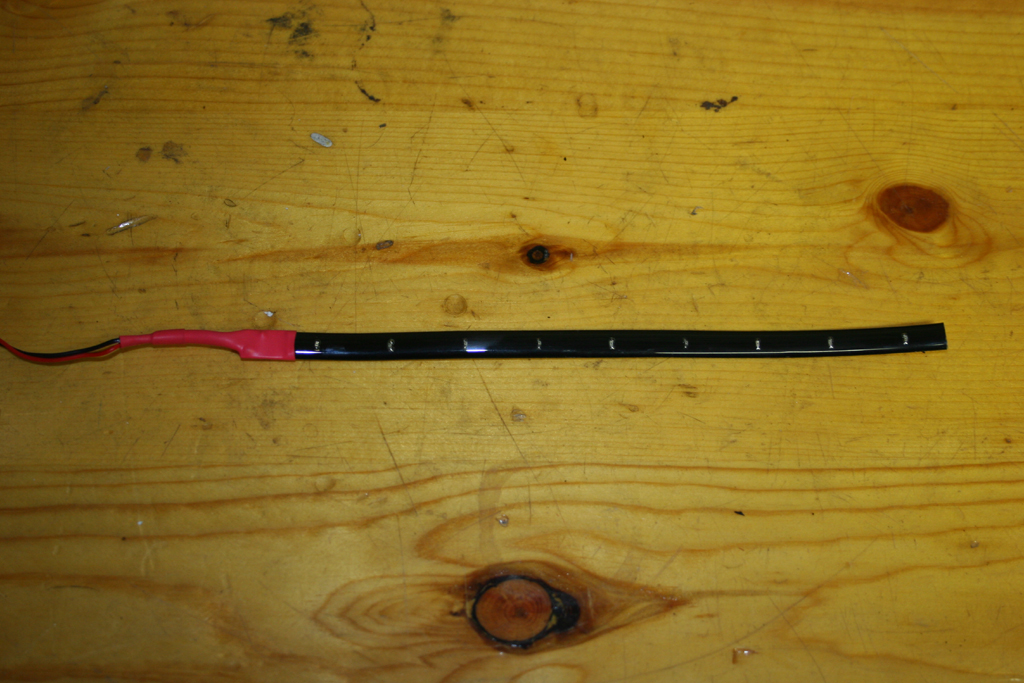
| You will need to perform a little electrical surgery on the LED strip since the space is really only about 7" wide. Not to hard, the LED's are mounted to two strips, just scrape away some of the plastic coating from the opposite end and expose the metal conductors underneath. There is plenty of wire on the other side, so cut about one (1) foot off, but no more than half of what is over there. Split the wire, and strip the coating off of the two sides. You will need to solder the wires onto the same side as they are on the other. In my case it would be white wire to the same side as the other white and black wire to the same side as the other black. The LED's are polarity sensitive. I finished it off by covering the soldered area with a piece of heat shrink material. |
 |
 |
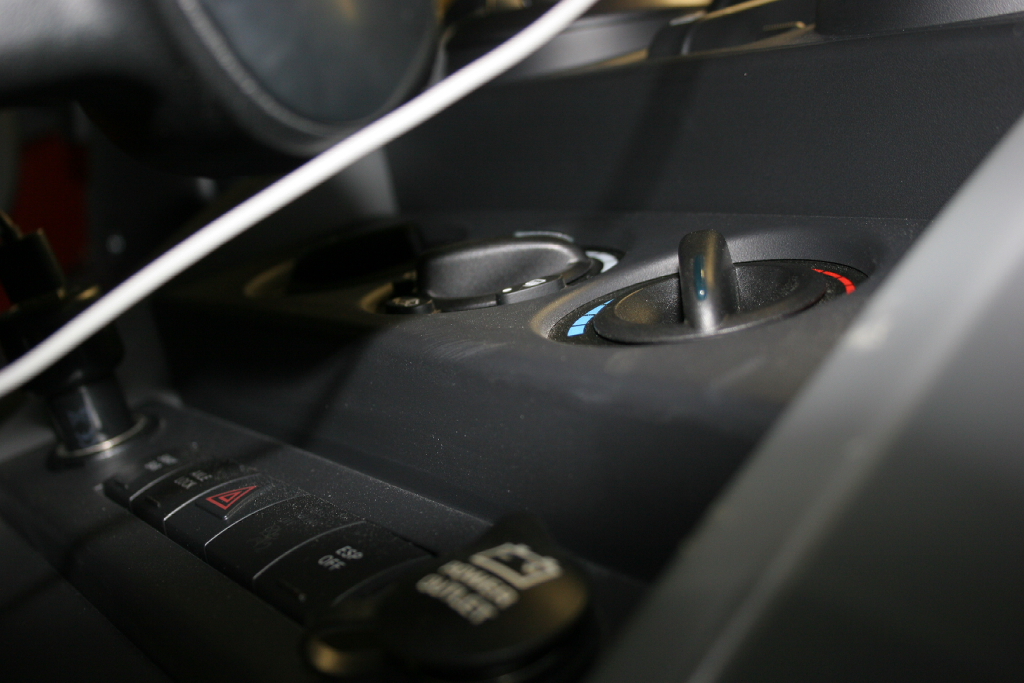
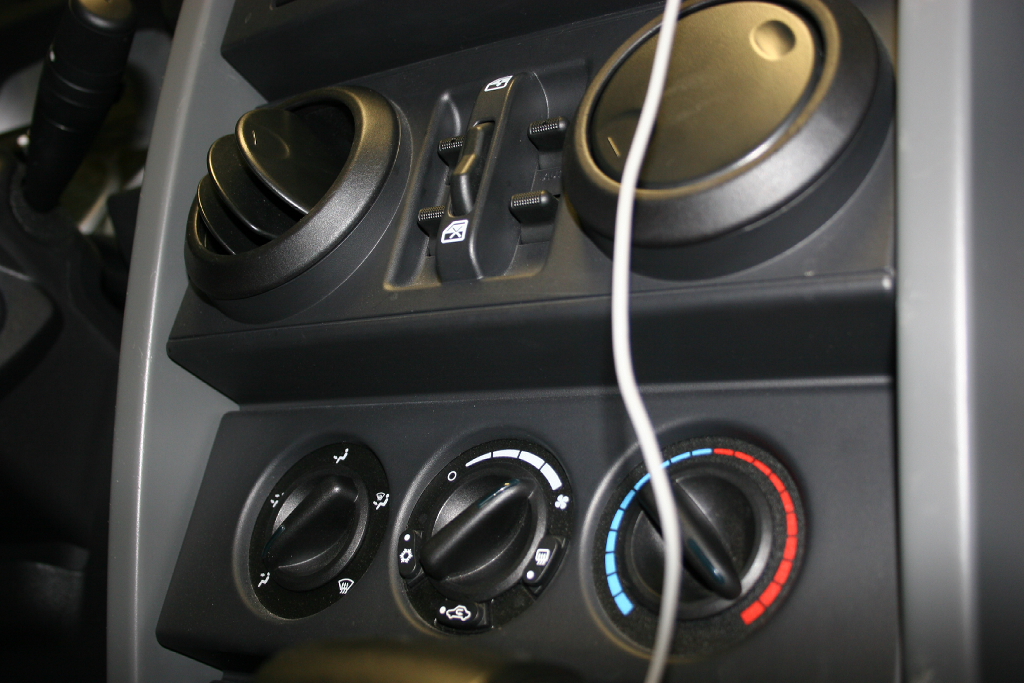
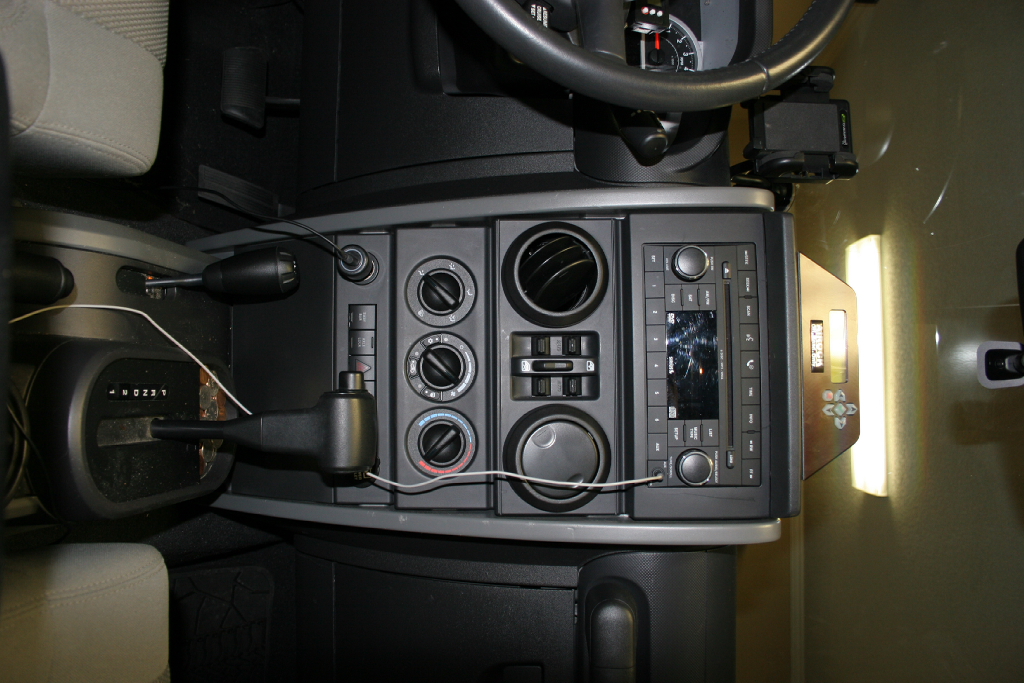
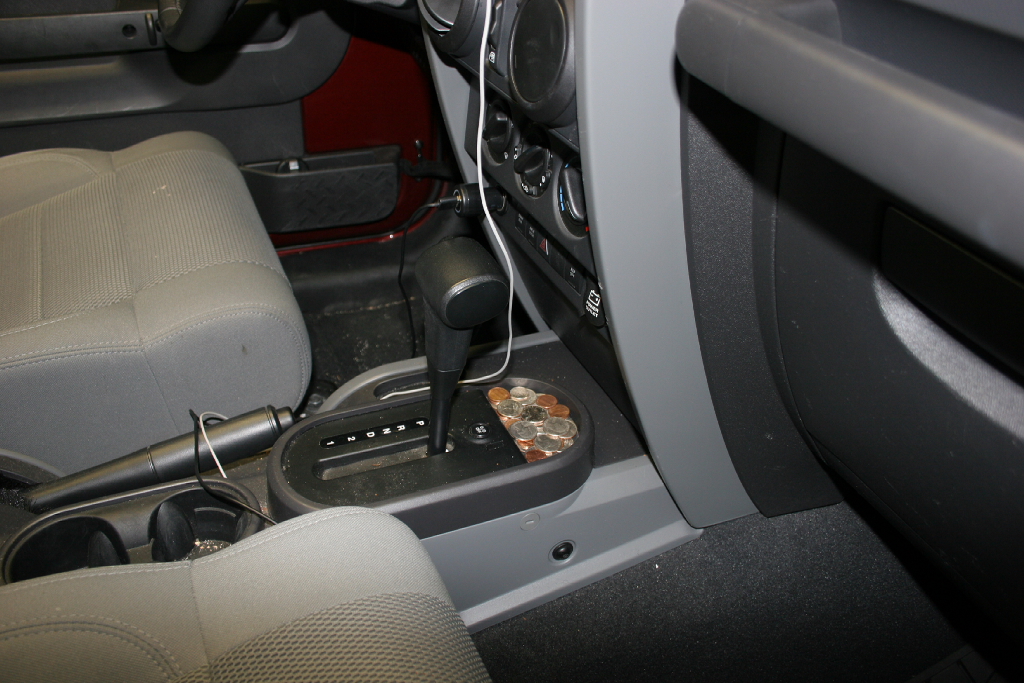
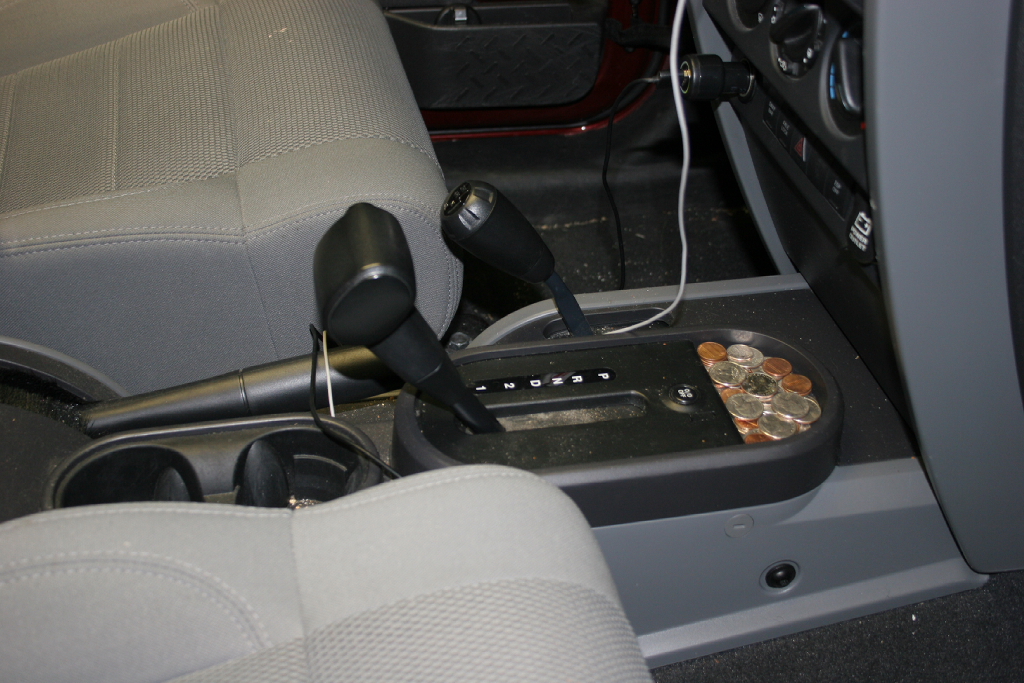
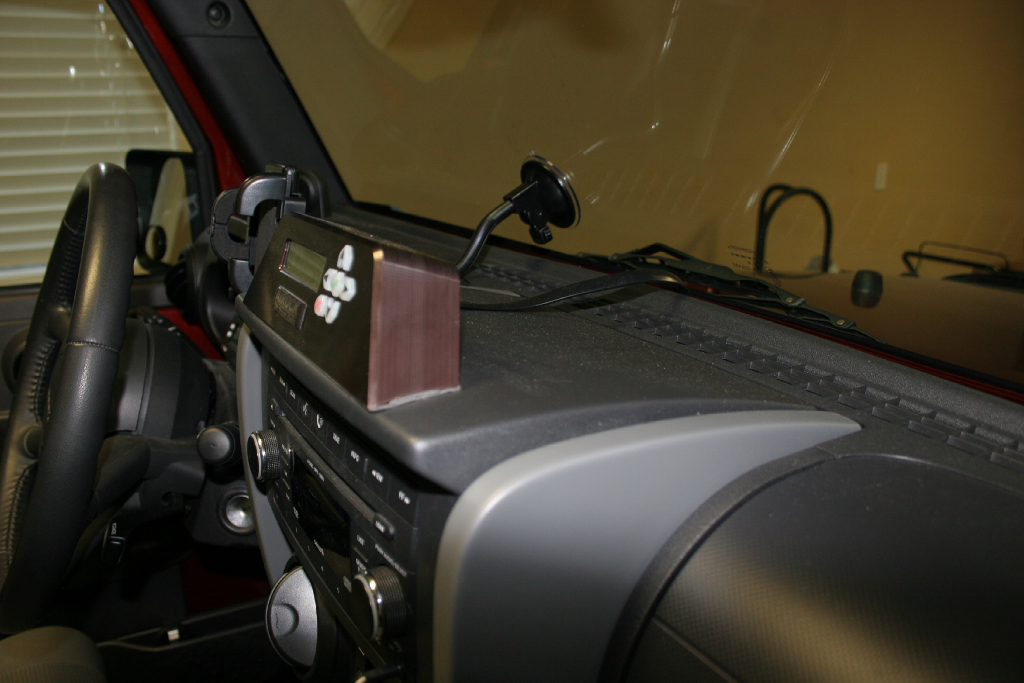
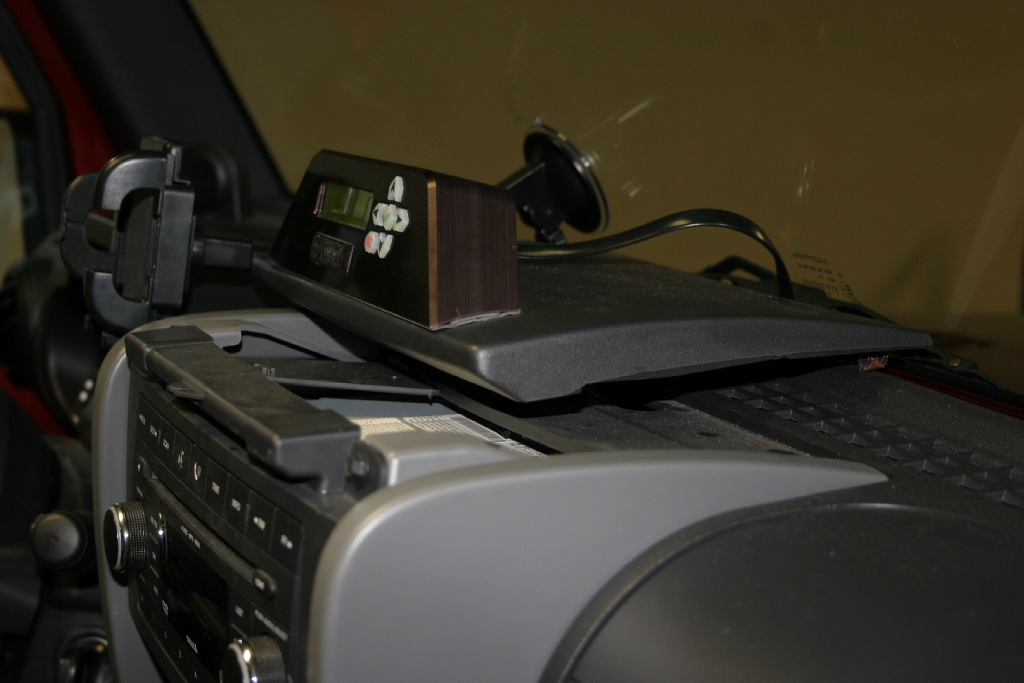
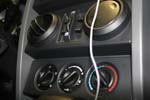
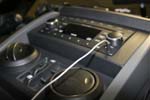
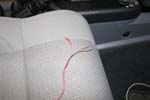
| I used an exacto knife to cut some small slots in side of the center dash panel, so that I could route the wires back in behind. |
 |
 |
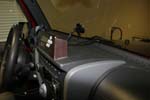
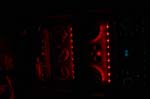
| Here's what it looks like at night. It's a little brighter to your eyes than in the picture, but the strips light up the controls beautifully. |
 |
| |
| Wiring to a dimable circuit: |
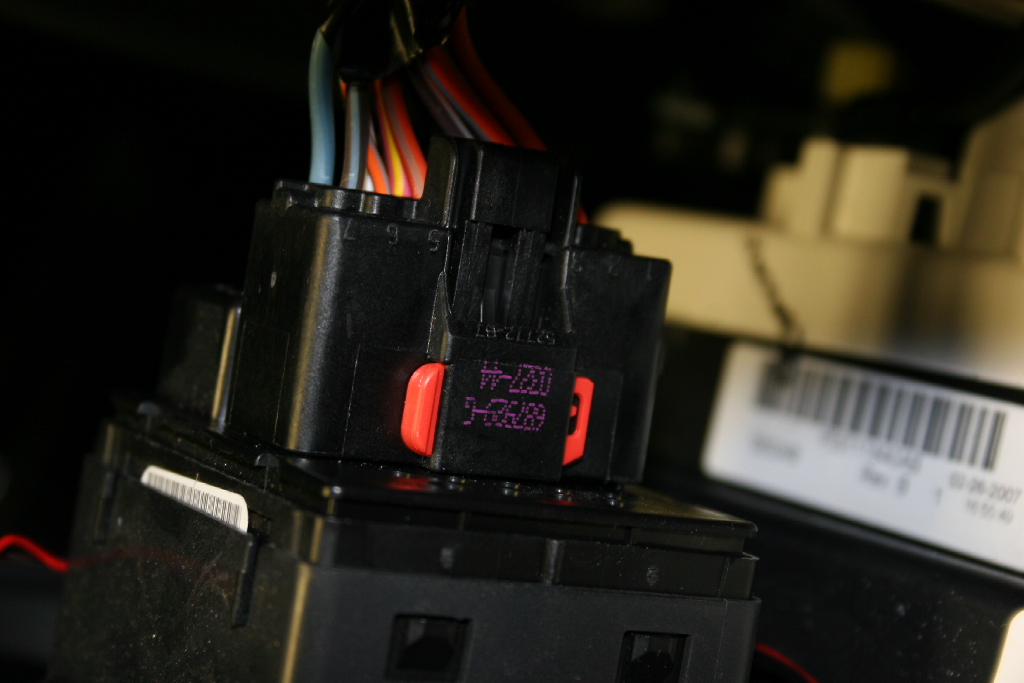
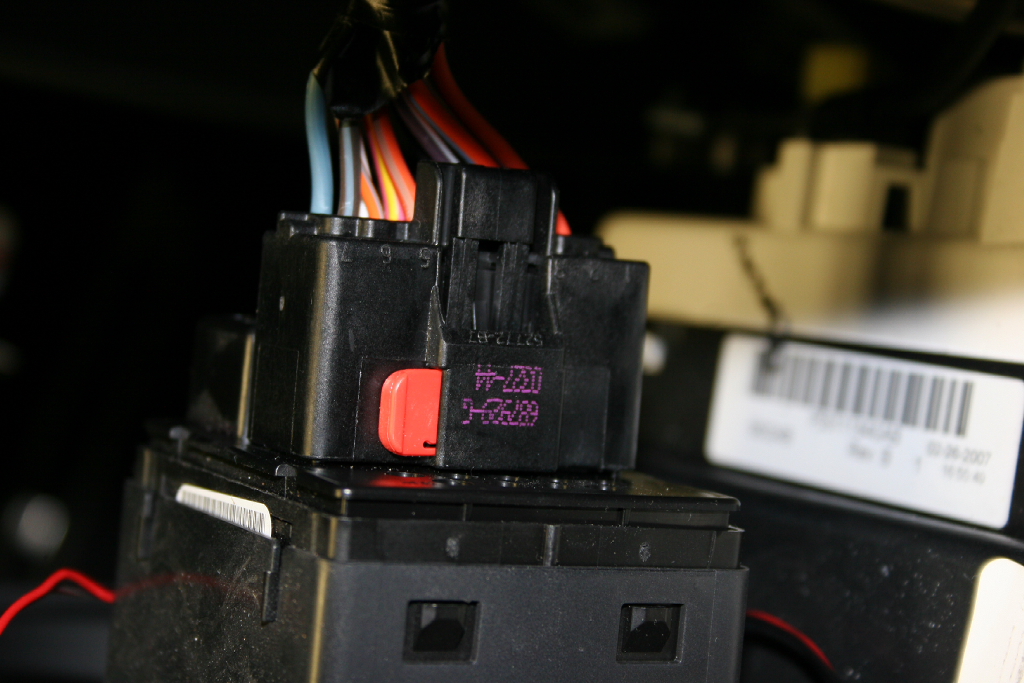
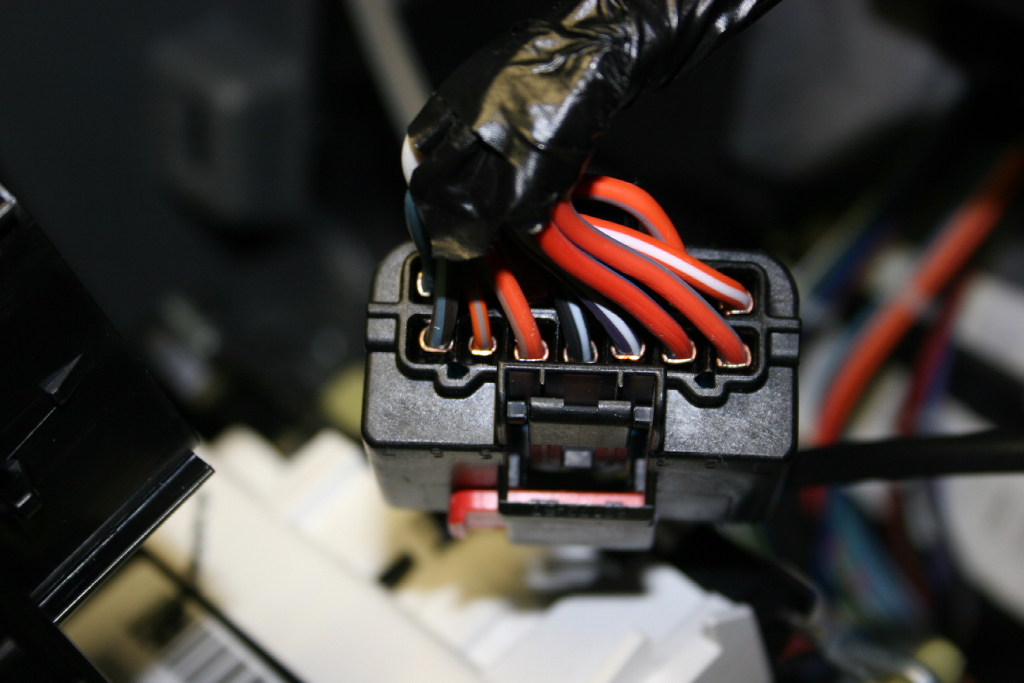
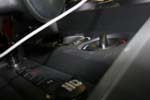
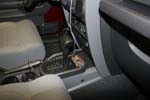
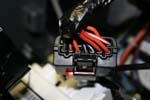
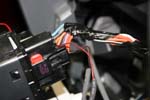
| I have power windows, so I utilized the dimmer circuit for those switches. Pull the red locking tab out, press on the release clip and remove the power window switch connector. This will allow you to turn it and get a better angle to work on it. |
 |
 |
| You will need to figure out what the dimmer wires are on your plug, they may be different. My wires were pin 4 for the black ground wire and pin 6 for the red powered dimmer wire on the side of the plug with the latch. I simply stripped off about 1" of wire, twisted it, folded it over and slid it down along side the connector inside the plug assembly. That way I can simply pull it out in the future if I need to without having any cuts in the factory wiring harness. |
 |
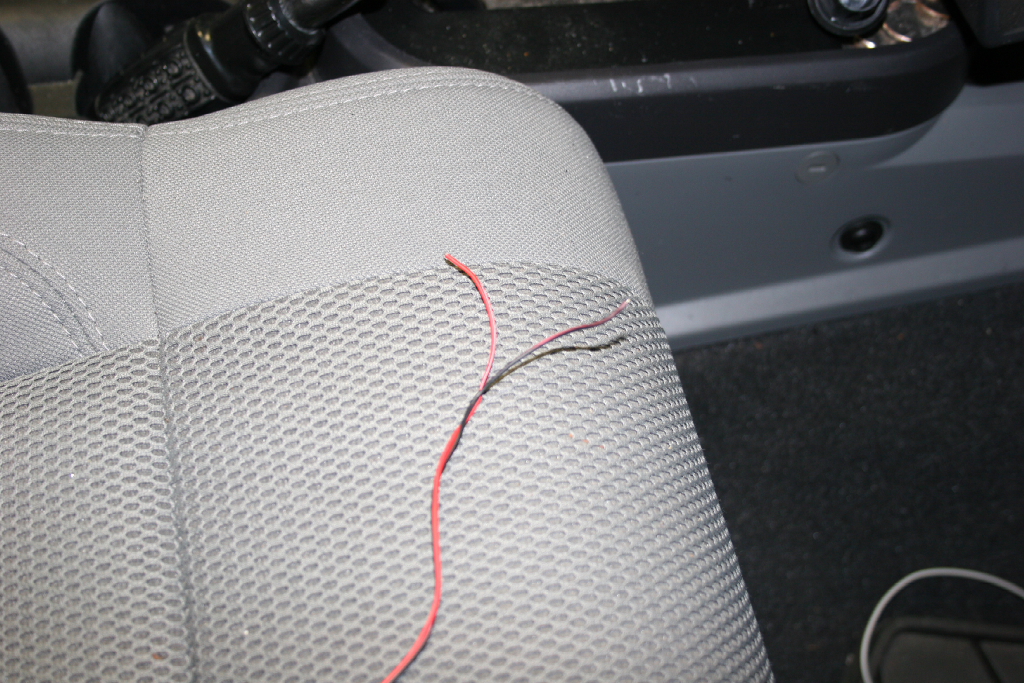
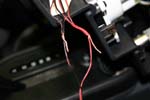
| Route your wires from the LED's to one area and cut them off at an equal length. Remember to leave yourself enough room to work with them and enough extra to strip off about 1" of wire coating. Strip off 1" of wire coating with the wire strippers. |
 |
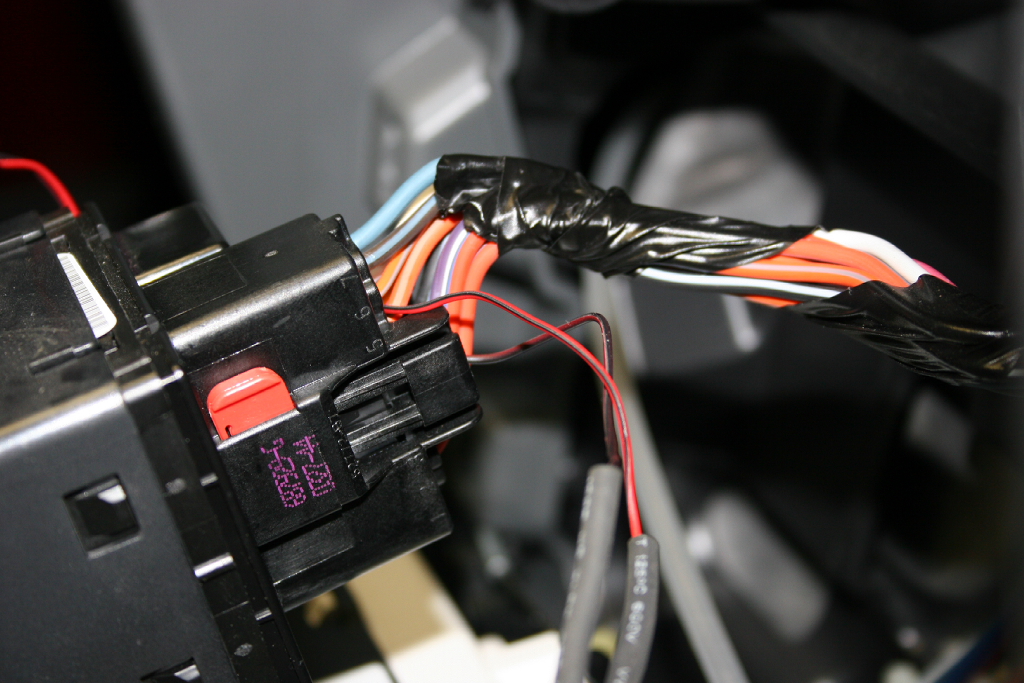
| Take some of the left over wire, split it, and strip off about 1" of wire coating with the wire strippers. Twist the wires together using an audio splice style twist, not the way I have it pictured. |
 |
 |
| Place some heatshrink material over the splice. |
 |
| Reconnect the plug, and push in the red locking tab. |
 |
| Reassemble the dash in reverse order of the disassembly above. |