For many years I have kept my recovery gear in whatever bag I happened to have on hand. The last bag was an old dewalt tool bag that came with some power tools. While these bags worked well they were pretty limited on organization. You basically threw everything into the bag and when you needed something you always had to dig for it to get it out. My old bag was showing it's age and was starting to wear threw in places and tear at the stitching. It was time to replace it with something else.This time I actually decided to spend the money on a bag just for recovery vice what I had laying around on the shelf. I wanted a bag that easily stored all of my recovery gear and allowed it to be easily accessable at the same time. I looked at recovery bags out there and while some were basically the same as what I had, a couple others stood out for thier heavy duty construction, but the ARB bag checked off most of what I was looking for. While it doesn't look as durable as some of the others, it's organization ability is what really mattered the most to me.
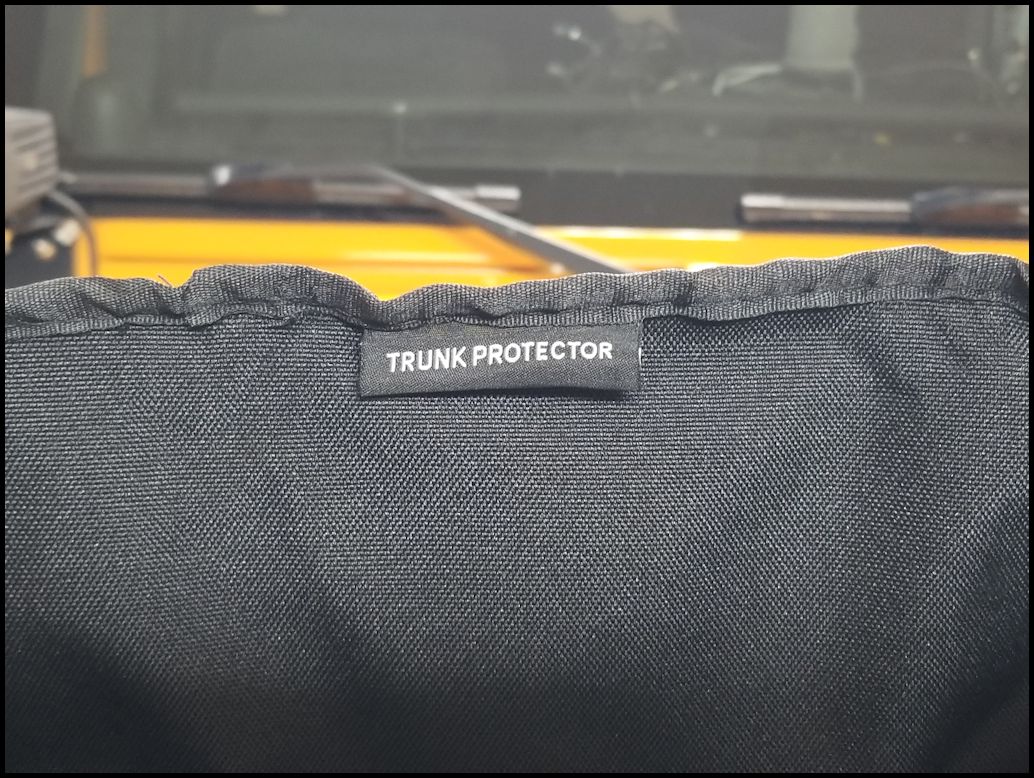
Main pocket insert specially coated for mud and water proofing when storing soiled and wet recovery gear. Main pocket is removable for easy cleaning.
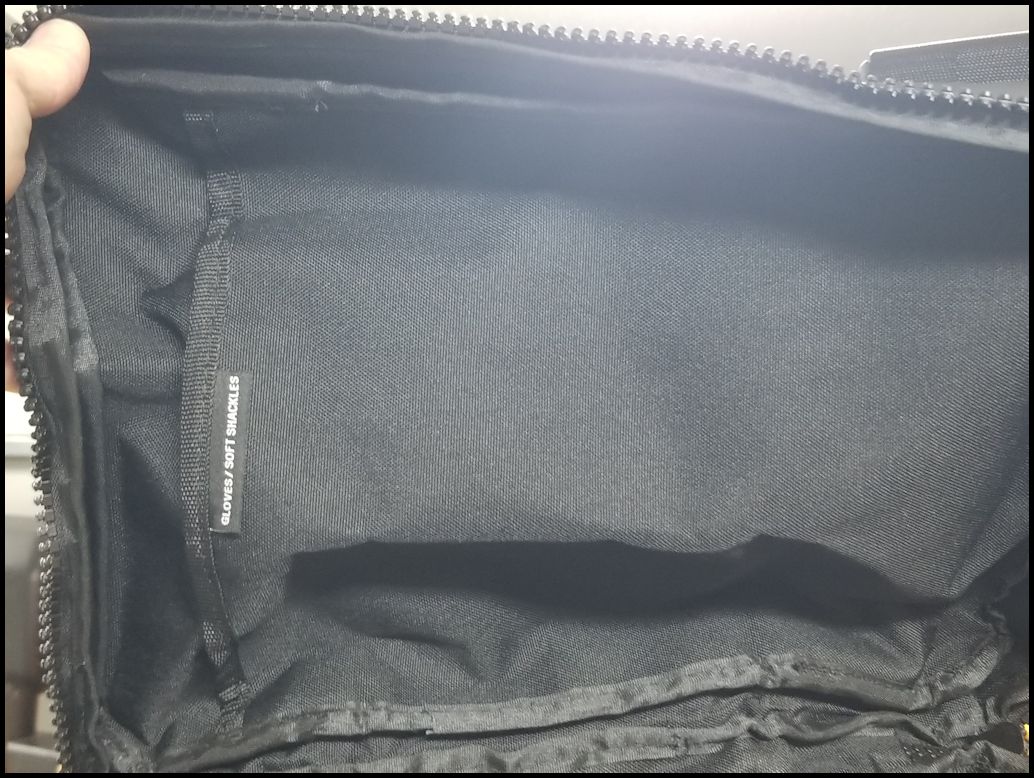
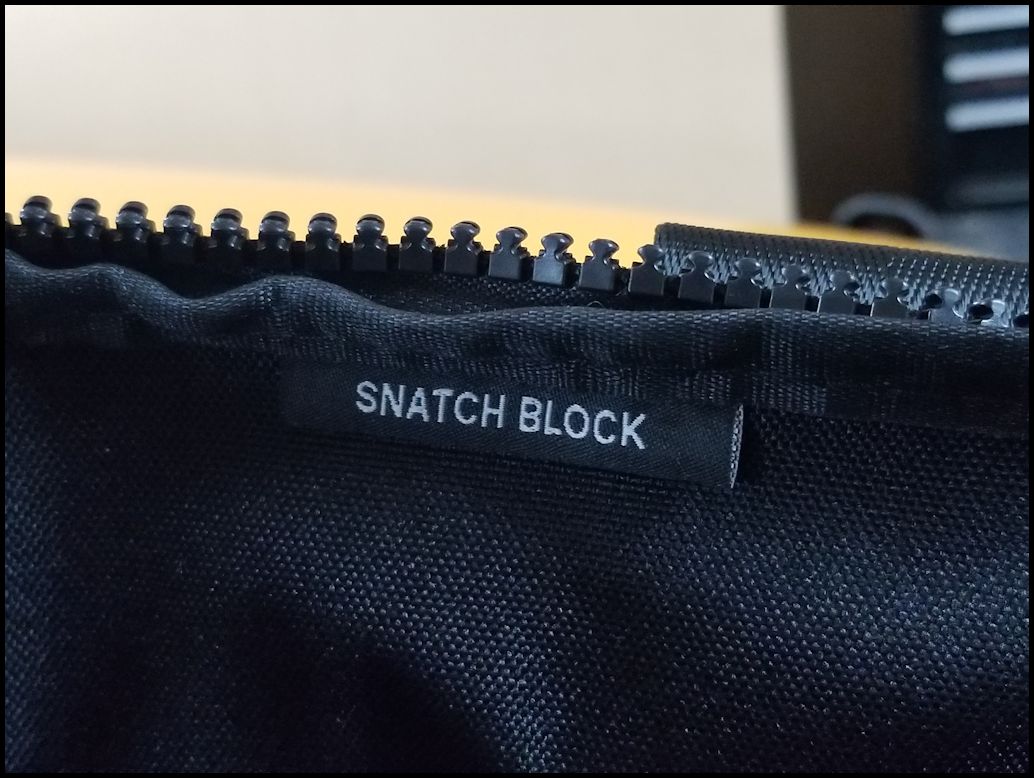
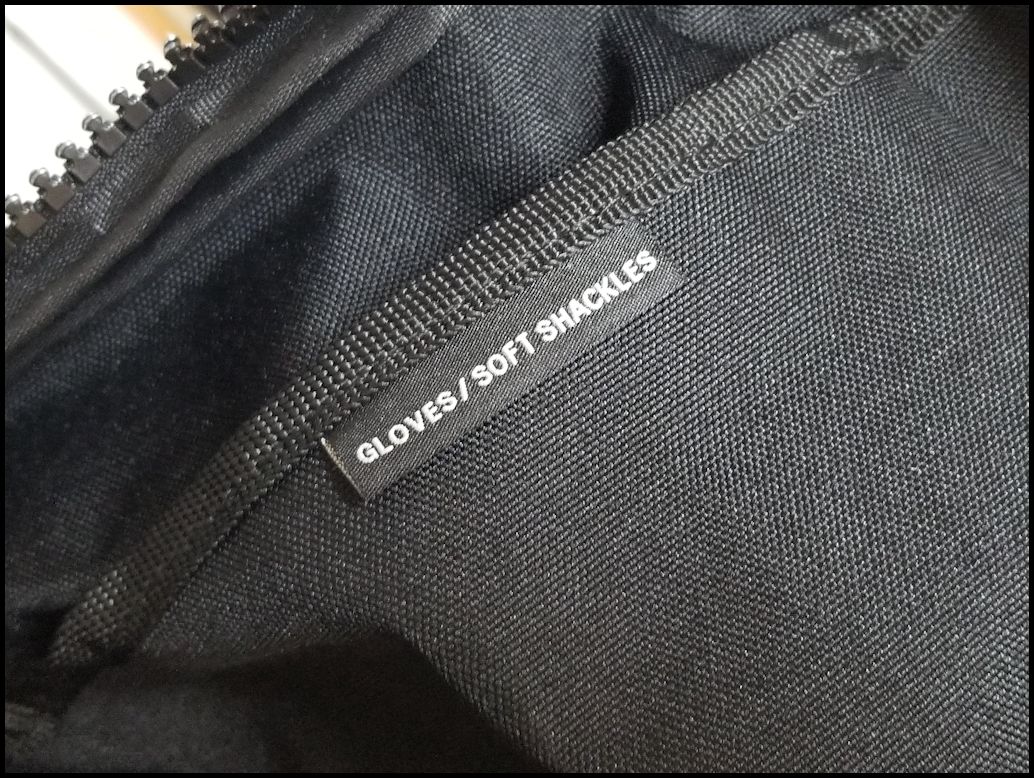
Padded Shoulder strap for comfort and easy carrying., lockable cargo flaps to ensure recovery gear stays in place when the going gets tough. 2 side pockets for bow shackles and gloves
Reflective tape trim for night time recovery and general safety.
Heavy duty 100% cotton canvas, rated (30kg) 'sure grip' buckles.
High twist webbing straps sewn through to base construction for maximum strength
Additional
Parts:
Tools
Needed:
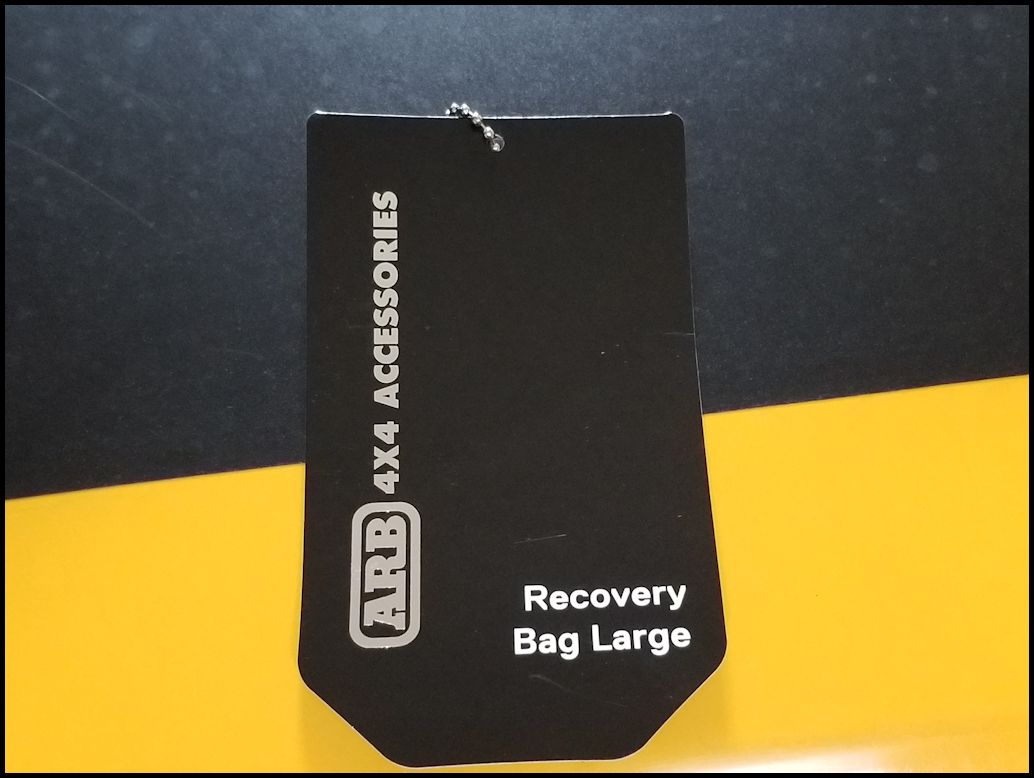
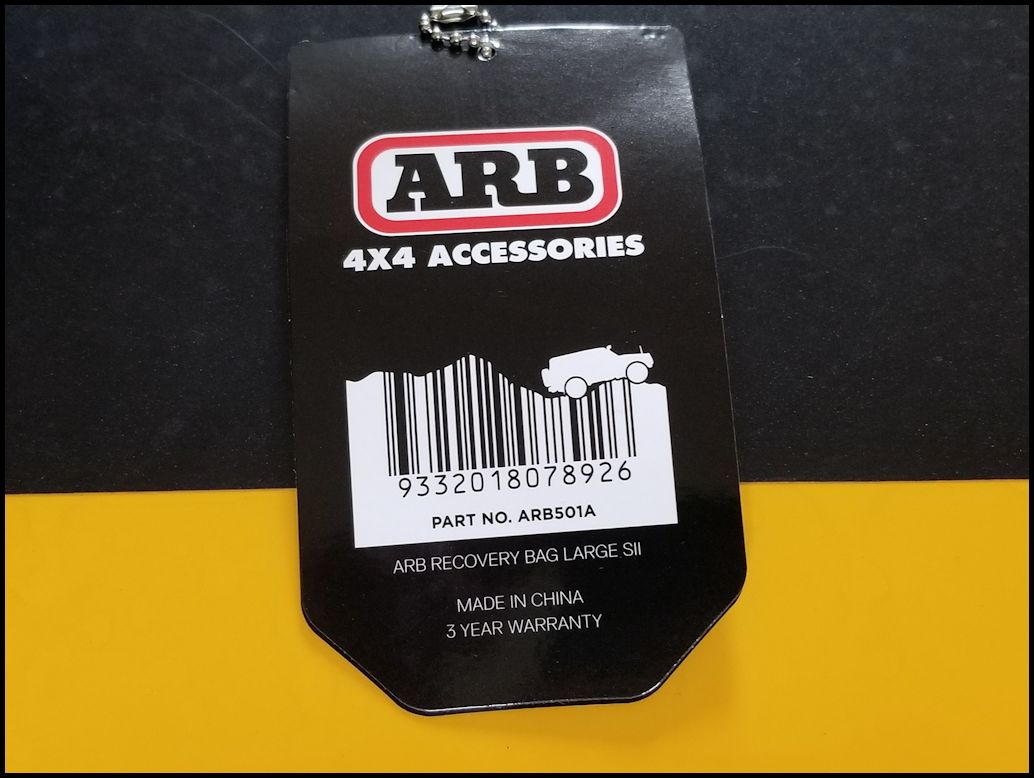
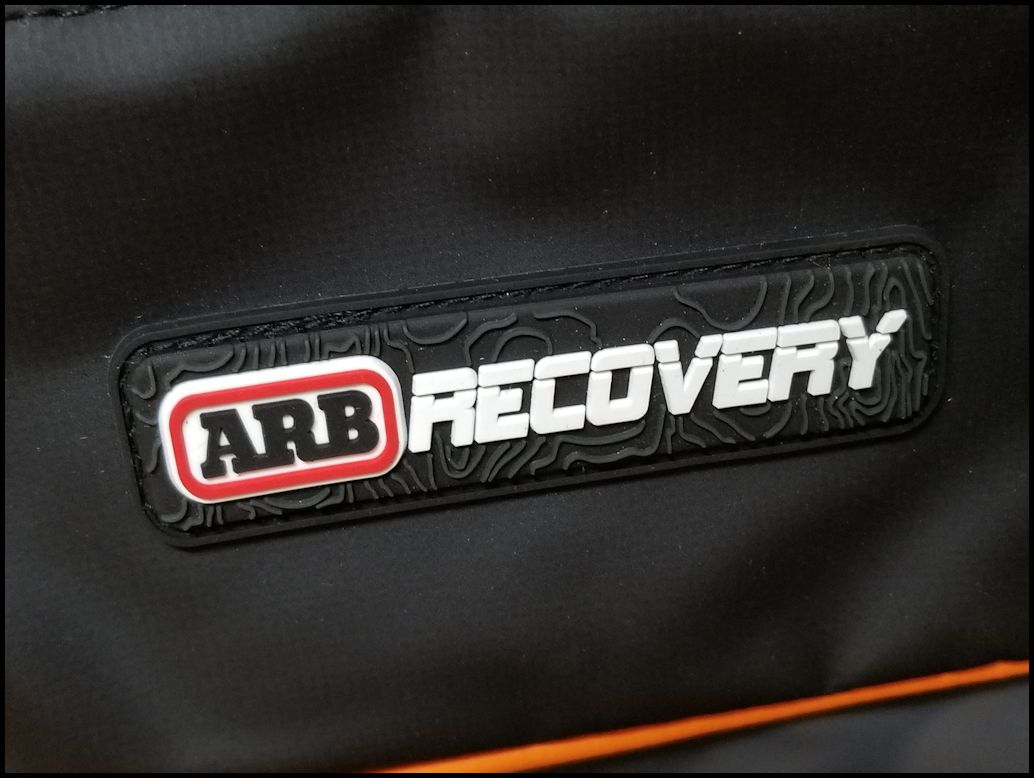
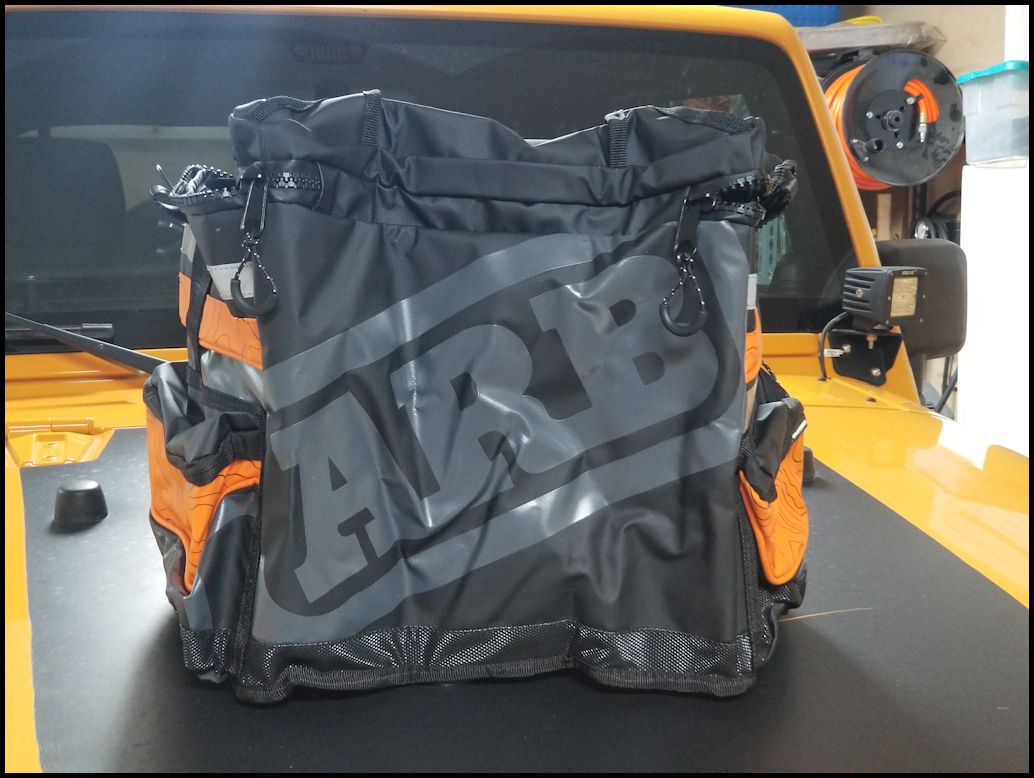
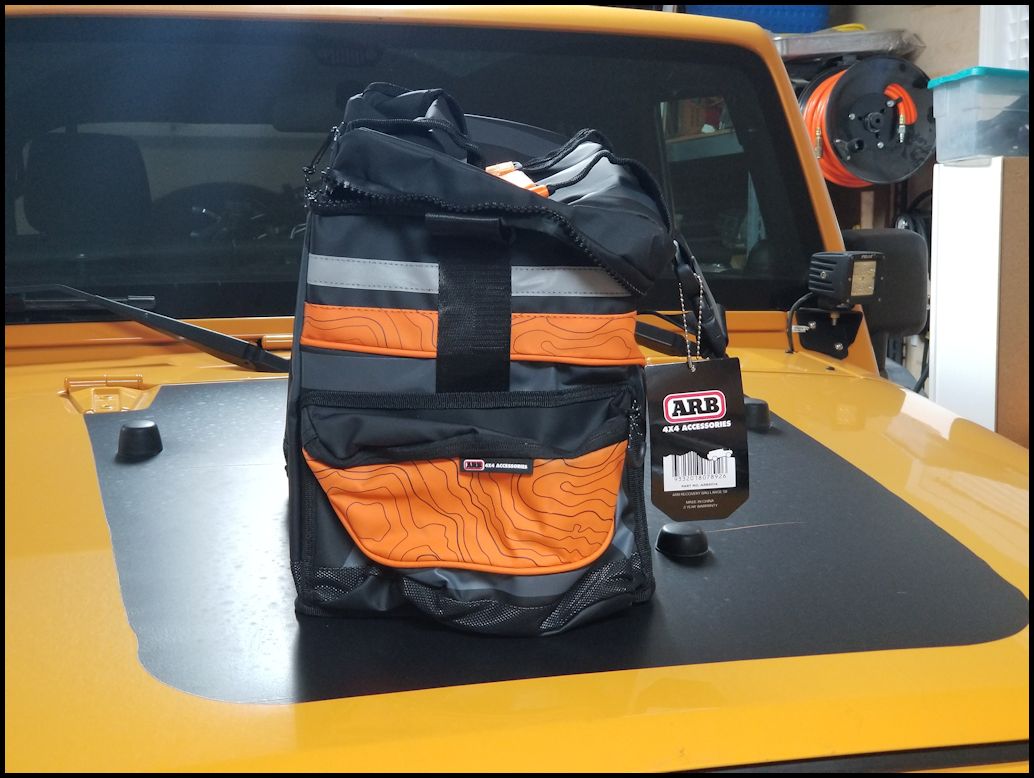
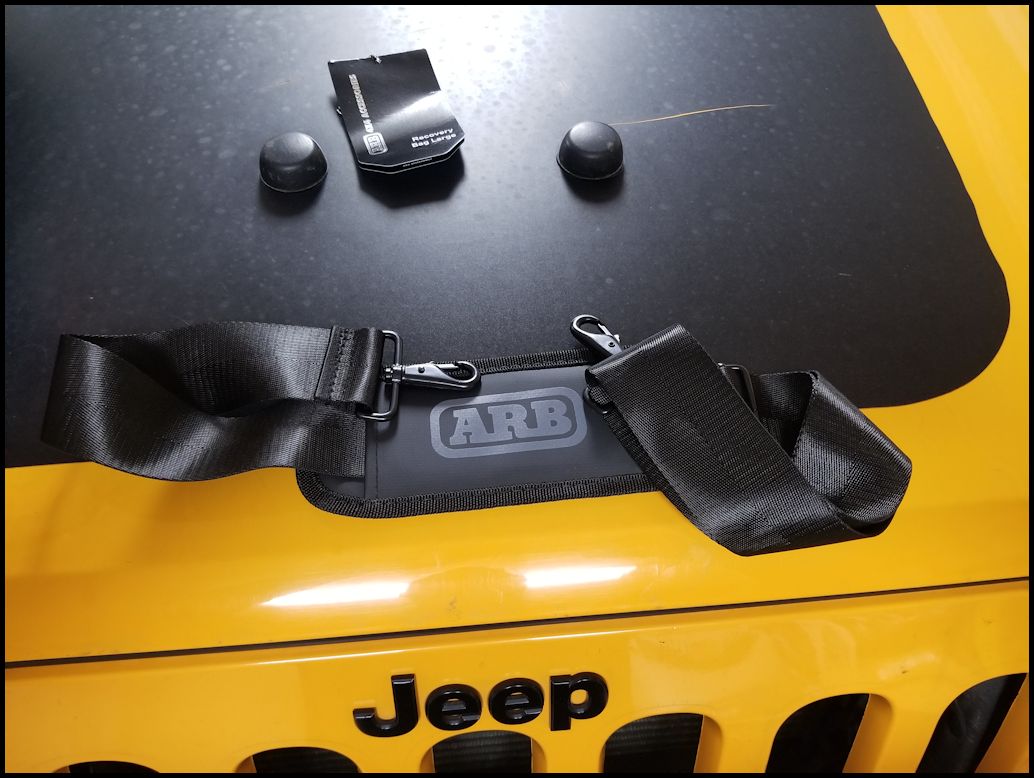
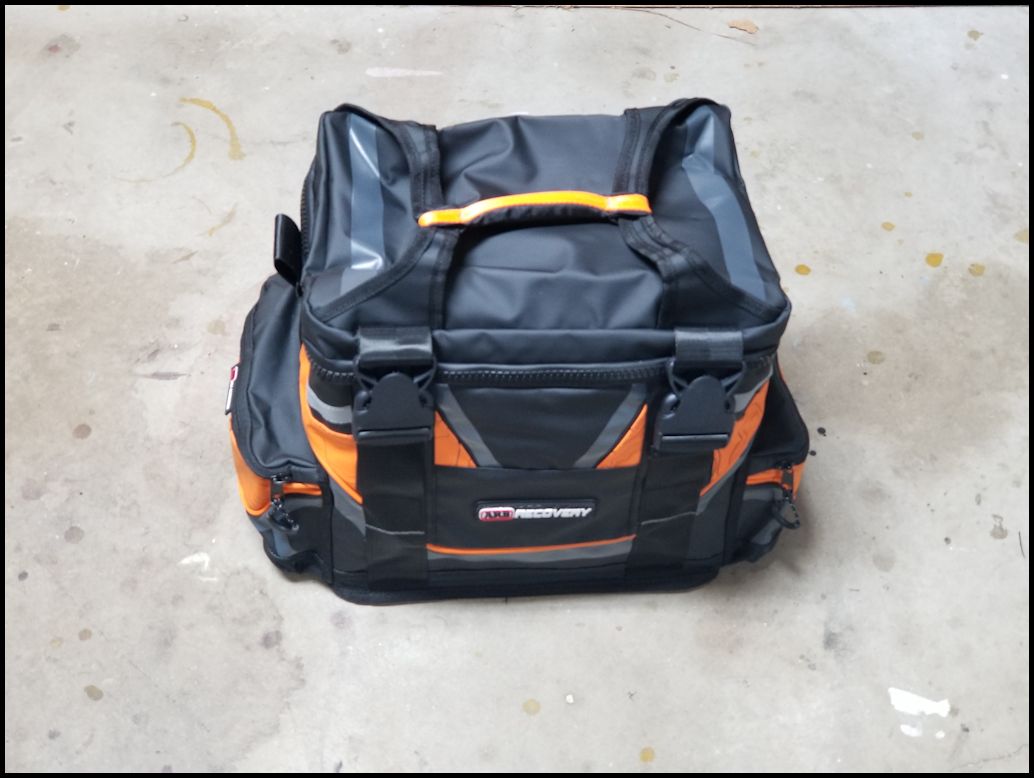
The tag was cool. It even featured a vehicle on a mountain range as part of its upc code. A rubberized ARB Recovery logo is stitched into the front of the bag.
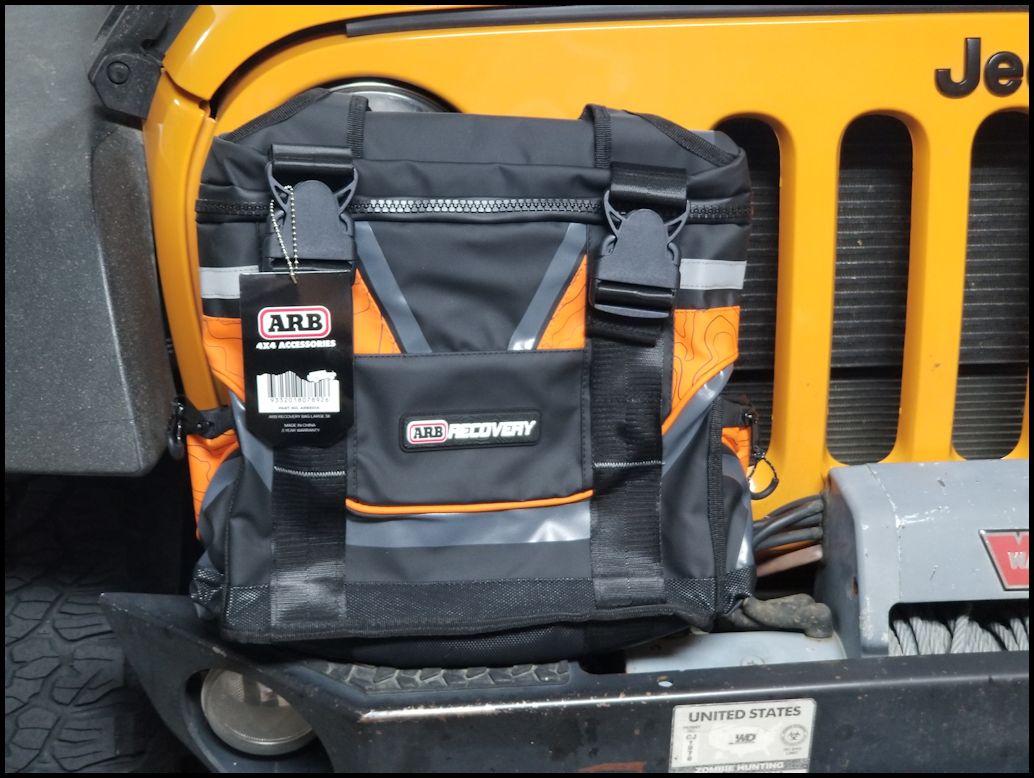
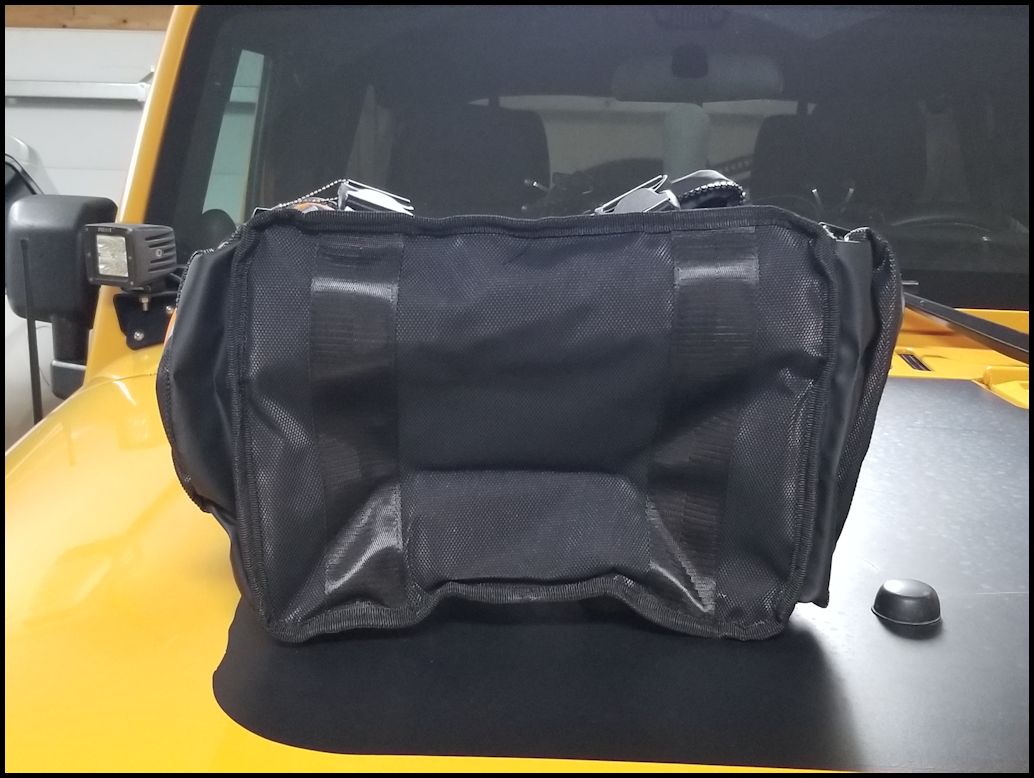
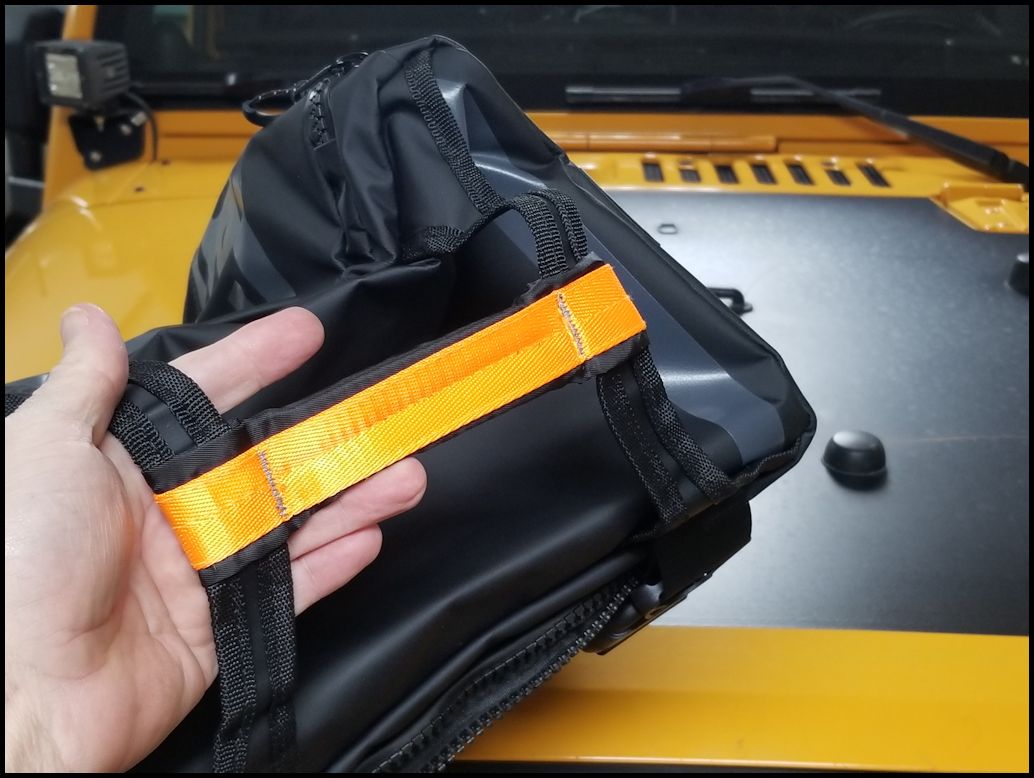
This is their large bag, so as you can see it's a pretty good size compared to the JK's grill. It does have a big ARB logo on the back.
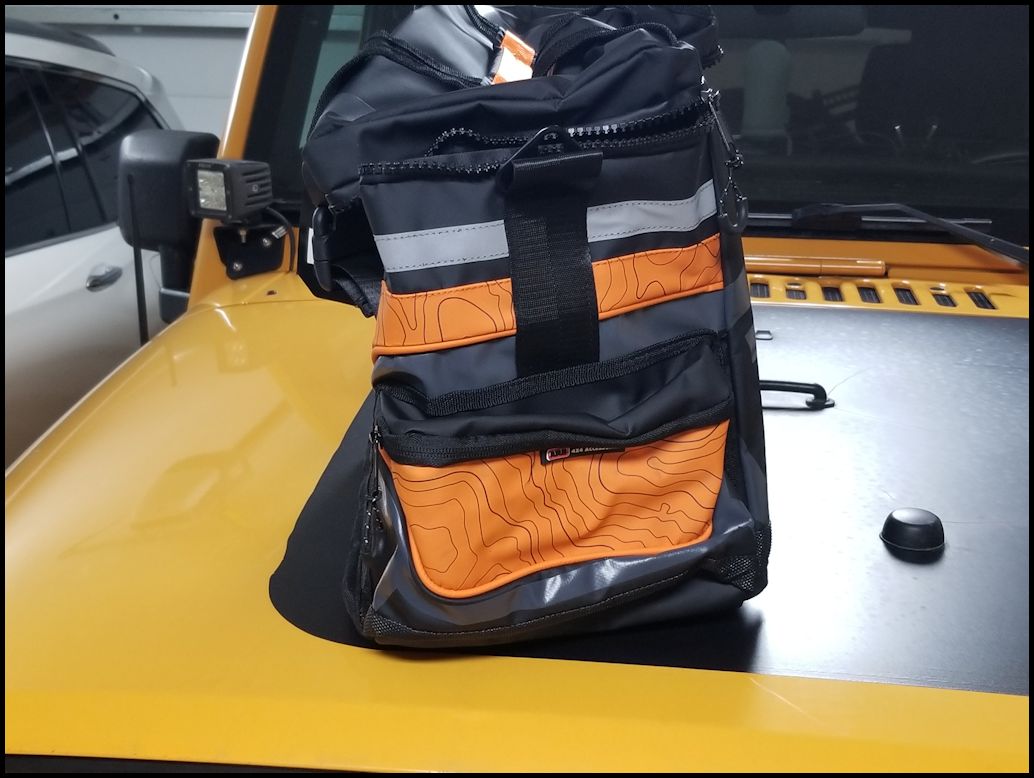
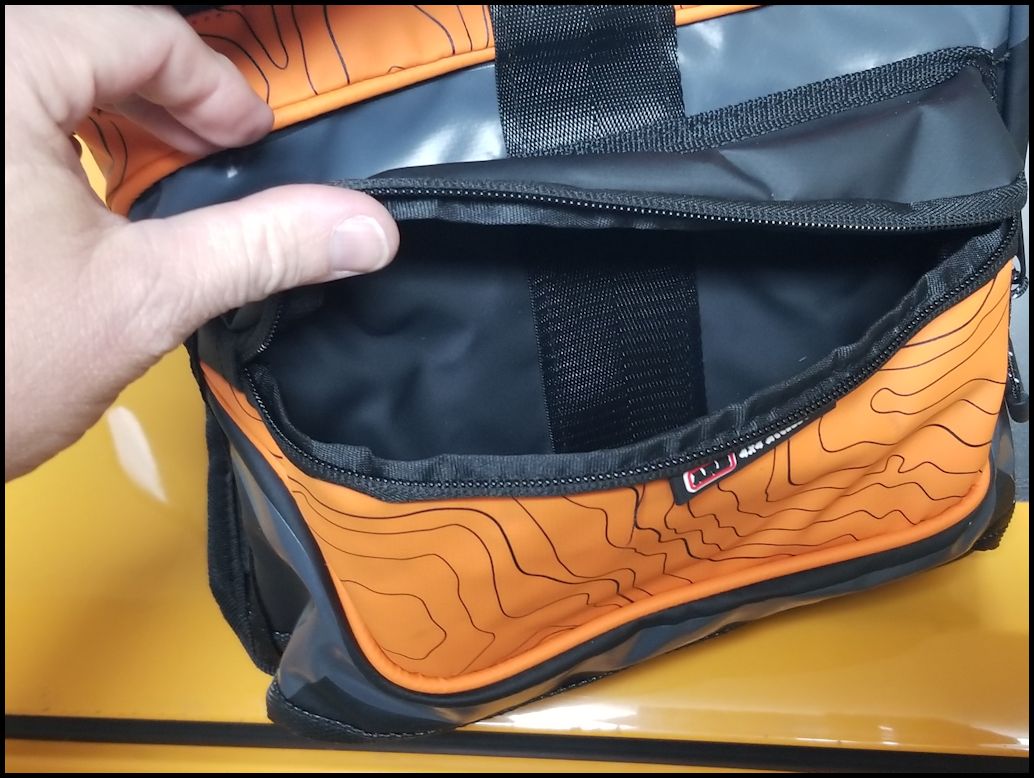
Pockets on both sides to store shackles and an assortment of whatever will fit in them. A nice heavy duty zipper keeps stuff in place. You can also see the silver reflective tape trim at the top of the bag.
The bottom is heavy duty canvas without any feet sewn into it. I would have liked to see some square rubber pads sewn in for a little extra protection, but the webbing for the buckles does go down and across the bottom of the bag.
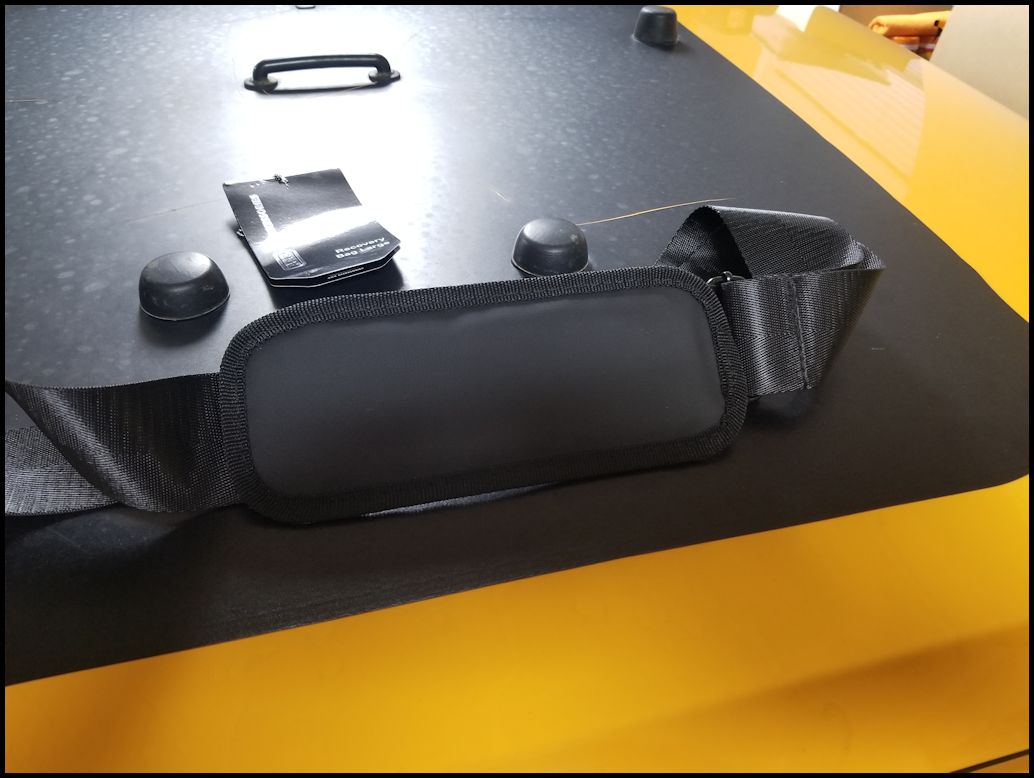
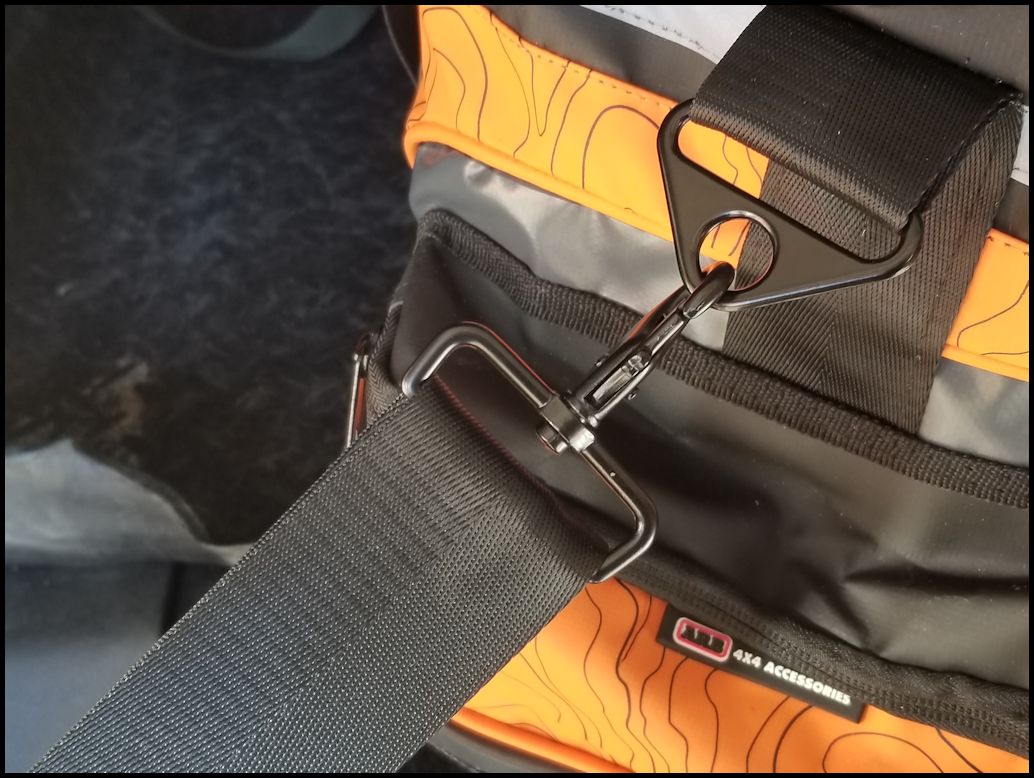
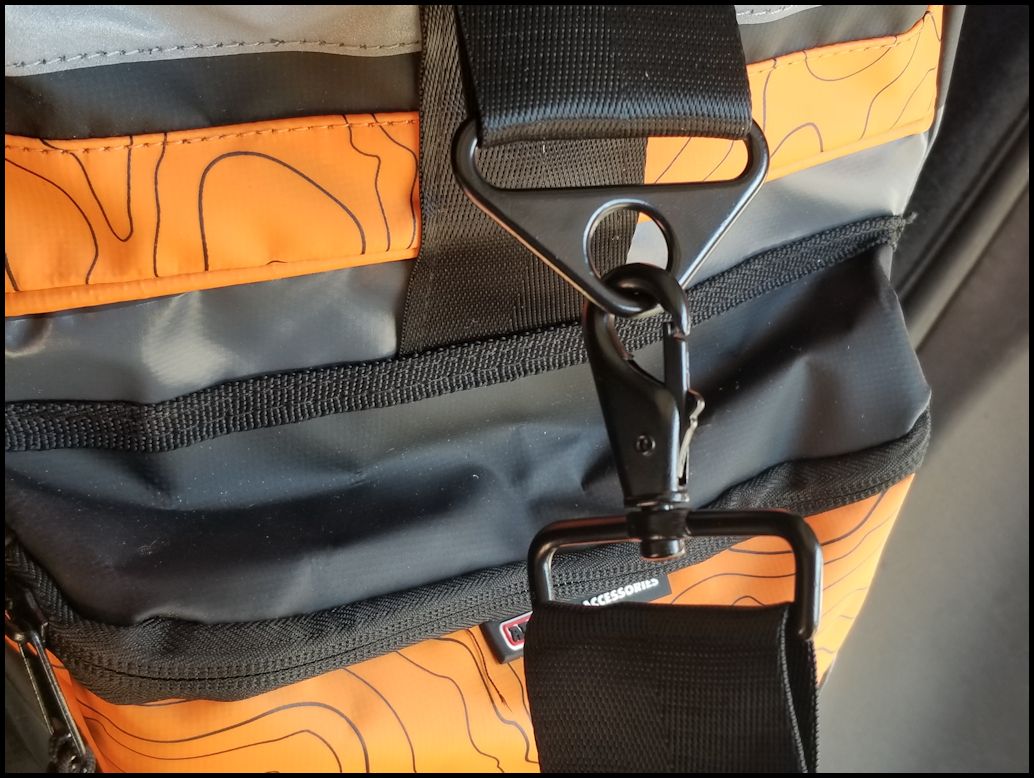
The shoulder strap if heavy duty and clips onto the metal eyelets on the bag with metal clips. The heavy padded shoulder pad is nice since the bag can get pretty heavy when you load it up with shackles, a snatch block and other items.
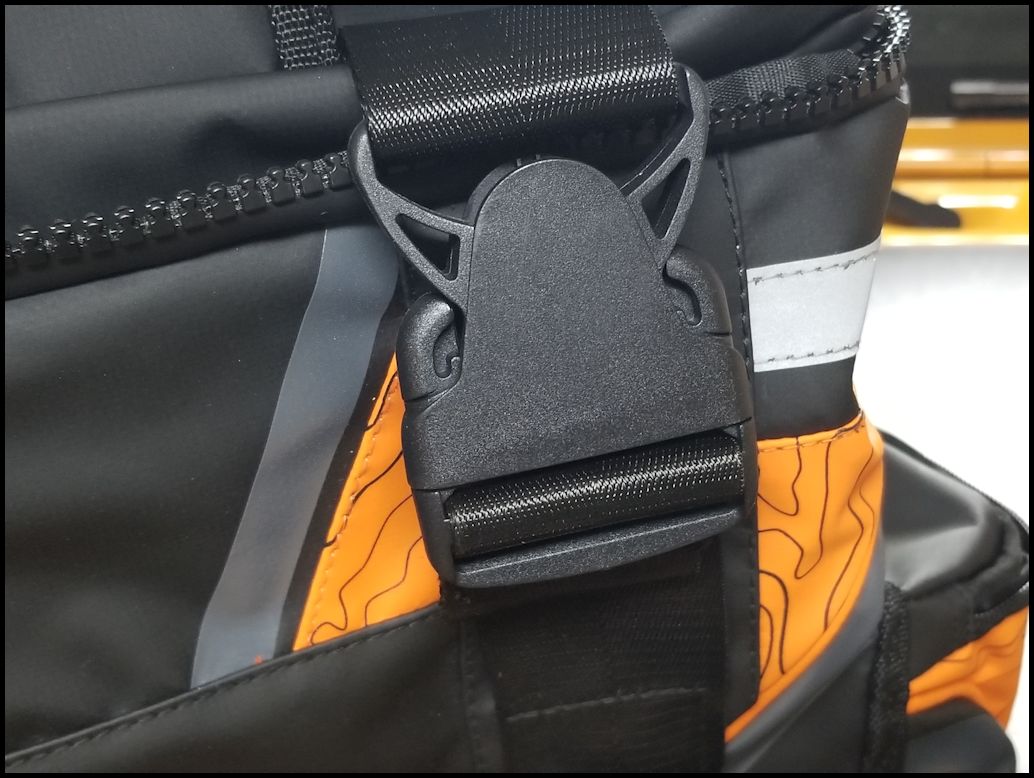
The handle is attached to the top of the bag. There are two heavy duty buckles on the front of the bag. The purpose of these buckles is to take the strain off of the zipper when you lift the bag up. You wouldn't want to count on just the zipper teeth holding all the weight that you just put inside the bag. I would bet that a d-ring of snatch block would hurt if it came flying out of the bag suddenly.
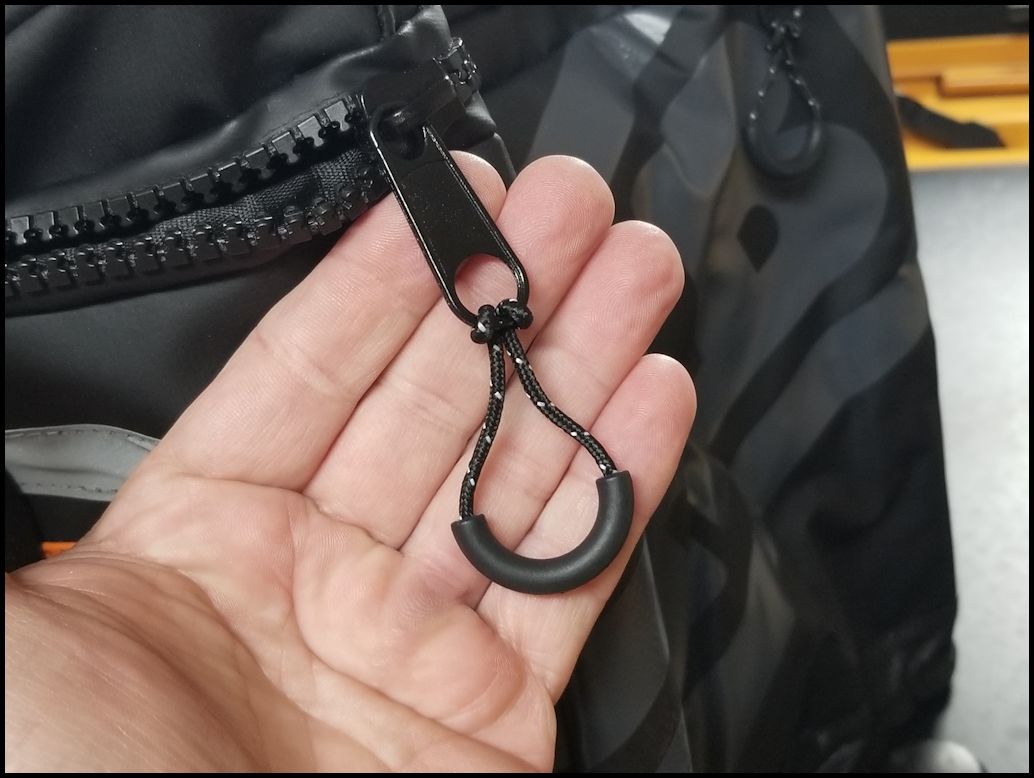
The zippers have an extra pull tab attached to them. The pull tabs have a piece of rubber on them that makes them the perfect shape to stick you finger in them and get a good pull to open the zipper. This is a little extra attention for when your trying to get things open in the cold or if your wearing gloves. The little zippers can be a pain to get a good grip on them when you have gloves on.
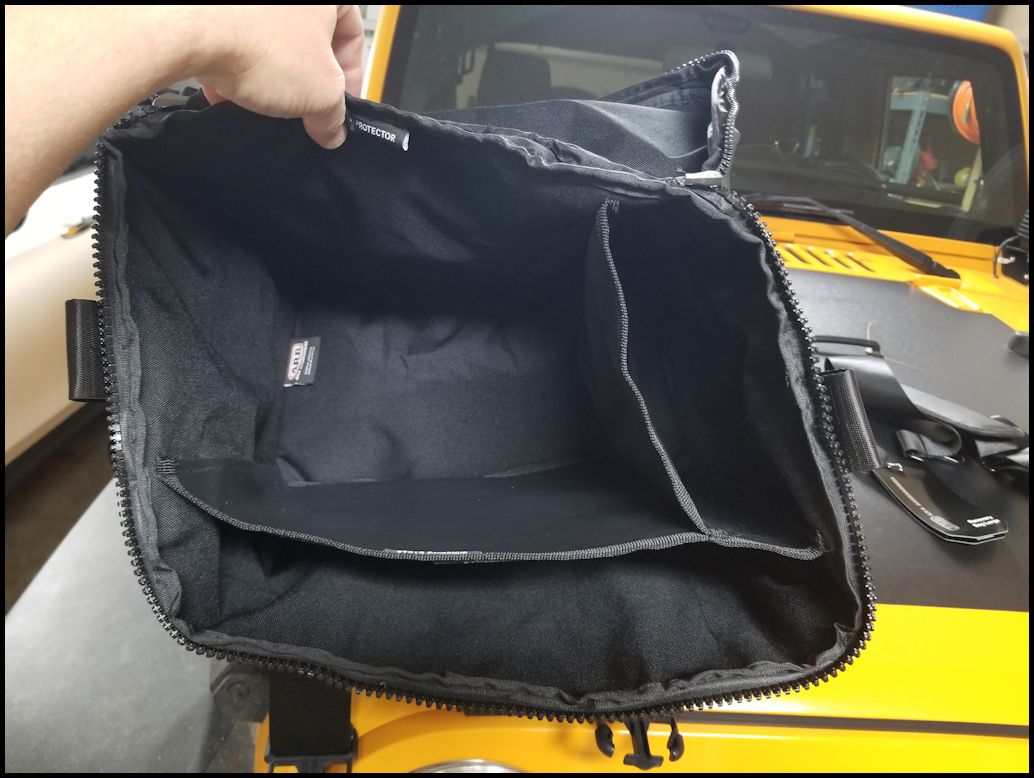
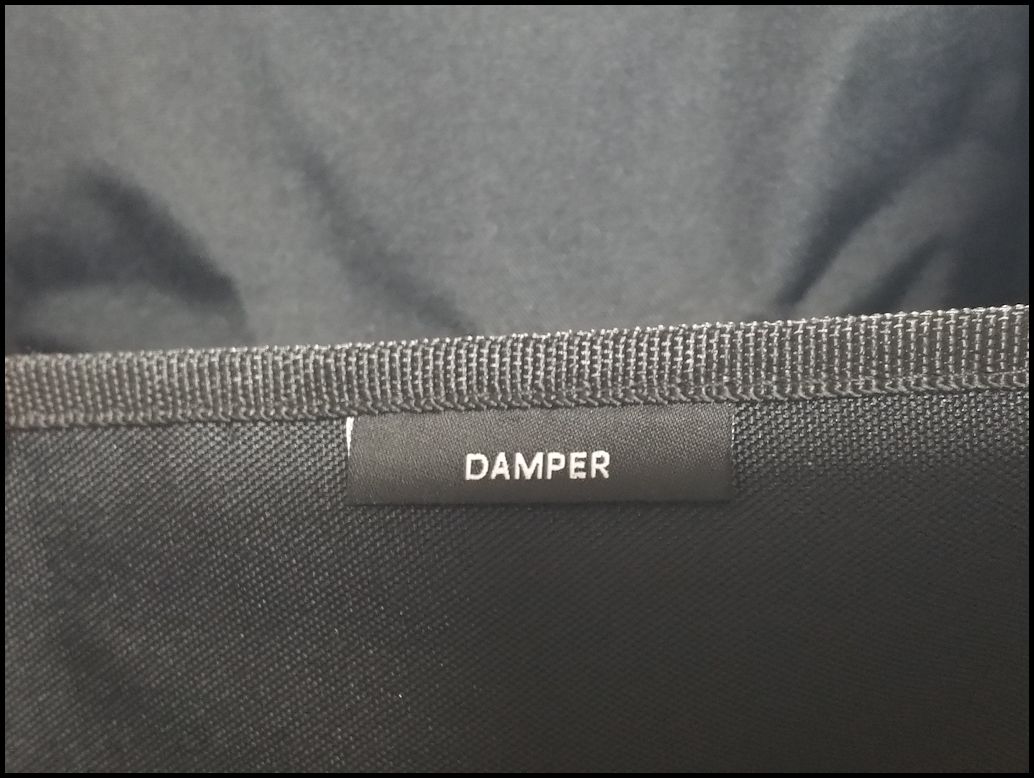
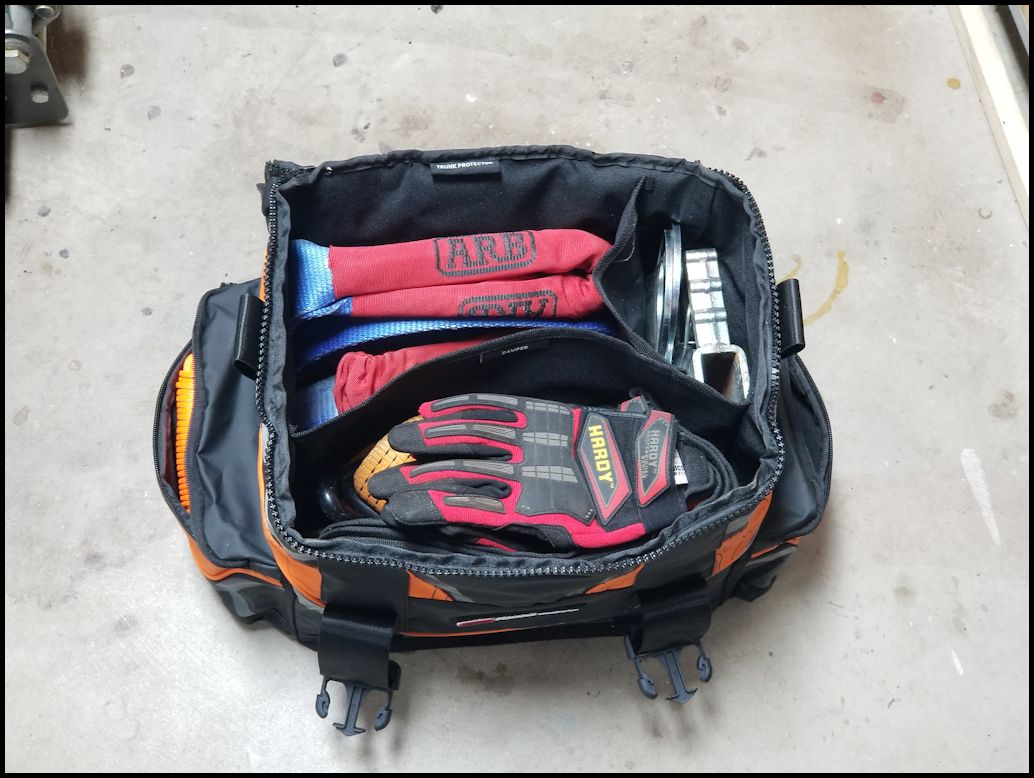
Inside the bag are plenty of dividers and slots to put your recovery gear like ropes, snatch blocks, winch rope damper, gloves, tree savers and tow ropes. There is still enough room to throw a kenitic rope on top and zip it closed.
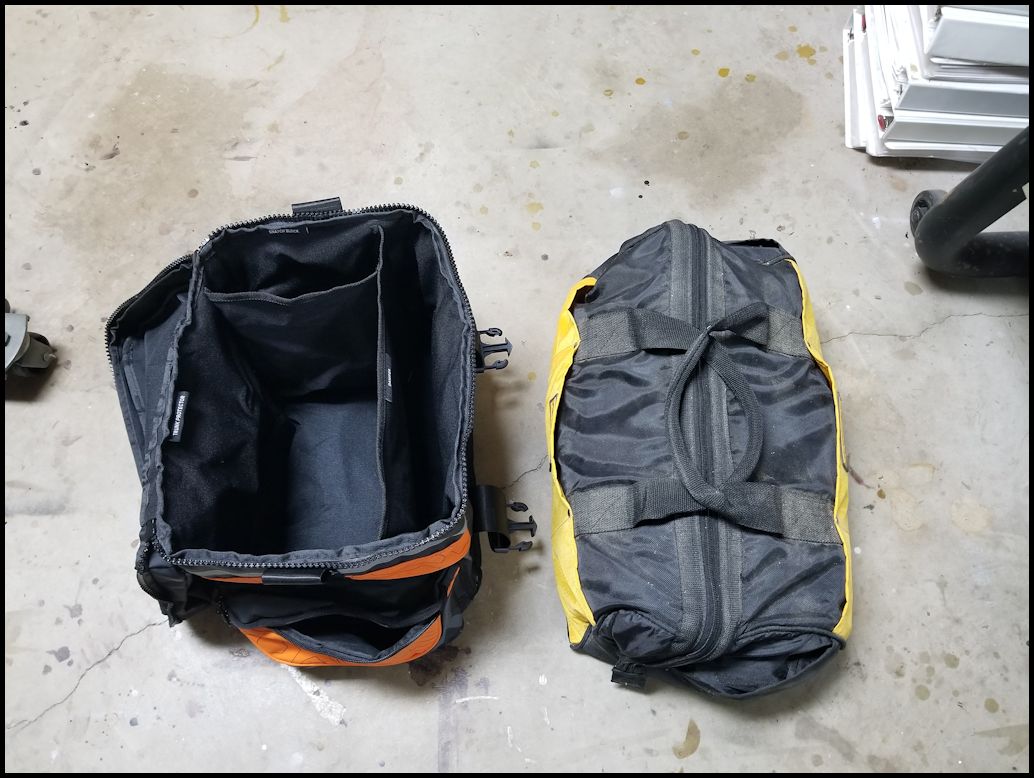
The new ARB bag compared to my old Dewalt tool bag.
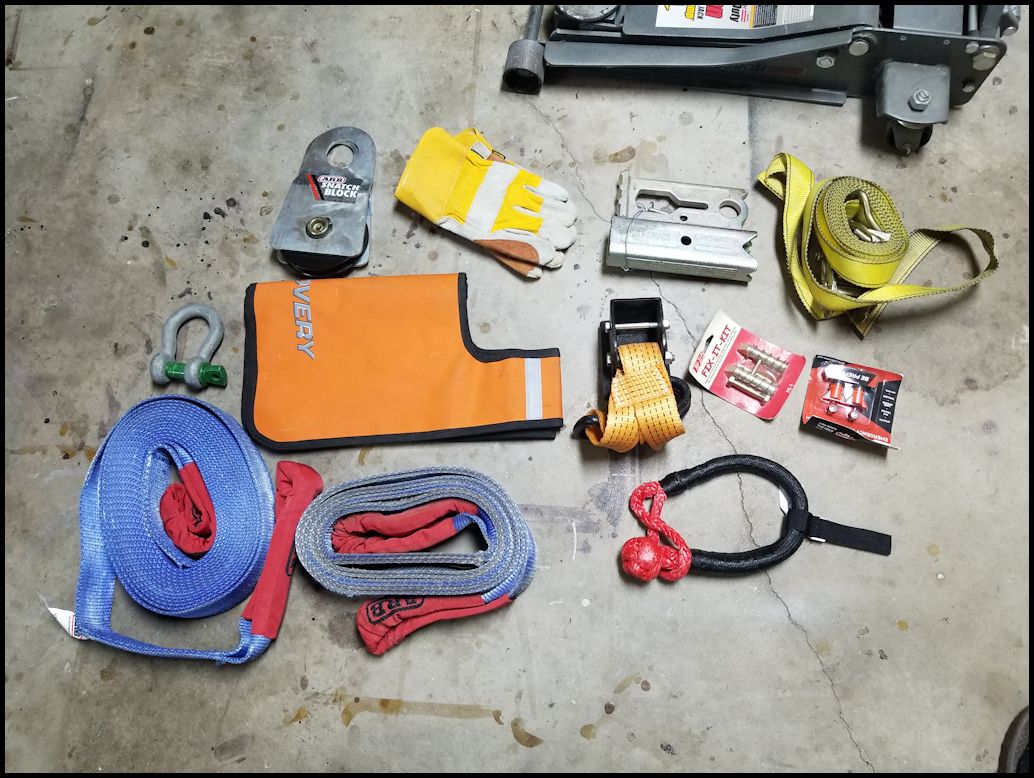
This is everything except my kenetic rope that I put in my new bag. This included a few parts for my HiLift Jack for recovery or rescue operations. Note: The floor jack doesn't fit in the bag and isn't included as part of my gear.