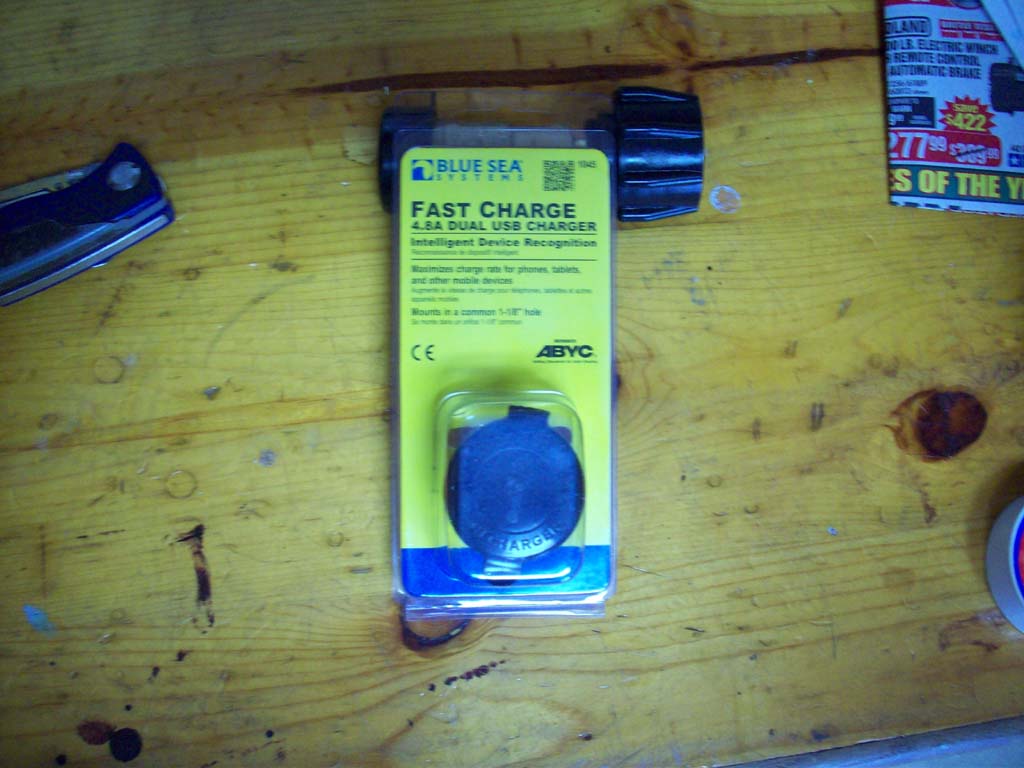
Yes I know I have a few USB power outlets in the Jeep, but they are woefully underpowered to run and charge items like the new phones, tablets and other accessories that I mount in the Jeep on a daily basis. I have run chargers that plug into the power inverter and the other power outlets (cigar lighters), but I was tired of them popping out, coming loose, cords hanging all over the place and forgetting to turn the power inverter back on after getting out of the Jeep. So I needed a different way to plug in the items I use daily and leave those other options to the once in a while items. I needed a plug to power my Phone and tablet. Typically they would drain down using most of the options that I had available while in constant use through the day. I went looking in the marine world for a intelligent USB power outlet to match up with my phone and tablet. The old "I need more power" requirement. I picked up a Blue Sea Systems Fast Charge 4.8A Dual USB Charger from the local marine store. It had a few nice features including reduced electronic interference, over temperature protection, designed for the harsh marine environment, and a protective cap to keep the debris out (if you remember to shut it).
Maximum Output Current - 4.8A DC(total)
Input Voltage - 9V-32V DC
Output Voltage - 5V DC +/-5%
Parasitic Current Draw - 1mA
Thermal Overload Protection - Yes
Short Circuit Protection - Yes
Reverse Polarity Protection - Yes
USB - 2.0, Type A
Cutout Dimension - 1 1/8" (29mm)
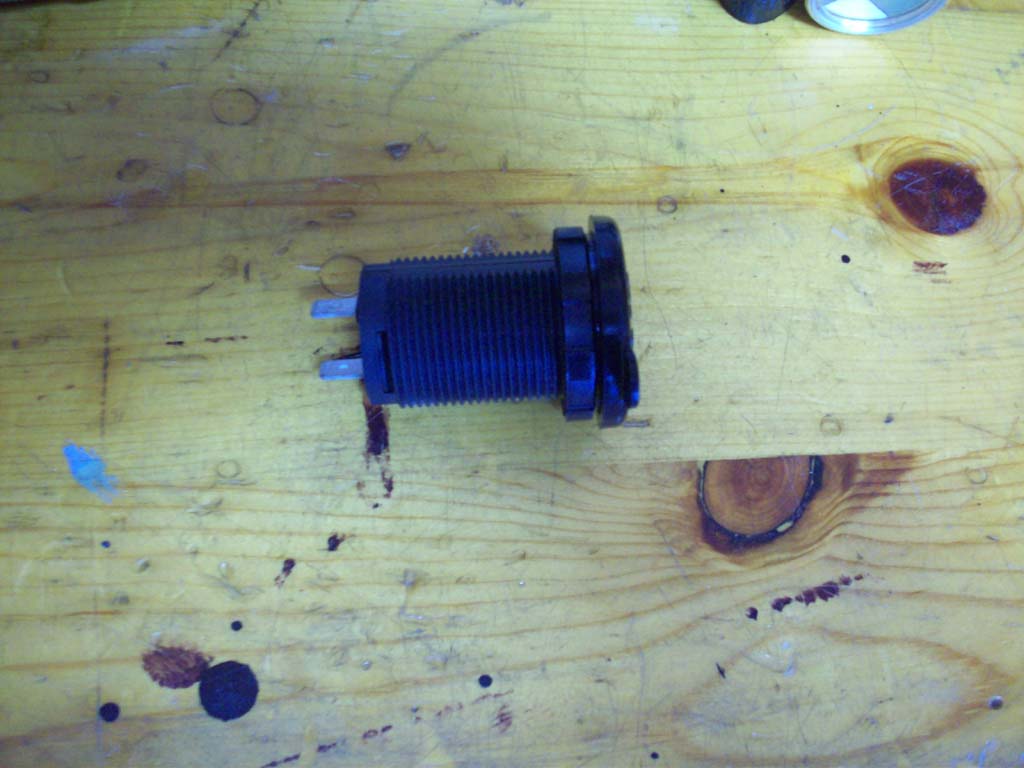
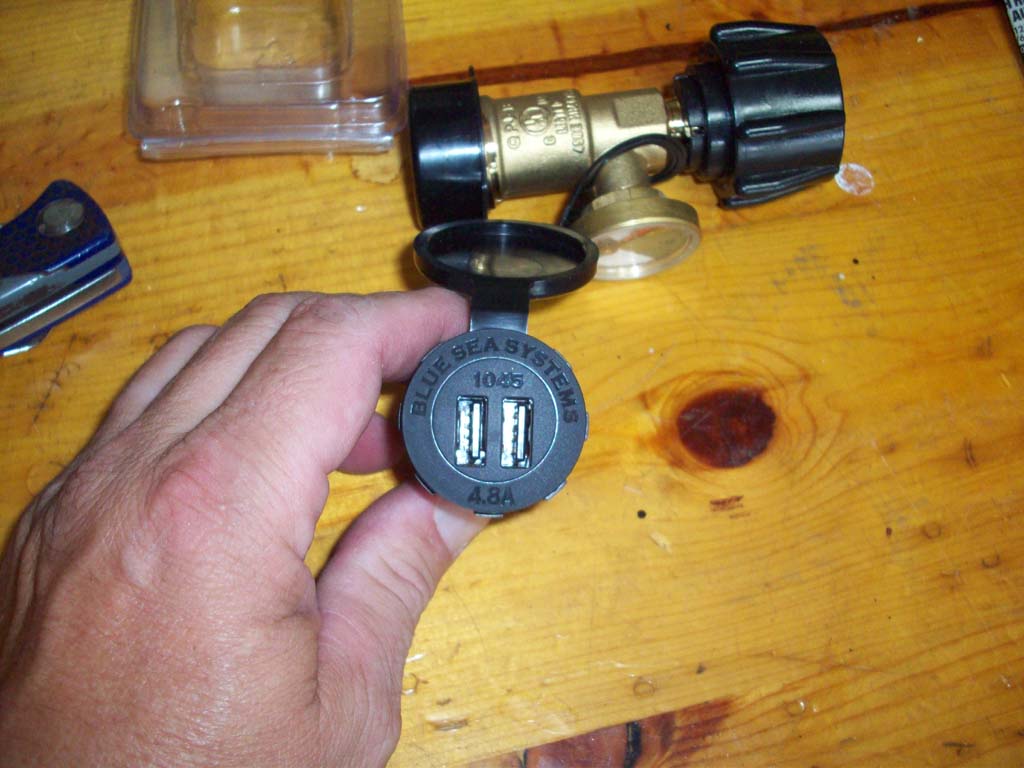
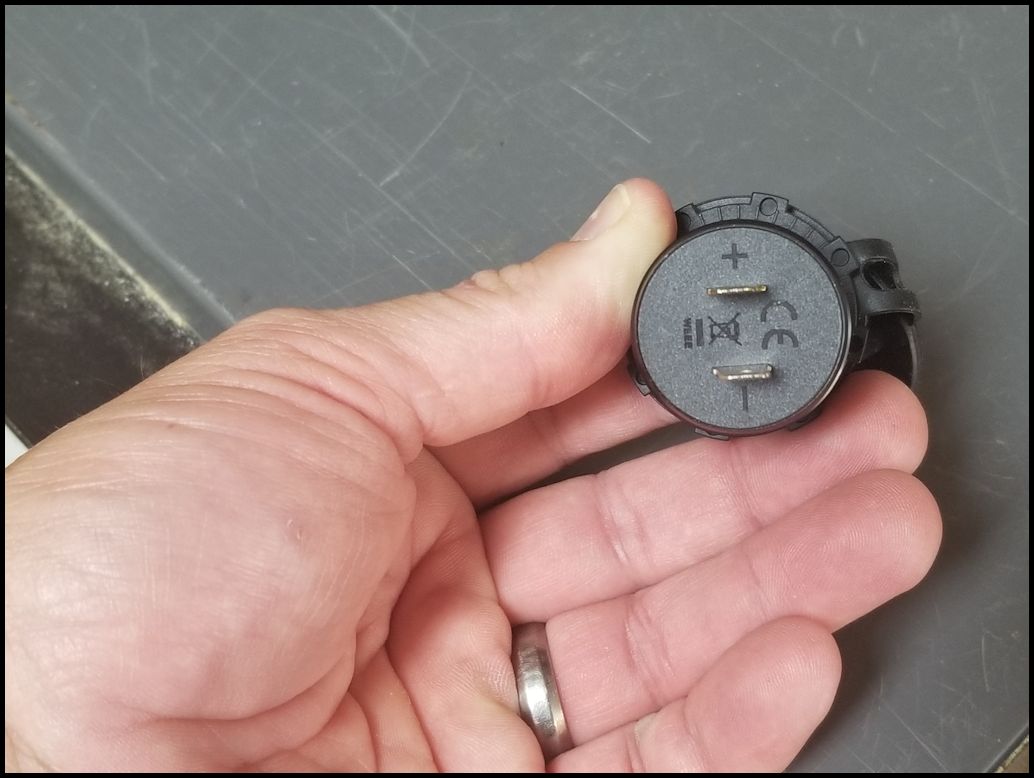
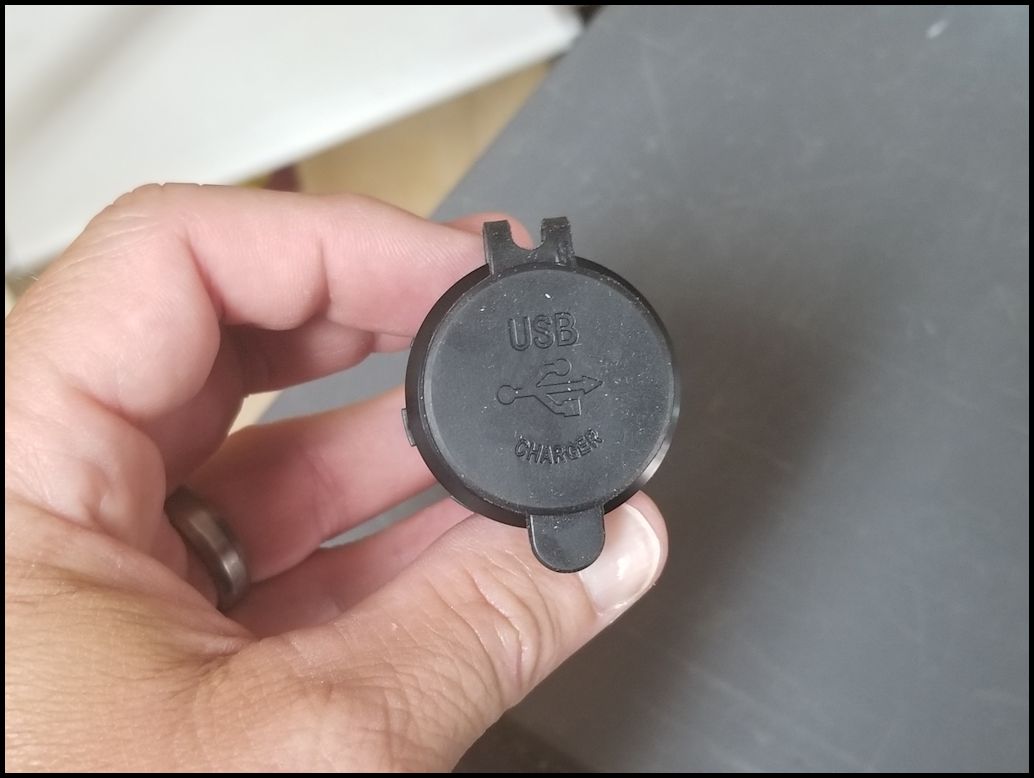
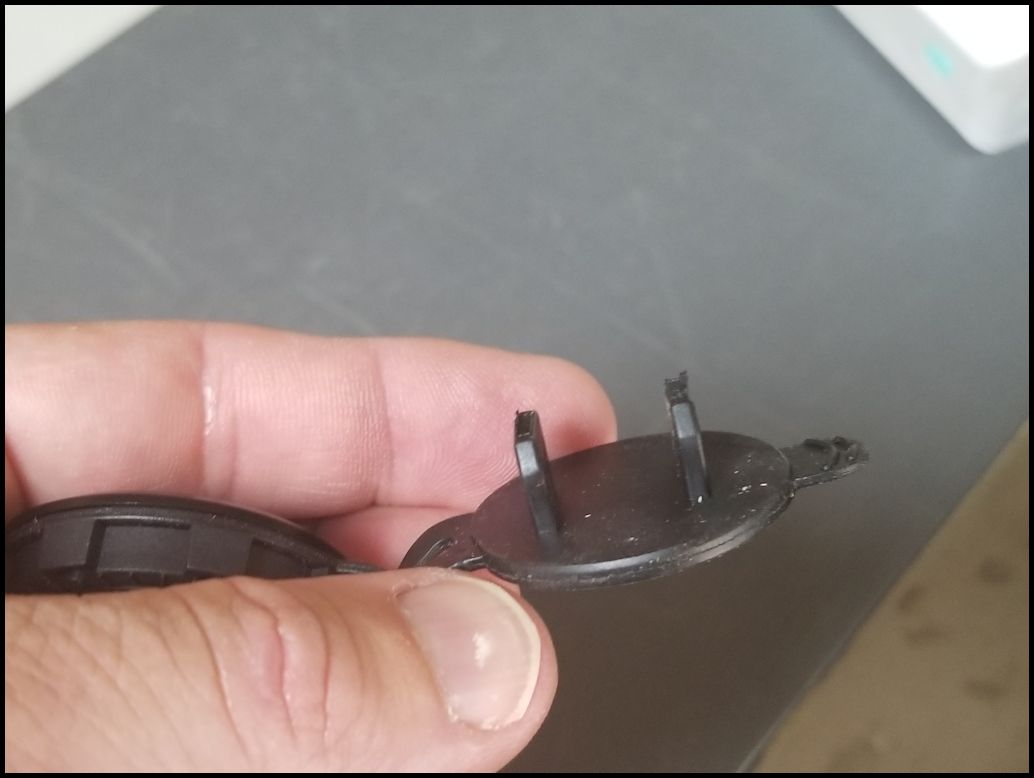
Looks just like your typical marine grade plug. Nice plastic housing, cover and the prongs on the bottom are labeled so you don't screw it up and have to take the dash apart again. I hooked a 9v battery up to it as an experiment and could get a decent charge going out of the outlet.
Installation:
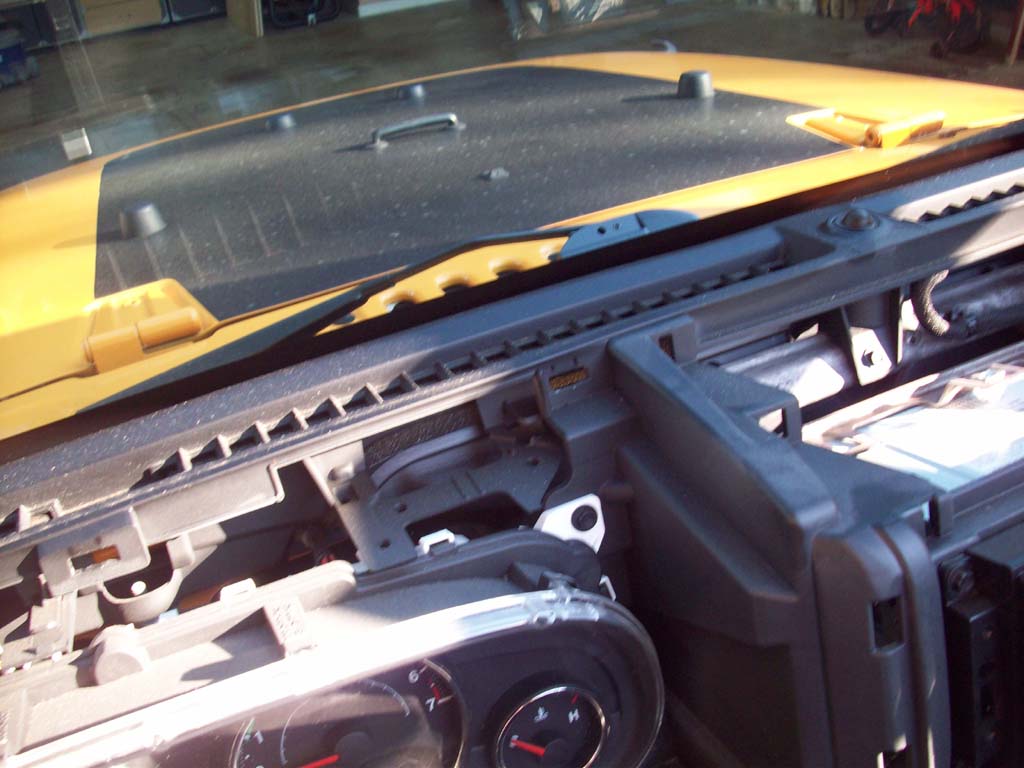
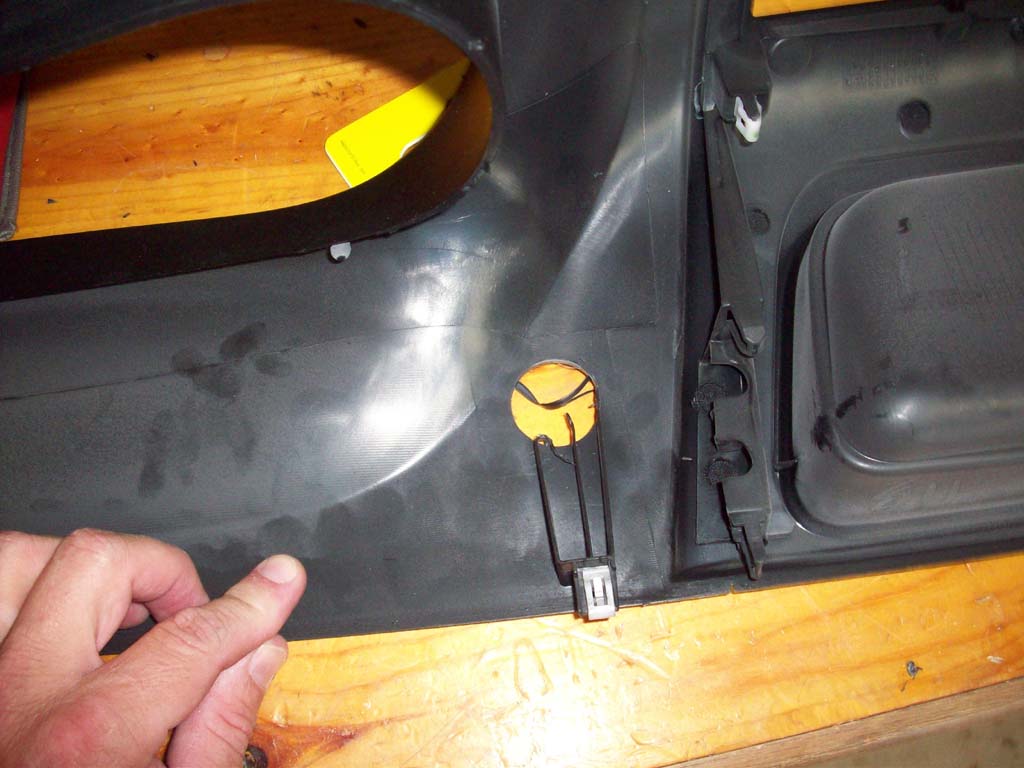
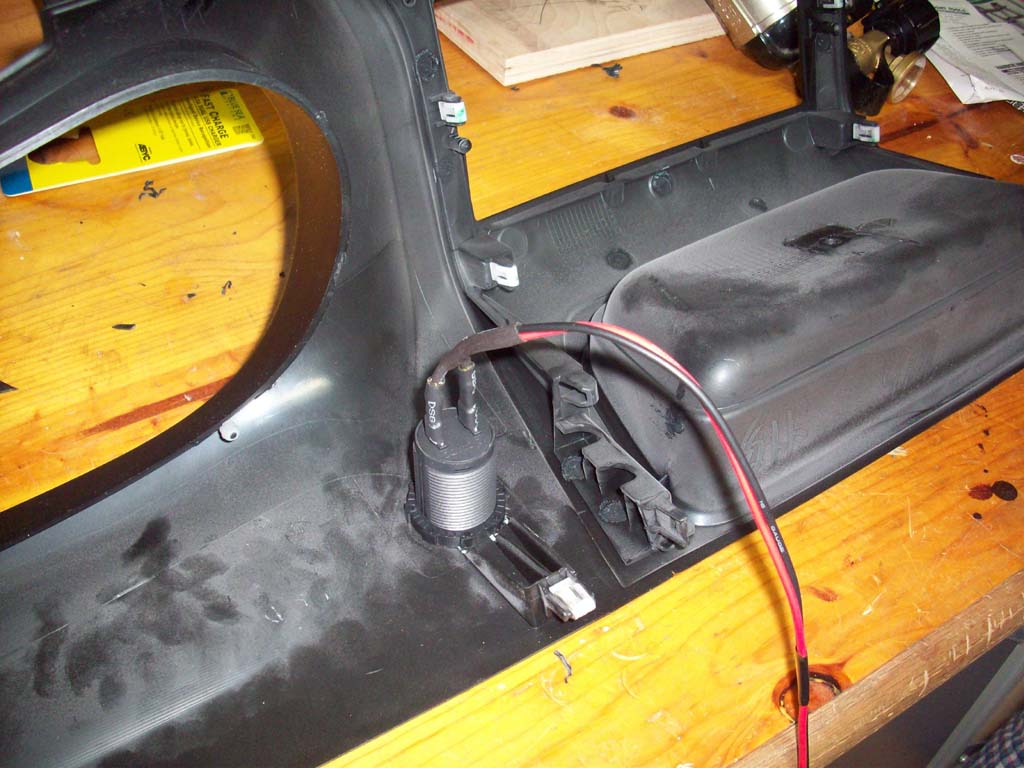
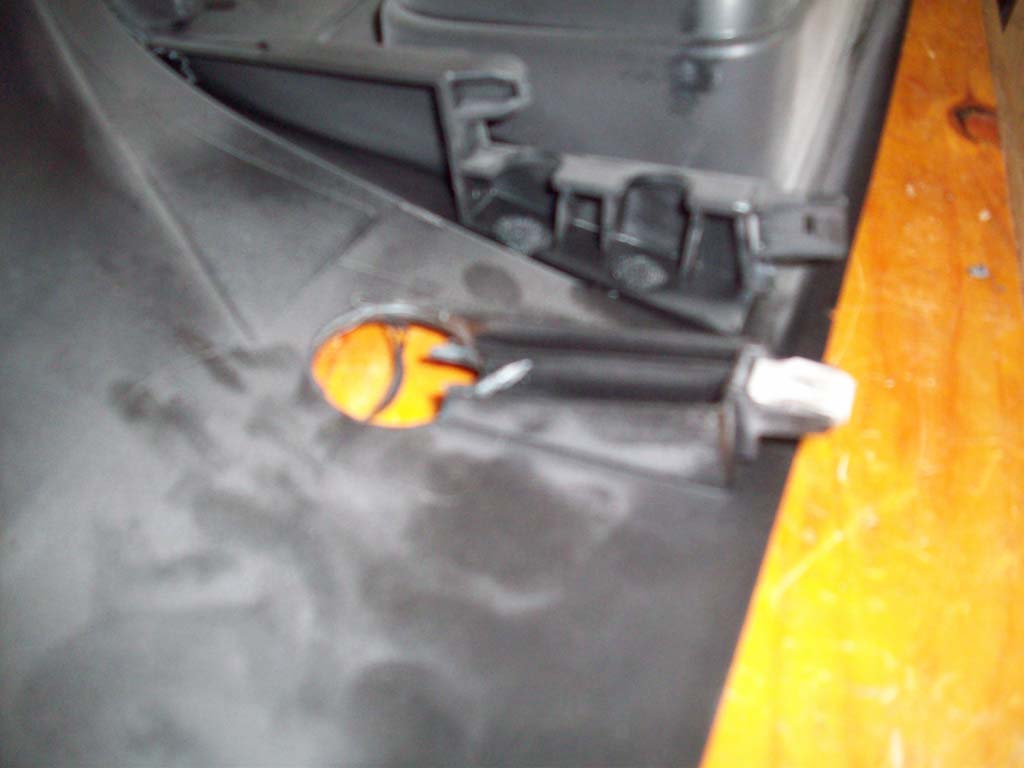
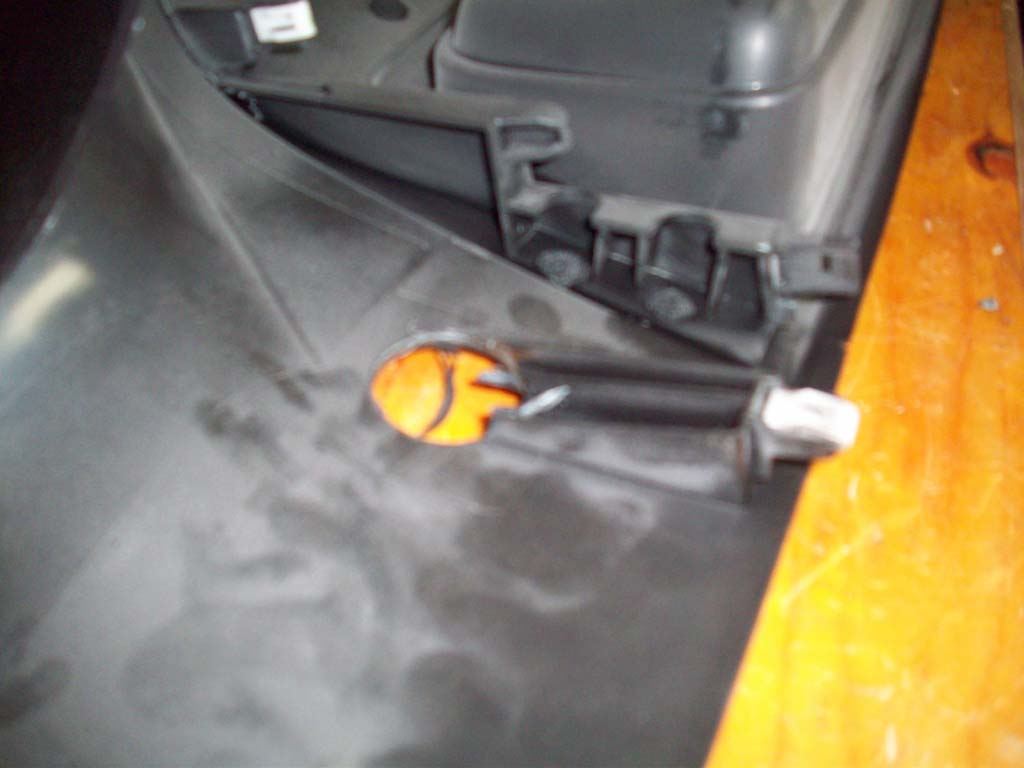
1. Remove the center dash panel. Here is a link to the instructions. Just make sure you put the screws somewhere safe. As you can see under the dash in the corner near the radio is plenty of room to install the USB power outlet.
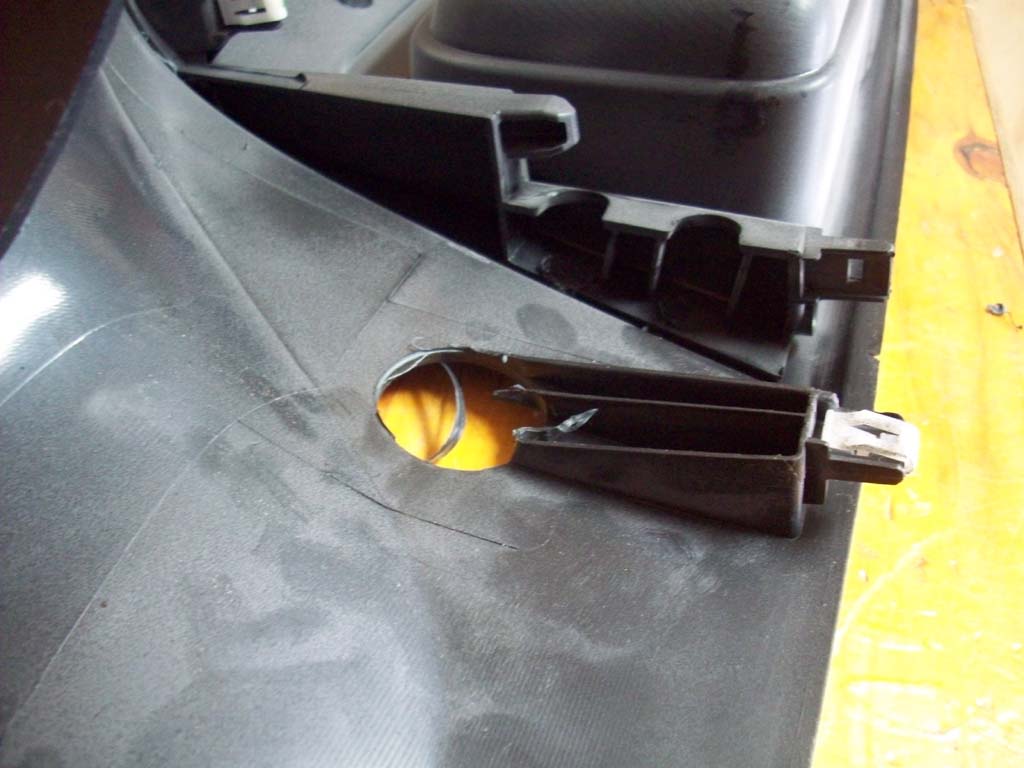
2. Drill a 1 1/8" drill into the top of the dash panel. It will be just about at the tip of the plastic support underneath.
3. Use a razor knife to trim back the plastic on the support for clearance of the retaining nut.
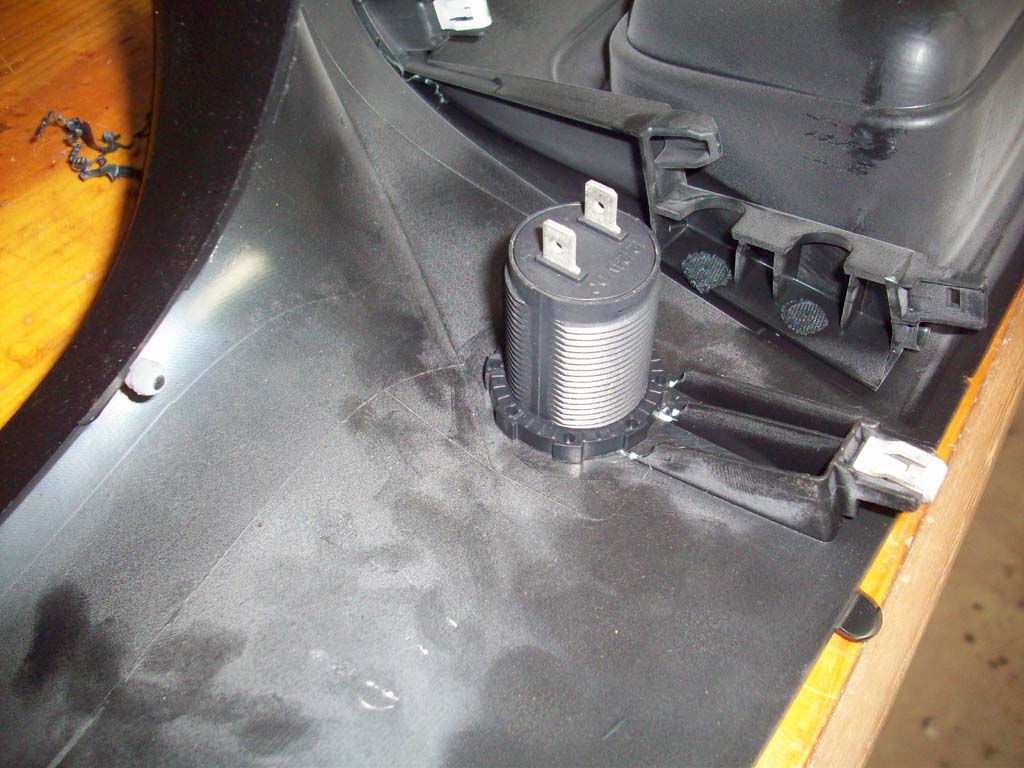
4. Remove the retaining nut from the USB power outlet.
5. Insert the outlet through the dash panel and install the retaining nut.
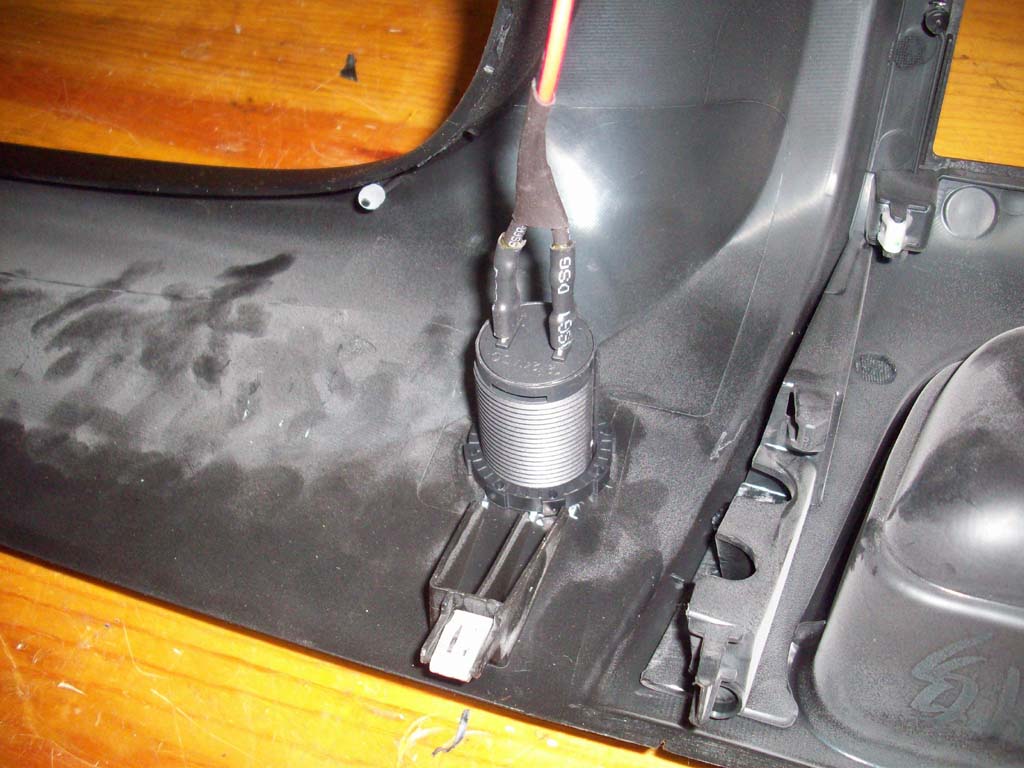
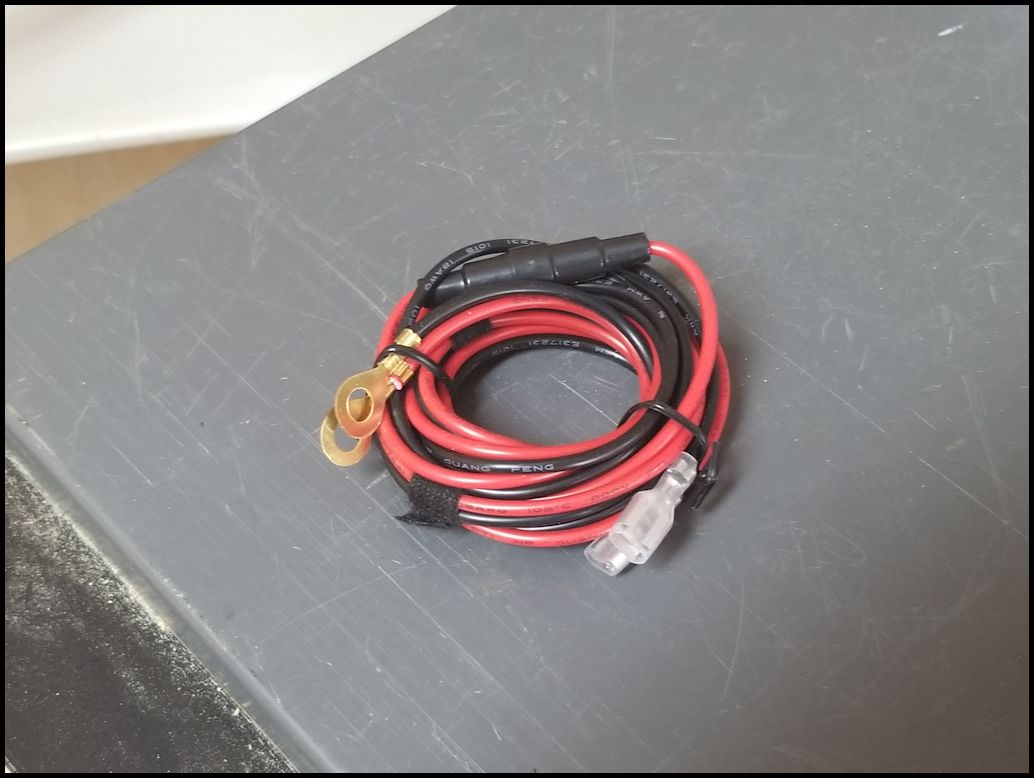
6. Connect a positive and negative wire lead to the (+) and (-) terminals on the USB power outlet. I used two push connectors covered in heat shrink tubing for the USB side and two ring connectors to connect to my dual battery system under the hood. That way I have constant power to the outlet even when the key is off. The draw wasn't enought to drain a battery after being left for 11 days, so I feel pretty confident on the parasitic draw not affecting the Jeep.
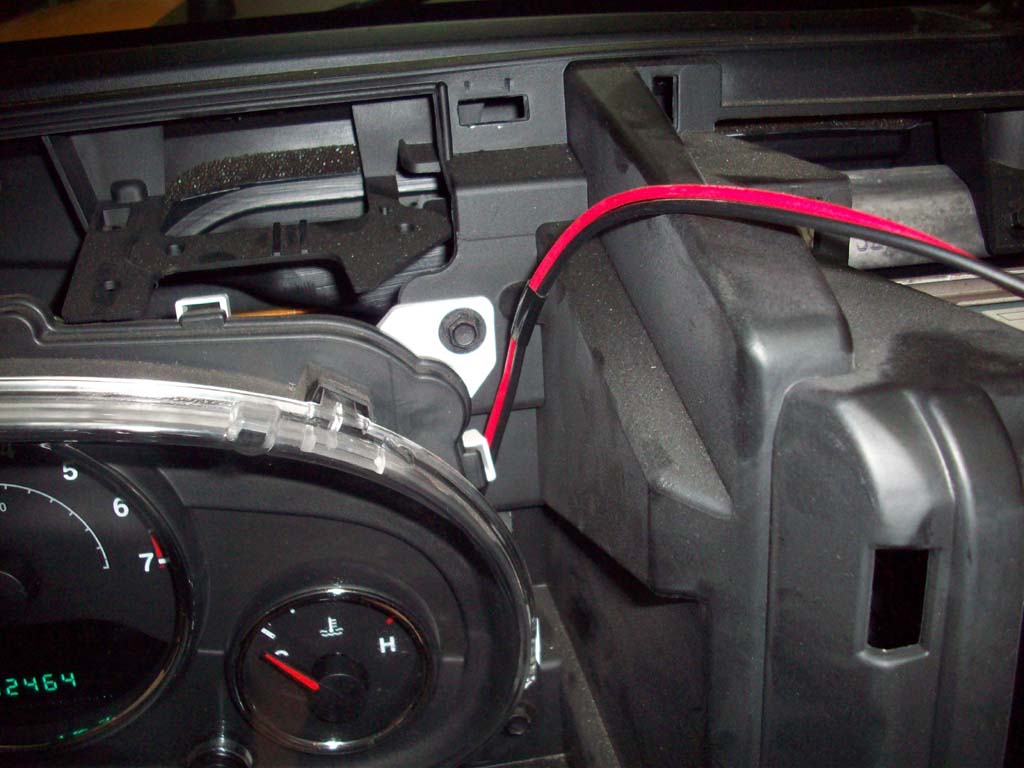
7. Run the power cable through the dash and out to the battery. You can alternately run it to a switch. I have dual batteries and sometimes need to have devices remain powered while I am working on something in the field. The intelligent power outlet is good at power consumption and mine hasn't drained the battery yet. I did leave it parked with nothing plugged into it for 11 days and didn't have an issue. I highly recommend installing a small fuse between the battery and the power oulet. I used a small 7.5 amp ATO inline fuse since 5 amp was to close to max. output.
8. Reinstall the dash and admire your new power outlet.
Upgraded Power:
The previous USB outlet had 2 ports in it, and while it charged tablets and phones fine, I kept finding that I needed a third and sometimes 4th charging port. I decided to finally upgrade the charging outlet on the dash. I picked up a USB 3.0 QC 3.0 36w charger from Amazon. This is a huge upgrade from the USB 2.0 charger that I had previously installed at 3.1amps per port for a total max of 36 watts. The QC 3.0 charger easily keeps my Samsung Tablet and Phone fully charged even when I'm using intensive apps like navigation and streaming music via bluetooth. The USB ports due glow green all the time, but I haven't had a drain on the battery that is noticeable even after leaving it sit for 8 days. The cover leaves a little bit to be desired. While it would work as a rain cover, getting to two prongs to sit down inside the USB connections is a real pain. Almost to much of a struggle to even bother with it. I generally have a couple cords plugged in anyways. Installation is no different than the above. I did swap out the previous fuse for a 10 amp ATO fuse.
Blue Sea Systems
425 Sequoia Dr.
Bellingham, WA 98266


