I am used to carrying a bunch of recover tools in the back, but having the bag just sit back their with the top off just invites people to walk off with them. Knowing the reputation of Tuffy Security Products I welcomed the rear security drawer for the JK’s. They have a similar one for the TJ and TJ Unlimited. You can install this drawer in the 2 door JK’s but you will lose the use of the rear seat. The drawer can be adjusted up so that you have storage below it. The flat top of the Tuffy drawer leaves plenty of room for future projects, like mounting you fire extinguishers, power inverters, MAX tools, chain gun (check with your local law enforcement)…
Prep Work: |
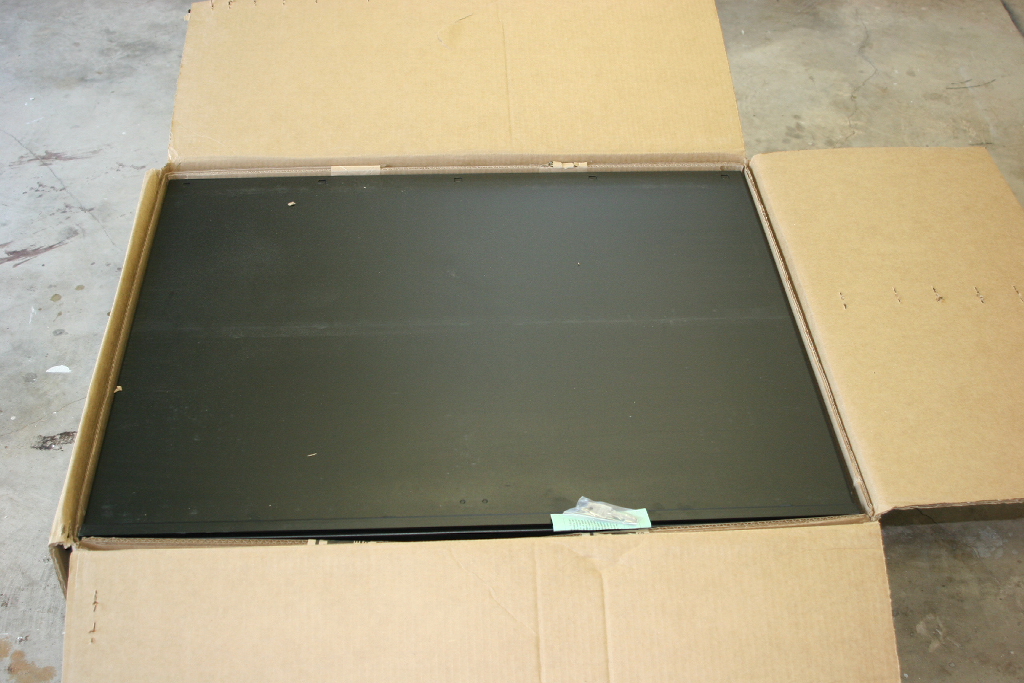
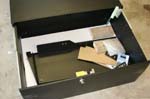
This box is HEAVY, over 100lbs, so I guess I will have to give my Fed EX guy a Christmas card this year. Once again packing was outstanding, and unlike the last project I actually did inventory all the parts. |
|
|
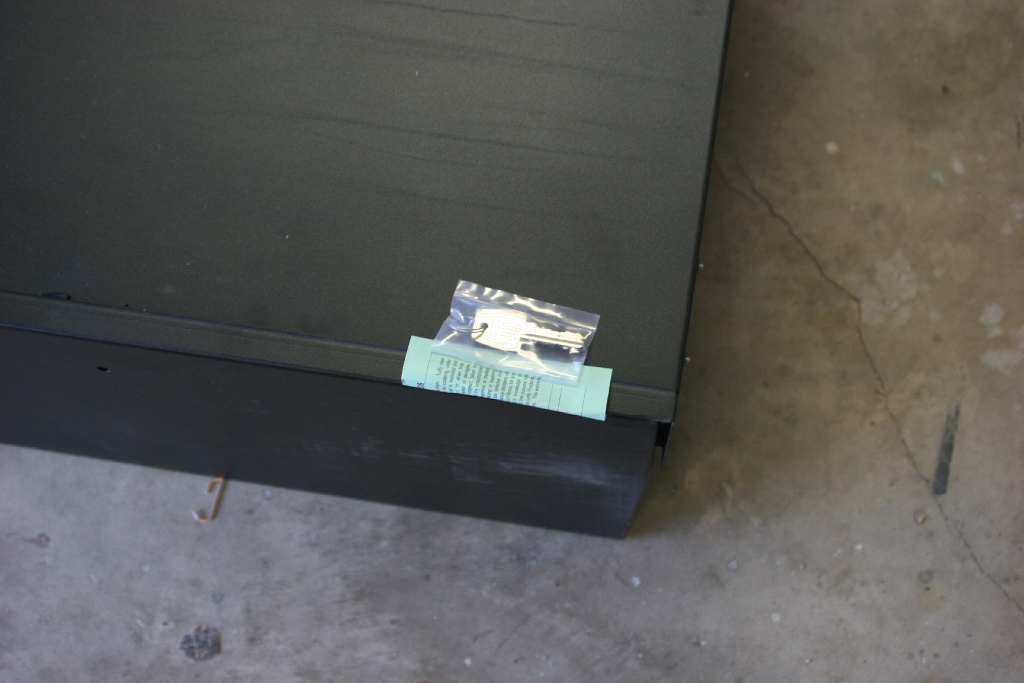
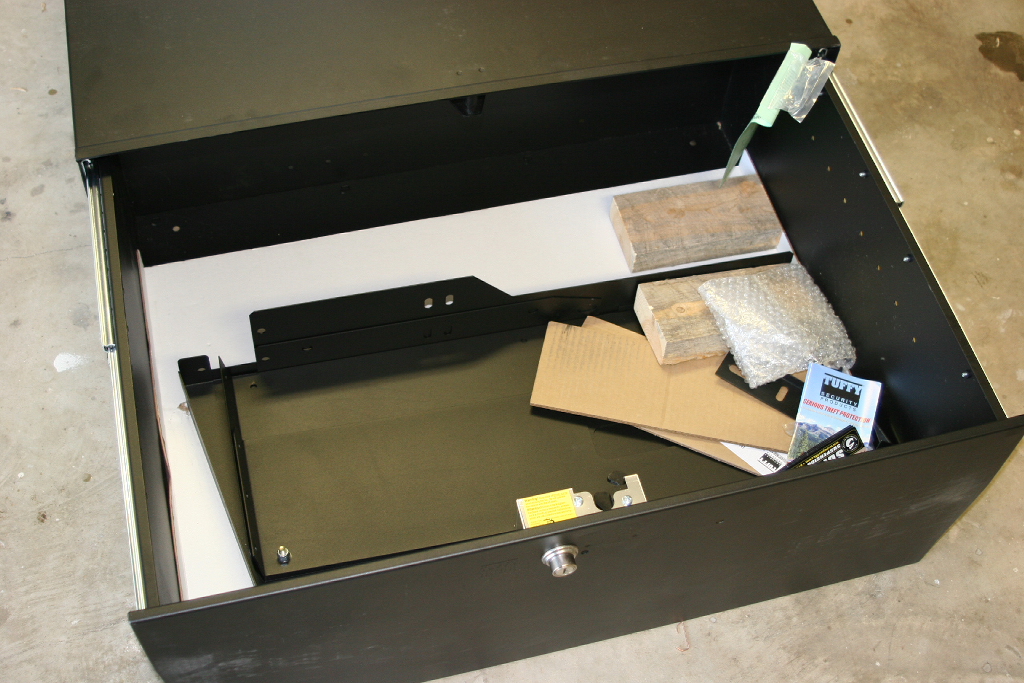
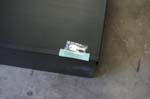
There is a reason why Tuffy put the key's on the outside, the box comes 01-Nov-2013 of wood and cardboard just floating around inside. I'm certain they were protecting something originally. |
 |
 |
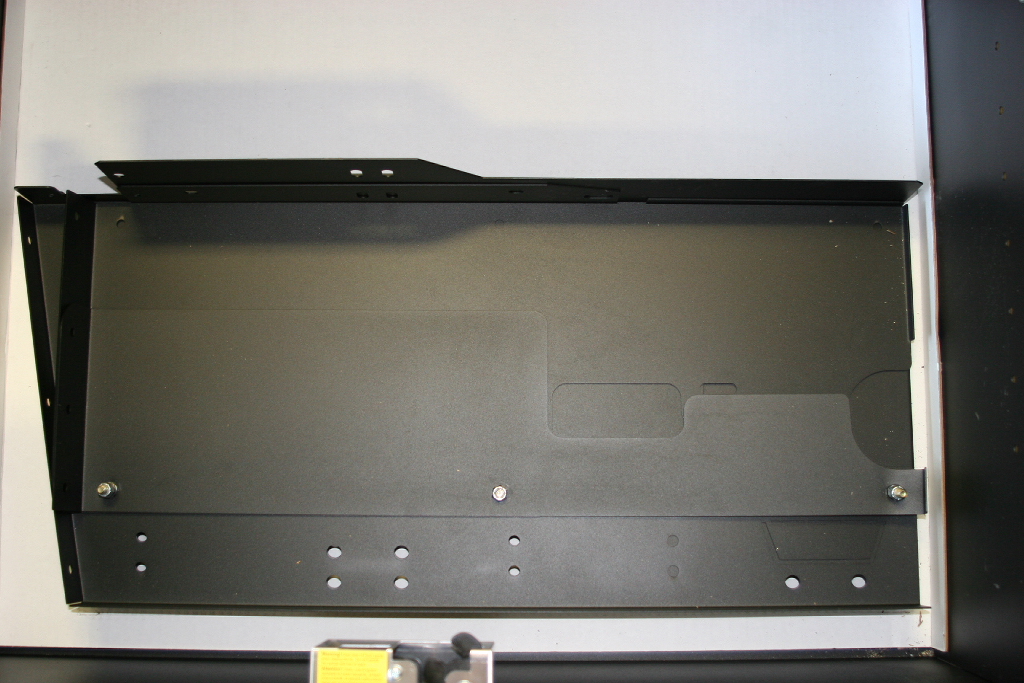
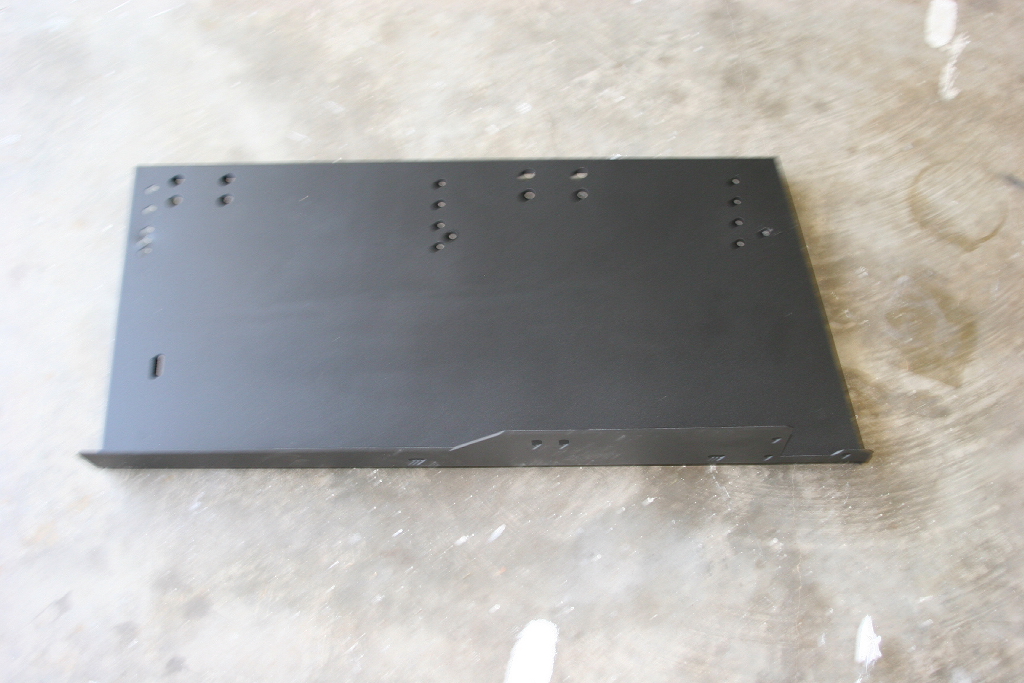
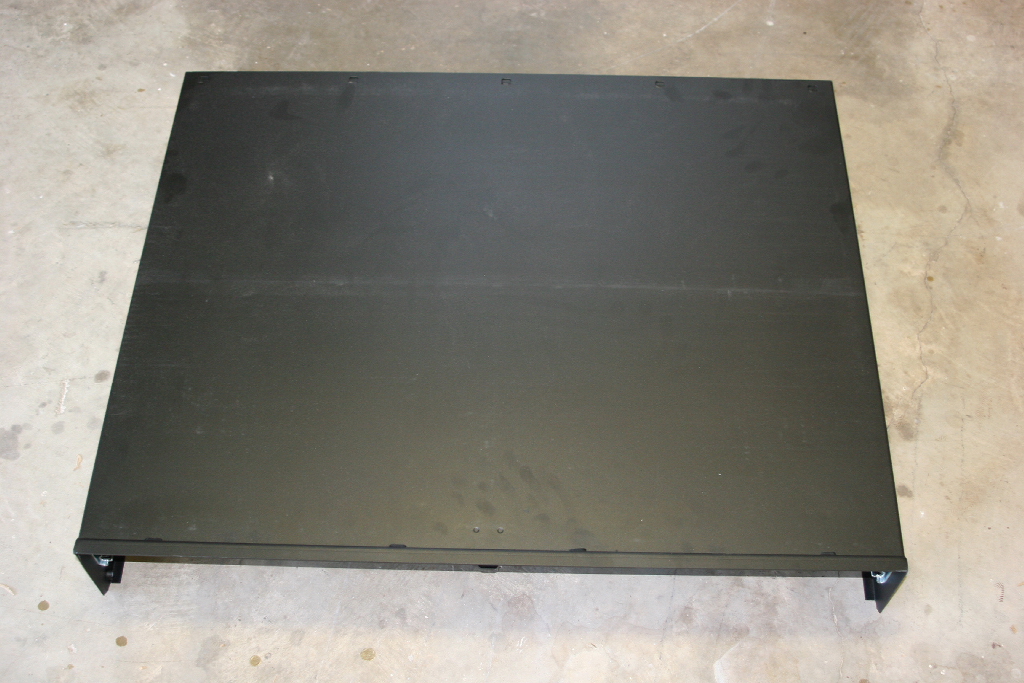
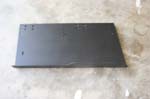
| The panels are bolted together and bolted into the bottom of the drawer. |
|
|
|
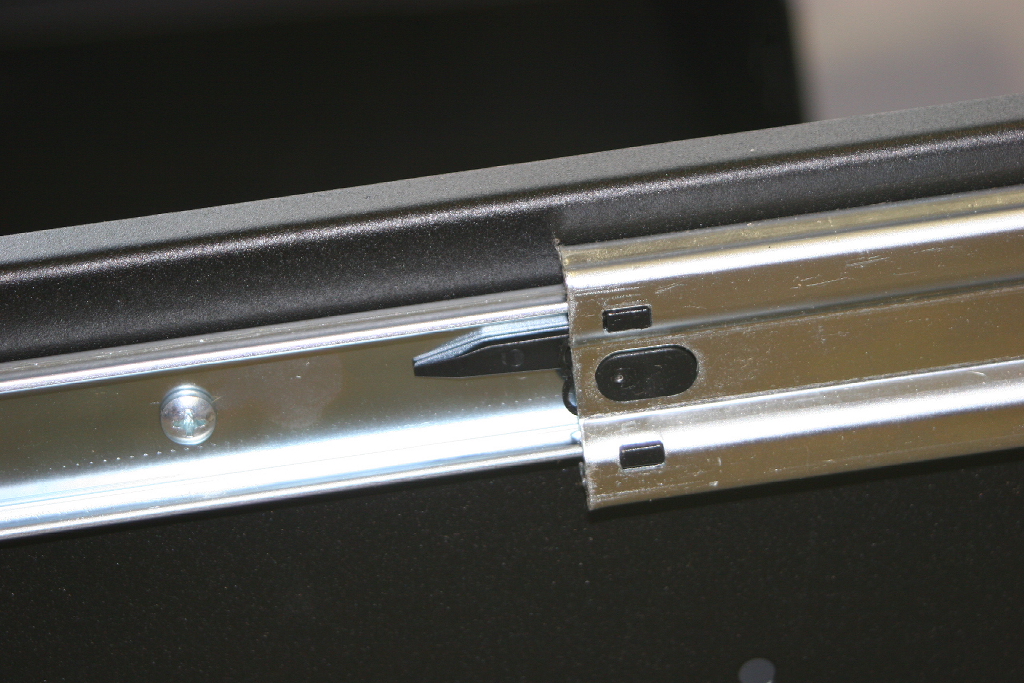
You will need to remove the drawer from the enclosure before you install it. It's really more like the enclosure from the drawer. Push or Pull the enclosure out as far as it can go. You will see two black plastic stops on the sides of the drawer slides. One will press down, and the other pulls up. You do not need to use a lot of pressure on these, they will break Continue to pull the enclosure out, and the slides will separate. |
|
|
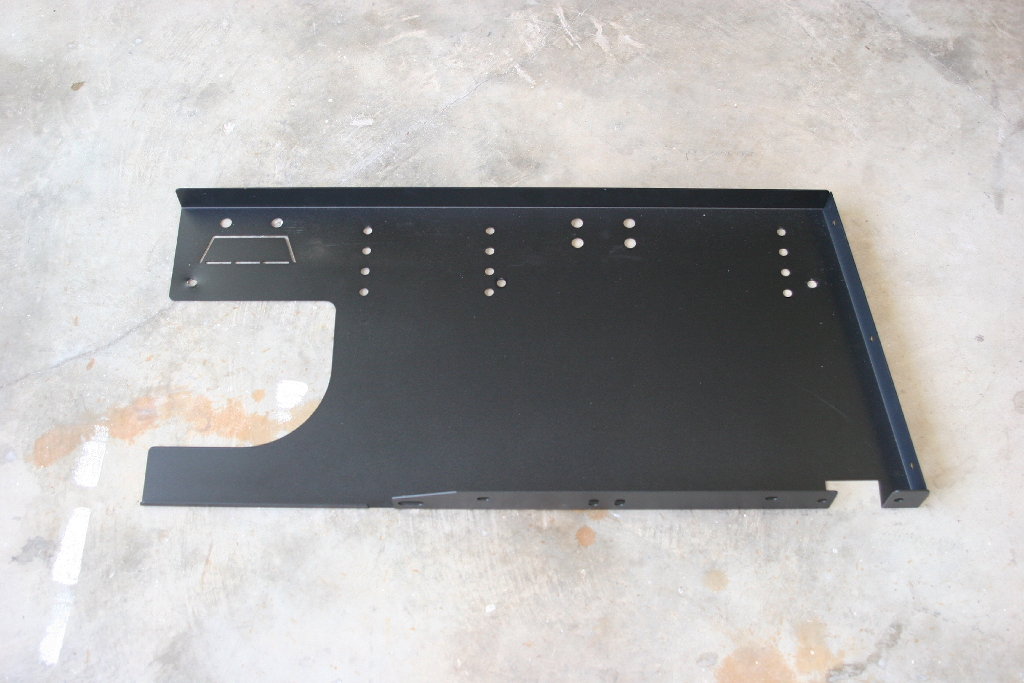
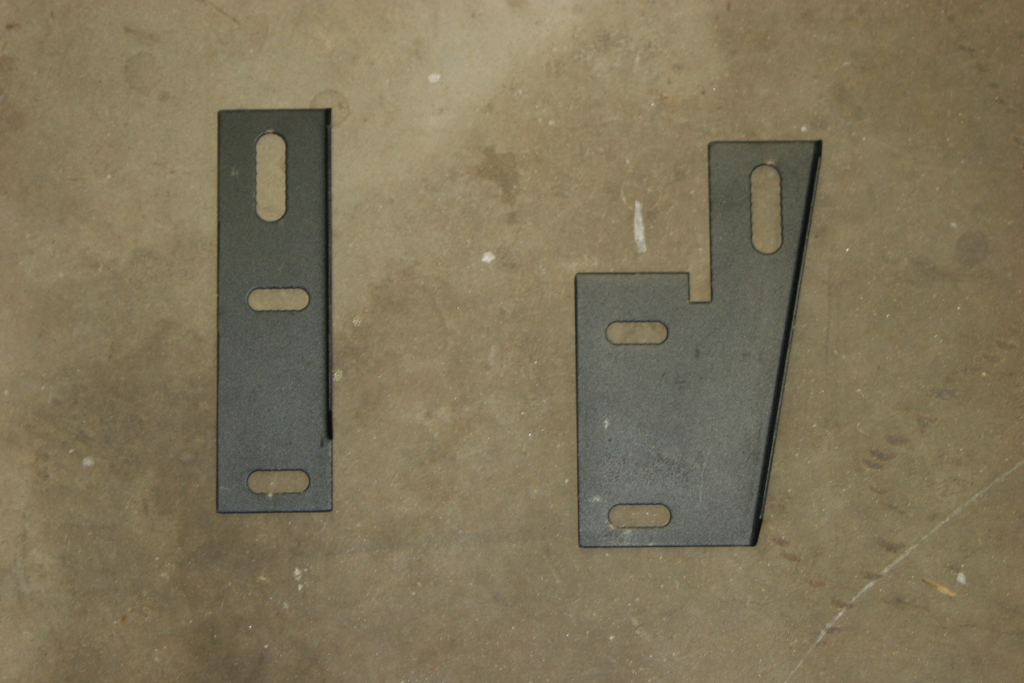
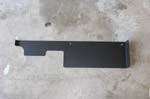
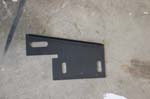
Left Vertical Panel |

Right Vertical Panel |
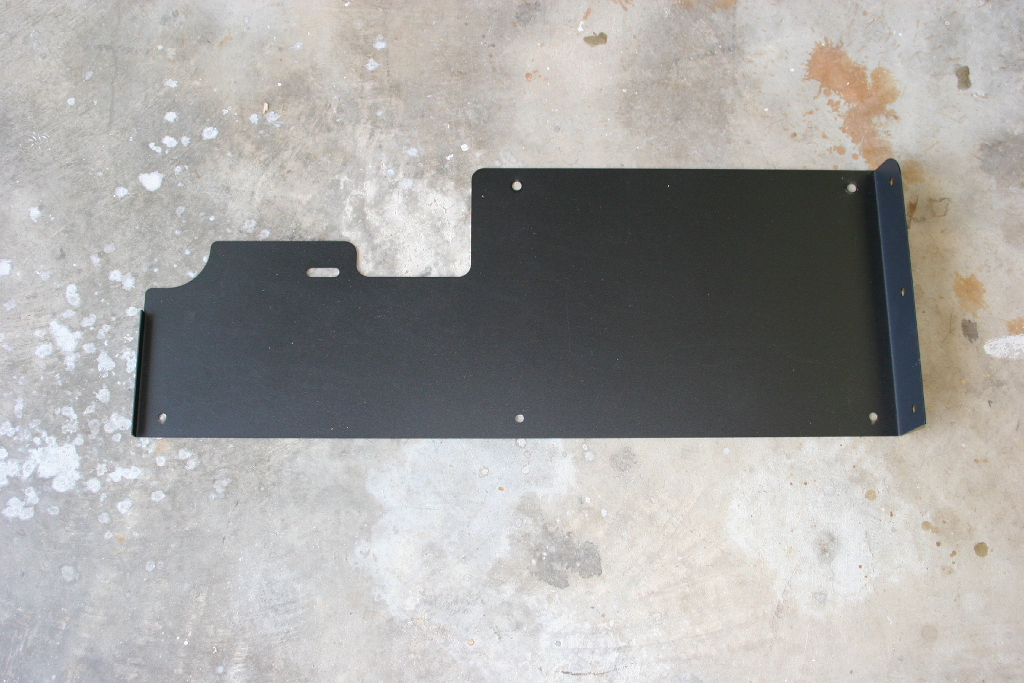
Left Cap Panel |
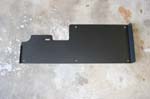
Right Cap Panel |

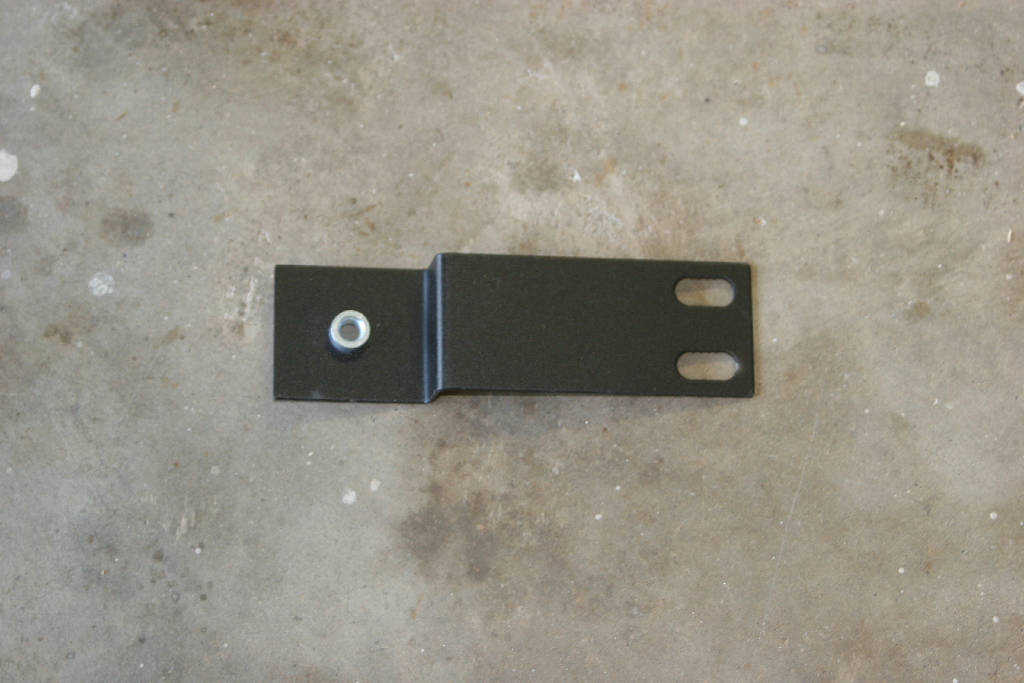
Rear Left Bracket
|
Rear Right Bracket |
Front Left Bracket |
Front Right Bracket |

Drawer Enclosure |
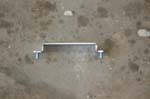
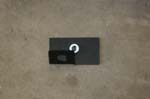
Handle |
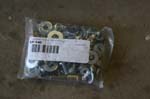
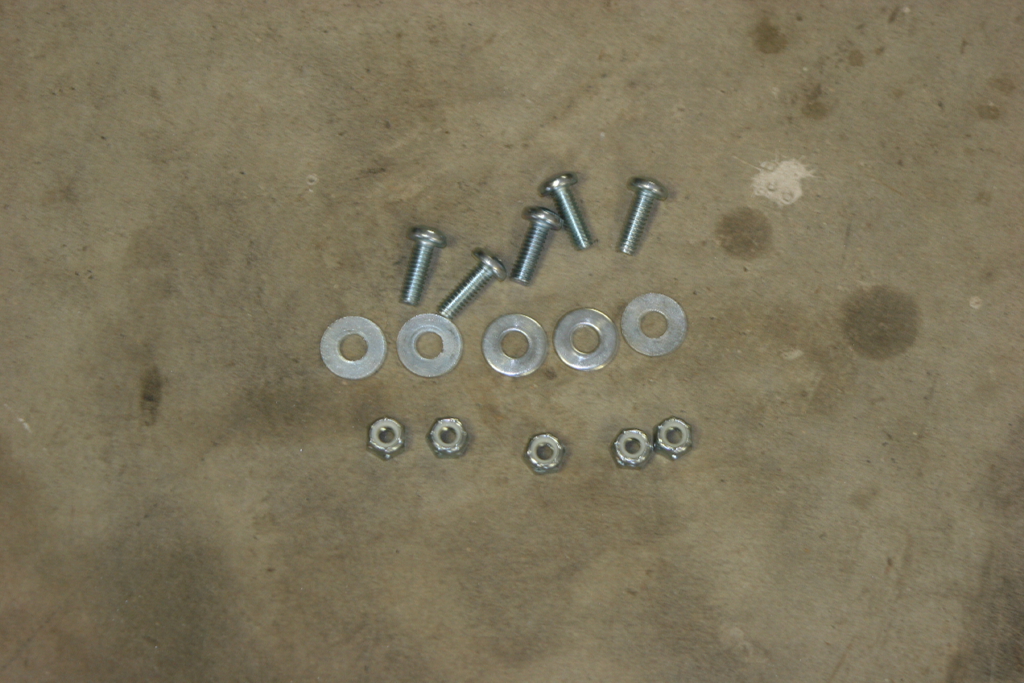
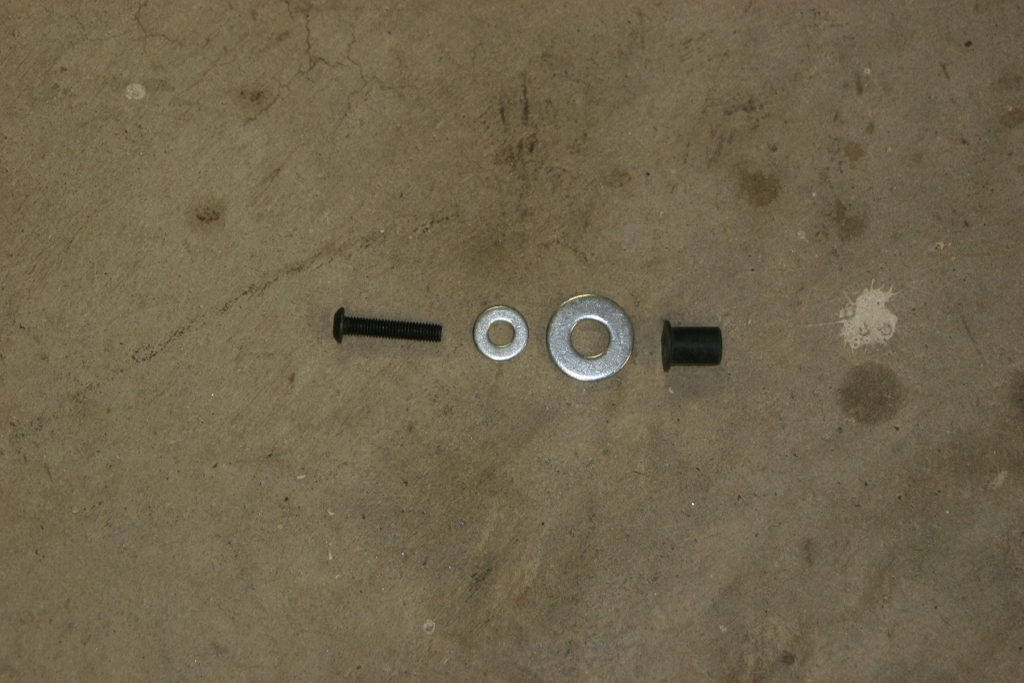
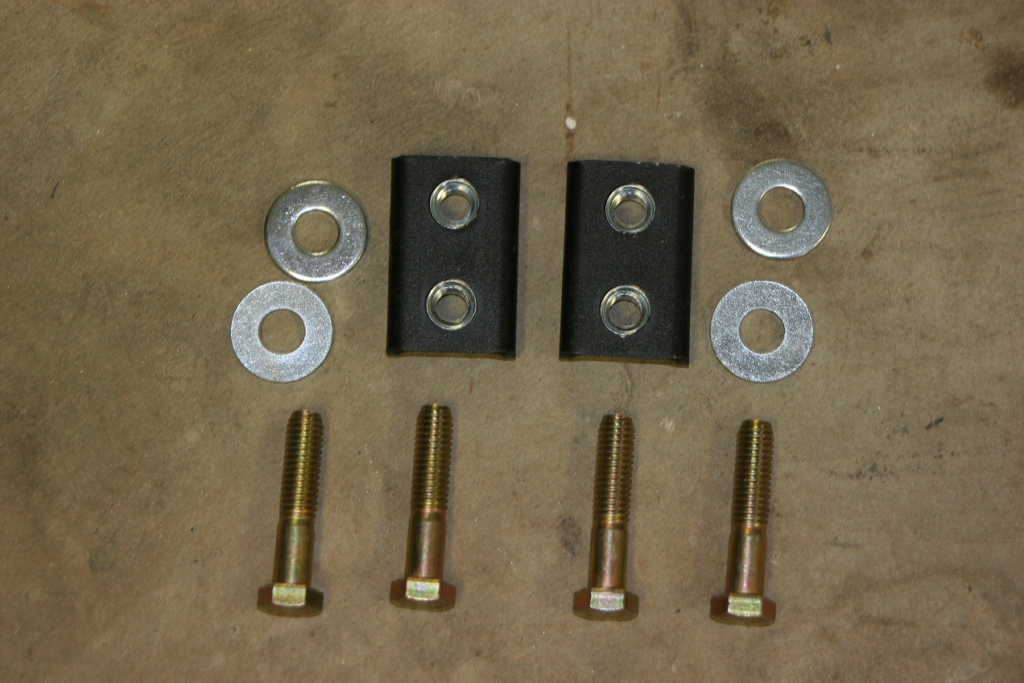
Nut, Bolts and Washers |
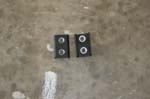
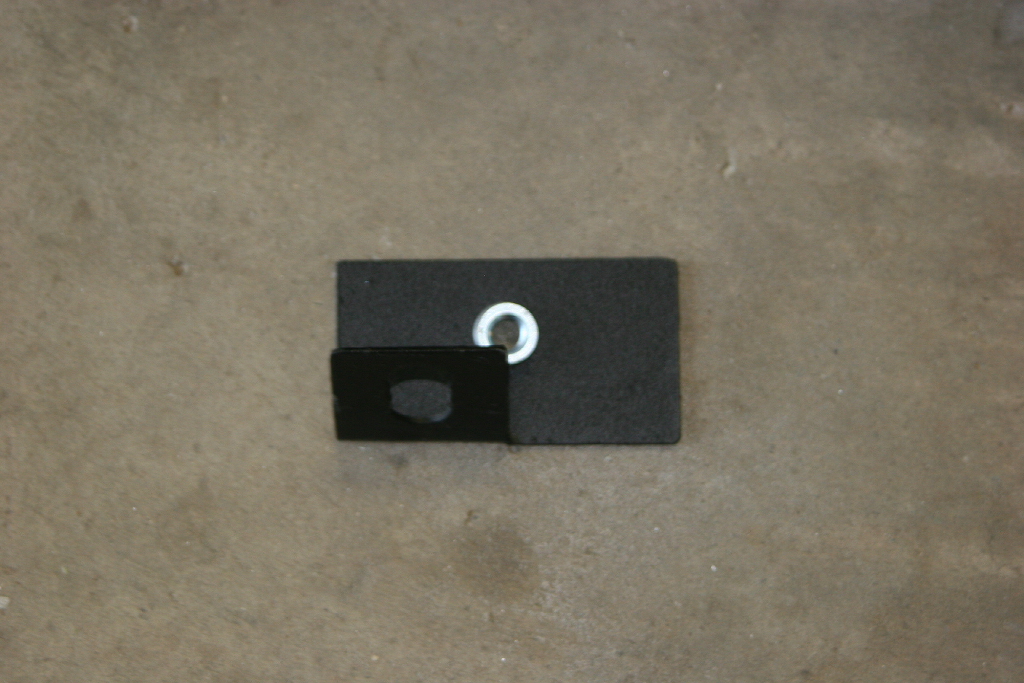
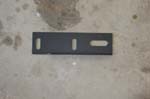
Clamp Bracket |
| |
| Installation: |
|
| |
|
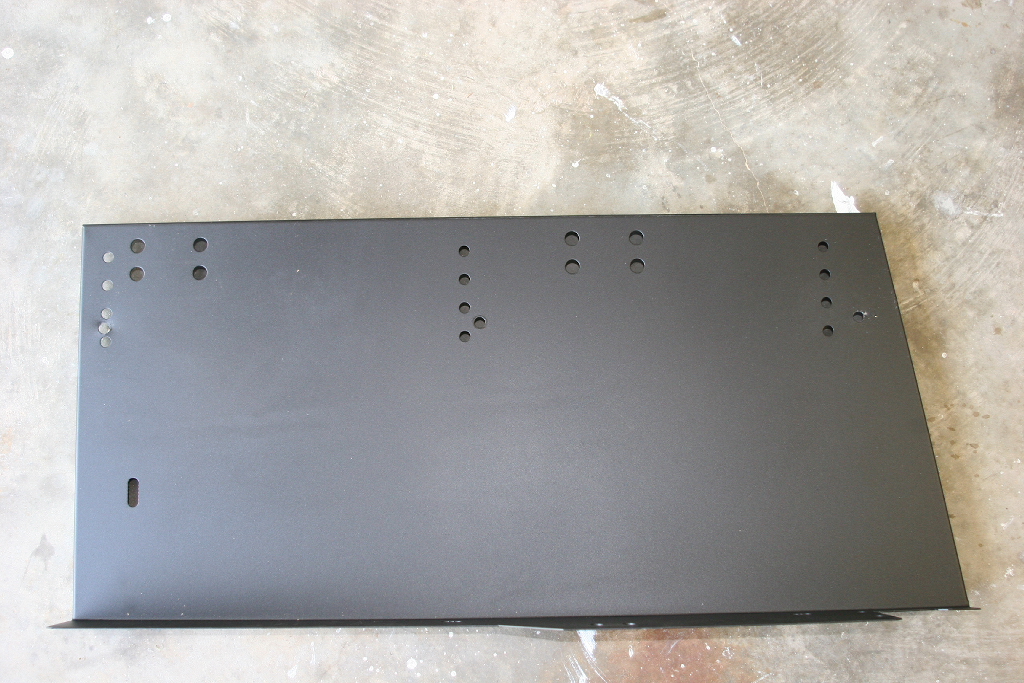
| You will notice on the side of the left and right vertical panels four vertical holes that line up with the drawer enclosure. This is how you adjust the height of the drawer. Bolting the panels using the lower holes sets the height at the lowest and at the top the highest. There is a 3 ” height adjustment. |
|
|
| Fasten the Left and Right Vertical panels to the drawer enclosure with (6) 5/16 x ¾” bolts and (6) 5/16” Washers using a 1/2" Socket. |
|
|
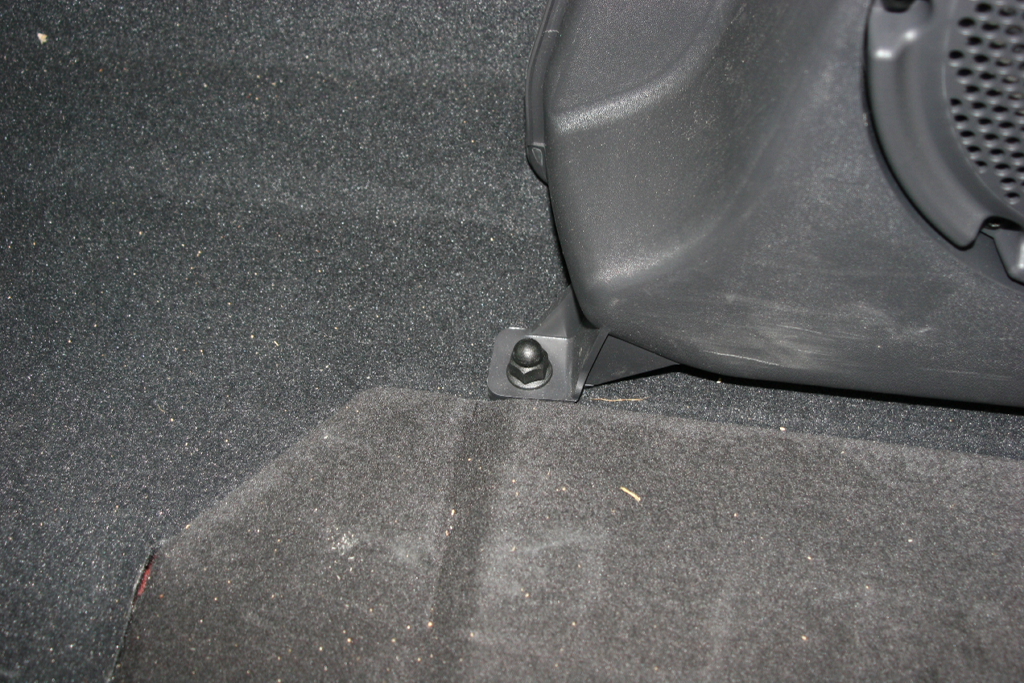
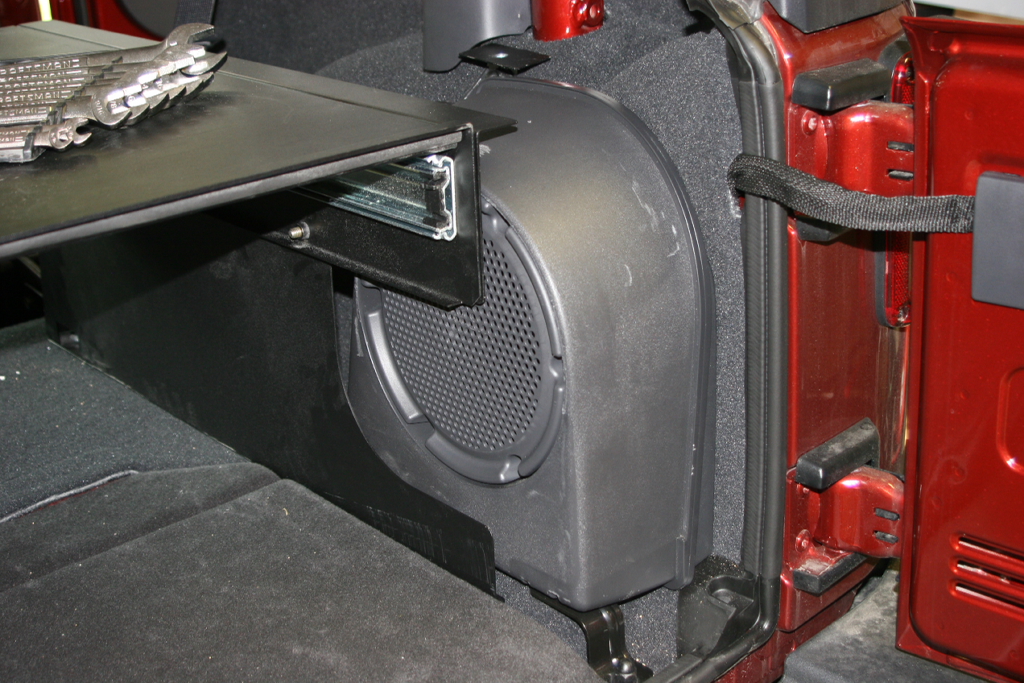
My JK has the sub woofer installed so I needed to remove the front mounting nut and the top nut attaching it to the base of the roll bar with a 15mm socket. Put these aside somewhere safe, you will reuse it to attach the box. These are not even real nuts, just more of a speed nut under some plastic. |
|
|
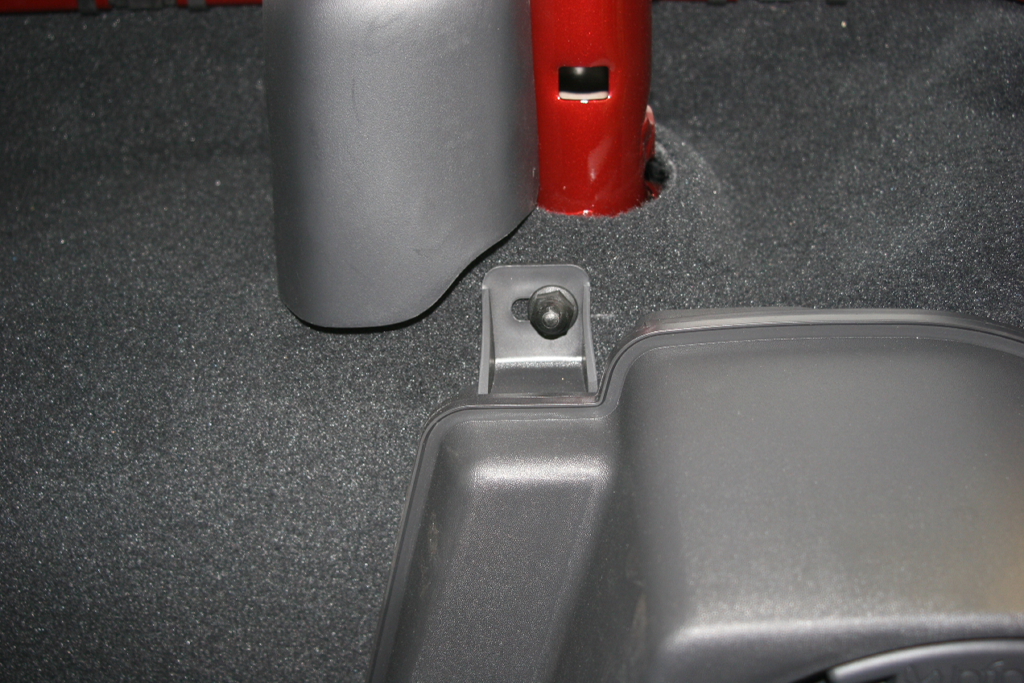
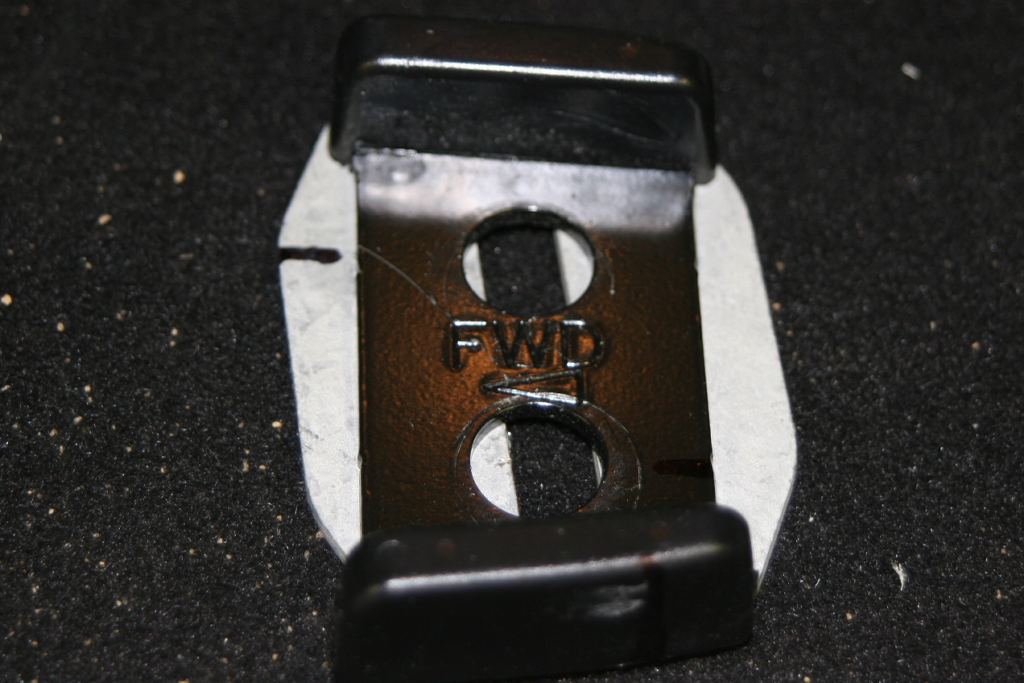
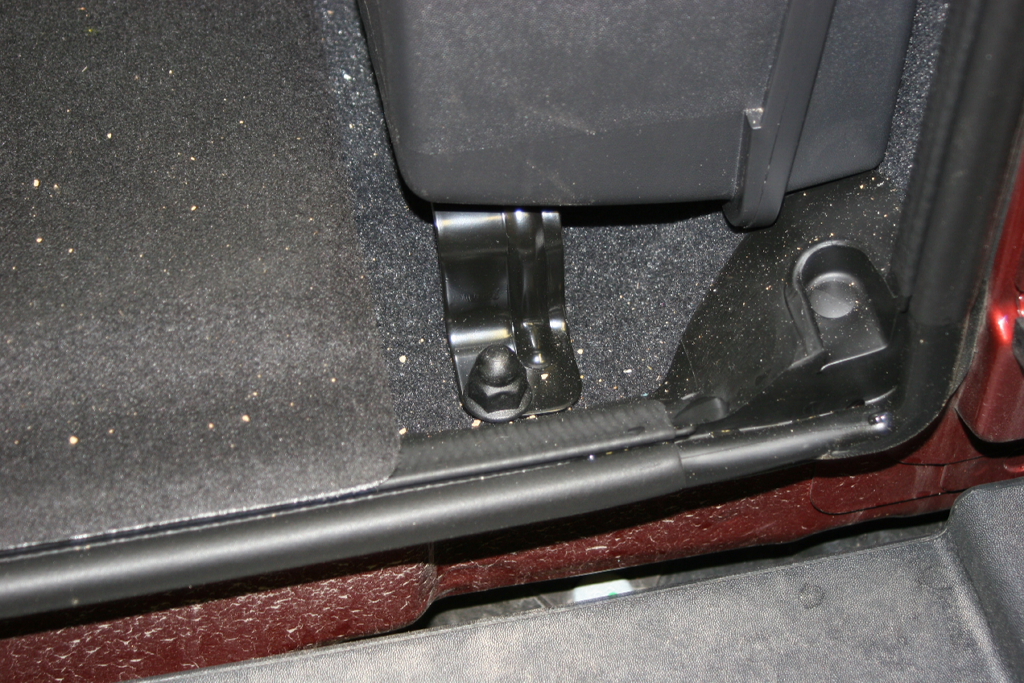
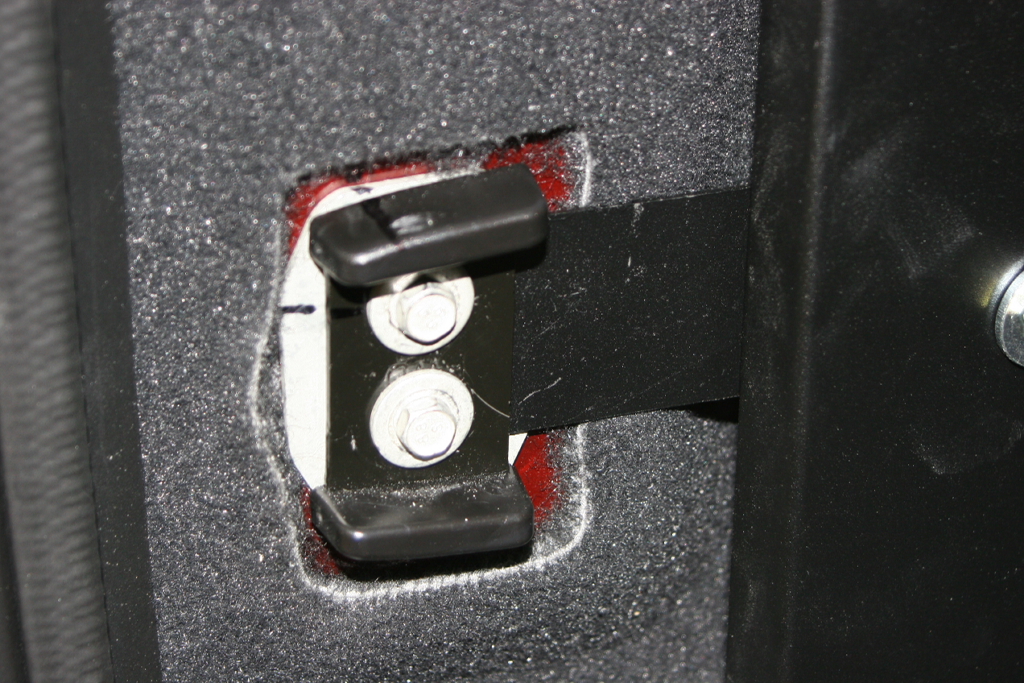
Remove the door alignment guide and spacer. Draw two alignment marks on the spacer and body, so that you can easily realign this when you reinstall it later. Remove the two original screws with a 10mm socket. Save this hardware you will reinstall it later. |
|
|
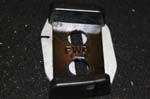
| Jeep was nice enough to stamp the alignment guide with the letters FWD and an arrow. Though it is upside down when installed? |
 |
Fold down the rear seat, or remove it if you have the 2 door JK. This makes accessing bolts so much easier. |
 |
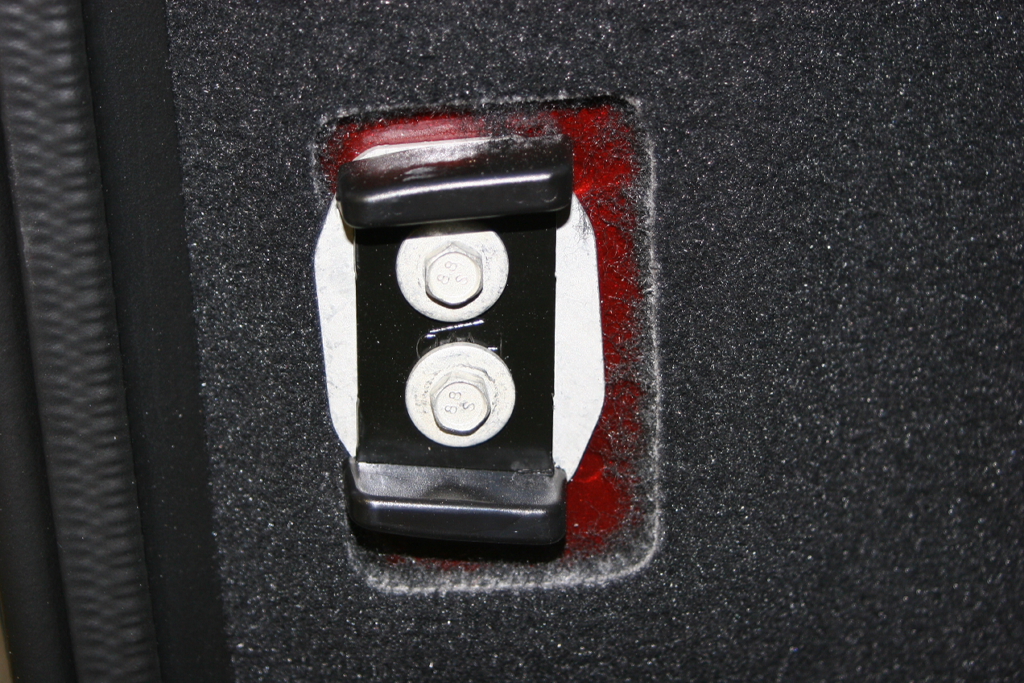
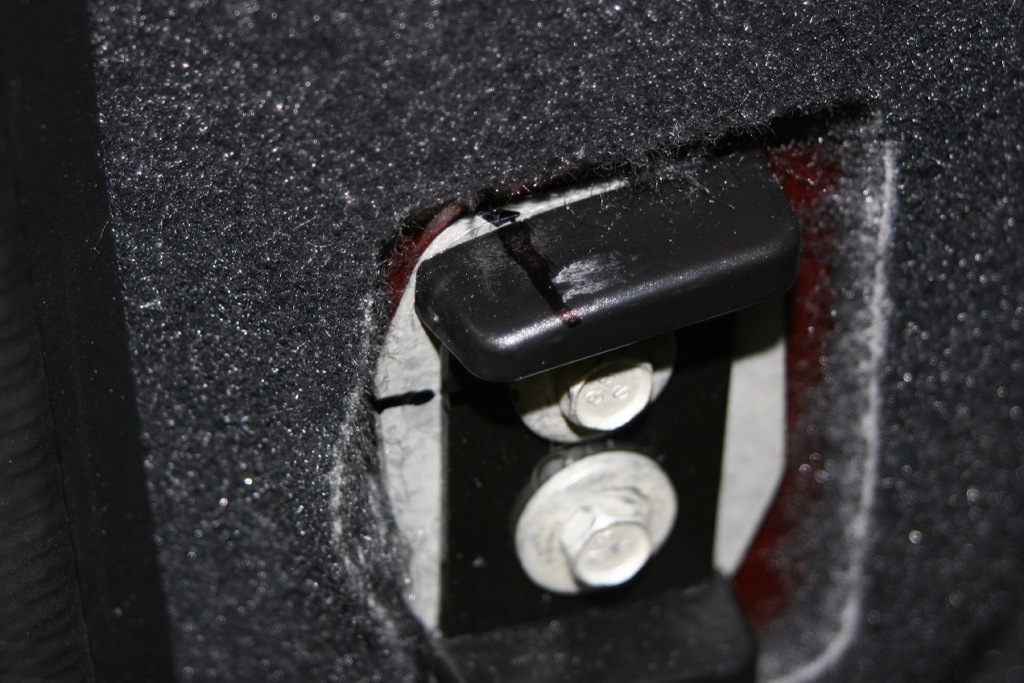
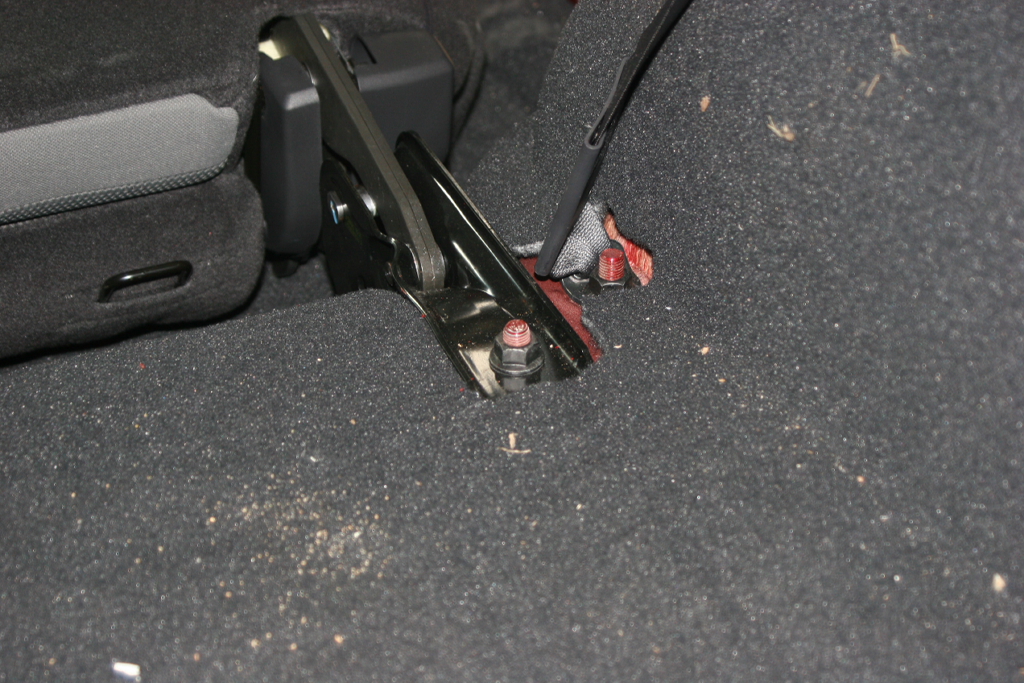
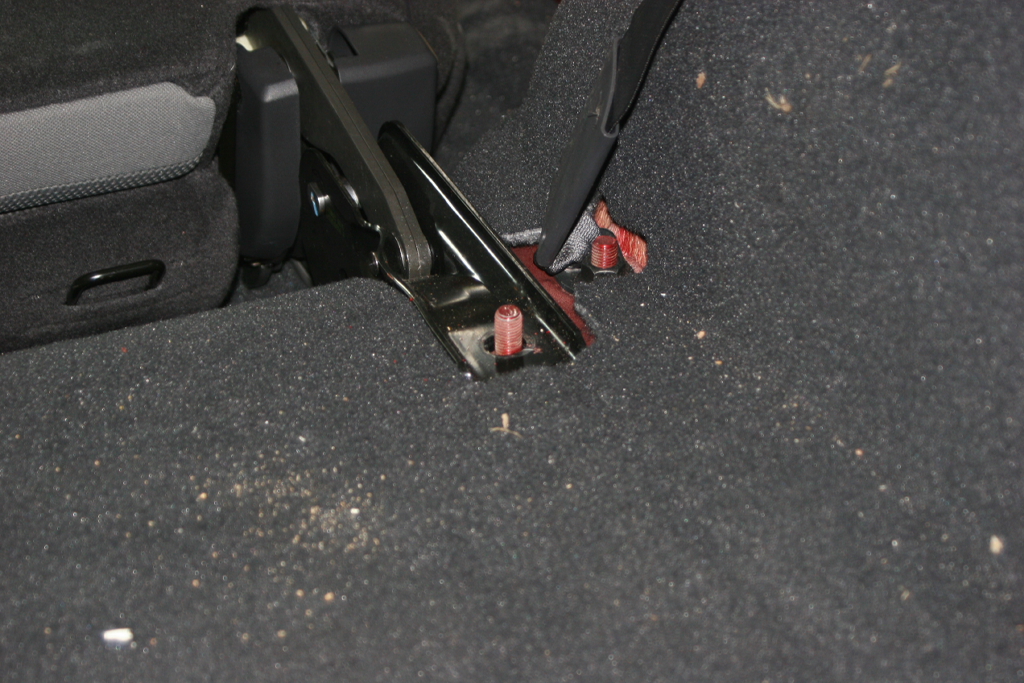
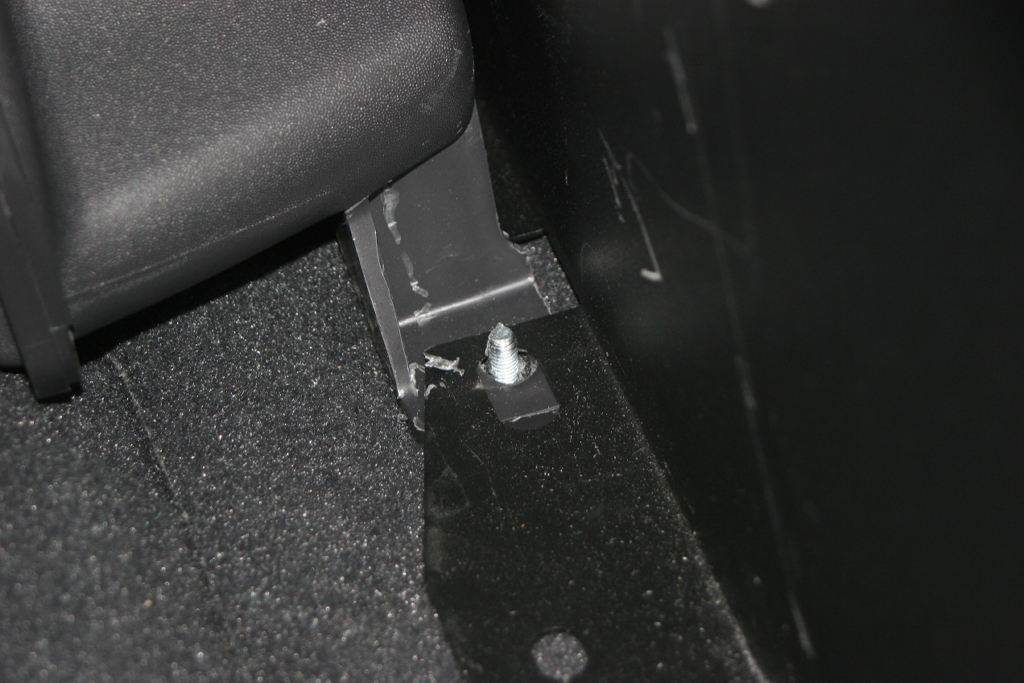
| Remove the two rear factory nuts on the rear seat mounting brackets with an 18mm socket. Put these aside, they will be reused. Do not put them on the seats, they will fall underneath and you will have to go searching for them. |
|
|
|
|
| I removed the sub woofer just for pictures sake during this install, I removed the box later on, reinstalled the sub woofer and put the box back in. If you wish to remove the sub woofer to gain a little more storage space along the side of the Tuffy box you can. You will not be able to get this sub woofer back in with the box installed. |
|
|
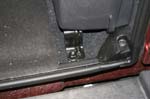 Remove rear nut with 15mm socket Remove rear nut with 15mm socket
|
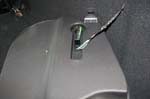
Unclip wire harness |
Tuck harness under carpet |
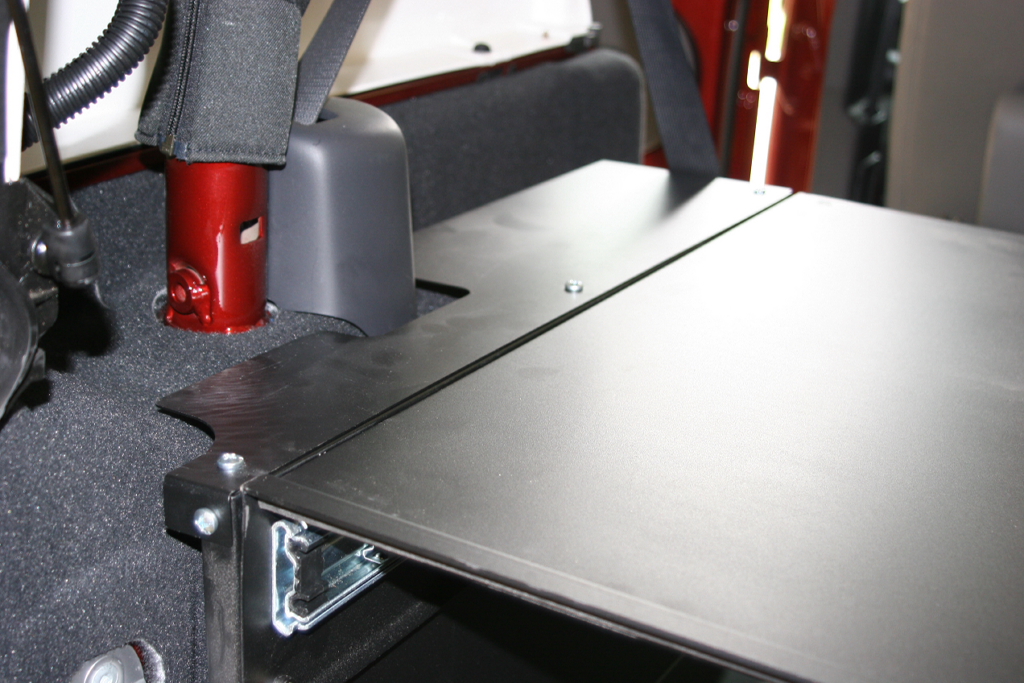
| Place the drawer enclosure assembly in the vehicle. You will need to lift the right side over the sub woofer. It is easier to come in at an angle with some help from another person. That way you won't gouge up the sub woofer. |
 |
Fasten the Front Left, and Front Right brackets to the Left and Right Vertical Panels using (4) 5/16 x ¾” Bolts, (4) 5/16” Nylock nuts, and (8) 5/16” Washers coming up from the bottom. |
|
|
| The pattern should be bolt, washer, bracket, vertical panel, washer, nylock nut. If you have the room, you can lift up the enclosure and install the bolts. This is where I found the two blocks of wood that tuffy enclosed handy. I just propped one under each side and worked on the brackets. I left them loose so that I could make any adjustments that I needed before tightening them. |
|
|
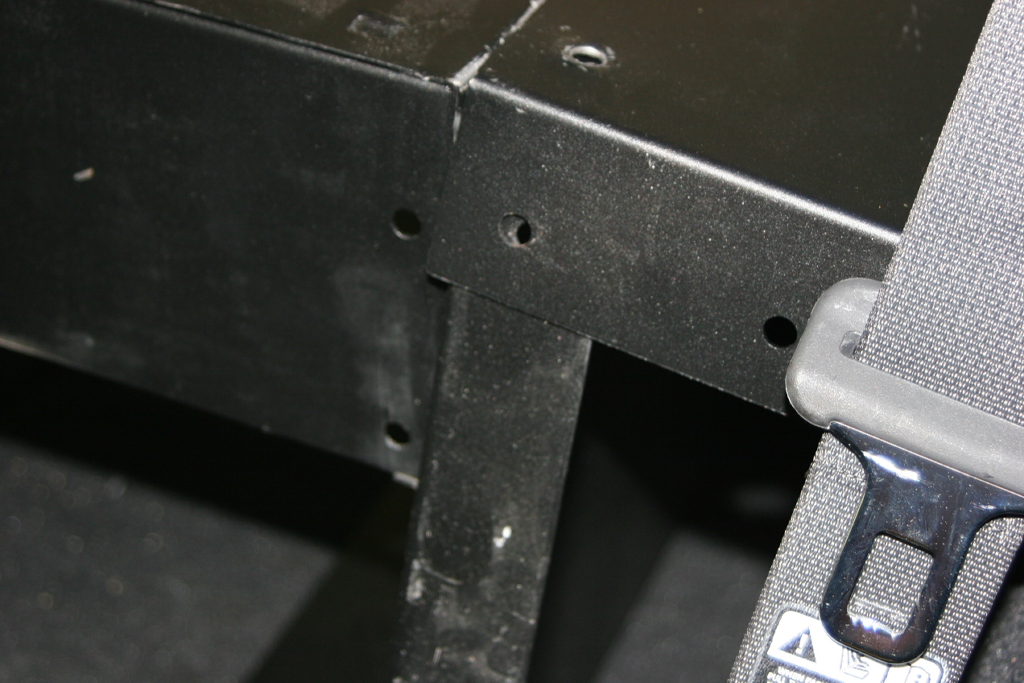
| The holes in both front mounting brackets should slide over the original factory studs used to secure the rear seat down. The rear hole in the Right Vertical panel should line up with the original factory hole where the rear subwoofer mounts to the floor of the vehicle (If equipped). |
|
|
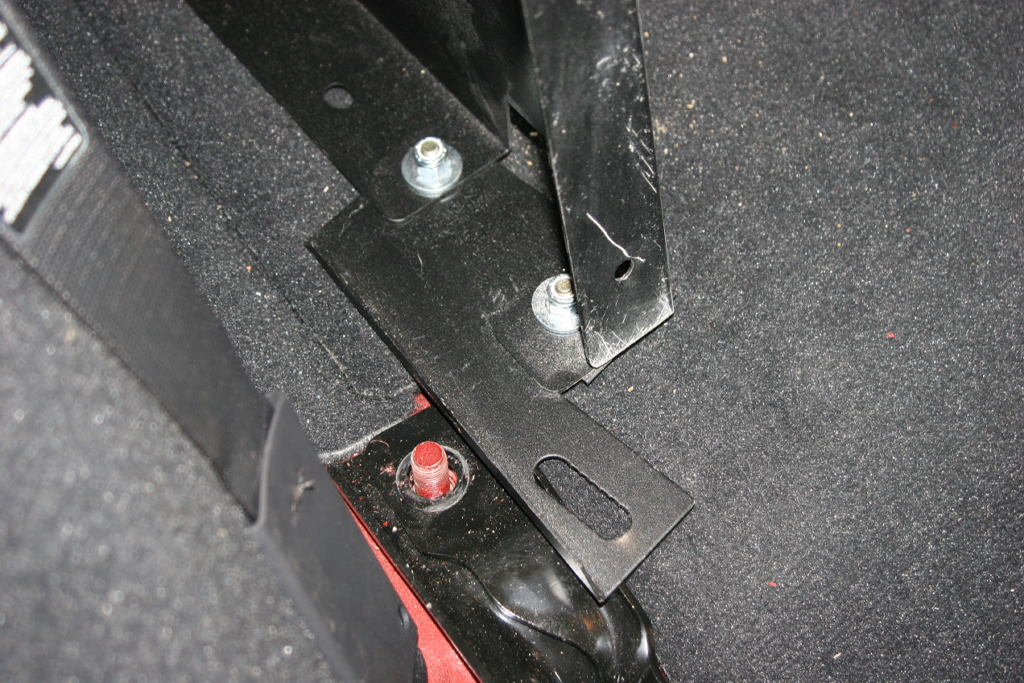
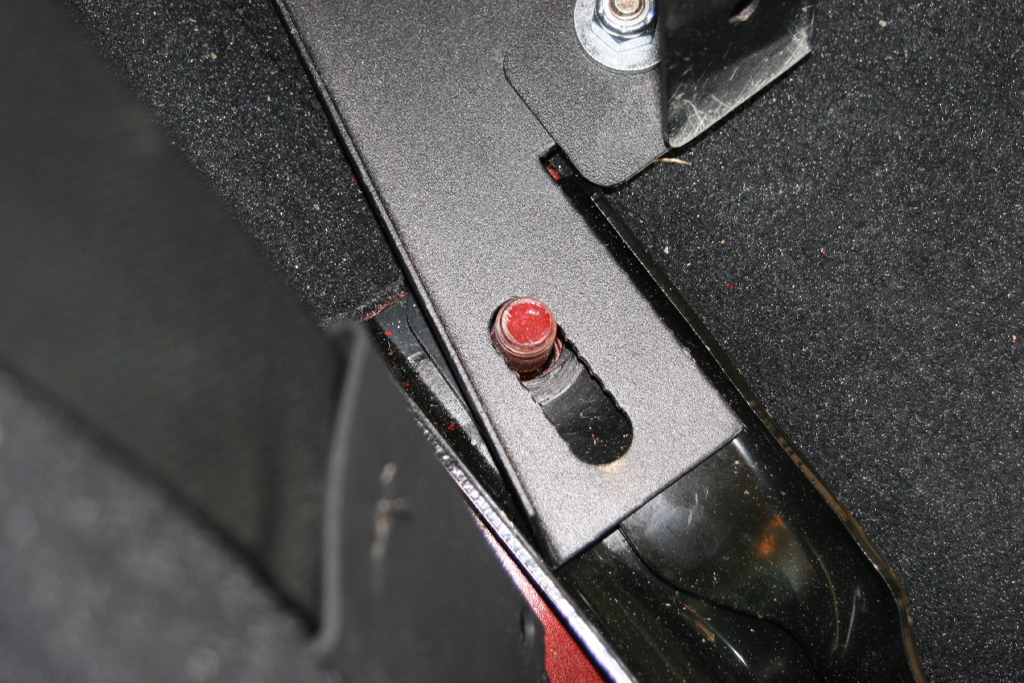
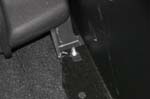
| Fasten the Rear Left bracket to the Left Vertical Panel using (1) 5/16 x ¾” Bolts,and (1) 5/16” Washers. The left rear bracket should line up with the original factory holes where the door alignment guide was removed. |
|
| Install the Left Cap Panel to the Left Vertical Panel using (5) ¼-20 x ¾” Phillip pan head screws, ¼-20 Nylock nuts and ¼” washers. This is really tight, and may need a second person for the middle screw. |
|
|
|
|
|
|
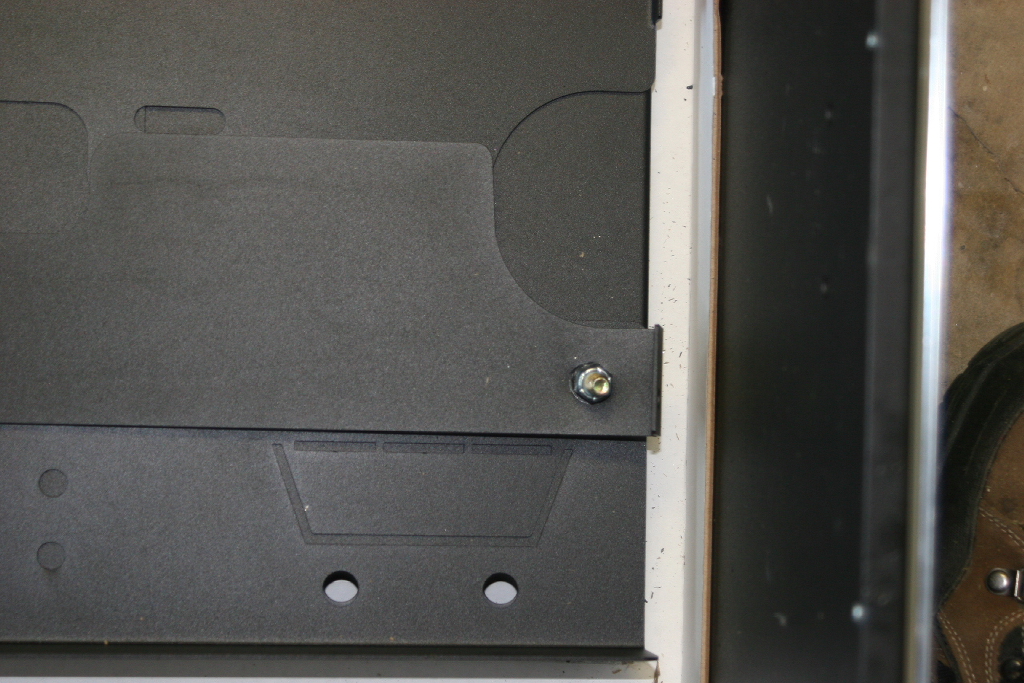
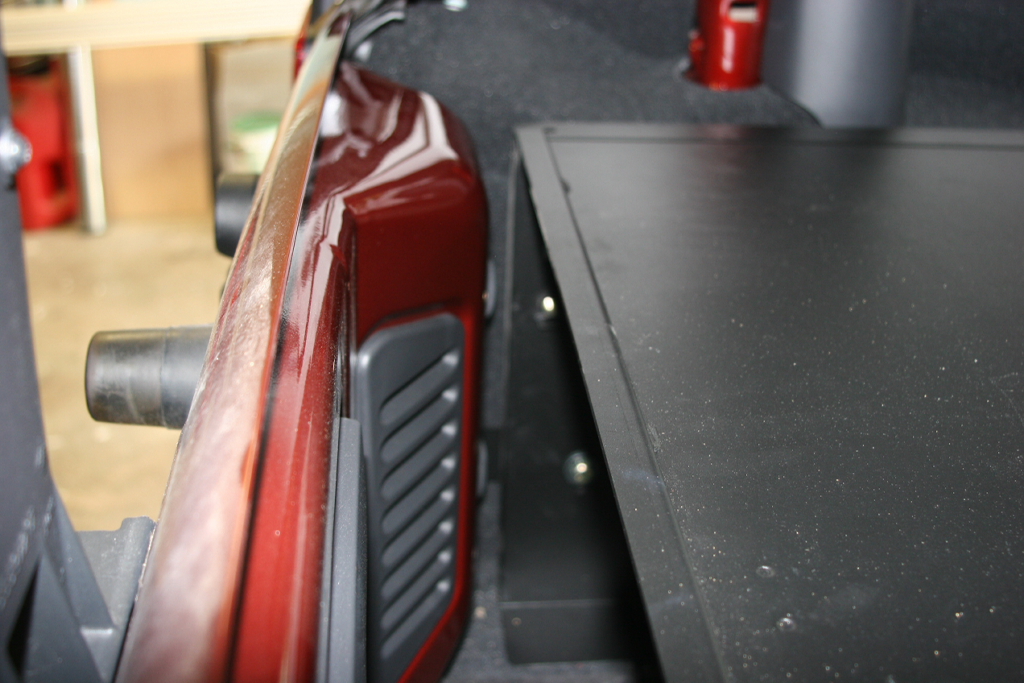
| I made certain that the enclosure was all the way over to the left side of the JK and then squared it off against the tailgate. I set the enclosure back 5 1/4" from the exterior edge of the plastic lip on the door seal. |
|
| Check for clearance with the rear door and the rear seats on the 4 door models. |
|
|
Tighten the nuts and bolts holding the Front Left, and Front Right brackets to the Left and Right Vertical Panels with a 1/2" socket and 1/2" combo wrench |
| Reinstall the original factory seat bracket nuts with an 18mm socket to secure the front of the drawer assembly. |
Reinstall the original factory rear door alignment guide and spacer using the factory hardware that you so carefully put aside. The spacer should be installed behind the Rear Left Bracket and the door alignment guide in front of it. Line up the marks that you made earlier and tighten down the bolts. Tighten the bolt that that holds the Rear Left bracket to the Left Vertical Panel with a 1/2" socket. |
 |
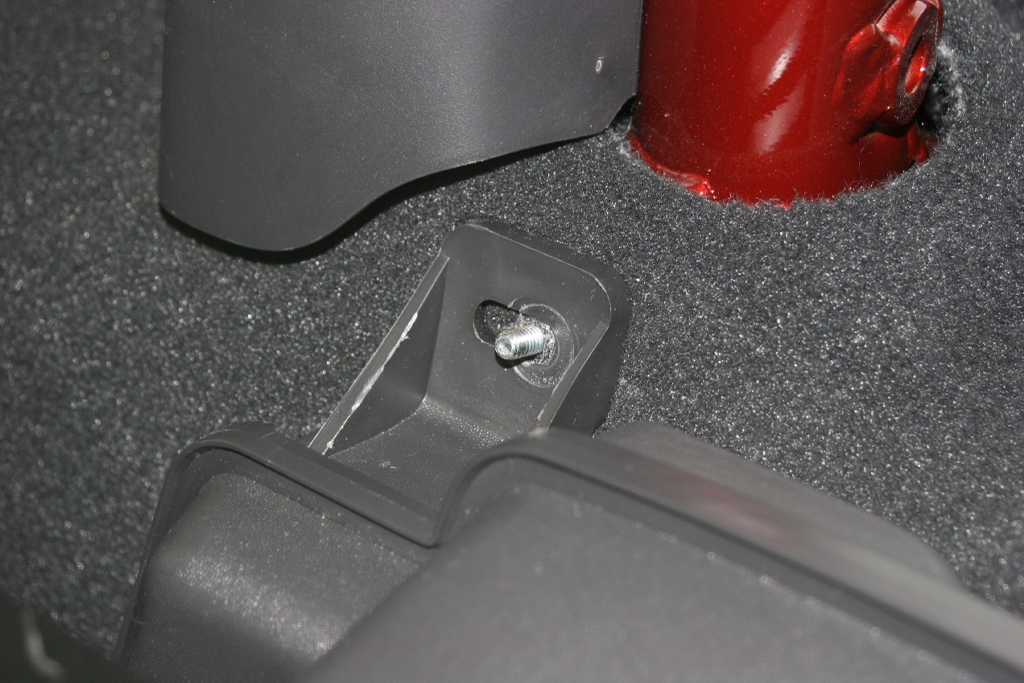
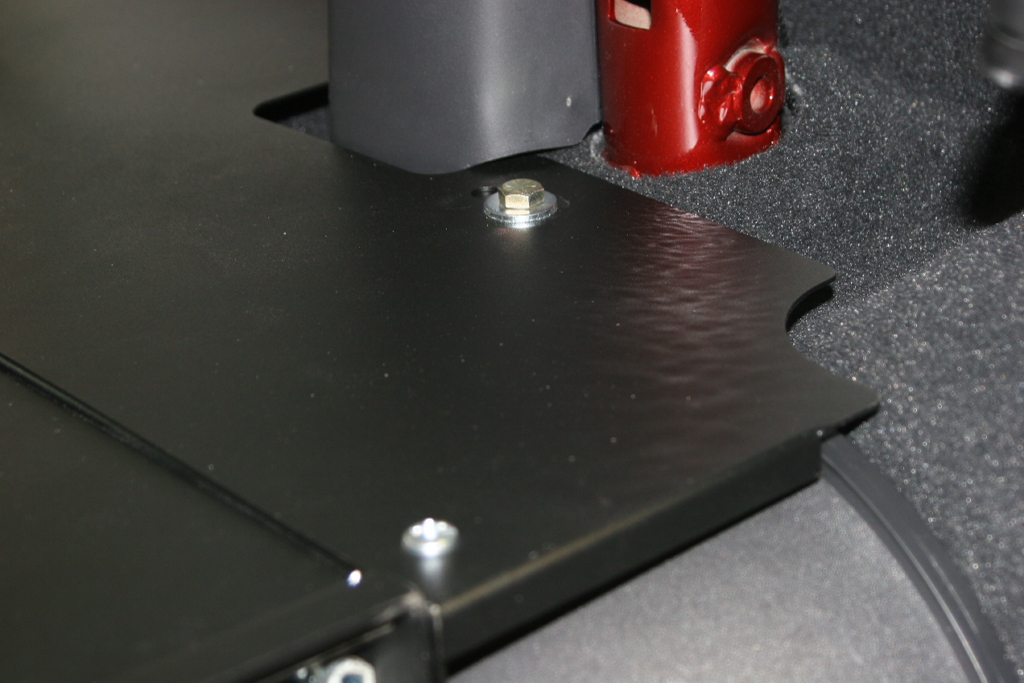
Fasten the rear hole in the Right Vertical Panel to the sub woofer mounting stud located on the floor of the vehicle. Use the factory hardware and a 15mm socket |
 |
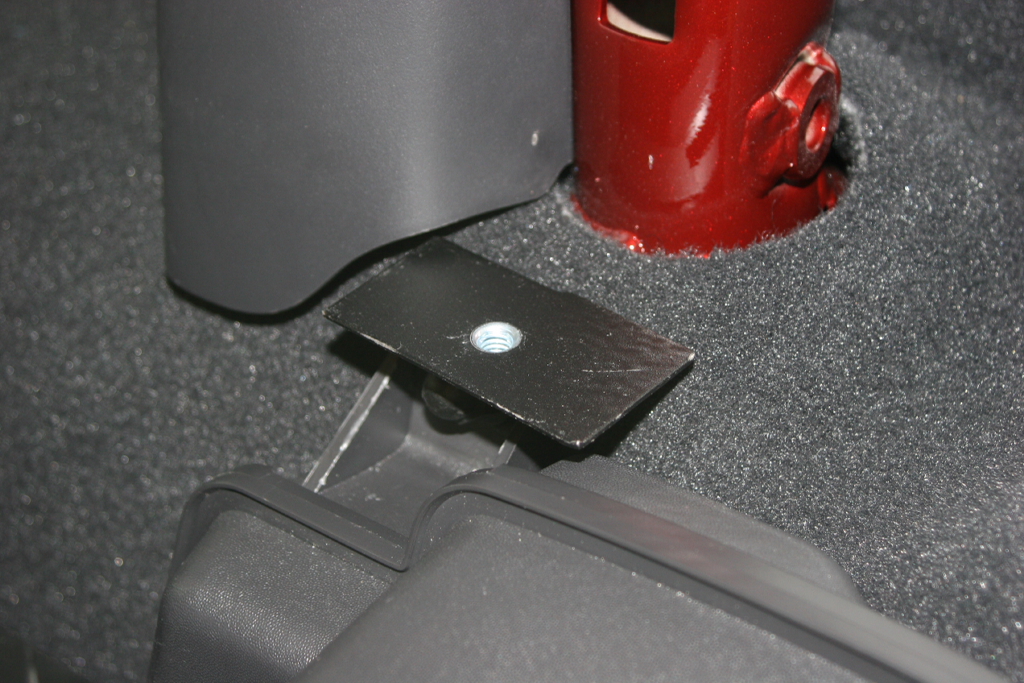
Fasten the Right Rear Bracket to the original mounting stud on top of the sub woofer. Use the factory hardware with a 15mm socket. |
|
|
| Check your bracket once installed. It will need to be level with the top of the enclosure. My bracket was bent, so I needed to remove it and bend it out a little to make it flat across the top. |
 |
I found it easier to fasten the Right Cap Panel to the Right Rear Bracket using a 5/16 x ¾” bolt and a 5/16” washer. |
|
|
| Fasten the Right Cap Panel to the Right Vertical Panel using (4) ¼-20 x ¾” Phillips pan head screws, (4) ¼-20 nylock nuts, and (4) ¼” washers. This side is easier than the other. Be very careful with the bolt closest to the sub woofer, retrieving the washer or nut from around the sub woofer can be difficult. |
|
|
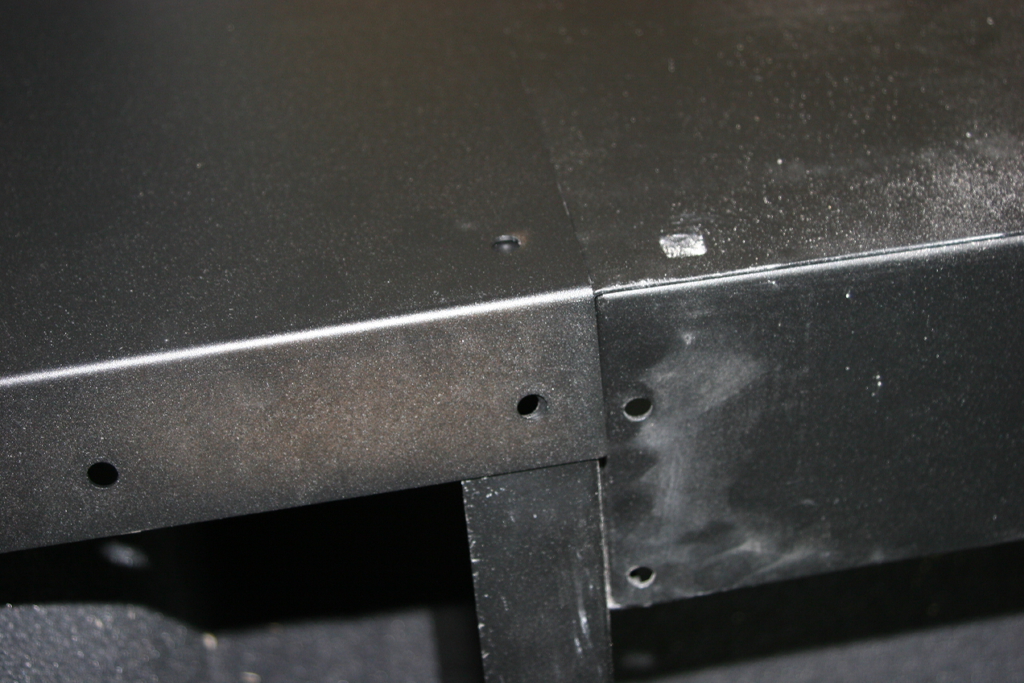
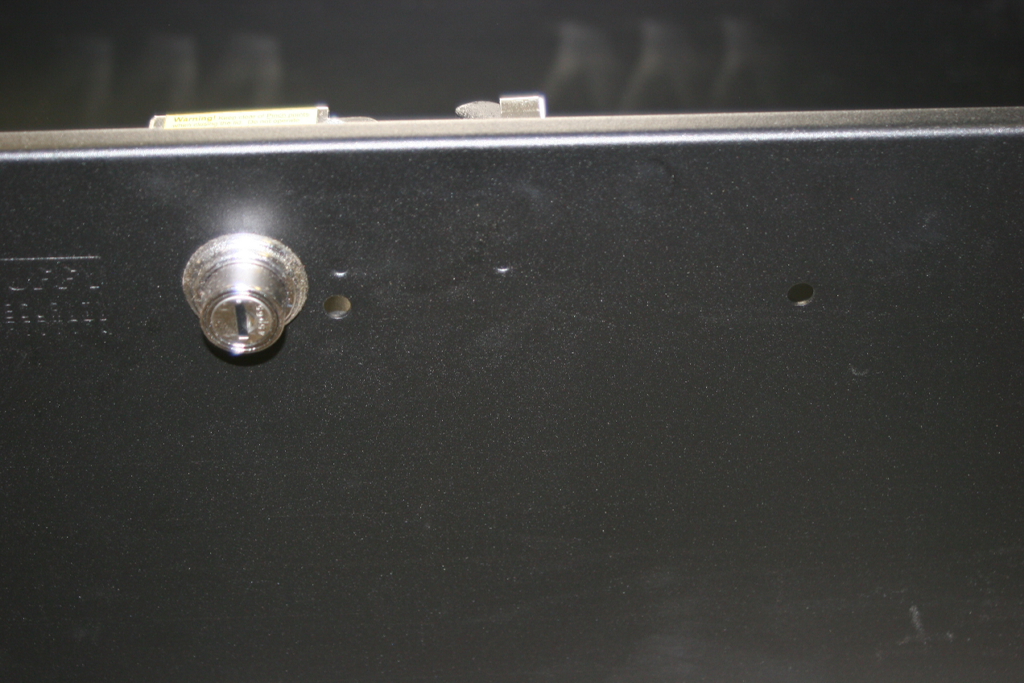
| I did run into one problem. The Right Vertical Panel was missing a few holes in it. So I drilled them out with a 3/8" drill bit. |
|
|
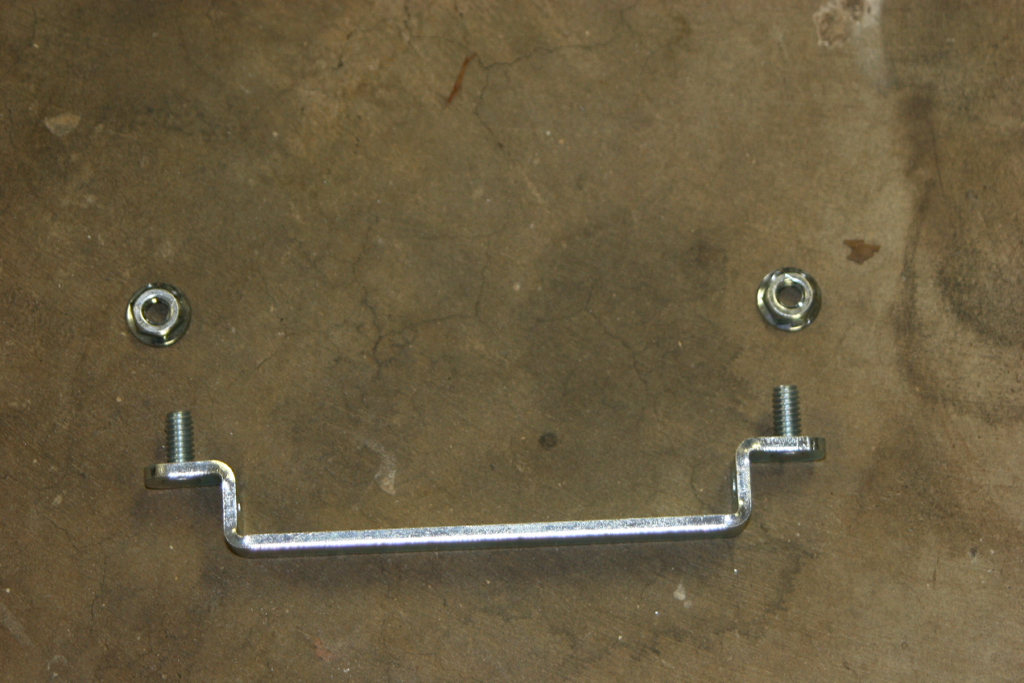
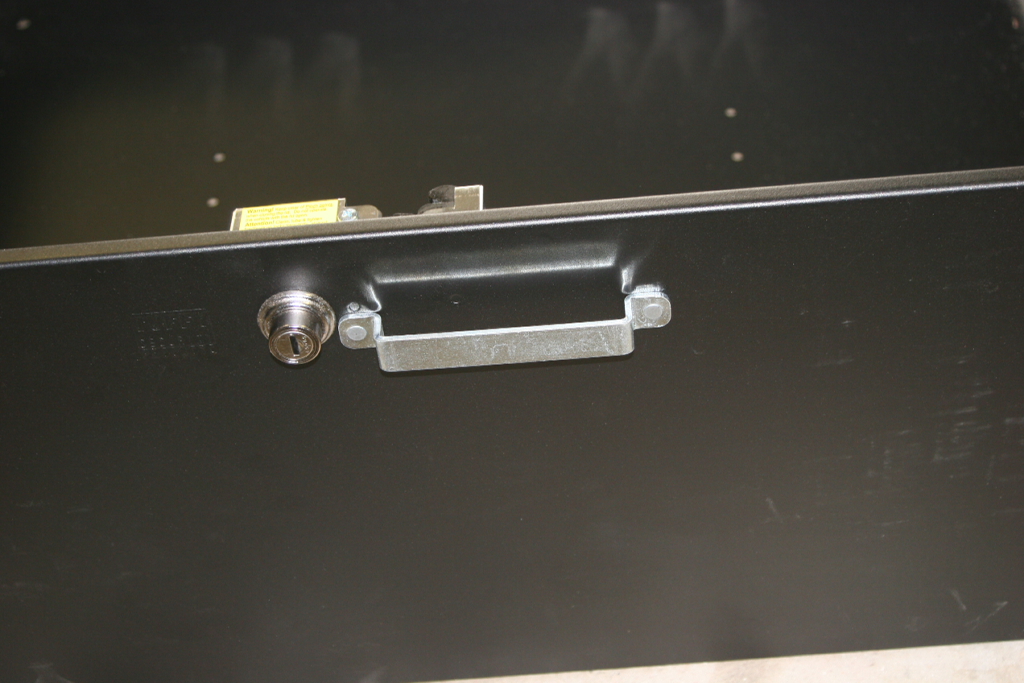
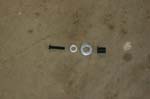
| Install the drawer handle using two ¼-20 serrated flange nuts. One nut is located inside the metal housing for the lock. The edges can be sharp, so be careful when you reach in. This will require a 7/16" socket and an extension. |
|
|
|
|
Lift the drawer up and insert the ends of the slides into the matching parts in the enclosure. The drawer will be difficult to insert, so do not force it. You need to keep the sides aligned as you slide it in until it is fully closed. The latch's should engage automatically. Slide the drawer back out and check for operation, especially that the latches are engaged and the drawer does not pull out. |
|
|
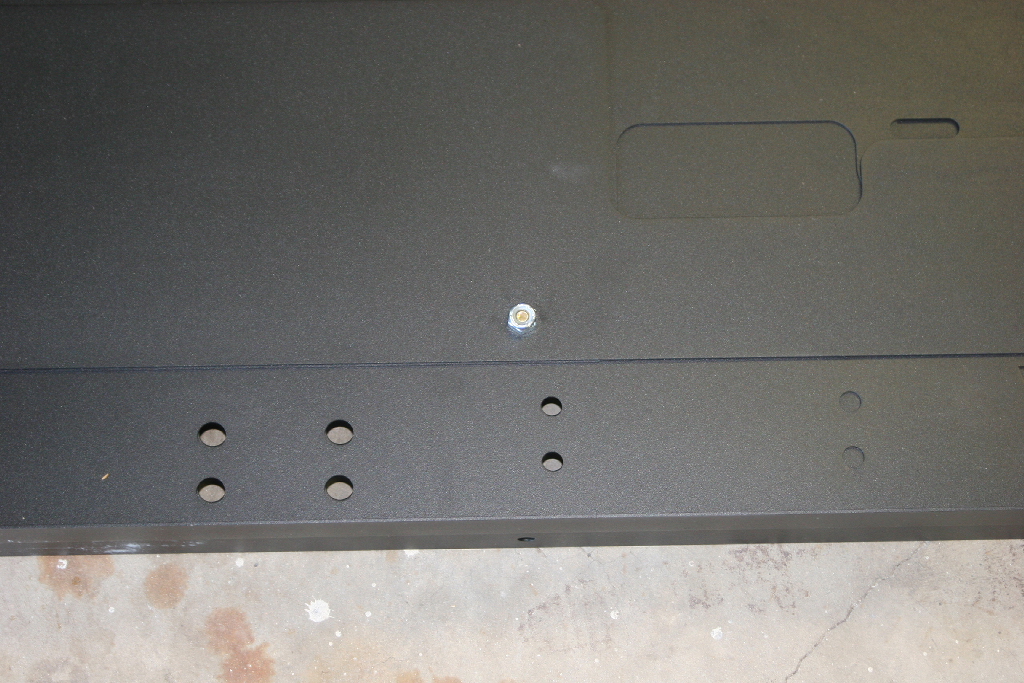
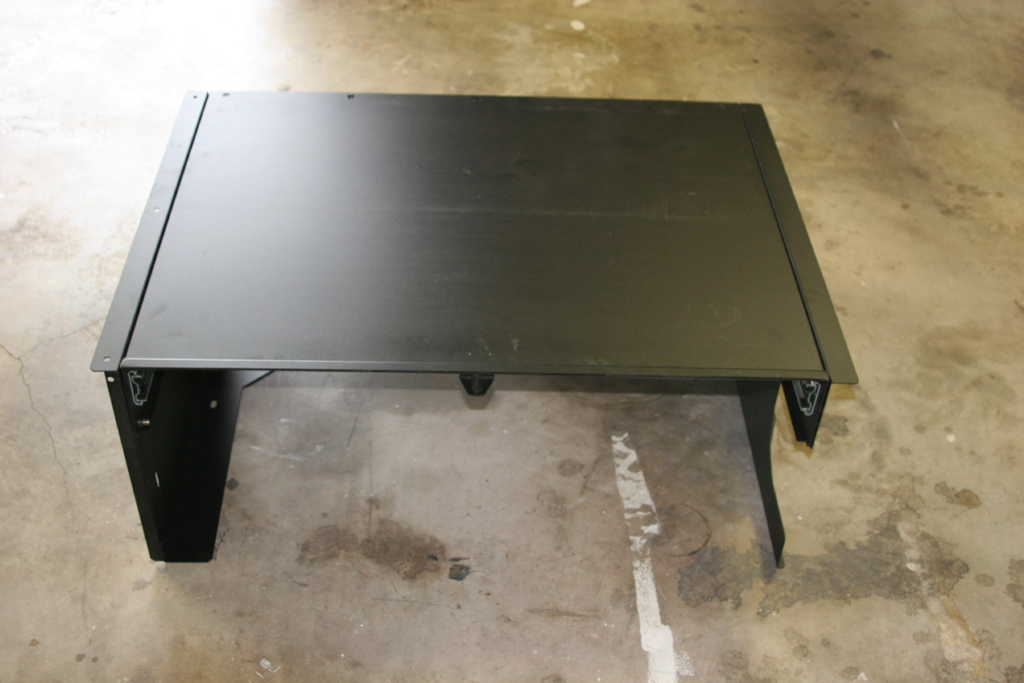
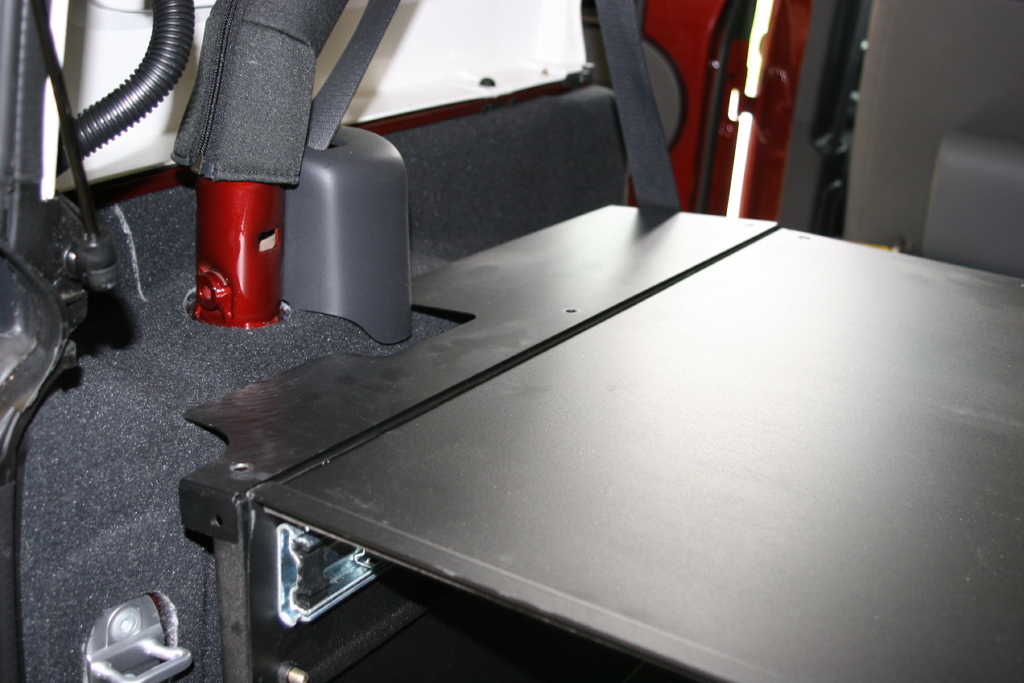
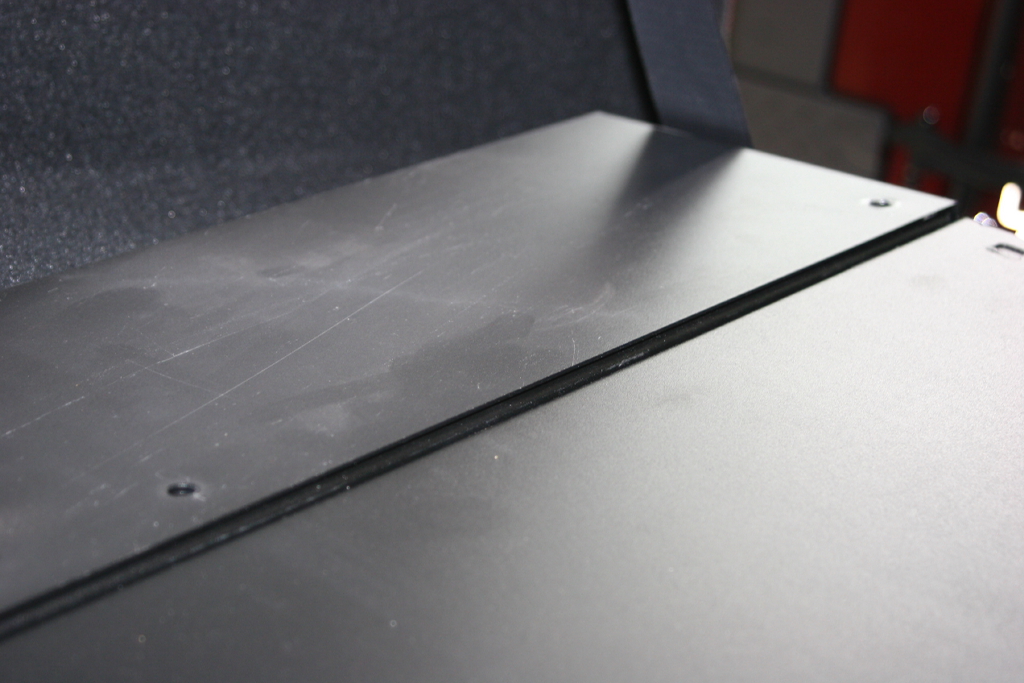
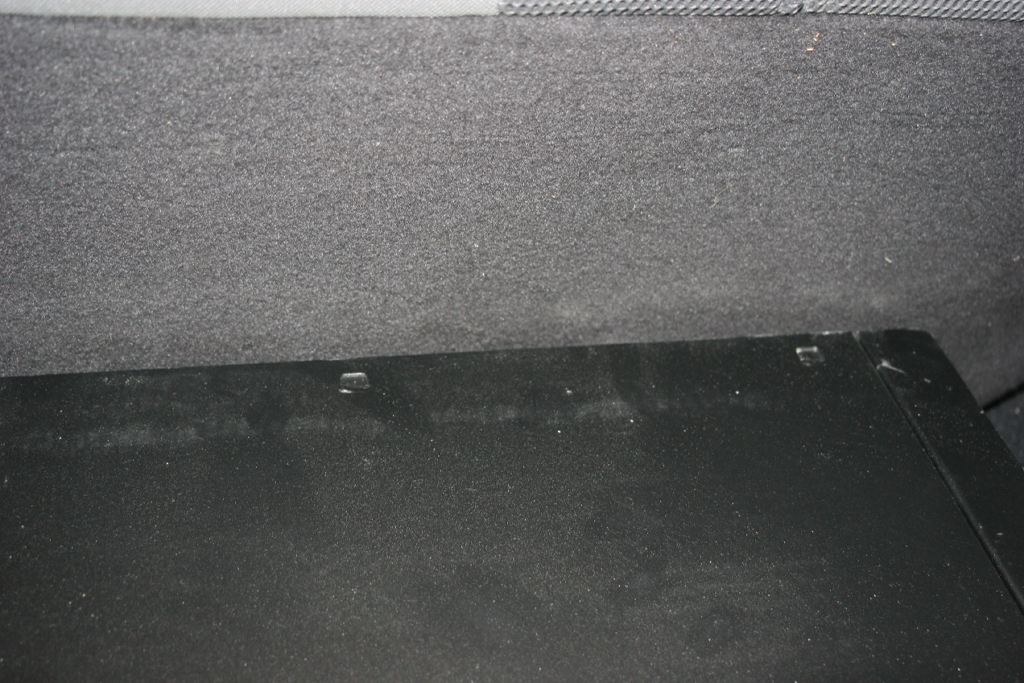
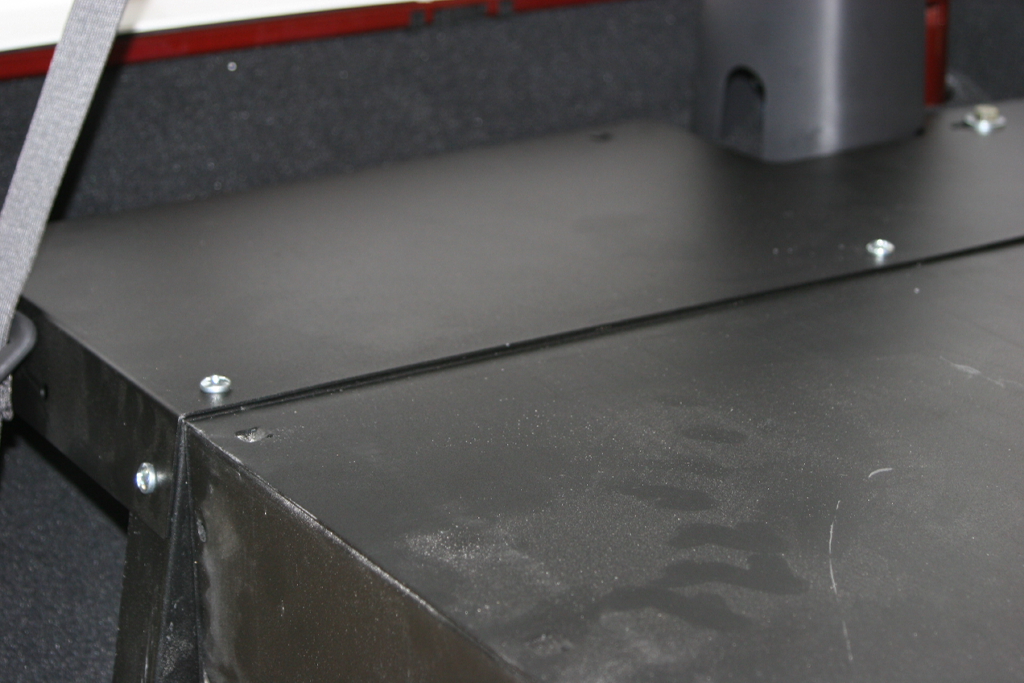
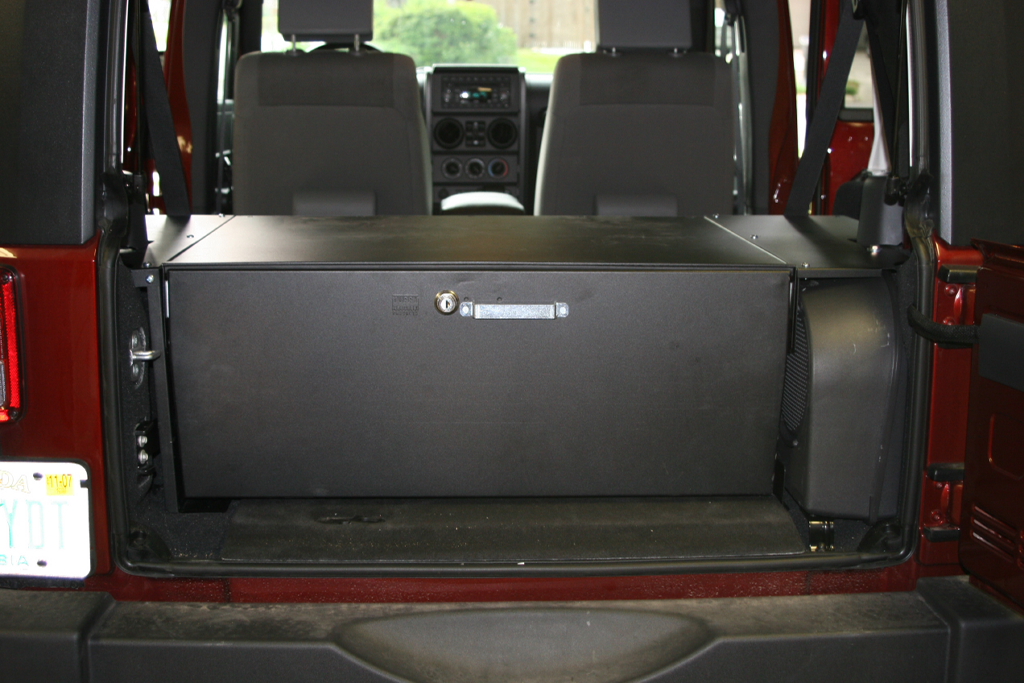
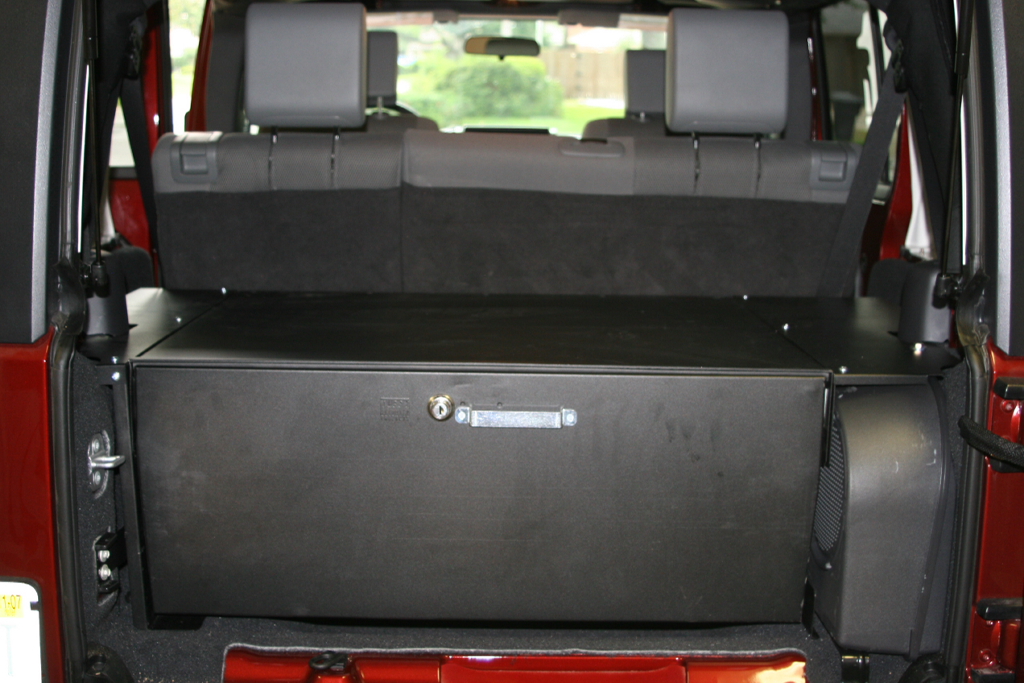
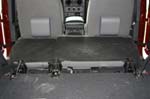
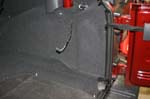
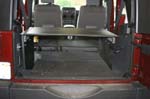
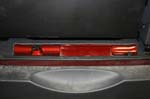
| Pictures of the front and back after the Security Drawer has been installed. |
|
|
| |
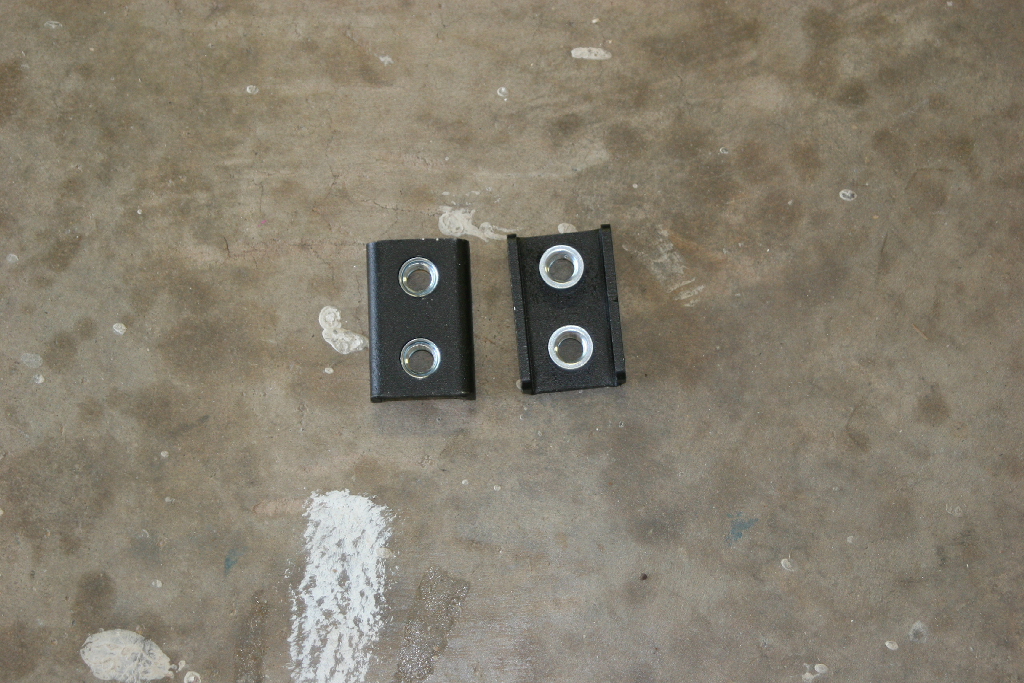
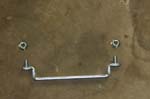
| Additional parts for no sub woofer and / or the 2 door model. |
Parts if you don't have a sub woofer . |
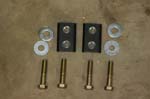
Seat Clamp brackets for the 2 door. |
| |
| Annoyances: |
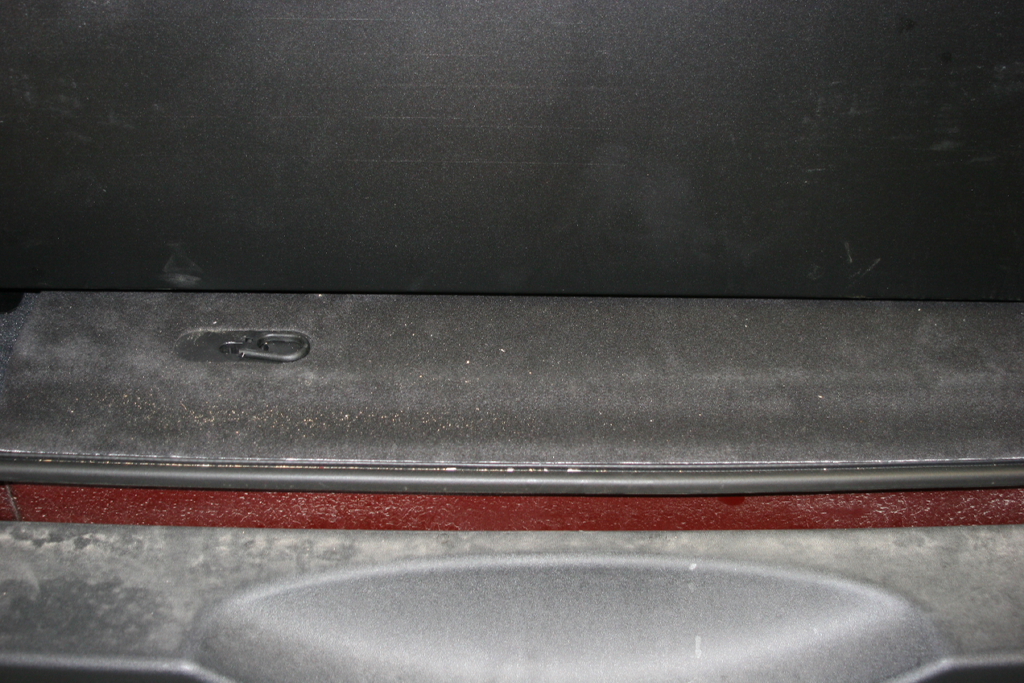
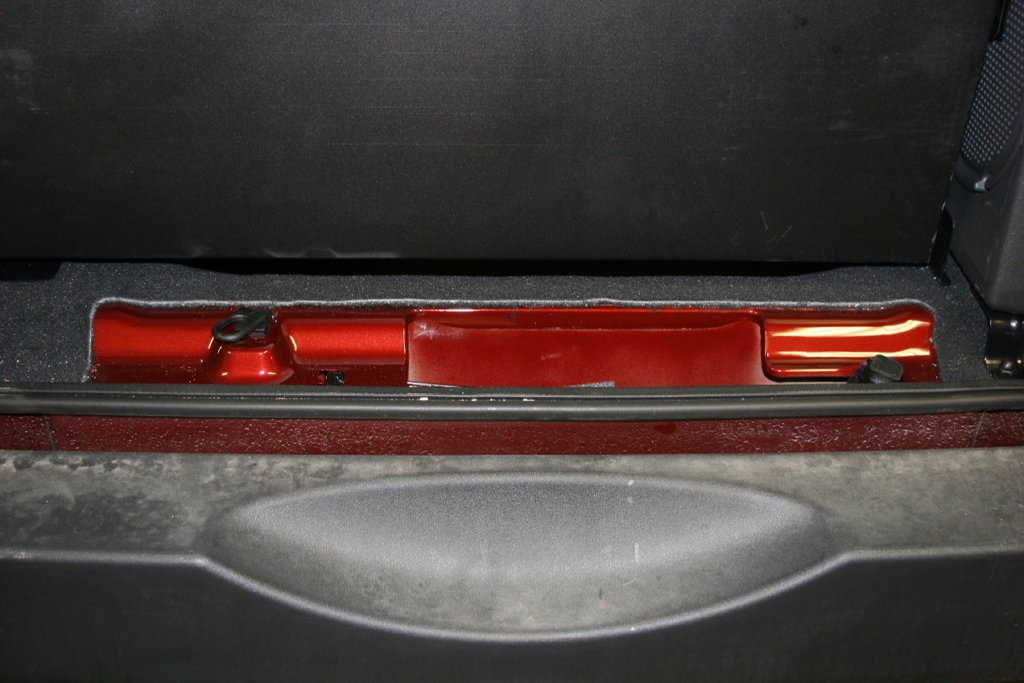
| With the drawer installed you will be unable to access the compartments that Jeep stuck in the back of the Jeep.
You do have a choice. You can either remove the drawer if you need to gain access to these area's, or you can remove the cover so that you can at least get to your jack without having to remove the cover. |
|
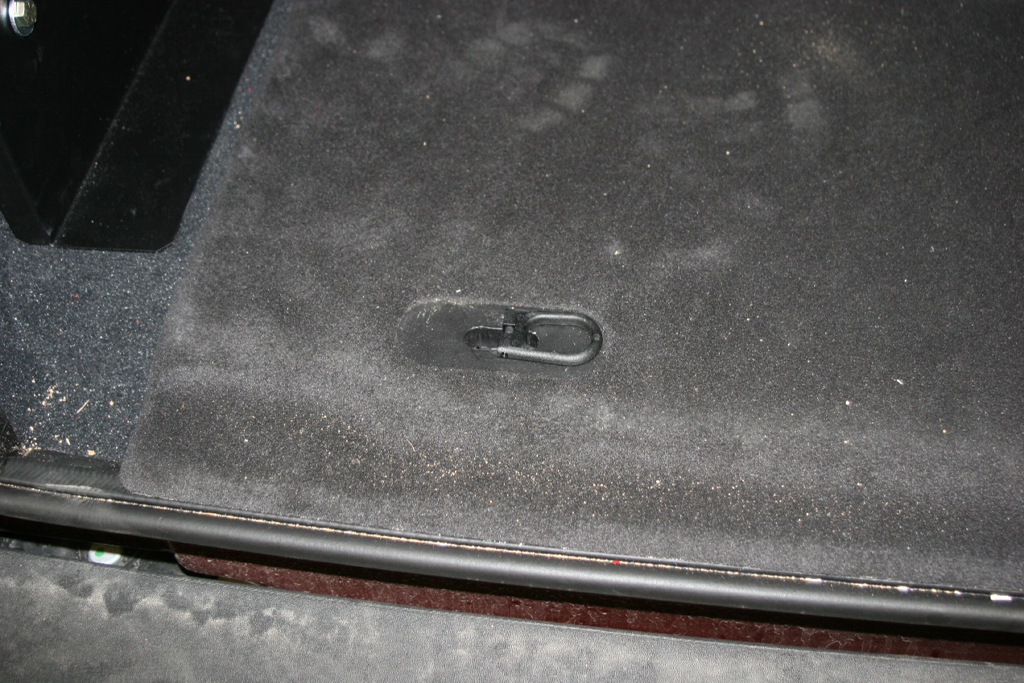
Simply remove the drawer, undo the latch for the cover, slide the cover towards the rear of the vehicle to pull the tabs out from under the brackets on the body. |
|
|
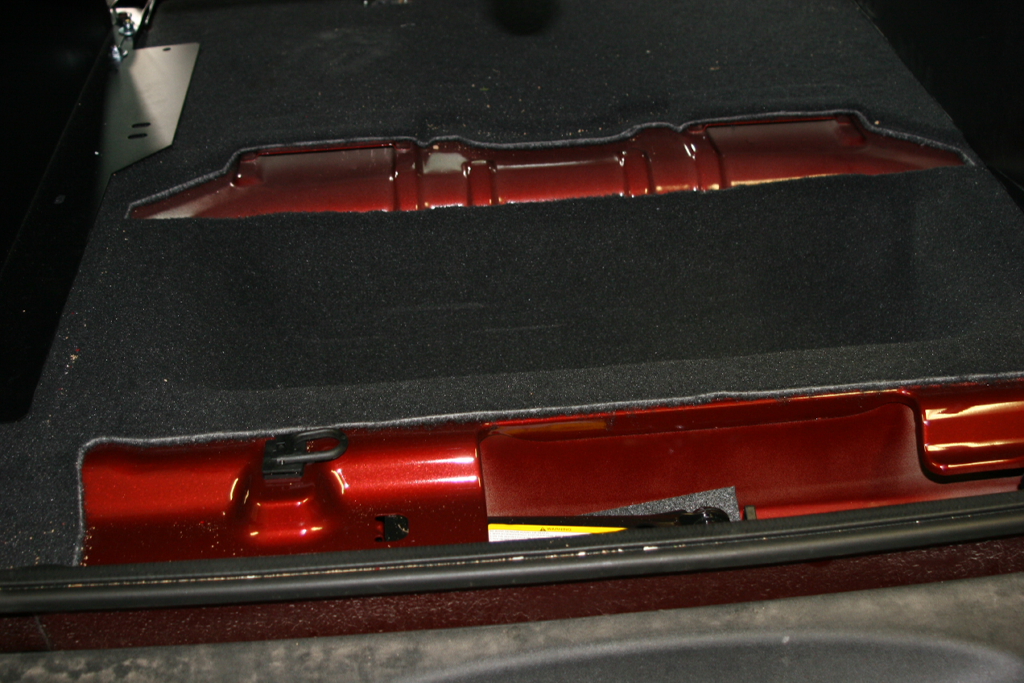
| Reinstall the drawer. You will have access to the jack now. |
 |
| |
| Issues: |
| Aside from a little rattle because it is empty, nothing. |
| |
| Overall thoughts: |
| The unit is nice and solid. Things do rattle around inside the drawer, but some drawer lining quickly solves the rattle issue. You really should buy the divider kit with the drawer, it makes keeping things separated much easier. Trying to dig through the bags to find the one you need gets to be a hassle after a little while. A very nice product. Best thing is it gives a nice mounting area for all sorts of things. |
Ā