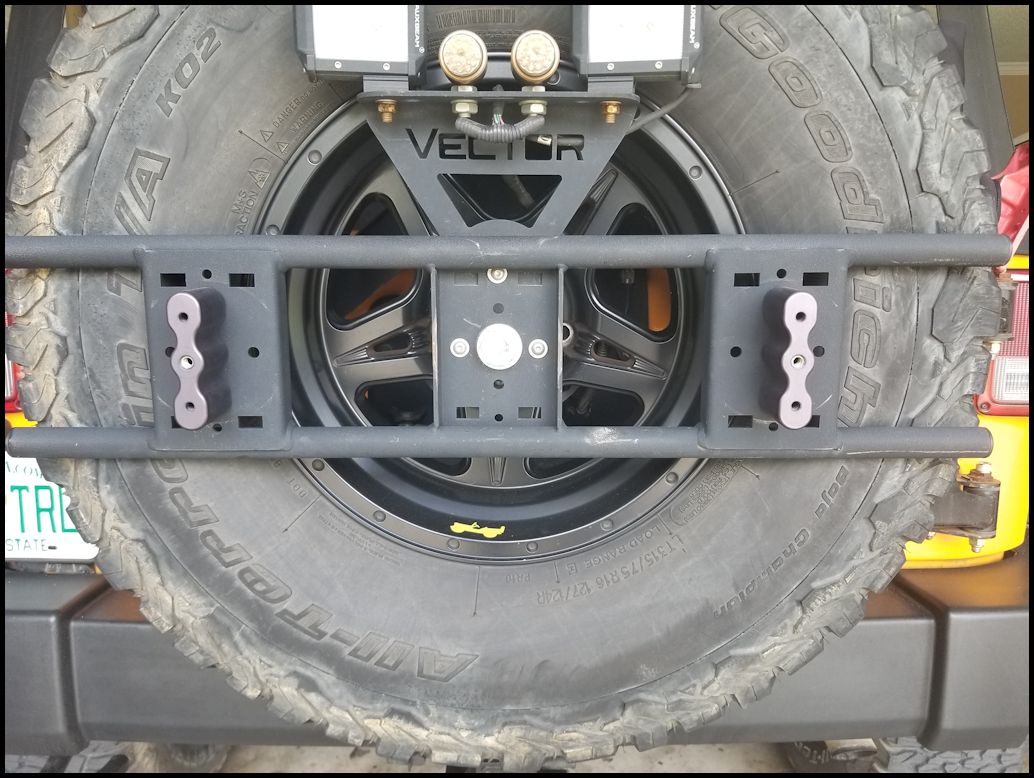
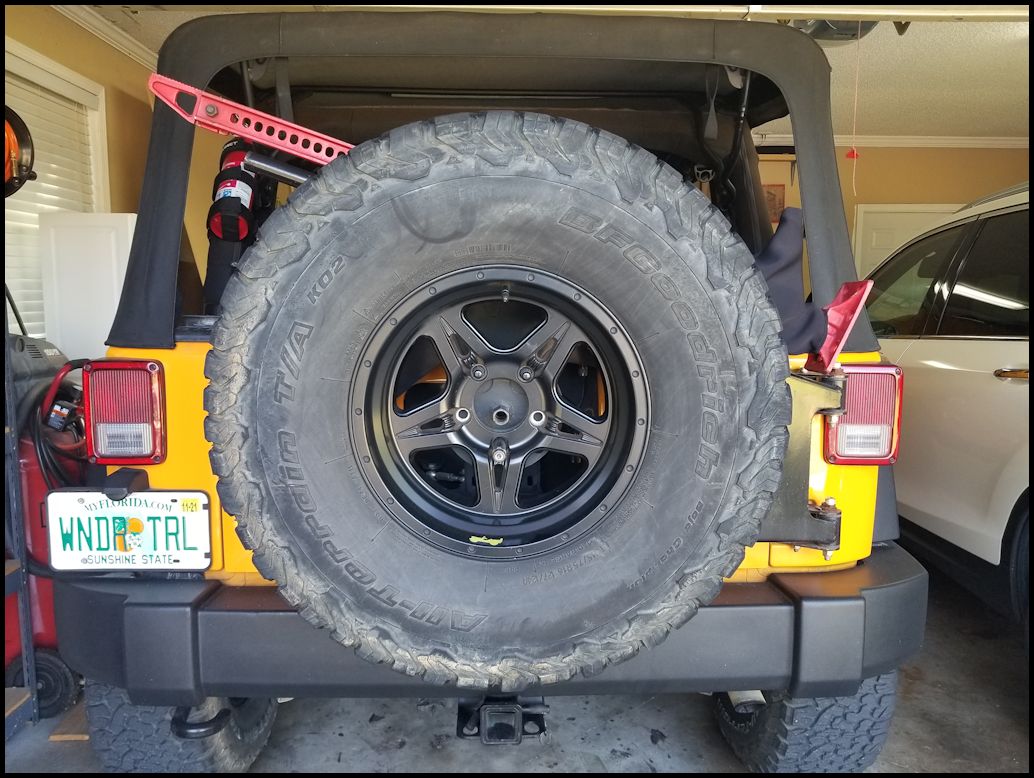
The 3rd brake light that I had wired up a long time ago when I added the Crawler Conceptz spare tire mount and the Vector Exo-Rack had partially died, so I was debating whether to purchase another set and redo the wiring, or go another direction. I had seen some of the brake light rings that mounted inside the spare tire on the Jeeps and was fairly impressed at how bright they were. Though nobody seems to see my bright yellow Jeep anyways. I really didn't want to play with anymore wiring projects at the time so I looked to see if I could buy one that was plug and play. It did take a little looking around and reading about different one before I found one that I thought was pretty good.
【Plug & Play】: Plug-N-Play design, no any drilling required and wire cutting, super easy to install. Compared with the common third brake light in the market, this wheel light save your time and reduce you installation troubles.
【Newest Design - Multi - Functions】: T-style Lighting- make full use of the gap between the spare tire lights, the brightness of the T-style lighting is higher than others; Sequential Lighting - With a sequential lighting function when braking, makes your vehicle unique than others.
【High Quality】: Comes with 120pcs quality LEDs, output high bright red light for immediate and obvious braking warning signals. Super durable and long lasting for 30000 hours; Durable polypropylene mounting plate and IP67 waterproof anti-corruption for harsh environment.
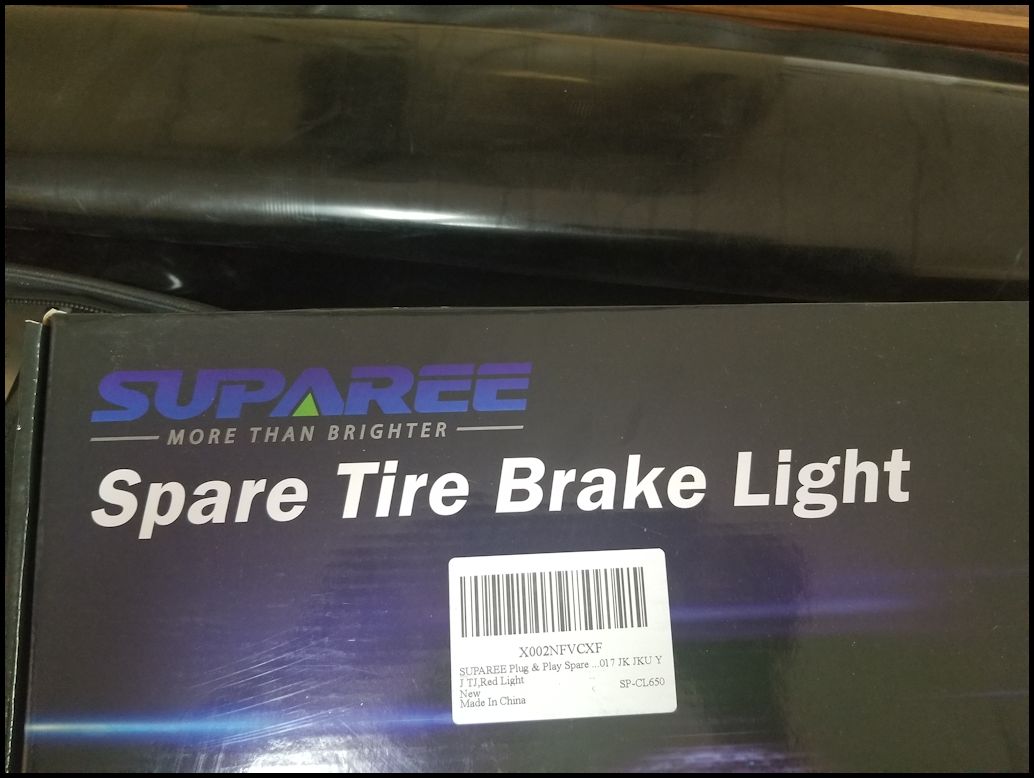
【Compatibility】: The spare tire brake light compatible with 2007-2018 JK JKU YJ TJ with all 16 to 20 inch rim diameter wheels,
【Package Included】: 1*plug & play spare Tire Brake Light (Not included 3rd Third Brake Light) We provide 2 year quality warranty making sure you get risk-free lights and 100% satisfaction after-sale services. Any questions please contact us if you feel free anytime.
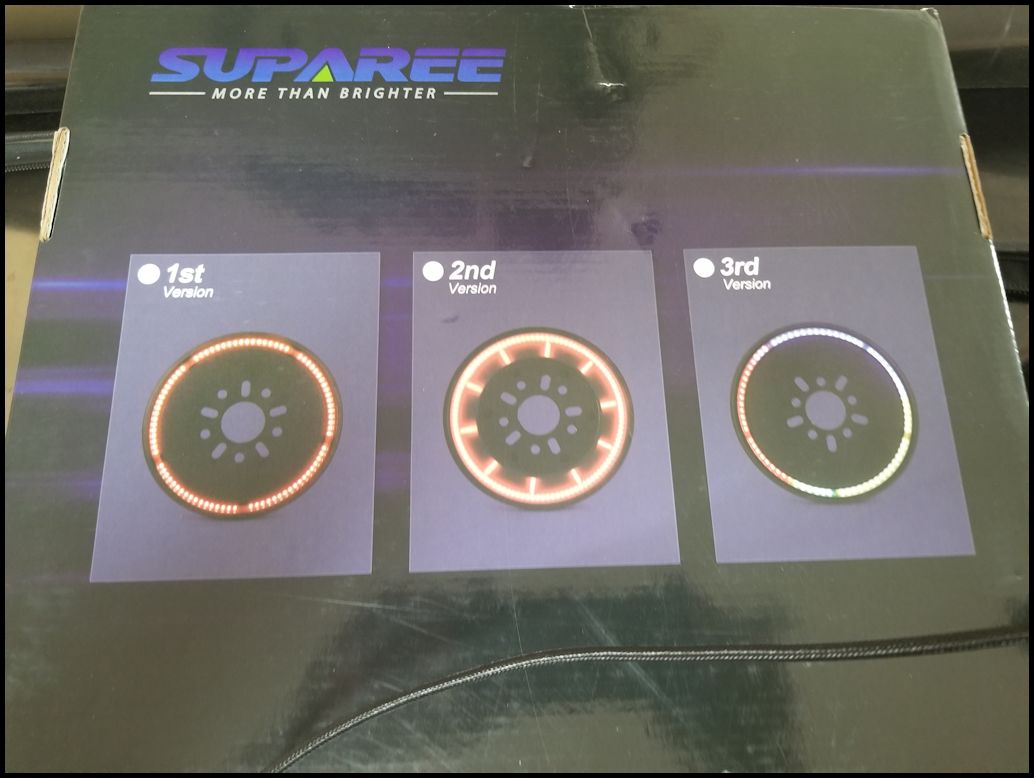
The box has 3 versions on it. Mine didn't come marked, so I hoped that the right one actually showed up. I purchased the sequential T version.
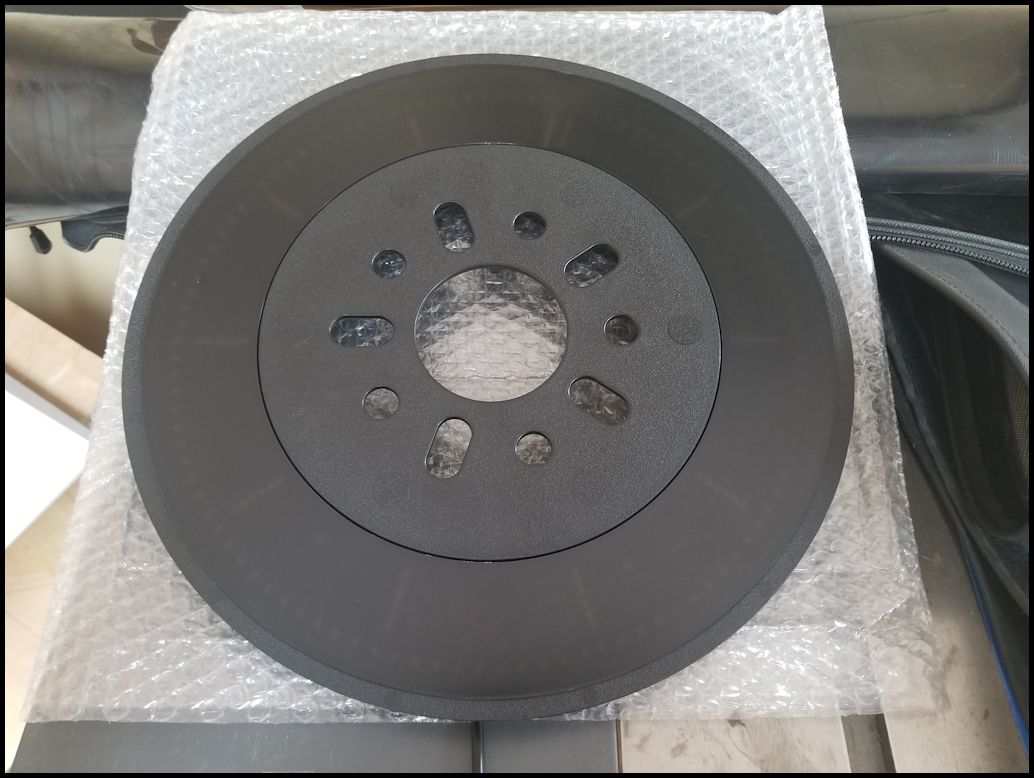
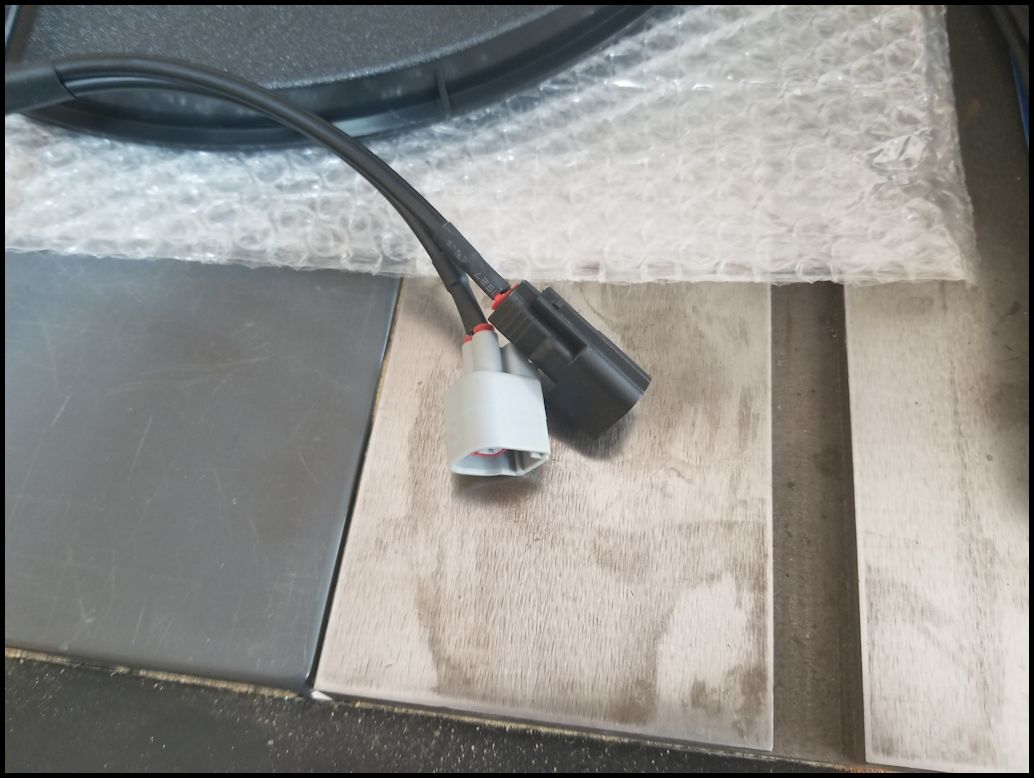
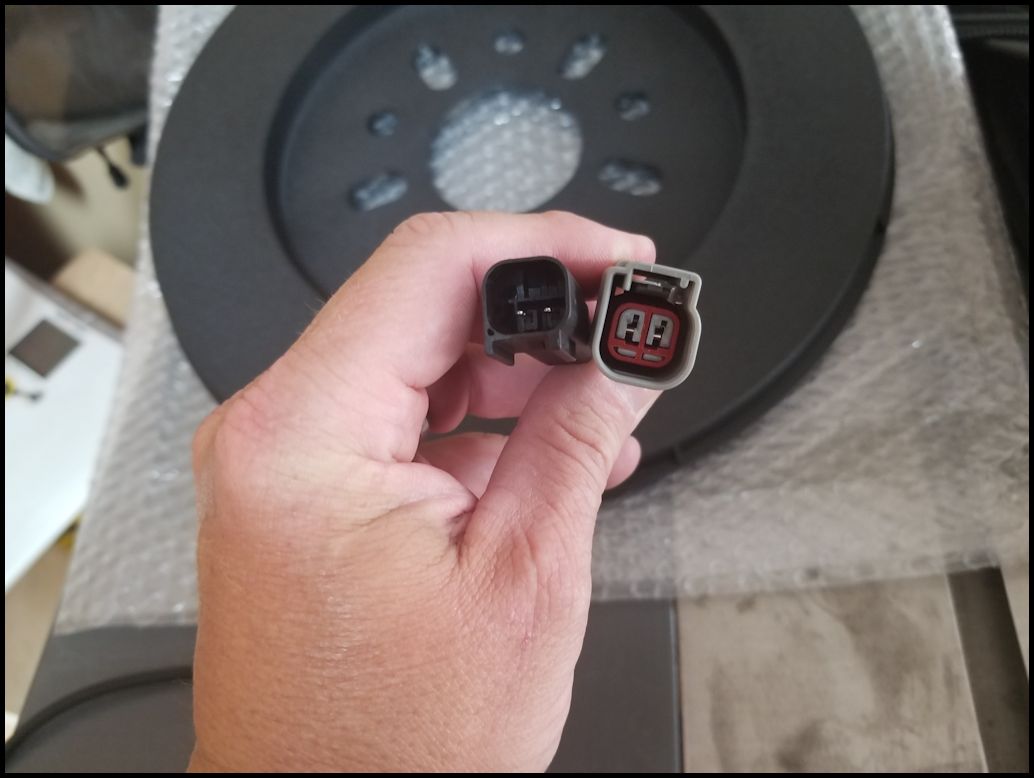
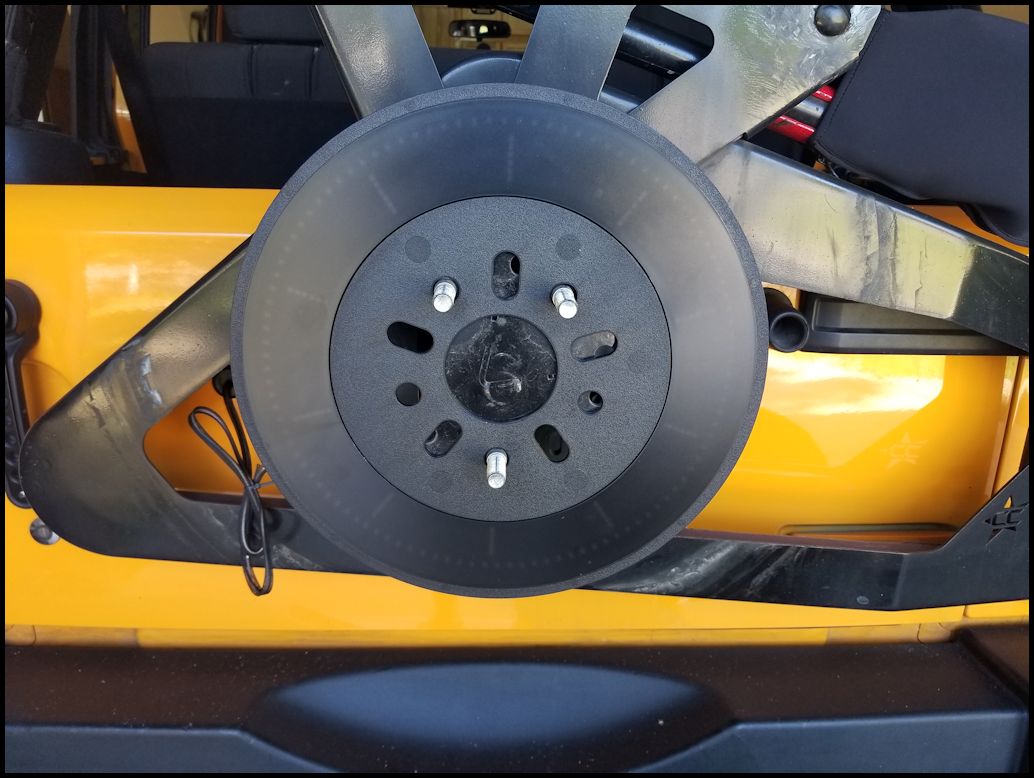
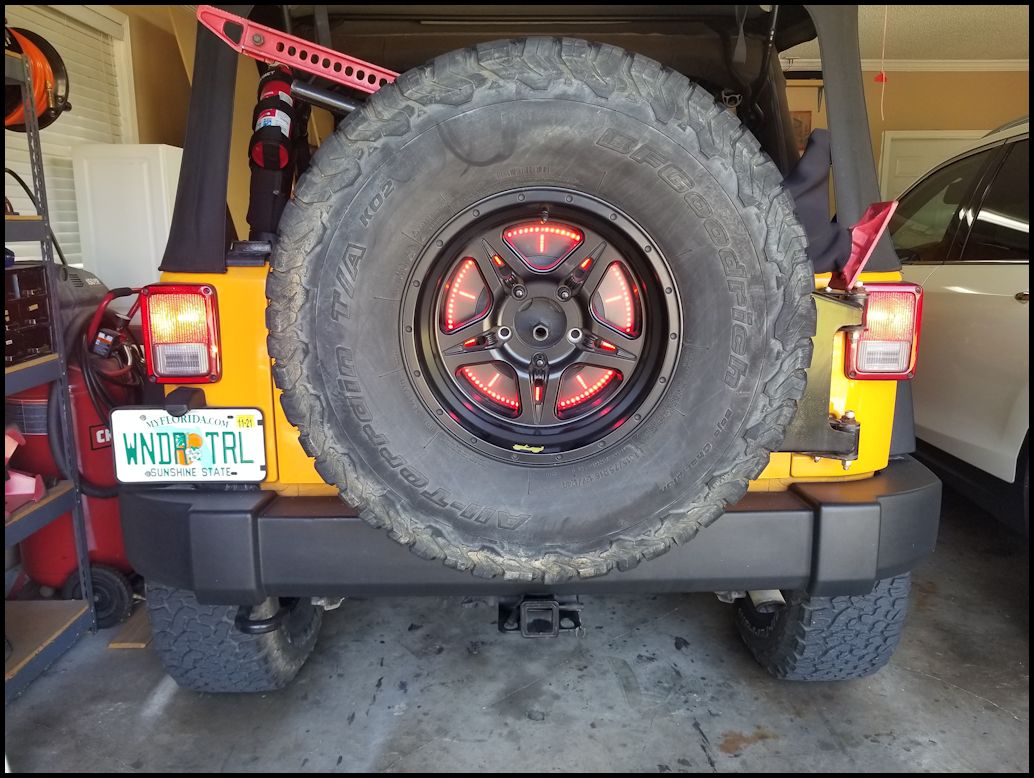
The lights are actually under a smoked cover of plastic. Though it may be splash resistant to some extent being under the plastic and somewhat protected by the spare tire, I really don't believe that it is anyway water proof. It does state that it's IP67 rated, The brake light comes with a prewired splitter, so you can connect it inline with your existing 3rd brake light or an additional brake light if wired, or you want to wire one in. This splitter works with the 2007 to 2018 Jeep JK's. The older TJ's, LJ's and YJ's will probably need a little wire splicing to get these to work. It will not work with the newer ones without modifying the wiring harness and probably the center bore to clear the backup camera. It will works with 5x5, 5x4.5, 5x5.5 inch lug patterns.
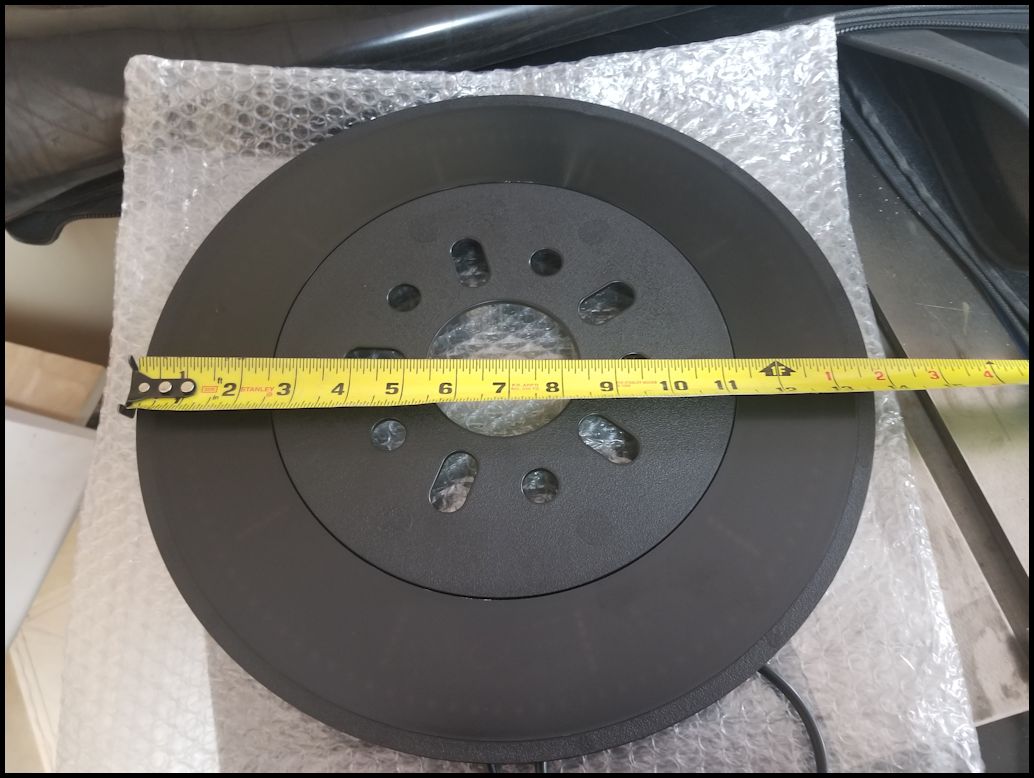
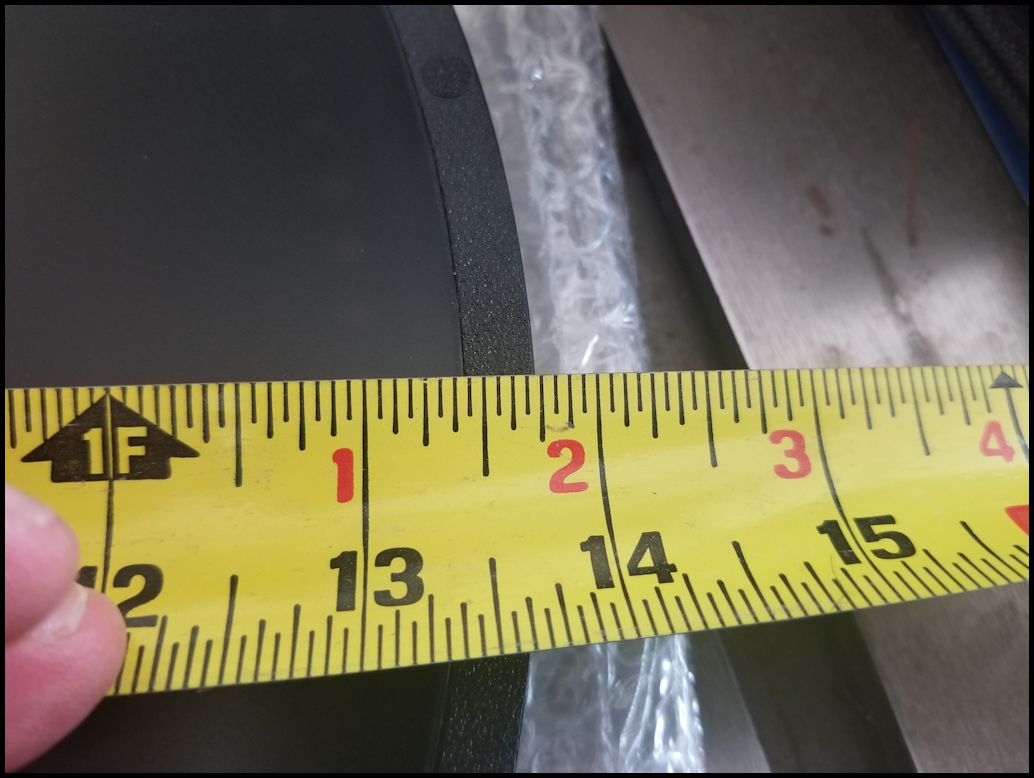
The diameter is 13 3/4" wide, so while it looks like it could fit a 15" wheel, the 16" wheel that I have on the back as a spare is really tight so I doubt a 15" would fit.
Installation:
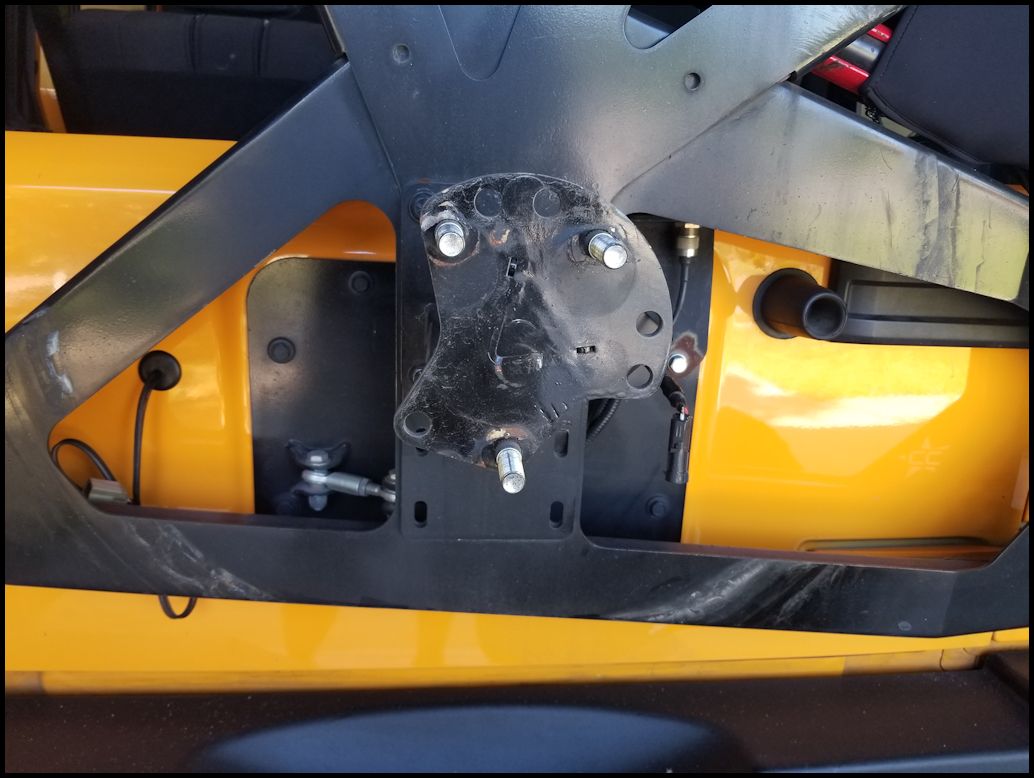
Remove anything that you have blocking access to the lug nuts holding on the spare tire. I needed to unplug my lights and remove the Vector Exo-rack.
Remove the lug nuts and remove the spare tire.
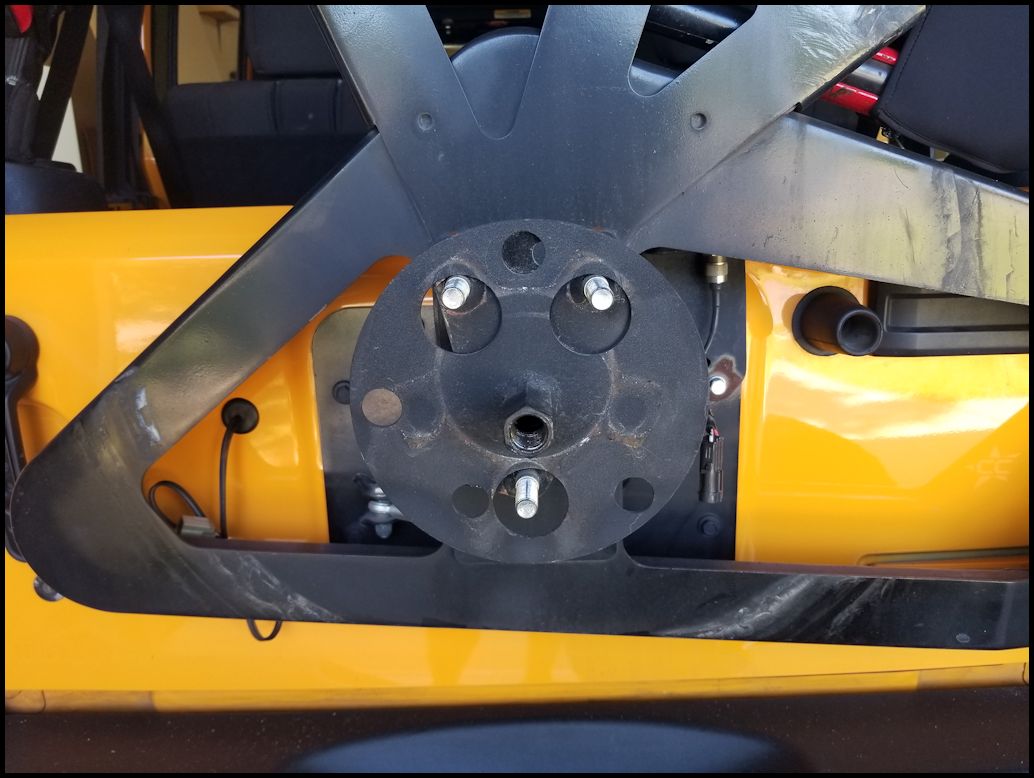
I needed to remove the exo-rack mounting plate. I took the time to clean the mounting plate off before installing the 3rd brake light
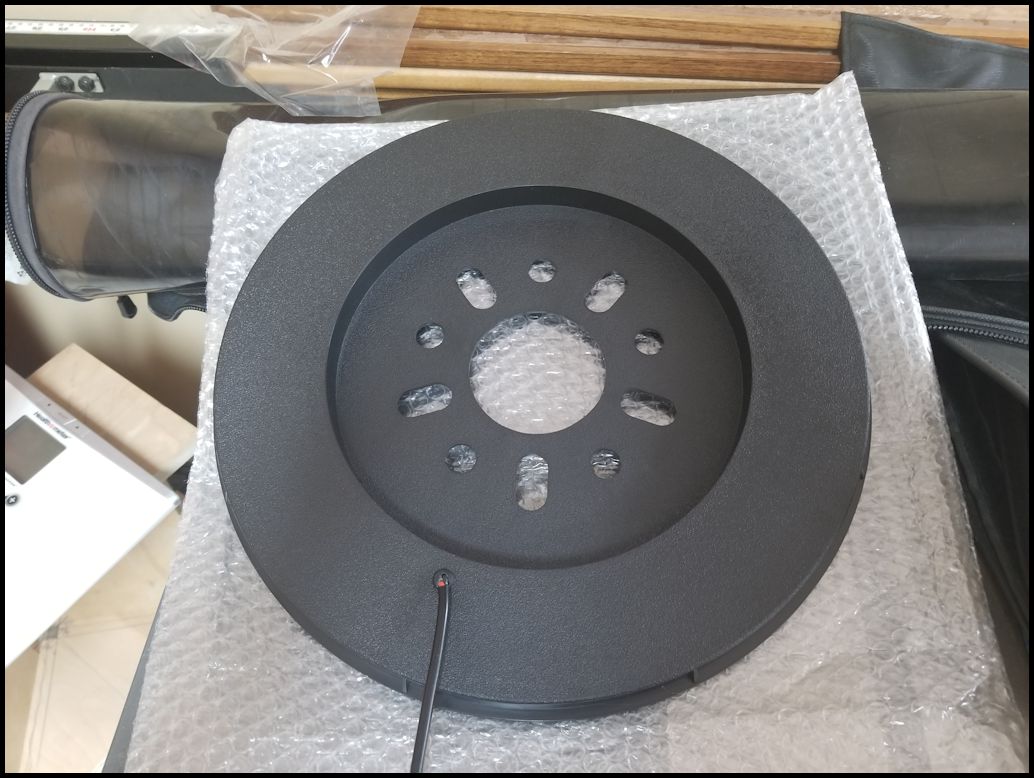
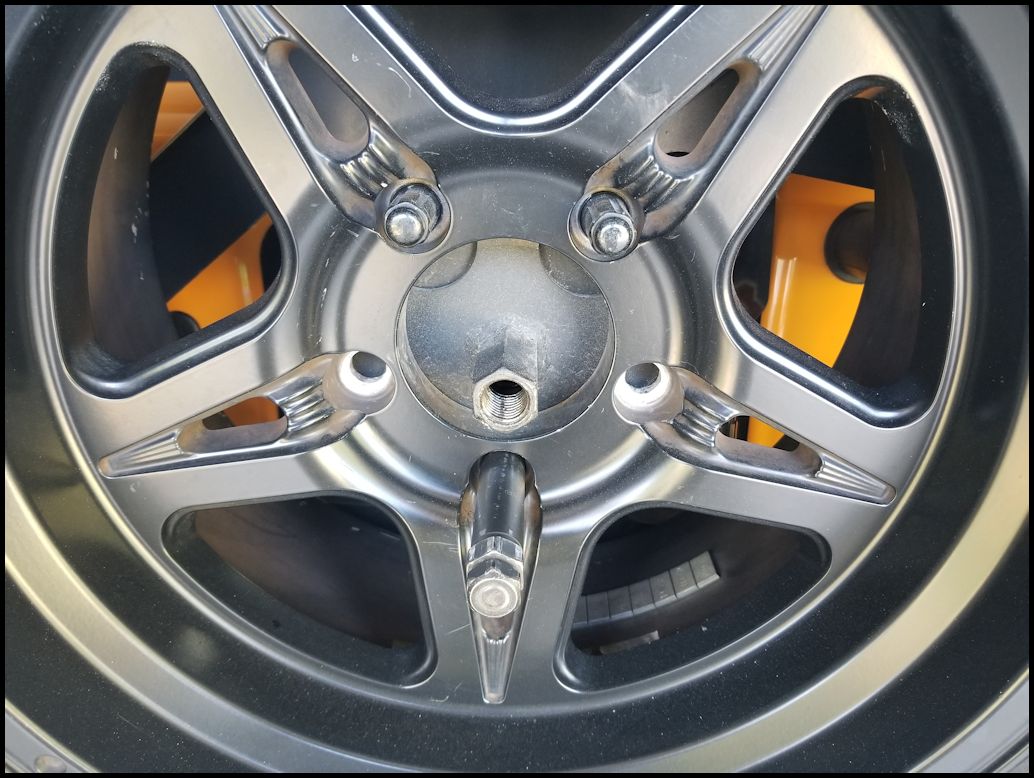
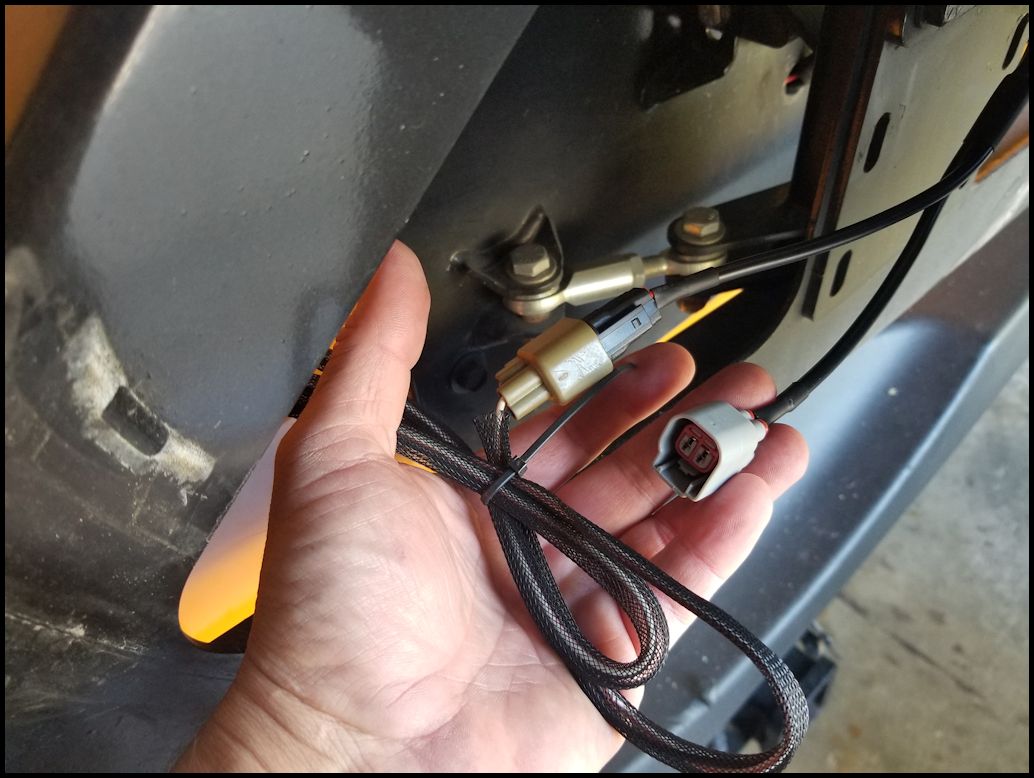
Install the 3rd brake light over the studs. There is plenty of wire, but you may want to choose your orientation based upon how you are going to route it behind the tire carrier and plug it into the factory harness. The bars that form the T's illuminate individually, so I oriented mine so that the first one to illuminate was the one located at the top of the tire. On the factory harness you will need to slide the red tab and then press down on the locking tab to seperate the harness. Plug each of those ends into the ends from teh 3rd brake light. Test to ensure that the new 3rd brake light lights up when you press the brake pedal.
Reinstall any aftermarket brackets and the spare tire. Becareful putting the spare tire on, I do not believe that the plastic of the brake light disk is capable of supporting the weight of a large spare tire.
Brake light pressed. The outer ring of LED lights illuminates first, and then the bars that form the T's light individually in order.
SUPAREE Plug & Play Spare Tire Brake Light T- Style