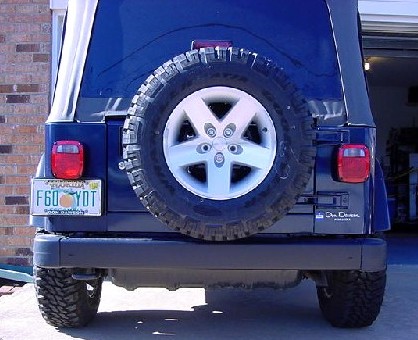
I still haven't decided which bumpers to put on the Rubi.
I now know what it is like to decide which shoes to wear with a dress.
Hmmm do I get the ARB, or the Durango, or maybe something else.
I just don't know. Well until I do finally figure out what I want,
I had these Tomken "Protec" bumpers sitting on a shelf in the
garage. I originally bought these a few years ago, 5 if I recall.
They came wrapped in newspaper in a flimsy cardboard box, with minimal
instructions that looked like a 3 year old drew the pictures. All
that aside they looked good and solid. The other thing I noticed
was that the powder coating was only on the outside, and the inside of
the bumper was bare steel. So I shot it with some spray paint and
hoped that it would work out. I originally installed these on my
'98. It only took about a month before the powder coat started flaking
off. The other thing I noticed was that they loved to hold water
inside the bumper, it would leak in along the edge of the pegs.
So I would have to constantly unbolt a peg and drain the rusty water out.
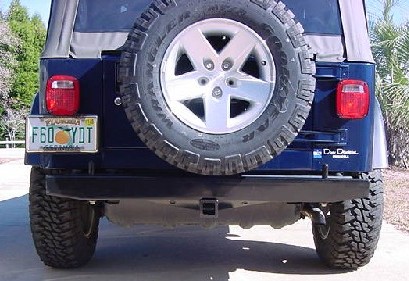
With everything that I have run these into, I figured I would have
destroyed them already. I also thought that they would rot away, but
they haven't. Would I buy them again, NO. They are stronger
than the factory bumpers so on they went.
1. Remove the 8 screws from the plastic end caps with a T-30 torx
bit. Be careful you don't get a face full of dirt.
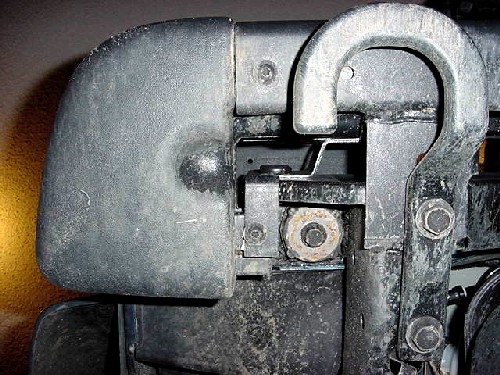
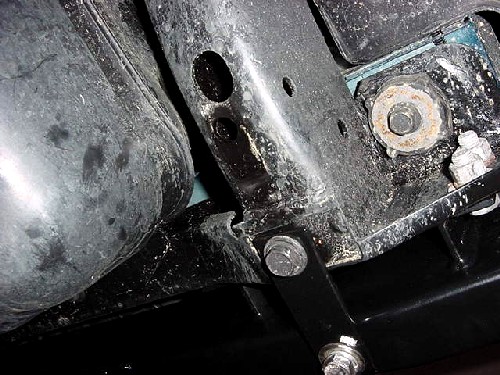
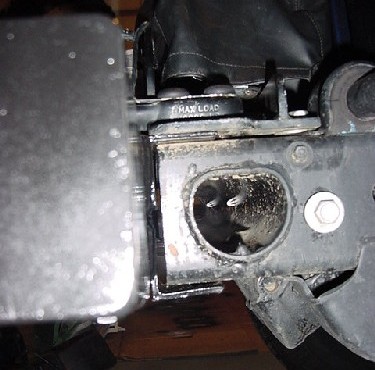
2. Now remove the 4 nuts and 2 bolts holding the rear bumper on.
The top nuts are right next to the body bushing, so a socket doesn't
fit very well. I loosened it up first with a box end and then
backed it off with the socket. I needed to remove the Tow hook
also. The back nut is attached to a metal tab, so it just pulls
right out of the frame.
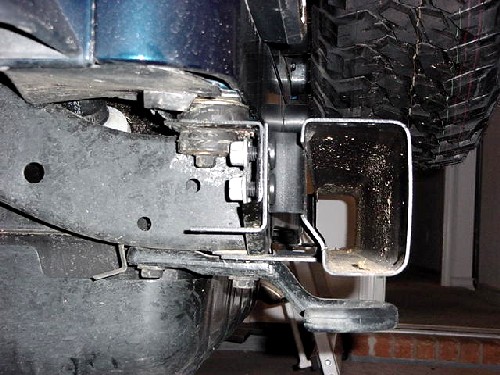
3. Now comes the fun part. You can do this 2 ways, one make
a pattern of the mounting plate, or stick the bumper up on the back
frame. Since I haven't decided on bumpers I didn't drill the
rear frame to completely mount this one. Here is how I did it
the last time.
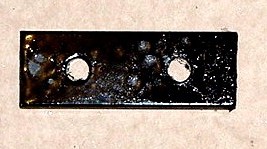
4. Place the bumper up on the frame and tighten down the
2 bolts on either side. You will notice that one hole is round
and the other oval, you may need to ream out the oval hole slightly
to allow the bolt to go through. Now mark where you will need
to drill the other holes and then take the bumper back off.
5. Center punch the holes and start drilling. Be careful
that you don't hit the gas tank on the other side. Once you
get the holes drilled, deburred and painted you get to put the bumper
back on.
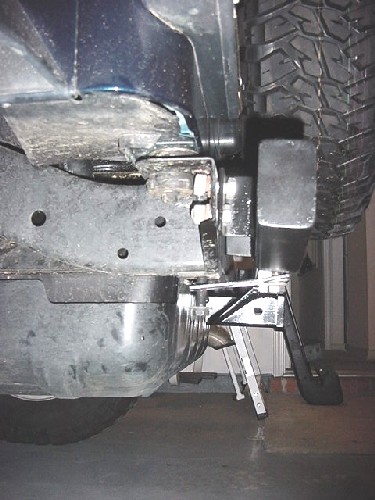
6. Since I have little hands I figured that I would be able to
get these bolts in and the nuts on without dropping the gas tank.
It didn't happen. I did have to drop the tank, but I only undid
the nuts on the back side and let it drop until it hit the trailer
hitch in the bumper. This gave me just enough room to work my
hand in there and get the nuts on.
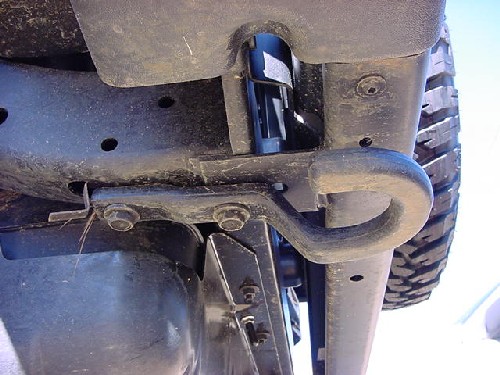
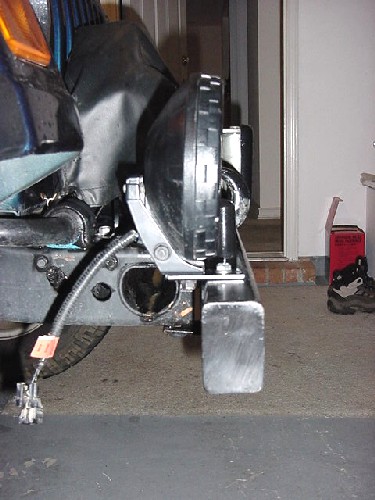
7. Now tighten everything up and you are done. I did
have a tow hook on the back, but once the bumper was installed it
didn't fit right so I just left it off. I did eventually
put it back on as a good tow point.
Old bumper= 17lbs
New bumper= 30lbs
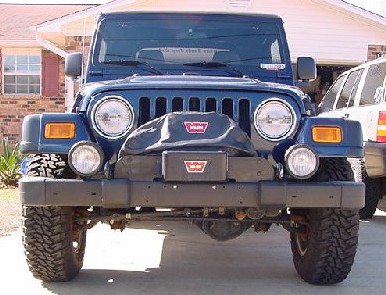
Front
Installation:
1. I started by removing the 6 torx head bolts with a T-55 torx.
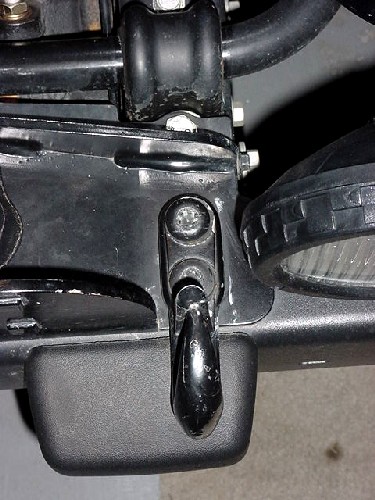
I also disconnected and removed the off-road lights with a 13mm.
I would later need to fabricate a bracket to hold these onto the new
bumper.
2. I then put the new bumper on and promptly ran into a problem.
This is where the construction of the mounting bracket on the bumper
was obviously bad. The holes were not drilled the same distance,
size, or even in a line with each other. So some judicial use
of a grinding wheel, drill, file, and hammer brought things a little
more into alignment. This was actually done when I installed
it the very first time, so this installation all the modifications
were already made. It still didn't prevent me from cross threading
a bolt. The problem this time is that I had done the winch install
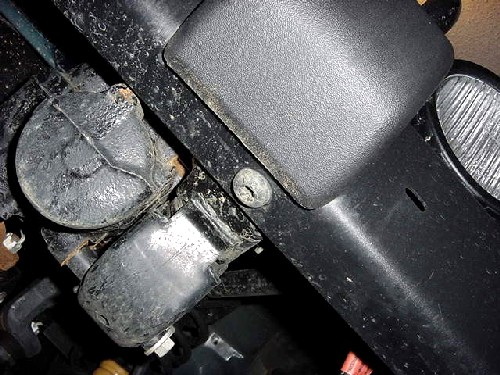
previously and now had to take the winch back off. I needed
to take out 2 of the washers from either side of the anti-sway bar
bracket that I had previously installed. I also took out the
longer bolt and put in the original. You will need the 17mm
and 15mm sockets for this. Now with only 1 washer the spacing
was correct to level the winch out again.
3. Once you manage to get all 8 bolts aligned and started
you will be on the home stretch. Just tighten them up and you
are done.
4. Forgot the off-road lights, well since I like having
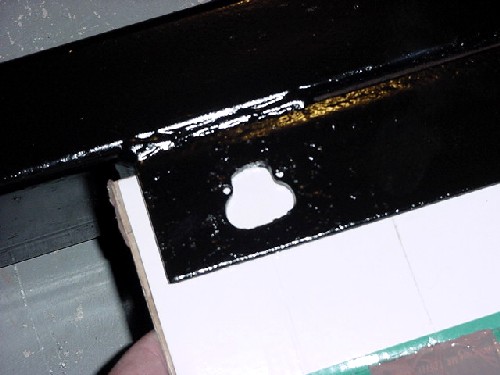
them I made a set of brackets out of 1"x 3/16th flat stock.
Real easy to do, cut 2 pieces - 2 3/4" long, drilled 5/16th inch
holes 3/4" in from each end. Drill and tap the bumper
and bolt it all together.
Old Bumper= 21lbs w/o lights
New Bumper= 29lbs with lights (lights are 2lbs ea)