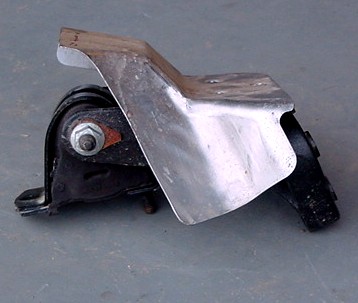
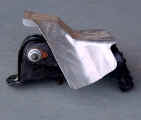
The JKS Budget Motor Mount lift is a very nice piece of
simple engineering. The plate is made of 1" aircraft aluminum,
anodized a real nice red. I am a little concerned with dissimilar
metal corrosion, but I've looked at the one that I installed a while ago
and I don't see any signs of it yet, so that is a good thing.
| Motor
Mount Lift |
| Caution: Place block of wood between floor jack and bottom of oil pan. |
| 1. Loosen both Motor Mount to Engine Bracket Bolts. This helps to allow
the engine to rotate up. Also loosen the Transmission to skid
nuts, this will allow the engine to slide around. |
 |
| 2. Brace engine with floor jack and piece of wood under the oil pan.
Be careful that you do not get the wood on to the oil drain area. |
|
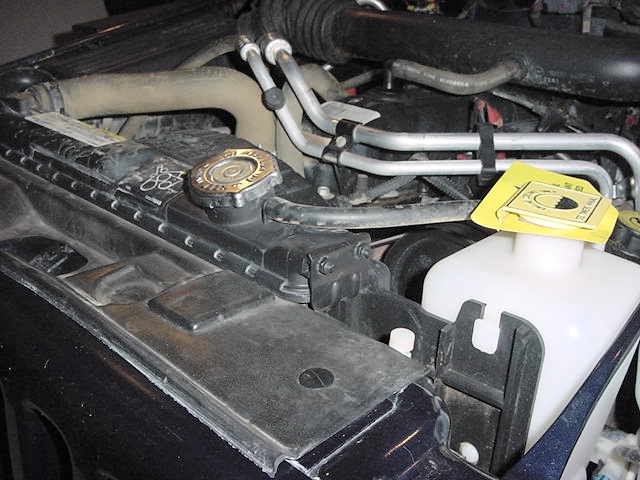
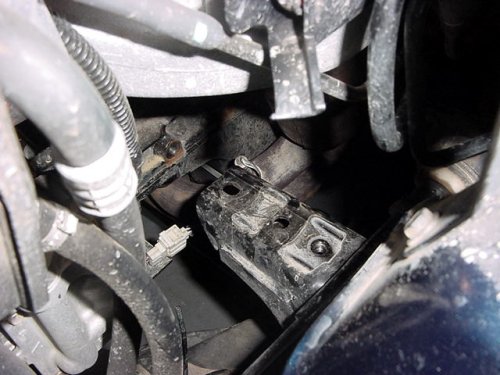
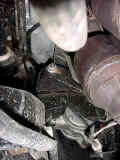
| 3. Remove Factory Mount on passenger side. |
 |
| 4. Now you will need to cut off a few of the threads on the bottom of
the factory motor mount stud. This is to allow for the extension
to screw all the way on to the stud. Since everything seems
to be different, I just screwed the extension on, measured what remained
of the factory stud that was showing. |
|
| 5. I then removed the extension and hacked off a little bit more that
the measurement. Then screwed the extension back on, make certain
that it is tight. You'll need to use a pliers for this, I just
rapped a rag around the extension so I didn't gouge it up. |
|
| 6. Now reinstall the motor mount on to the factory bracket. |
|
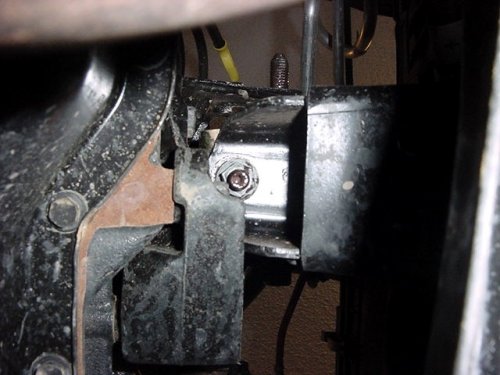
| 7. Torque lower nut tight, being careful to keep the mount centered
on the frame extension. You will not be able to tighten this nut later.
I was able to get a stubby open ended wrench in there after the driver
side was done and check the tightness. You might be able to
get a thin wall socket on it, but I didn't have one to try. |
 |
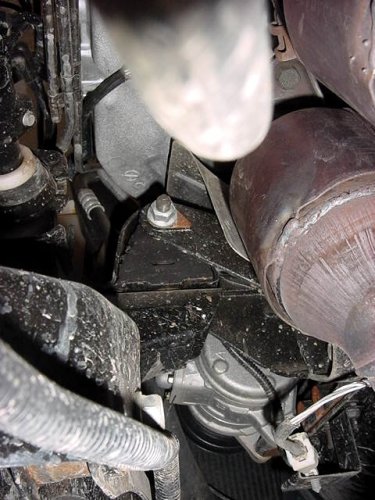
| 8. Now to the driver side. You can do this two ways. I choose to remove
the entire assembly, and then undo the mount to engine bolt, but you
could take the nut off the bolt first. Either way if you have A/C
the engine bracket is coming off. Having no A/C compressor should
allow you to just pull the bolt out forwards and skip taking the engine
bracket off. |
| 9. Remove lower
nut from mount. |
|
| 10. Remove 3 bolts from engine bracket. |
|
| 11. Remove upper bolt from mount. At this point if you choose to remove
the nut earlier you can rotate the mount and bracket to get the mount
to bracket bolt out. Otherwise the entire assembly will slide down
along the side of the engine and pull out through the bottom. |
 |
| 12. Remove the mount to engine bolt. I tried the reinstall the assembly
with this bolt back in the correct direction, but I would have needed
3 people to do this, so I gave up. I didn't figure it was that important
to put the bolt in from the forward direction, besides it is much
easier to bolt the engine bracket to the engine, motor mount to the
frame and then line up the mount to frame bolt. I am going to
keep an eye on it to see. |
| 13. Reinstall the engine bracket. |
 |
| 14. Repeat steps 4-6 on the driverside |
|
| 15. Install and snug the bolts on Motor Mount. |
|
| 16. Lift Engine and reinstall the Driver side Motor Mount to Engine bolt
from the rear. |
|
| 17. Install Passenger side Motor mount to engine bracket bolt. I needed
to tap the side of the mount to get it to line up perfectly. |
| 18. Install nut and snug that bolt, lower the engine, but do not take
all the weight off the jack. |
| 19. Tighten all the motor mount bolts. |
|
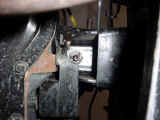
| 20. Now back to passenger side. Put a big screwdriver between the engine
bracket and motor mount. Pry gently, and tighten up the Mount to engine
bolt when it is all the way out in oval. This will give you
the clearance between the engine bracket and the frame bracket. |
|
| 21. Tighten the Driver side mount to engine bolt. |
|
| 22. Tighten the transmission to skid nuts. |
|