My Jeep decided to start making a ratcheting noise when I started it up, opened a door, or shifted the temperature selection on the center console. My mixing door actuator had stripped a gear and was now ratcheting at the end of it's movement. The door actually still moved full travel, but just made an irritating noise ever so often. Not like Jeeps don't make noises all the time. Quick trip over to the auto parts store to pick up the new actuator and a Saturday morning was all I needed.
| The Parts and what the problem is: |
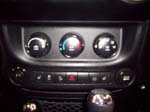
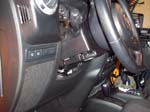
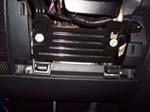
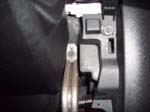
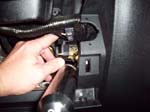
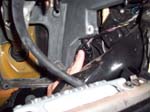
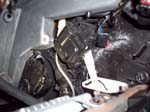
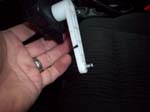
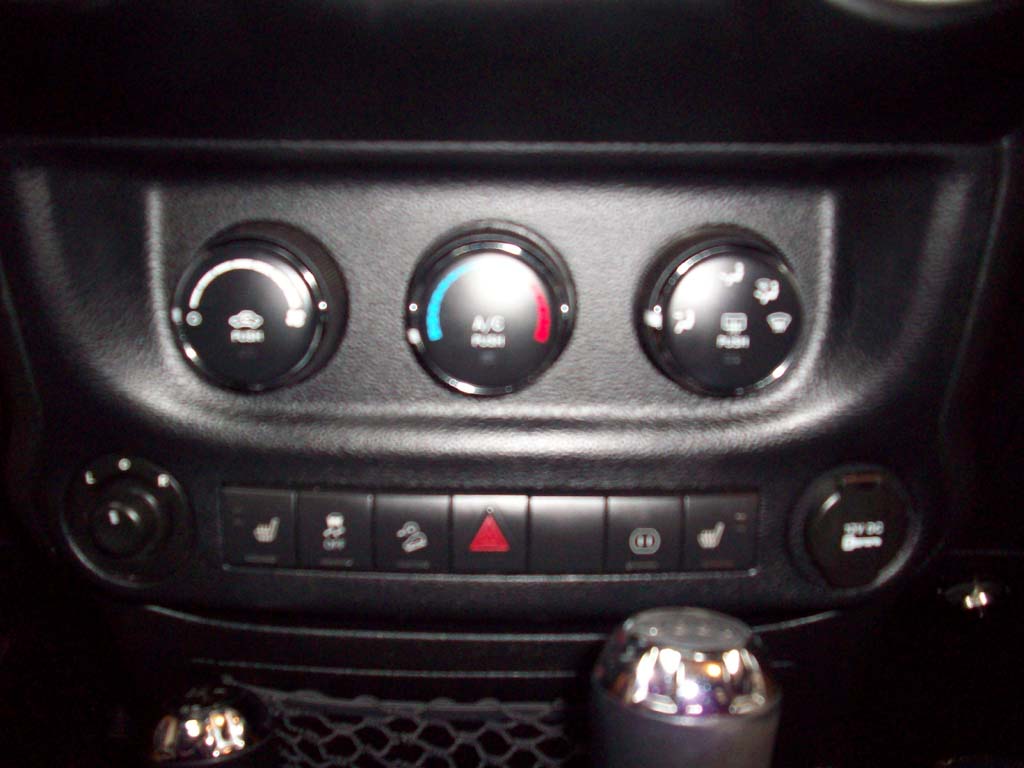
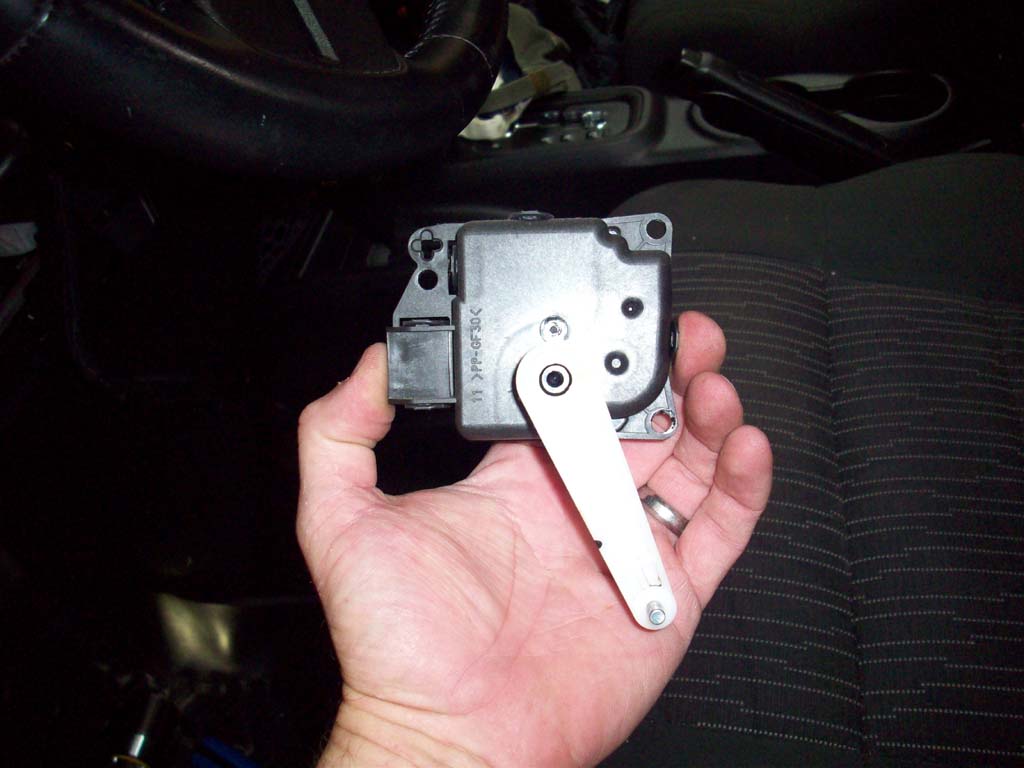
| The center knob on the climate control is what controls the position of the mixing door. Simple test is to move the position from cool, all the way to max heat, wait a moment and then move it all the way back. You should get the wonderful ratchet sound. This motor is located on the driver side. |
 |
 |
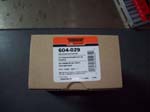
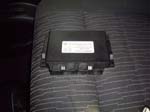
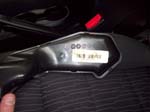
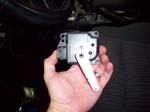
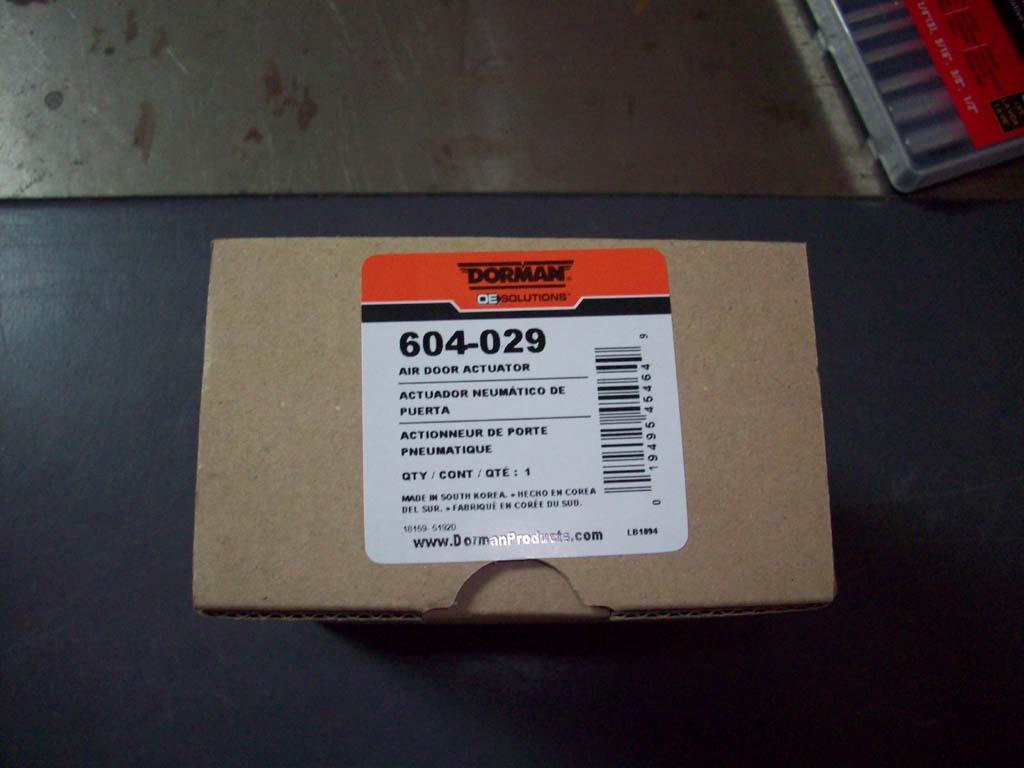
| I picked up a Dorman Air Door Actuator from my local autoparts store. Cost me about $20. Not a bad price. |
 |
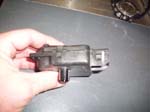
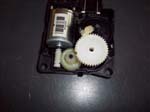
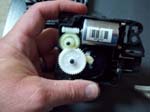
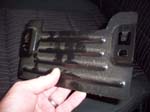
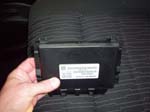
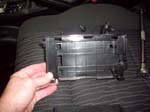
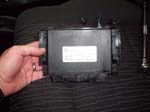
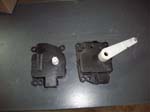
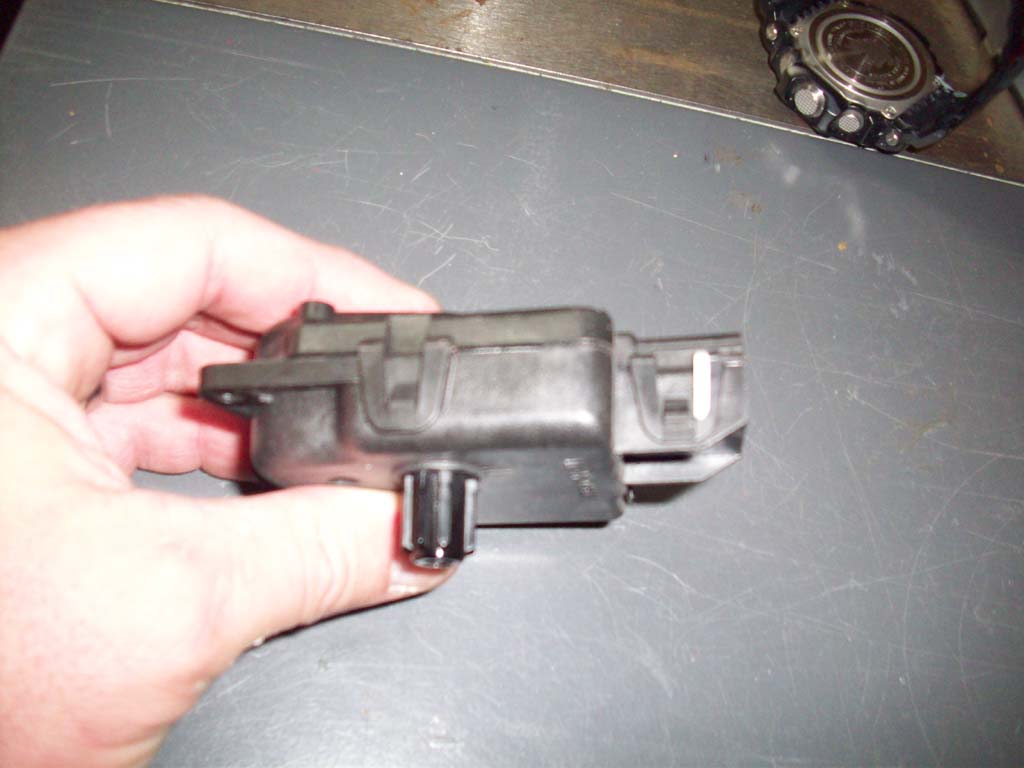
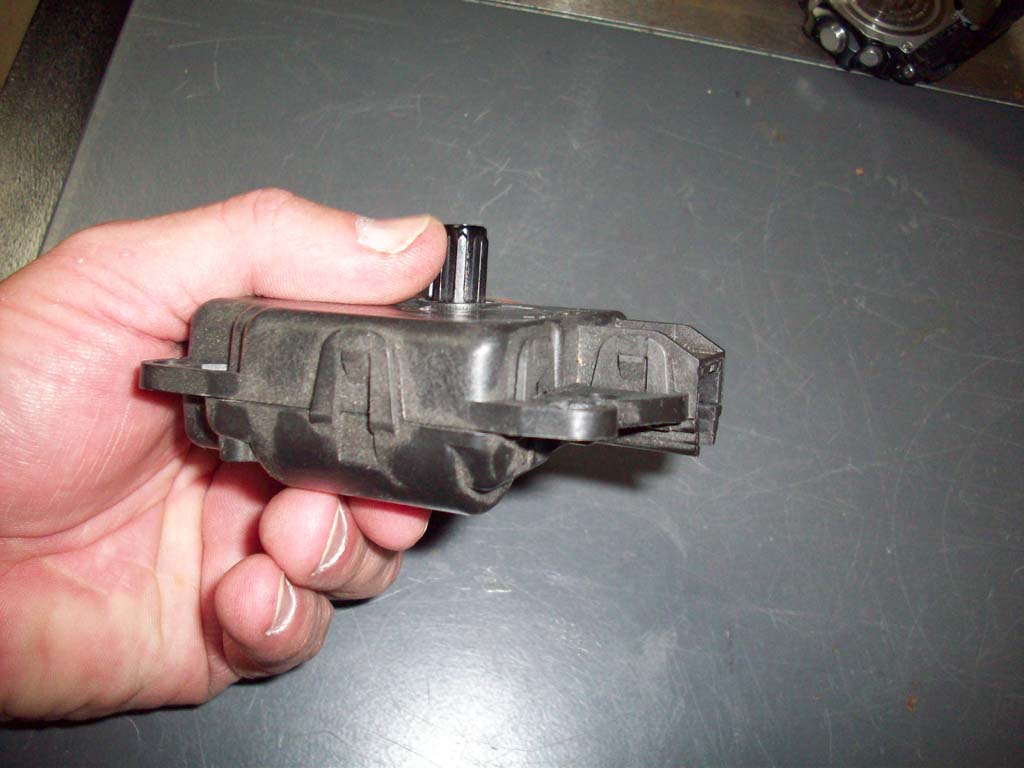
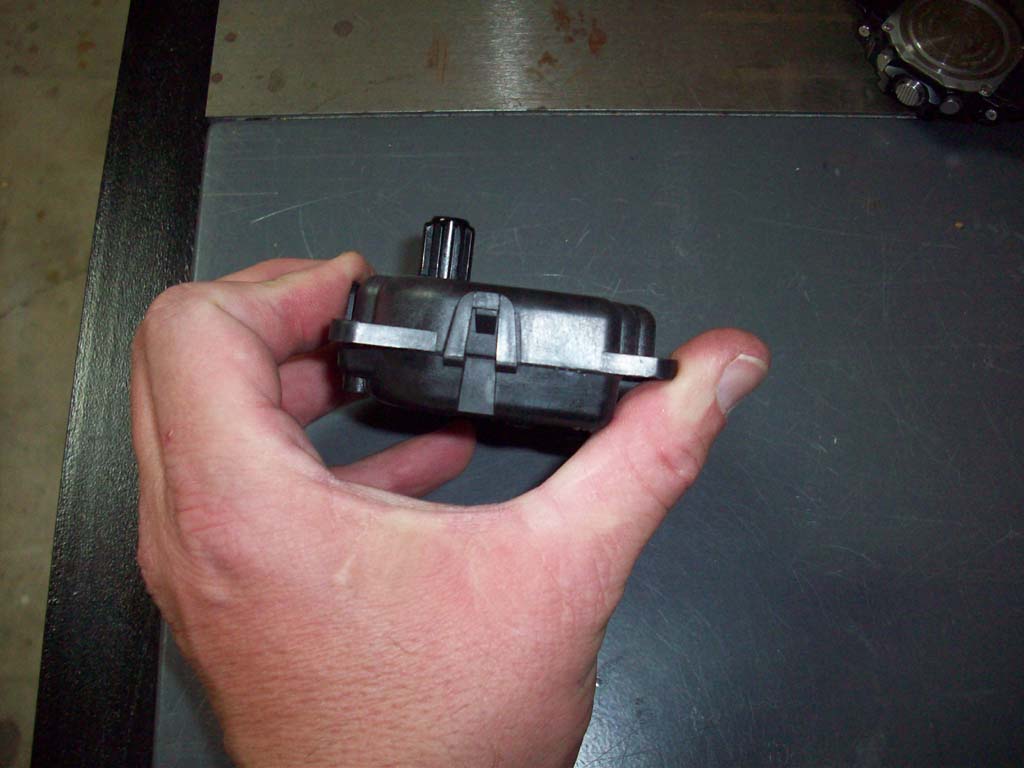
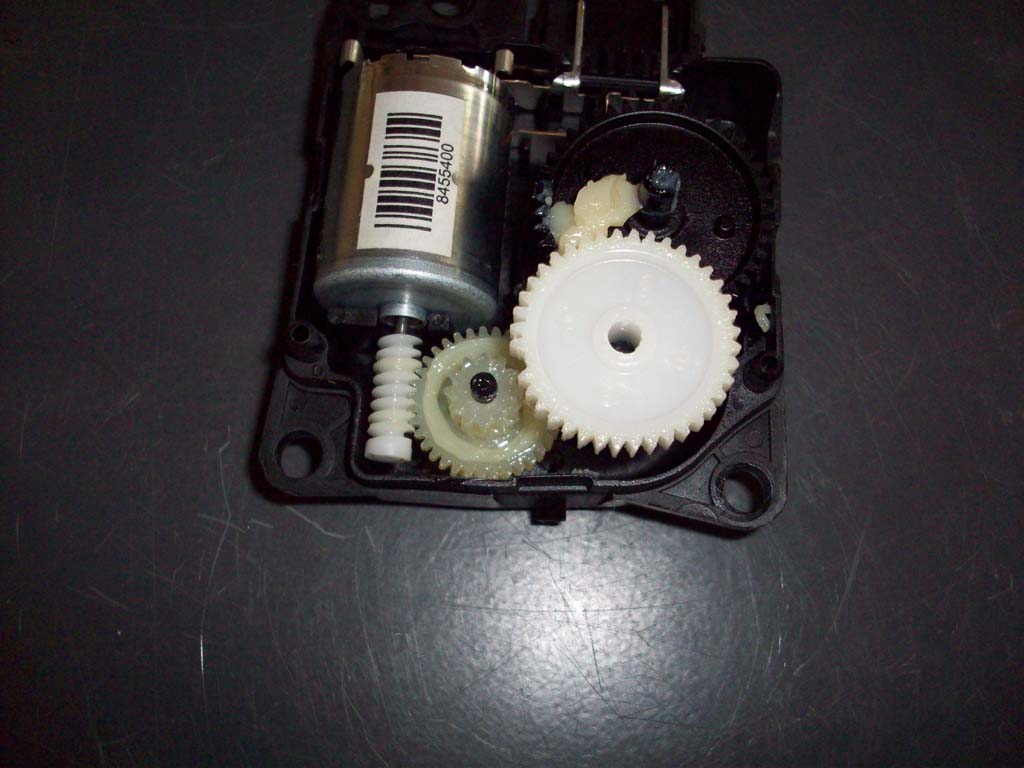
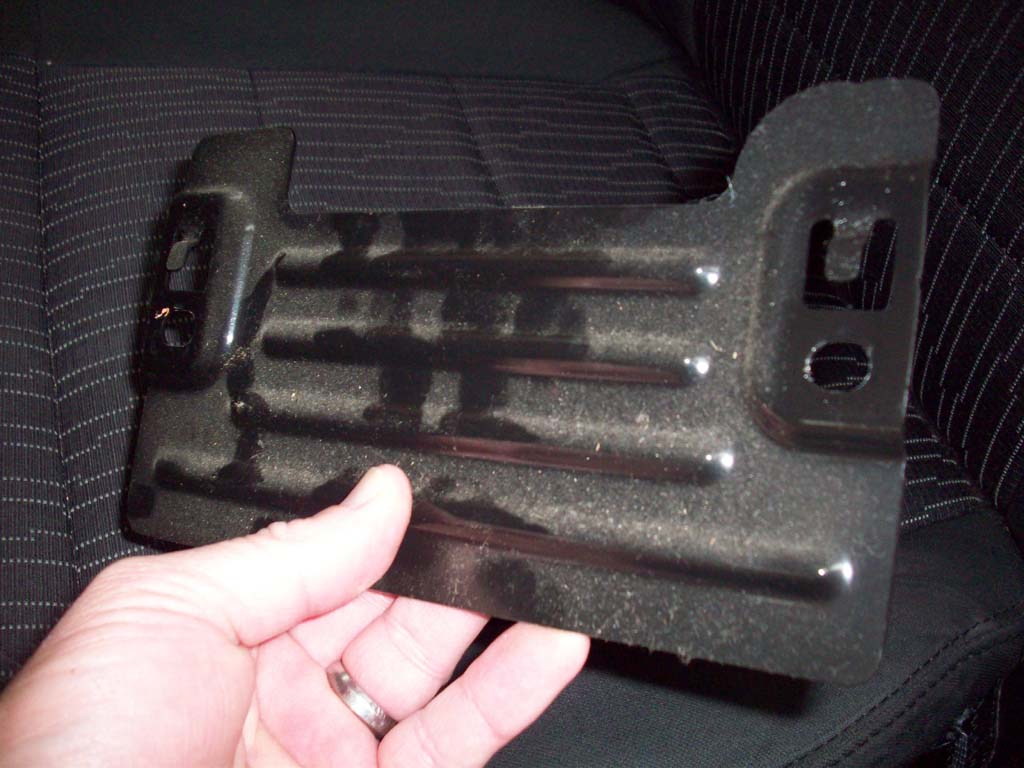
| Lets take apart the old one real quick so that you can see what normally breaks inside of these. You have to release all the clips around the edge of the actuator |
 |
 |
 |
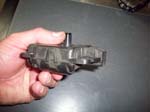
| You can see how one tooth of the gear has snapped off. I believe that the motor uses a torque limit to know when to stop, so since this would be a load point at the end of travel it's also a failure point for the gear. If the gear is in good condition, you can rotate it slightly and put it back together, saving yourself a little cash. I recommend just changing it out. |
 |
 |
| |
| Replacing the Mixing Door Actuator : |
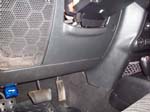
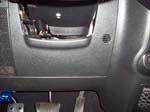
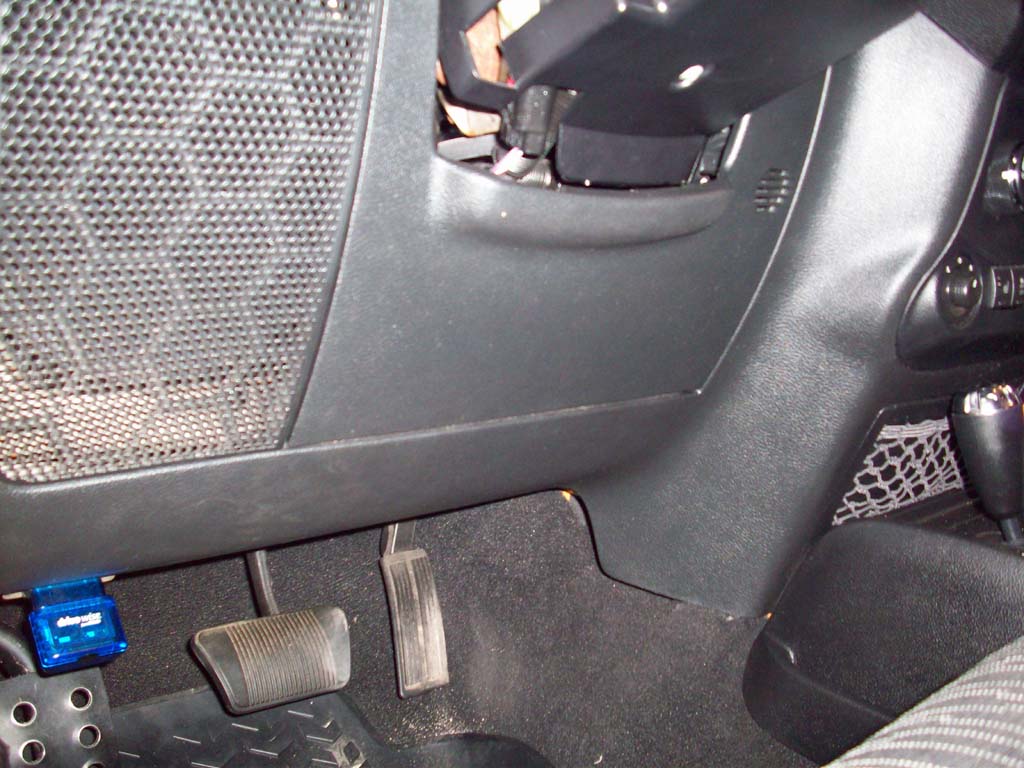
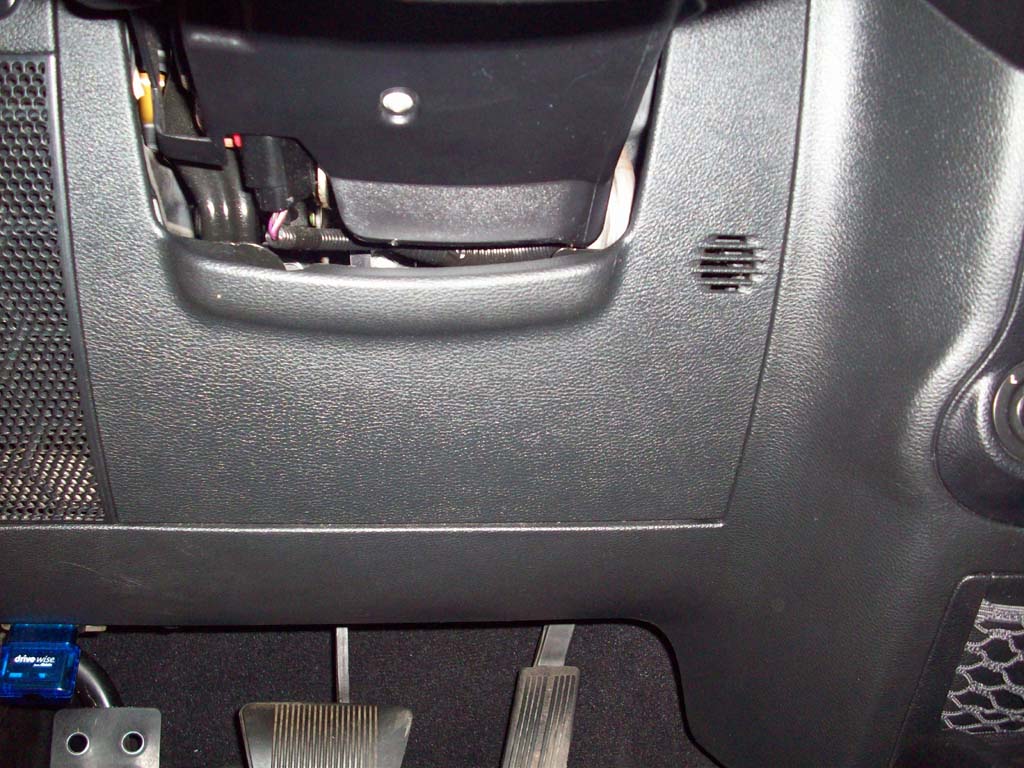
| 1. You need to remove the panel from below the steering column. |
 |
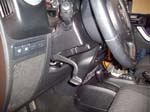
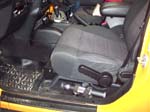
| 2. Tilt the steering column all the way up and lock it in position. Move the driver seat all the way back, so you have plenty of space to work. |
 |
 |
 |
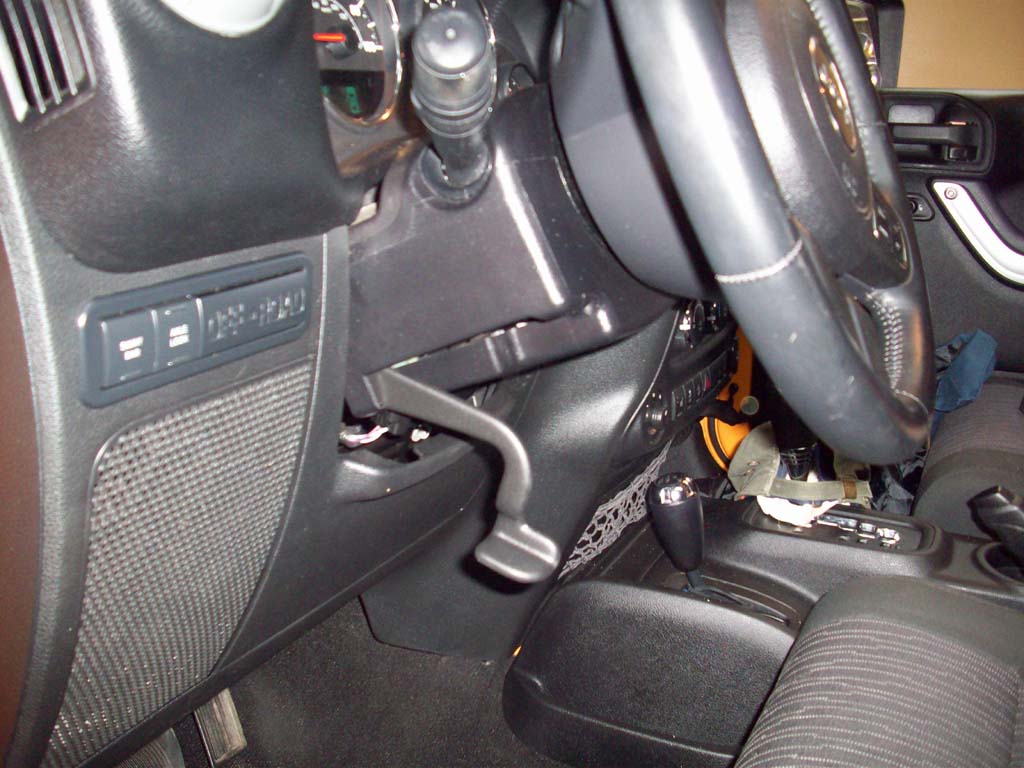
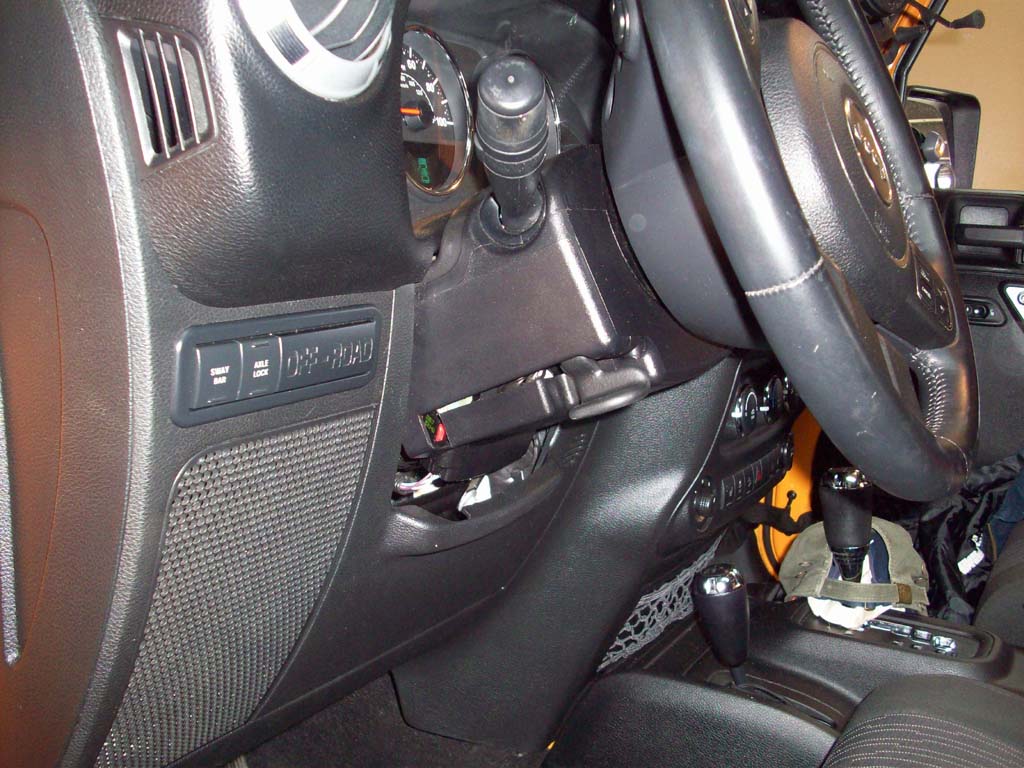
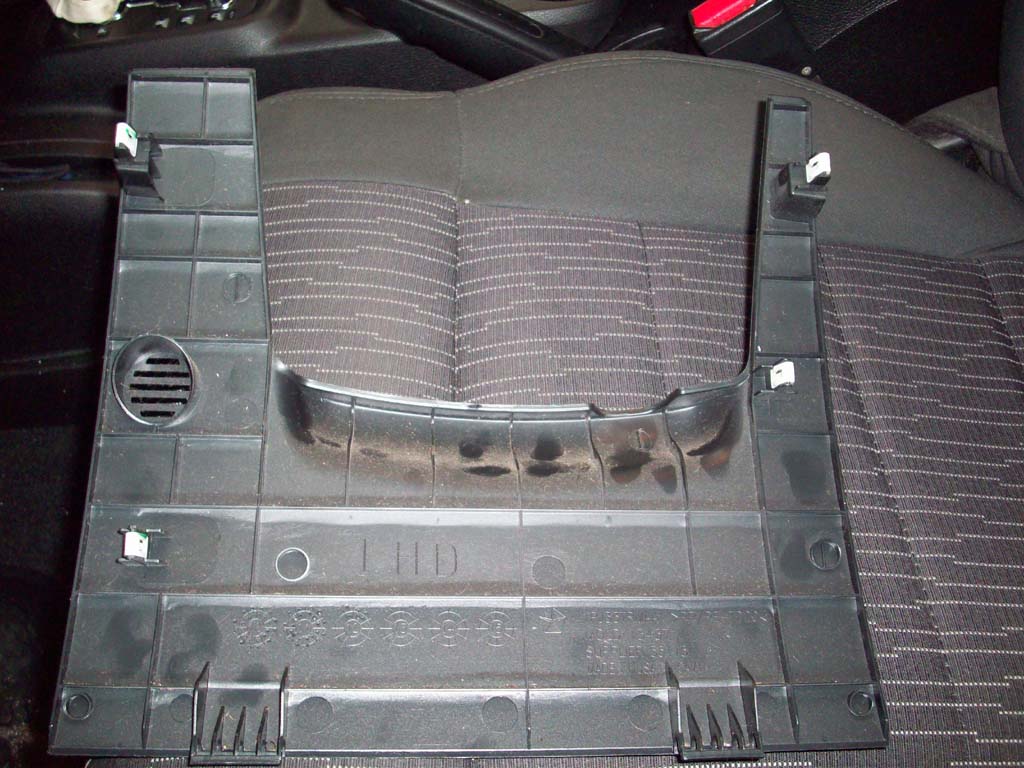
| 3. The panel is held in by 4 clips. Pull on the top two sides near the steering column and work you way down. The bottom is hinged in place, so once the 4 clips are release, it just tilts down and pulls off. |
 |
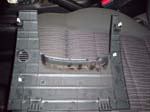 |
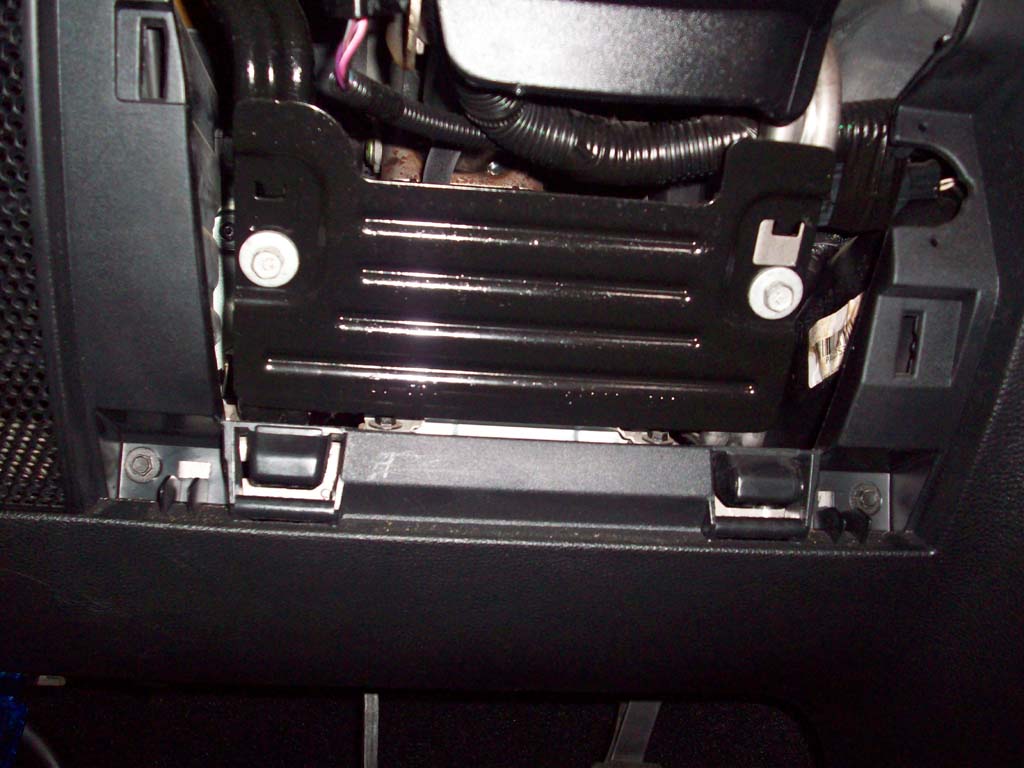
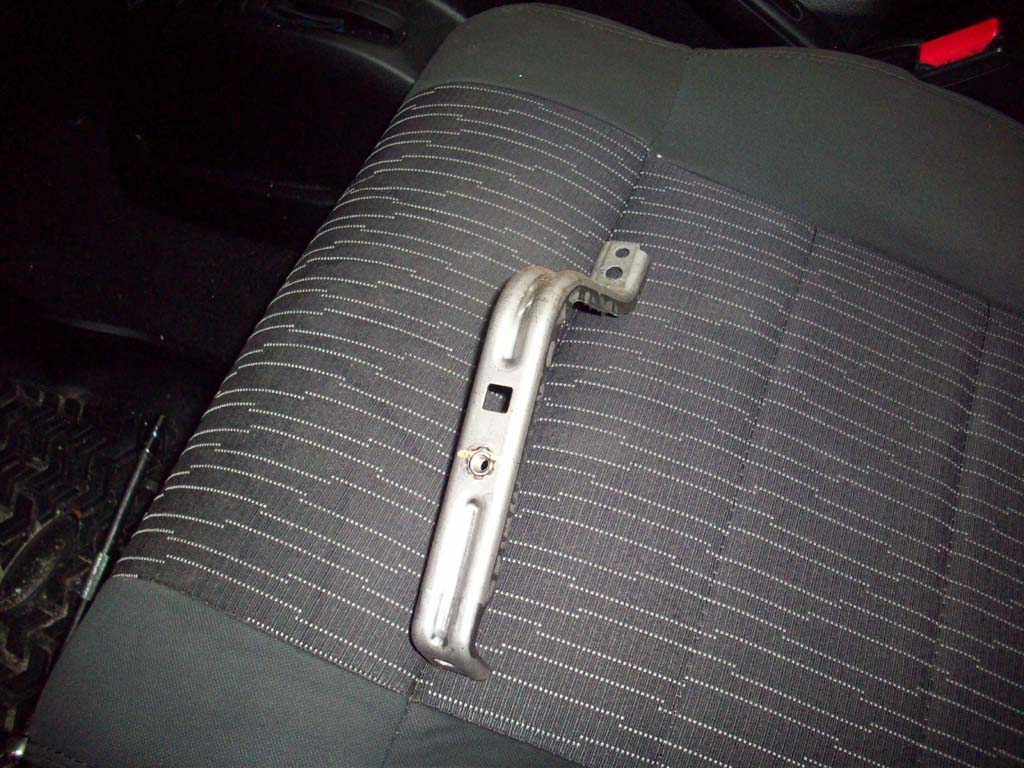
| 4. Remove the two bolts holding the metal panel in place using a 10mm socket. The panel is hooked in place, so you will need to lift it up a little to get it off of the brackets. |
 |
 |
 |
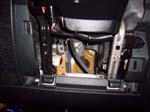
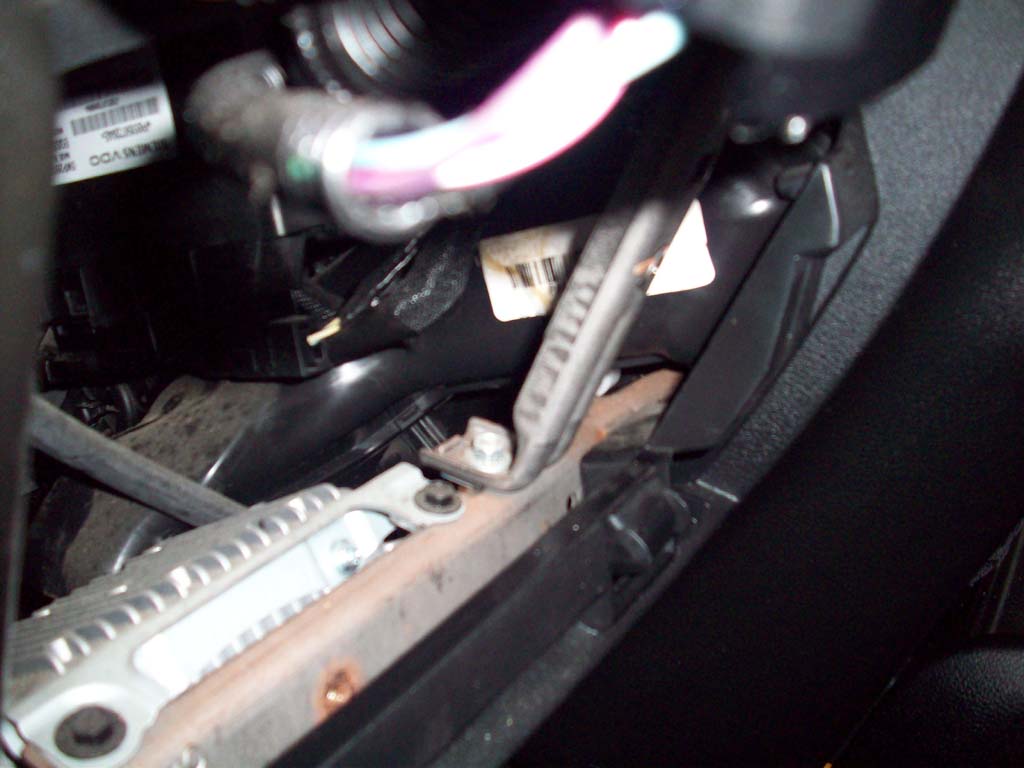
| 5. Now remove the silver bracket from the right side. This is held in by two bolts. Be careful with the bottom bolt, the bracket has some sharp edges. The top bolt is way back inside the dash and you will need a long extension and a 10mm socket. |
 |
 |
 |
 |
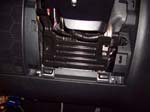
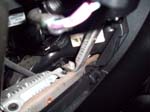
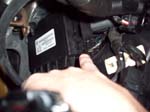
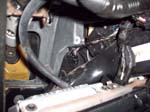
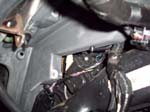
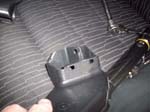
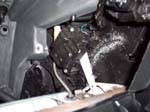
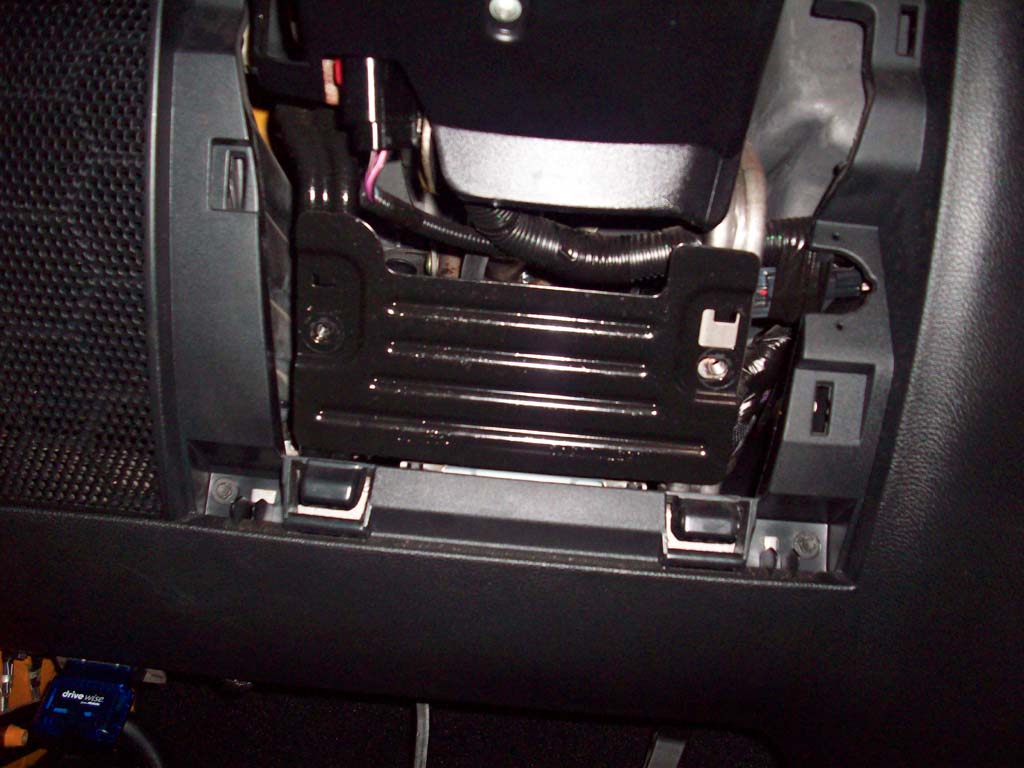
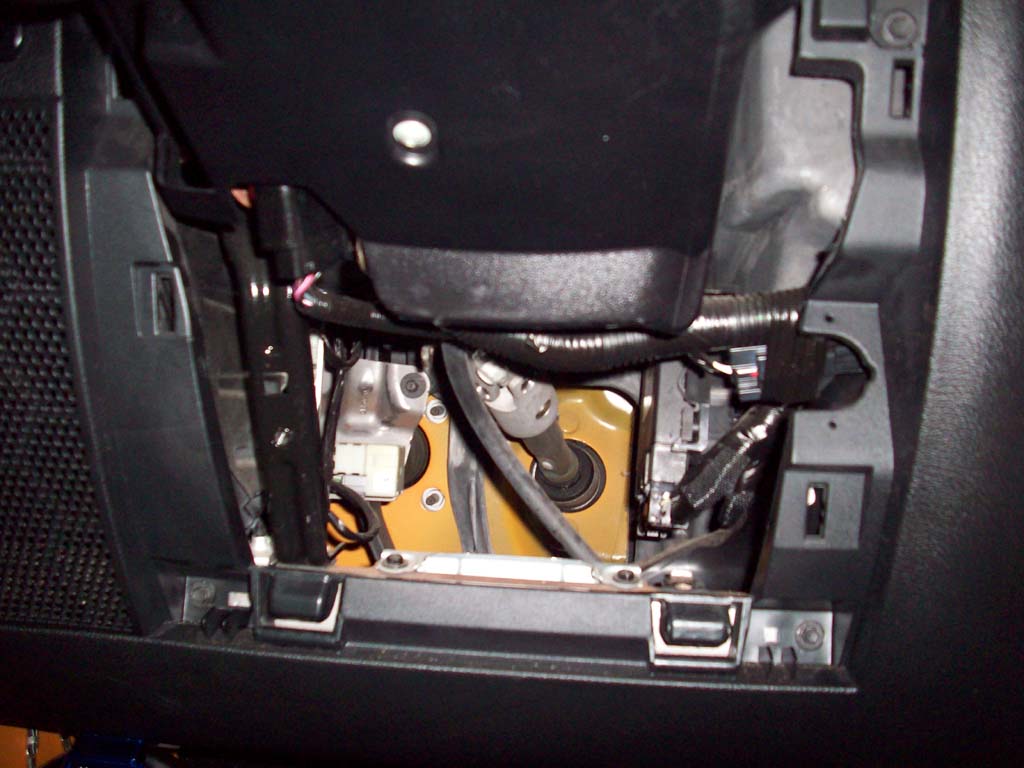
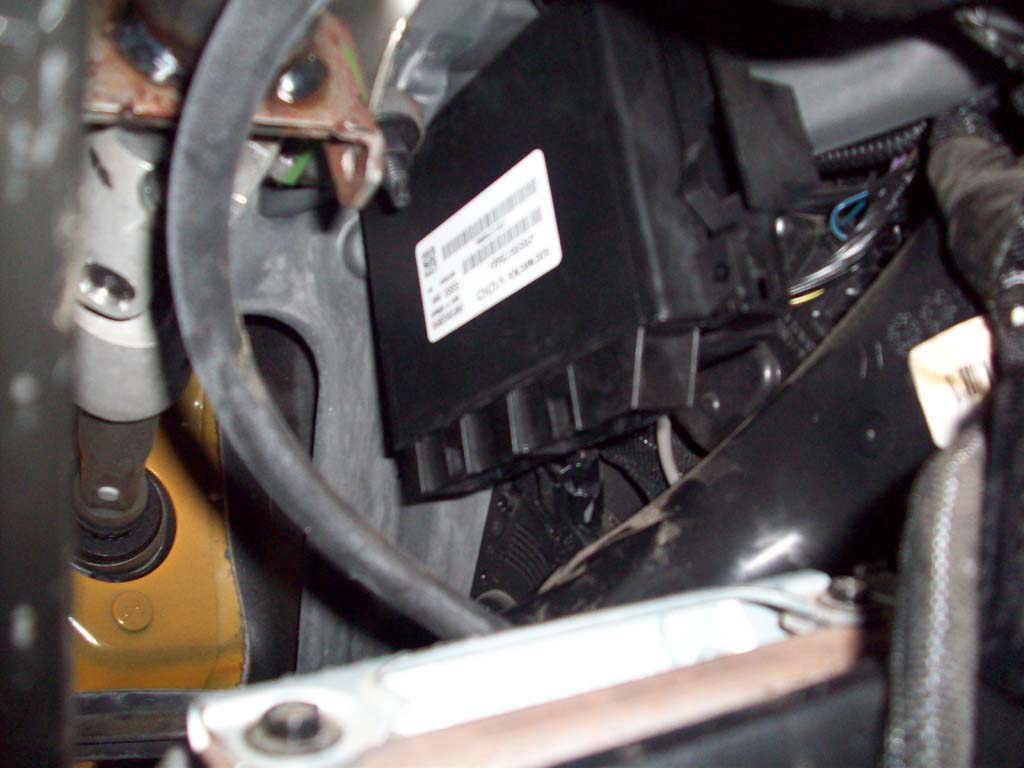
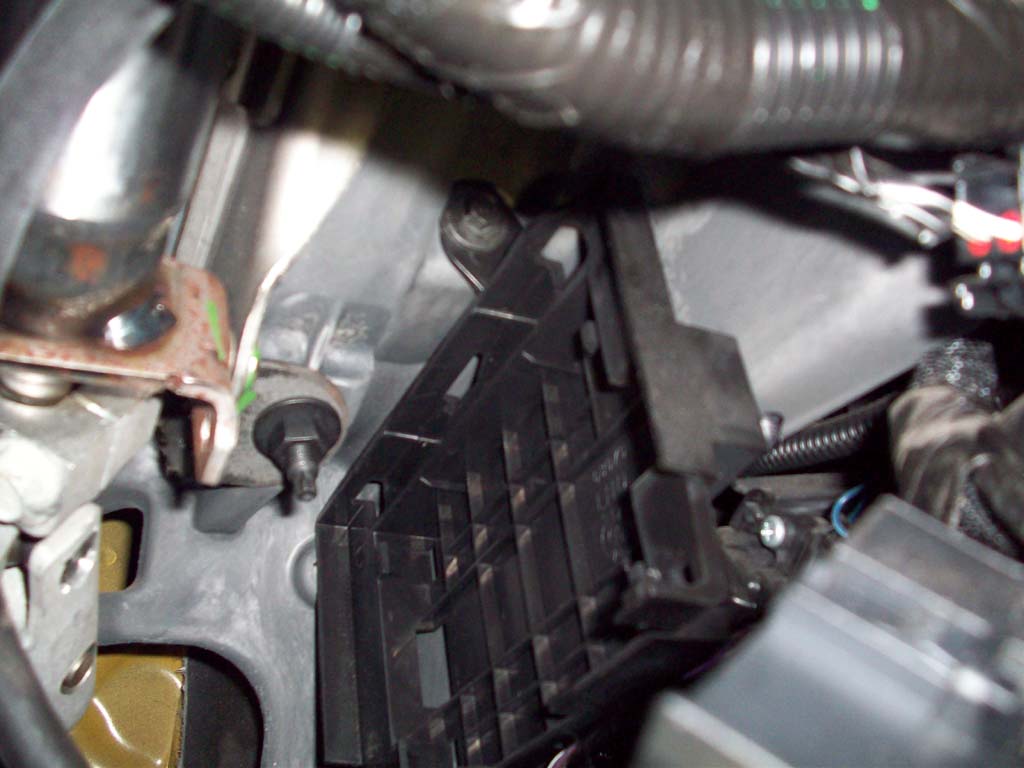
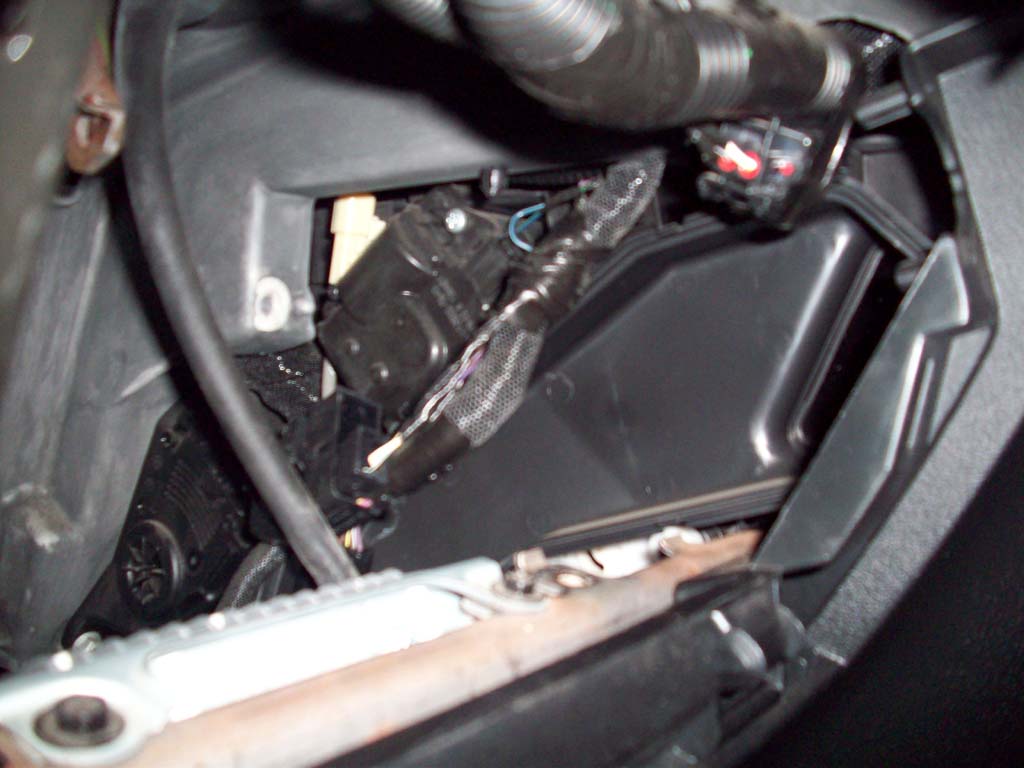
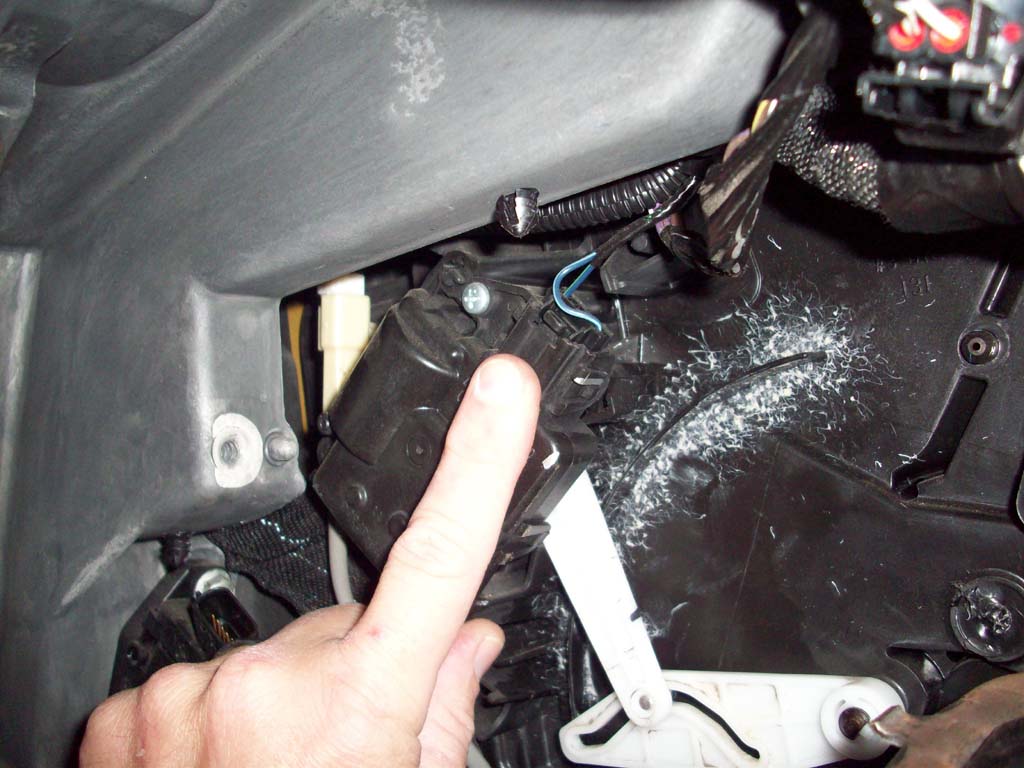
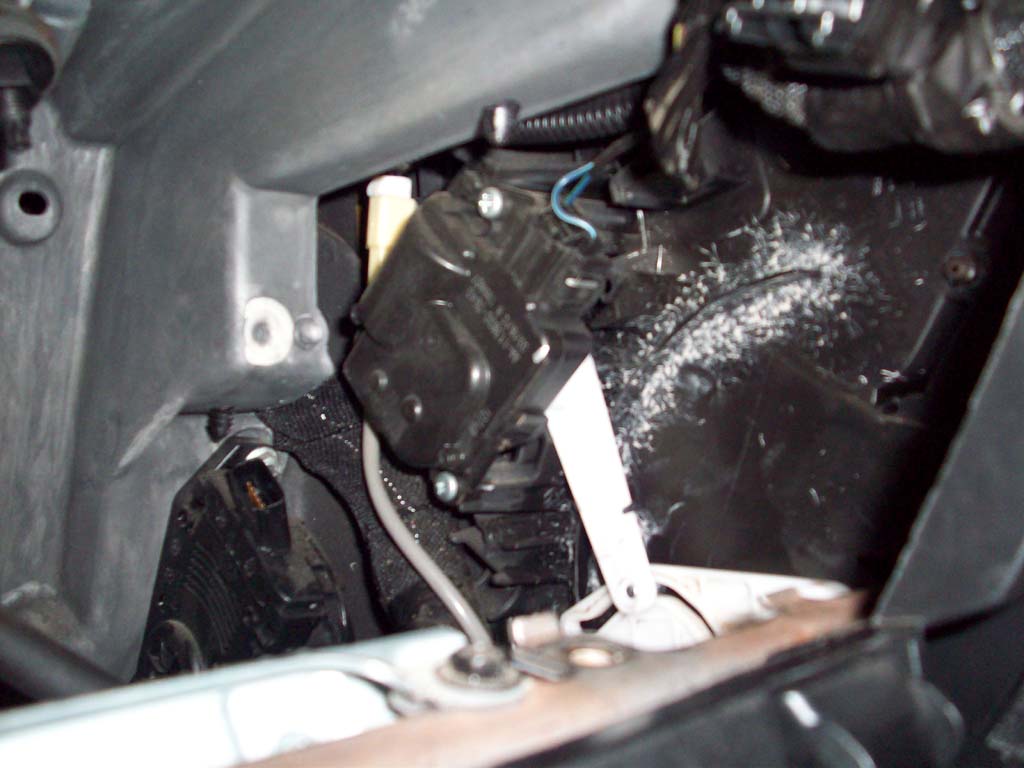
| 6. Finally we can get into where the mixing door actuator is located. |
 |
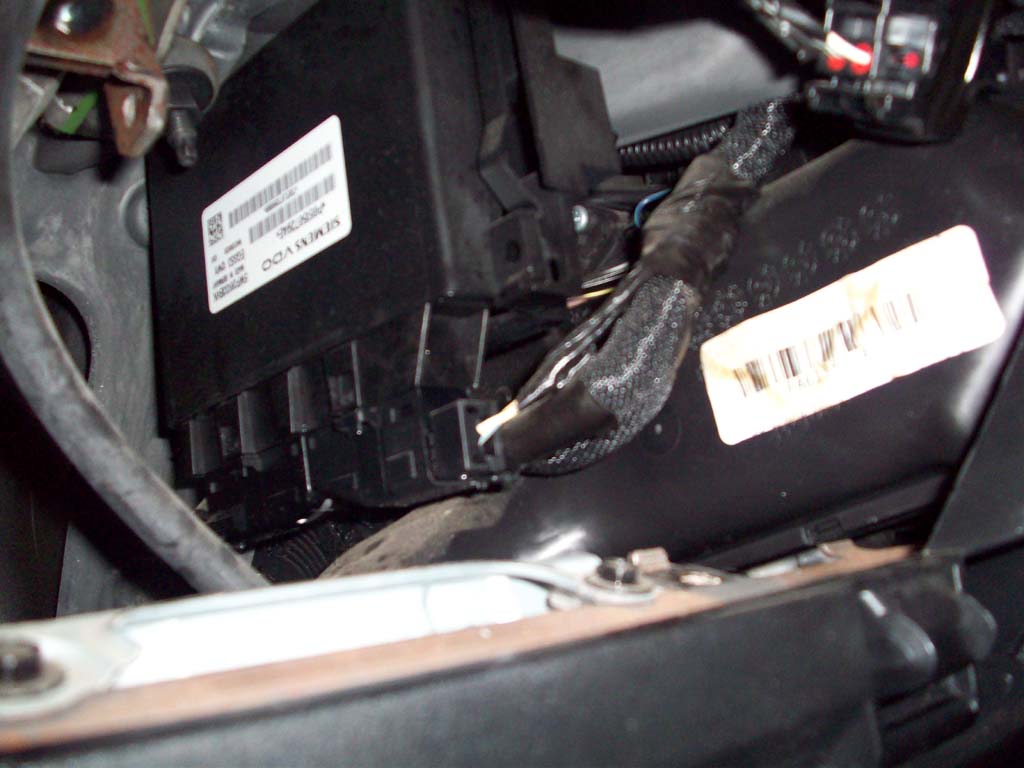
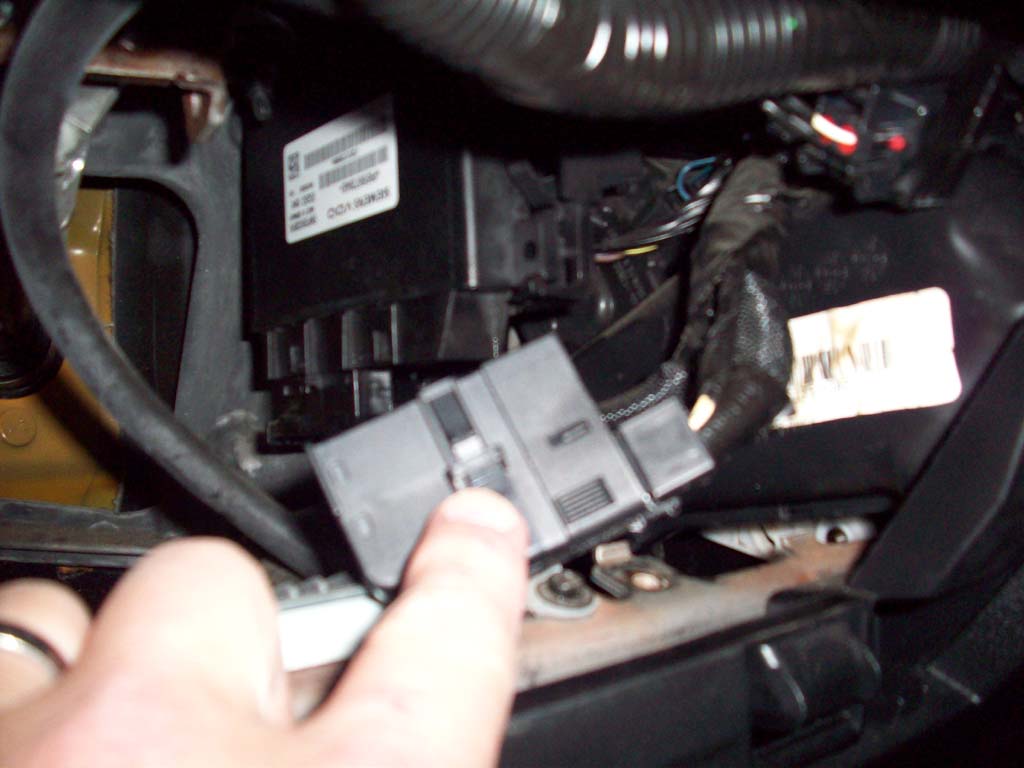
| 7. Some of you may be able to skip this part of the disassembly. I have an Auto Rubicon so I have an transmission control module located underneath the dash. |
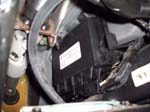 |
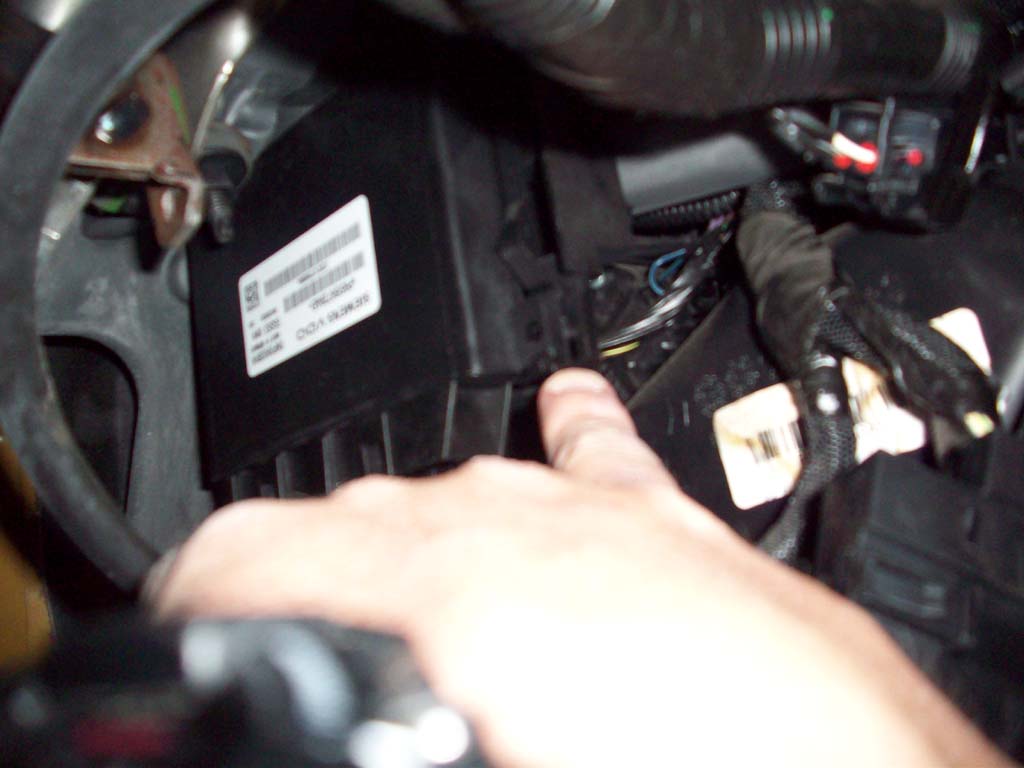
| 8. Remove the two connectors from the bottom of the transmission control module. There is a latch on the side of the connector that you will need to push. This is a real pain since there is limited room to get these out. |
 |
 |
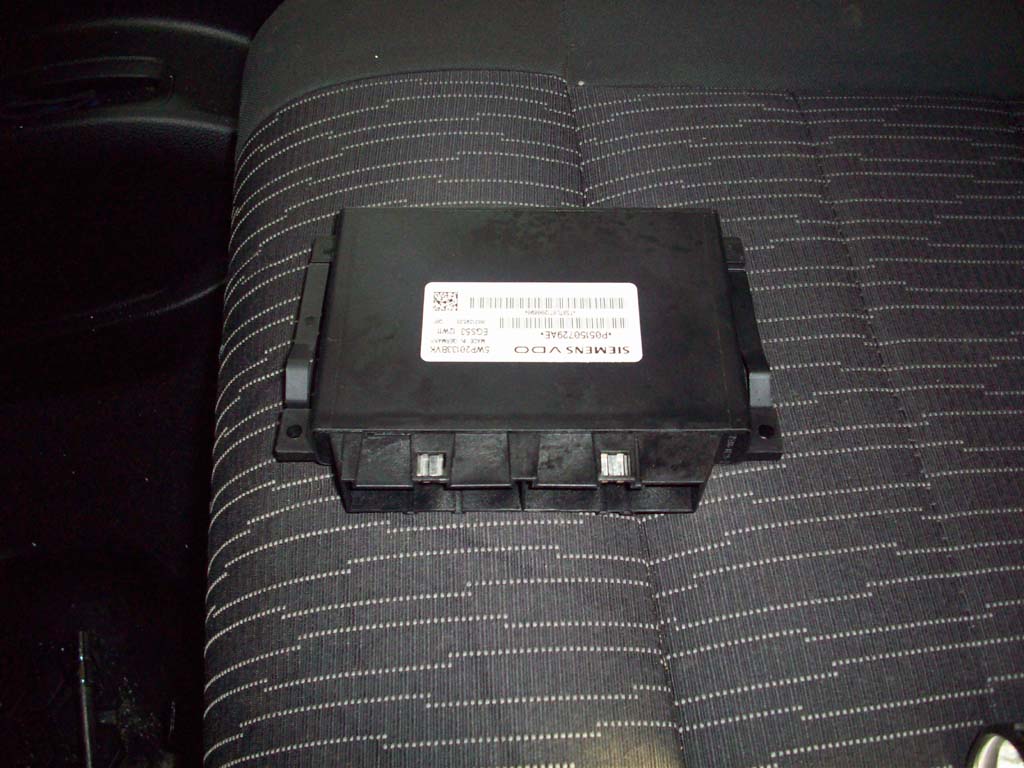
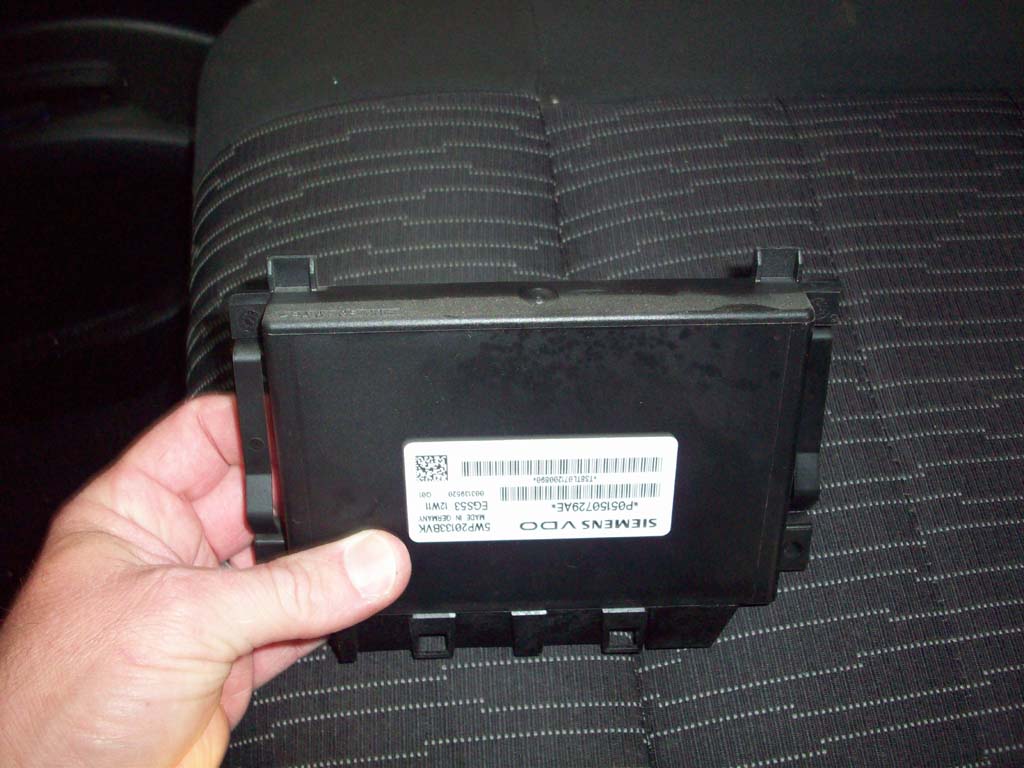
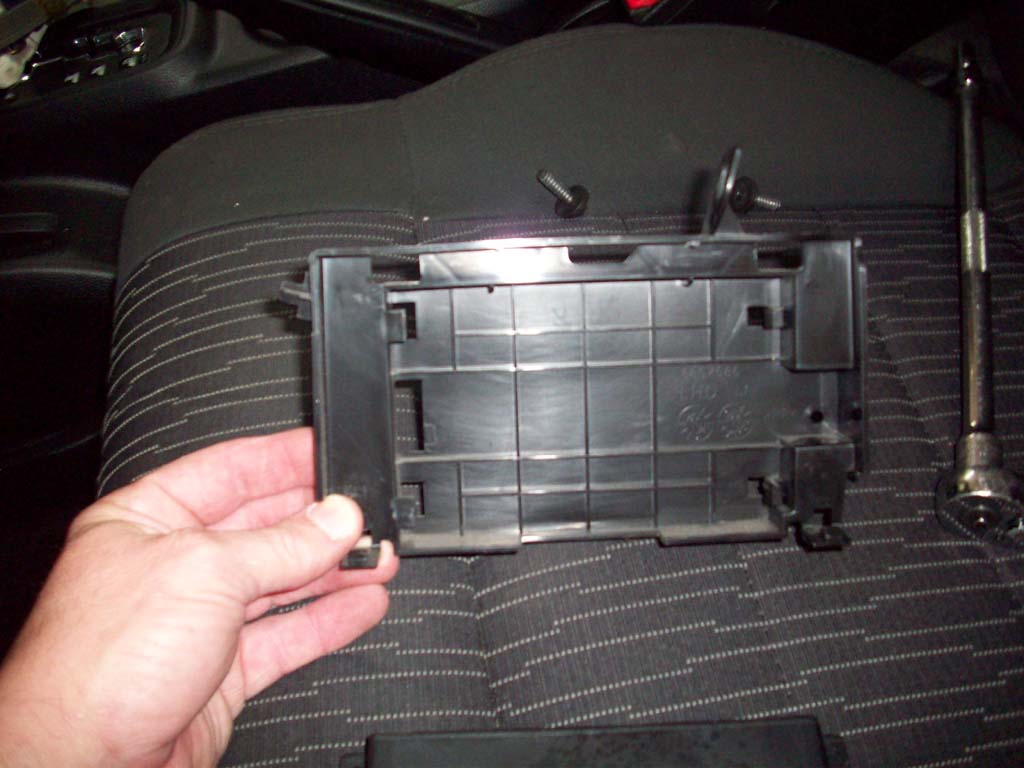
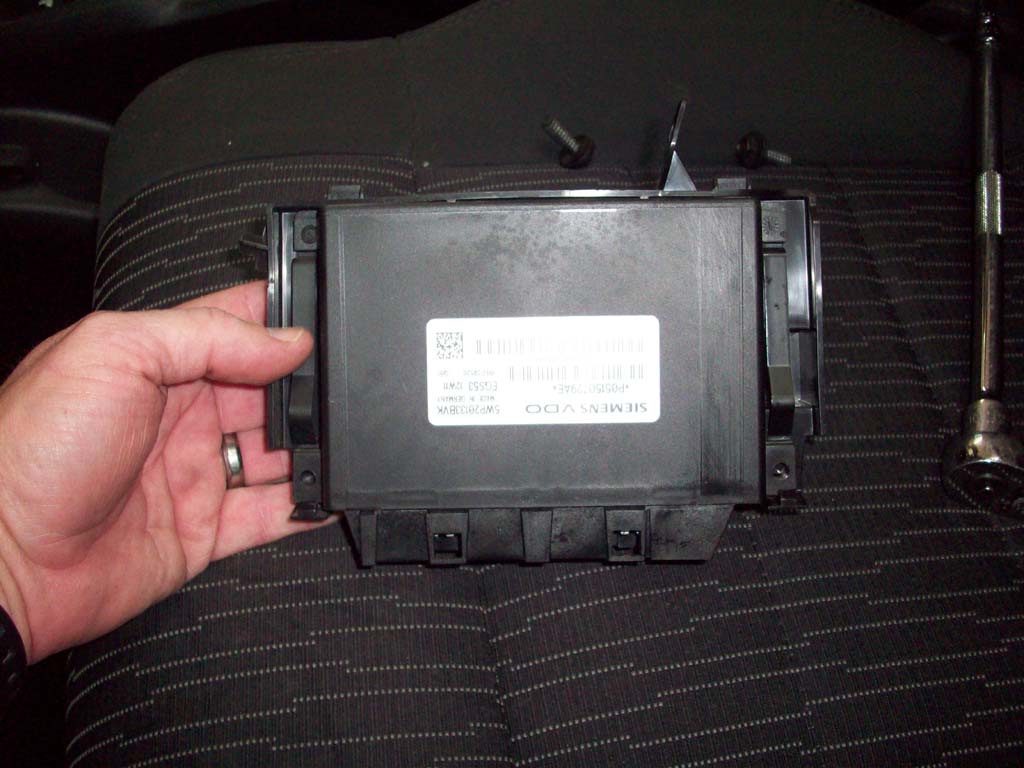
| 9. Remove the module from the holder. I don't know if I could have gotten the module out and then removed the connectors or not.The clips are on the bottom sides and the top just levers unto a small lip. |
 |
 |
 |
| 10. Remove the bracket. There is a small bolt that holds the bracket into position at the top. This will require an 8mm socket and a long extension to get to it. You might be able to remove the entire control module, bracket and connectors at one time and just lay it to the side, but I didn't feel like putting it all back together to test this idea. |
 |
 |
| 11. I clipped the module back into it's holder so I wouldn't lose either of them. |
 |
 |
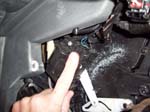
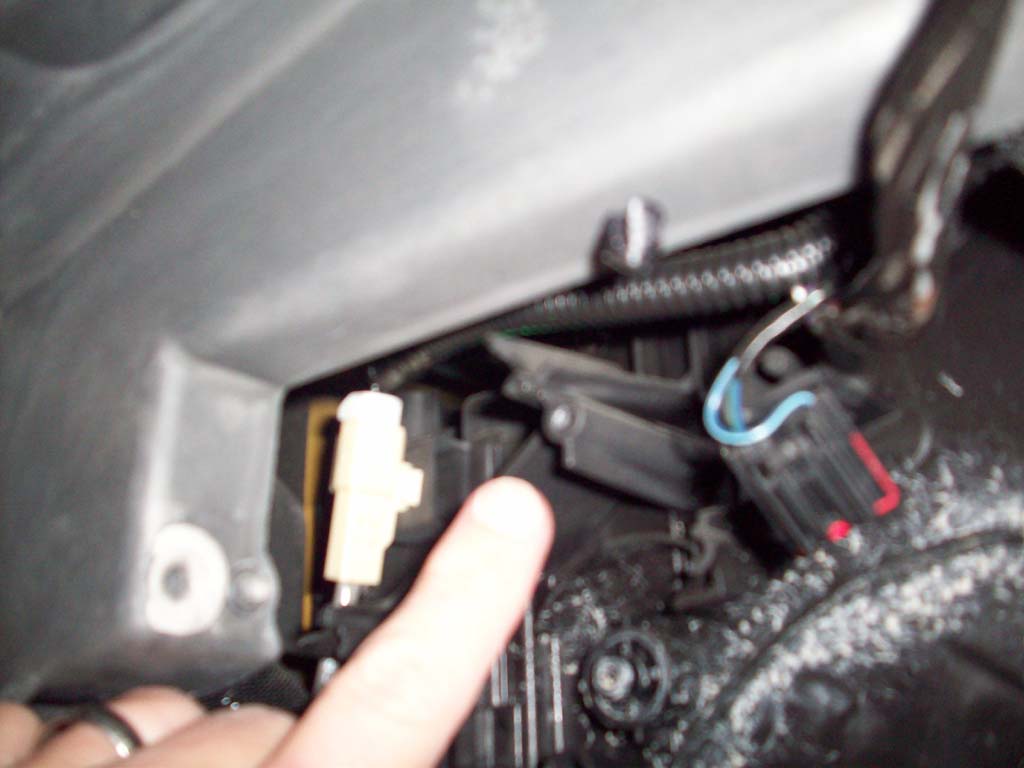
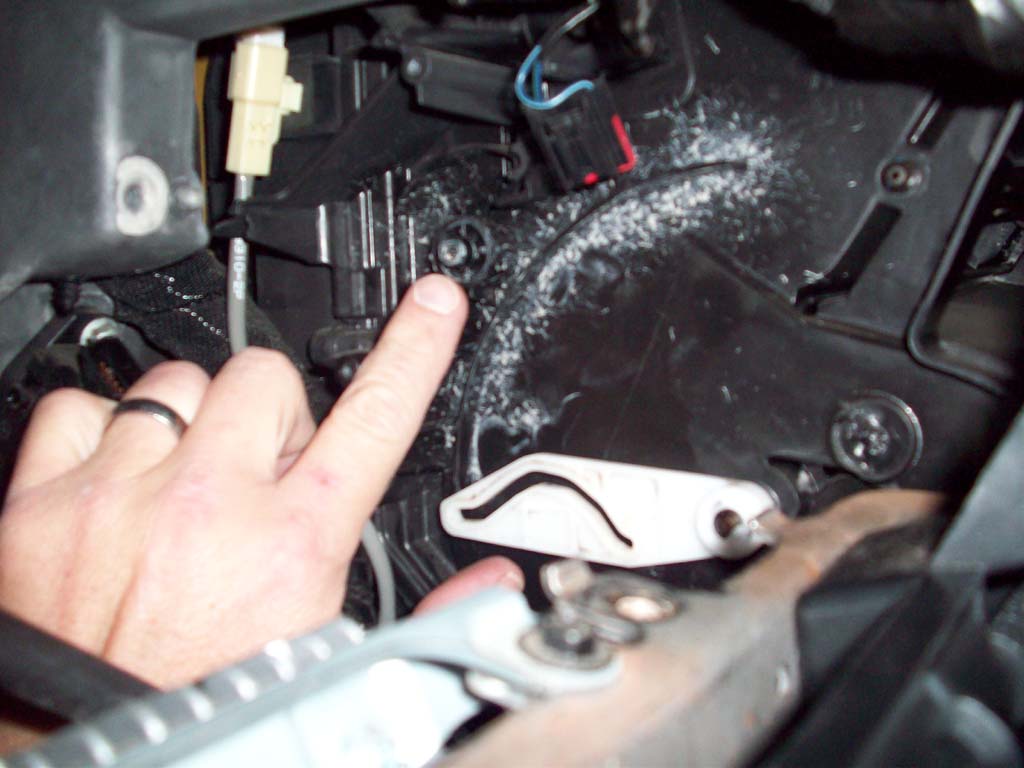
| 12. Disconnect the wiring harness from the accelerator control. Push the small clip on the side and pull the plug out. |
 |
 |
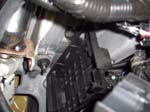
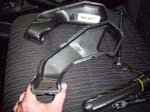
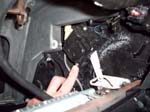
| 13. Now we need to get the driverside footwell vent tube out of the way. |
 |
| 14. The tube comes apart in two pieces. The outer shell is clipped to the inner shell. I just kept wiggling it around and trying to pry the mouth apart under the dash. Eventually it release and I was able to get the first half out. |
 |
 |
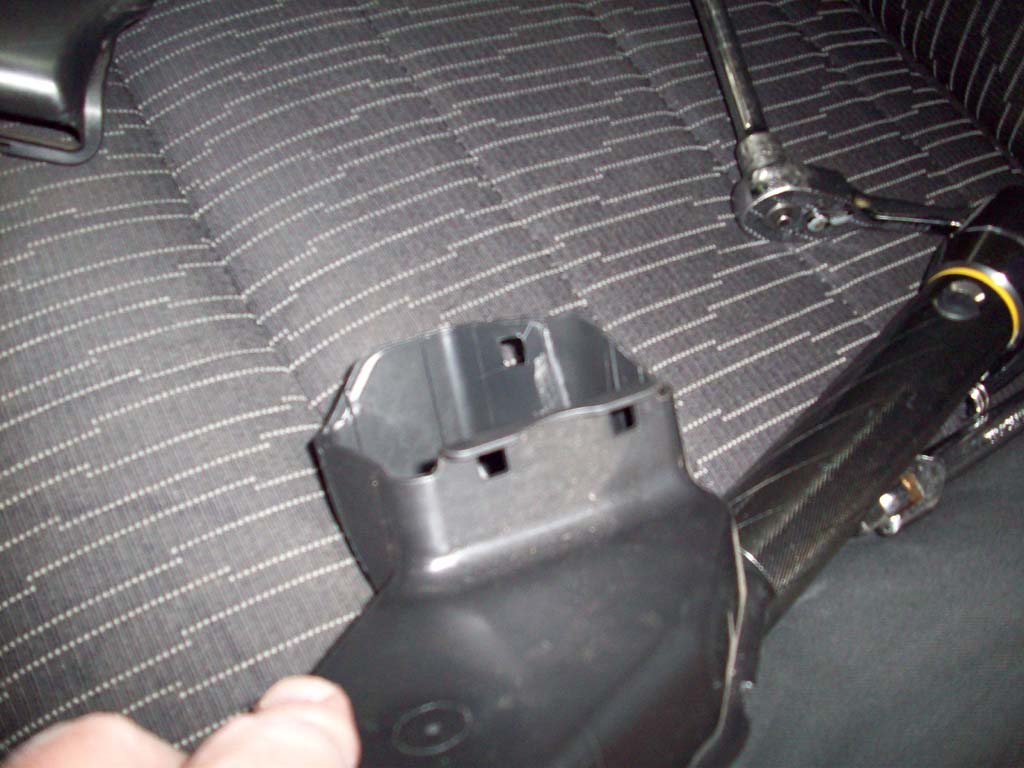
| 15. The second half it held onto the mixing box by 3 small tabs(bumps). I just kept prying it back and forth gently, until I got it to release and pull out. Be patient, it takes a little on both of these parts and you have almost no room to get a hold of them with more than one hand. |
 |
 |
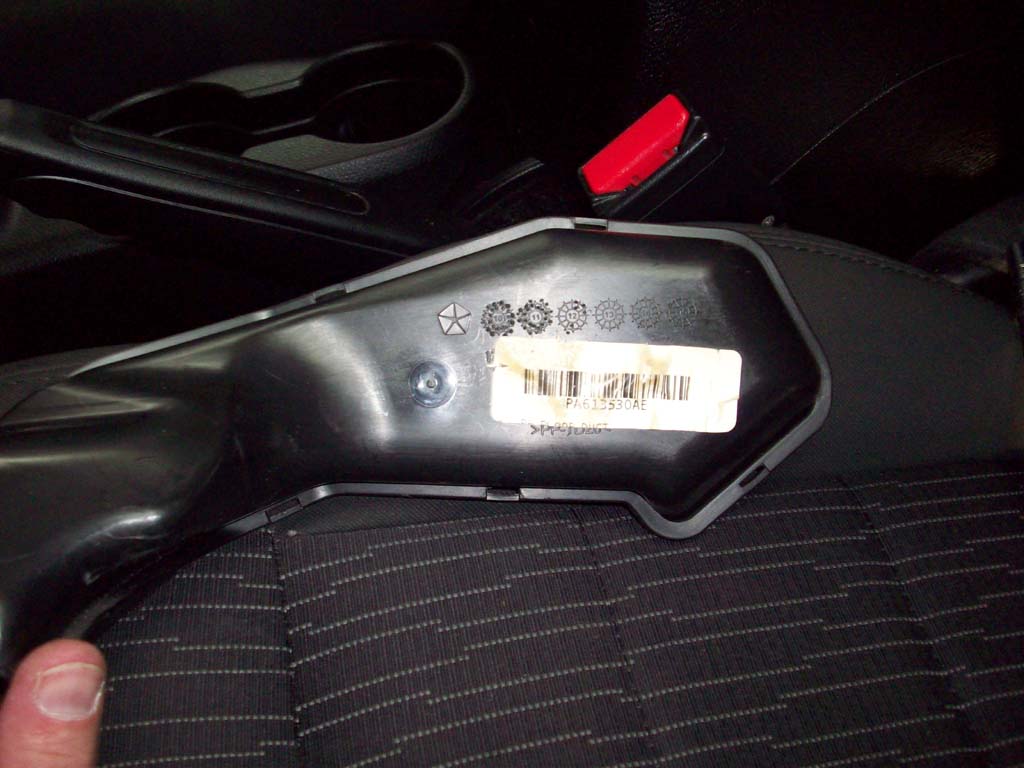
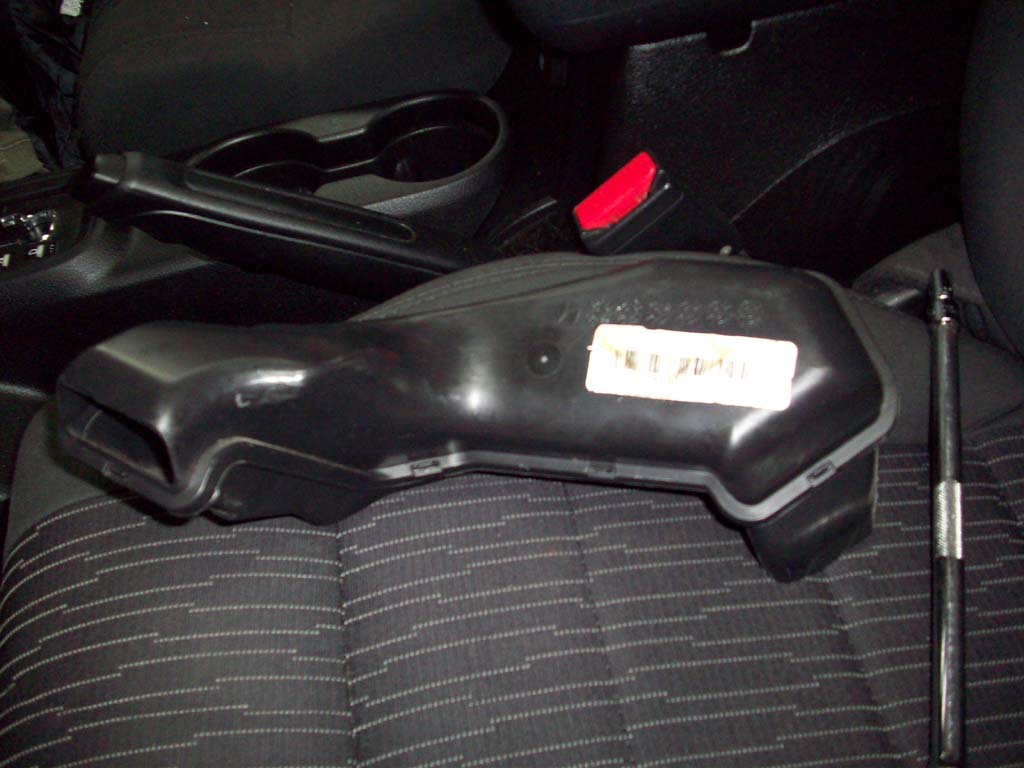
| 16. Here is what it looks like pulled out, I just put them aside. Don't clip them back together, because it's a little harder to get them apart when they are out. |
 |
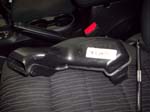 |
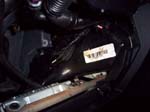
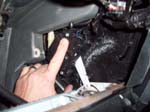
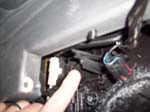
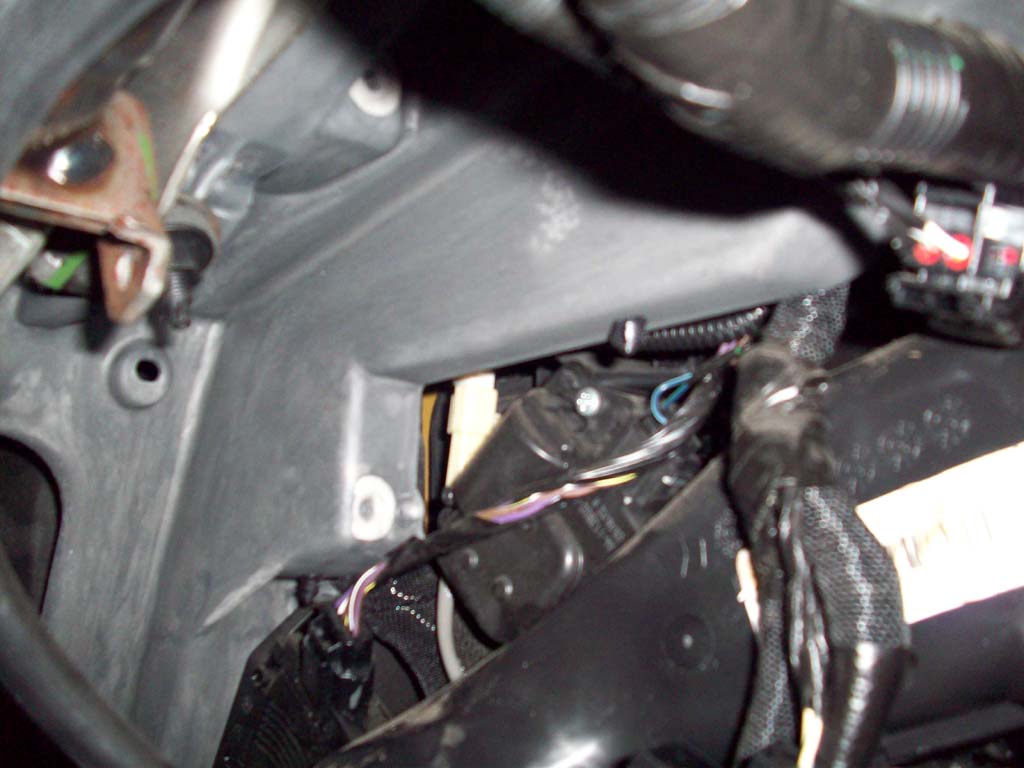
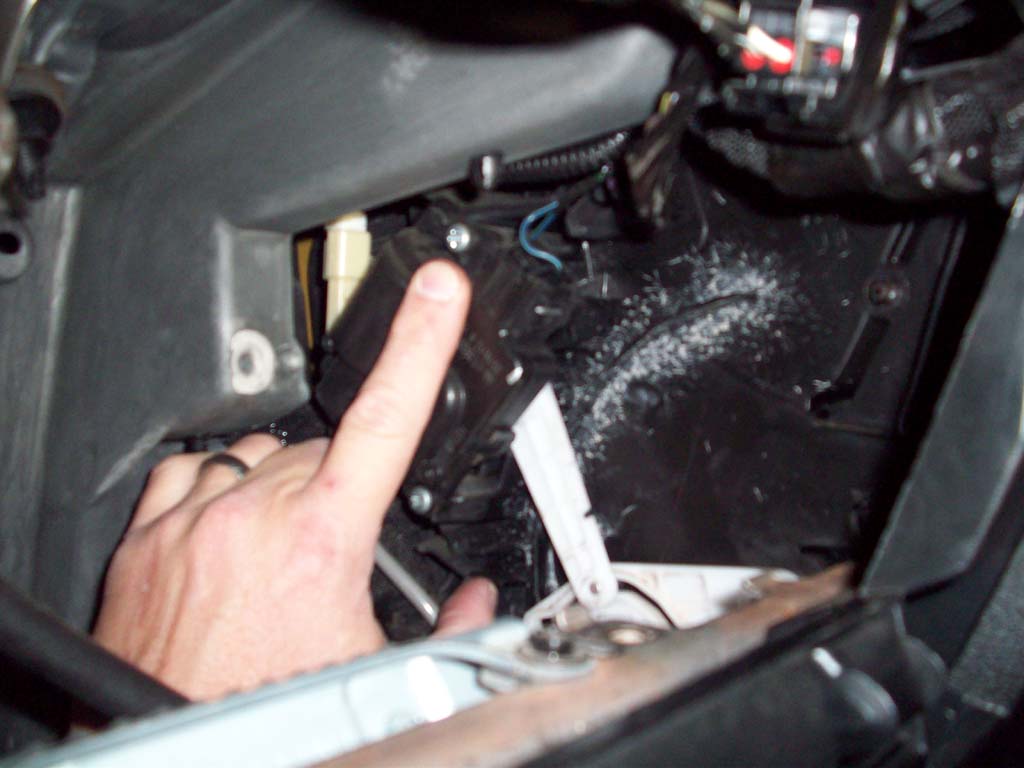
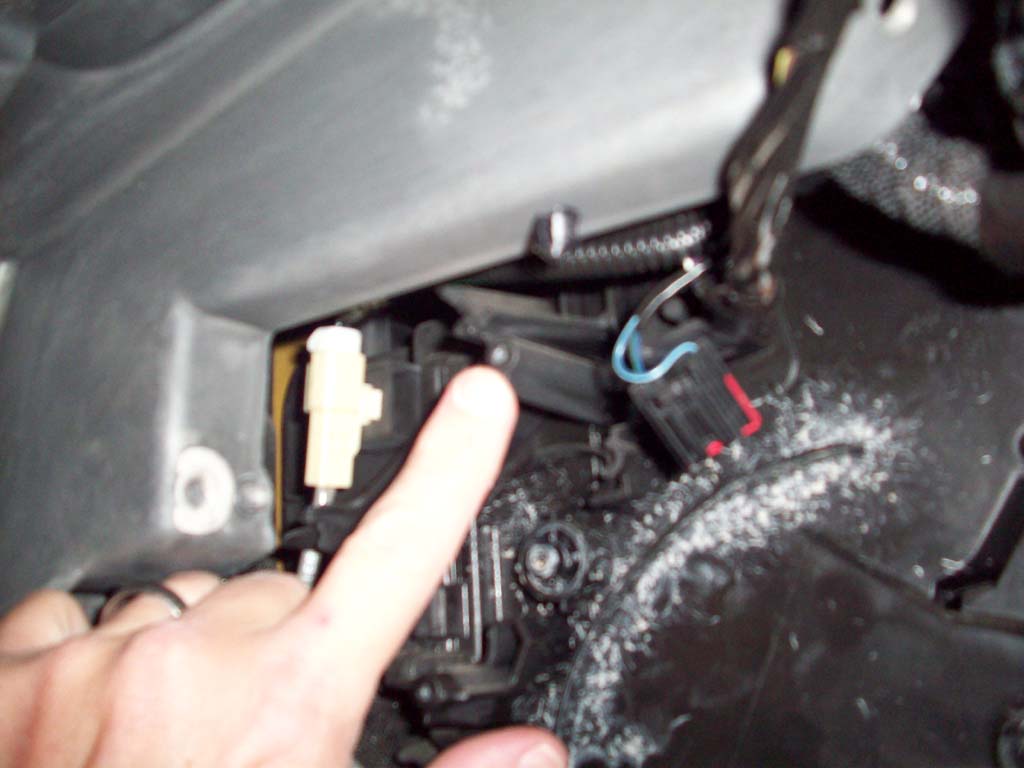
| 17. We finally have access to our broken mixing door actuator. Remove the wiring harness from the actuator. Press the tab on the side and pull out the connector. |
 |
 |
| 18. Remove the two phillips screws with a #2 phillips screwdriver. You will need a stubby or a short phillips to get to these. They are soft metal, so be careful that the screwdriver doesn't slip and round out the head. Pull the actuator off the pegs. |
 |
 |
 |
| 19. Make sure you don't move the arm around, don't know if this is important or not, but I felt the need to be cautious. I said earlier I believe that the motor uses torque sensing to know the limits of movement. |
 |
 |
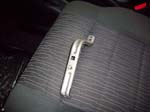
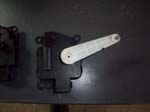
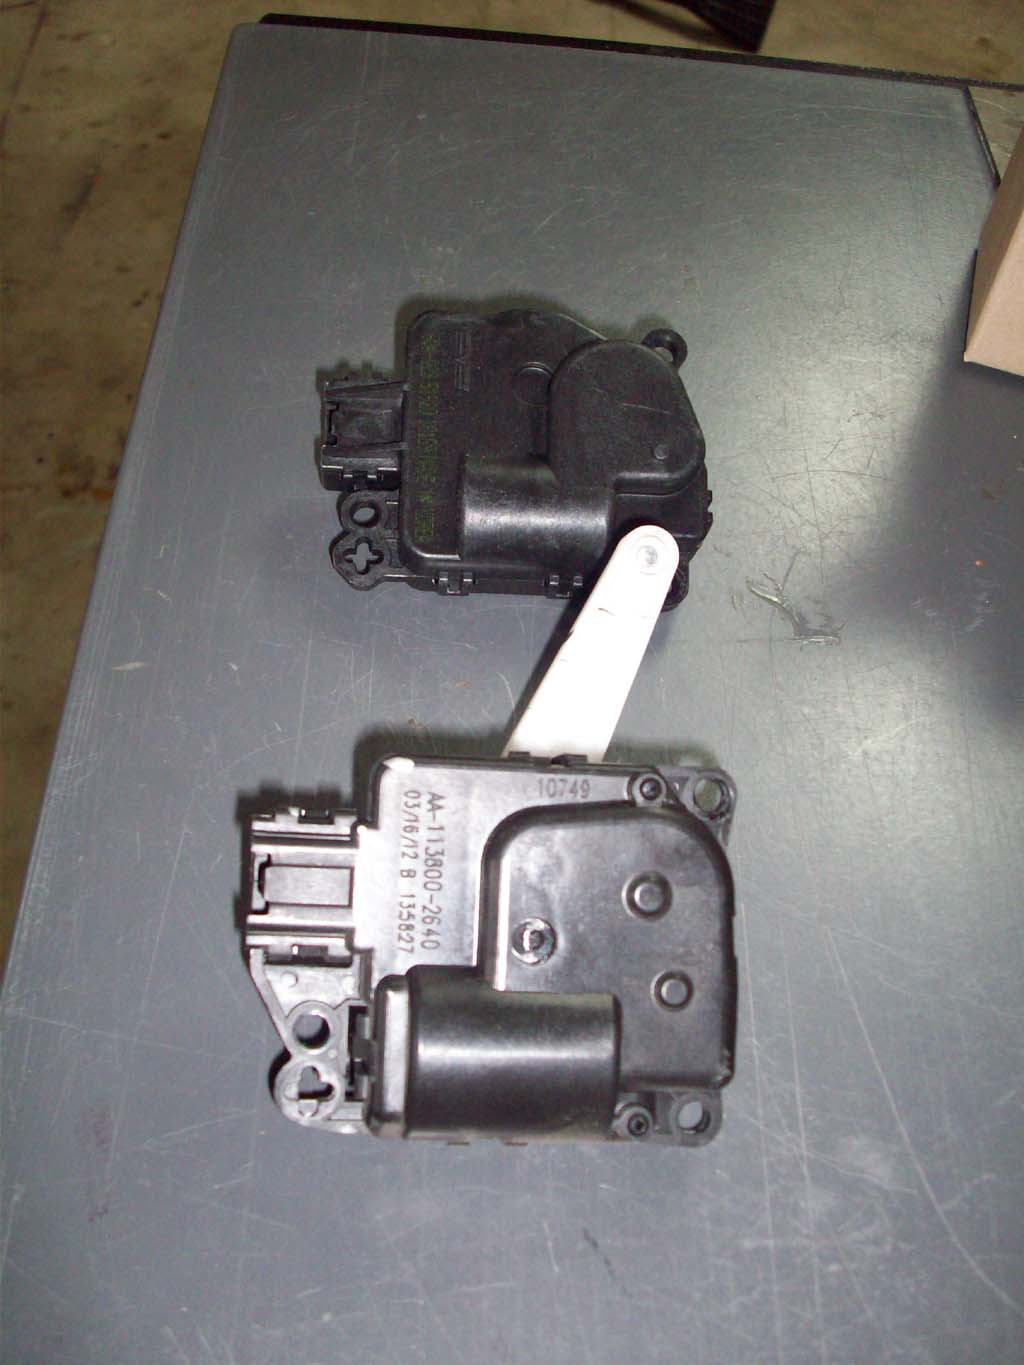
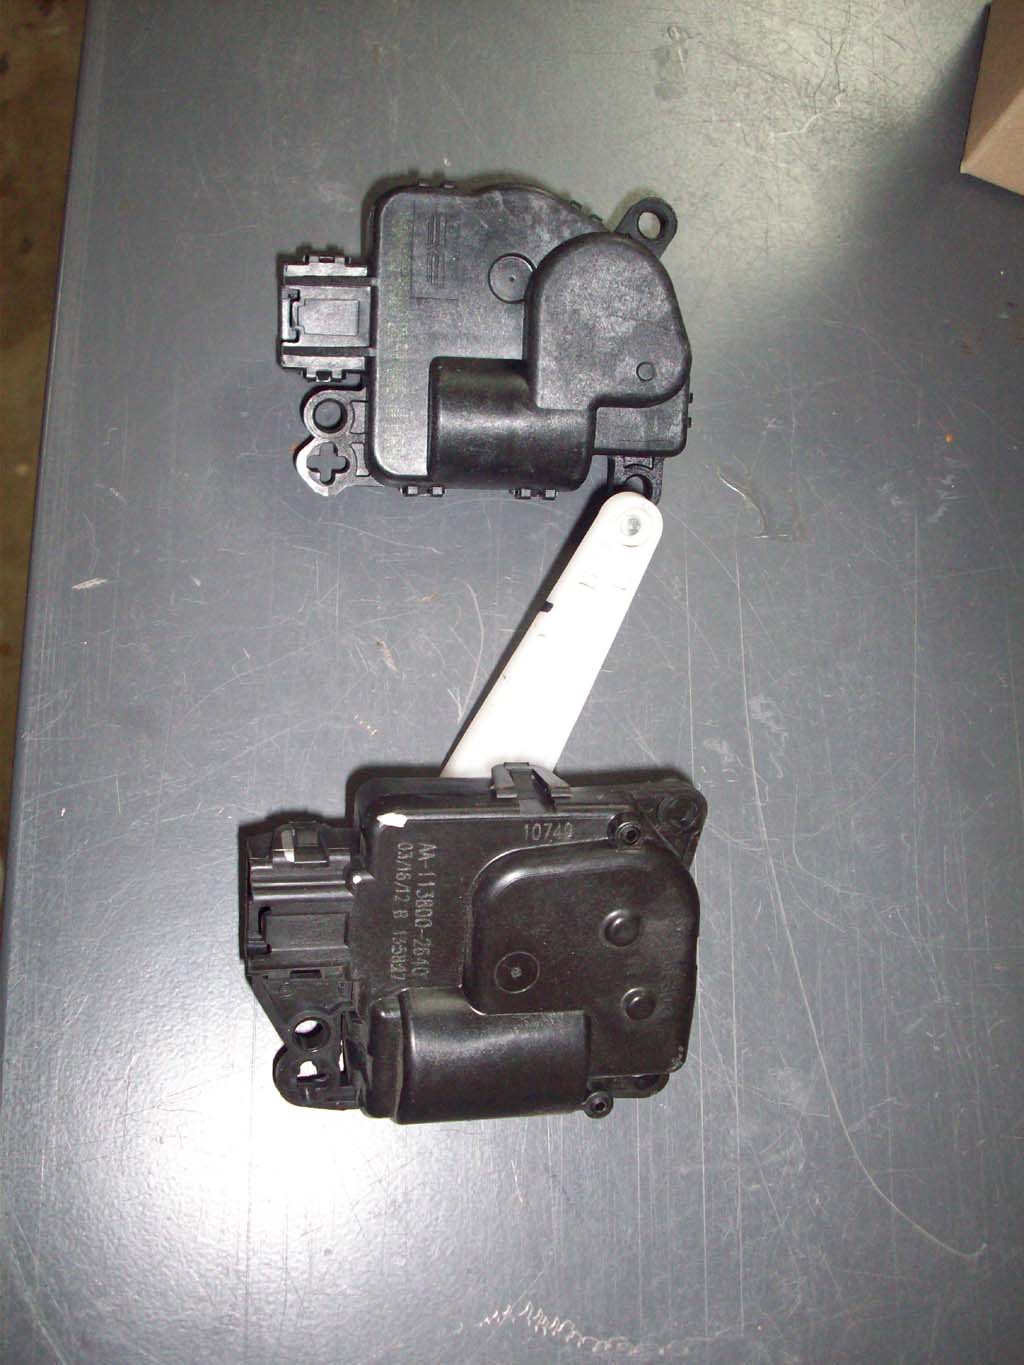
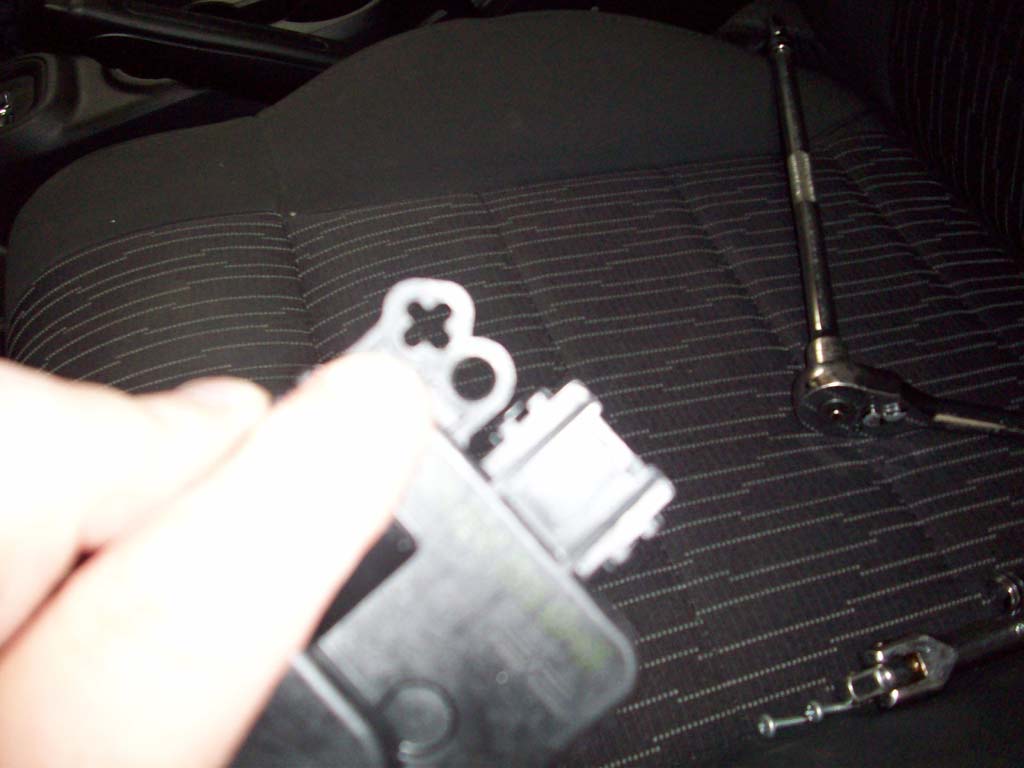
| Quick comparison between actuators to make sure that they had the same mounting points. They are slightly different in shape, but everything else lined up. |
 |
 |
 |
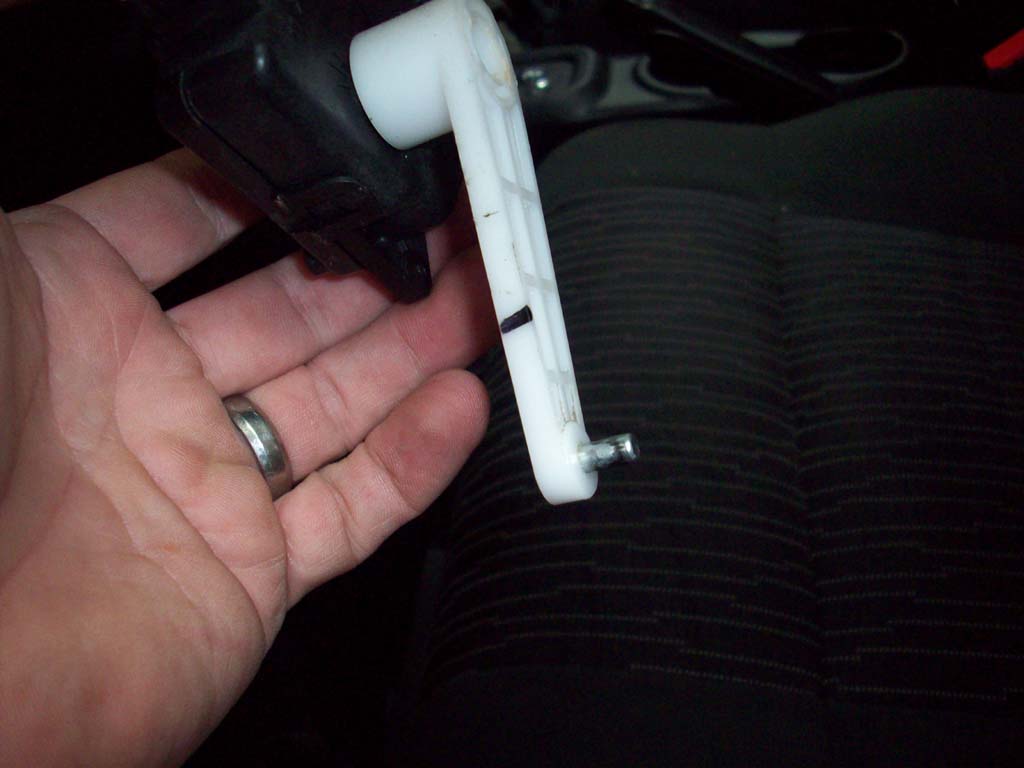
| 20. Pull the arm off the old actuator, and install it in the same position on the new actuator. |
 |
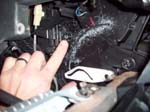
| 21a. Three things you need to know before installing the new actuator. The actuator has a locator hole at the top that needs to go over the locator pin on the mount. |
 |
 |
 |
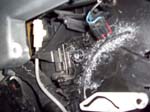
| 21b. The actuator lever has a hole in it to go over a pin on the mount. I sprayed a little white lithium grease on the plastic pin. |
 |
 |
 |
| 21c. The actuator lever has a small pin on it that slides into the door actuator lever, so you have 3 things to line up at one time, while only having room for one hand in the hole. |
| 22. Reassembly is justs the reverse of disassembly. Just remember to plug in all the connectors as you go. |


