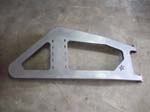
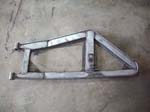
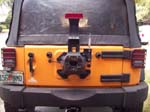
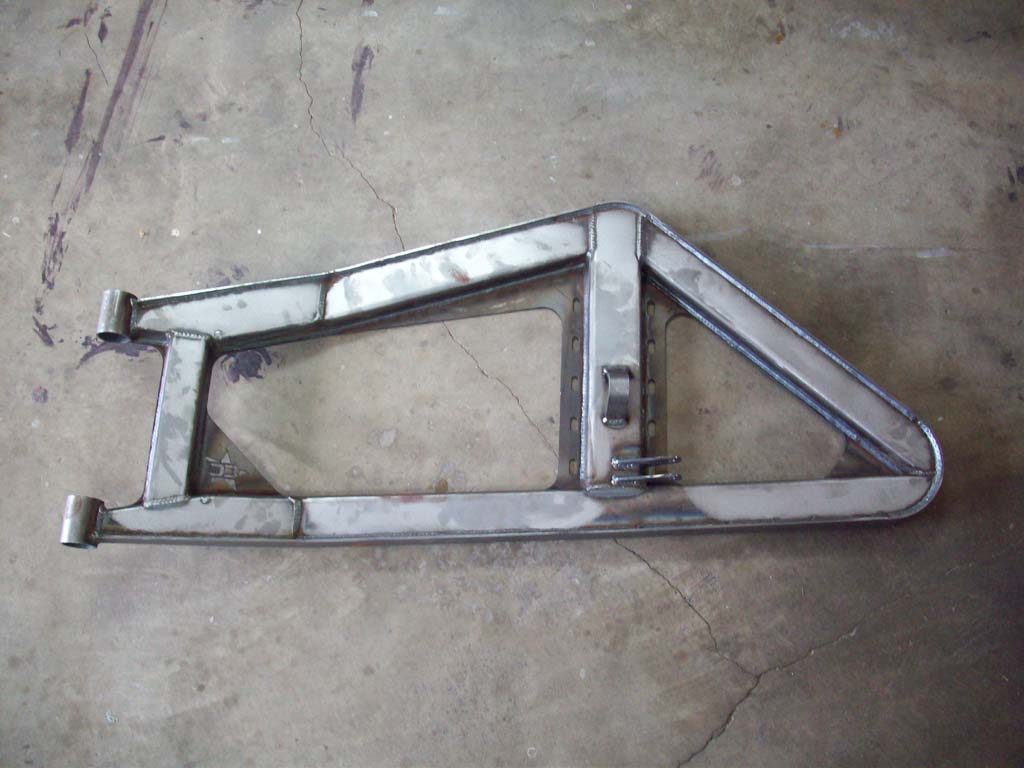
This rugged tire carrier for Jeep Wrangler JK and JK Unlimited mounts to your jeep's rear gate factory hinges, while the rock-solid tire carrier supports up to a 40-inch tire with ease. The body mounted tire carrier from Crawler Conceptz design offers hands-free, rattle-free operation. The adjustable tailgate tie-in is bound to ensure years of trouble-free service. This tire carrier features the same hand-welded 3/16-inch steel. The precision-cut, hand-welded 3/16-inch steel structure is solid and durable.
EASE OF OPERATION
The strength of the Crawler Conceptz tire carrier design is the simplicity of its factory-like one-handed operation. A tough-as-nails tie rod connects the tire carrier to a 3/16-inch steel tailgate support plate to keep the tire carrier secured and worry-free. It’s simply the strongest, most rugged tire carrier system available! Crawler Conceptz products ship as bare steel to provide maximum customization options.
JK BODY MOUNTED TIRE CARRIER AT A GLANCE
• Tire carrier ties to tailgate for convenient, one-handed operation
• Supports up to a 40-inch tire
• Full vertical and horizontal adjustability to complement any wheel-tire combination
• Proudly handcrafted in the USA
• Easy DIY installation
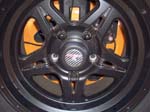
• If mounting factory wheel, a wheel spacer will be required
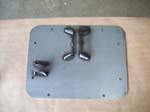
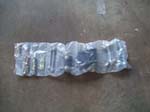
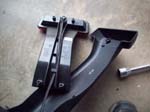
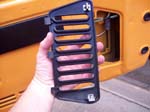
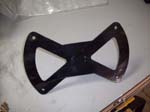
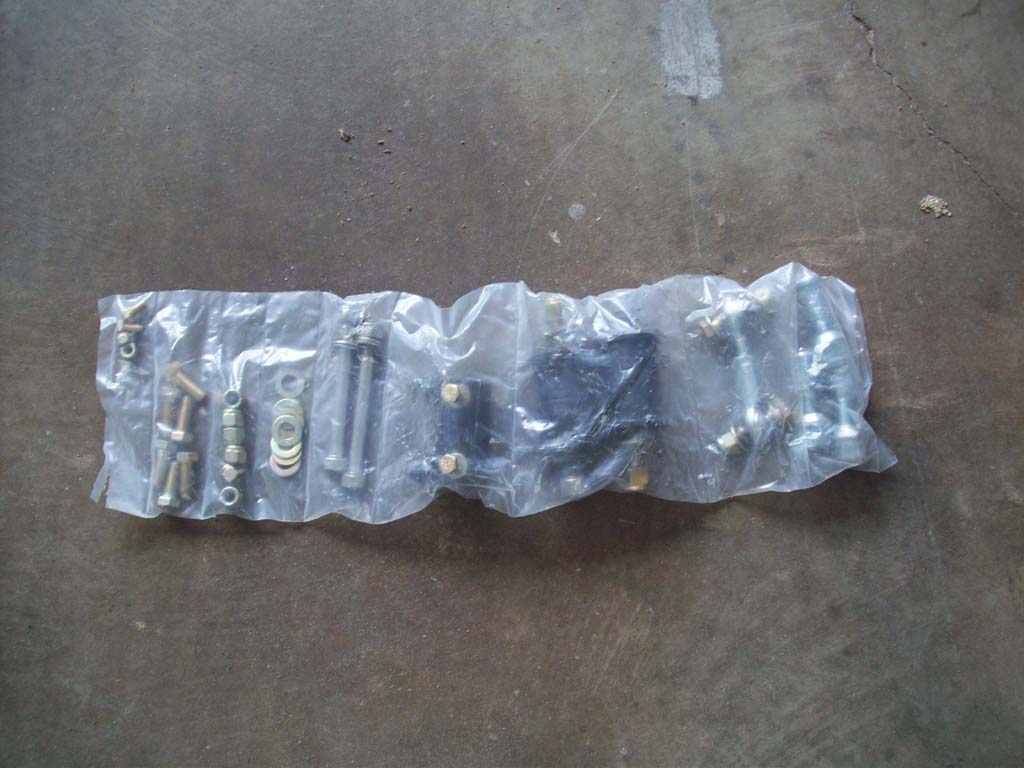
What comes in the box and foam. The box showed up looking like it came out on the rough end of a fight, but everything was there and well encased in foam, almost to the point of being a pain to get out of it. Before you install this you will need to paint or powdercoat it. Just know that it's going to get a little scraped up during the install. |
 |
 |
 |
 |
 |
 |
 |
 |
 |
 |
 |
 |
 |
 |
| |
| Preperation: |
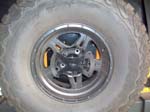
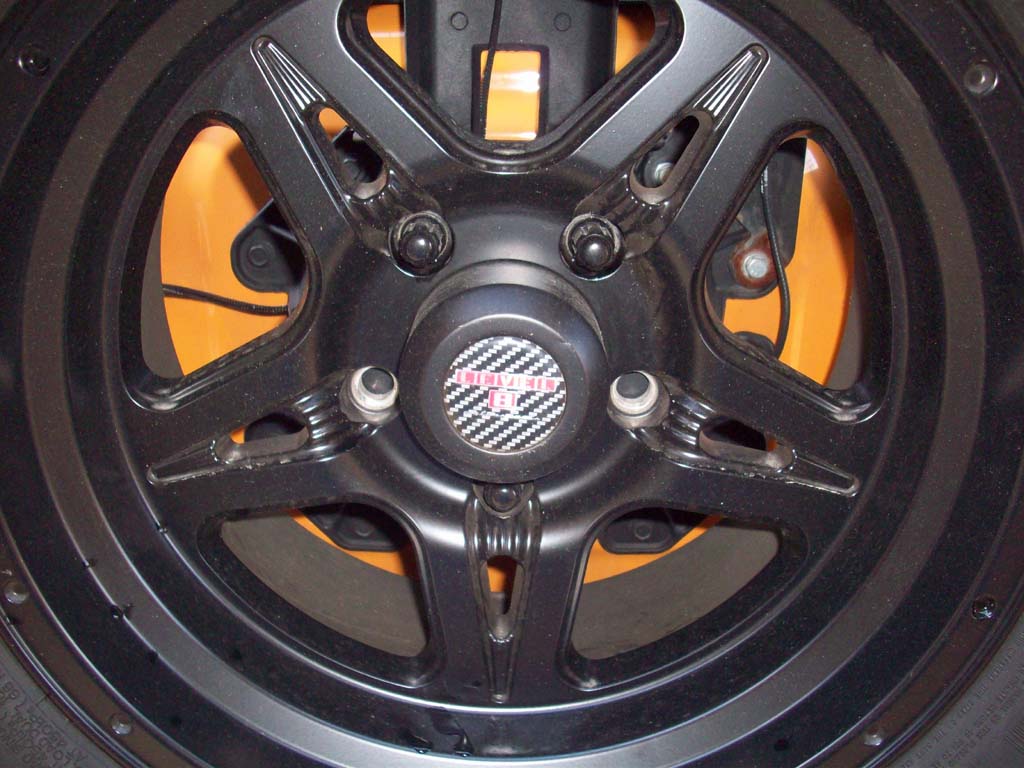
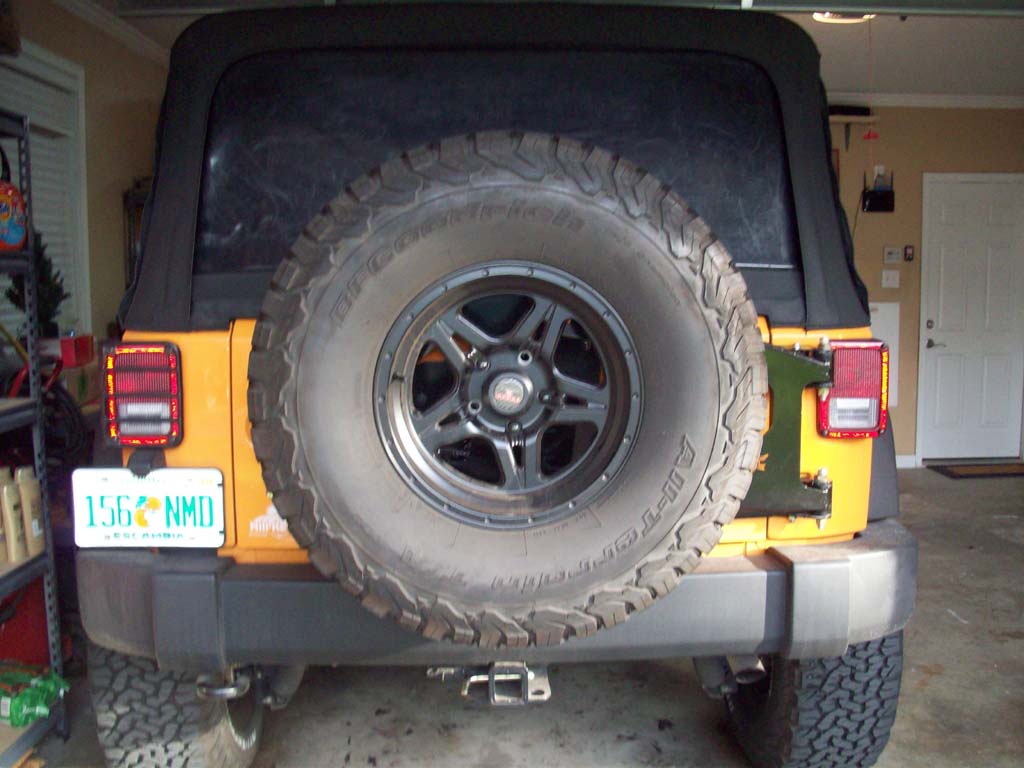
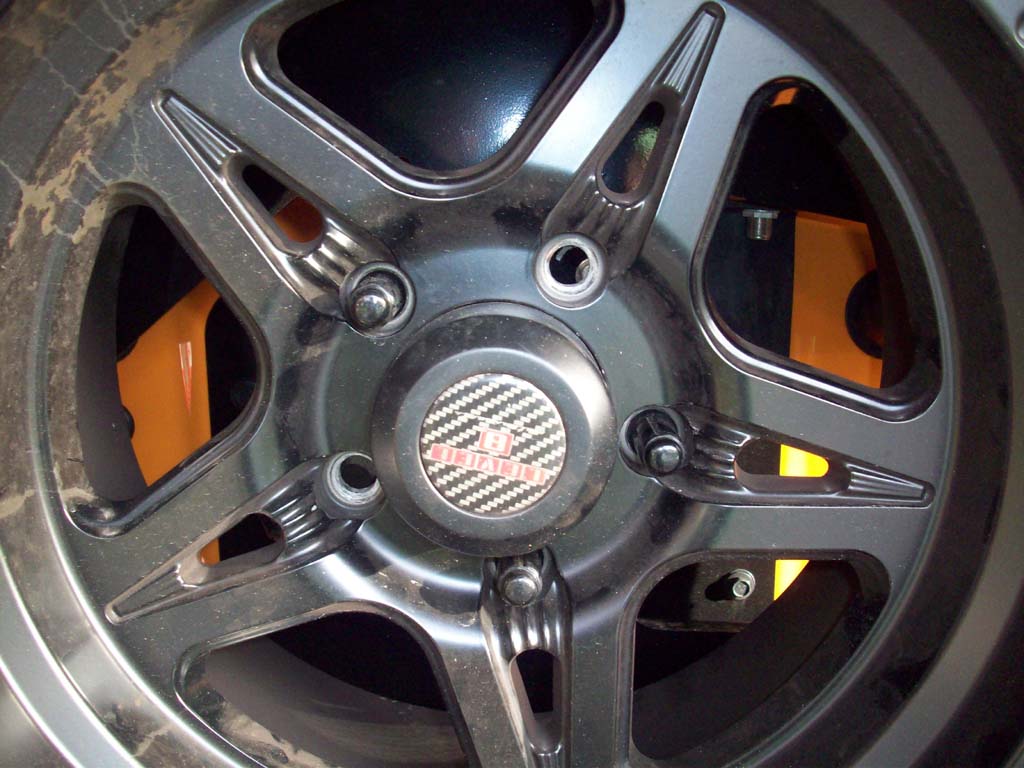
| 1. Remove the spare tire. If you have wheel locks installed you will need the key, just don't stand there looking dumbfounded as to why your lug wrench just turns over the lug nuts. |
 |
 |
| 2. Disconnect the third brake light. (couple of options here depending upon how you want to do it, if you are going to run a third brake light, and how you are going to wire it) |
 |
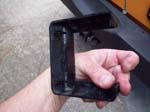
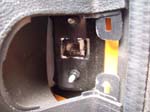
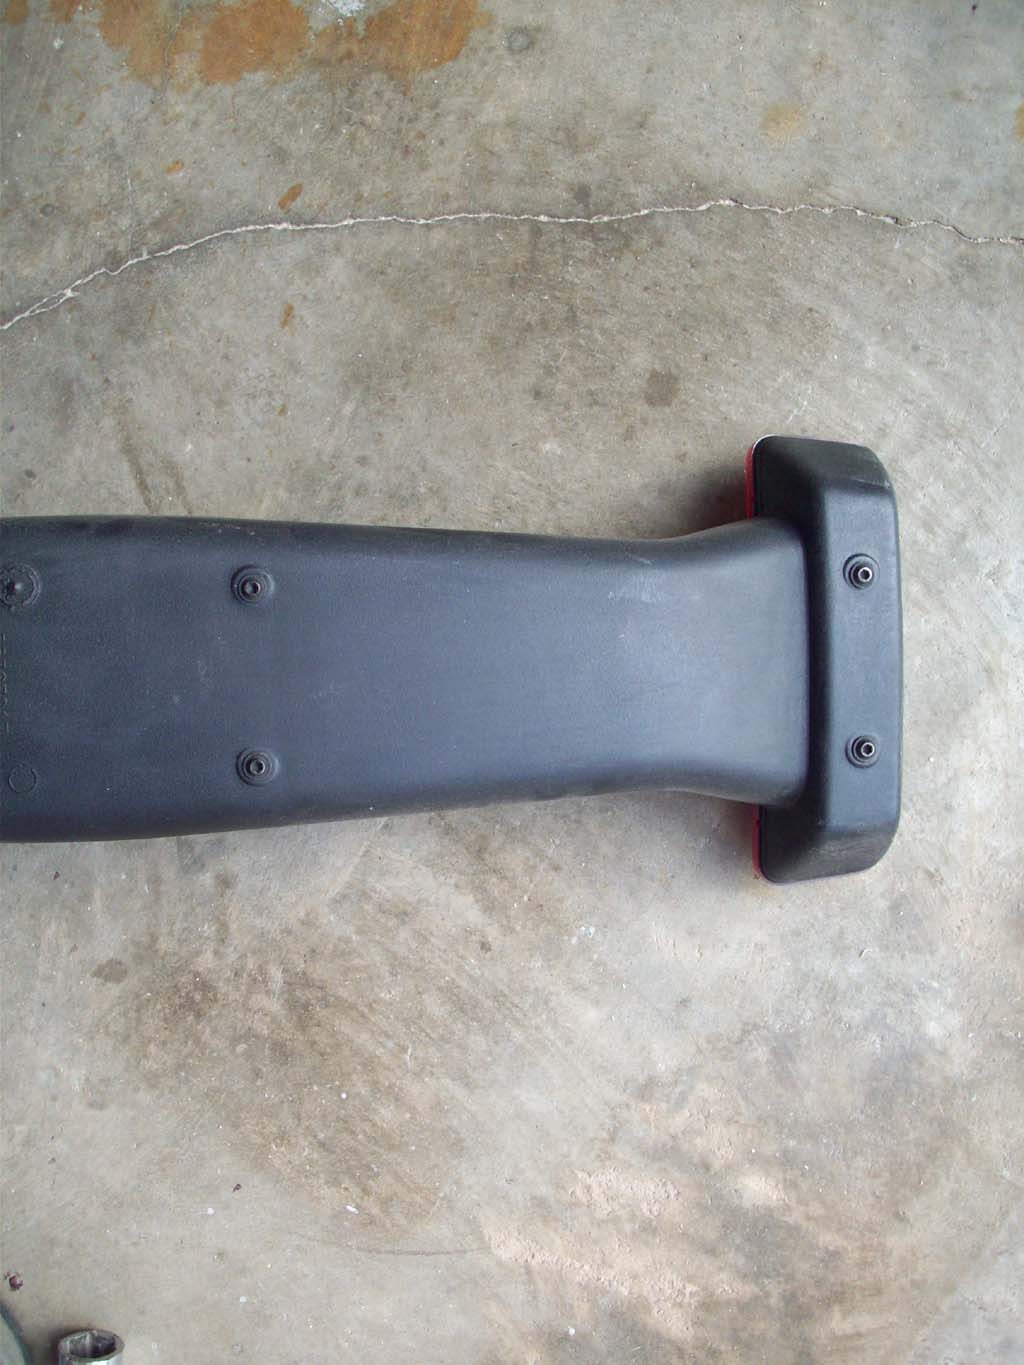
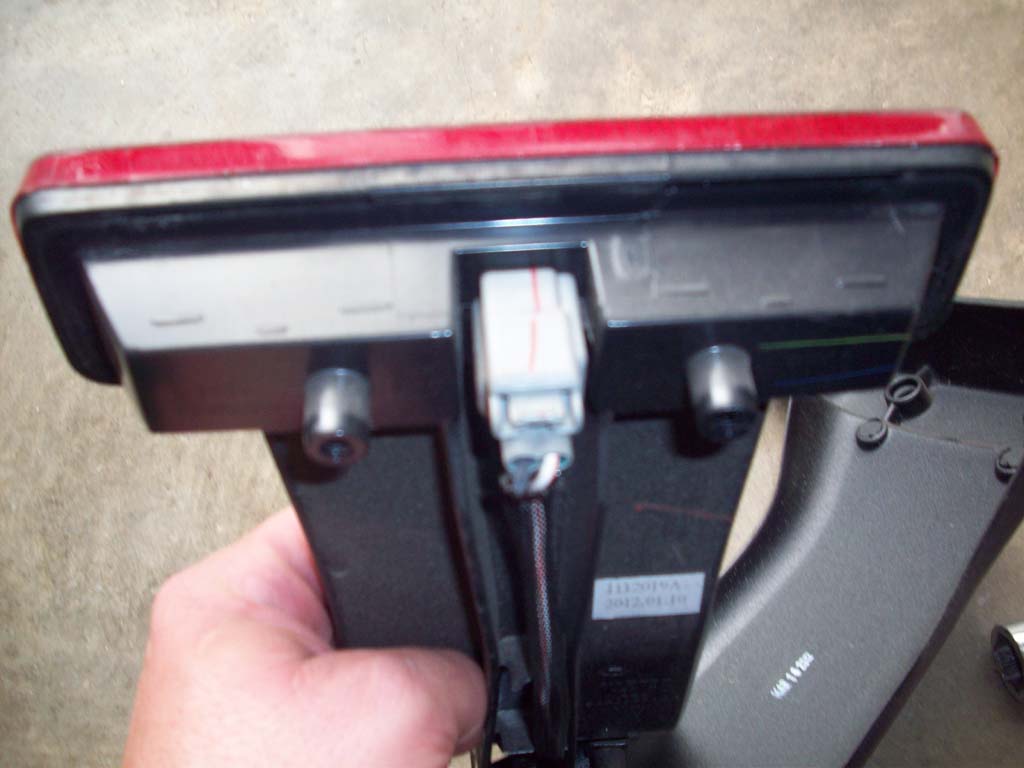
| Option 1: Unscrew the four (4) T20 torx screws from the back of the third brake light/tire carrier. |
 |
 |
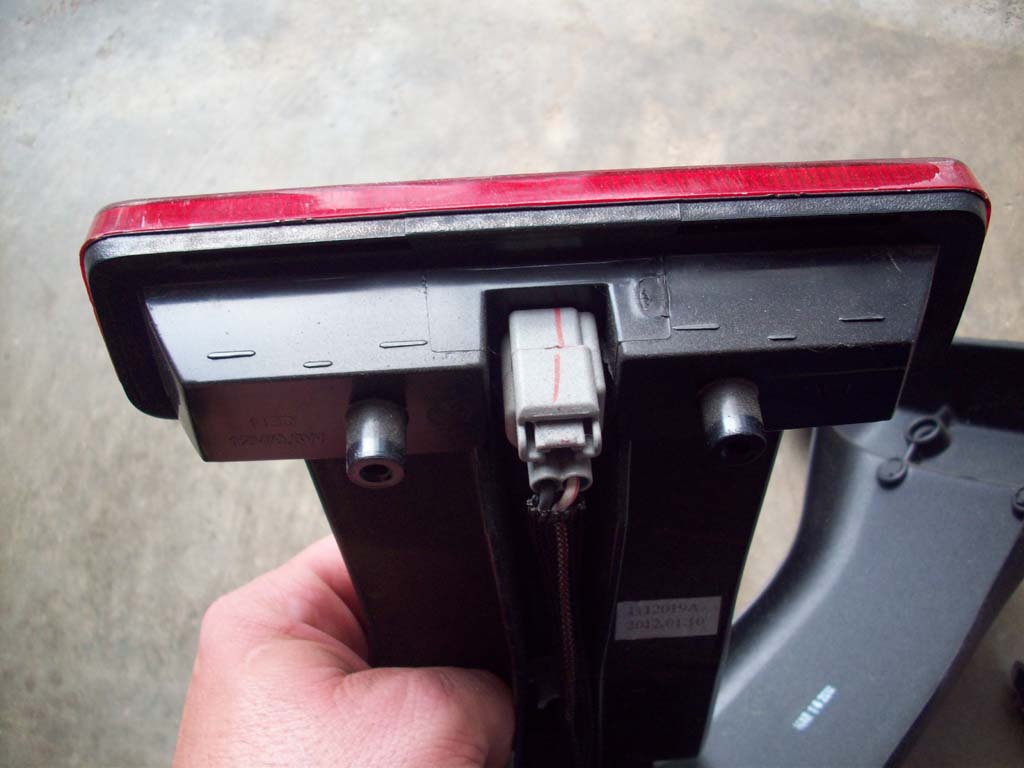
| Unclip the wiring harness from the back of the third brake light. You just need to press in on the tab and wiggle it out. The wire goes under a small plastic tab. Just pull it to the side to remove it. |
 |
 |
| Reinstall the back of the third brake light/tire carrier. This way you don't kick the screws all over the garage floor. You will need a T-20 torx screwdriver |
 |
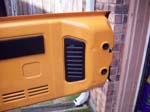
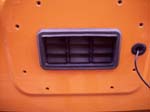
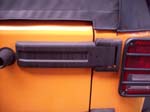
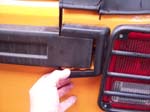
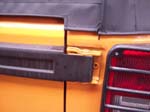
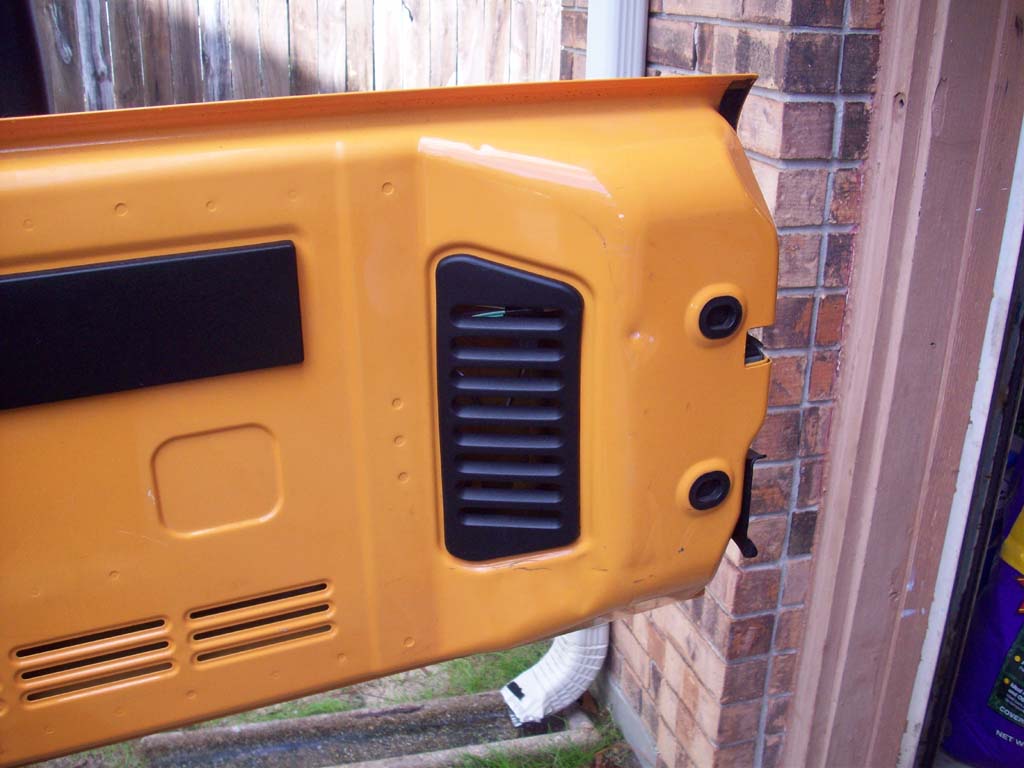
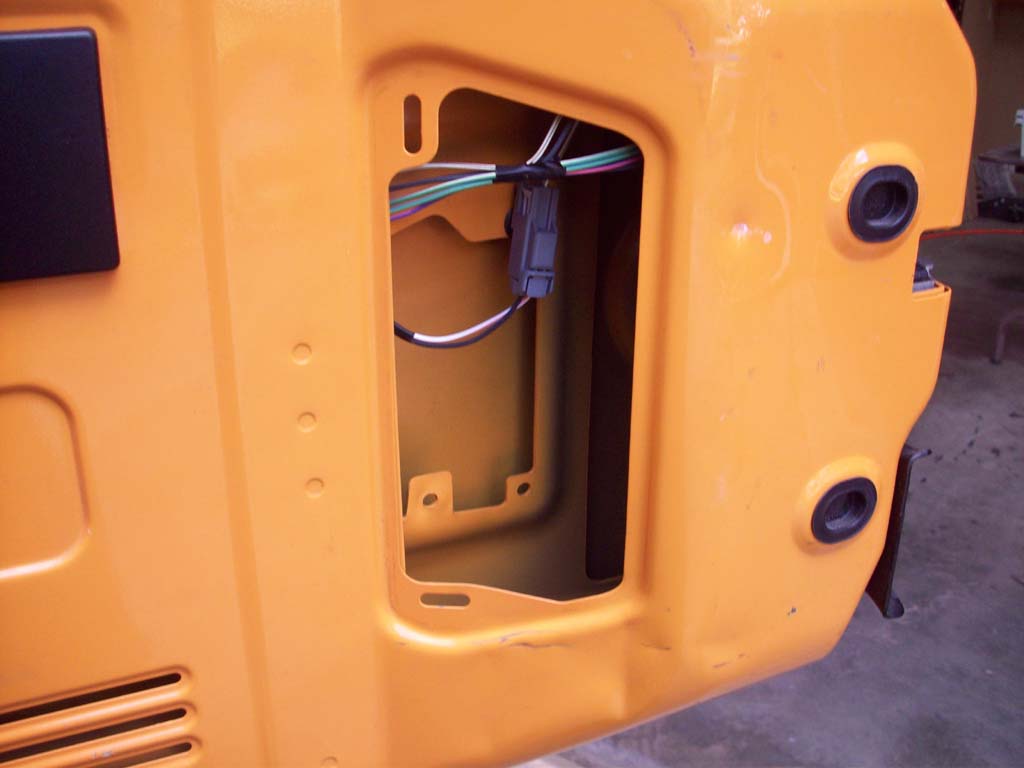
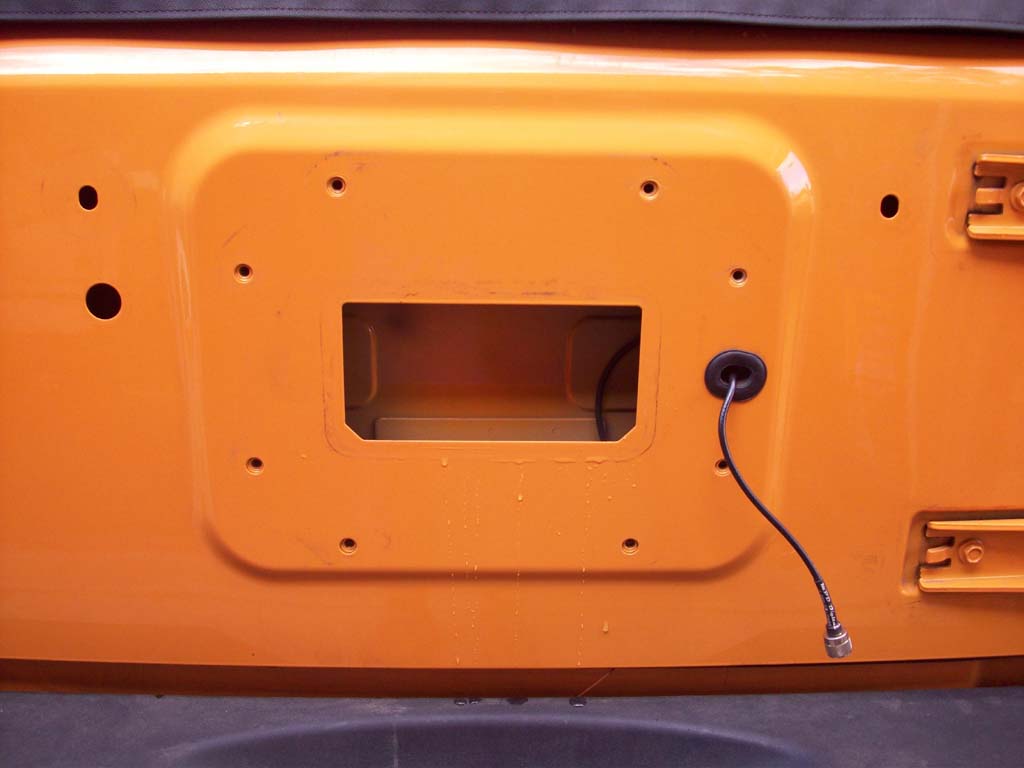
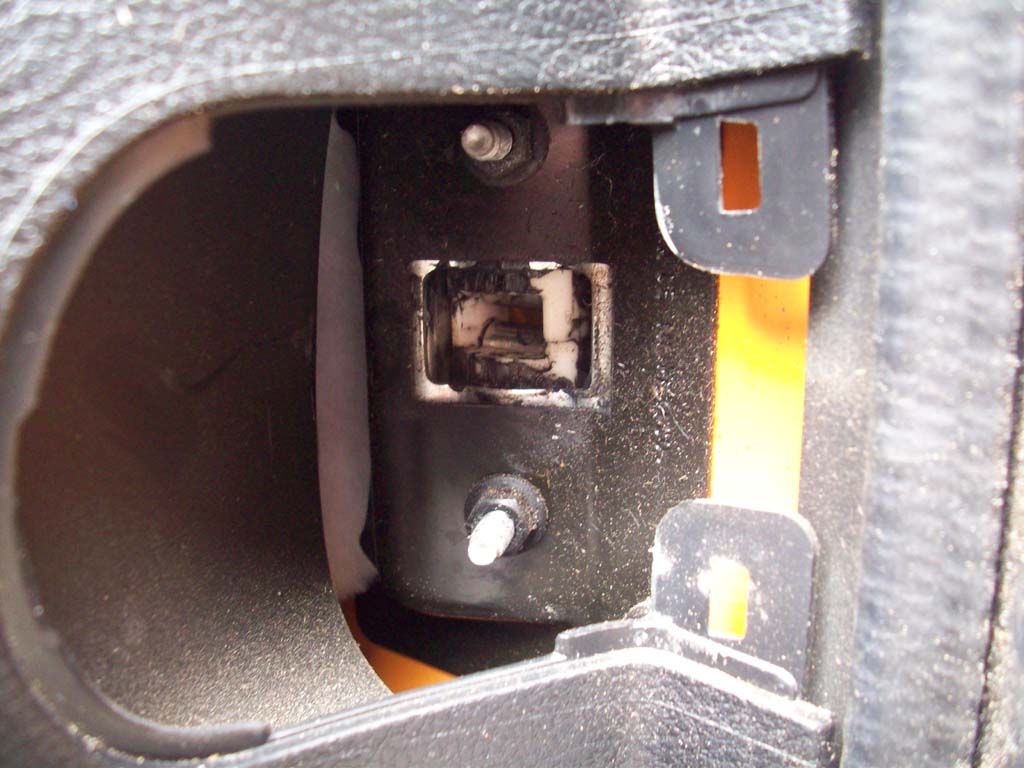
| Option 2: Remove the vent from the inside of the tailgate. This has a push tab on the top and bottom on the inner edge of the vent. The outer edge is just plastic clips over the sheet metal. |
 |
 |
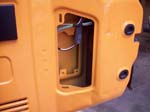 |
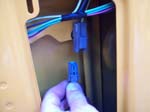
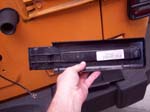
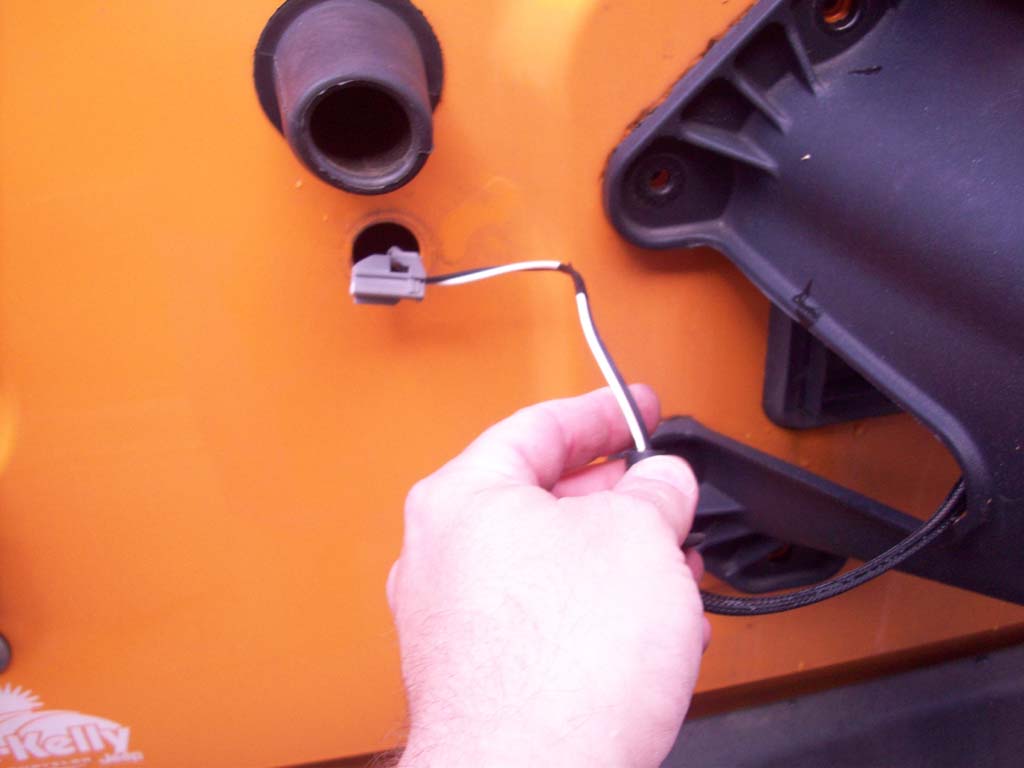
| Disconnect the third brake light wiring harness. Press the tab and pull the connector apart. Remove the rubber plug from the tailgate where the wire comes through and pull out the wire. |
 |
 |
 |
| 3. Disconnect any accessories you have mounted to the spare tire carrier. |
 |
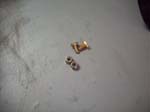
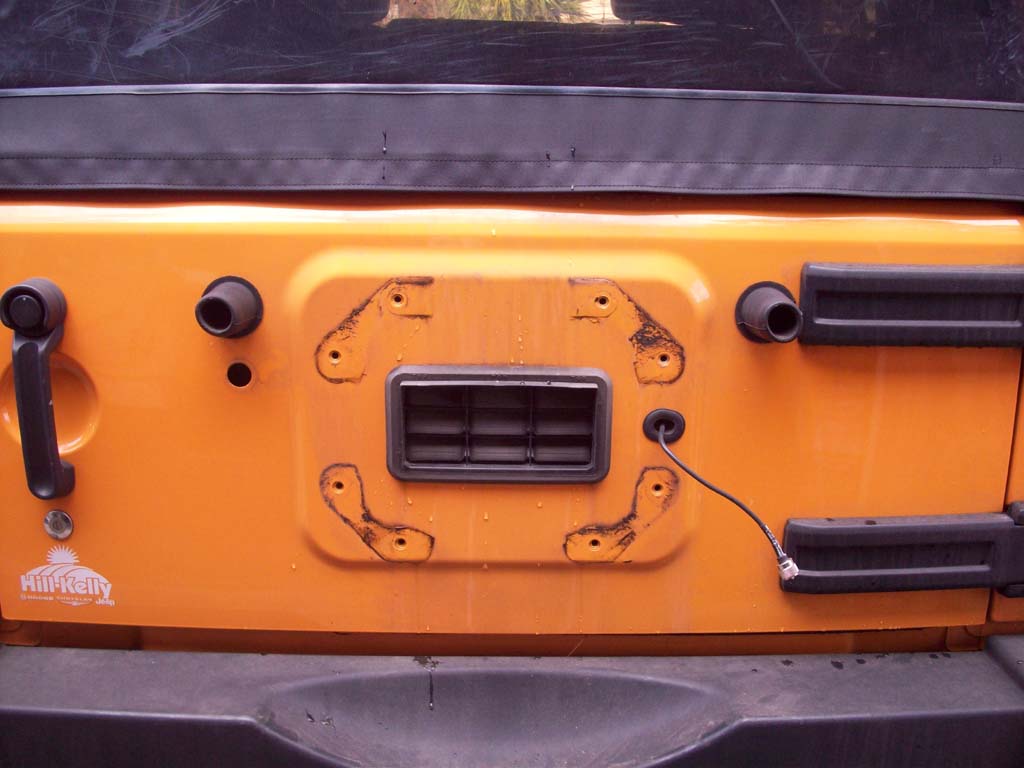
| 4. Remove factory tire carrier and any accessory mounts by removing the 8 bolts with a 13mm
Socket. Don't lose these since you will be reinstalling them later. |
 |
 |
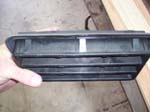
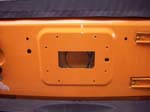
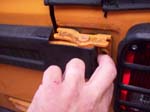
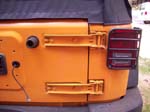
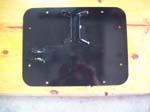
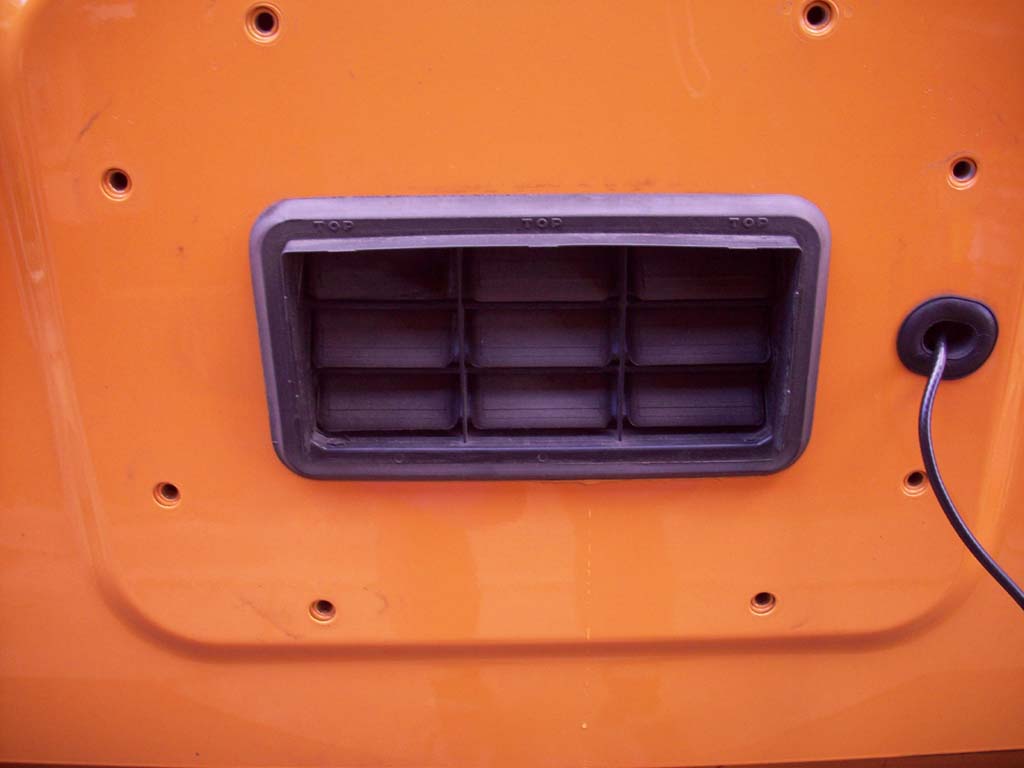
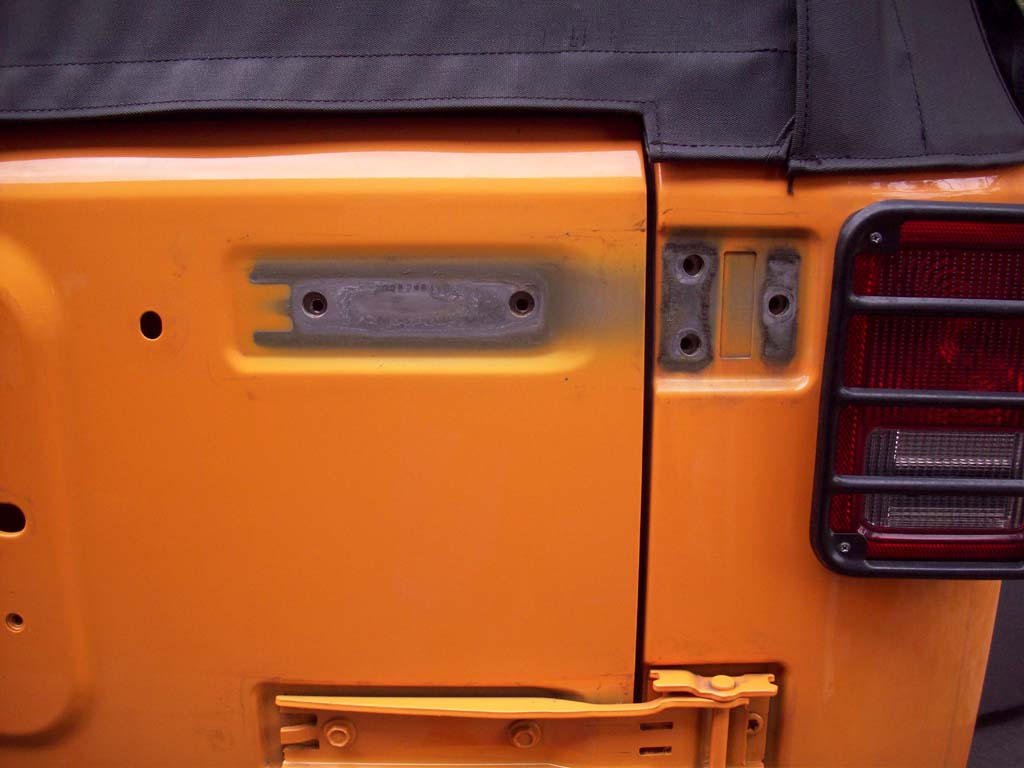
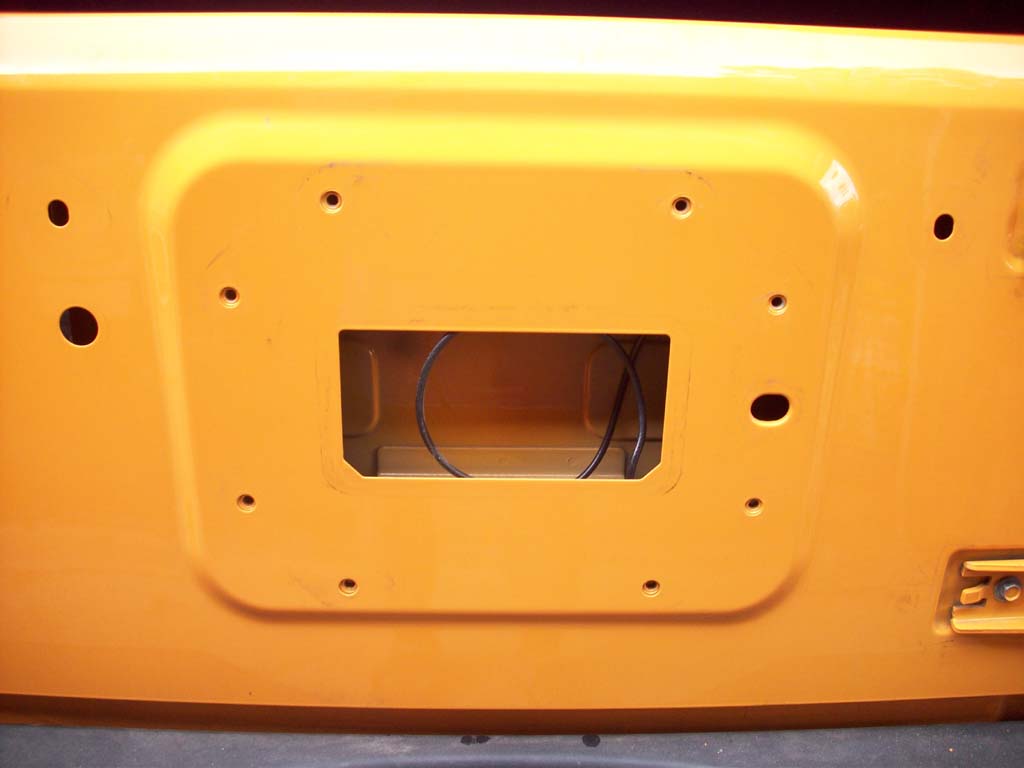
| 5. Remove factory vent insert. This is clipped in, so you just need to pry it out, you will probably bend some of the plastic clips on the inside of the vent. |
 |
 |
 |
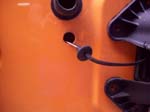
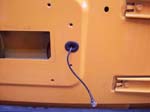
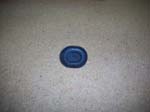
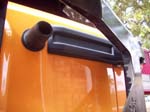
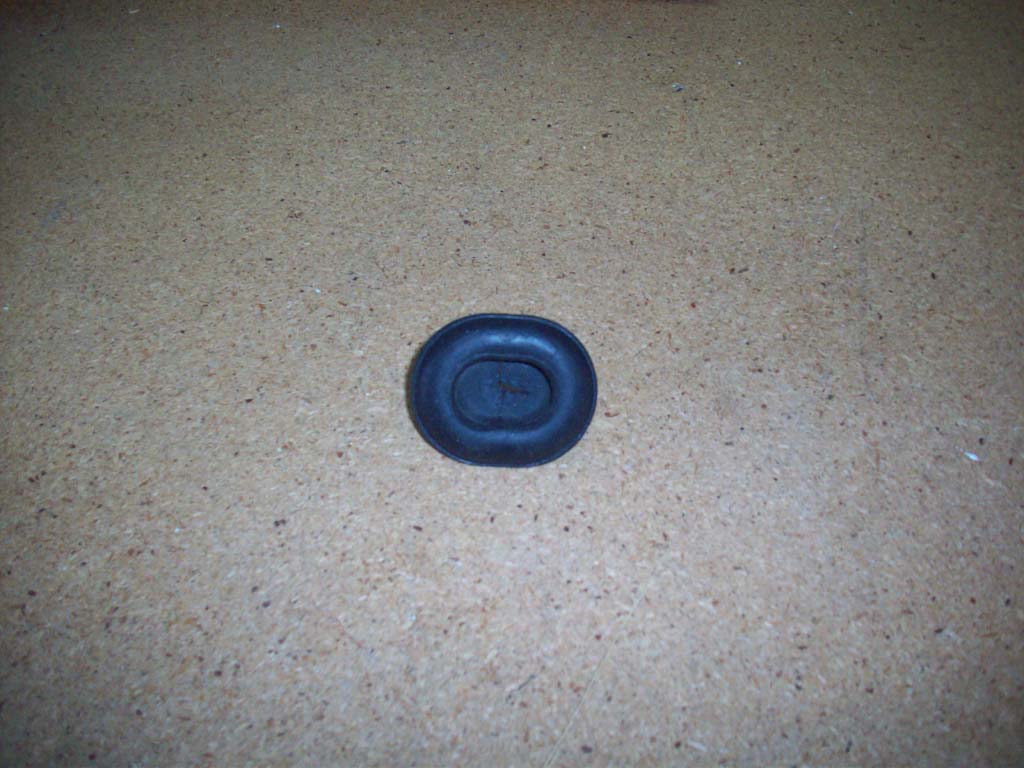
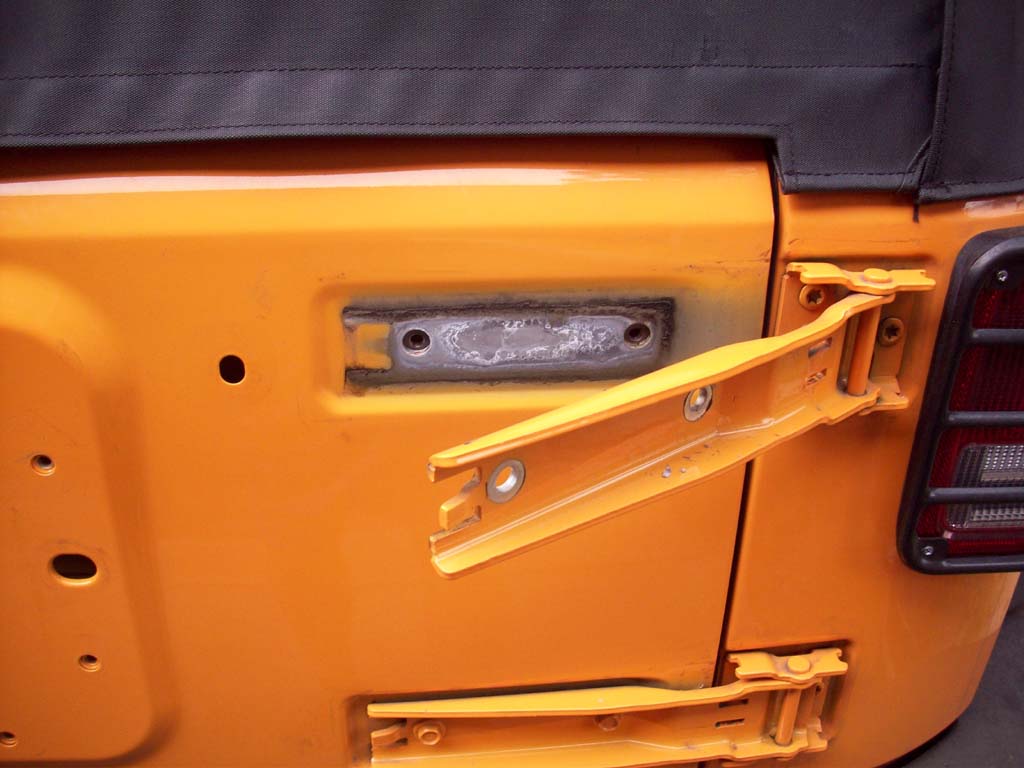
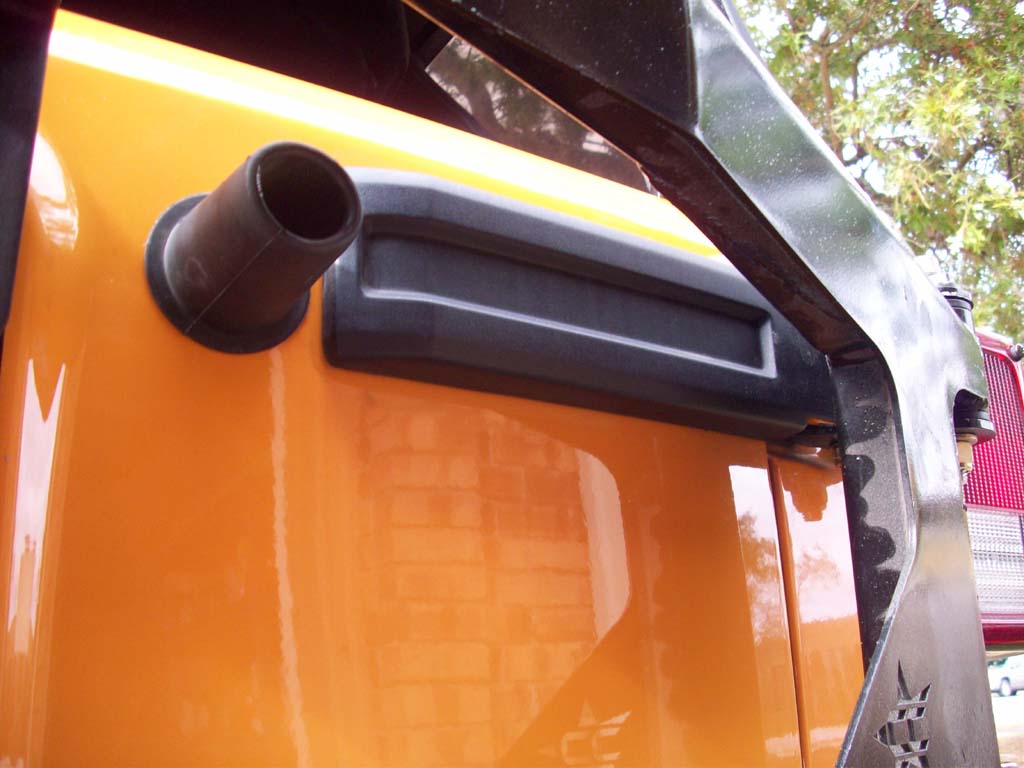
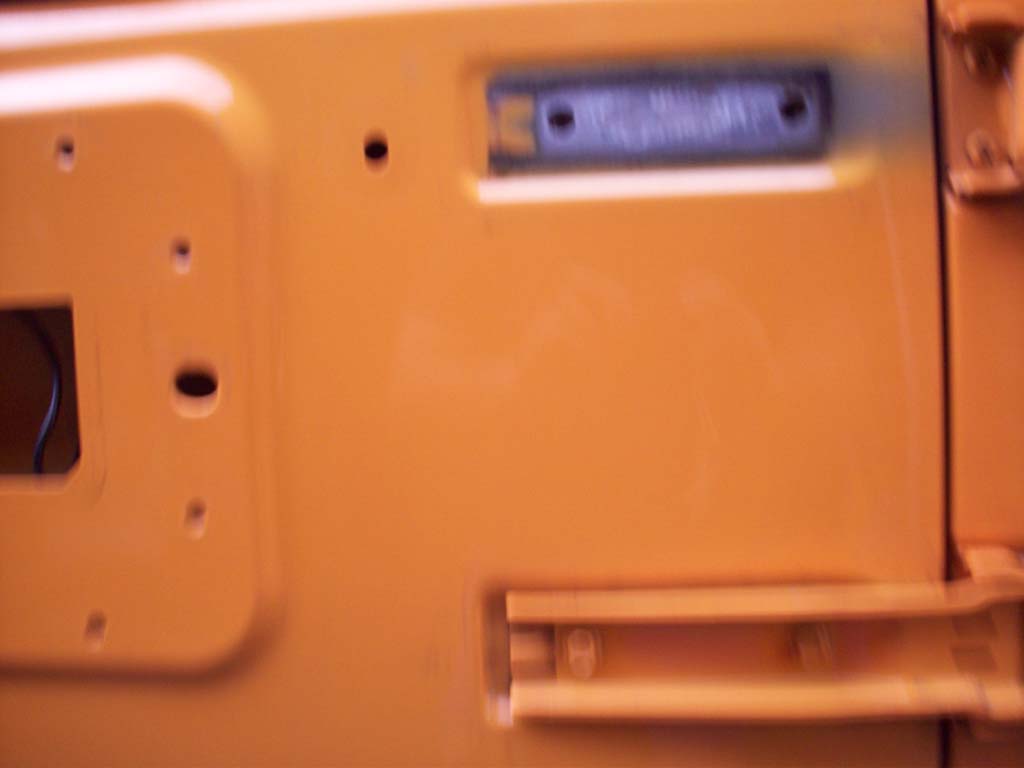
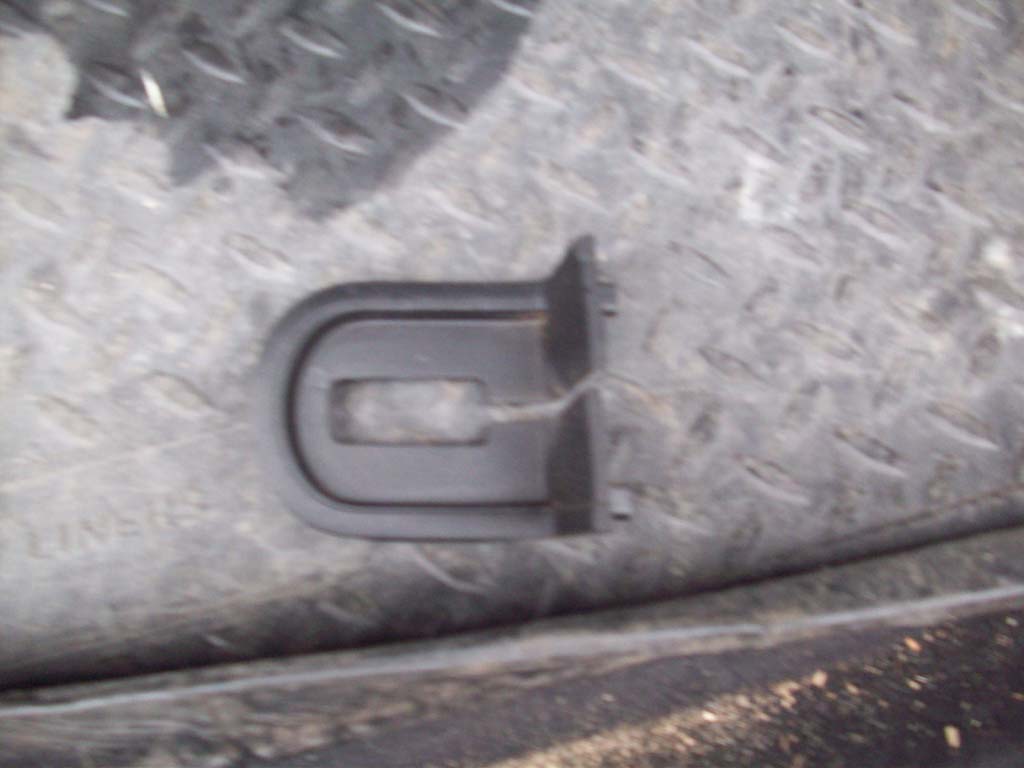
6. Remove the rubber grommet from the right side of the tailgate, you may have ran an antenna wire through here, if not you still need to remove it.
|
 |
 |
 |
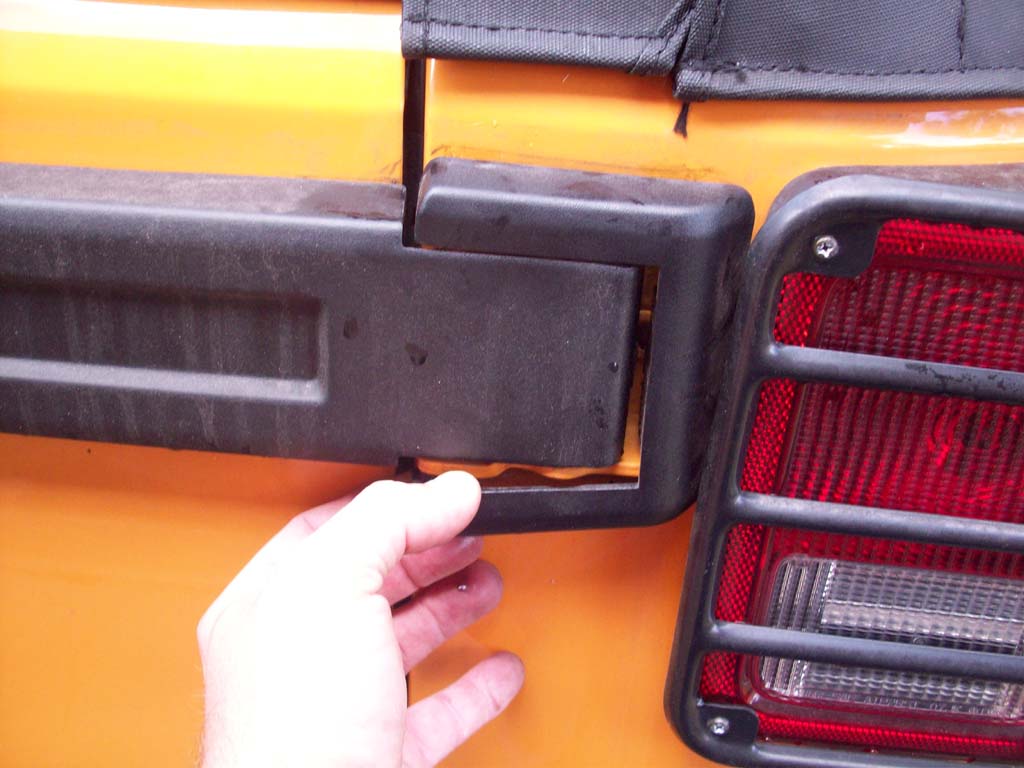
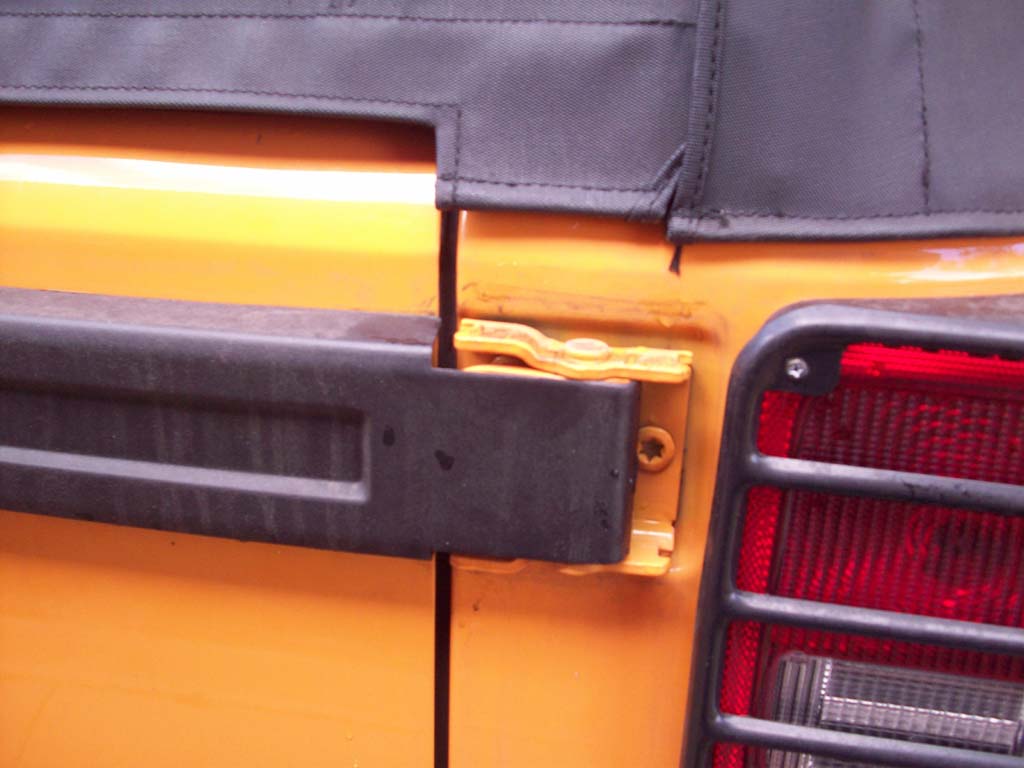
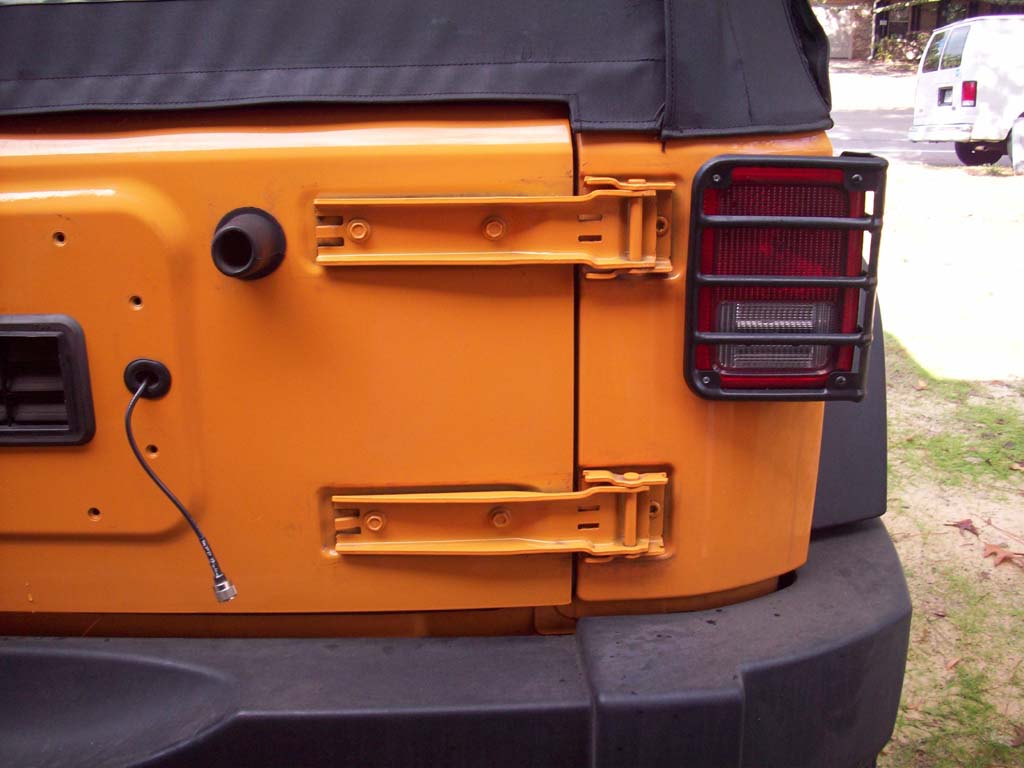
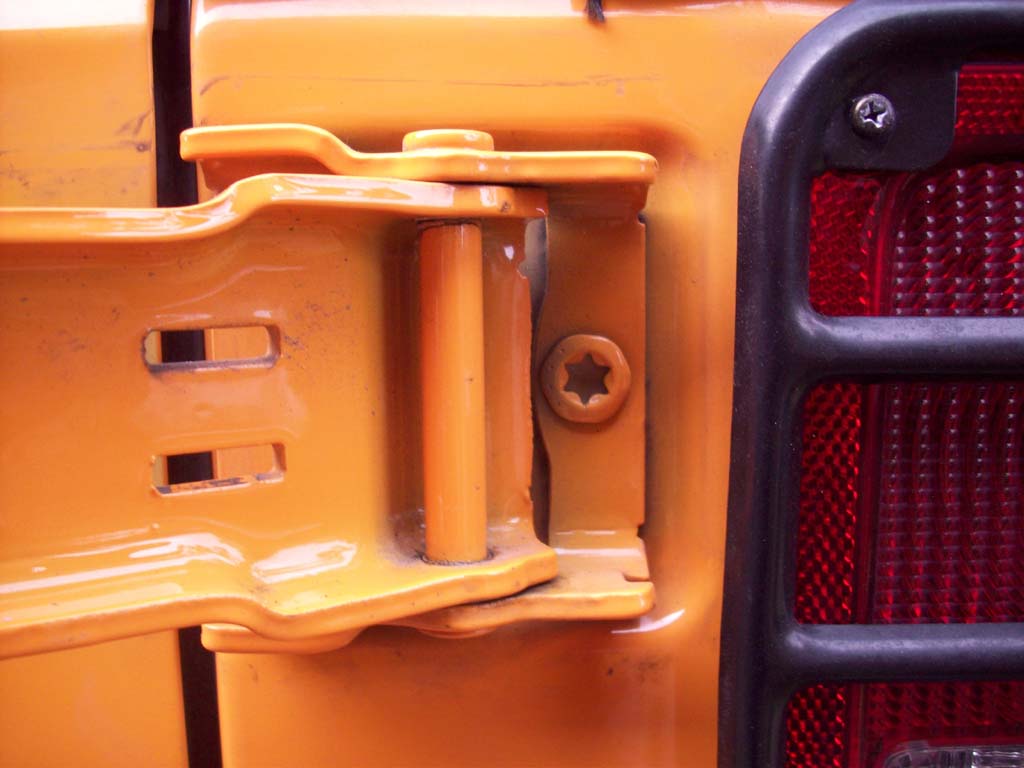
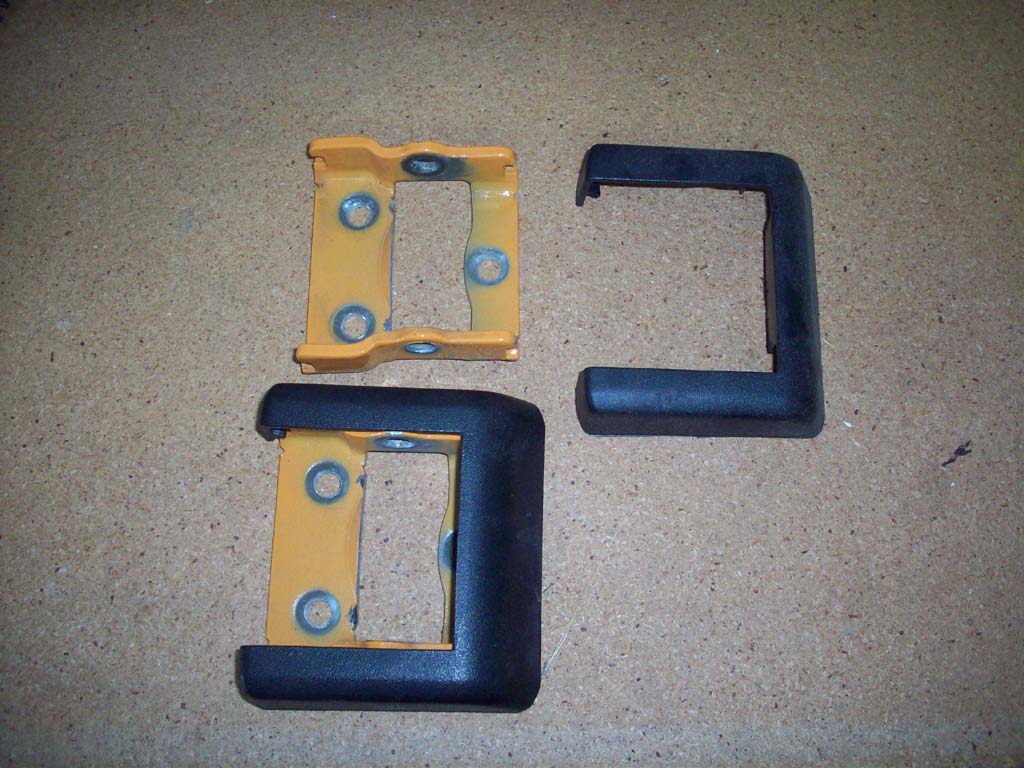
| 7. Remove the plastic hinge covers. |
 |
| 7a. The outer (tub) come off by prying the legs apart and pulling out. |
 |
 |
 |
| 7b. The inner (door) come off by pulling the lip up near the hinge until it comes free (molded plastic clip on the back side, then sliding the towards the spare tire carrier. |
 |
 |
 |
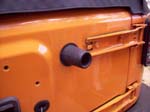
| 8. You can remove the spare tire bump stops if you want to by just giving them a twist while pulling them out. You will need to put is some type of plug later, or you can just leave them where they are. They don't bother anything. |
 |
| 9. Ensure that the tailgate is closed and latched. We do not want to disturb it until after we get the latches reinstalled. |
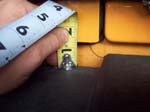
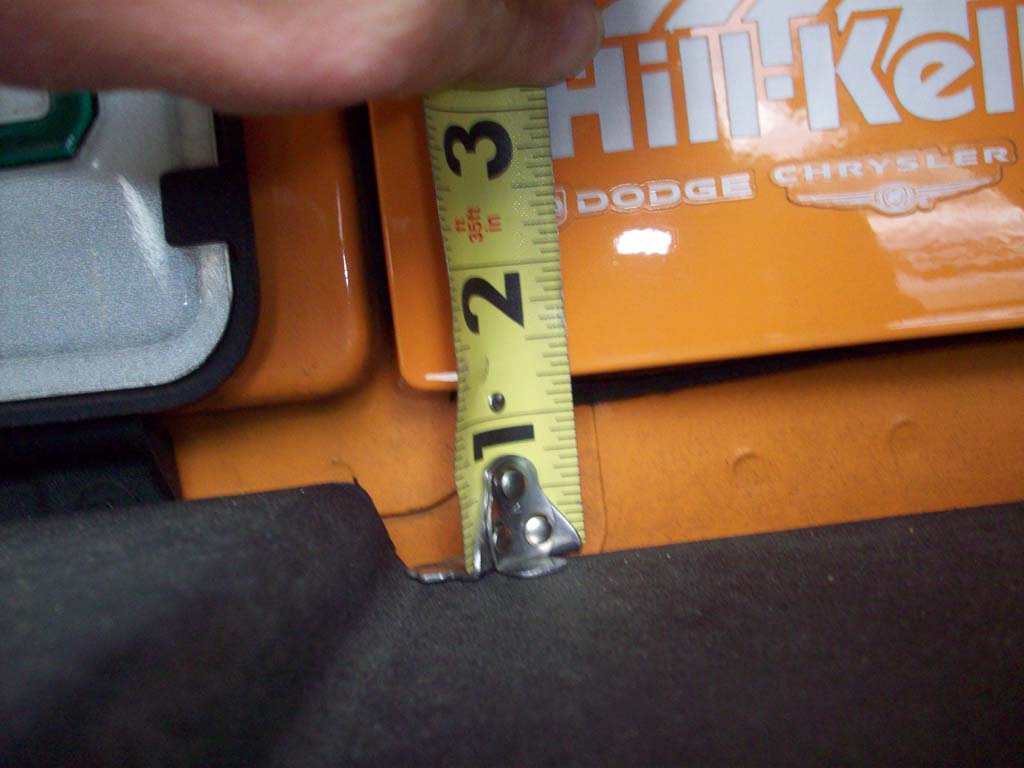
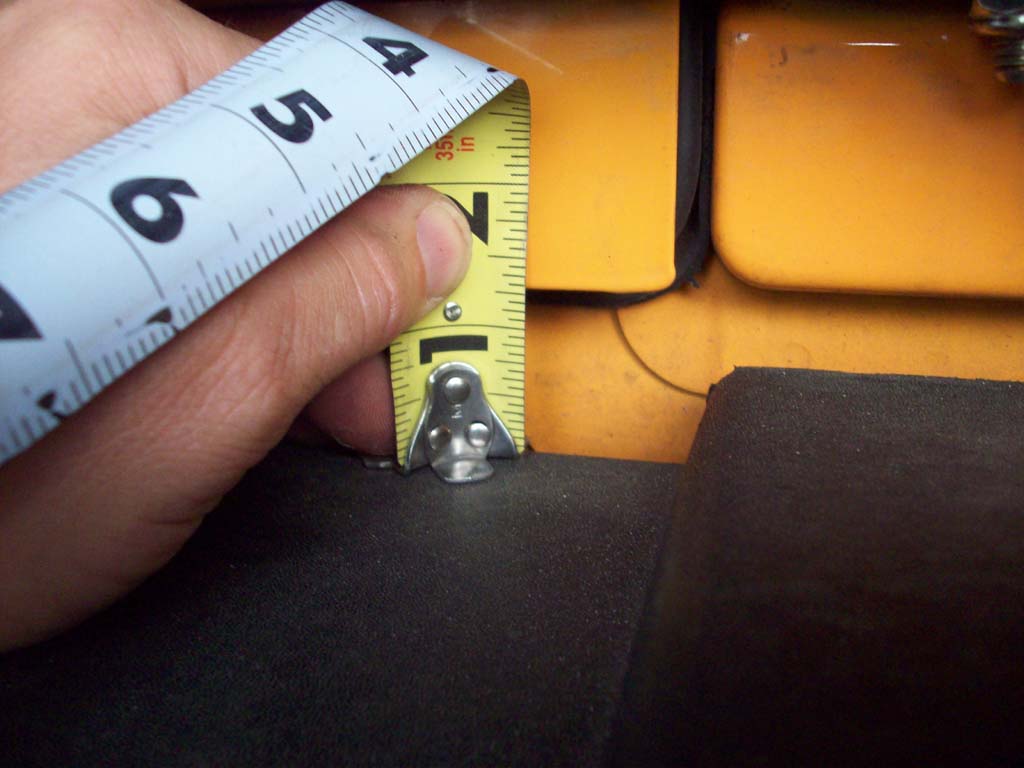
| 10. Measure the position of your tailgate. Mine didn't move when I did the hinges, but it's always good to have a measurement you can check. |
 |
 |
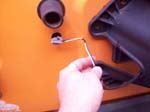
11. Remove either the upper or lower factory tailgate hinge from the tailgate with a 13mm
socket and a T50 torx bit. *Retain the four 13mm bolts and six T50 bolts
as they will be reused*.
Warning: DO THIS ONE AT A TIME! |
 |
 |
 |
 |
 |
 |
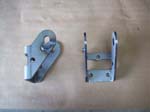
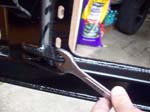
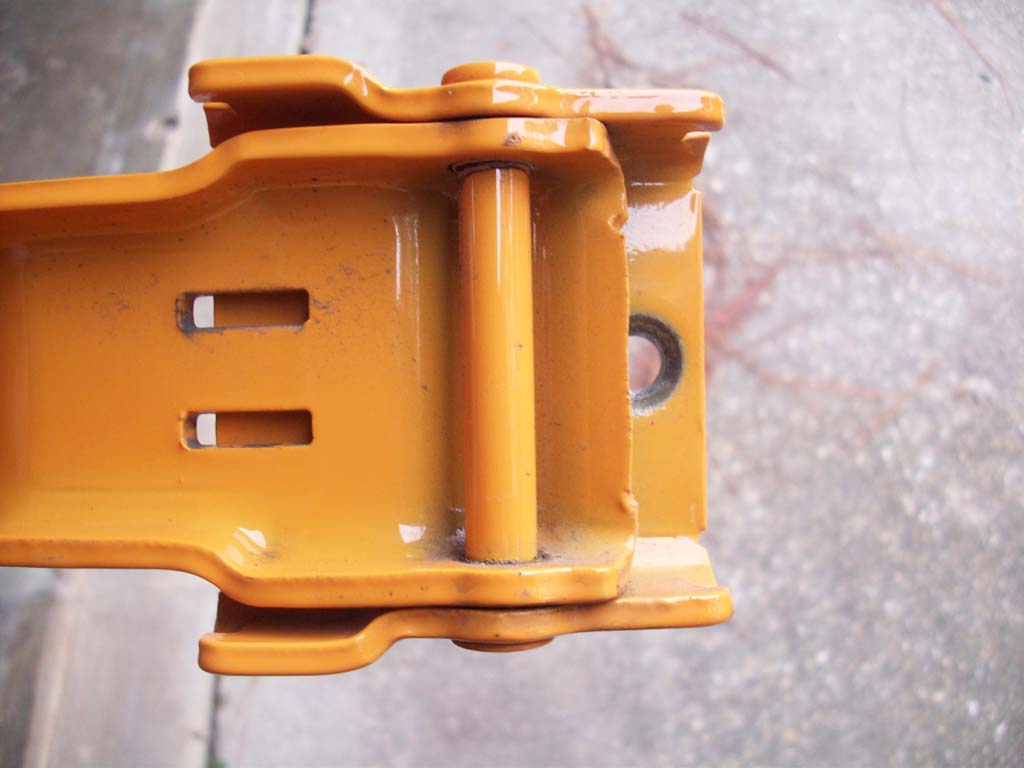
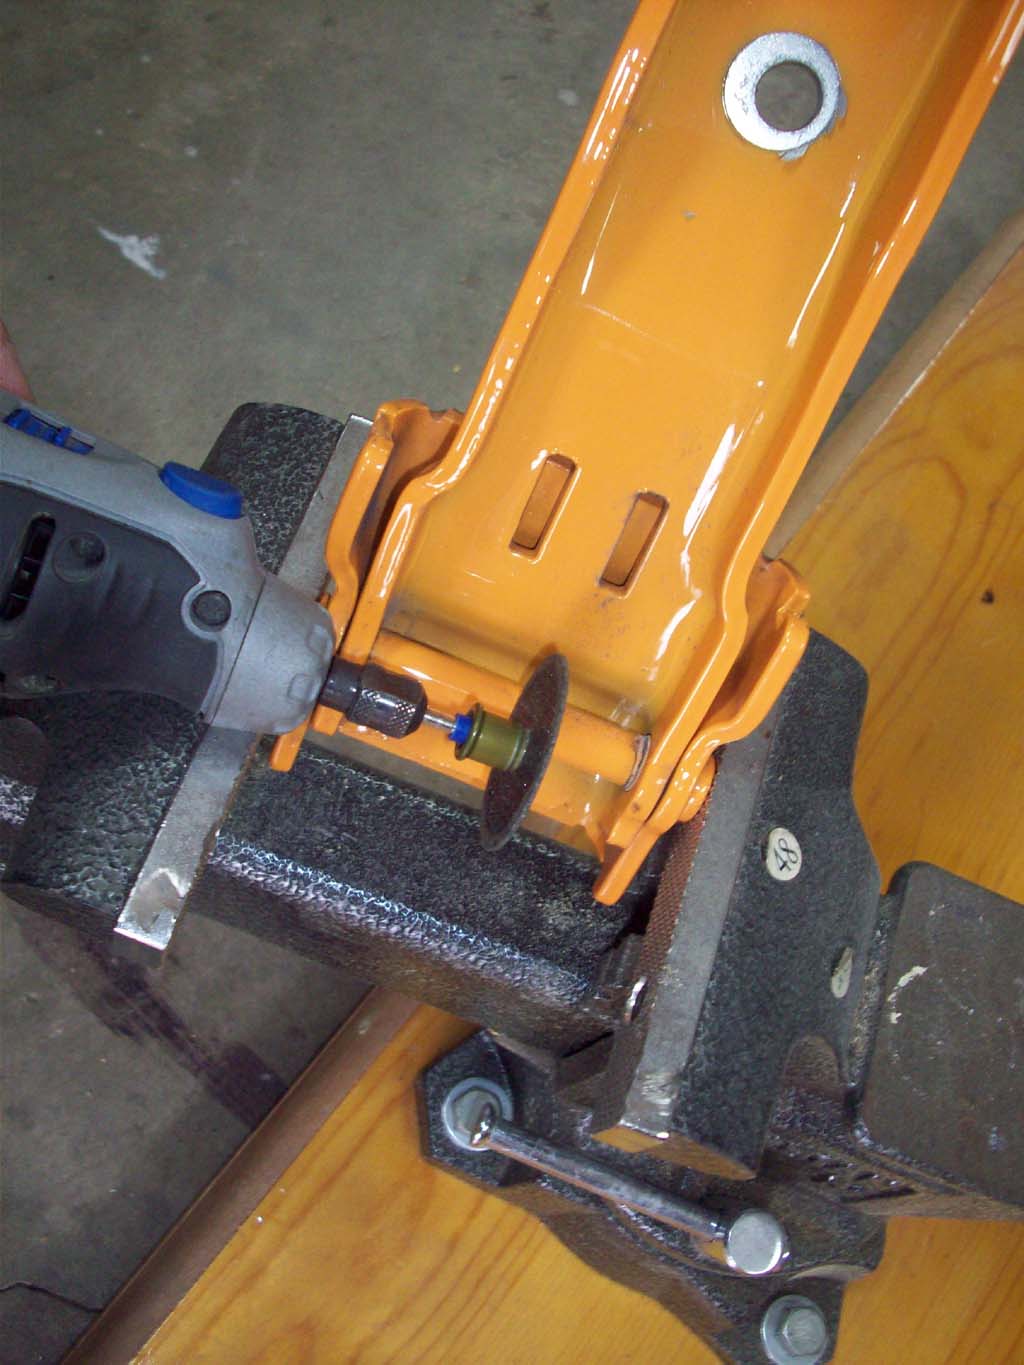
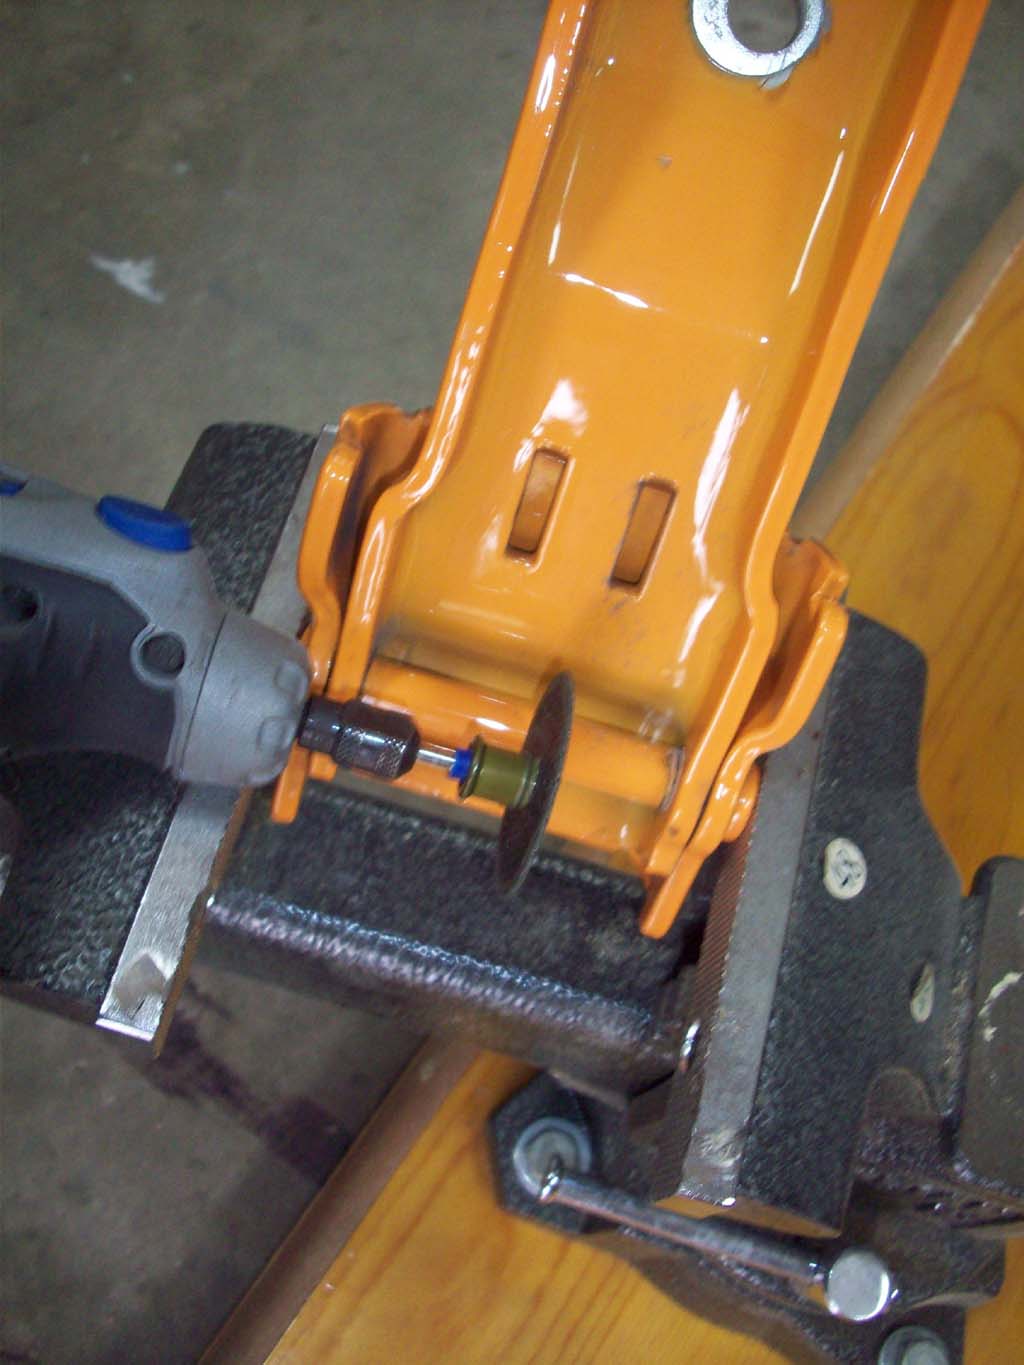
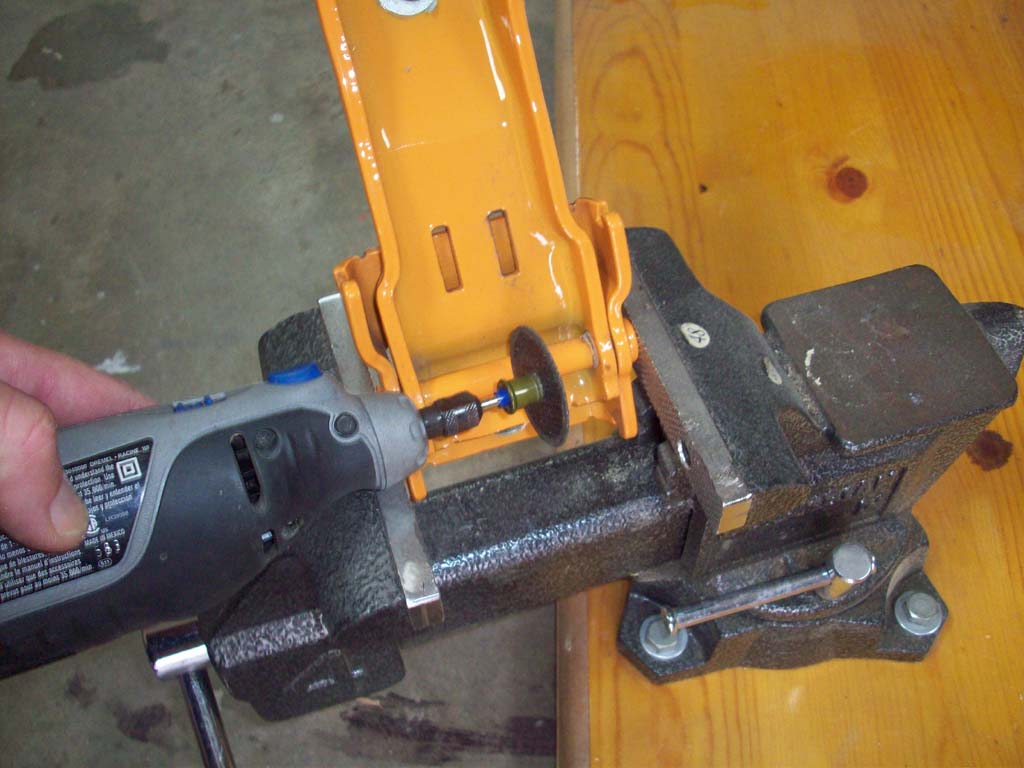
12. Once the hinge is removed from the Jeep, cut
the hinge pin that holds the two parts of the hinge together with a
metal cutting wheel. A Dremel or 4 ½” angle grinder works well. You will need to protect the paint on the tailgate hinge.
|
 |
 |
 |
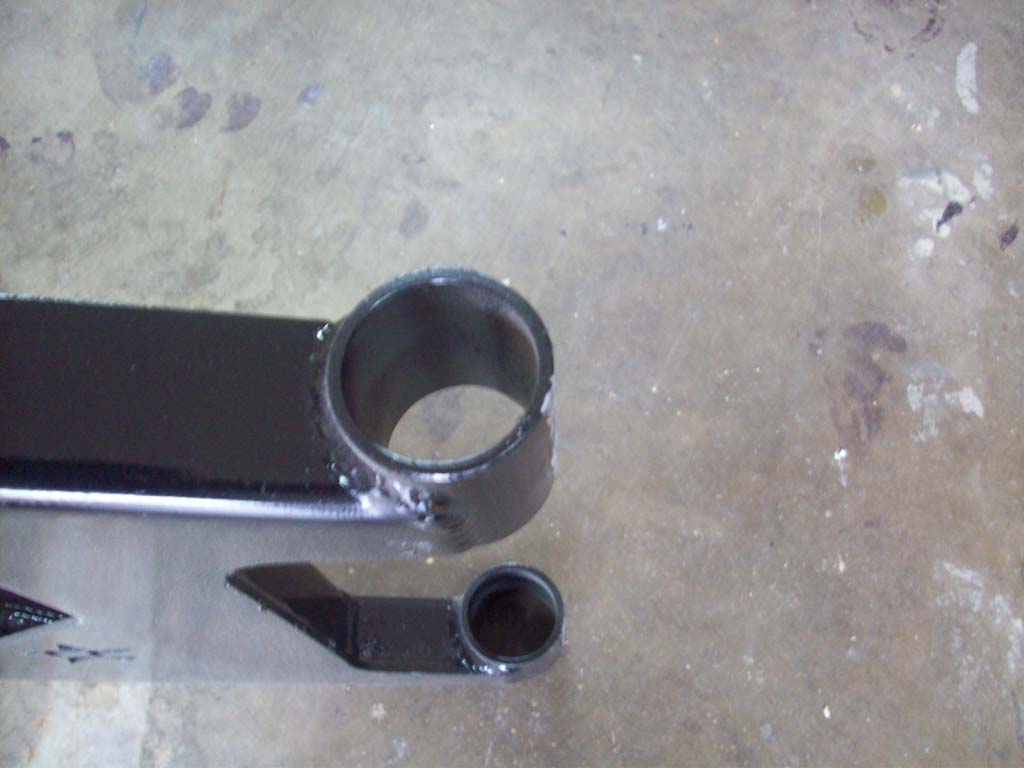
| 13. After the pin is cut, punch the pin out and separate the two halves of the
hinge. Take a large flat tip screw driver and put it into the cut and pry the pin apart so that you can get an area to work at punching the pins out. You will need to protect the paint on the tailgate hinge. Didn't get any pictures of this step. |
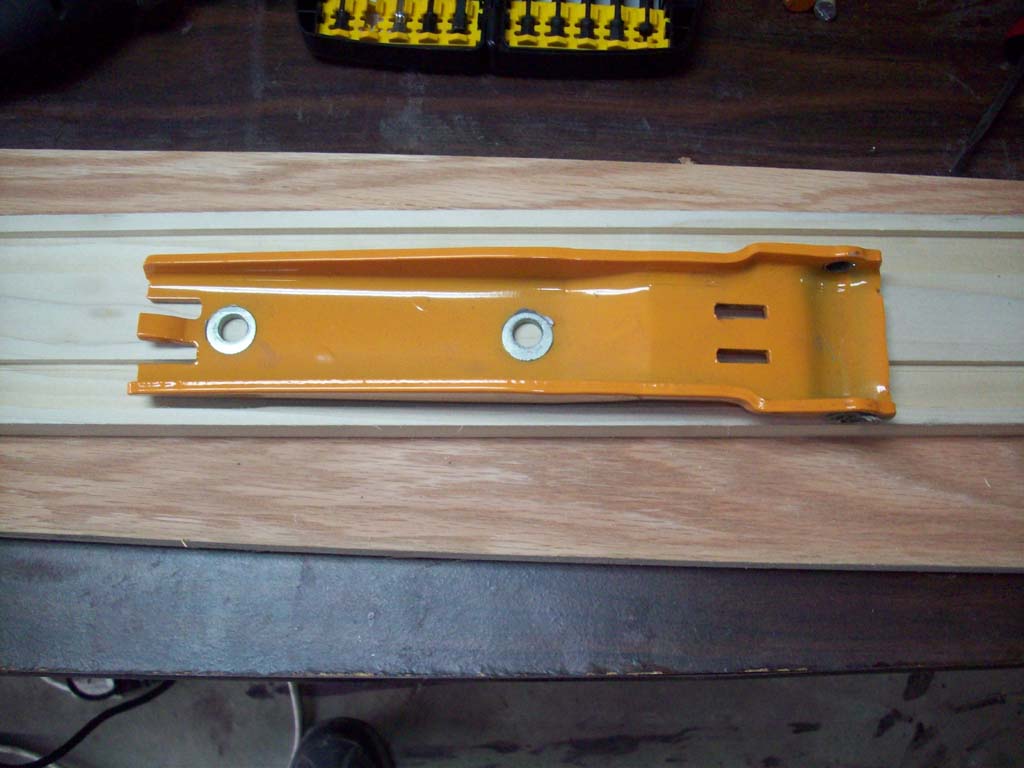
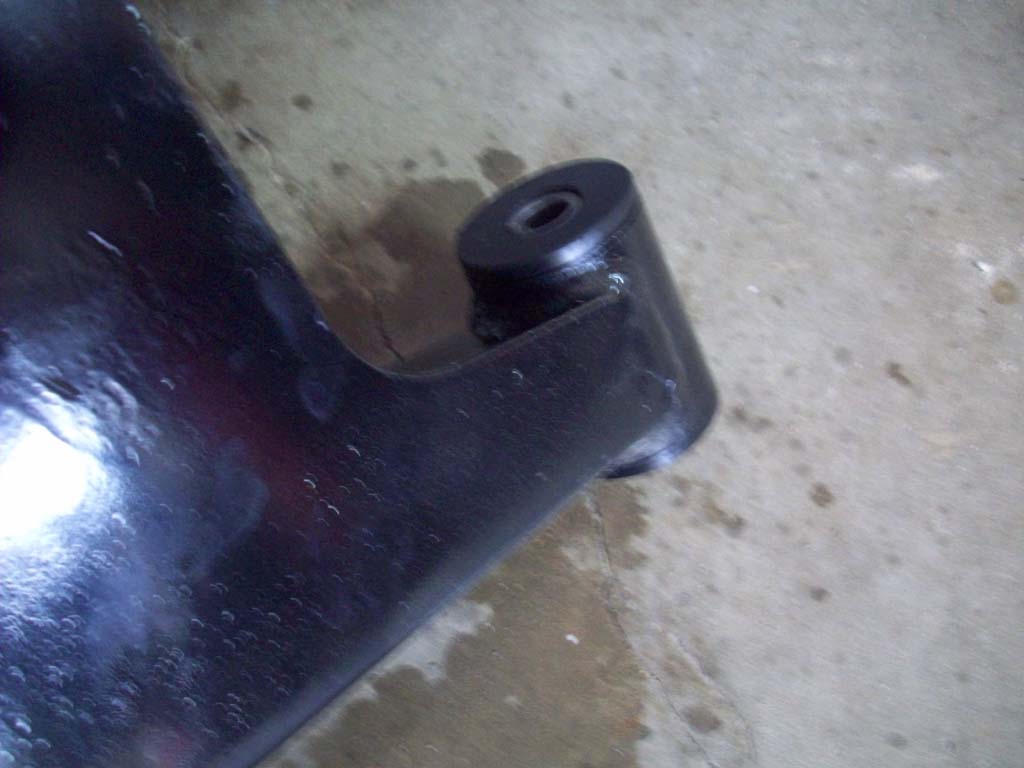
| 14. Retain the long half of the hinge that mounts to the tail gate. Put the other half away, just in case you ever need to go back to stock. You can put the tub side hinge cover with these. |
 |
 |
| |
| Installation (Hinges): |
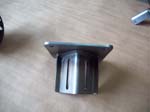
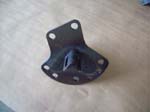
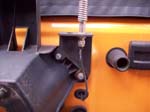
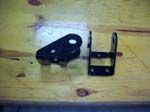
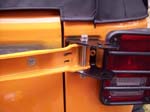
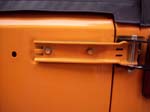
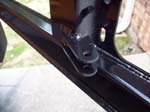
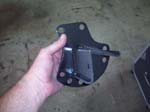
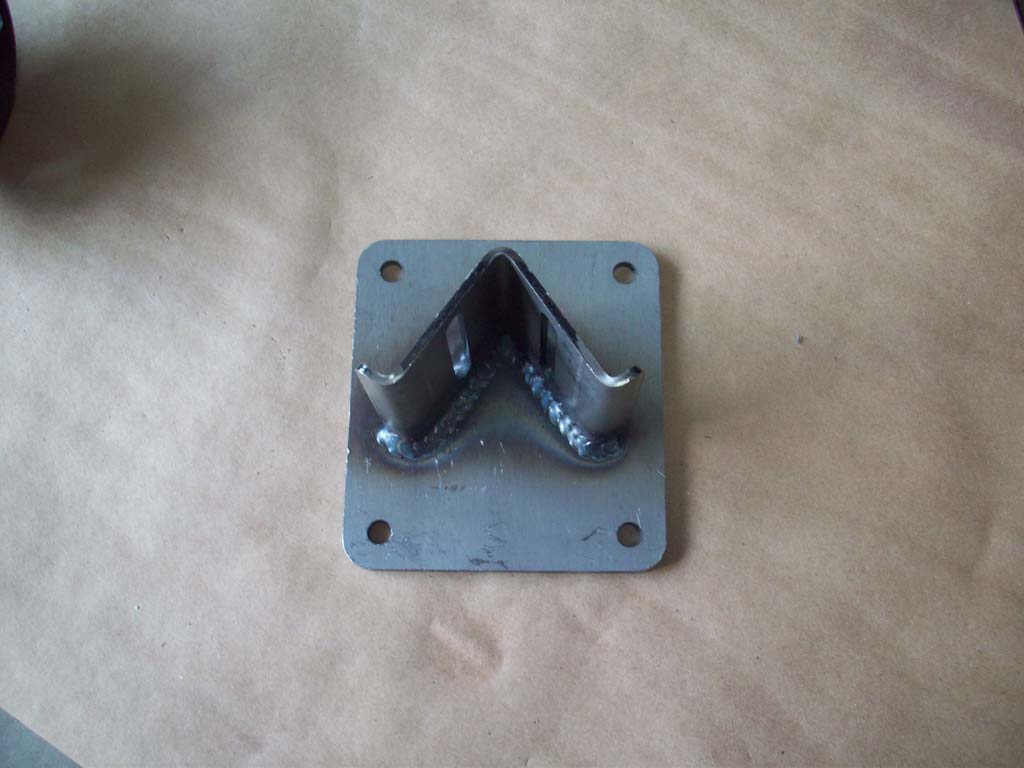
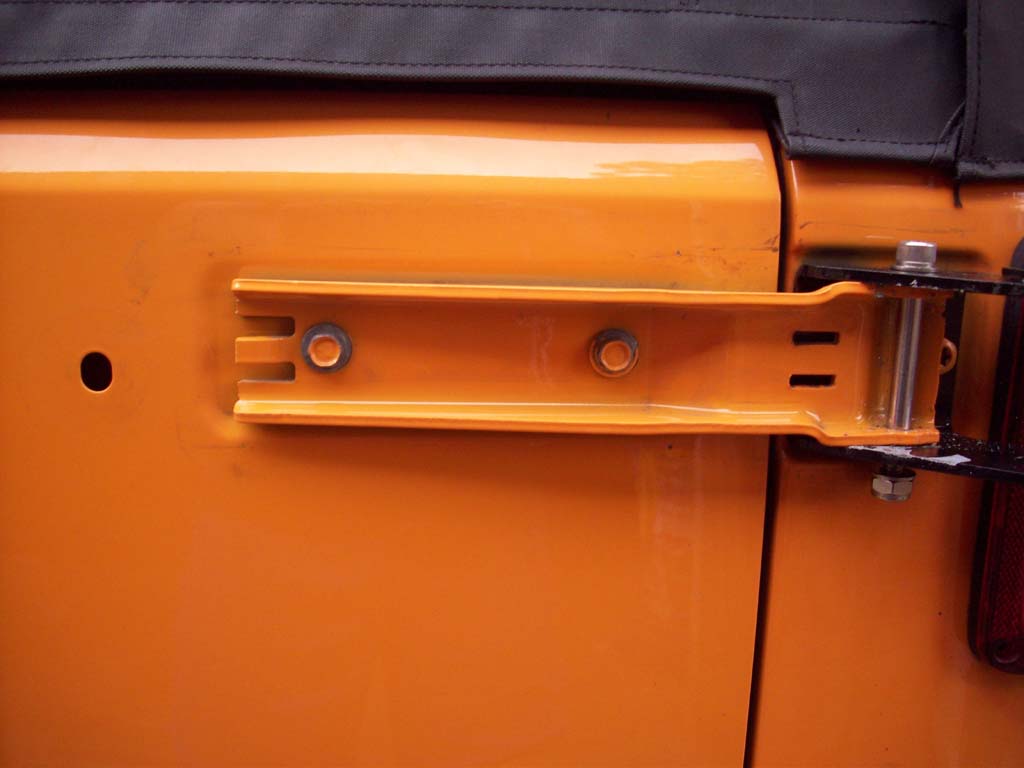
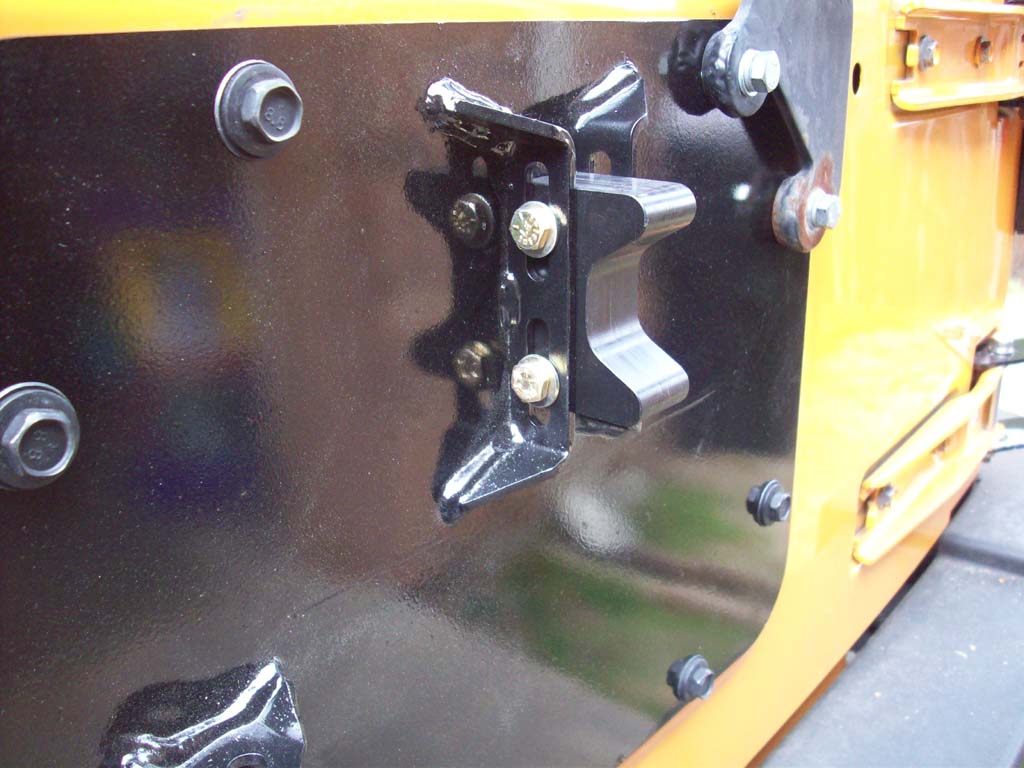
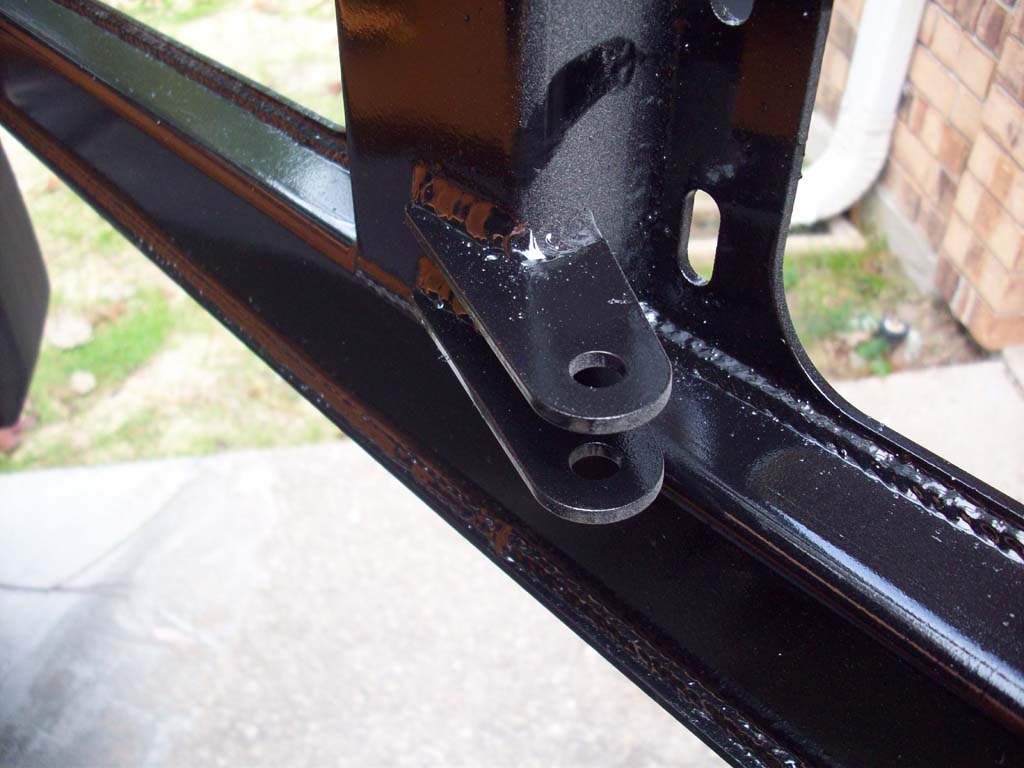
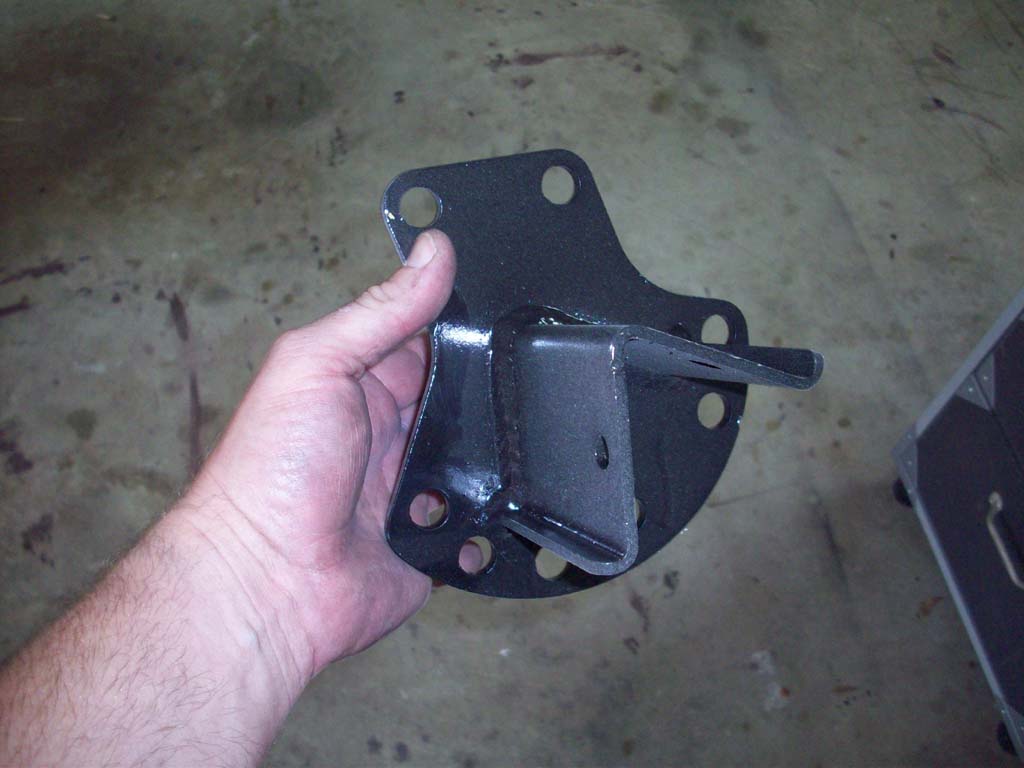
15. Mount the hinge bracket on the Jeep using the three (3) T50 bolts.
Apply Medium grade Loctite to the T50 bolts. I didn't tighten these up yet, just get the snug.
Note: One of the things I didn't like is that the new hinge bracket isn't countersunk for the factory OEM bolts, so the bolt heads stick out and while this is adequate, it's not really good for fit and finish. |
 |
 |
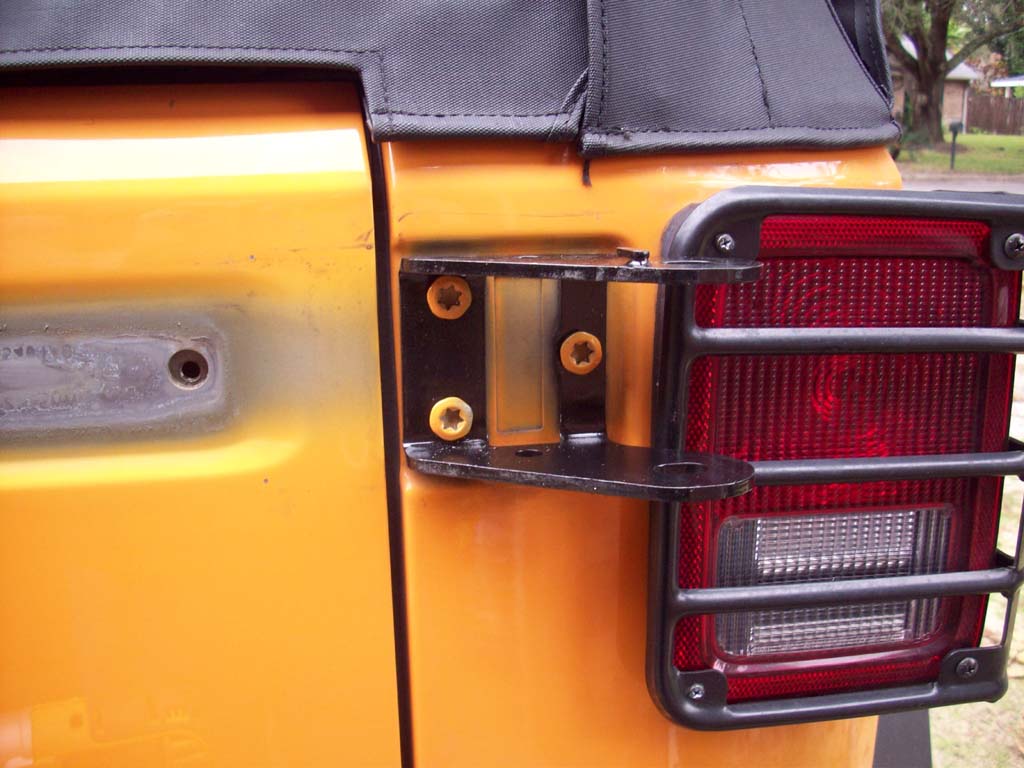
| I did discover that the new brackets hit the Ruged Ridge Light Guards that I had installed. So I had to remove mine before I continued. I just had to remember where I put the screws. |
 |
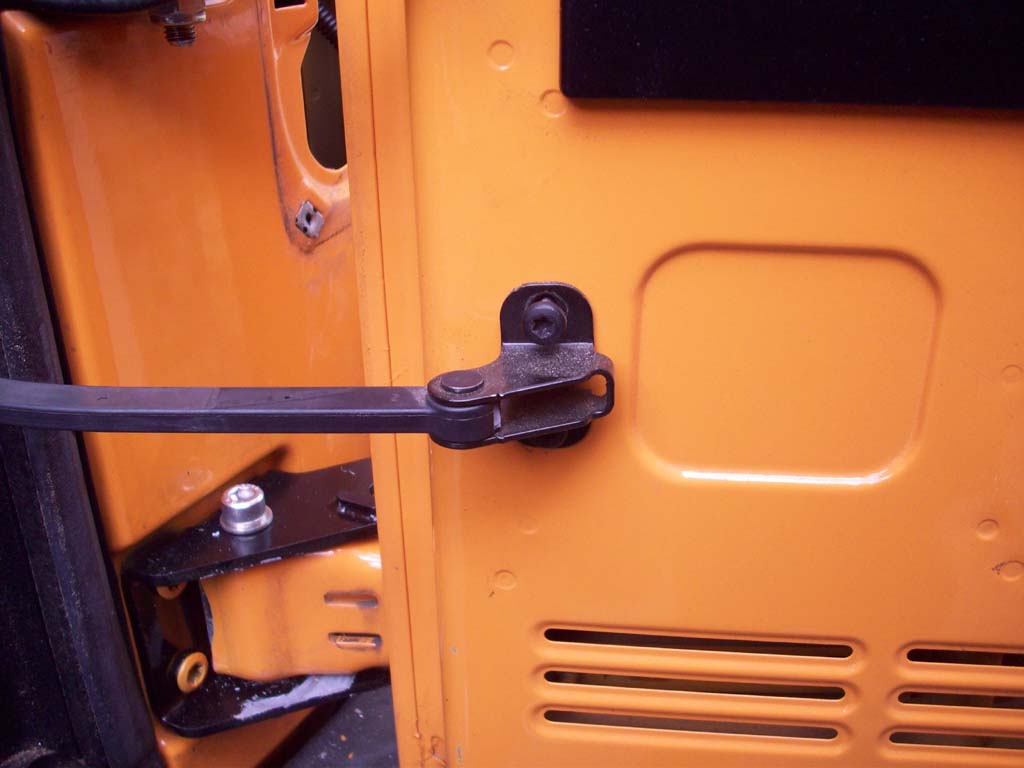
| EXTREME CAUTION: From this point on it is possible to open your tailgate further than the factory hold open bar will go, if you do, it will come apart and is a real pain to get back together. |
 |
 |
 |
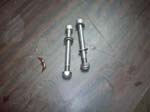
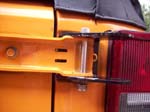
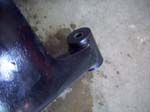
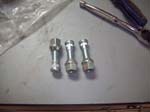
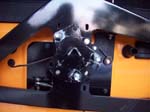
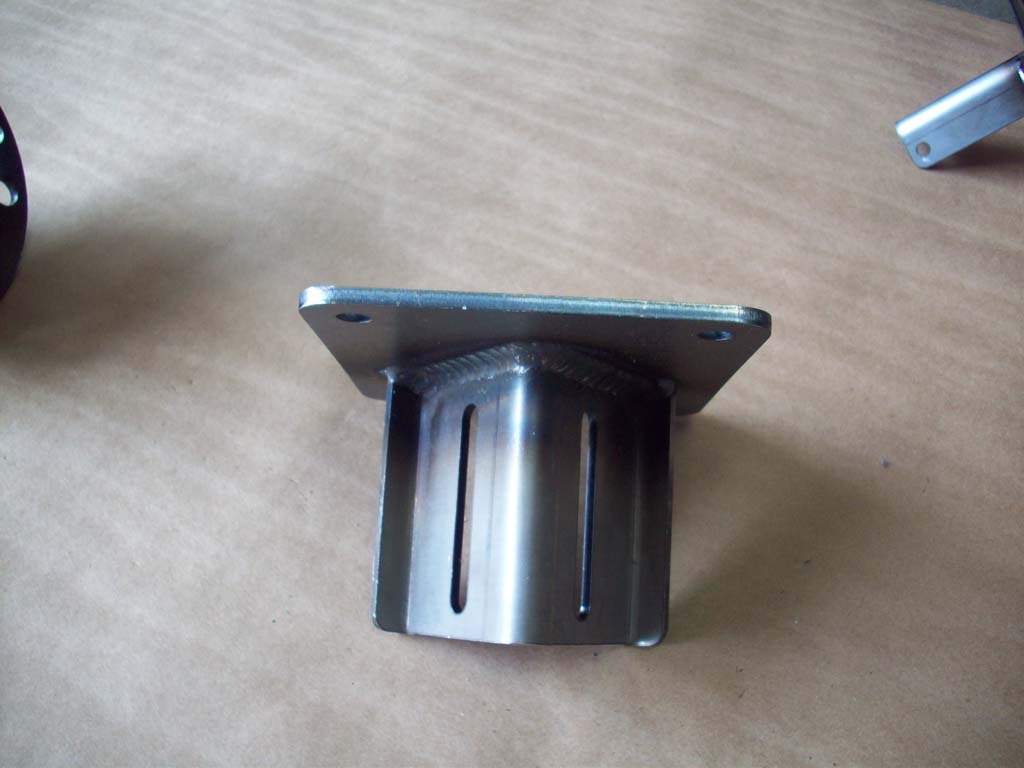
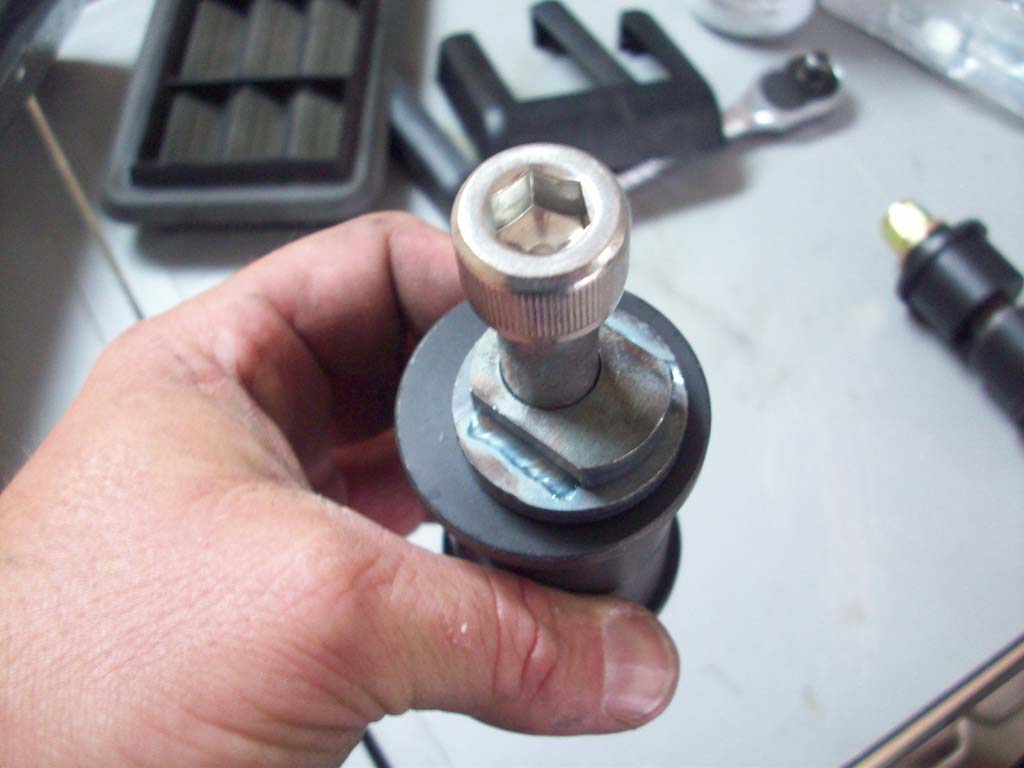
16. Install the long
factory hinge half to the carrier hinge bracket using the 7/16 “x 4” bolt. You will probably need to tap the factory hinge bracket into the new bracket with a dead blow hammer, the fit is really tight.
|
 |
 |
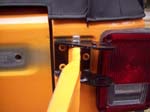 |
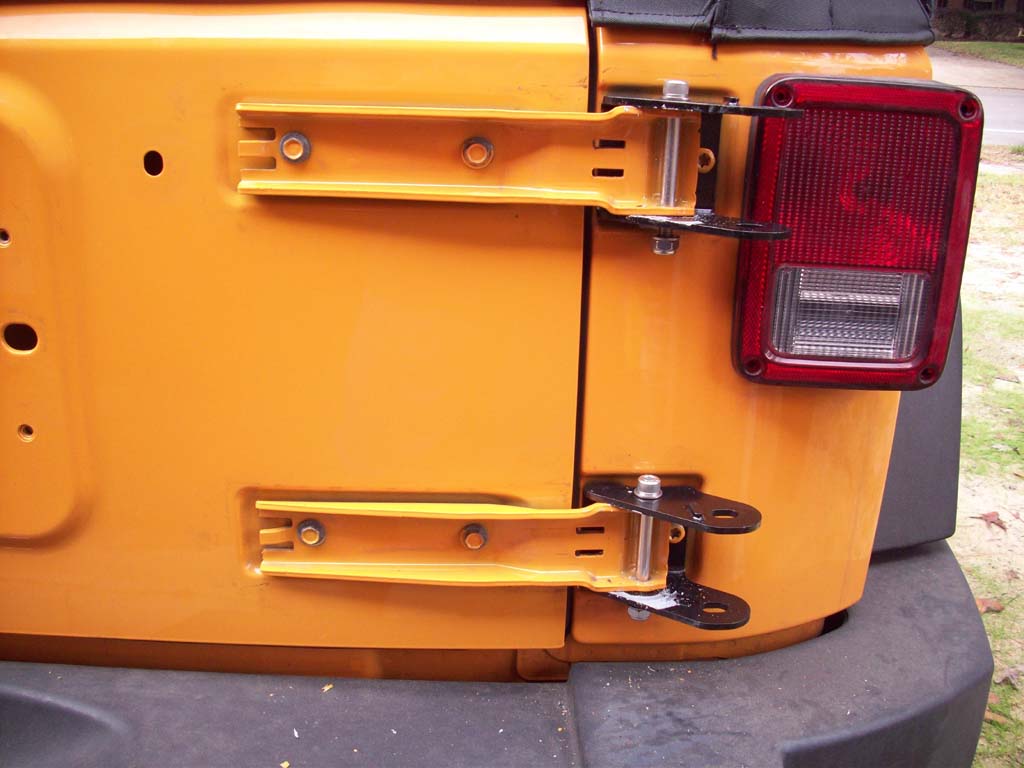
| 17. Bolt the long hinge half to the tailgate using the two (2) 13mm bolts. You may need to go back and loosen the three (3) T50 bolts and adjust the tailgate hinge so that you can get everything lined back up close to the factory position. This is where having that measurement to check comes in handy to see if your tailgate shifted down or up. |
 |
 |
18. Couple ways you can get everything tightened at this point.
Option 1: You can tighten the one (1) accessible T50 torx bolt on the tub and the two (2) 13mm bolts on the tailgate, then open the tailgate and tighten the two (2) remaining T50 torx bolts on the tub.
Option 2: You can tighten the one (1) accessible T50 torx bolt on the tub and then remove the two (2) 13mm bolts on the tailgate, open the tailgate hinge and tighten the two (2) remaining T50 torx bolts on the tub. Then close the tailgate hinge and reinstall the two (2) 13mm bolts.
I did it both ways and it didn't seem to matter.
|
 |
 |
 |
| 19. Repeat steps 15 to 18 on the second hinge. |
| 20. Once you have the hinges bolted in and tight, go ahead and open and close the tailgate to ensure that it operates smoothly. It should be a little tighter than before due to clearances on the new hinge. |
| If you want to you can put the covers back on the tailgate brackets. They don't interfer with anything. |
 |
| |
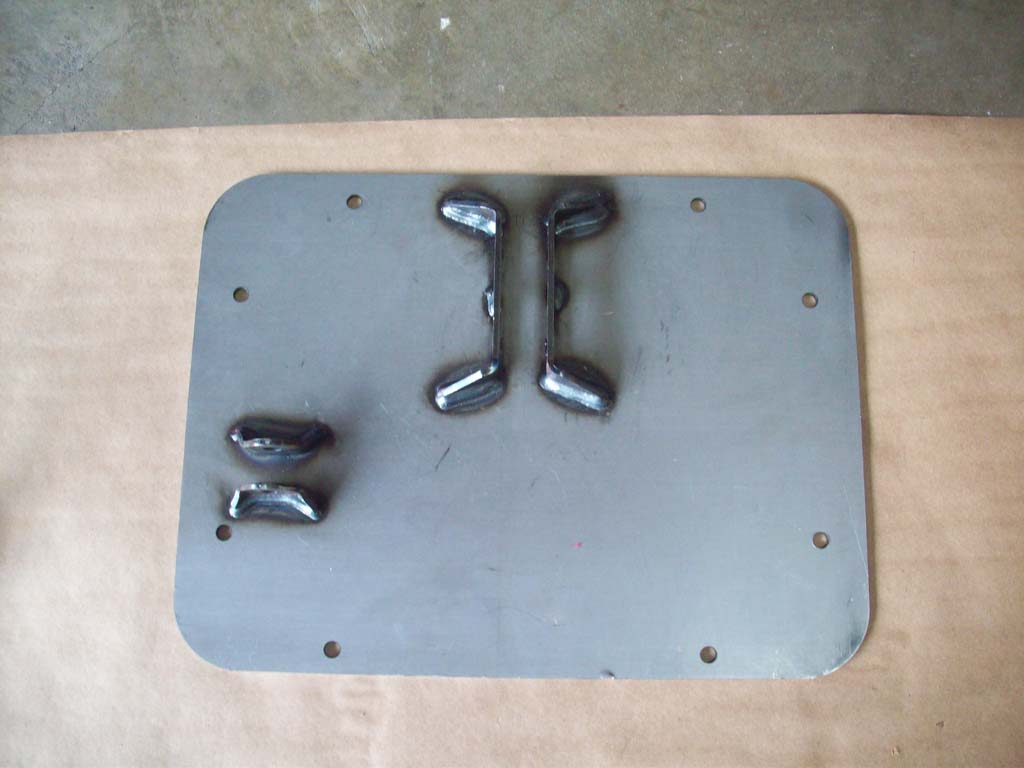
| Installation (Tailgate Plate): |
| 21. For those of us that have run accessory cables through out tailgate now run into the problem of the holes (except the brake light) being covered. You will either need to drill a hole in the tailgate plate, or find a different way to route your cables. |
|
|
|
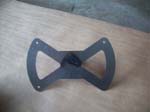
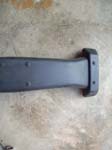
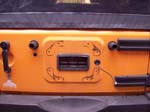
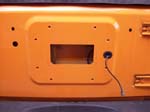
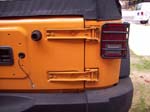
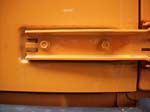
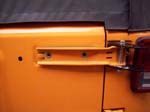
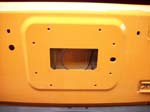
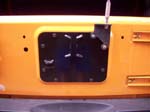
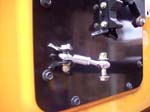
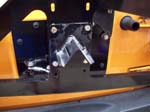
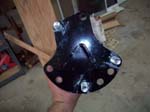
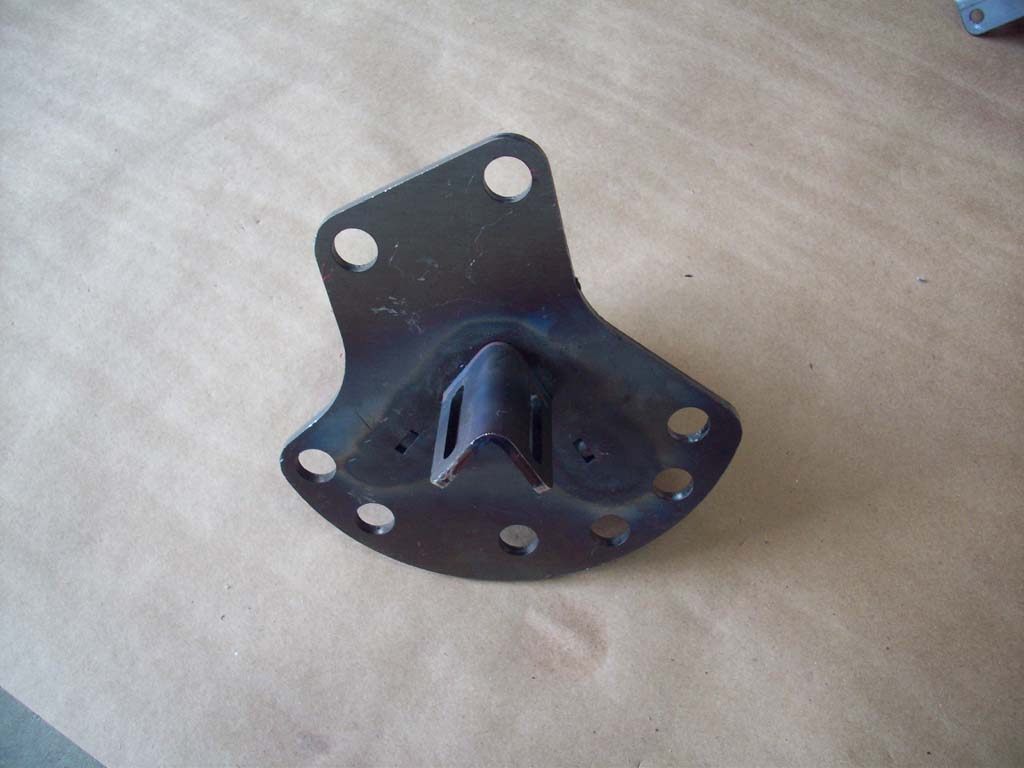
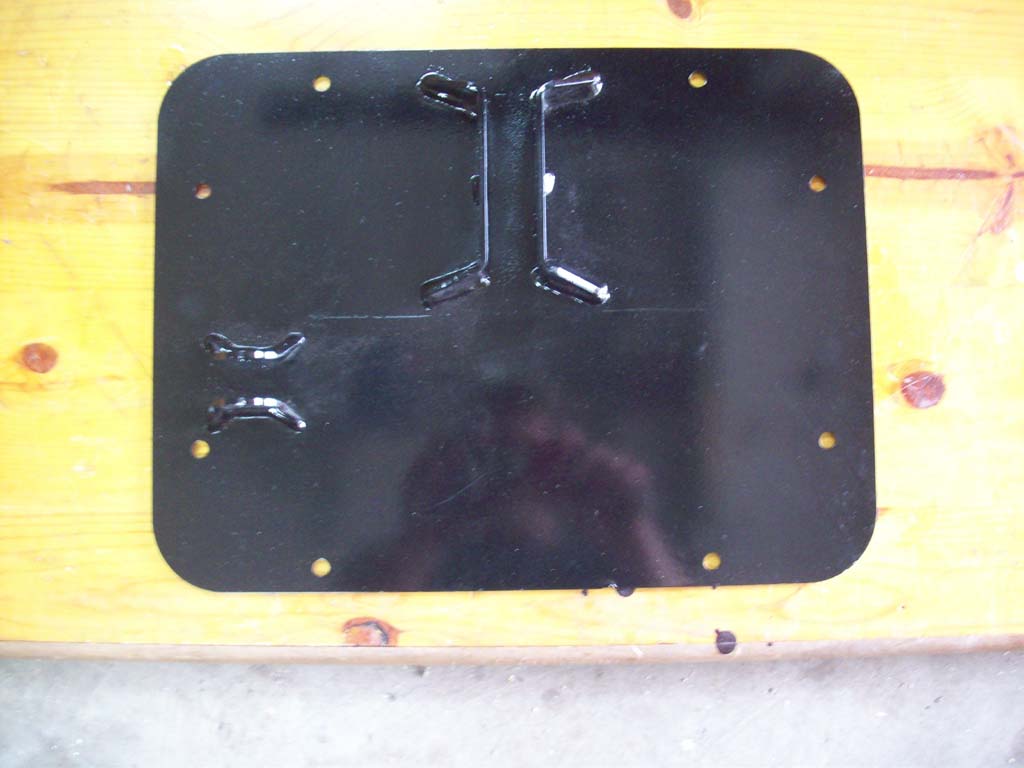
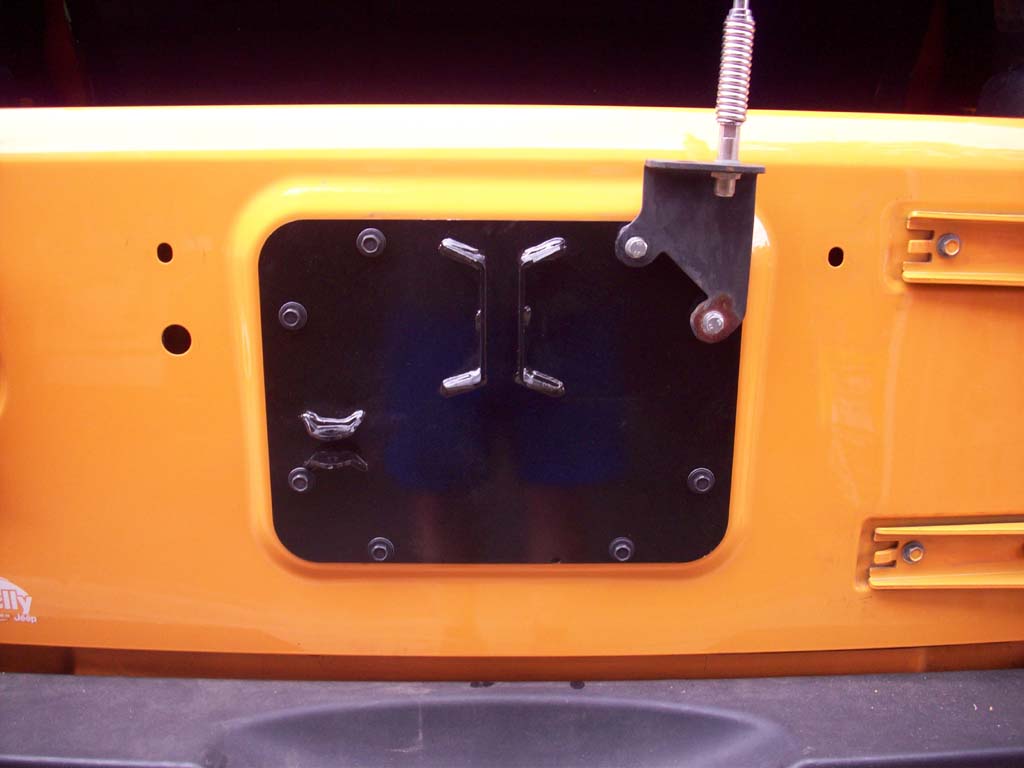
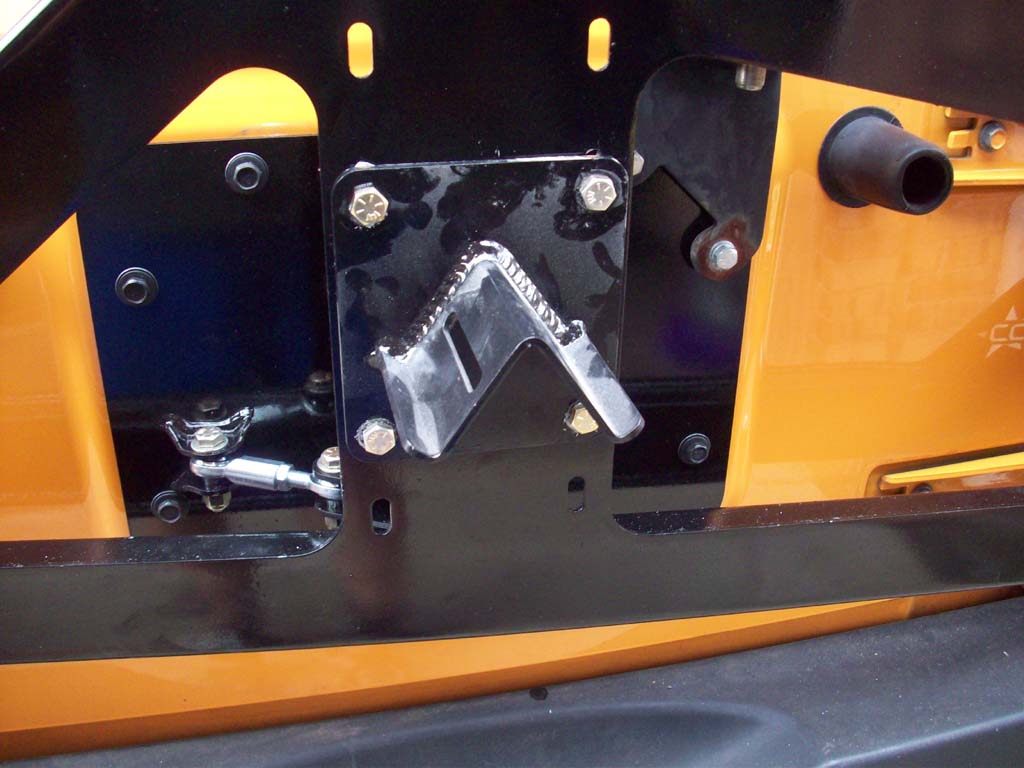
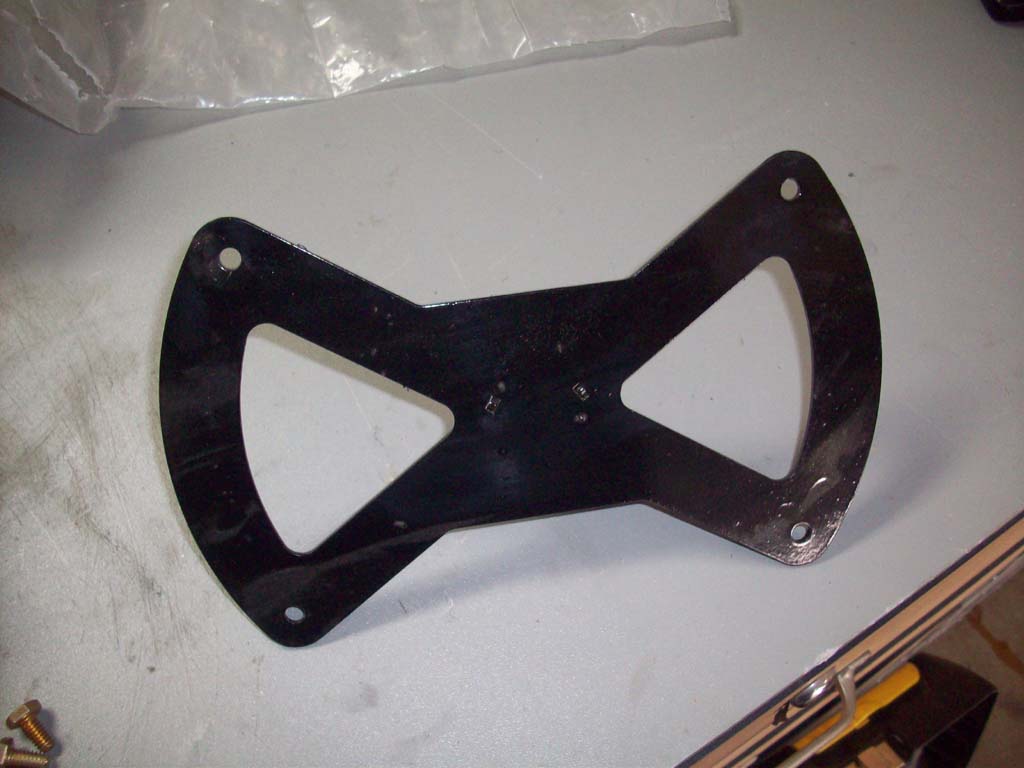
| 22. Install the tailgate plate with the (8) 13mm bolts. There is the word top engrave in the plate. You can remount most of your accessory brackets at this point to the plate. |
 |
 |
 |
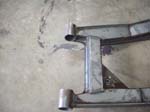
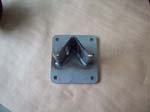
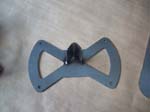
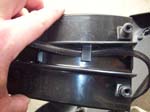
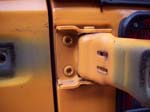
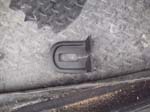
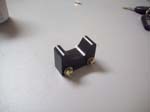
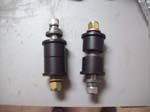
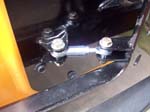
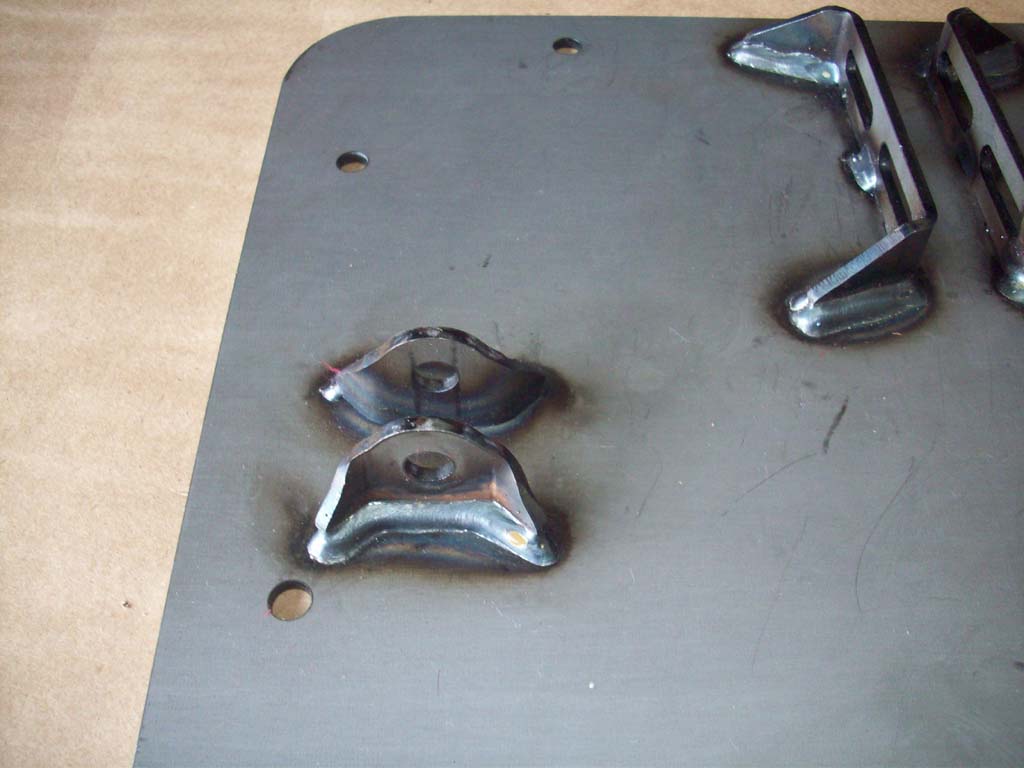
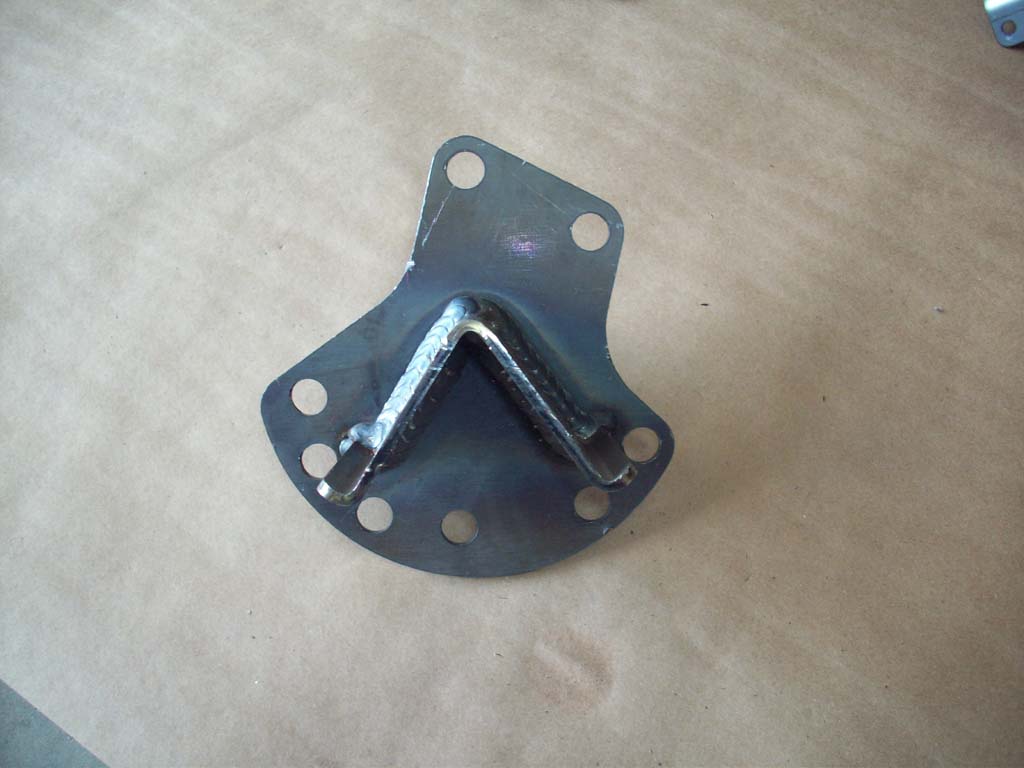
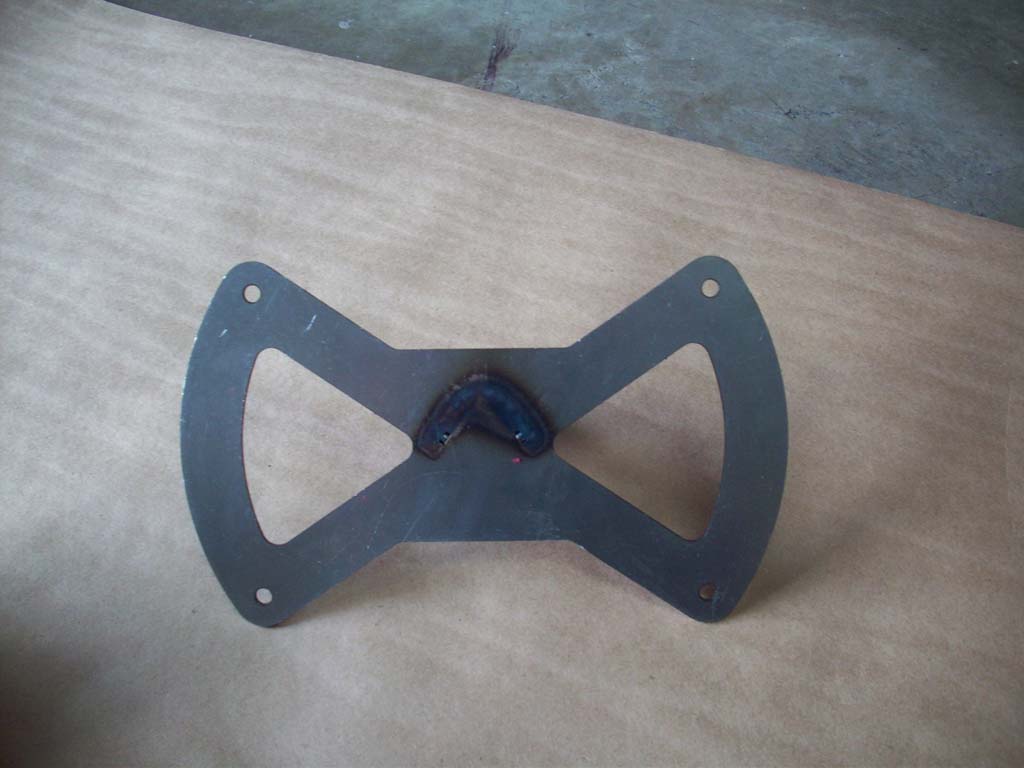
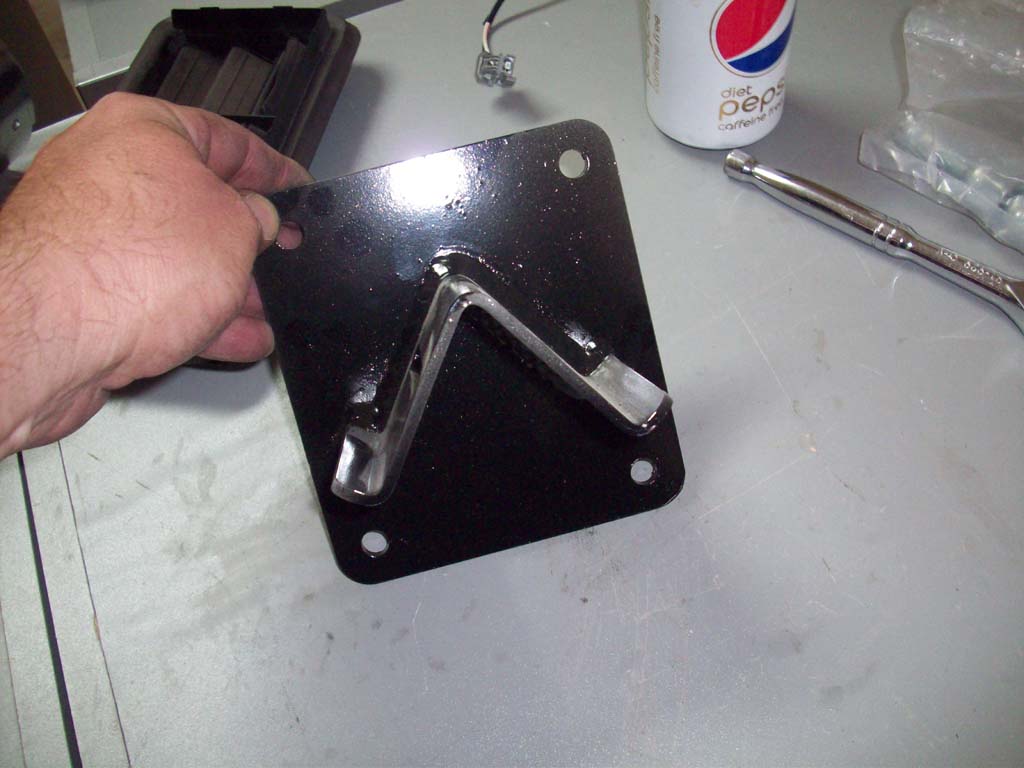
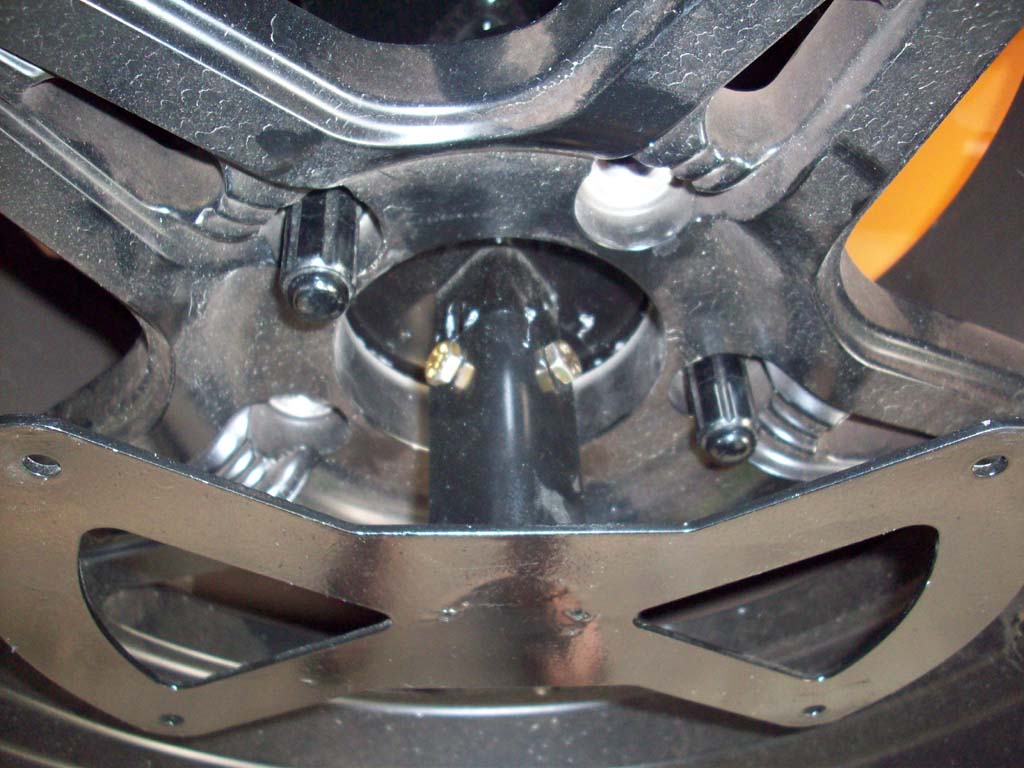
| 23. Install the U-shaped
bushing in the center tabs with the ¼”x 1 ¾” bolts. Do not tighten down. |
 |
 |
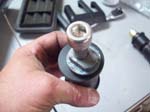
| 24. Lightly coat the bushing halves and inner steel bushings with general
purpose grease. |
 |
 |
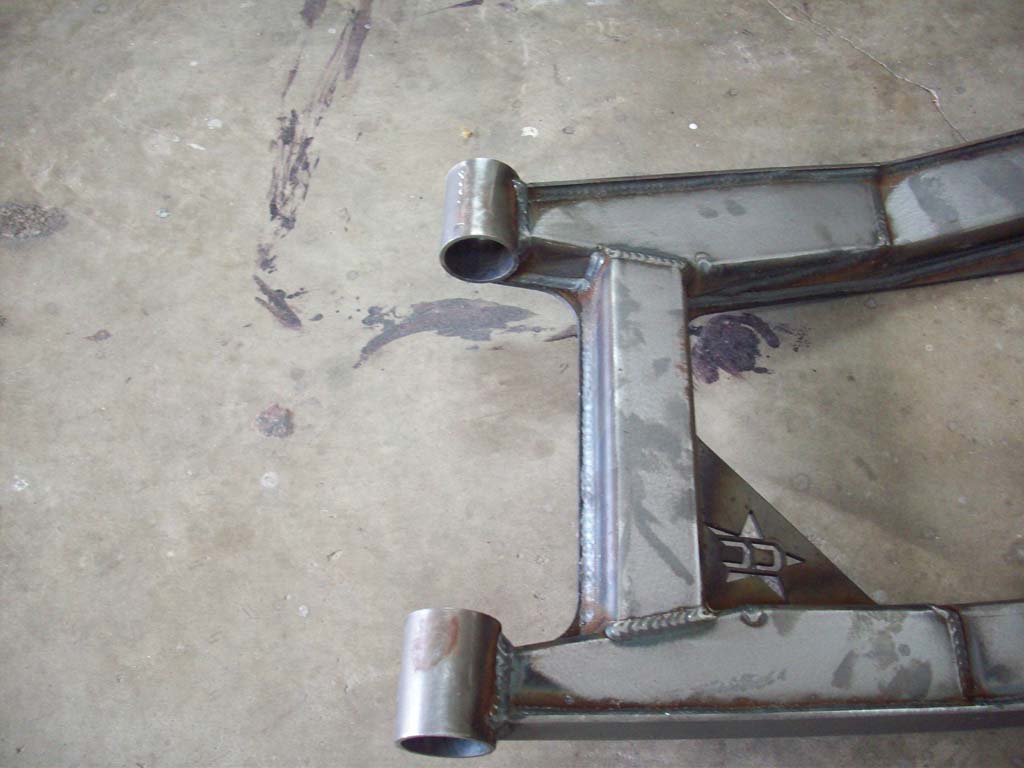
| 25. Install them into the hinge points of the carrier. Light
taps with a dead blow hammer in a circular motion will help seat the bushings. Make sure the insert is not sticking out of one of the ends. This will make installing it in the body mounted bracket difficult. |
 |
 |
 |
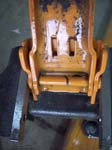
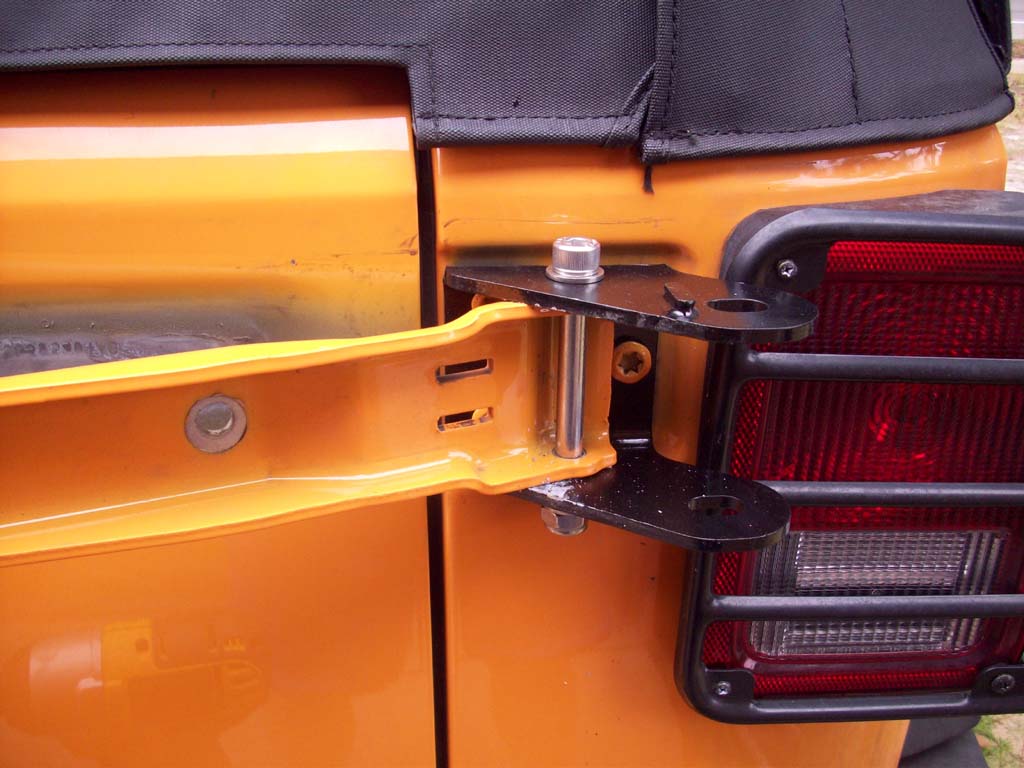
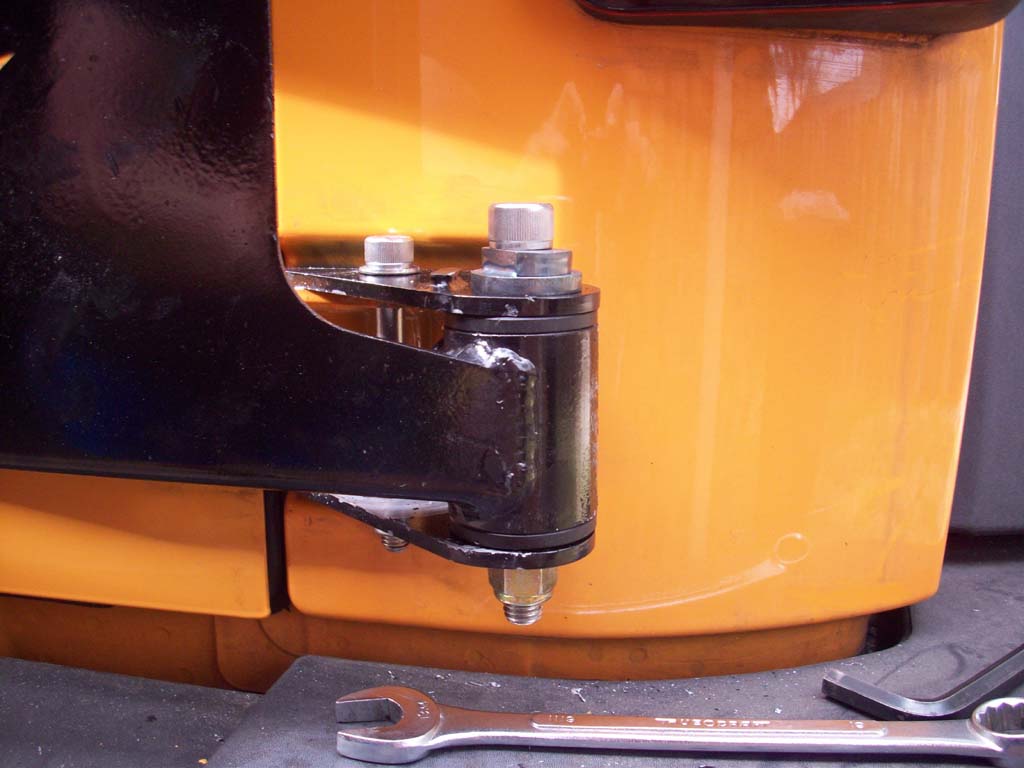
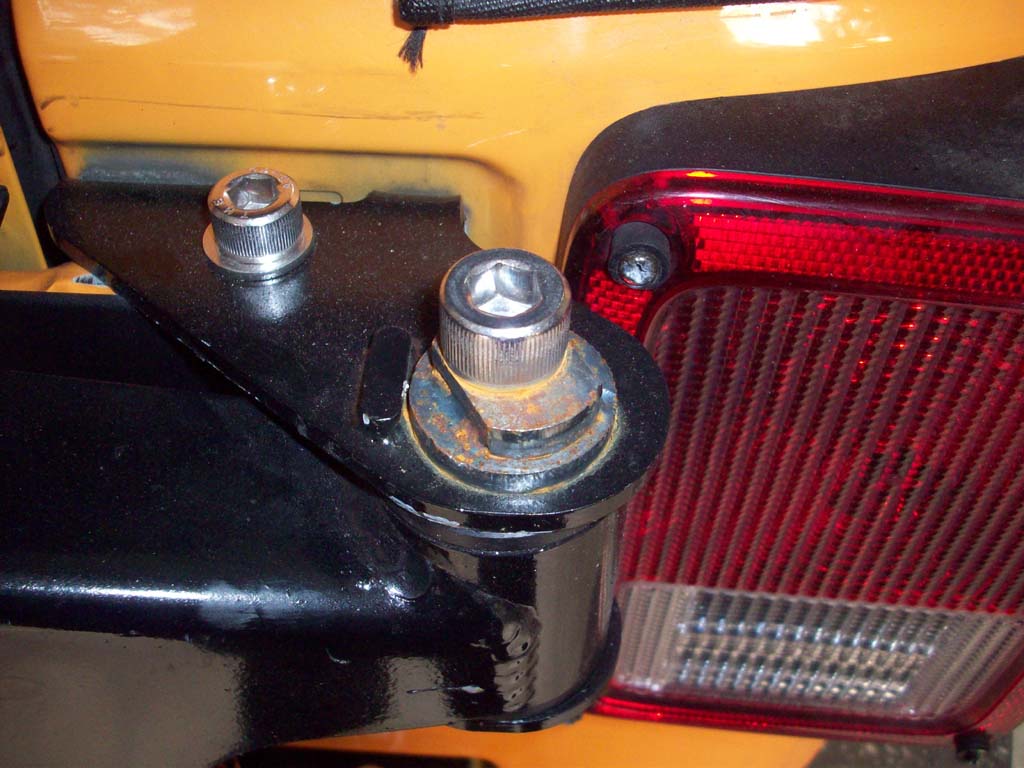
26. Mount the carrier to the hinge brackets on the Jeep using the two ½ “x
5” hinge bolts and cam fittings. Snug the bolts up but leave loose for
adjustment after installation is complete. Adjust the cams to ????????
Note: The cams are bare metal and will rust unless you protect them with some paint. |
 |
 |
 |
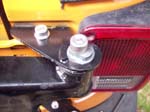
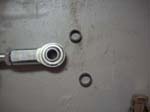
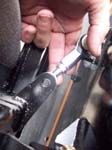
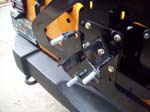
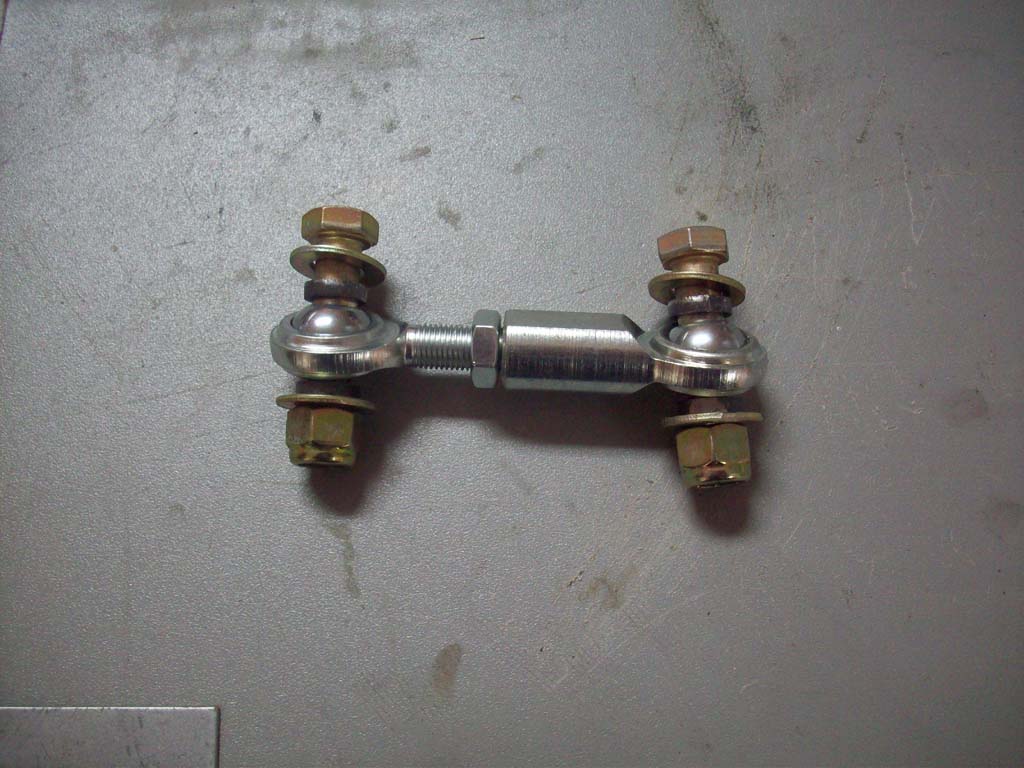
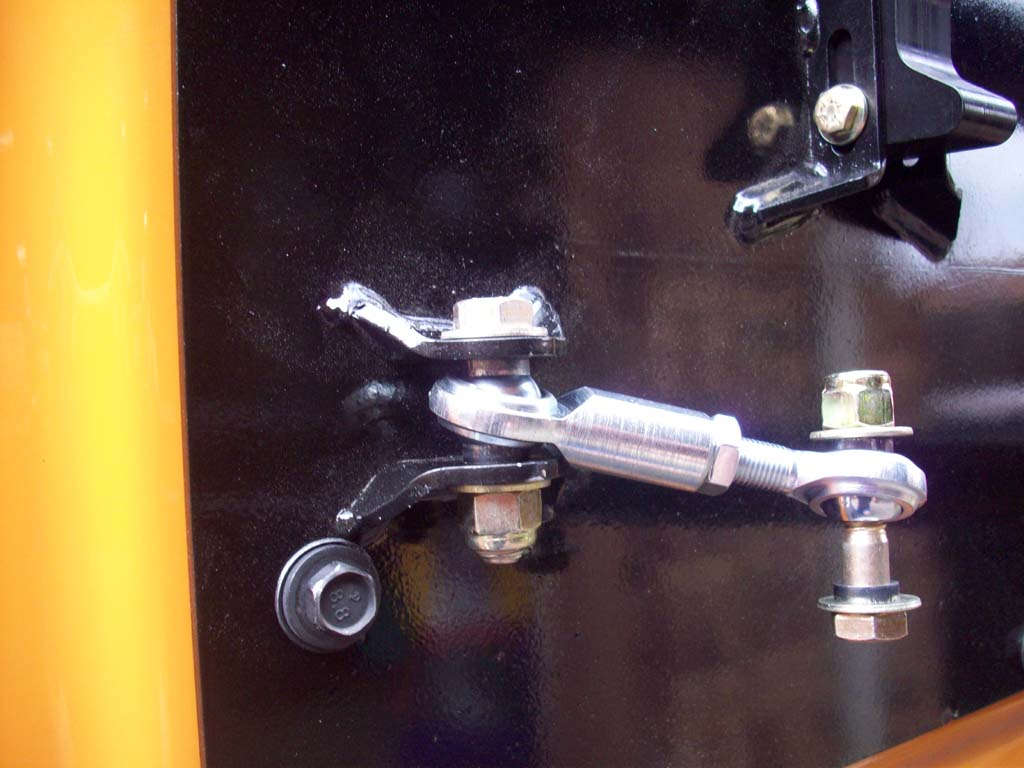
| 27. Connect either end of the Male and Female heim joint to the tailgate tab using one 3/8”x 1 ¾” Grade 8 bolts w/washer and nut. The instructions say carrier tab, but I found that it was easier to see the carrier tab when makeing the adjustments. |
 |
 |
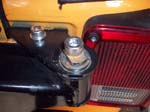
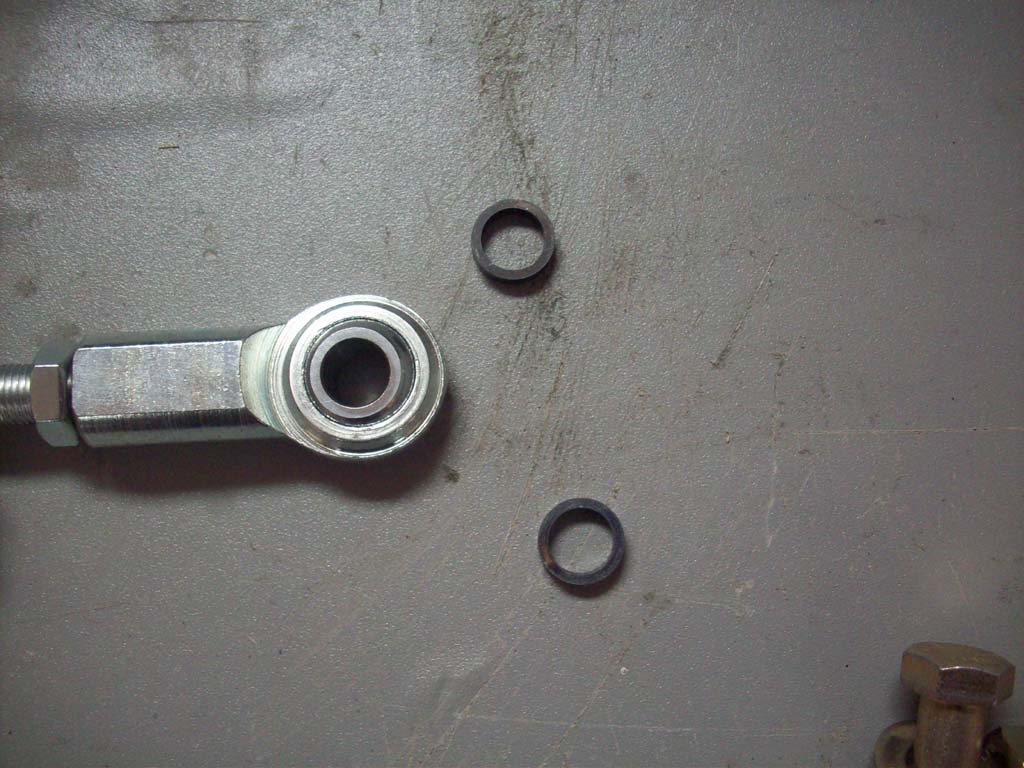
| 28. Insert bolt
through tailgate tab then through 1/8”x 3/8” I.D. spacer, then heim,
then through a 1/8”x3/8” I.D. spacer, then through tab. You may need to nudge the spacer into place with a flat tip screwdriver. |
 |
 |
| 29. Install washer
and nut. You will need a 7/16" combo wrench and a 7/16" socket. |
 |
 |
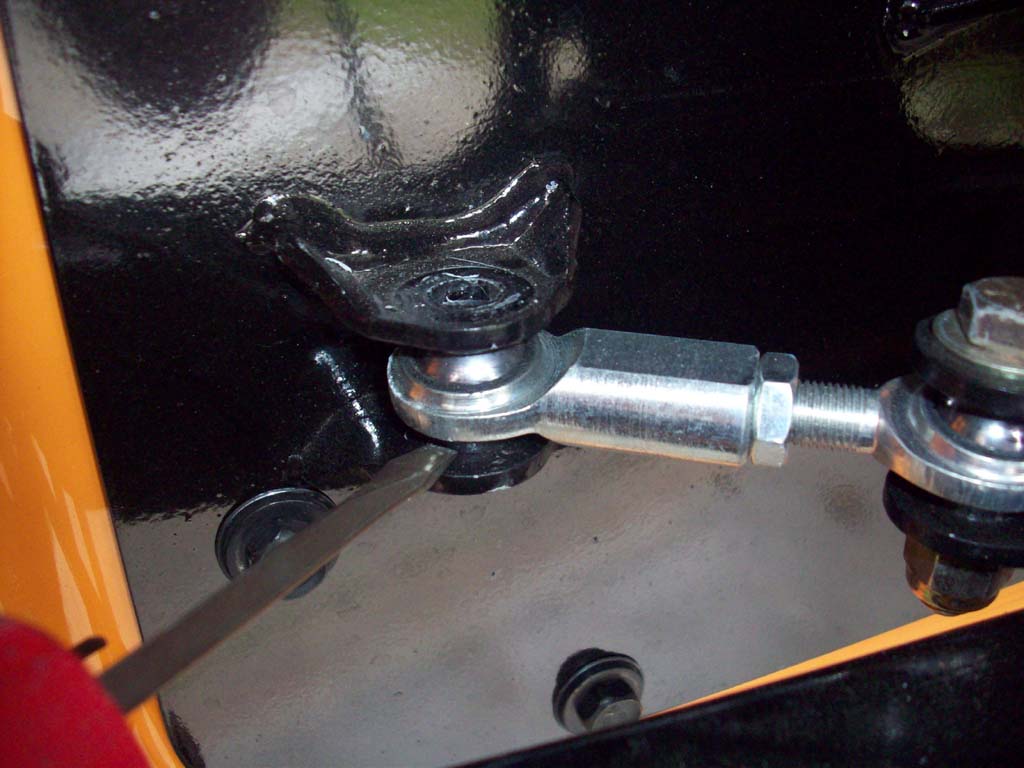
| Note: Check the fitment of your carrier tab, I found that mine needed a little persuaision since it was closed up a little. Doesn't take much to open it up so that you can get the heim in. |
 |
 |
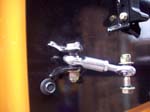
| This is where the instructions say to close the tire carrier and install the other side of the heim to the tailgate plate. The instructions for the bumper mounted tire carrier are different and work better at getting it tight and not having to play with it. |
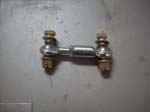
| What the body mounted tire carrier instructions say: Adjust the heims so that the carrier is pushing into the U-shaped
bushing on the tailgate plate. If the carrier rattles, the heim joints need
to be shortened until the rattle has stopped. Finally, tighten jam nut. |
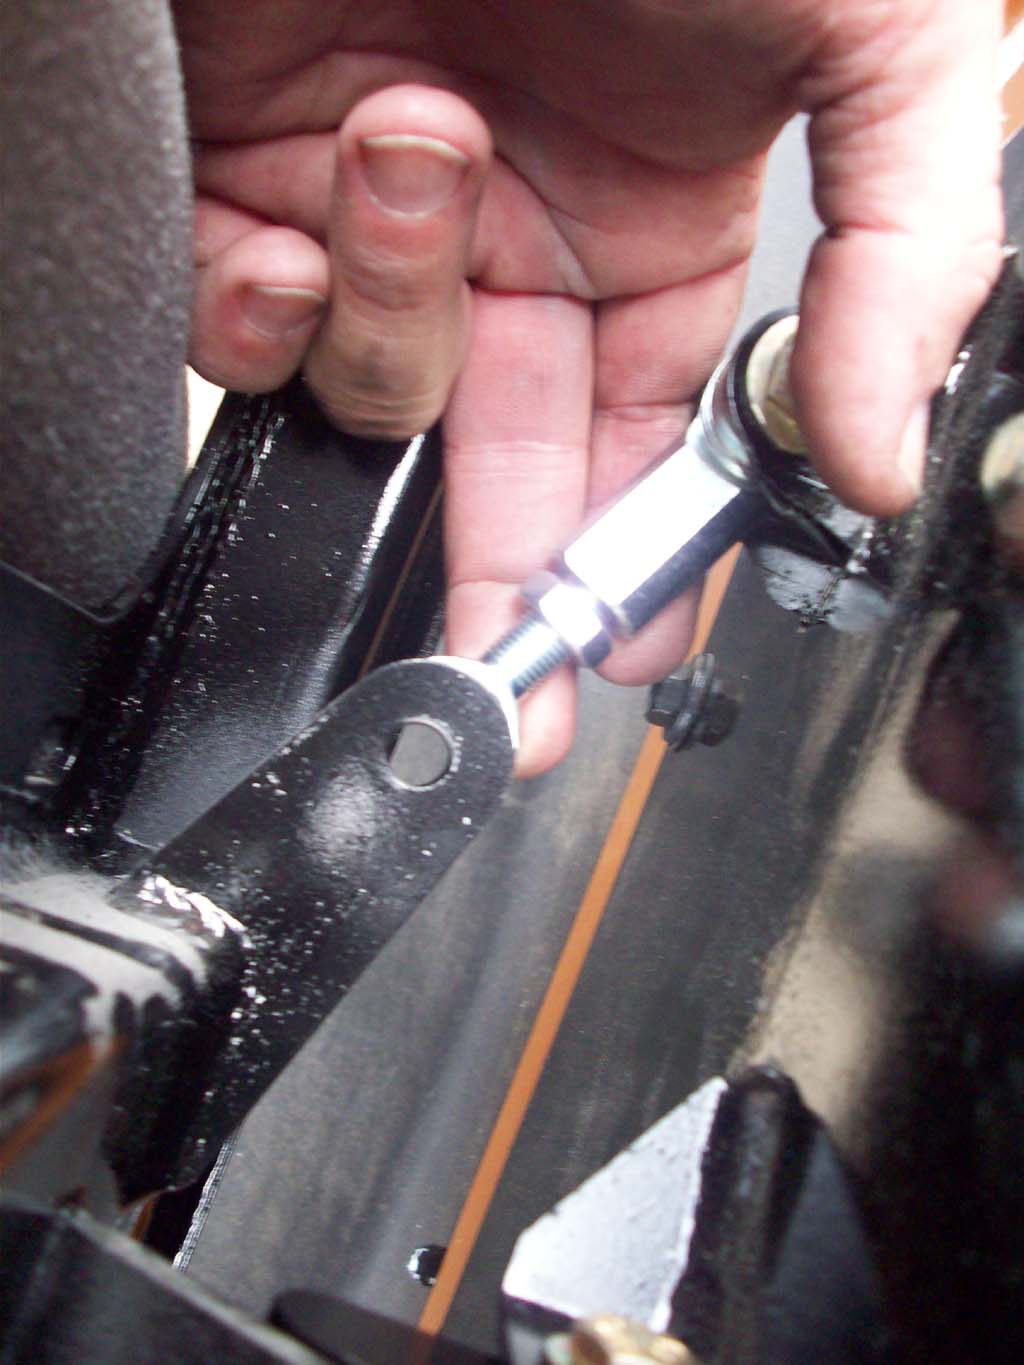
| 30. I used the bumper mounted tire carrier instructions at this point: Open the tailgate about 1" and push the tire carrier closed until the tire carrier touches the U-shaped bushing on the tailgate plate. Now adjust the heim joint until the bolt holes line up and then install the heim, spacers, bolt, washers and nut as in steps 28 and 29.. |
 |
 |
 |
| |
If you are installing the Hi-Lift Jack mount to the tire carrier, it will be sandwiched between the body mounted tire carrier and the tire carrier bracket that you will install next.
Crawler Conceptz Hi-Lift Jack Mount for the body mounted tire carrier. |
| |
| Positioning and Installing the Tire Mount: |
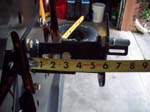
31. Measure the diameter of your spare tire, divide this in half, or by 2, as a friend (Math Genius), pointed out that it was easier to divide by 2 than 1/2.
Add 3 3/4" (95mm) to that measurement.
Example for a 35" tire:
35" (890mm) divide by 2 equals 17 1/2" (445mm)
17 1/2" (445mm) plus 3 3/4"(95mm) = 21 1/4" (540mm) |
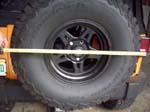 |
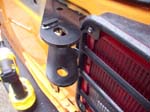
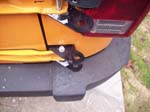
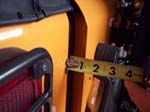
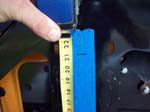
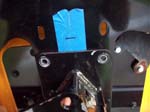
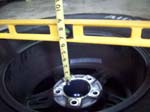
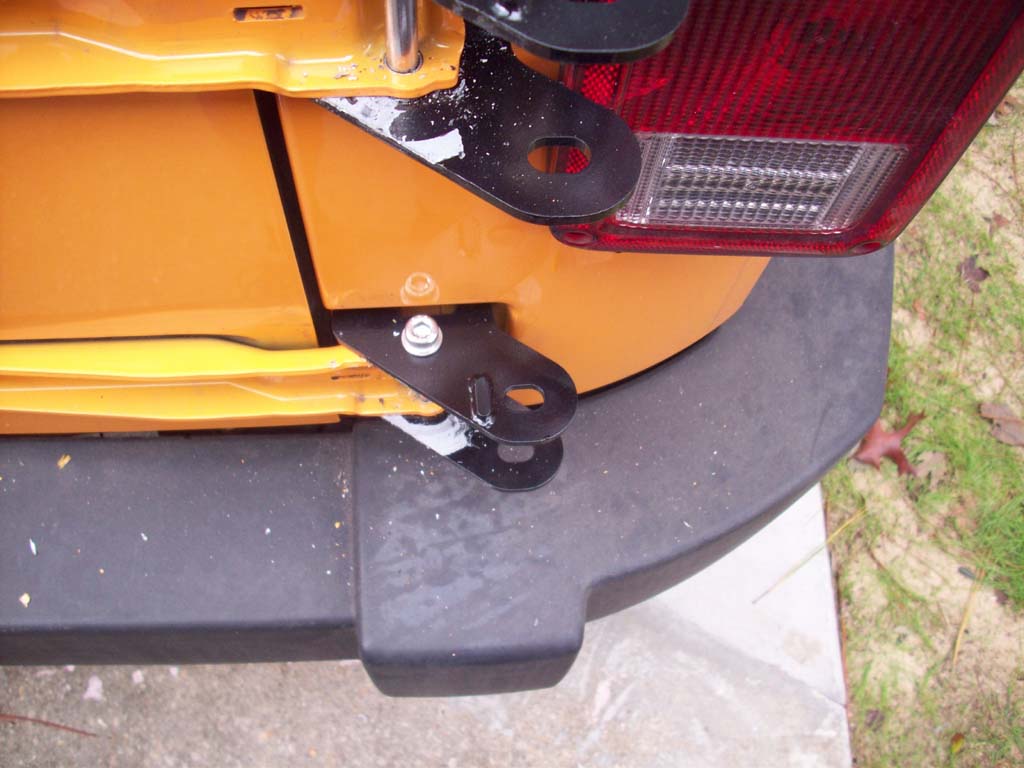
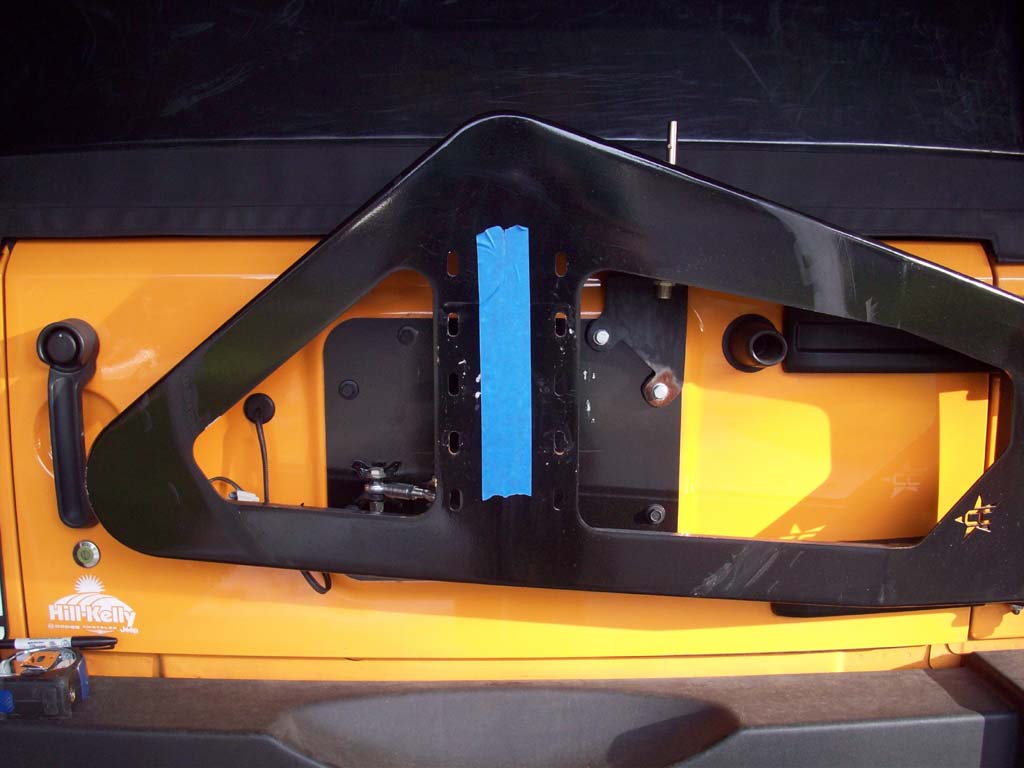
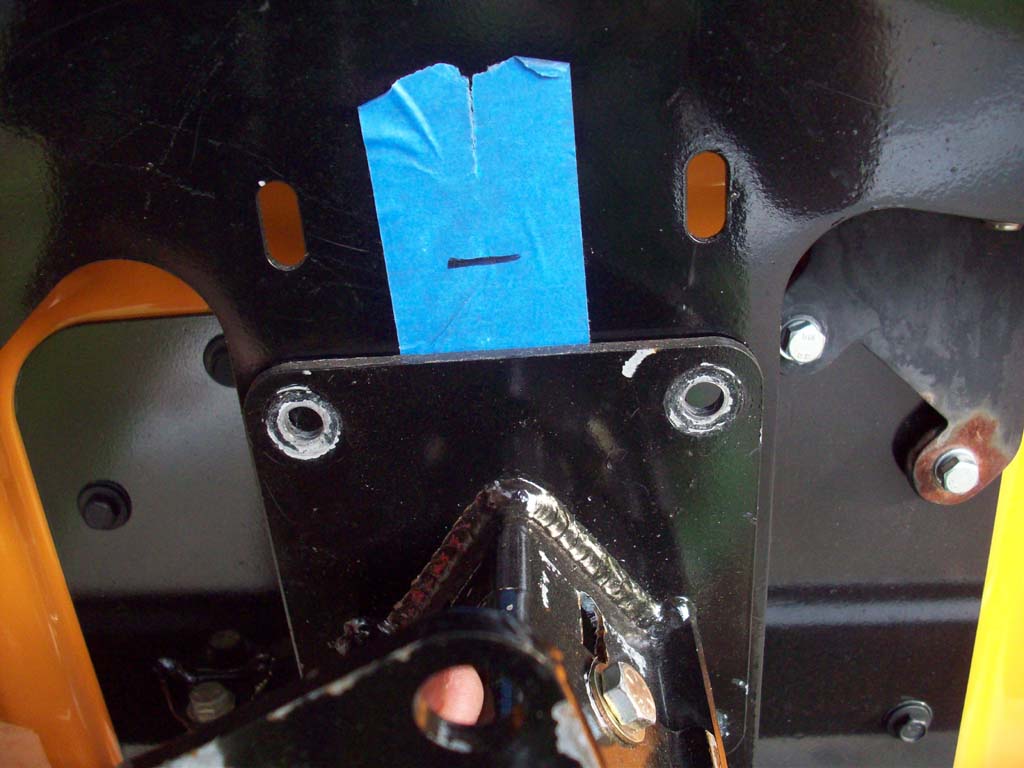
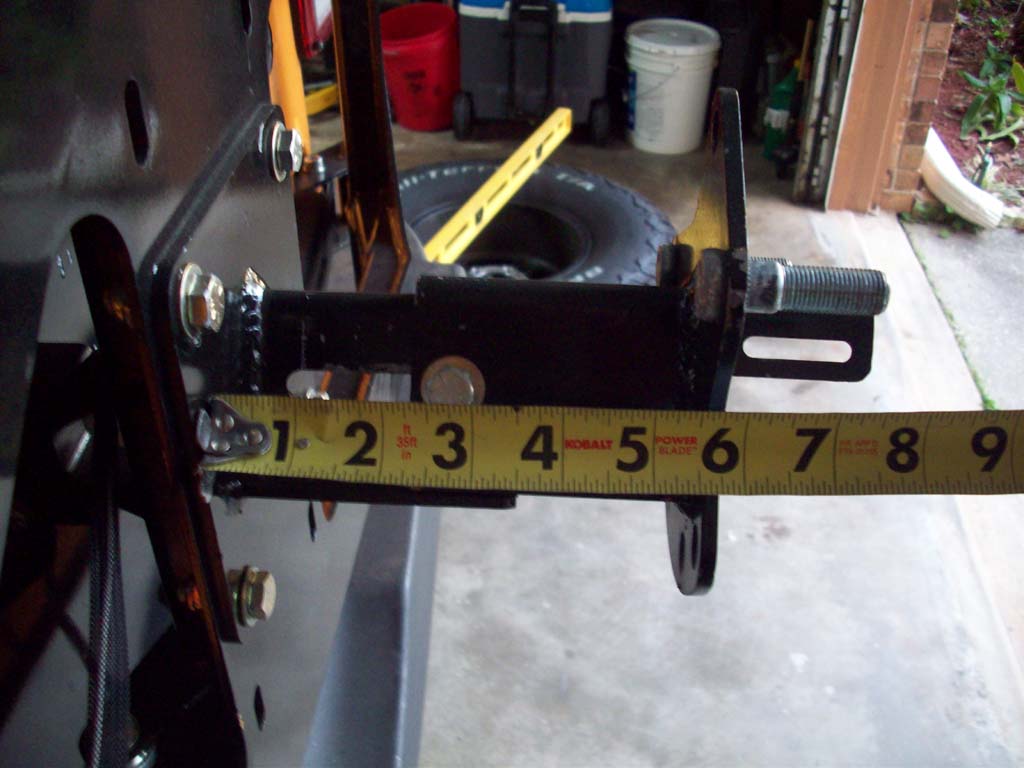
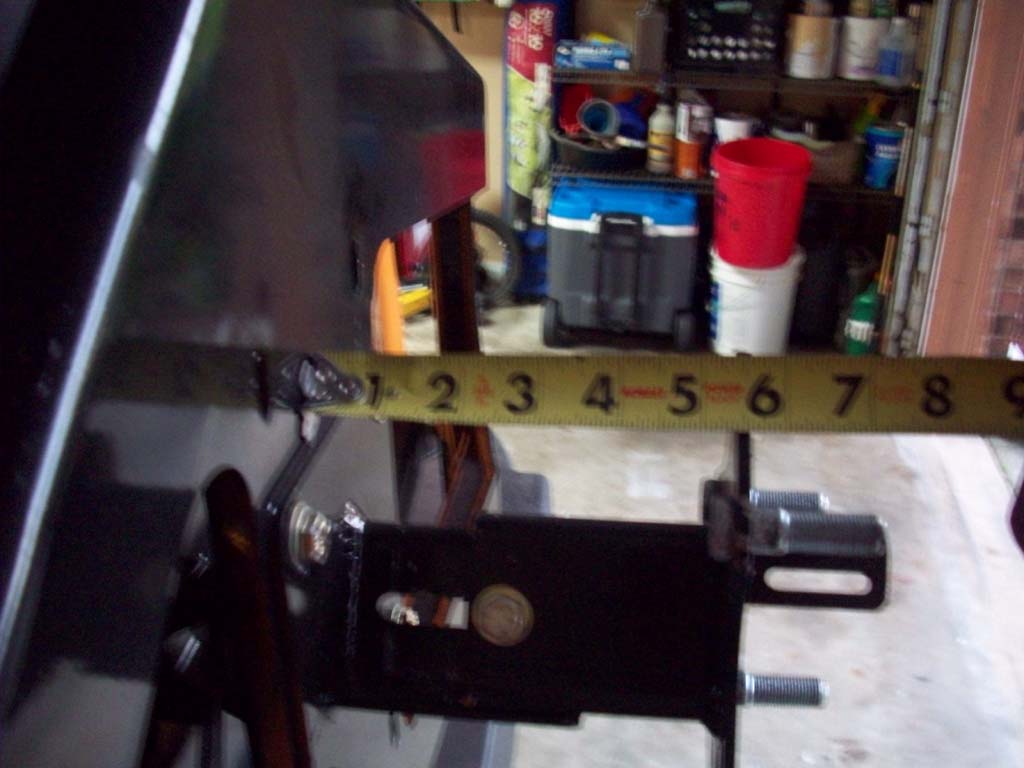
| 32. Now with the tire carrier closed measure up from the bottom of the recess in your bumper and place a mark on the tire carrier. This is where the top edge of the carrier bracket will go. I used some blue painters tape to give me an idea where I needed to place the bracket. |
 |
 |
 |
| My bracket didn't line up with either of the holes, so I just decided to move it to the closest set. |
 |
 |
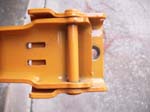
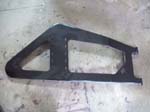
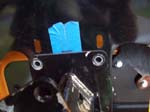
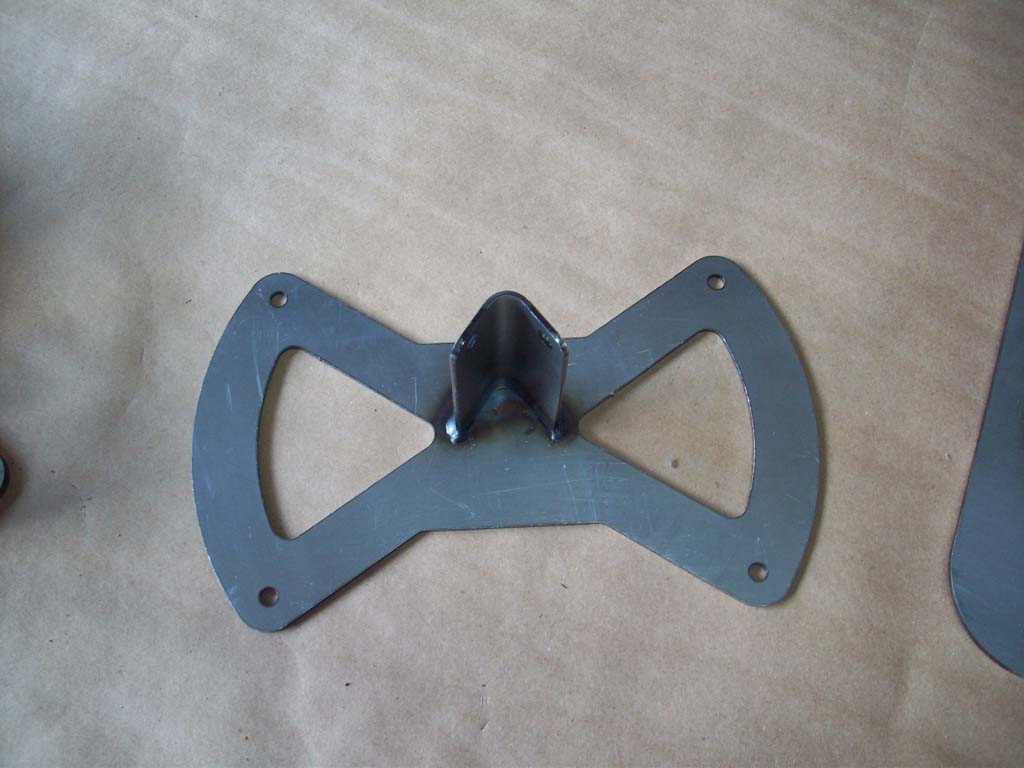
33. Install the carrier bracket to the carrier with the triangle pointing up
using four 3/8” x 1” Grade 8 bolts, washers and nuts. Align the top of the bracket with the mark you just made. You may need to adjust a little up and down if the bolt holes don't quite line up with the slots on the carrier. You will need a 9/16" combo wrench and a 9/16" socket. |
 |
 |
| Note: I picked up four (4) more 3/8" grade 8 flat washers because I didn't like the way the load was spread on just the edges of the bolt head or nut. I have seen a couple other older install pictures and they had washers on both sides. |
| |
| Lug Nut Installation into Wheel Bracket: |
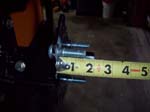
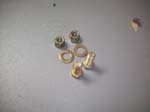
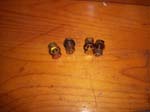
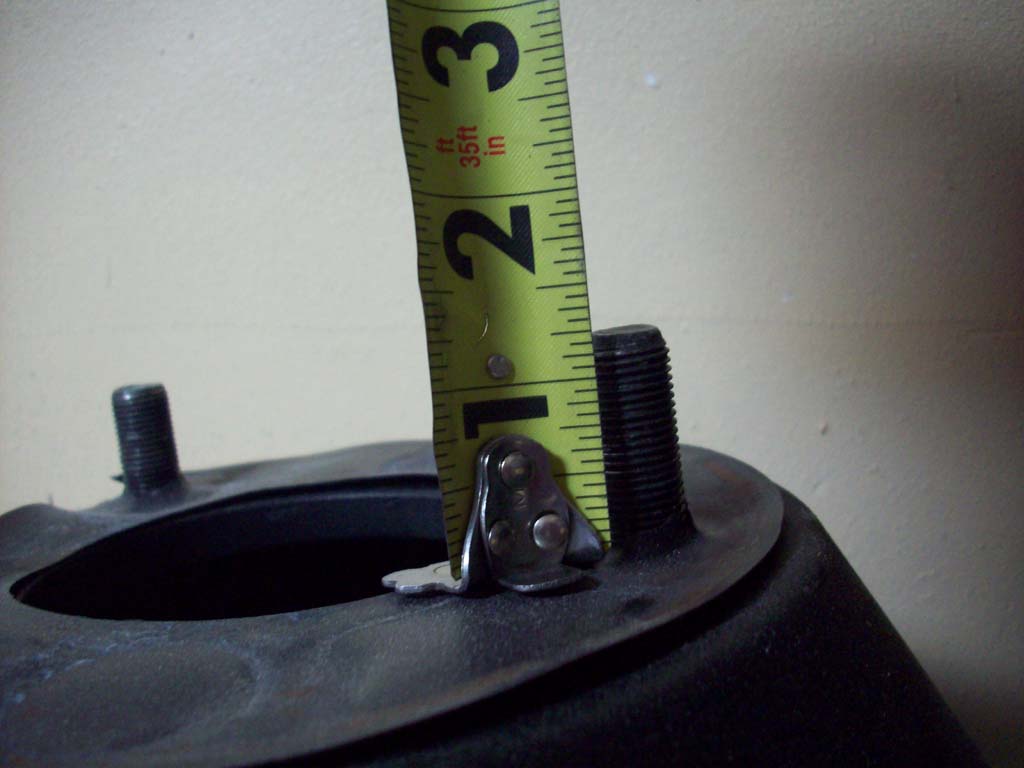
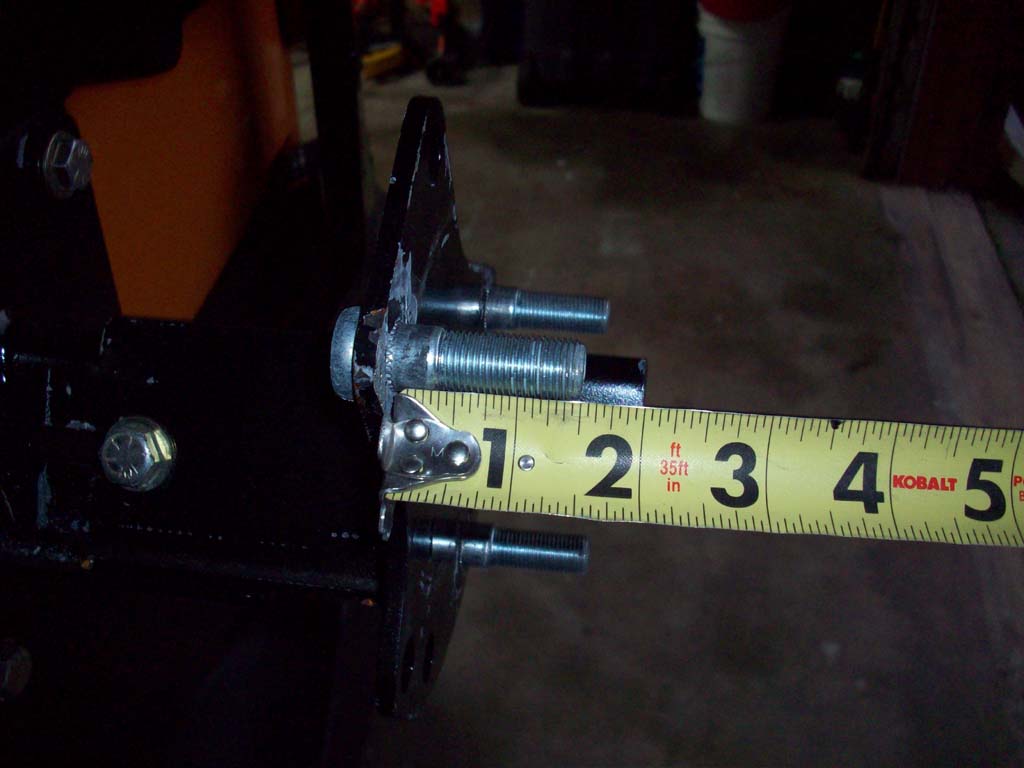
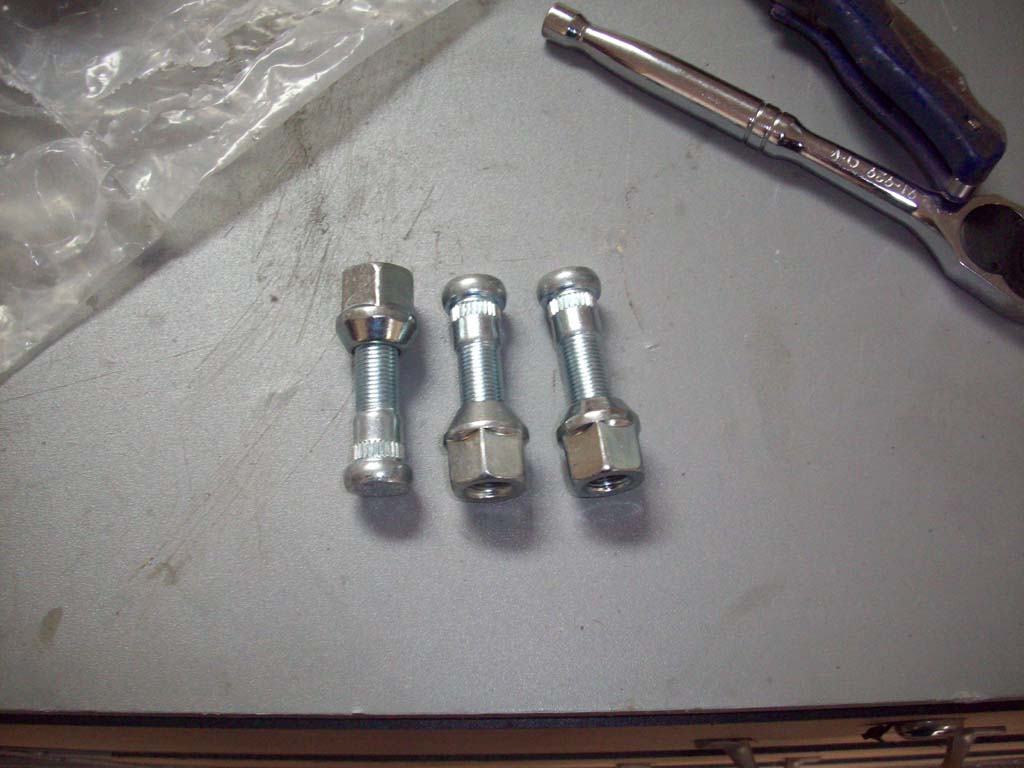
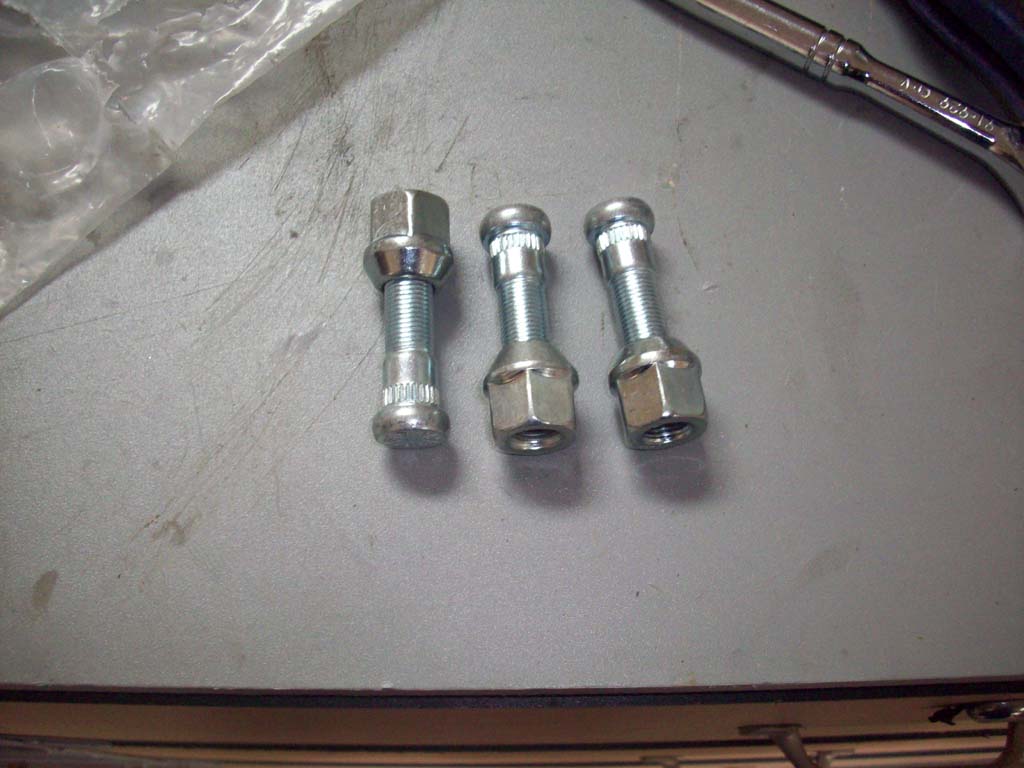
| 34. Before you install the studs for the wheel, check the length compared to your old studs. I found that my new studs were extra long and that I couldn't use my locking lugs. I also found that I could barely get the provided lug nuts installed. I needed a thin walled socket to install them. Luckily I was able to get some extended length locking lugs from Gorilla. |
 |
 |
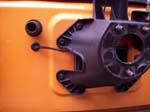
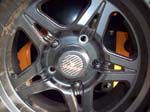
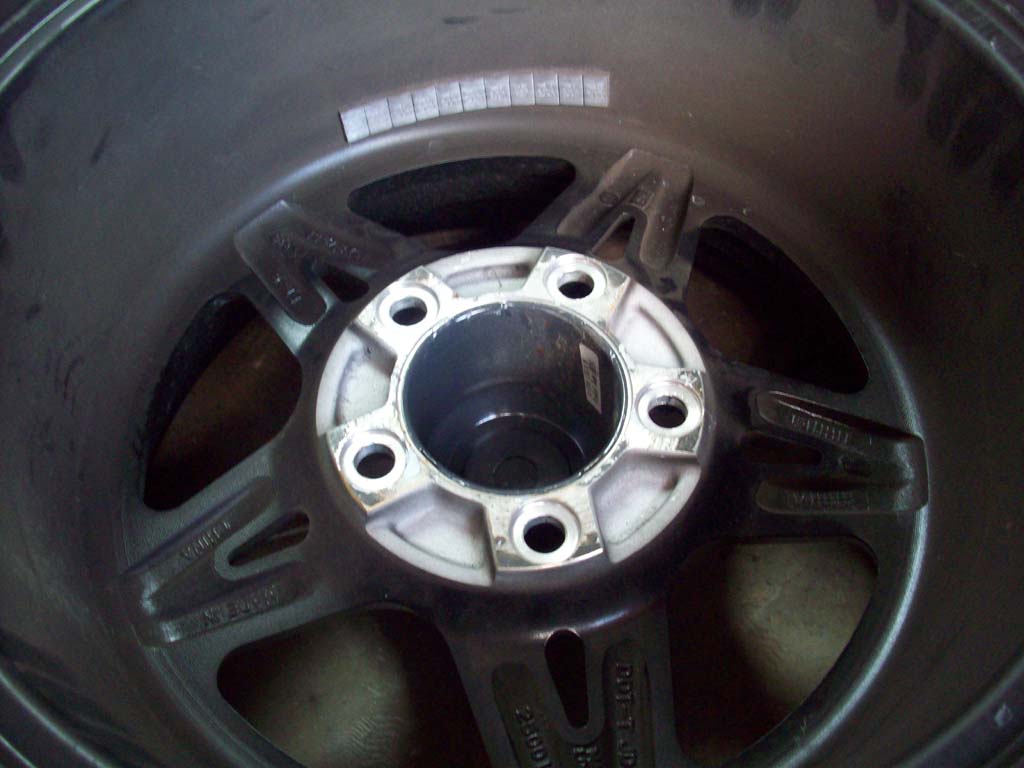
35. Match the wheel bracket stud pattern to that of the wheel you will be
mounting to the carrier. Once you have selected the pattern, drive the
studs into the bracket. You can drive the studs all the way or you can
use an impact gun and stud nut to pull them through. I just inserted the stud into the bracket and then whacked it with a 5lb maul over the vice. Took about 2 blows to seat them.
Note: I did notice that the stud mounting plate seems to be different between my install and a couple others. Seems like Crawler Conceptz welds the plate on in both directions. Some are to the left, some to the right. Doesn't seem to matter. |
 |
 |
 |
| |
| Measuring and Mounting the Spare Tire: |
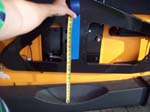
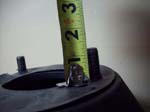
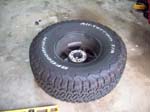
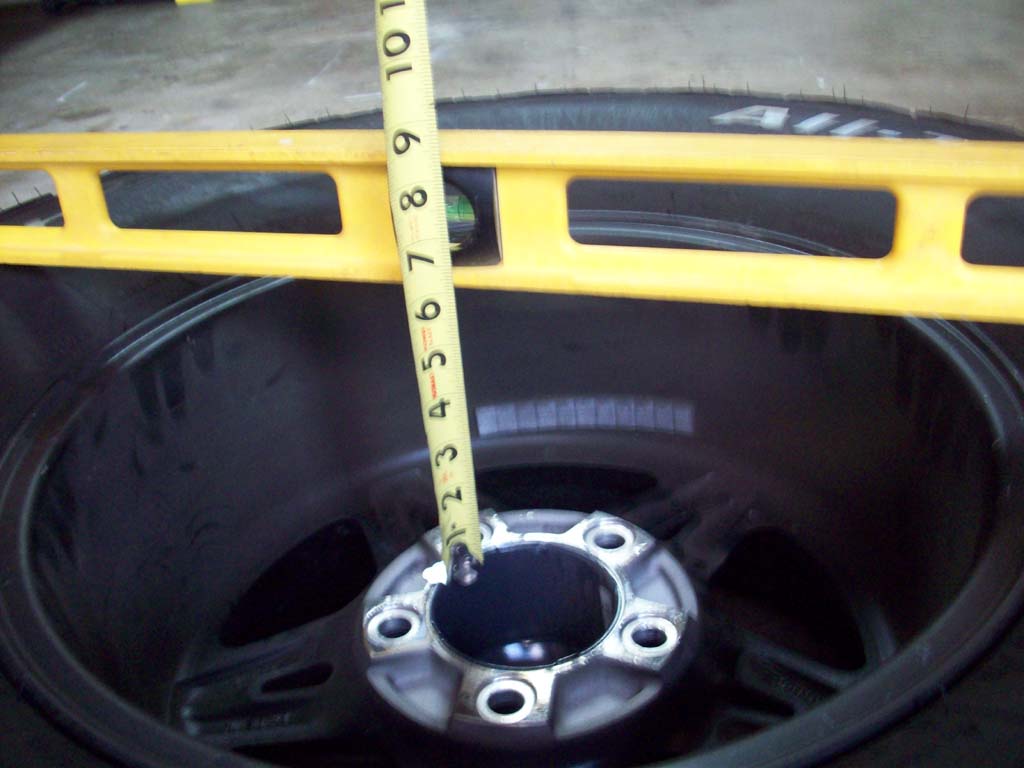
| 36. Lay the spare tire down and place a straight edge across the back of the tire. Measure from the straight edge down to the tire hub so that you can get the total back spacing. Then subtract 1" |
 |
 |
 |
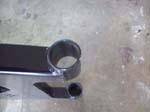
37. Set the wheel bracket on top of the carrier bracket and install two
3/8”x 1” Grade 8 bolts w/washer and nut, through the holes in wheel
bracket and the slots in the carrier bracket. Snug bolts but, leave loose
enough for wheel backspacing adjustment.
Note: I found just like a lot of people that the holes in the wheel bracket did not line up with the long slot in the carrier bracket. The are drilled at the same measurement from the edge which does not mean that they will line up when placed on top of each other. I need to oval the hole so that I could get the bolts through. Crawler Conceptz needs to adjust their CAD program. |
 |
 |
What the body mounted tire carrier instructions say: Mount the wheel to the wheel bracket and tighten wheel stud nuts.
Slide the wheel and wheel bracket forward, towards the front of the
Jeep so that the tire is pushing against the carrier on both sides. Make
sure the tire is as tight to the carrier as possible. Then tighten the two
3/8” x 1” Grade 8 bolts in the wheel and carrier bracket.
Note: I tried it this way and I couldn't get it to sit tight enough so it wouldn't move when I hit bumps in the road. |
| 38. I used the bumper mounted tire carrier instructions at this point: Adjust the face of the wheel bracket on the carrier bracket to the measurement from step 36. Then tighten the two
3/8” x 1” Grade 8 bolts in the wheel and carrier bracket. Make sure you get these bolts tight, if not the tire carrier bracket will slide as you tighten up the tire on the mount. |
 |
 |
 |
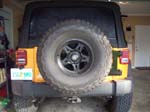
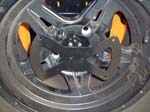
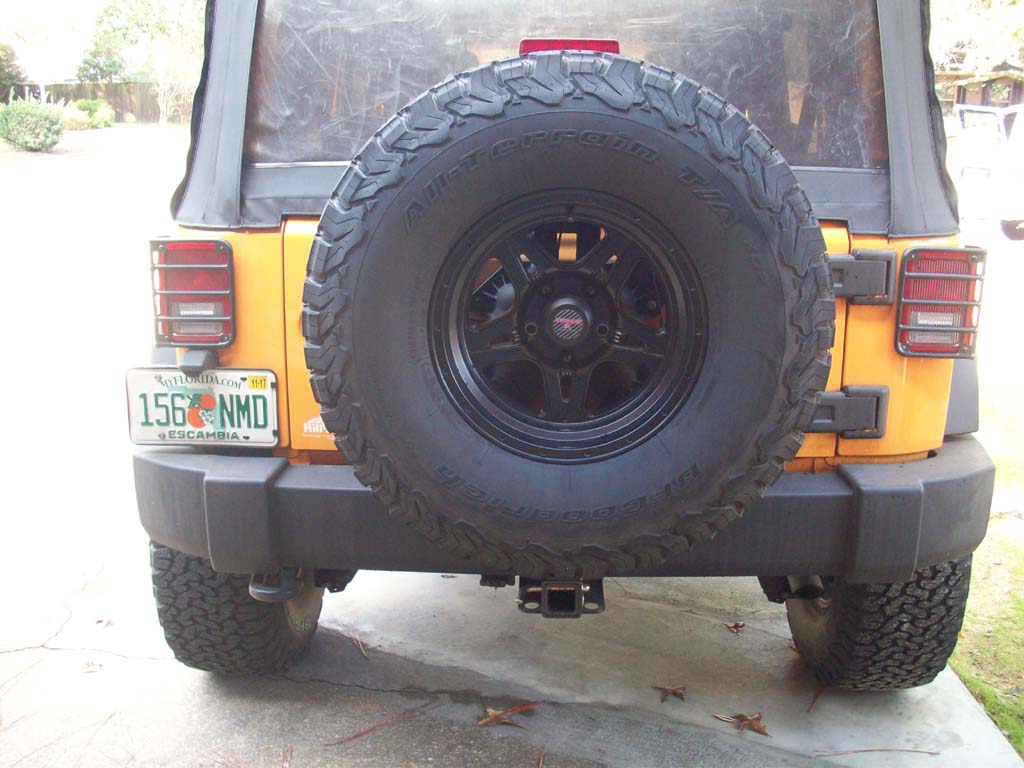
| 39. Install your tire onto the mount. Is should sit down pretty tight. If you are going to install the license plate holder you will need to remove the center cap from your wheel. |
 |
 |
|
| Installing the License Plate Holder: |
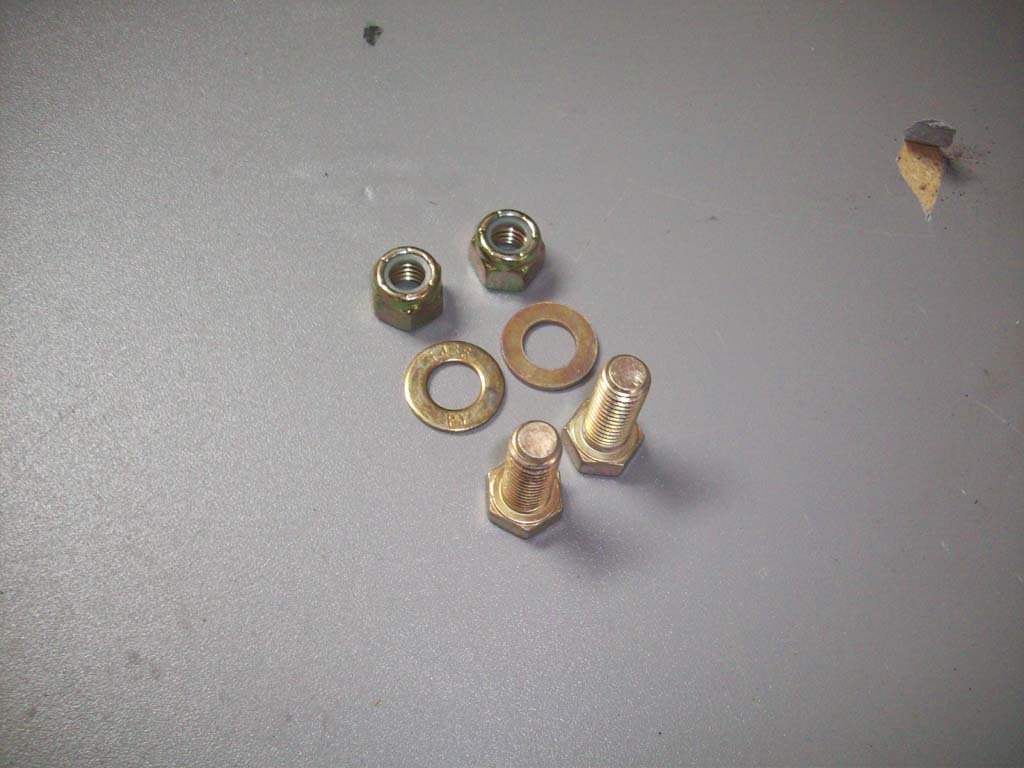
| The last pieces you should have are the nuts, bolts and license plate holder. |
 |
 |
40. Using the two ¼”x ½” grade 8 bolts mount the license plate bracket to
the wheel bracket. This is a real pain to get the bolts in and tightened up.
Note: You will need to carry a wrench in the Jeep to be able to remove the license plate holder in case you ever have a flat and need to get the spare tire off. |
 |
 |
 |
| 41. You will need to provide your own bolts and nuts to hold your license plate on. I just picked up four (4) sets of 3/4" long 1/4"x20 bolts, washers, and nuts. |
 |
|
| |
| Center mounted Brake Light Mod |


