Main Menu Vehicle Trails Mechanicals TJ/LJ Mods JK Mods Gallery
VIAIR 2.5 Gallon Air Tank

VIAIR 2.5 Gallon Air Tank

Part #:

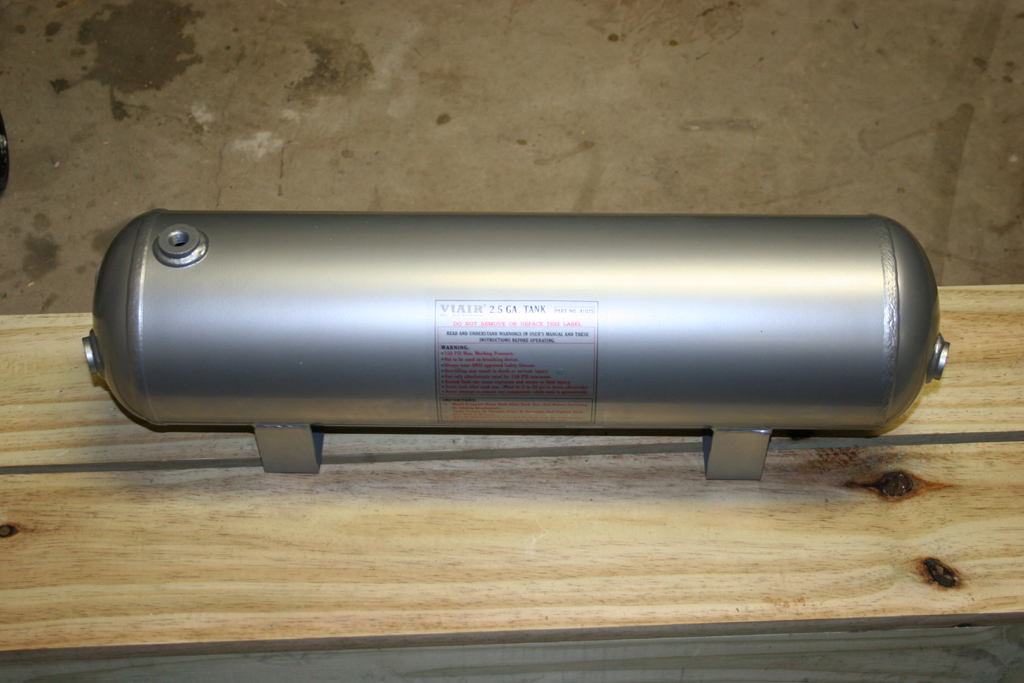
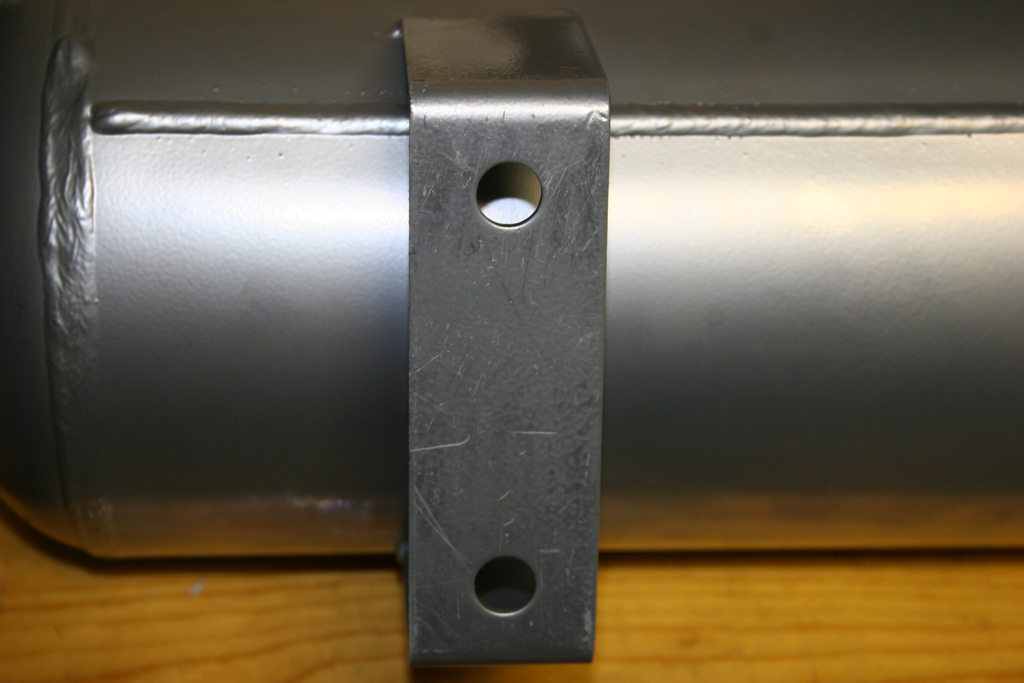
I had removed my Off Road Only Air system and reinstalled the Kilby's Onboard Air system, I needed a new tank for the system. Kilby Enterprises was in the midst of being sold, so didn't have any of theirs in stock, so I turned to VIAIR to provide me with a tank. I picked up one of their 2.5 gallon tanks to fit inside of my River Raider skid.

Additional Parts:

Tools Needed:


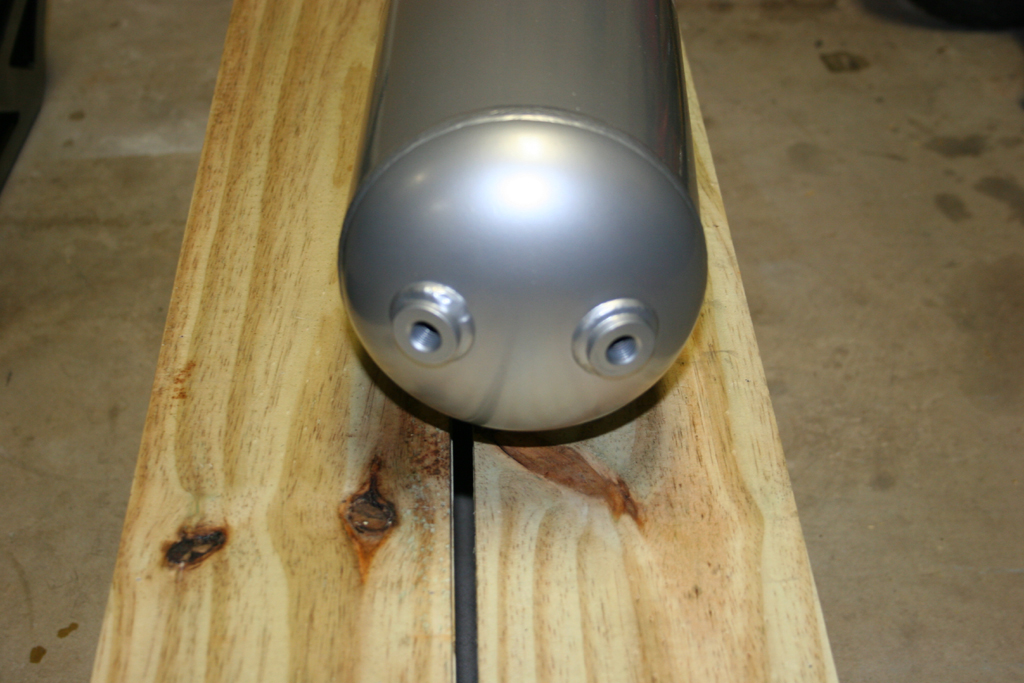
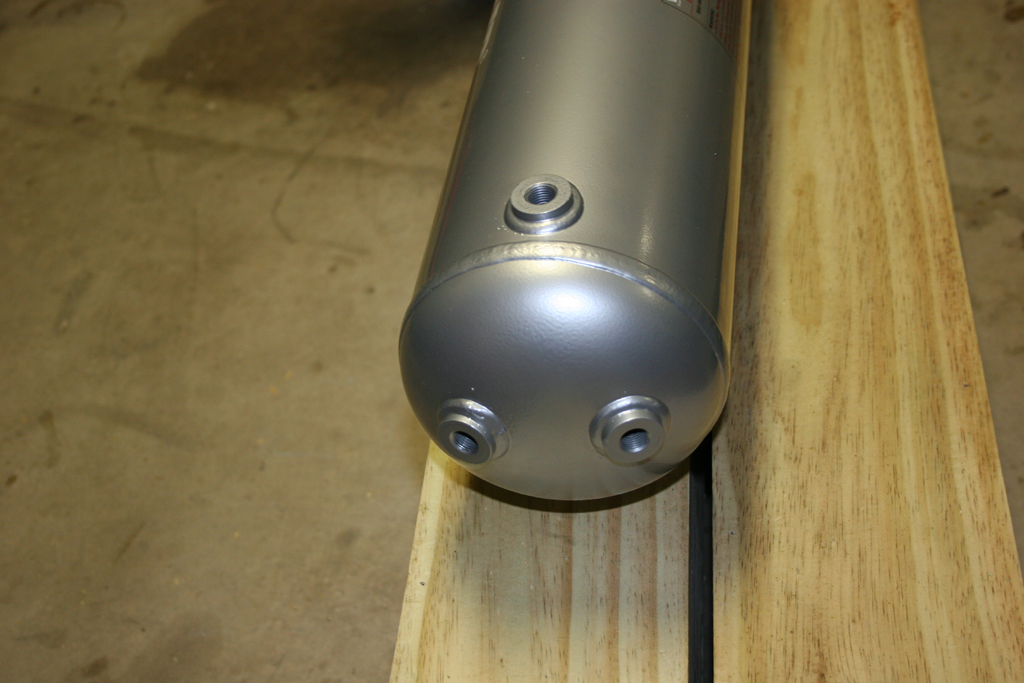
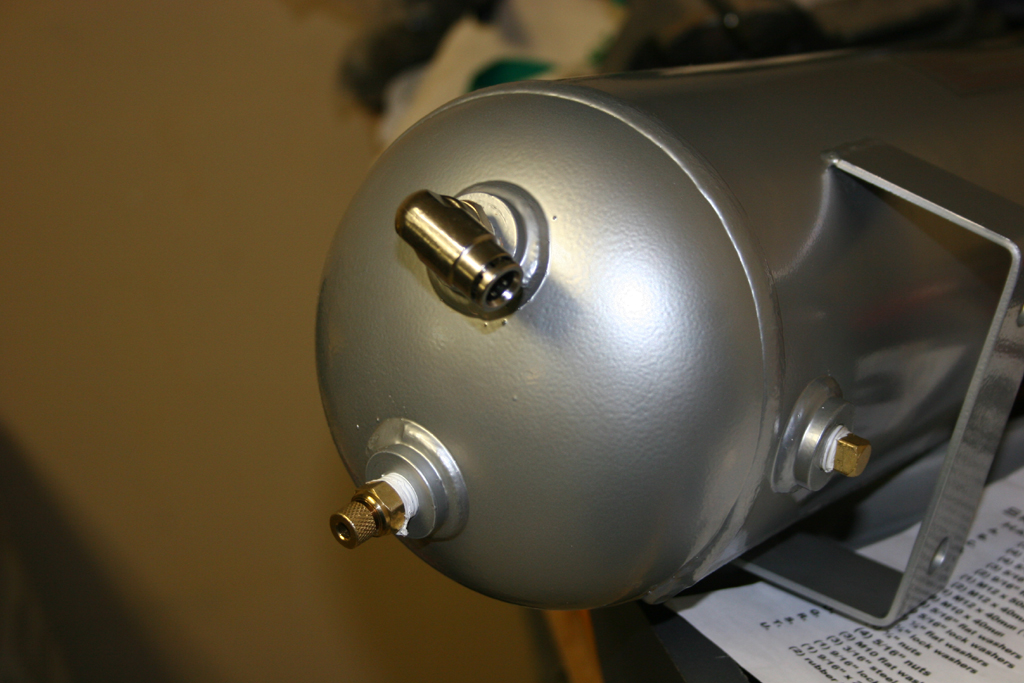
Here is the tank. It comes with six (6) 1/4" bungs welded onto the tank so you should have plenty of fitting locations for all you plumbing needs.
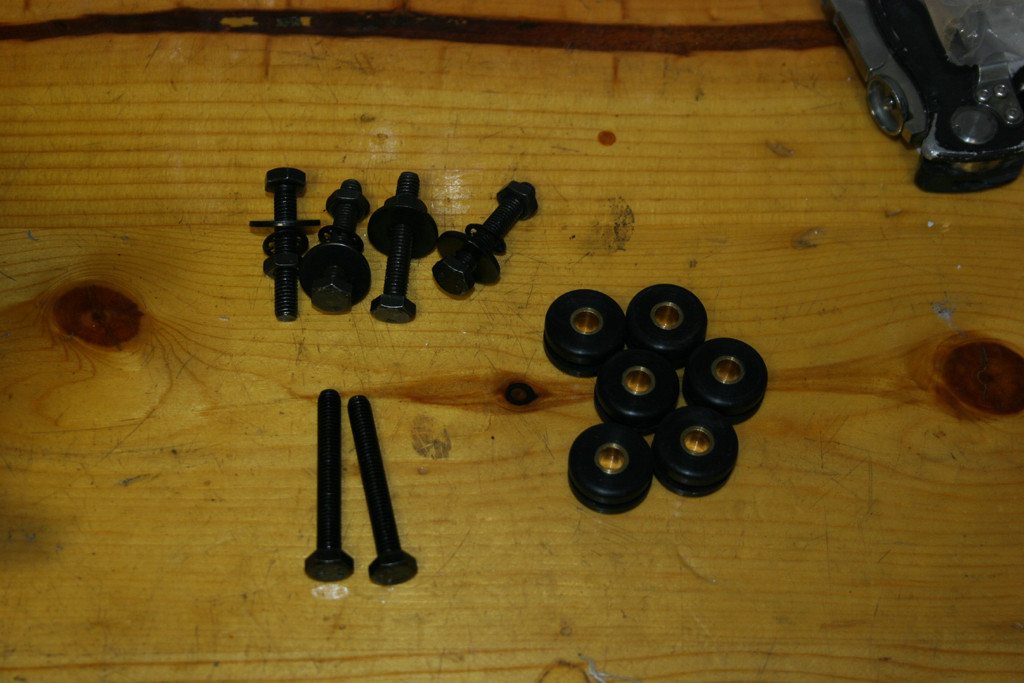
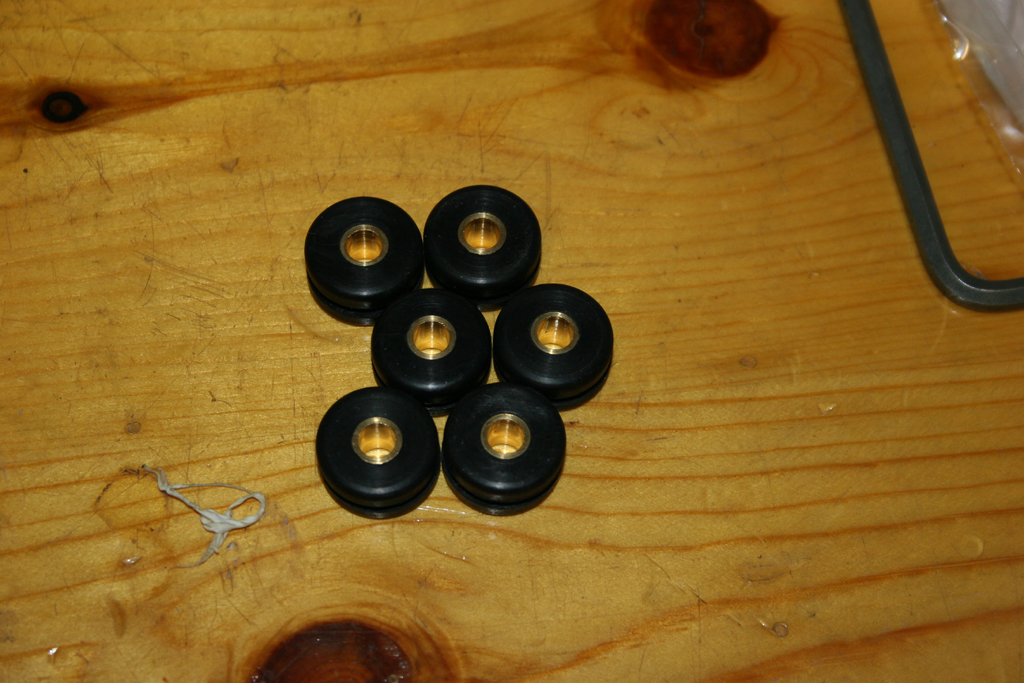
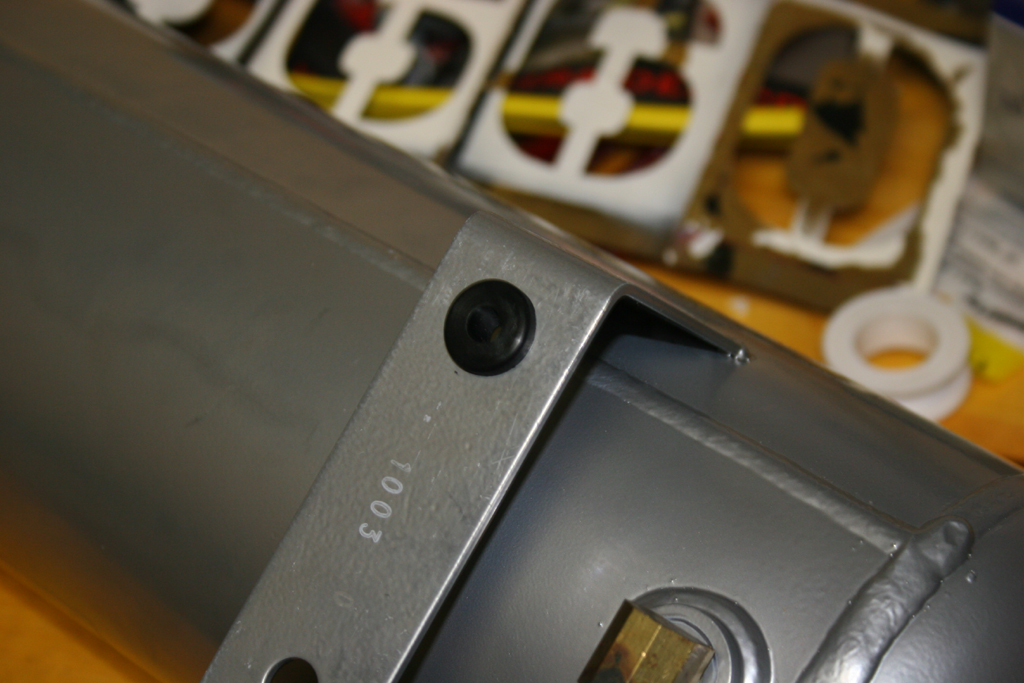
First install the rubber vibration isolators in the bottom feet of the air tank. VIAIR provides you with more than enough isolators and bolts for mounting the tank. You don't need to install the mounts, I did to provide me with a little extra clearance on that side.
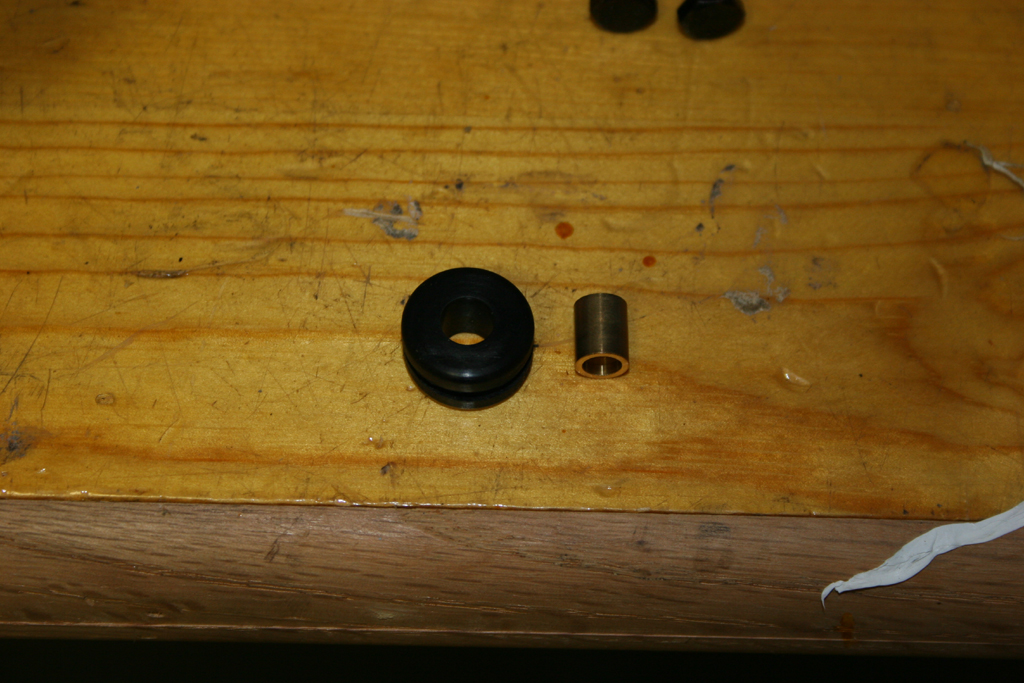
Take a look at your rubber grommets, they should have a brass insert inside of them. You will need to push the insert out, otherwise you will not be able to install these in the tank feet.
With the brass insert removed work the grommet into the opening in the foot. It takes a little bit ow work, but they will go in.
Reinstall the brass insert into the grommet.
Install your fittings into the tank. This really depends on what type of fittings you are using and how the tank will be mounted. In my case the tank would be mounted sideways, so one end with the 4 fittings supported a small manifold for my pressure switch and relief valve, a supply line for the pressure gauge, the air inlet connection and a plug, while the other end had the drain and air outlet fitting.


VIAIR

www.viaircorp.com
15 Edelman
Irvine, CA 92618

Ph# 949-585-0011


  N-m Ft. Lbs. In. Lbs.


This page last updated: 15-Aug-2011

Content and Design © 2002-present WanderingTrail,  Ronald Seegert
Common Sense and Safety should always be observed when working on your vehicle or doing modifications. Jackstands, wheel blocks, disconnecting the battery are a few of the basic safety precautions that should be used and may not be mentioned in the write ups on this site. You are responsible for your own installation, these write ups are a helpful guideline and should not be taken as an official installation instruction. My write up may be different from the kits currently out there, so alwasy double check the manufacturers installation instructions when installing anything. I try to keep the site up to date with changes that have occured as I discover them, but may not have the latest unless someone lets me know. If you feel that an install is above your capabilities after reading my write ups, I recommend getting together with a club and getting some help. Only a few times have I needed to employe some actual help from a shop to get something done. Usually welding or A/C work. While I have spent many years working on mechanical systems, I am not an expert, nor do I pretend to be one. I hope these write ups have been useful to you.
All trademarked names & logos are property of their respective owners
This site is in no way associated with Stellantis.
Jeep is a registered trademark of Stellantis.