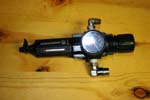
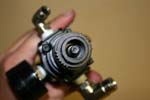
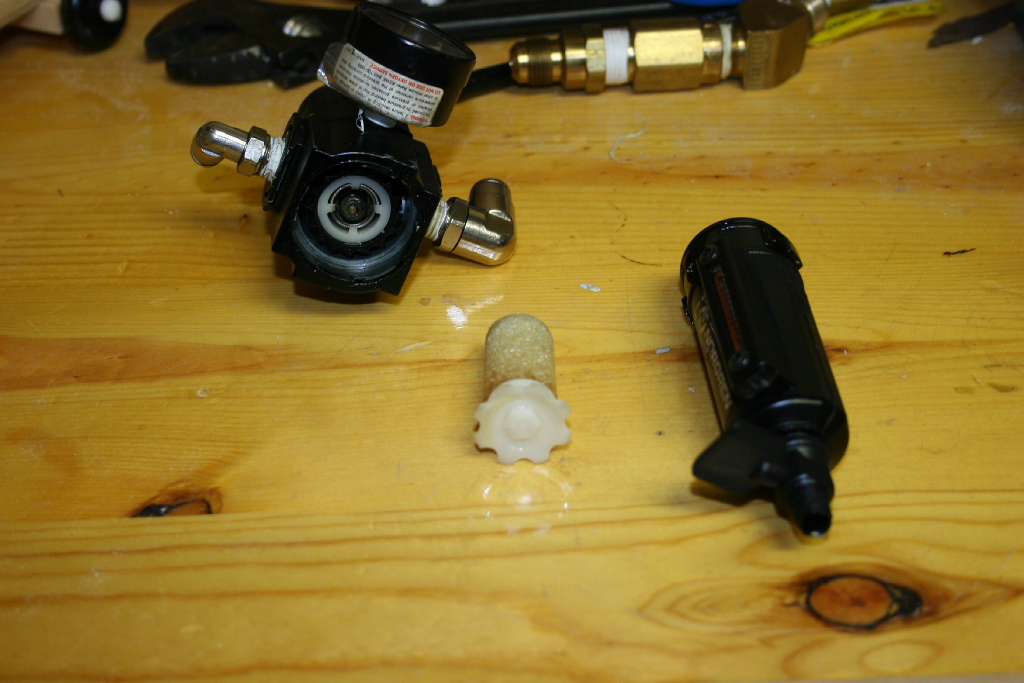
My Norgren Pressure Regulator for my AiROCK decided to break internally on me, so being cheap I decided to just take it apart and rebuild it. I was able to get a new part from Steve at Off Road Only, so that helped a little. After a few years the regulator was in pretty good condition, if not a little dirty and gummy inside.
| Removal |
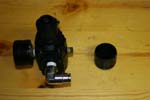
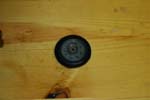
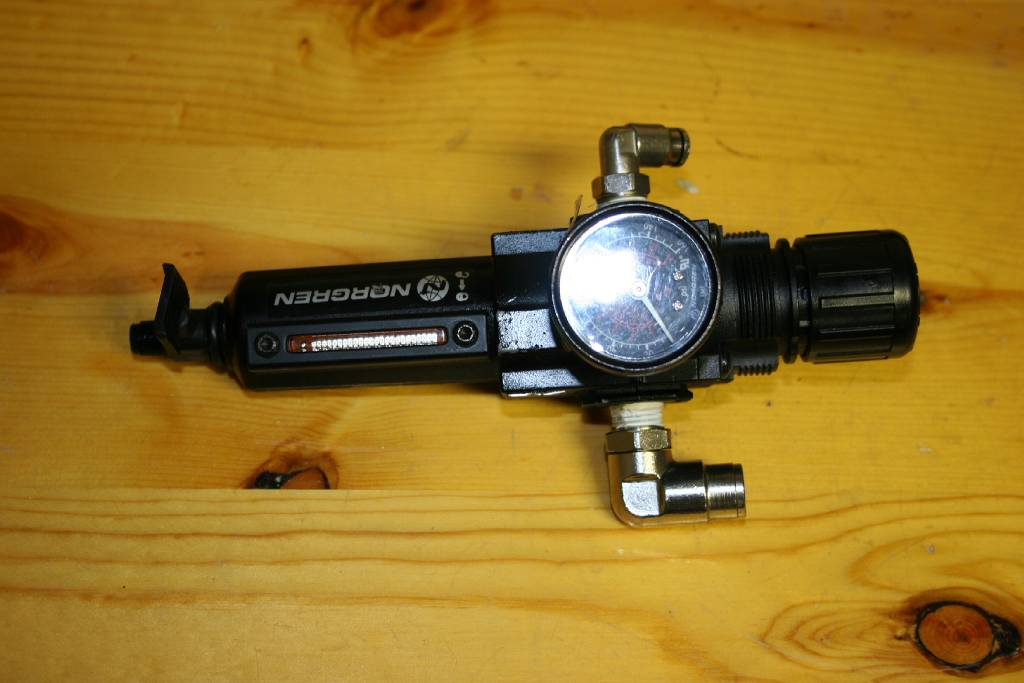
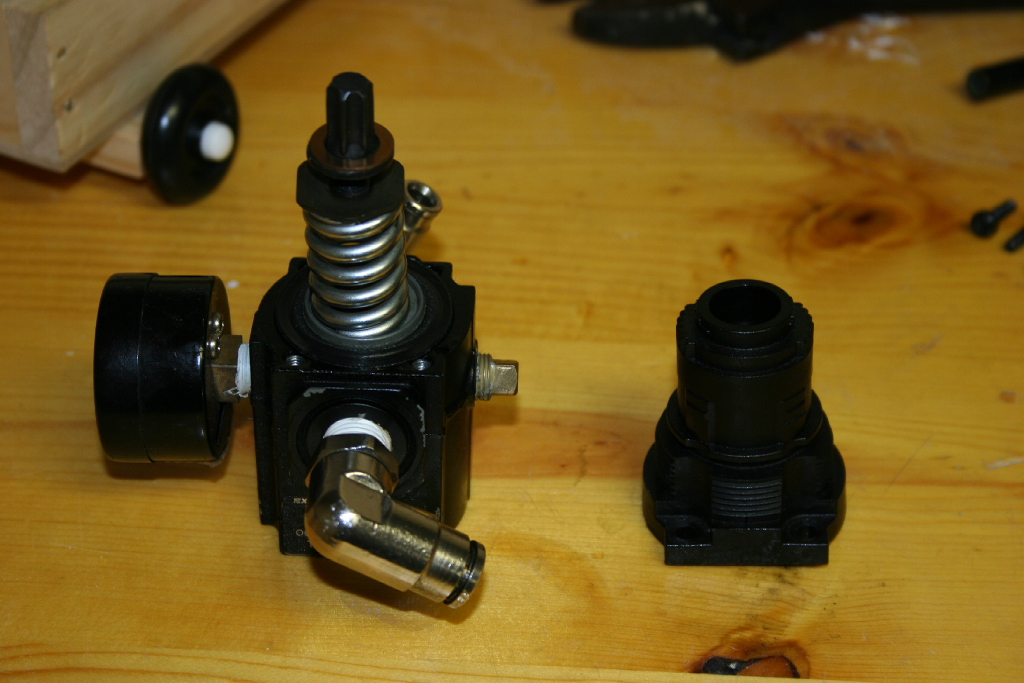
| 1. Remove the pressure regulator from the Jeep. Unscrew the pressure regulator body nut from the bracket. |
 |
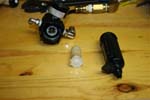
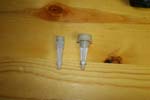
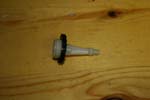
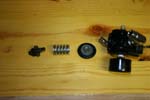
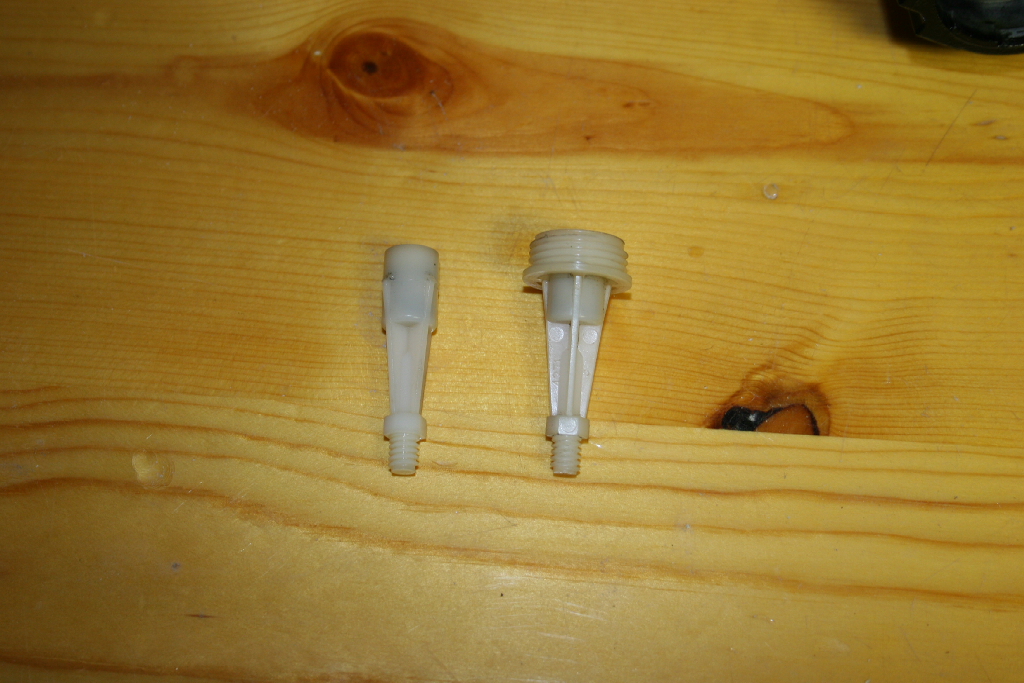
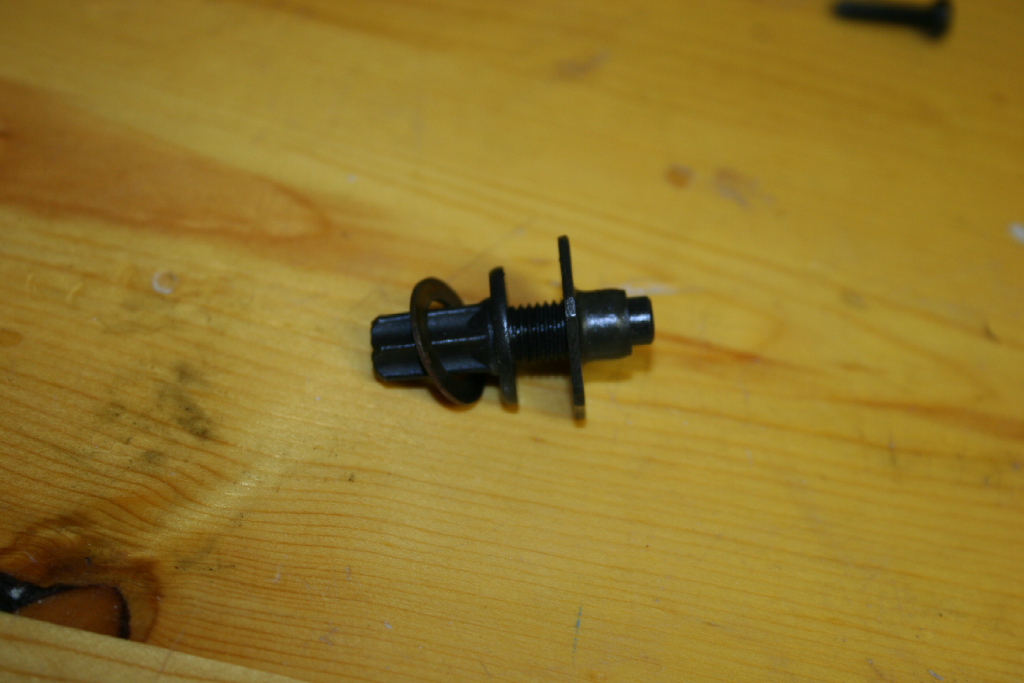
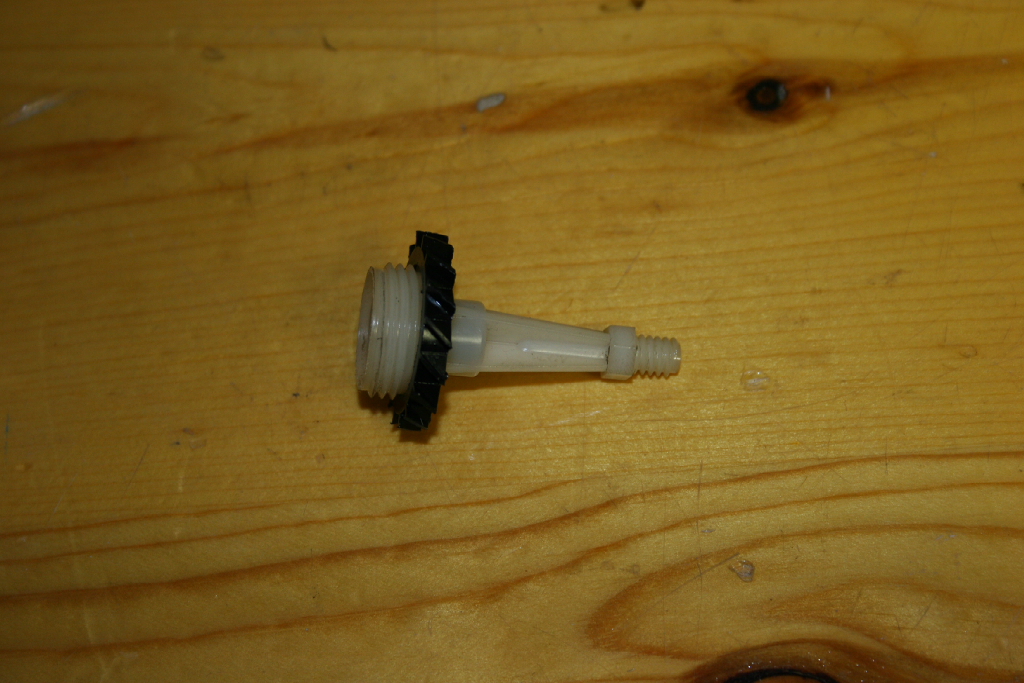
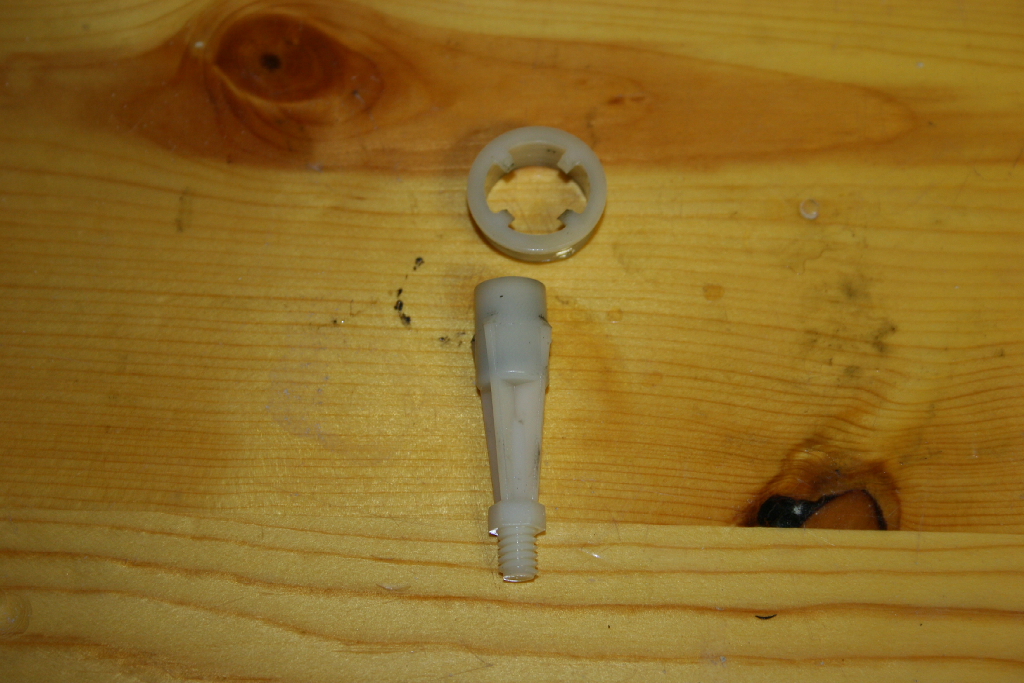
| 2. This is what broke on mine, the filter holder. The filter was still in good shape, but the holder snapped off inside. Here is the broken next to the new. |
 |
 |
| |
| Dissassembly and Cleaning |
| I had already removed the bowl when I was investigating the broken parts, I just left it off, but if you have an intact filter, you will want to keep it on until your ready to remove the filter. |
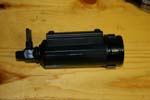
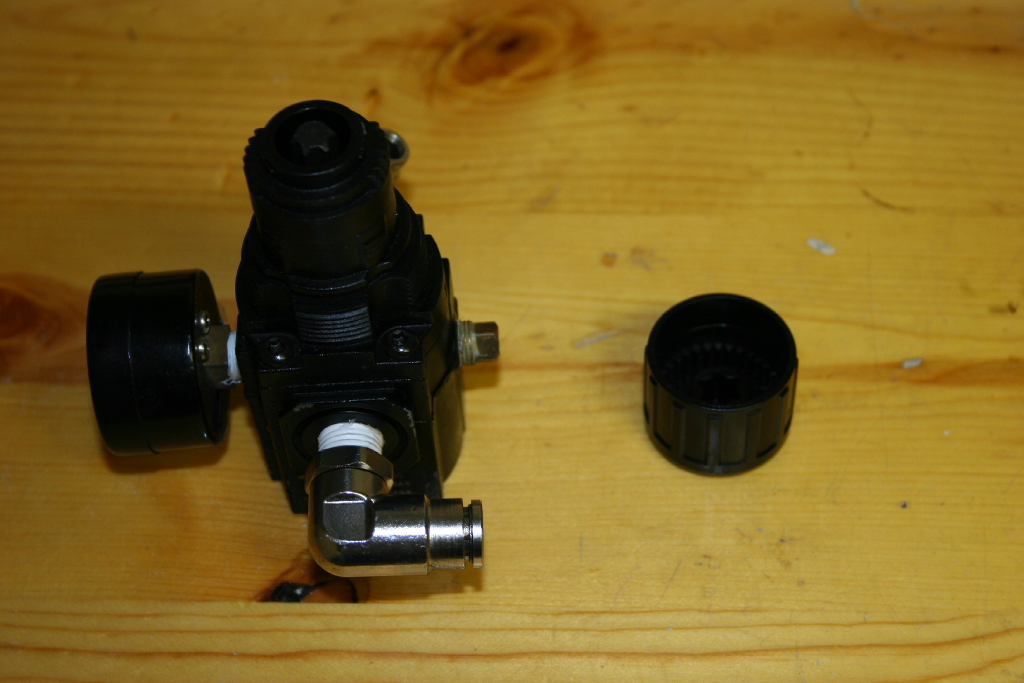
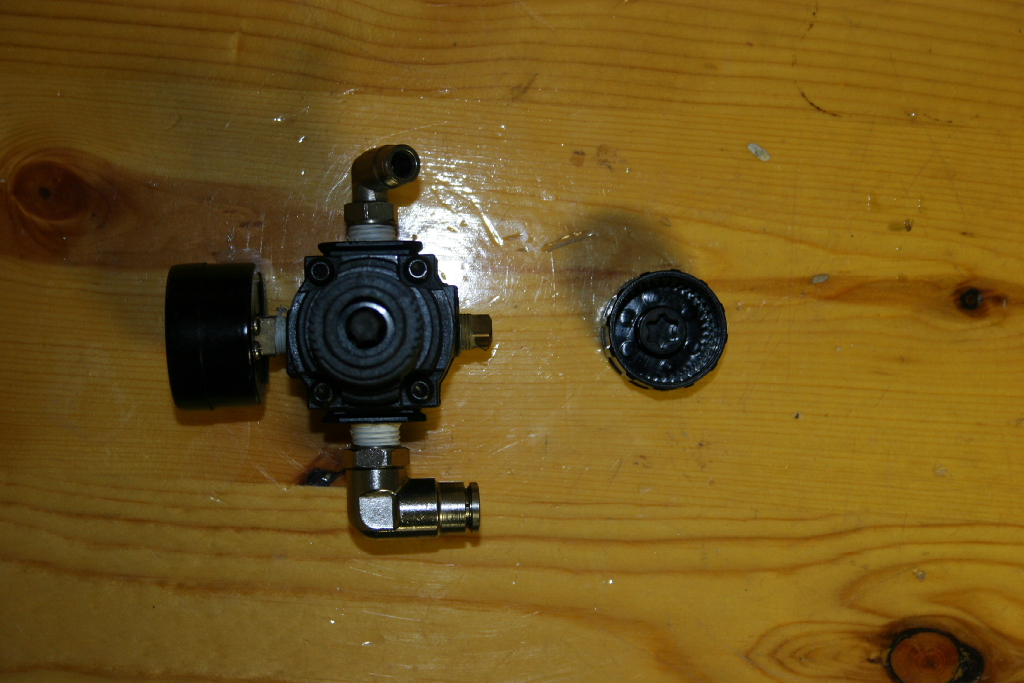
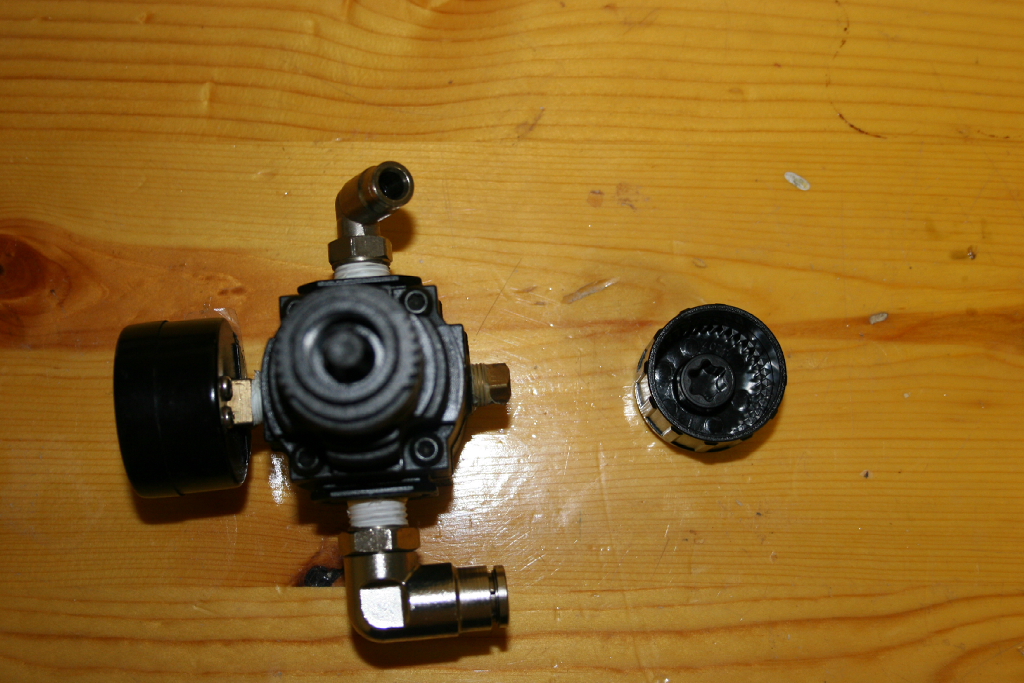
| 1. Remove the top. First unscrew the adjustment knob all the way, then just pull up and off. |
 |
 |
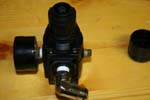
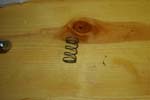
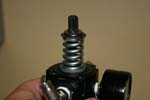
| 2. Remove the four (4) screws holding the top on to the body of the regulator. Be careful there is a heavy duty spring underneath this. You will need a T-25 Torx screwdriver. |
 |
 |
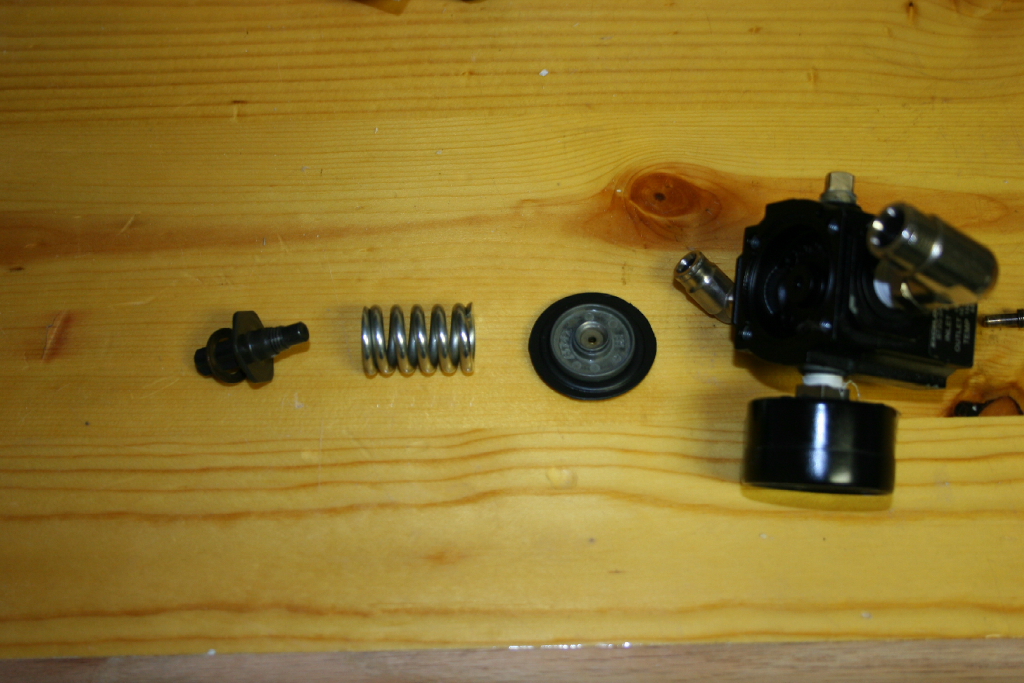
| 3. Remove the adjustor and the spring from the regulator body. |
 |
 |
 |
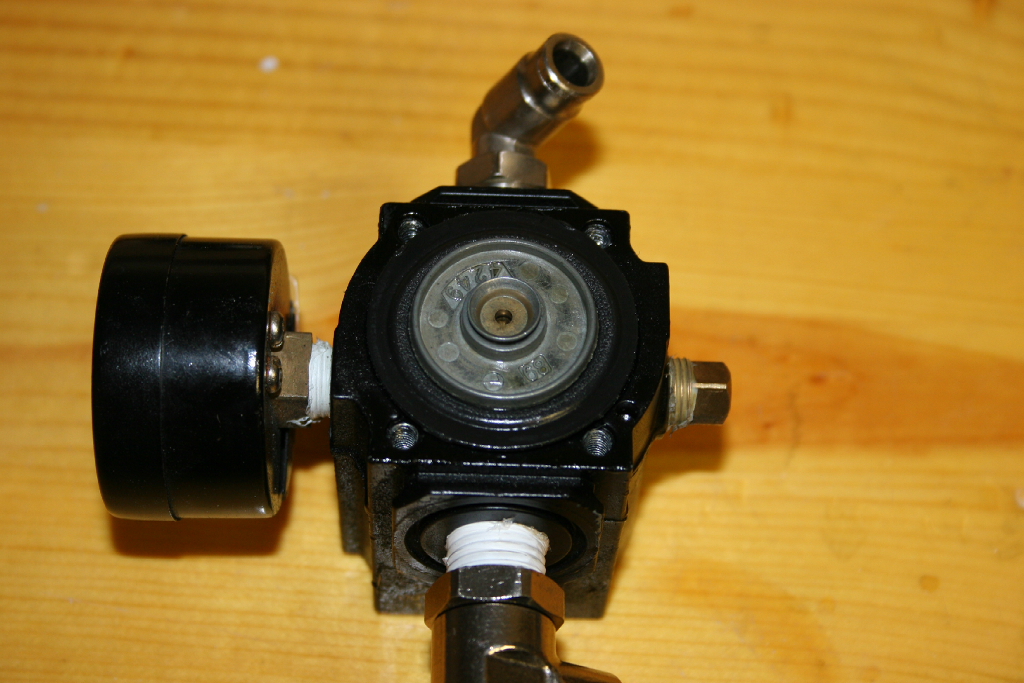
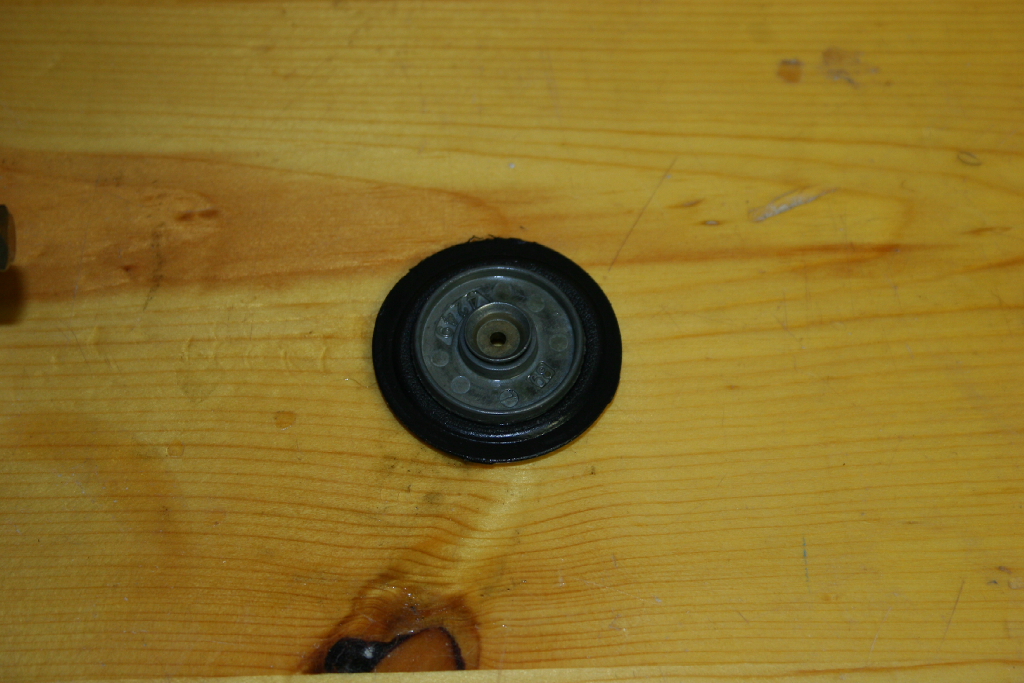
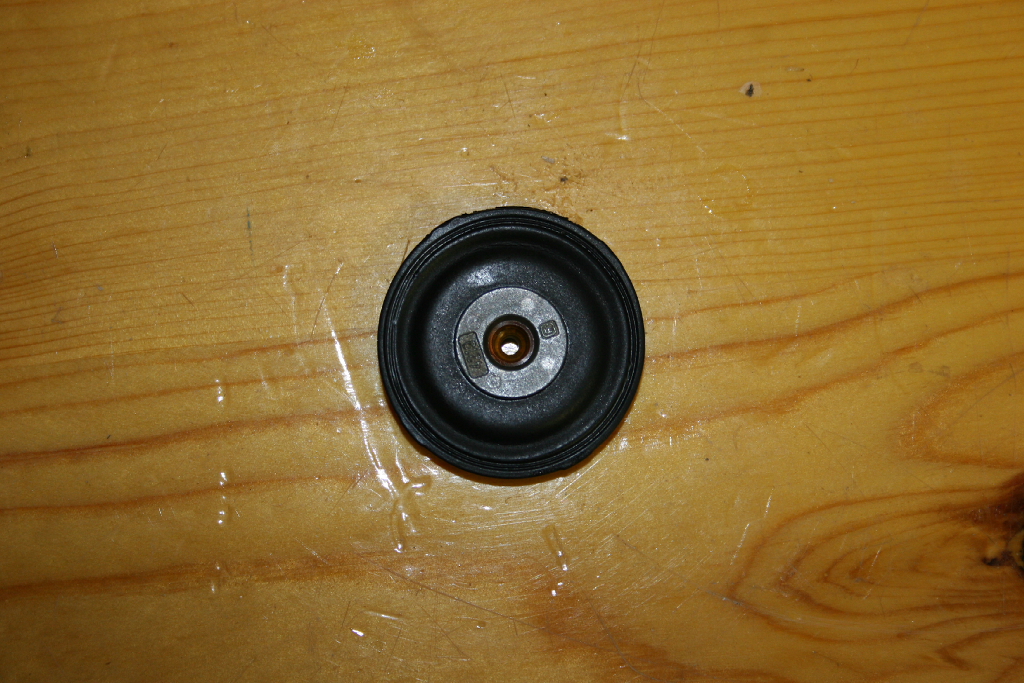
4. Carefully lift and remove the diaphragm from the regulator body.
Note: There is a top and a bottom to the diaphragm. |
 |
 |
 |
 |
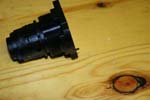
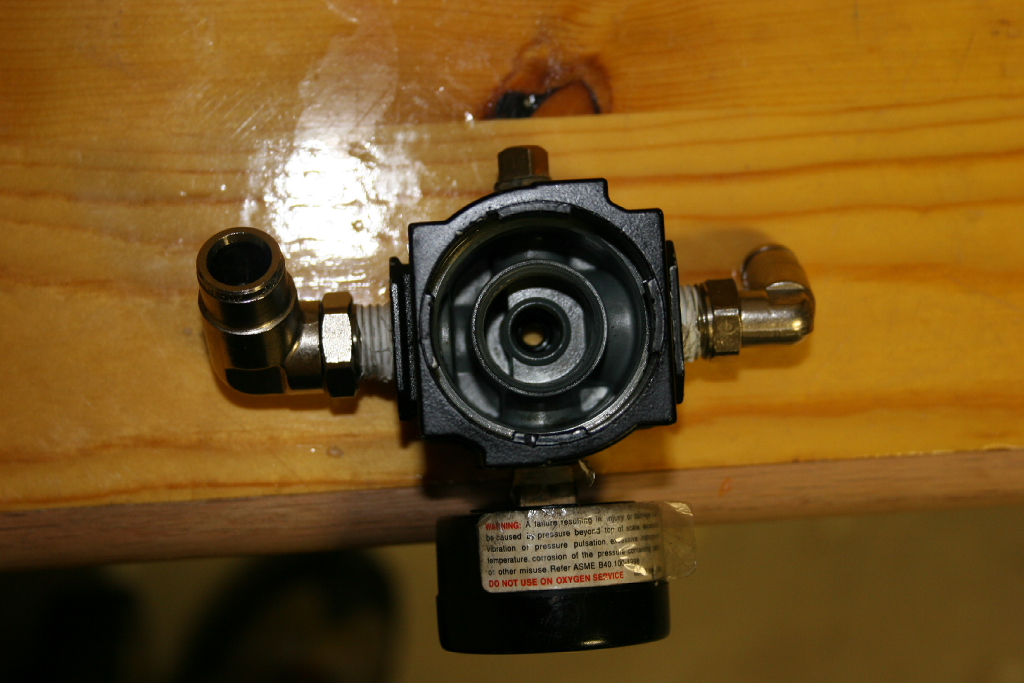
| 5. Remove the pressure regulator bowl from the regulator body. |
 |
| 6. If you have an intact filter and holder. Unscrew the filter retainer (white piece on top of the filter) from the filter holder. |
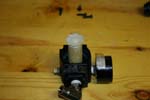 |
| 7. Remove the filter, be careful not to crush the filter, it is brittle. |
 |
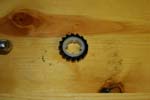
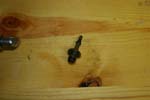
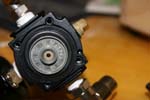
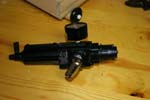
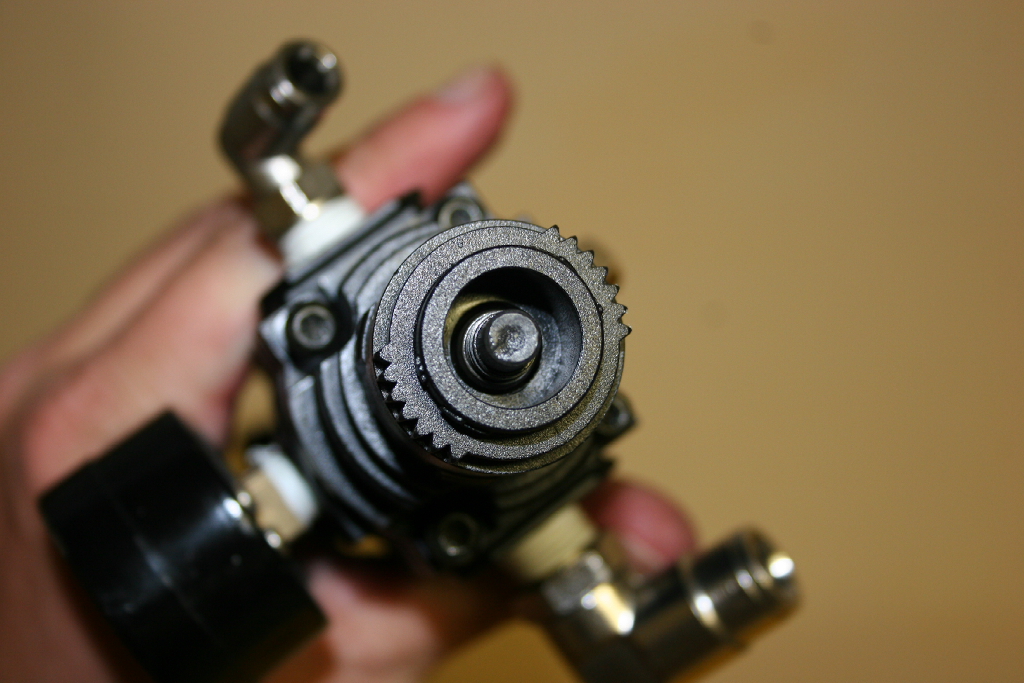
| 8. Unscrew the filter holder from the body of the pressure regulator. You may need to use a pair of needle nose pliers to remove the holder. Note the direction of the turning vanes (black finned piece). You want to make sure they go back on in the same direction. |
 |
| 6a, 7a, 8a. Mine was broken, so I needed to use a pair of needle nose pliers to grab the remains and remove them. Note the direction of the turning vanes (black finned piece). You want to make sure they go back on in the same direction. |
 |
 |
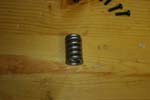
| 9. Remove the spring from the body of the regulator. |
 |
 |
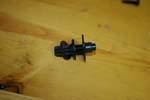
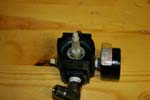
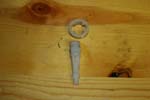
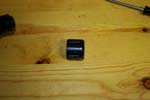
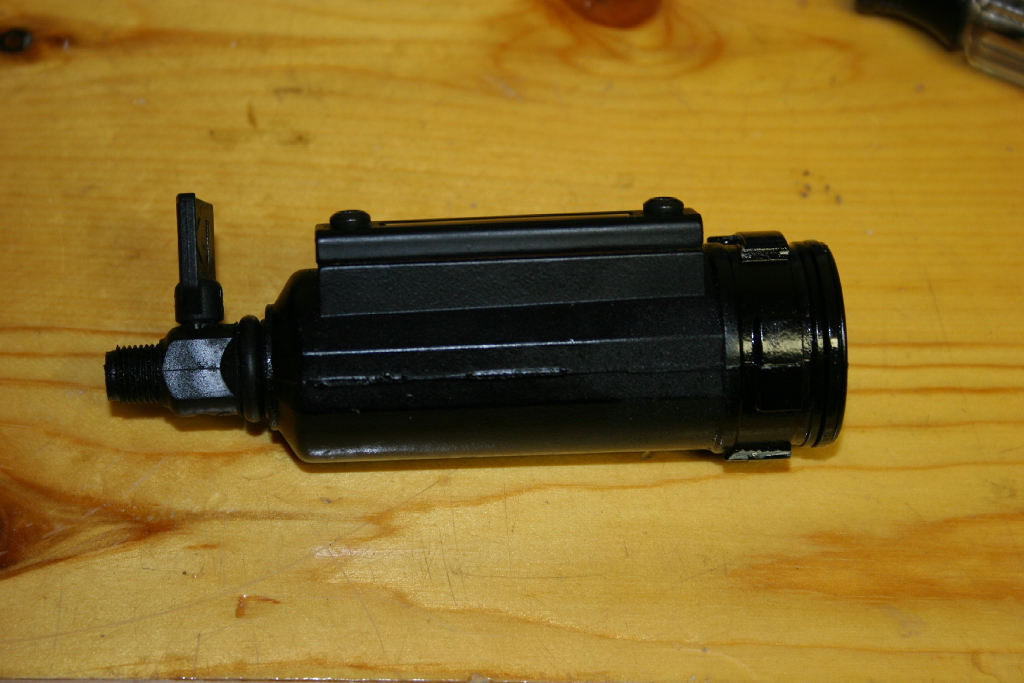
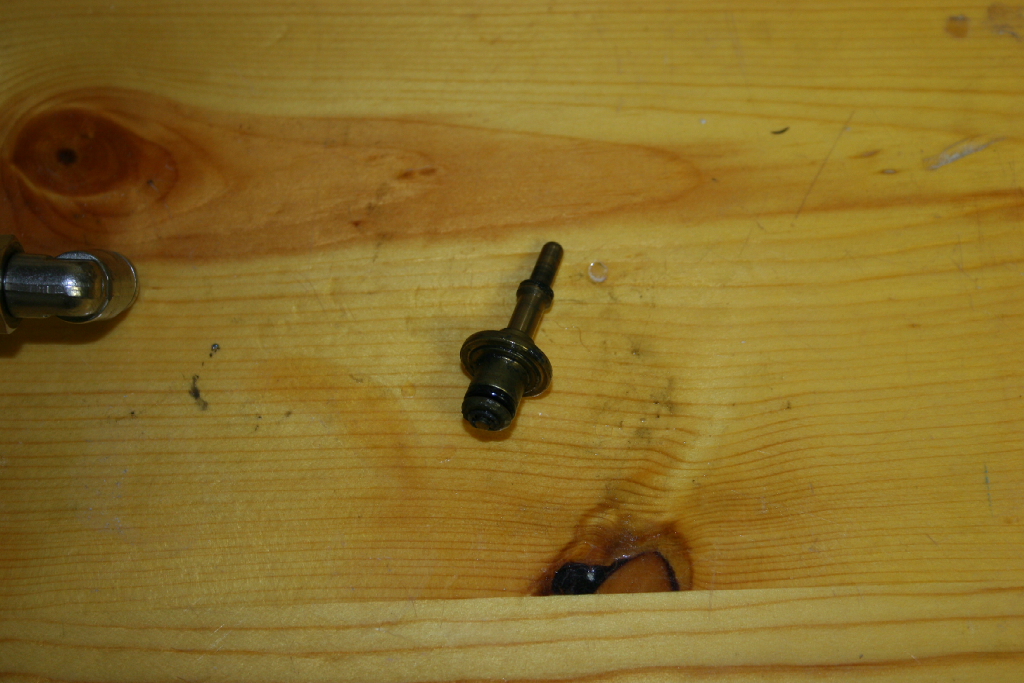
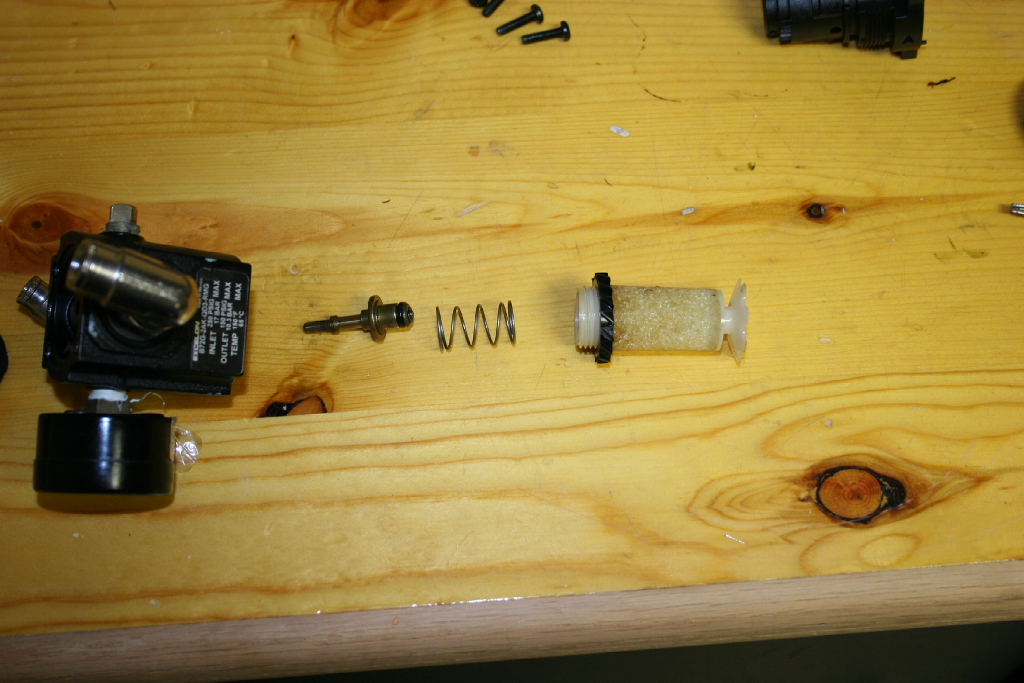
| 10. Remove the pilot valve from inside the regulator body. |
 |
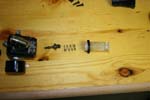
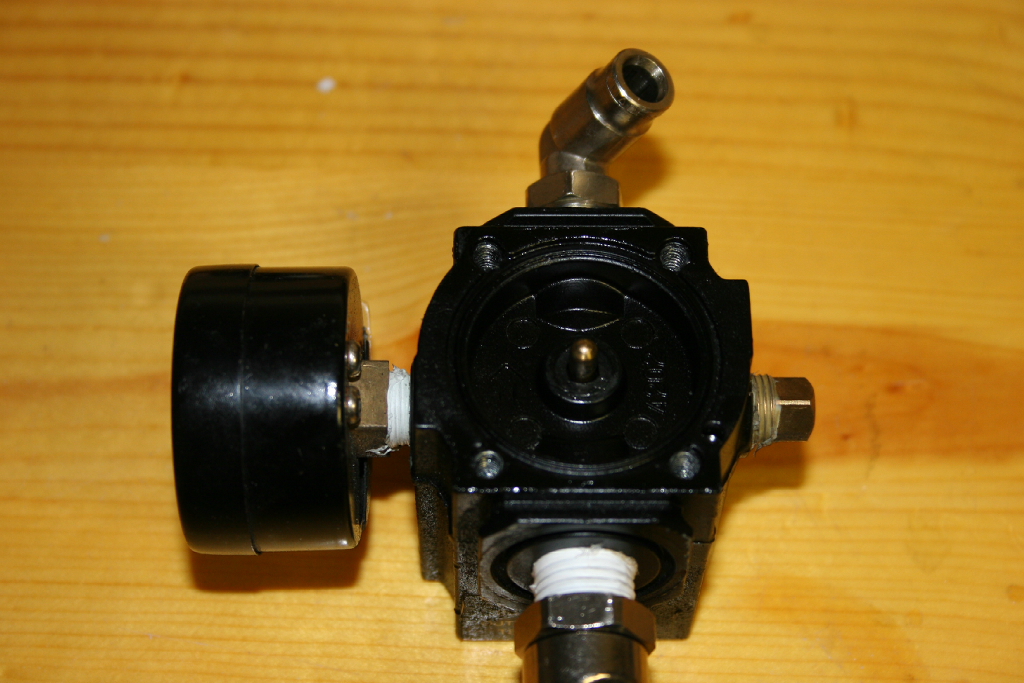
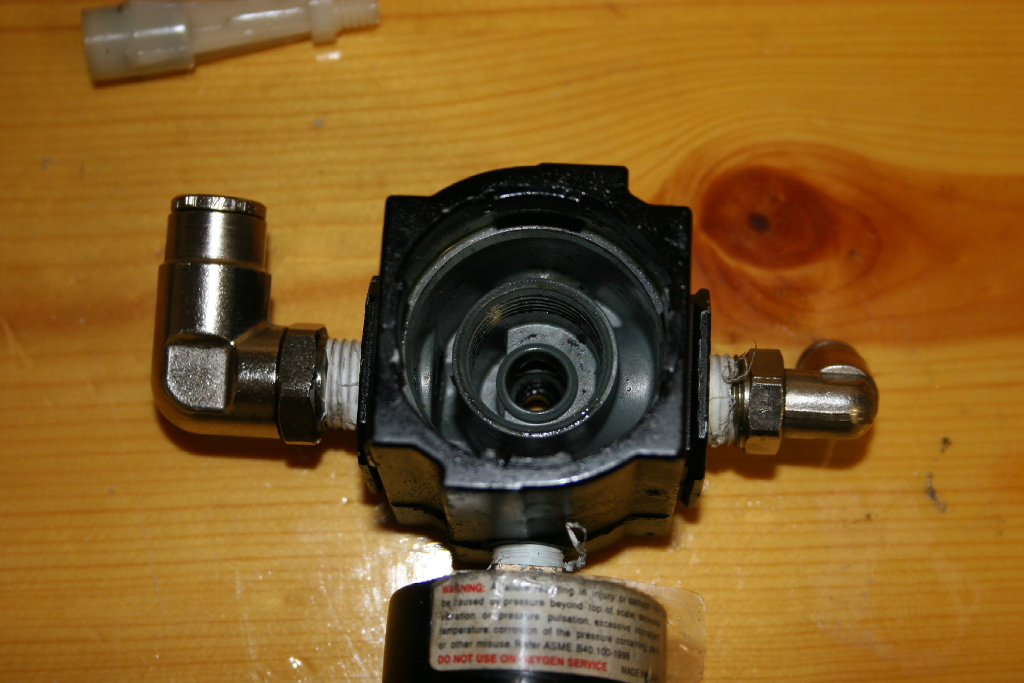
| 11. Everything removed. Now just clean everything up. You can optionally remove the fittings and pressure gauge if you need to clean out those ports, but I found mine were pretty clean when I removed them. Had a harder time getting them to not leak after reassembly. I used a rag and a Q-tip to get it clean. |
 |
| |
| Reassembly |
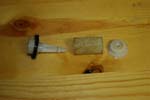
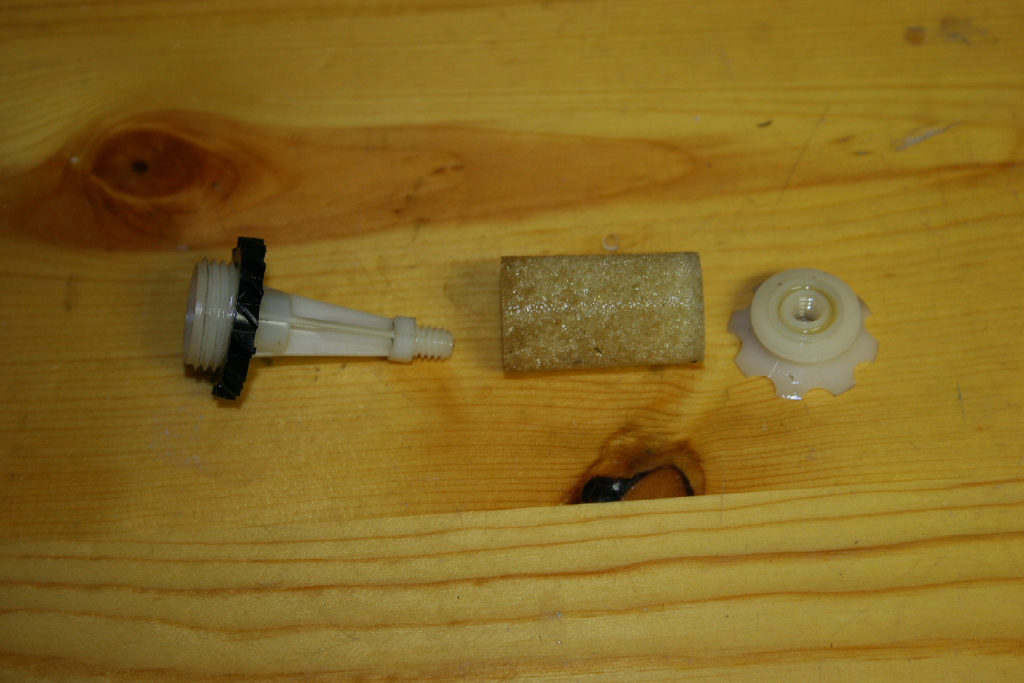
| Quick reminder on how the parts go together. |
 |
 |
 |
 |
| |
| 1. Reinstall the pilot valve and spring into the body of the regulator. Long skinny end in first on the pilot valve. |
|
|
|
| 2. Reassemble and screw in the filter holder. Make sure you have the turning vanes the same direction as when you disassembled. Do not crank down on this part, it will snap on you. |
|
|
| 3. Install the filter and screw on the filter holder. Do not crank down on this part, it will snap on you. |
|
| 4. Install the pressure regulator bowl onto the regulator body. This will protect the filter. |
|
 |
| 5. Reinstall the diaphram in the same direction as you removed it. |
|
 |
| 6. Reinstall the adjustor and the spring over the diaphram. |
|
|
 |
| 7. Reinstall the top on to the regulator body. Note there is a pin that needs to be lined up with the hole in the body. Reinstall the four (4) screws. Tighten down evenly. You will need a T-25 Torx screwdriver. |
 |
|
 |
| 8. Reinstall the adjustor cap on to the top of the regulator. Just push it on. |
 |
 |
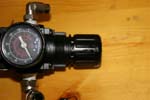
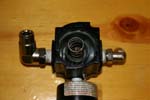
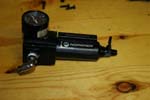
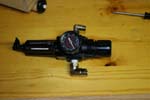
| 9. Here it is reassembled. |
 |
| |
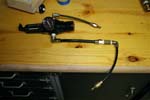
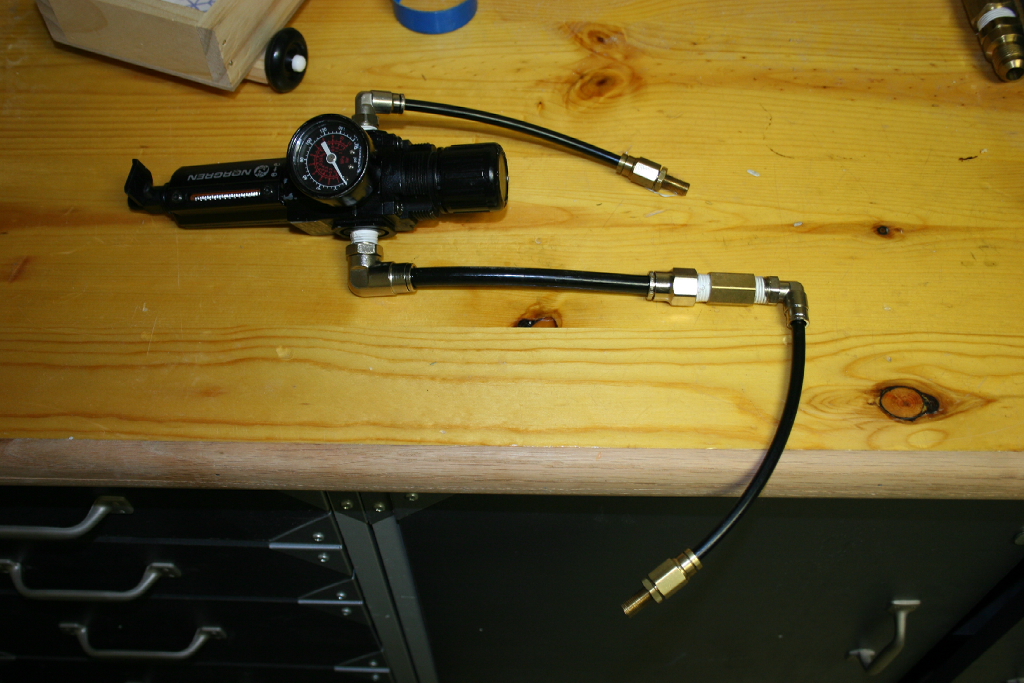
| Leak and Pressure Testing |
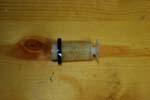
| I made a simple test rig out of some scraps of tubing and fittings I had. Just to check for leaks on the workbench. You can alternately just reinstall it in the Jeep and test it there. |
 |


