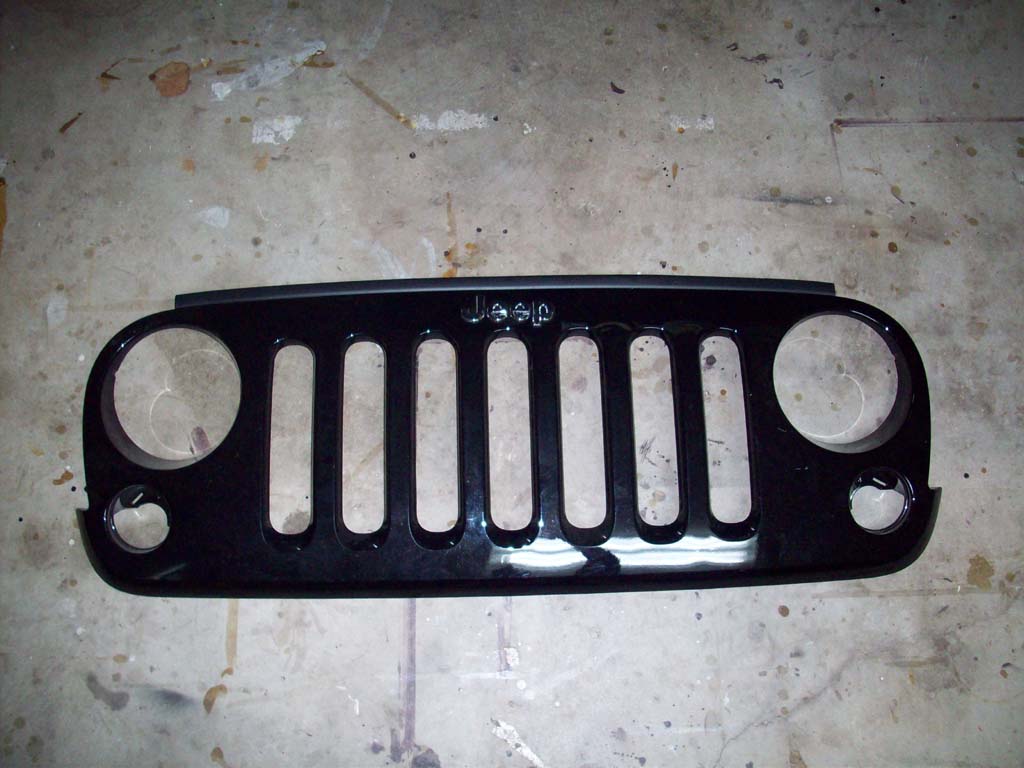
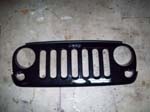
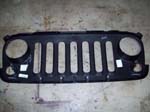
This is one of those projects that spawned from the idea that I wanted something cool for the wall in the garage, but never got around to doing. My brother in law bought a Jeep and did a few things to it, which included putting one of those angry eye grills on. This project came to mind and I asked him if he still had his old grill? Nope.... Oh well. I talke to him about what I wanted to do with the grill, and he thought it was cool for his Man-Cave. About a month later he calls me and says he picked up 2 grills for cheap and would drop off a black one at my house. Cool time to do some Jeep Wall Art. Note, that this was not quite wife approved, but as long as it stayed in the garage it was fine. I won't tell her my Son want's it in his room.
| The Parts: |
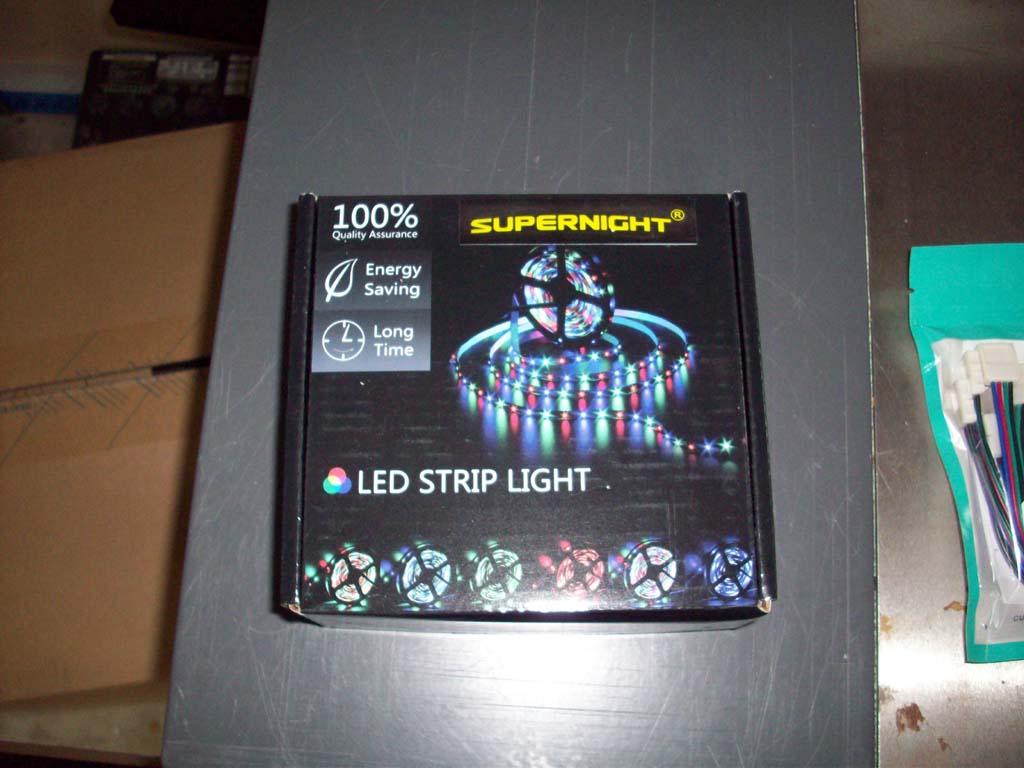
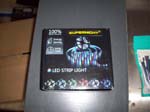
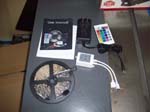
| I had the grill courtesy of my Brother-in-law already and a few parts laying around from some LED lighting that I did for the kids. I did need to order another LED light kit from Amazon. Plenty of them out there for less than $20. I picked up a multi-color one with a remote. Just make sure you get one that has the wall plug and not a 12vdc for a vehicle. |
 |
 |
 |
 |
| |
| Assembly: |
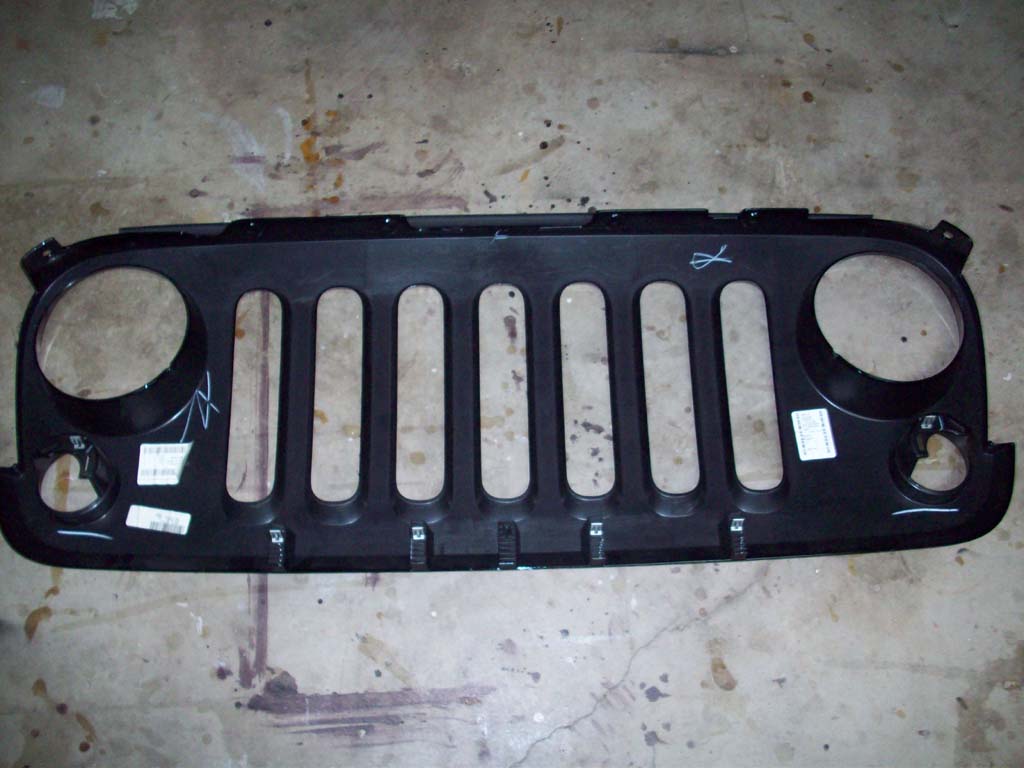
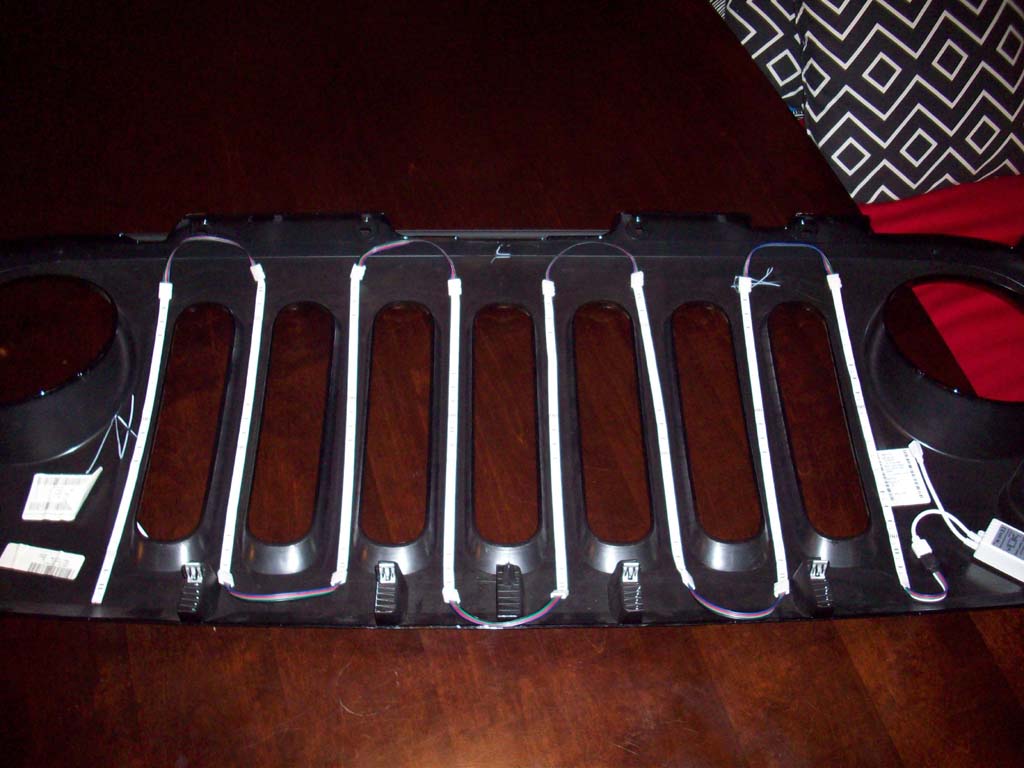
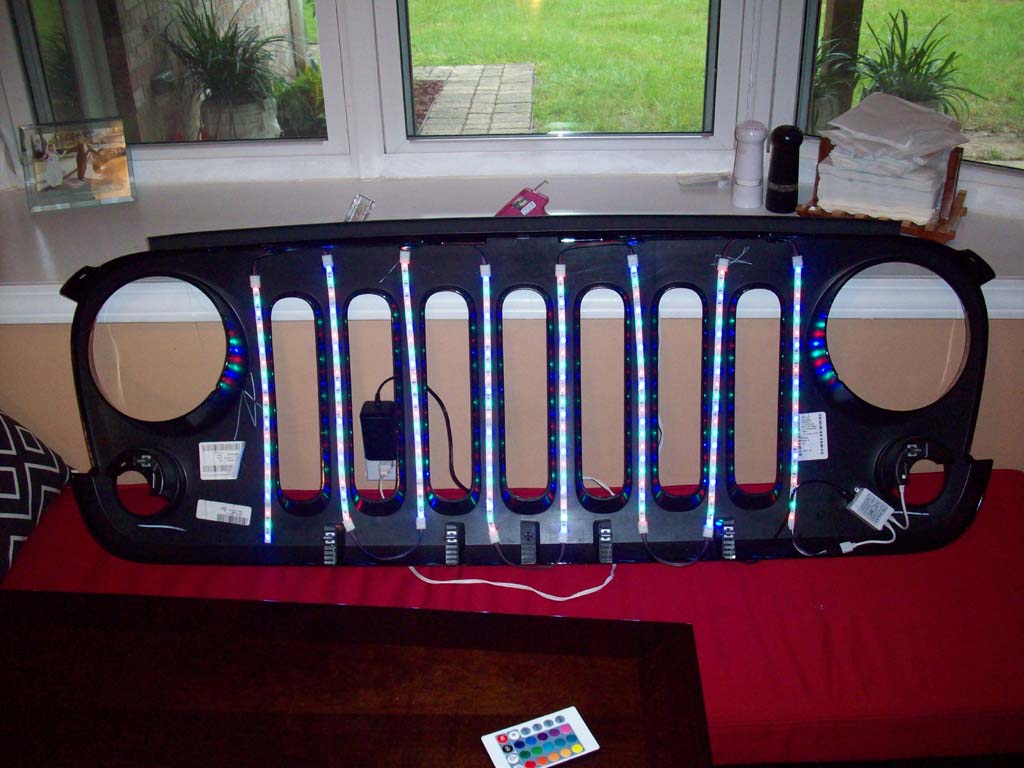
| 1. Layout a blanket and lay the grill face down on top of it. This protects the grill and you when you spouse comes in and complains about you working on the project on the wood kitchen table. |
 |
 |
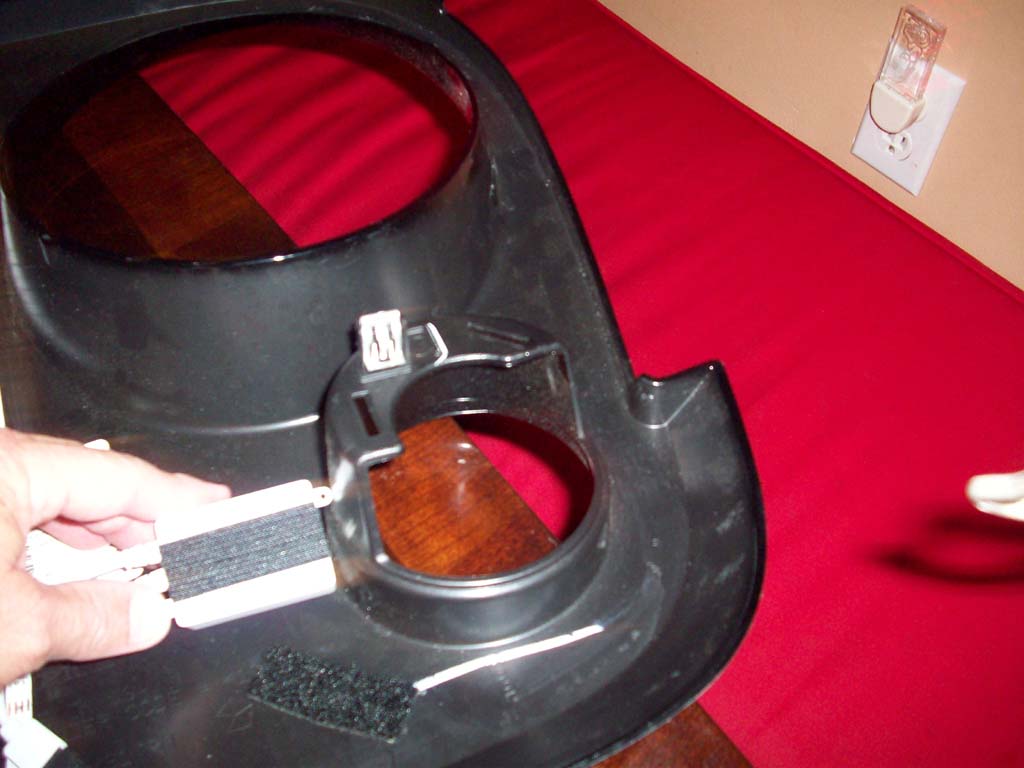
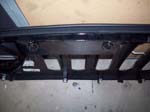
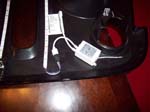
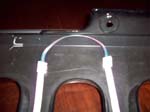
| 2. Decide on where you will place the LED controller. Since mine had a remote I needed to place it where I could have the sensor exposed and run the electrical connector out of the grill to the wall outlet. Ideally you would have an outlet hidden behind the grill that you could plug into. I secured the controller in the bottom corner of the grill and secured it with a couple pieces of velcro. |
 |
 |
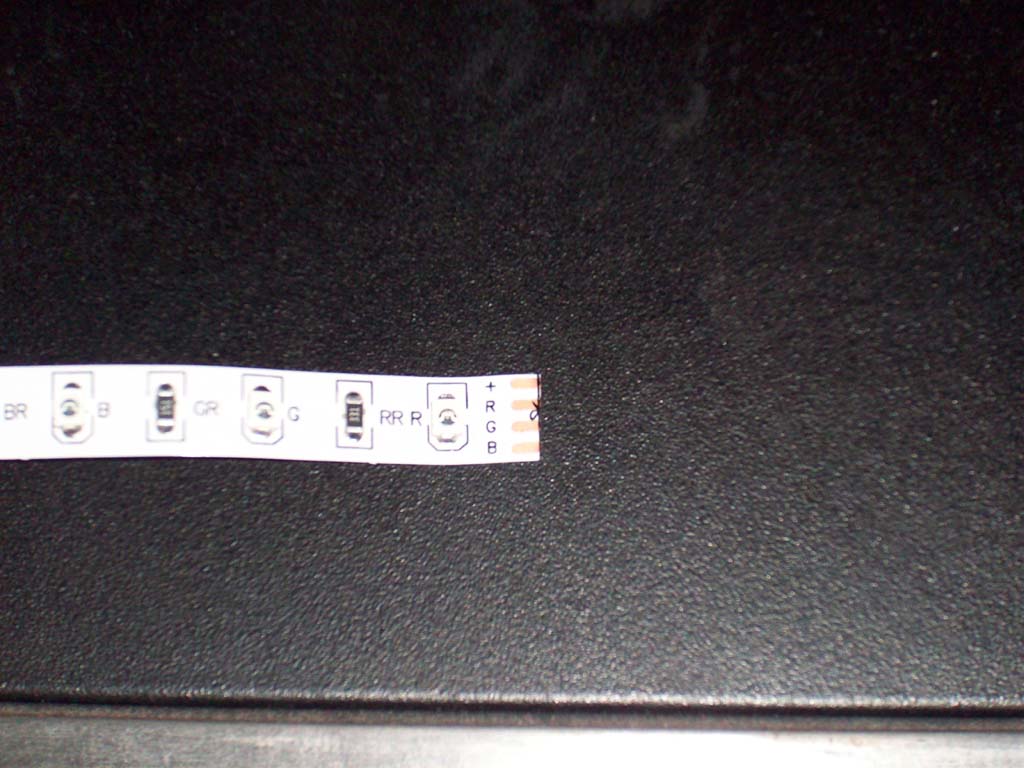
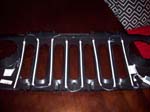
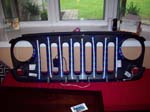
| 3. I decided to put strips between and on the sides of the grill openings. So, I layed out the LED strip to see where I needed to cut. The LED strip is marked telling where you can cut. You will need 8 of these if your doing what I did. |
 |
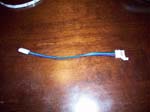
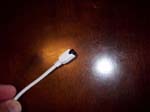
4. Connect the controller into the first section of the LED strip. This should already have a prewired connector on it. Make sure you have the connector aligned properly. My connector only had a small + sign on one side of both connectors. The LED's will not light up if you have the connection backwards.
Note: I connected the controller to power and tested each connection as I made it. Make sure you unplug while making the connections. Otherwise you can just make all the connections and turn it on, the LED strip will light up as far as you have good connections. |
 |
 |
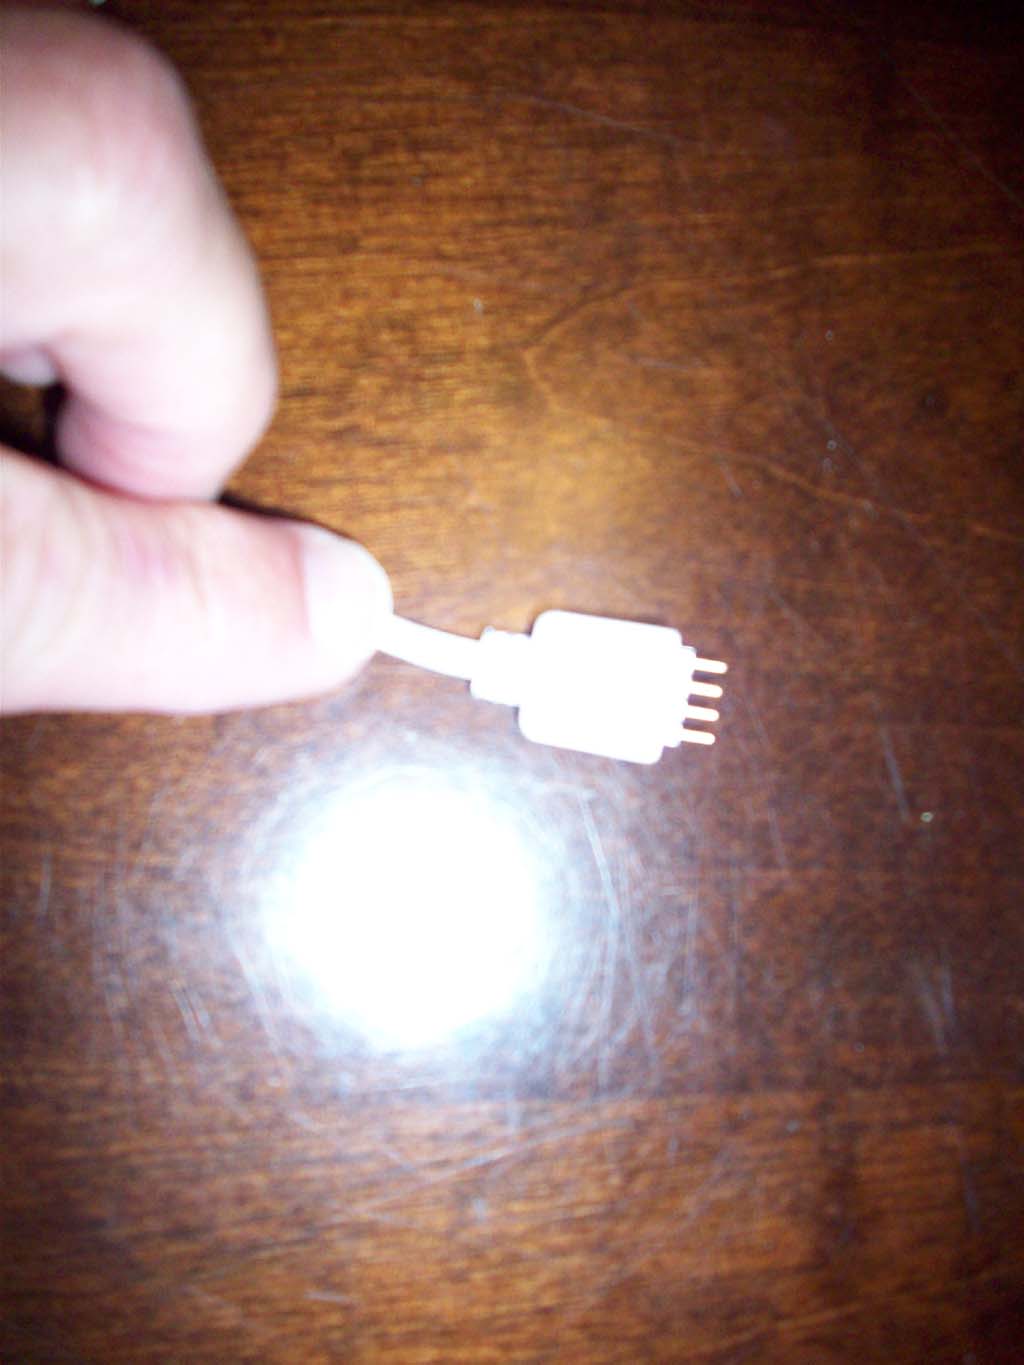
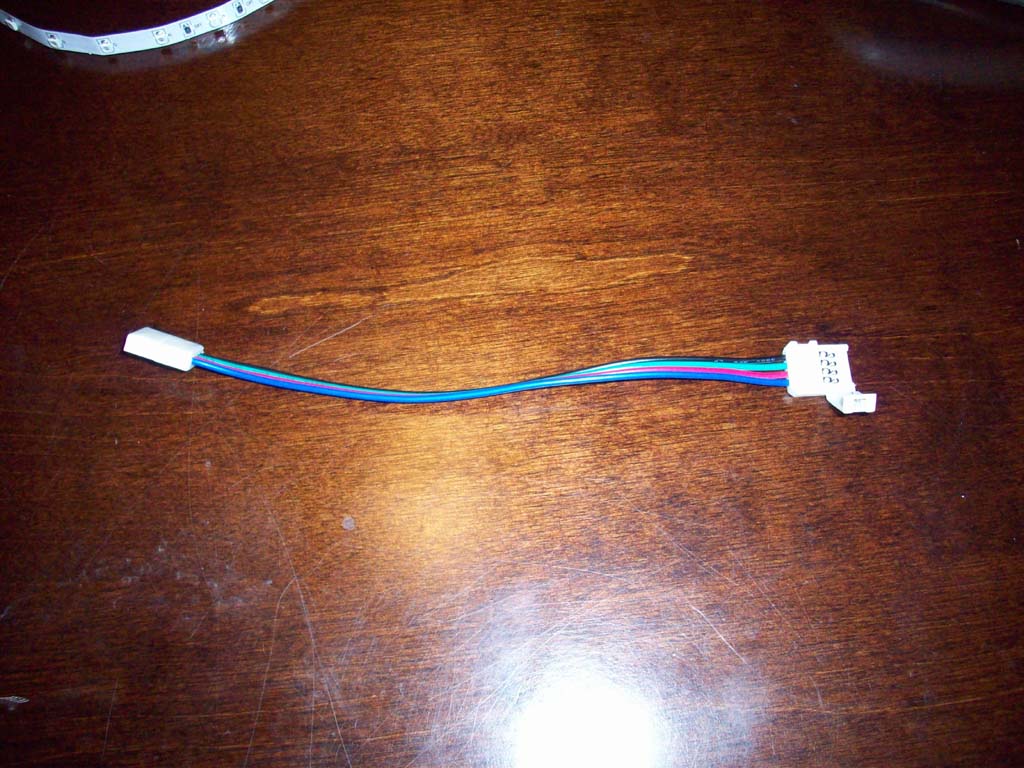
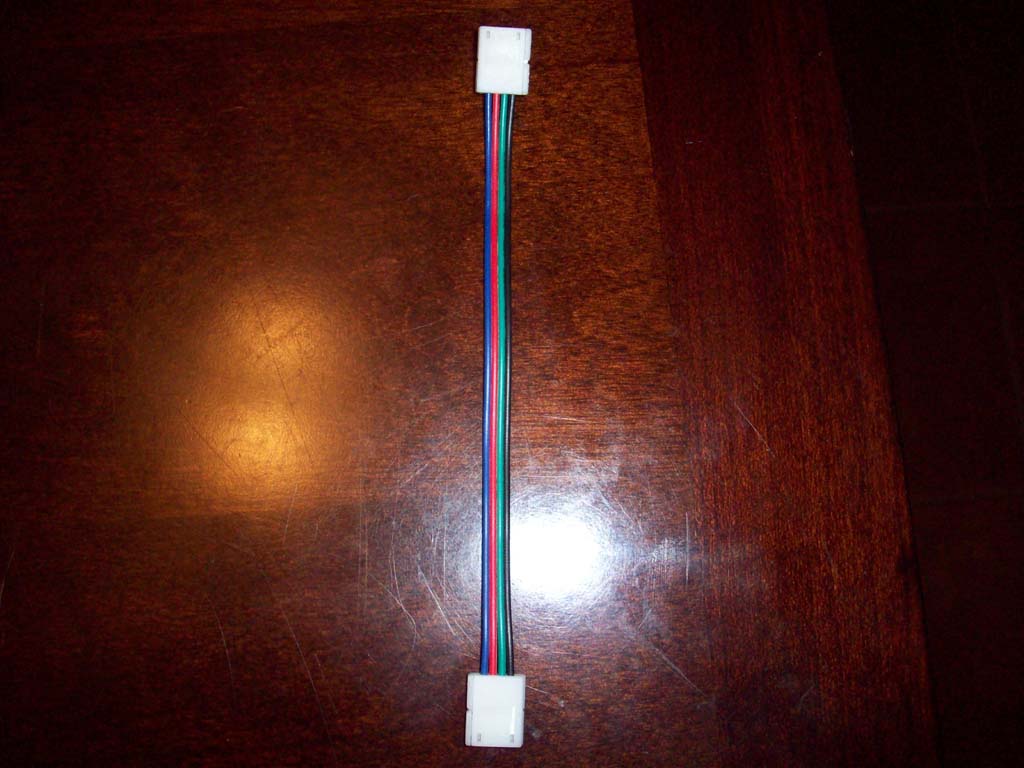
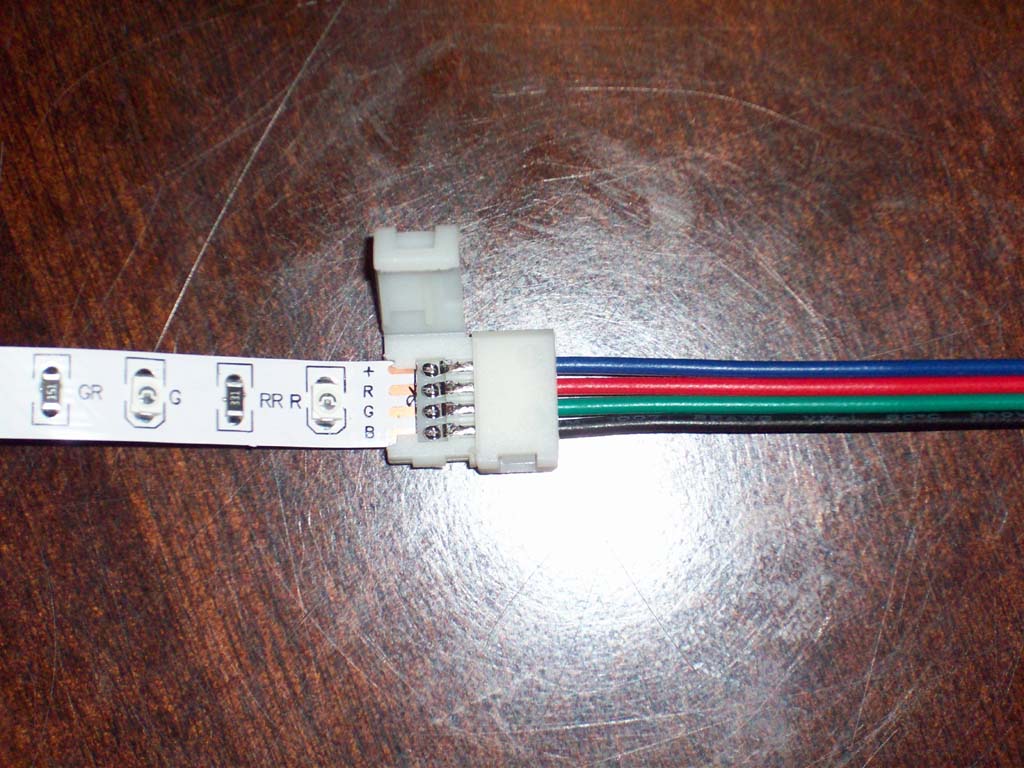
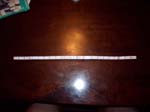
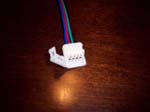
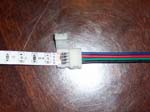
| 5. The connectors that I used on this project were available in both 10mm and 8mm sizes. Make sure you measure your LED strip. Blue, Red, Green and Black wires. |
 |
 |
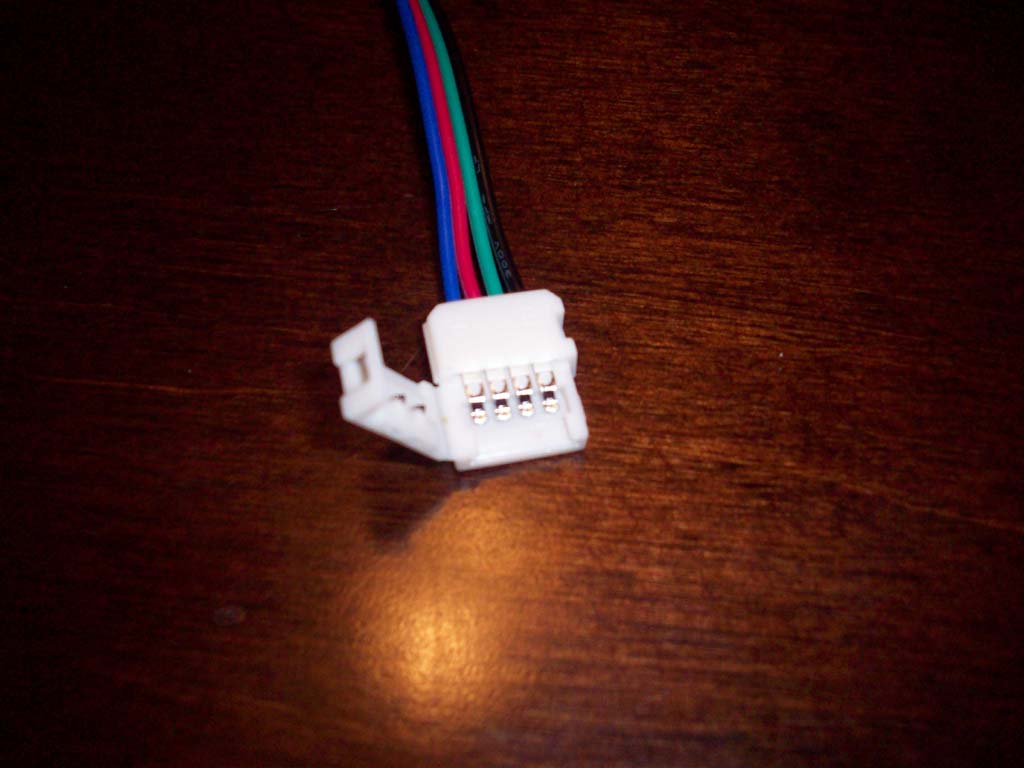
| 6. Open up the connectors. The clips open easily with a little pulling motion as you lift up. Insert the end of the LED strip into the connector. My LED strips were marked +, R, G, B. My connectors were color coded Blue, Red, Green and Black. I made sure that the R and G on the strip corresponded to the Red and Green wire on the connector. |
 |
 |
 |
| 7. Once I had all the connectors in place and the LED strip working, I used a hot glue gun to secure the connectors in place. |
 |
 |
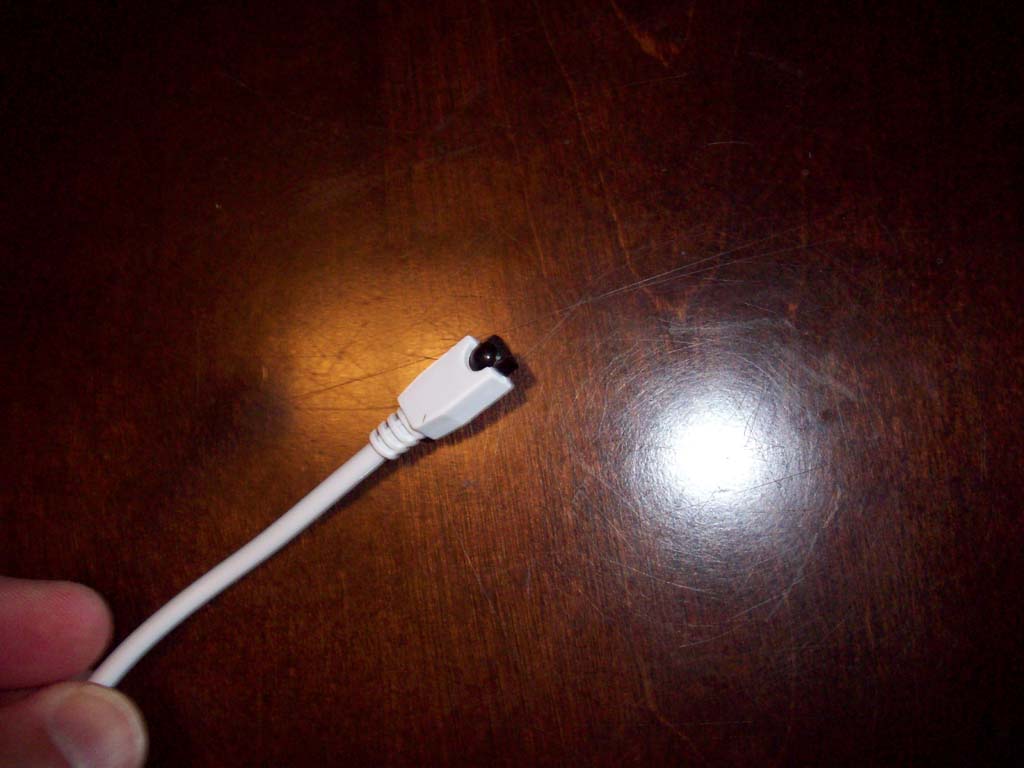
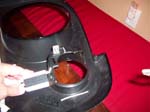
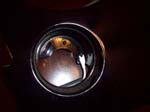
| 8. I placed the sensor up into the turn signal cup and hot glued it in place. Make sure you don't get hot glue on the sensor. |
 |
 |
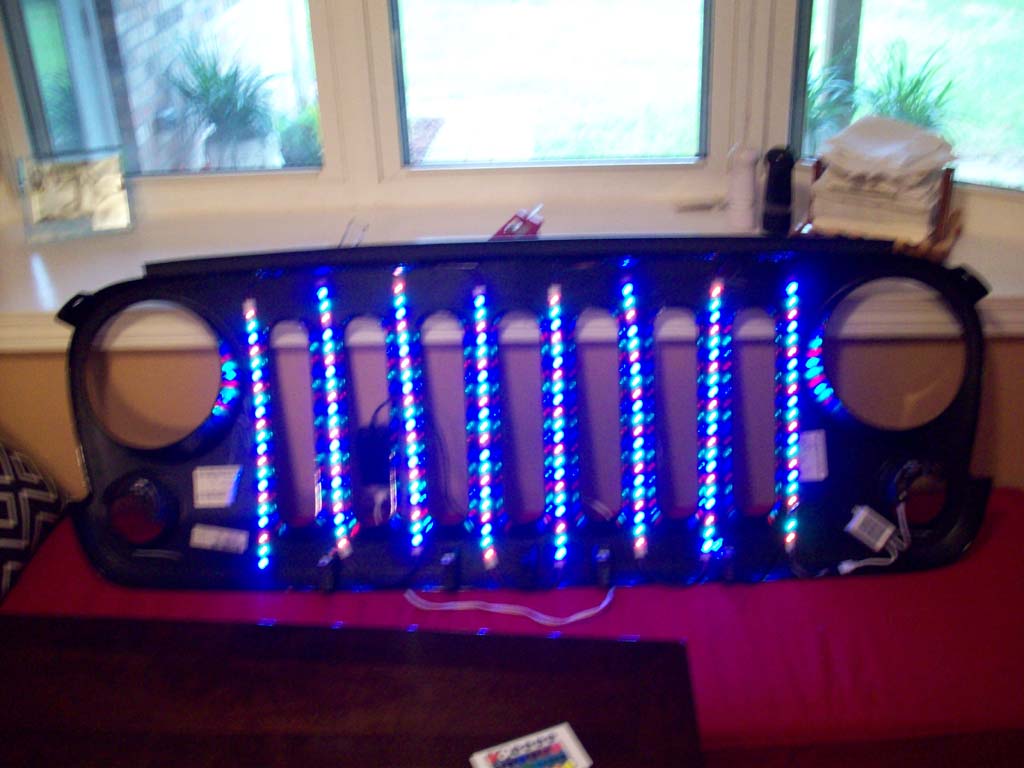
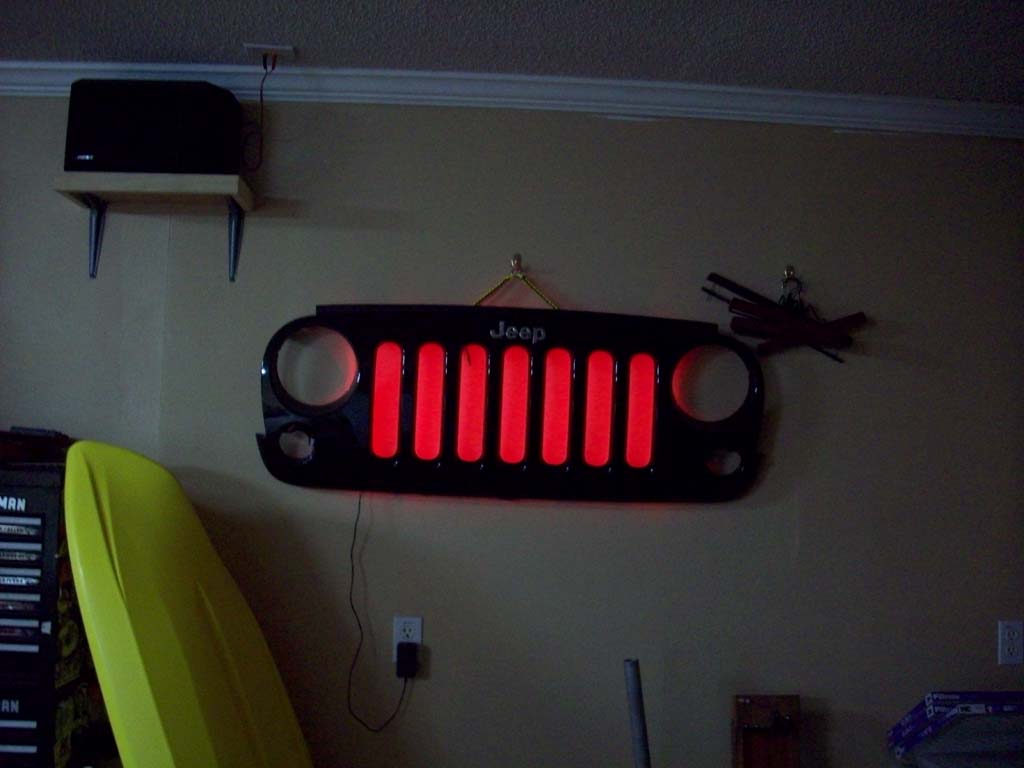
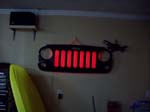
| 9. Just testing out the lights. Though my spouse doesn't seem to appreciate how cool this is. |
 |
 |
 |
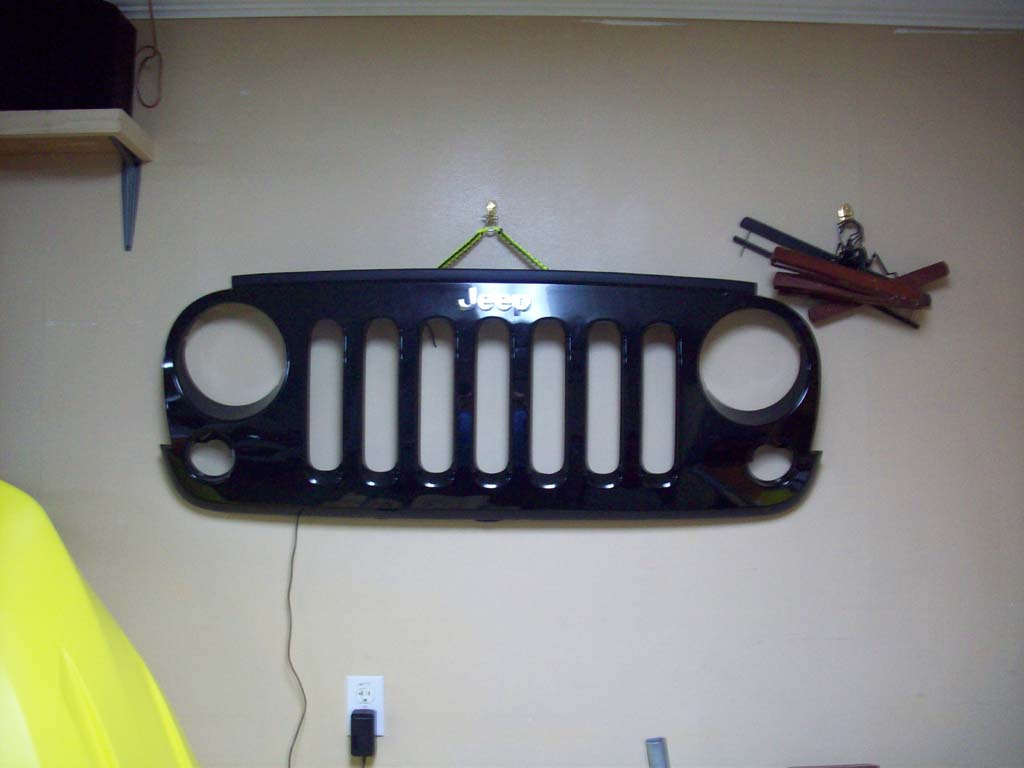
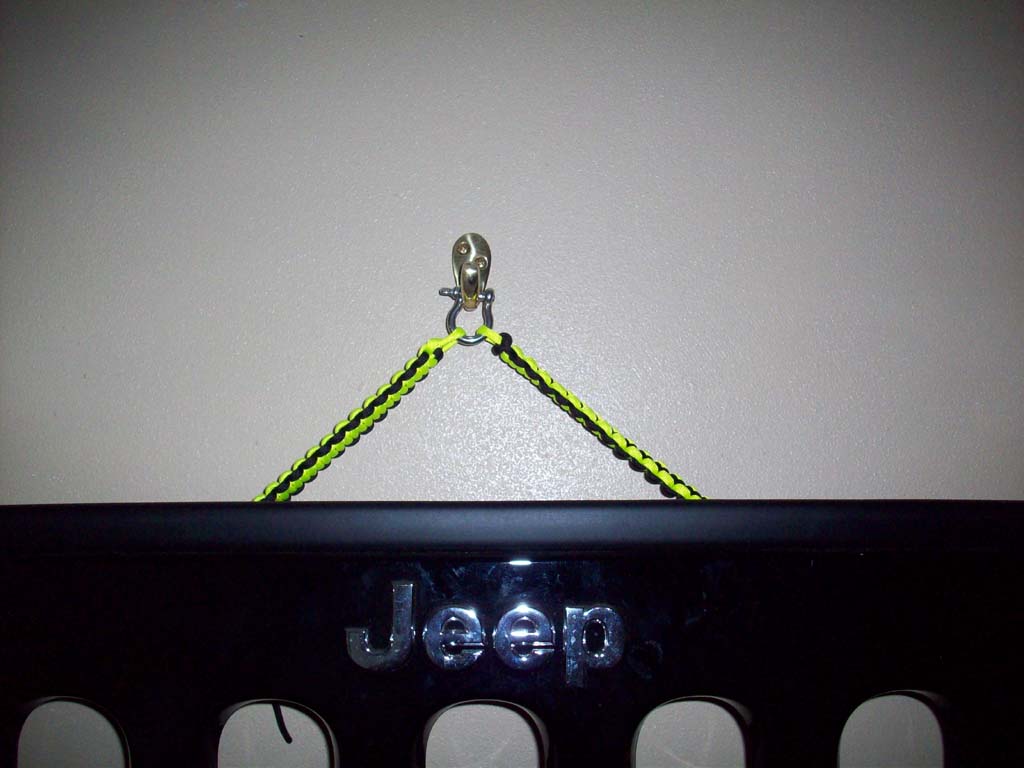
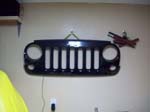
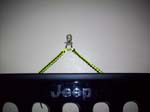
| 10. Temporarily hanging in my garage. I used the holes along the top of the grill and made a simple paracord hanger with D-ring to hold it up. You can hang it all sorts of ways, just need to figure out what works for your area. |
 |
 |
| |
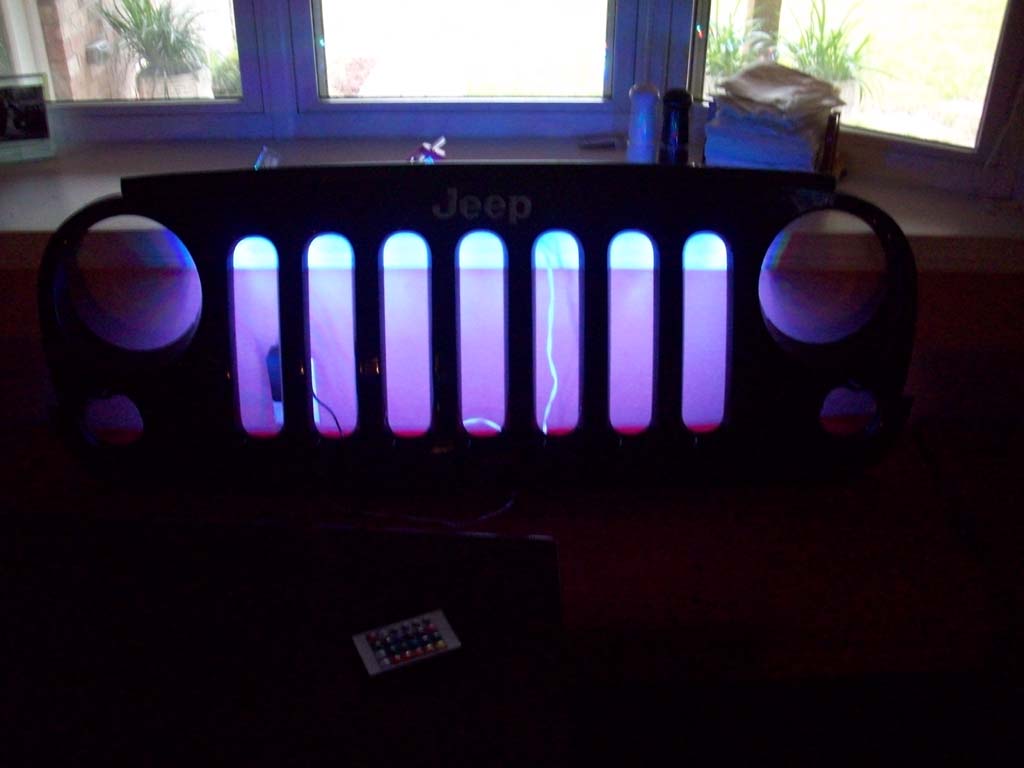
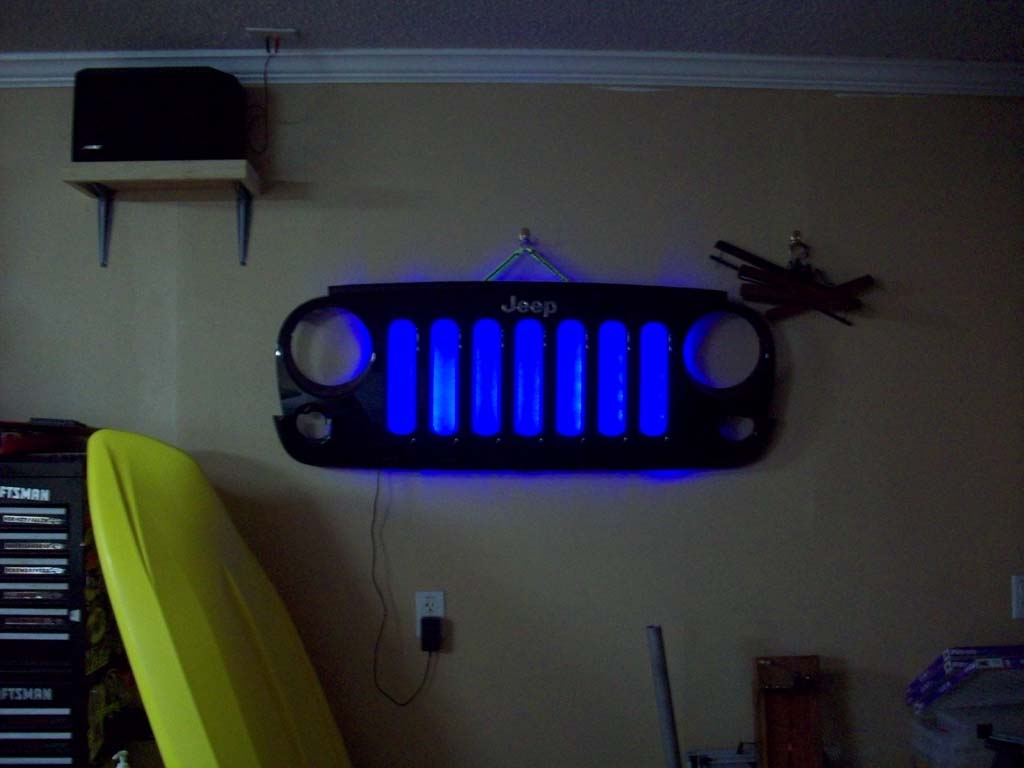
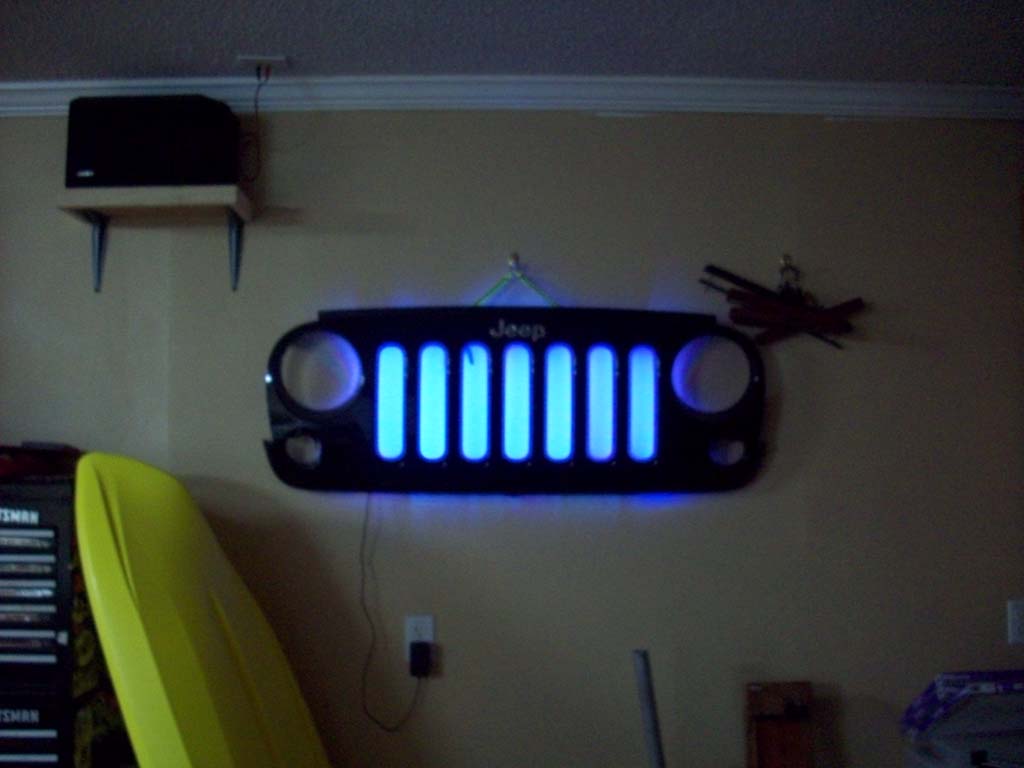
| The colors. Red, Green, Blue and Whiteish(basically red, green, and blue LED combo) |
 |
 |
 |
 |
| |
| Hindsight: When I do another grill I will probably run the LED strip around the inside outer edge of the grill. This will cut down on the amount of time that it takes to do the project, a little on the price since I won't be using the connectors and maybe give a little better light pattern. As you can see I don't get much illumination in the headlight or turn signal holes. |