Jeep recommends that you replace the PCV valve at 76,000 miles. Of course they decided to put the valve in a very difficult location. The majority of these engines are mounted transversely so the valve is easily accessible on the back driver side valve cover. On the Jeeps the engine is mounted longituditly so the valve is now located on the back side of the passenger side valve cover next to the battery box, heater hose hard lines and the fire wall. You can barely get a hand in there less any tools to get the two torx screws out. While you may think you can just pull the valve cover out to get to the valve, you can't pull the valve cover unless you first pull the PCV valve off. The PCV valve acutally seals over the end of one of the cam shafts on that side. This job requires lots of patients, some contortion, a small sacrafice of blood to the engine gods, and knowing that the parts guy at the dealership is now laughing at you. This doesn't apply to the 2012 and up Jeeps, but some of the older Pentastar 3.6L had a different 3 bolt PCV valve that was updated to this newer 2 bolt style. If you have an older one, you will need a new PCV hose in addition to the new PCV valve since the nipple size was increased on the redesign. You will need some Flare Retaining Clips for those that break when you pull the fender off. The link goes to just one source on Amazon. I don't recommend going to the dealership to pay their price for just 1 clip.
| Parts: |
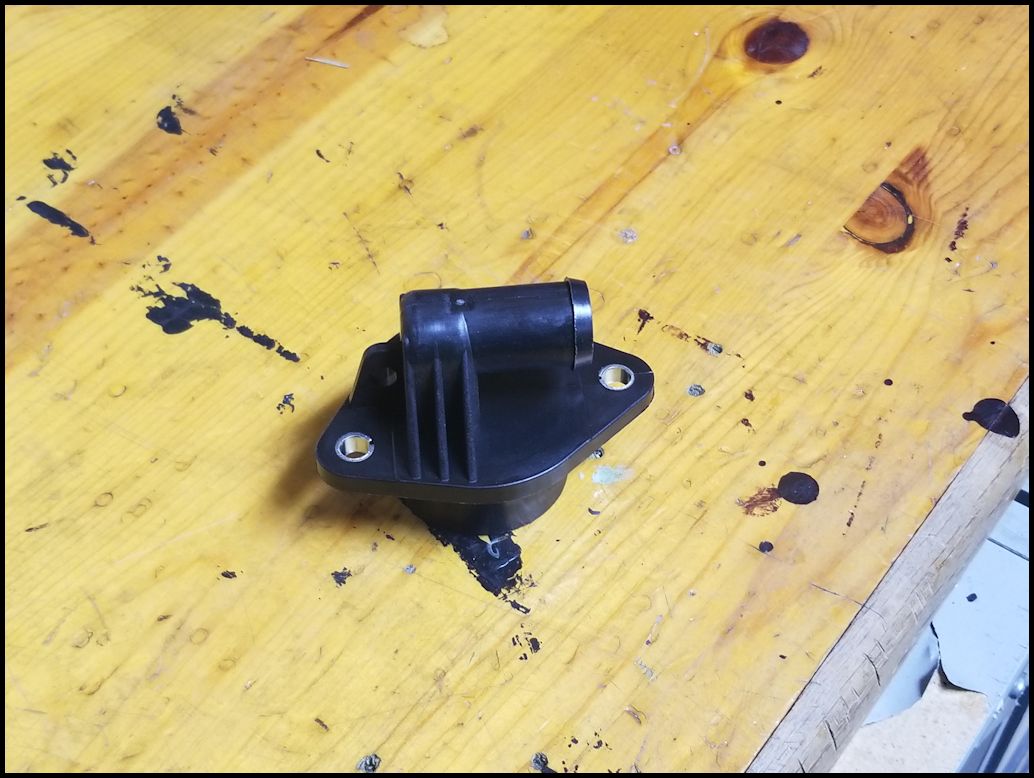
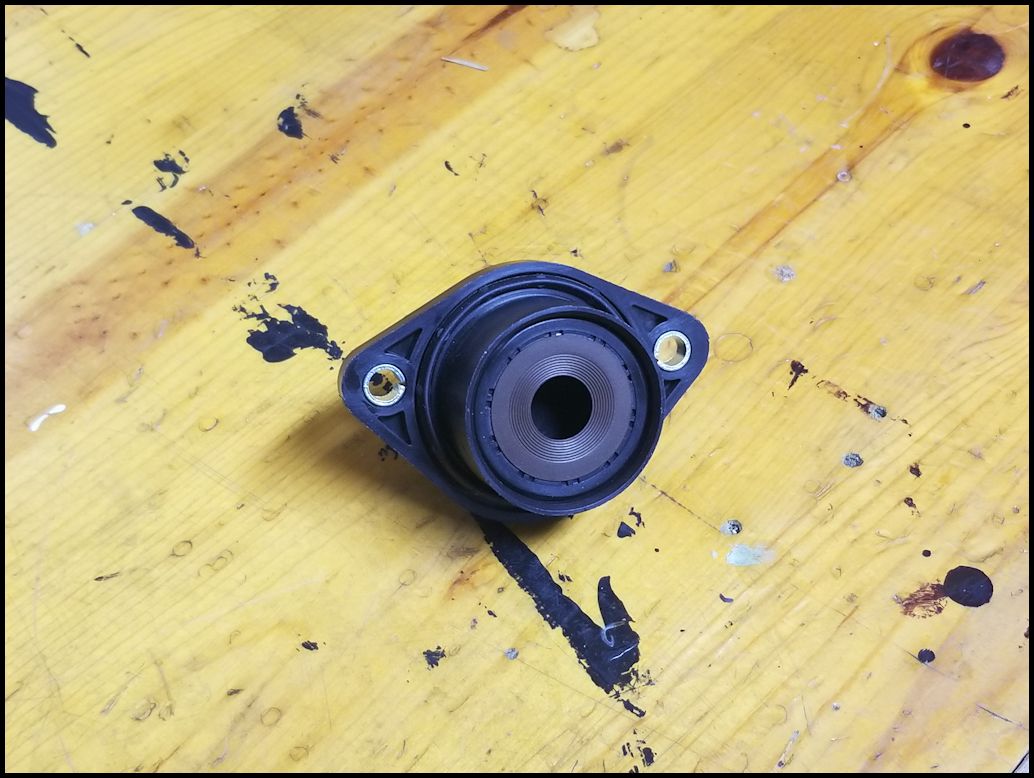
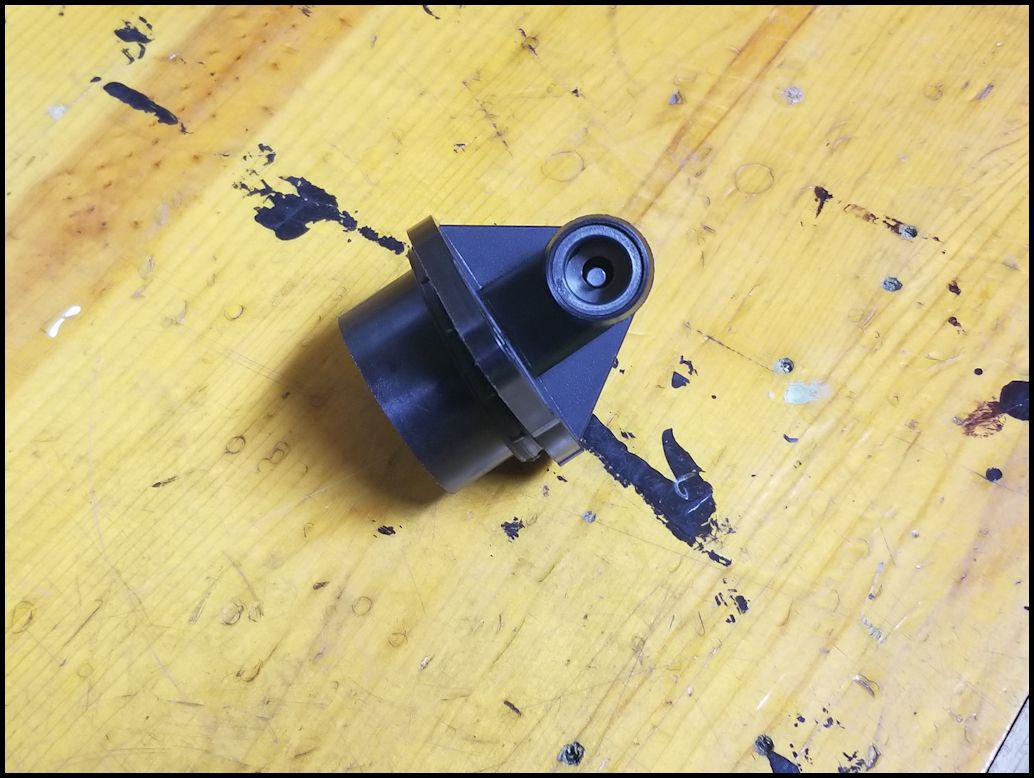
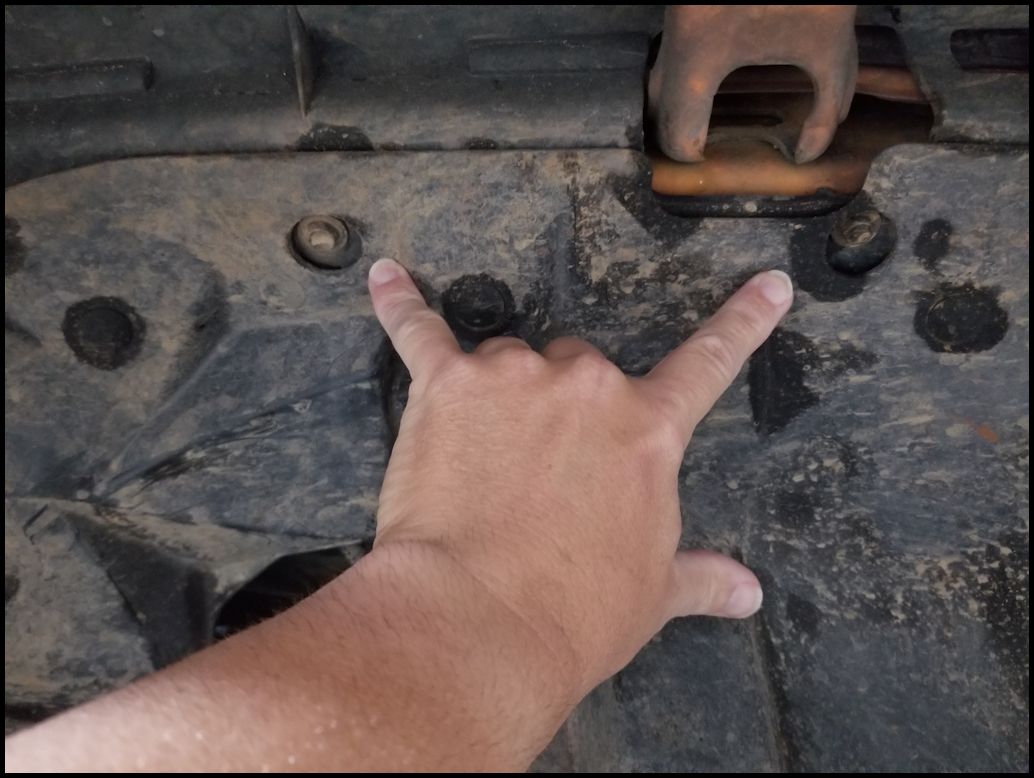
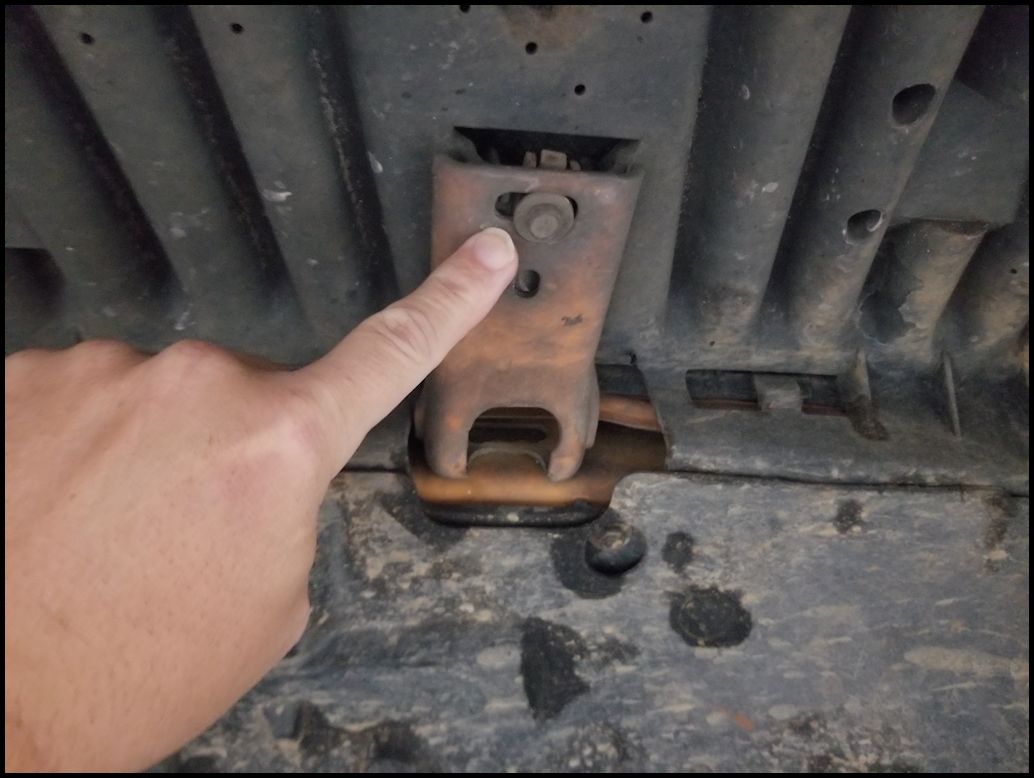
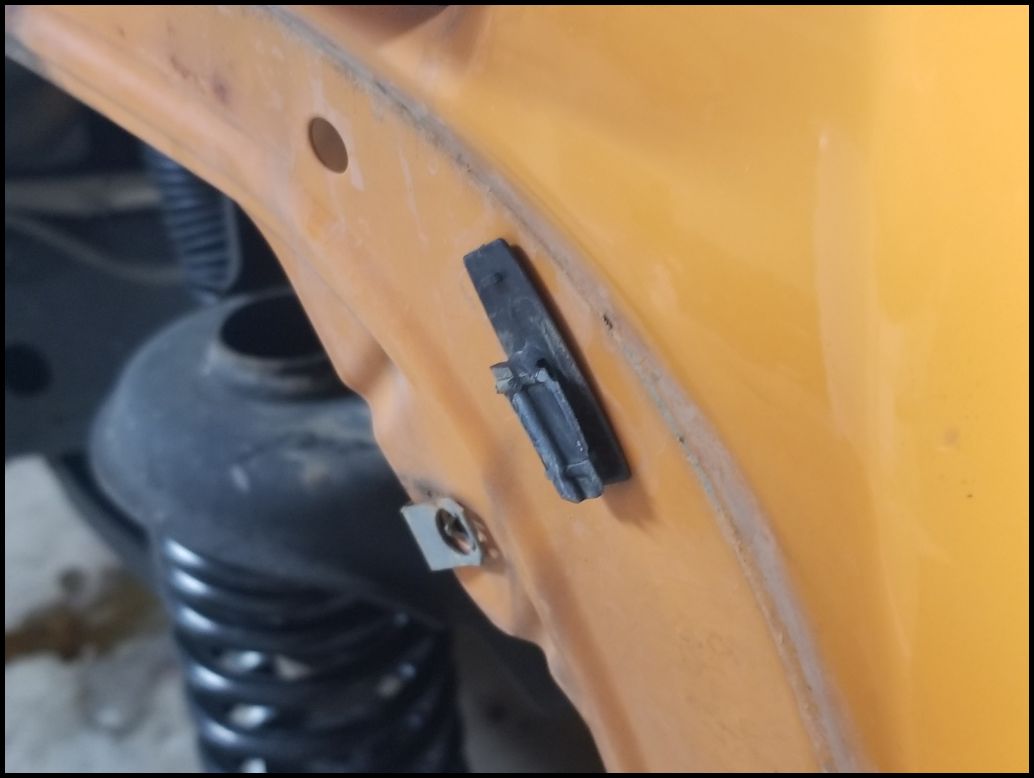
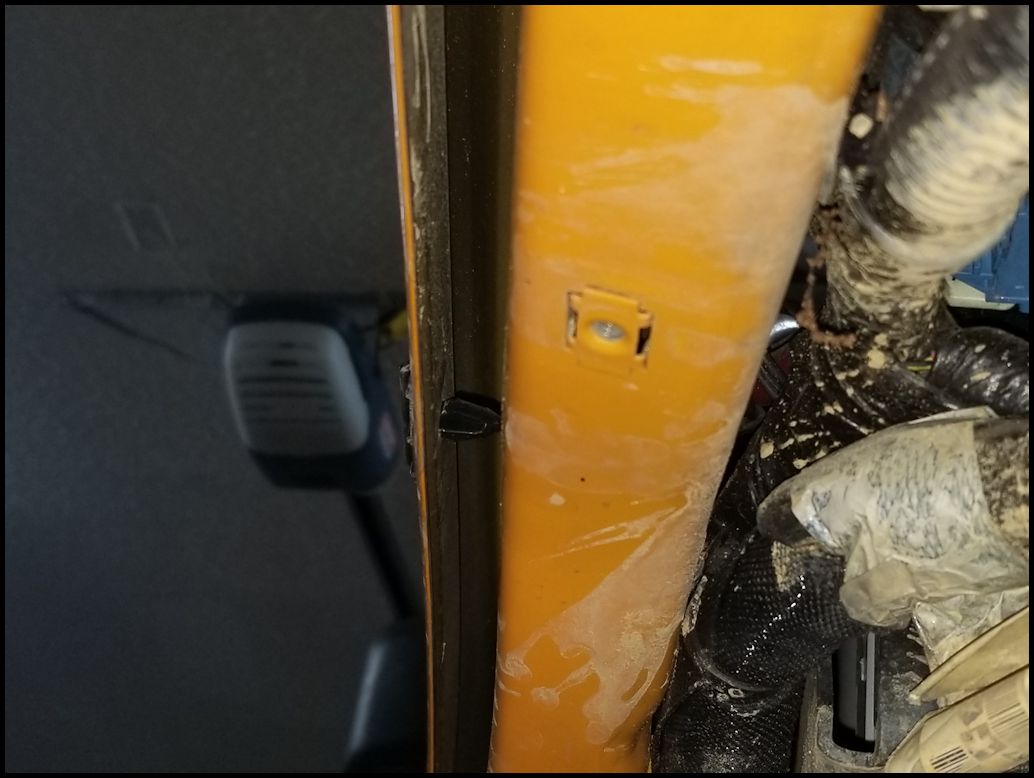
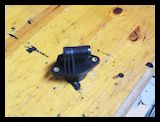
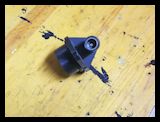
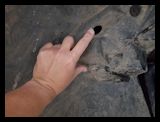
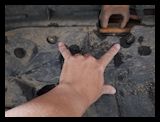
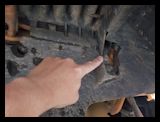
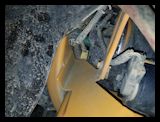
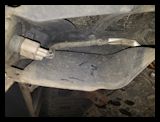
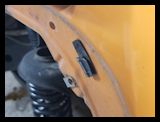
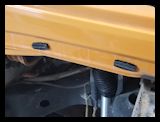
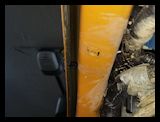
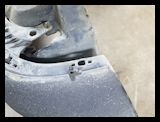
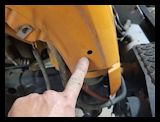
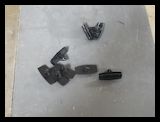
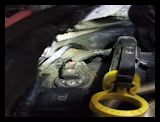
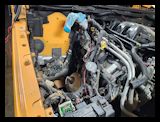
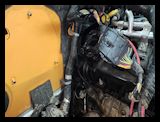
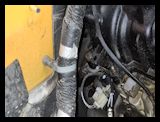
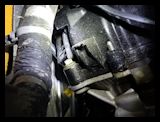
| The new PCV valve. The actual valve is right below where the hose goes on (third pic), and the large opening (second pic) goes around the end of the cam shaft. |
 |
 |
 |
| |
| Removal and Installation: |
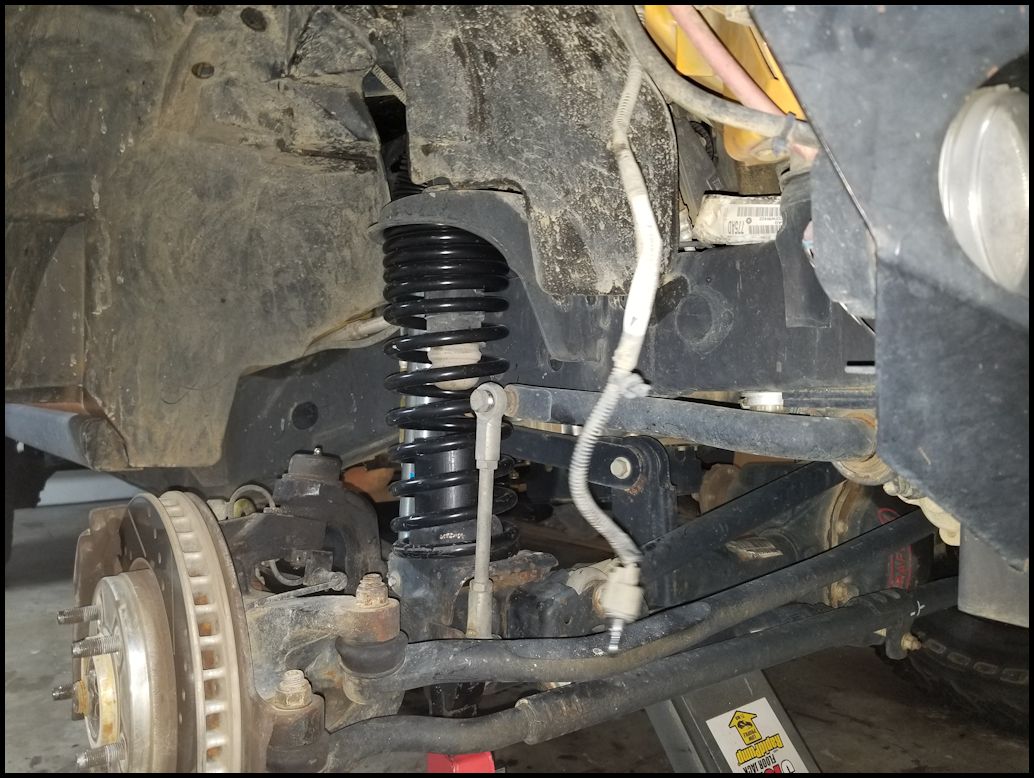
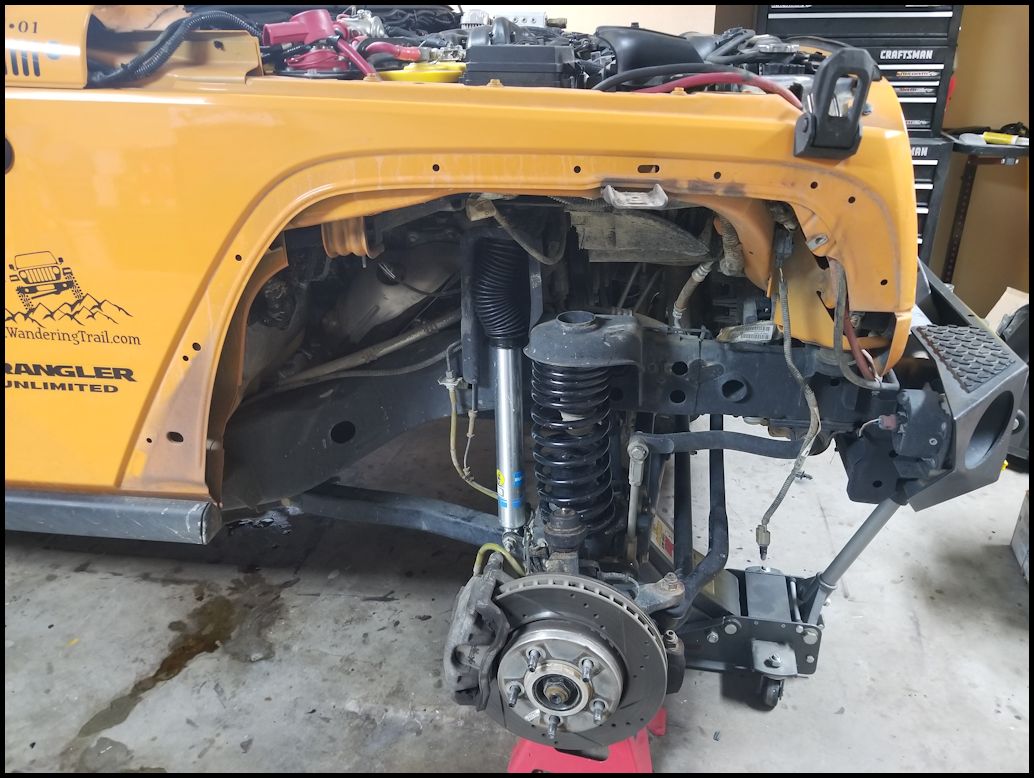
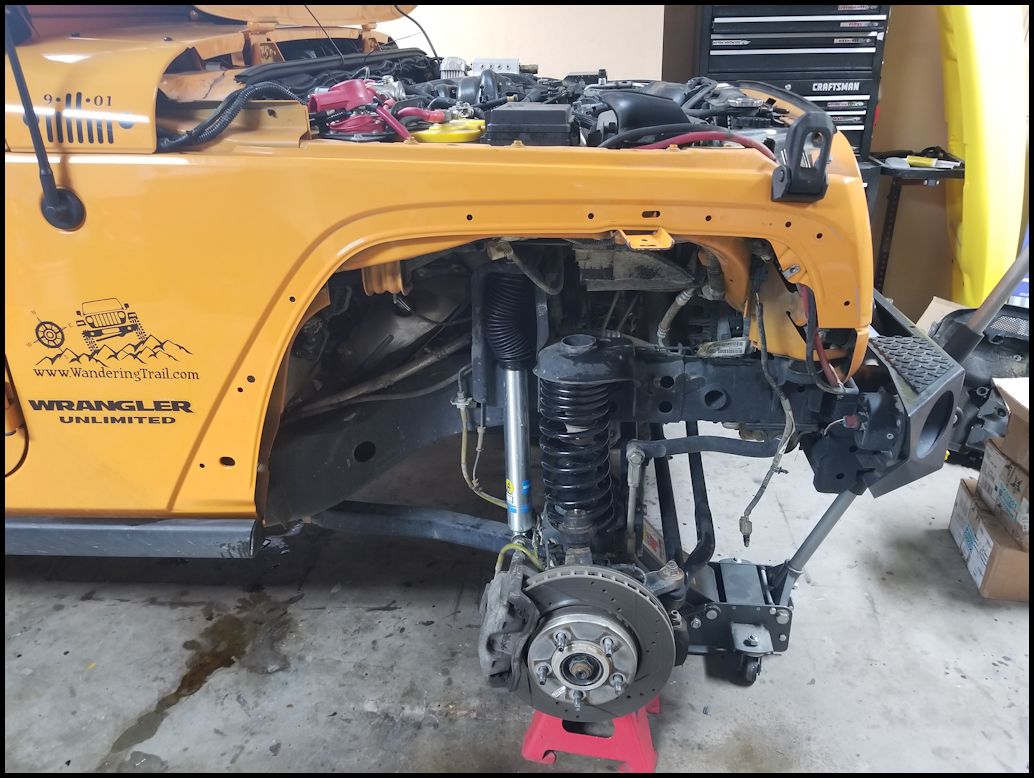
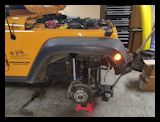
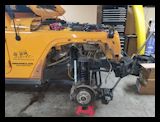
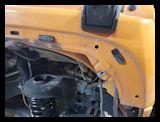
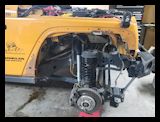
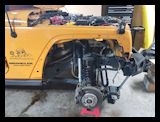
| You will need to remove the front passenger fender and inner liner to get to the bottom screw of the pcv valve. It also makes it easier to work over the battery tray to reach the upper screw and hoses that need to be removed. |
| |
| Front Flare Removal: |
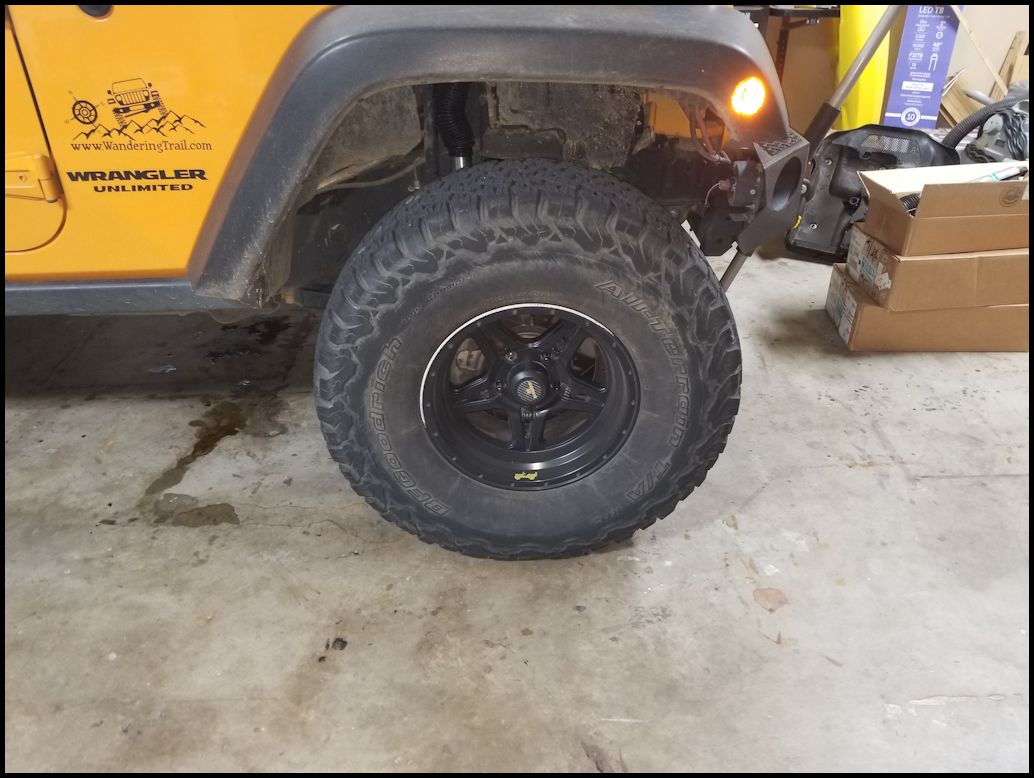
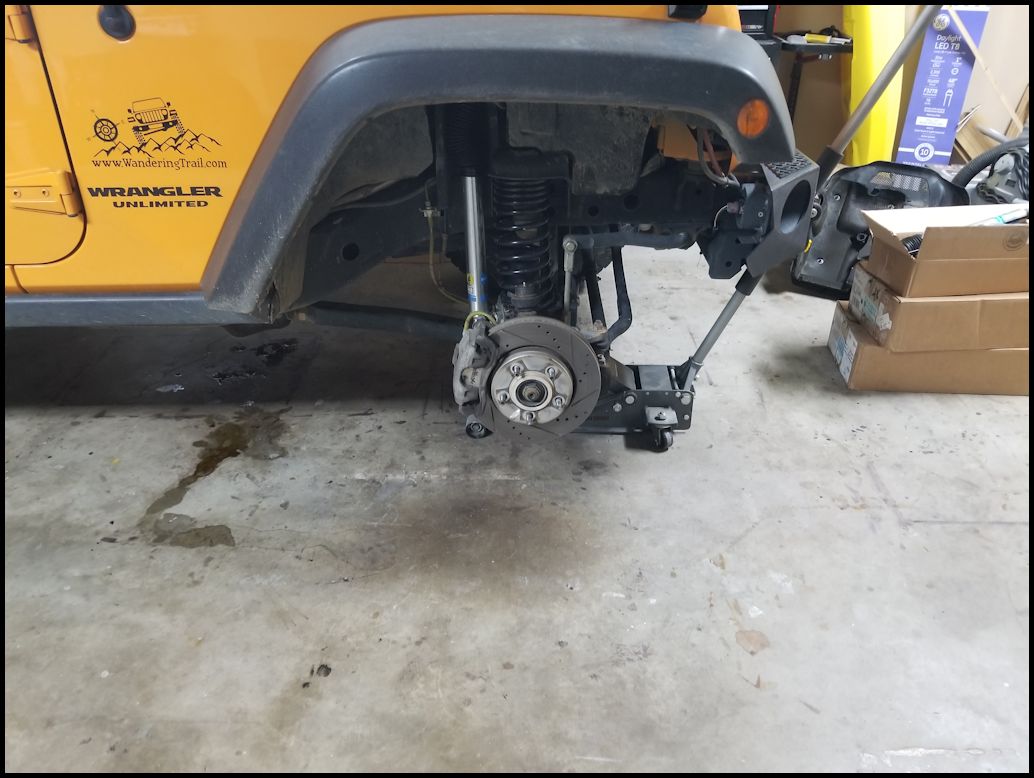
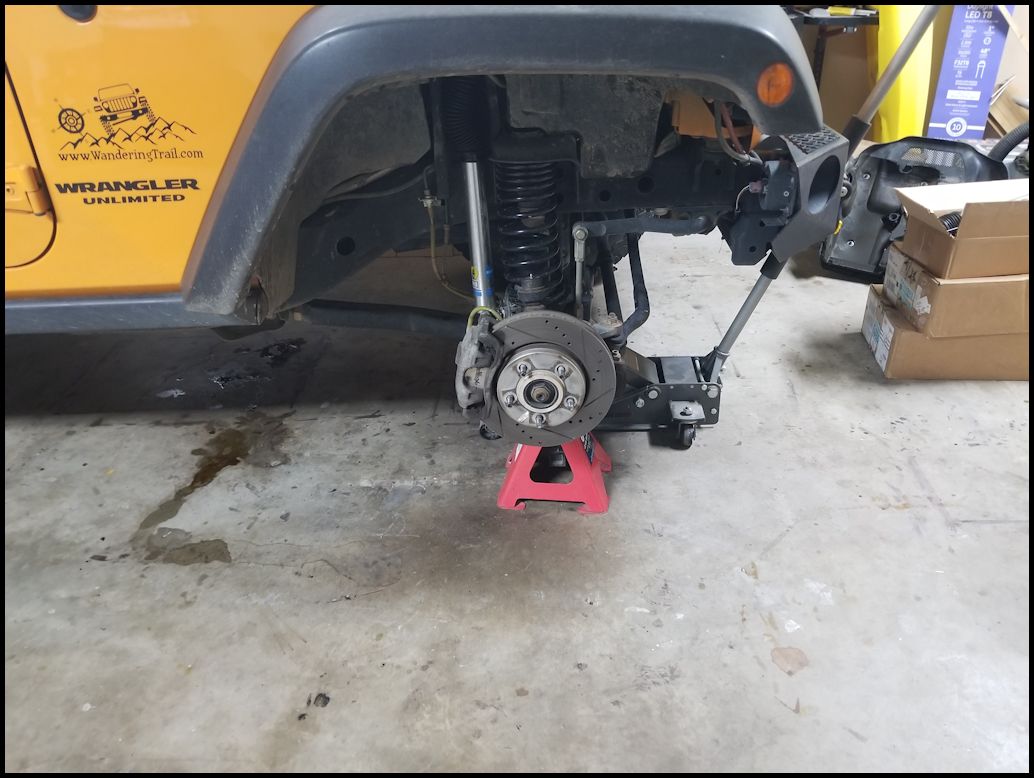
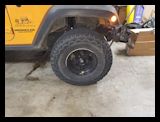
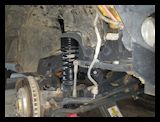
| You can jack up and remove the front tire if you want to. It just makes it easier to get to the bolts vice having the tire in the way. You don't really need to do this. The flare and the inner liner all connected together. |
 |
 |
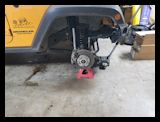 |
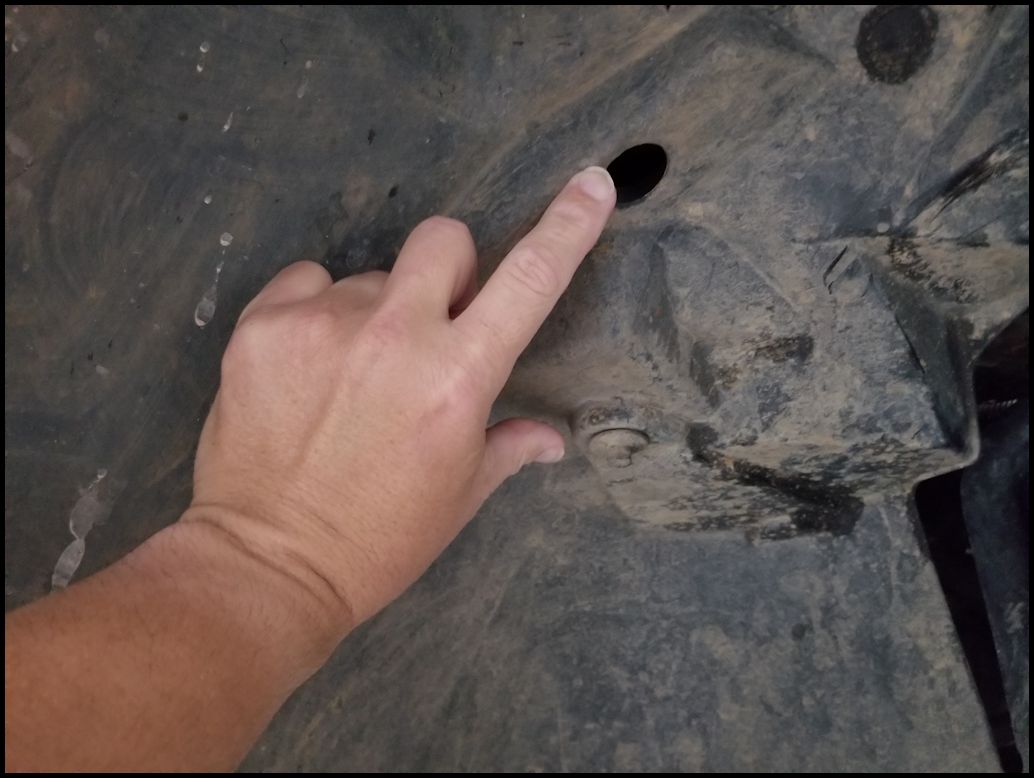
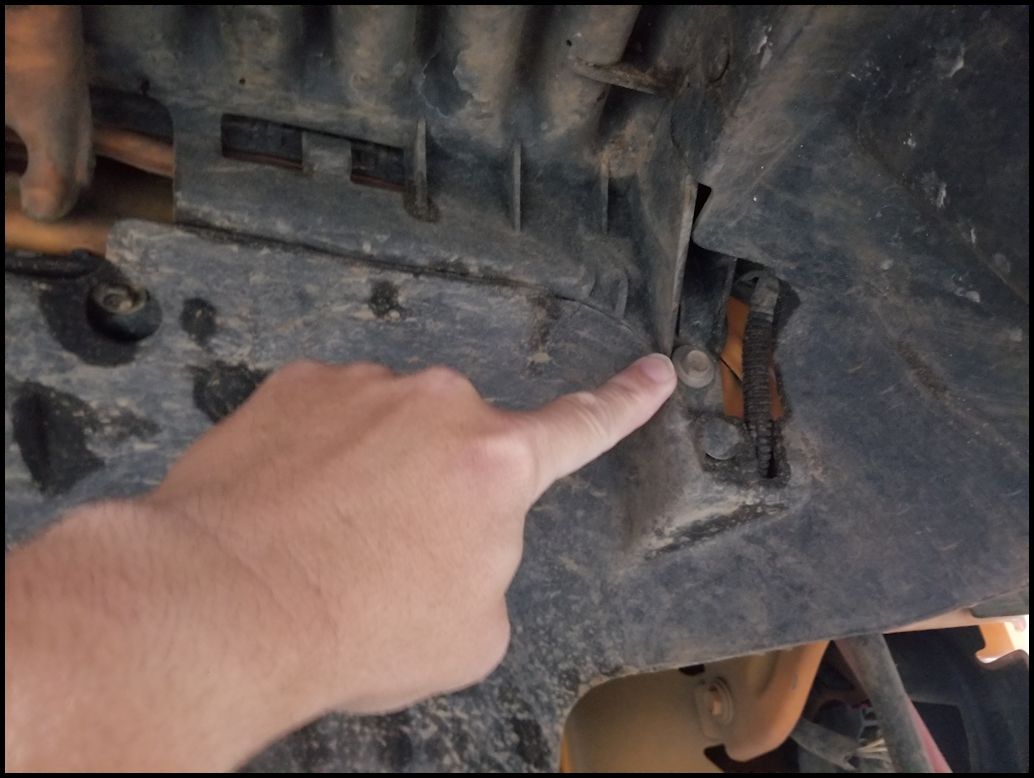
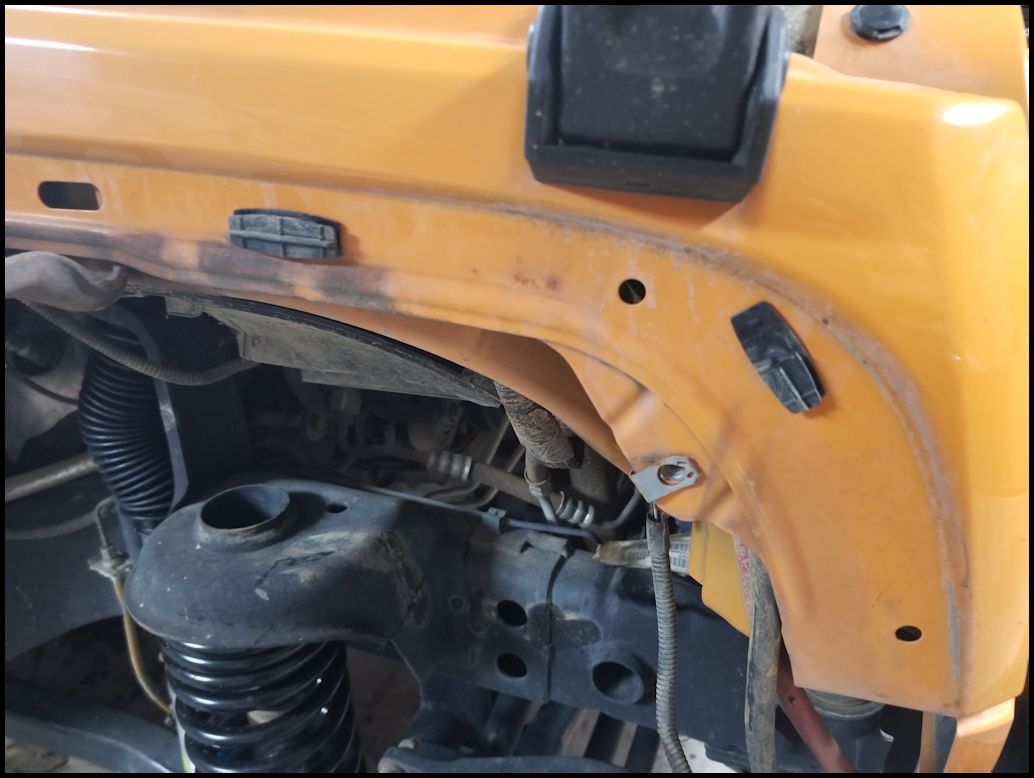
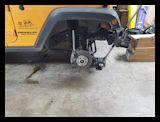
| You will need to remove six (6) bolts holding the flare to the body. Two are in the back (one is a female bolt and the other is up in the hole), another three are in the middle (one is on the body color bracket), and the final one is in the front. You will need a 10mm socket to remove these. |
 |
 |
 |
 |
 |
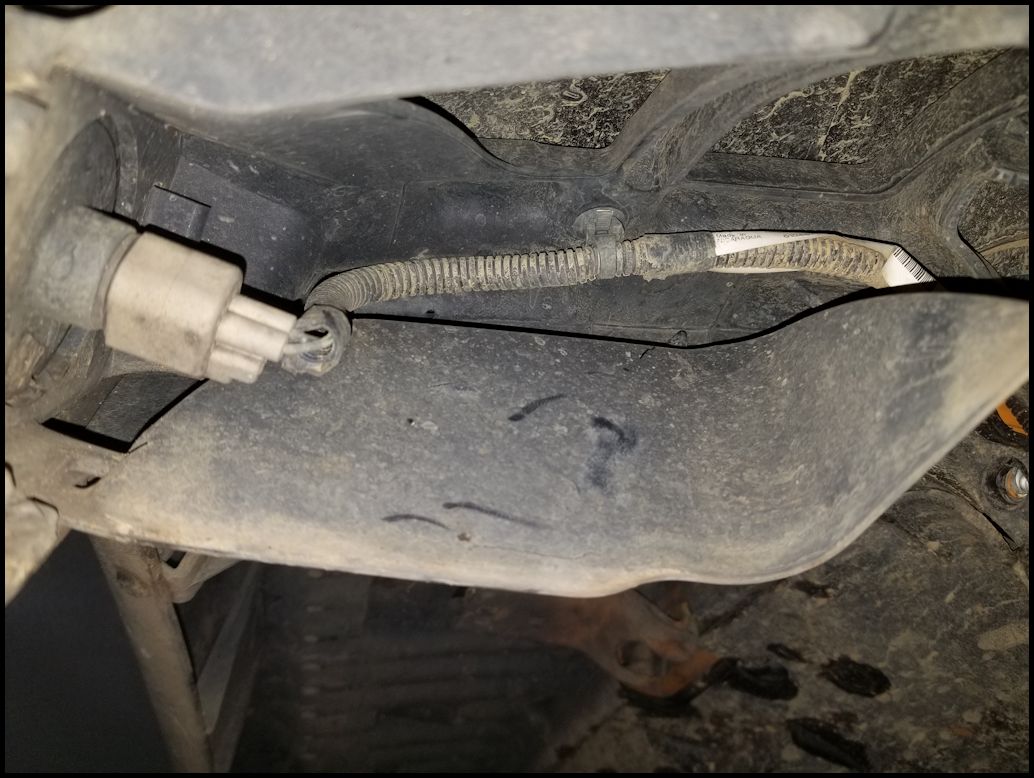
| You need to unplug the side marker light. You can do this by unplugging the entire cable from the body connector. This is extremely difficult to do, but the tab on the top of the connector. It is easier to twist out the light from the lense and use a trim tool to remove the tree holding the cable to the fender. |
 |
 |
| Pull the cable out and let it hang down along the side of the body to make sure you don't snag the cable and damage it when you pull the fender off. |
 |
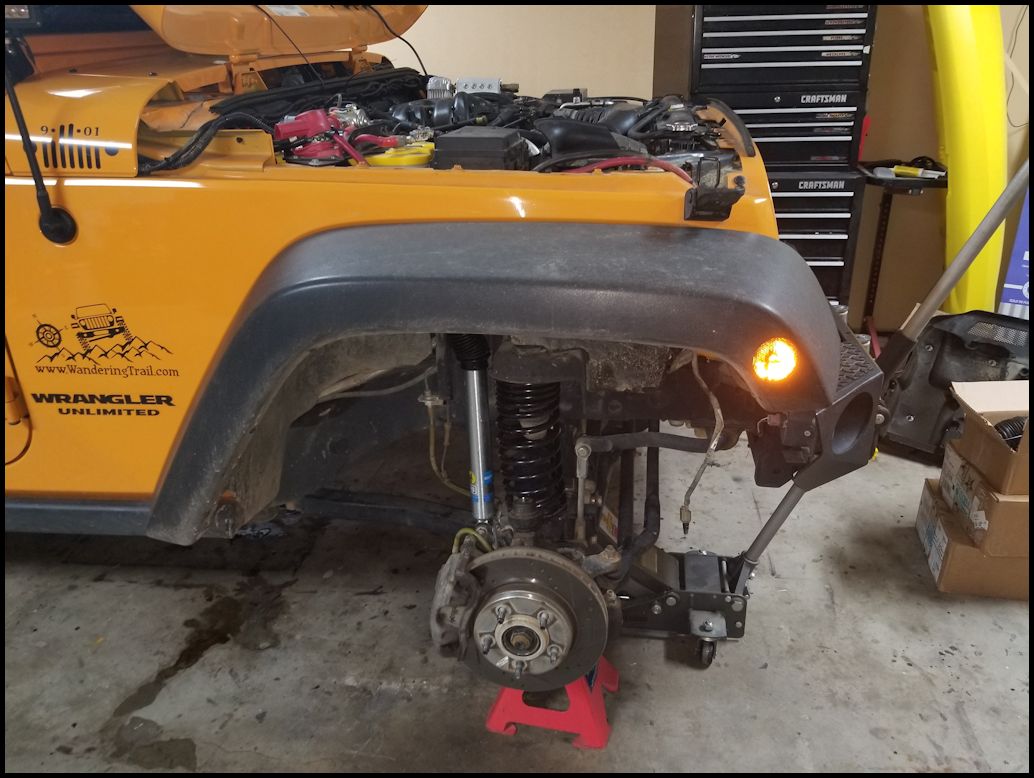
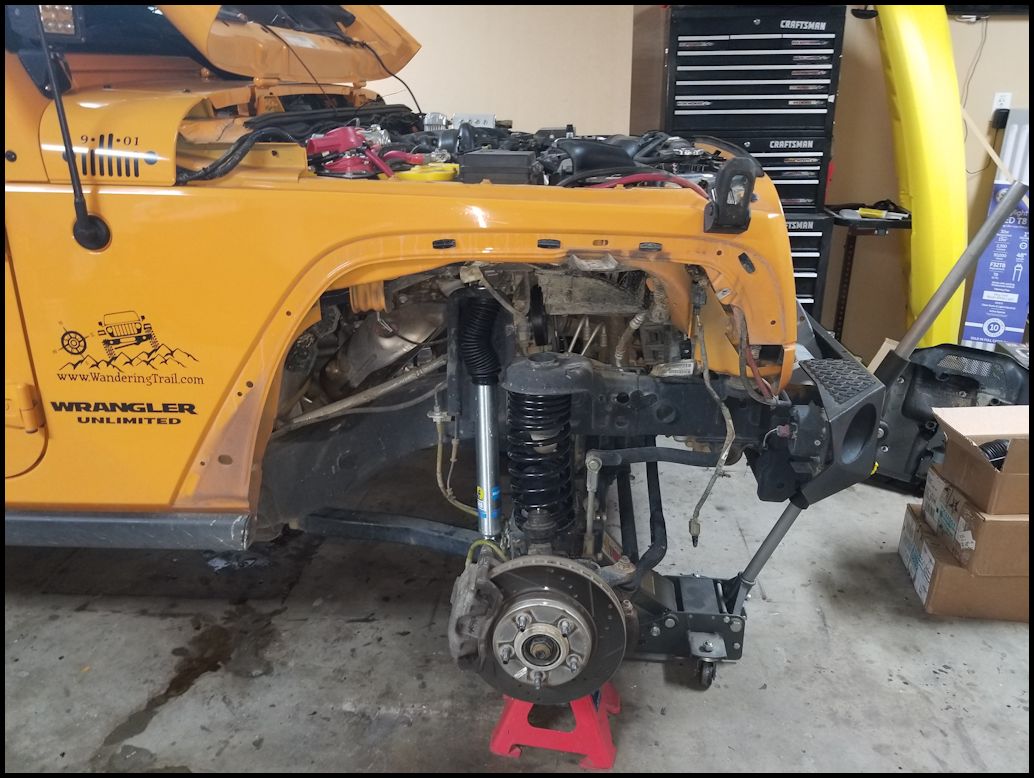
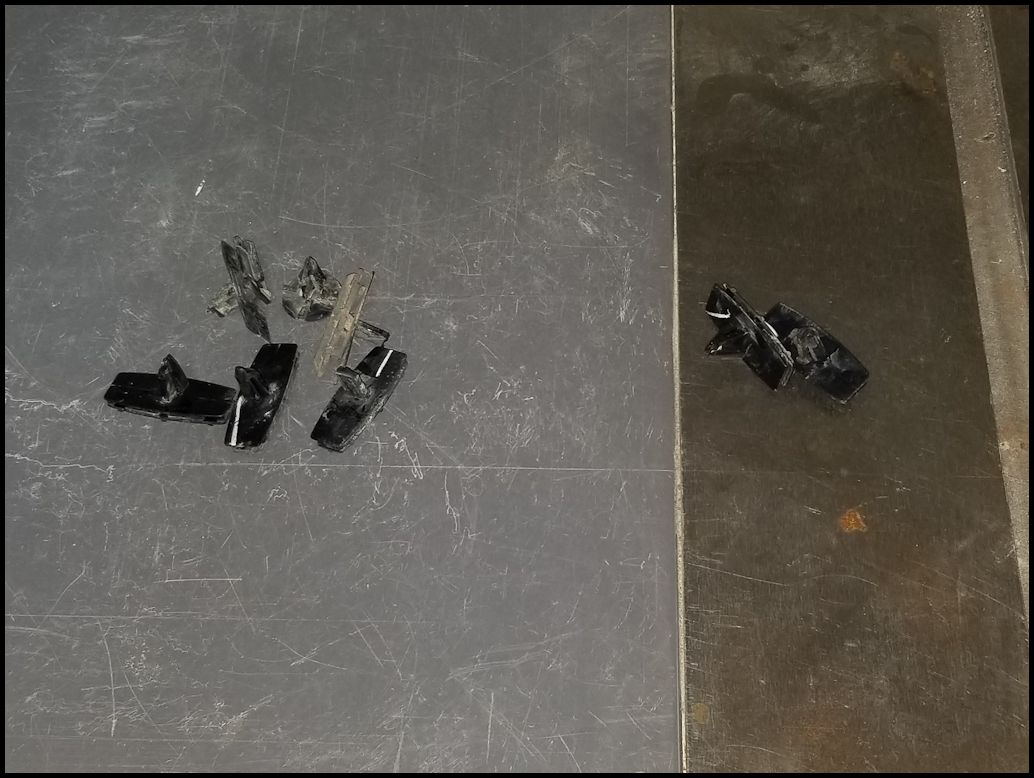
| Now comes the fun part. Grab the fender and give it a tag straight out from the body. The clips holding the fender to the body will either pull out of the fender, pull out of the body, or break off. Set the fender aside. |
 |
 |
 |
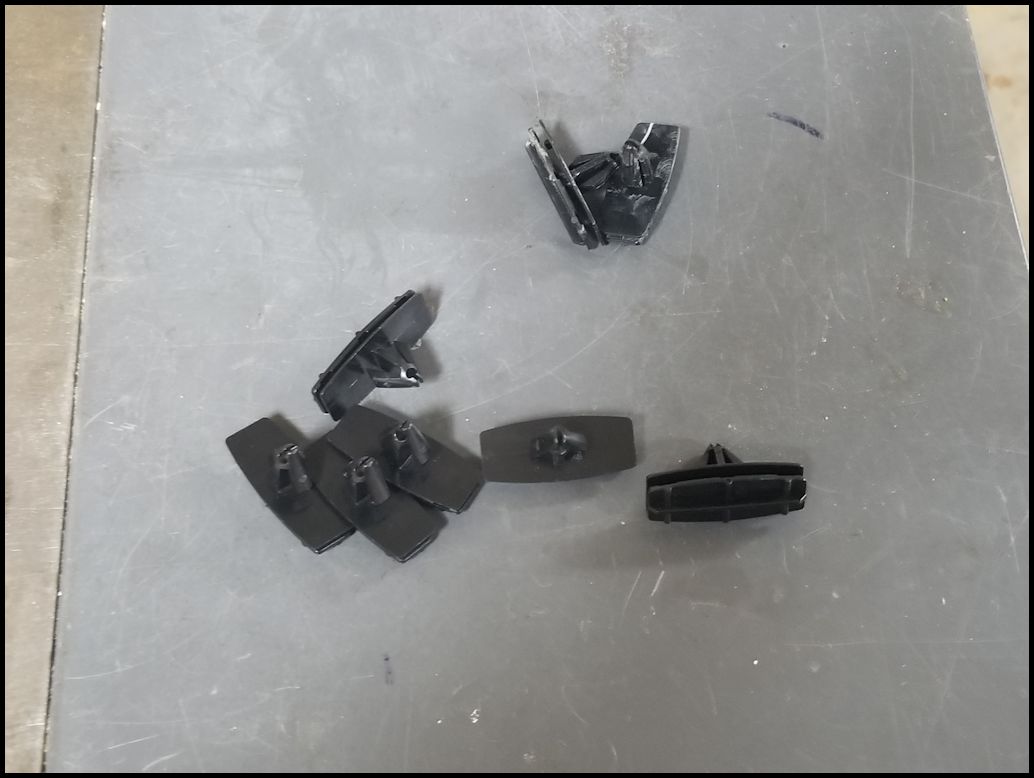
| Remove the broken clips from the fender and the body. You can try and slide a needle nose pliers up between the body panels and squeeze the tabs on either side of the push pin, or use a trim removal tool to pop them free. You can just throw these away, or try to reuse them if you don't have any spares. You will need to replace them eventually. |
 |
 |
 |
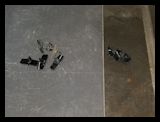 |
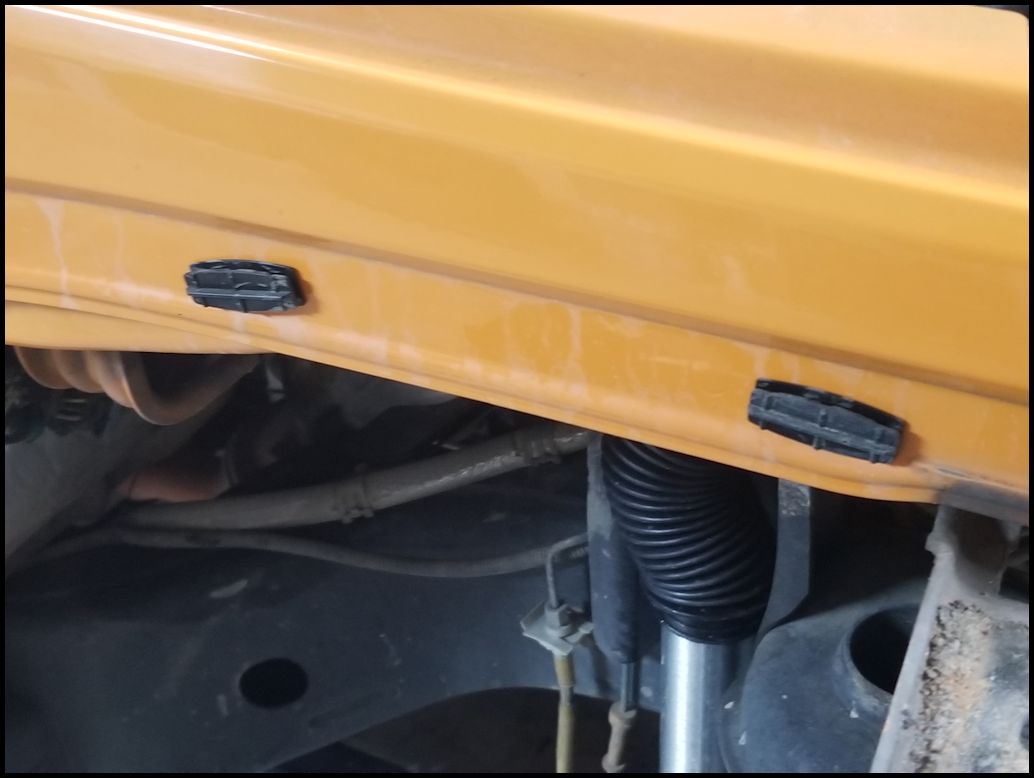
| Remove any of the good clips the same way. You can try and slide a needle nose pliers up between the body panels and squeeze the tabs on either side of the push pin, or use a trim removal tool to pop them free. |
 |
 |
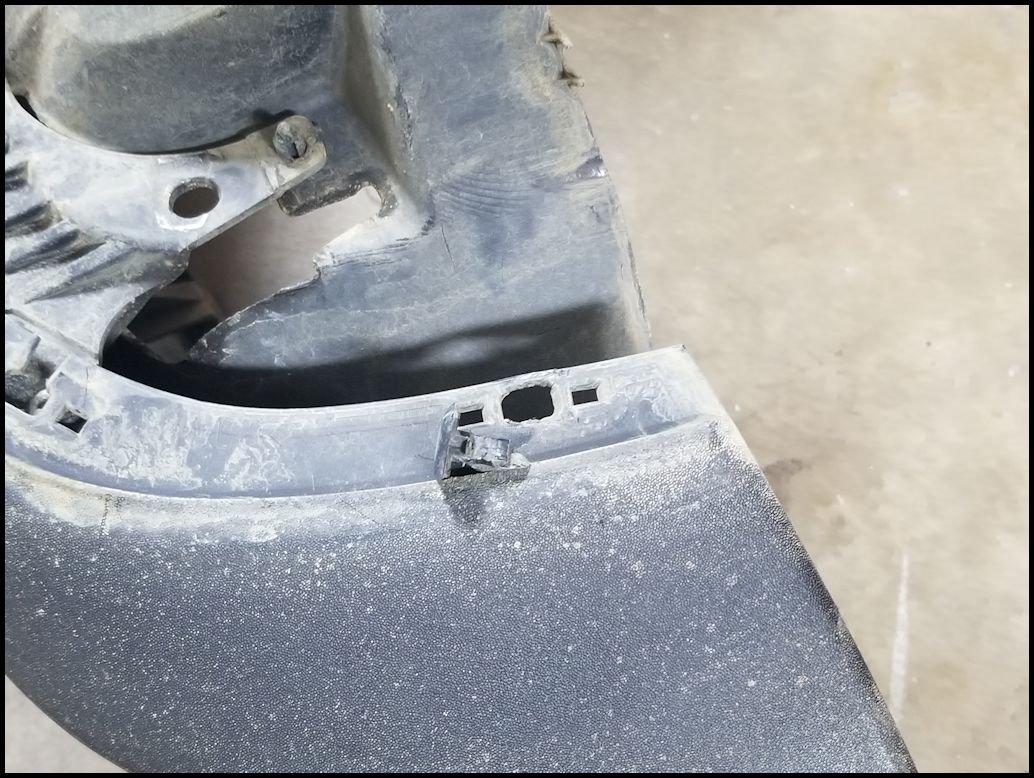
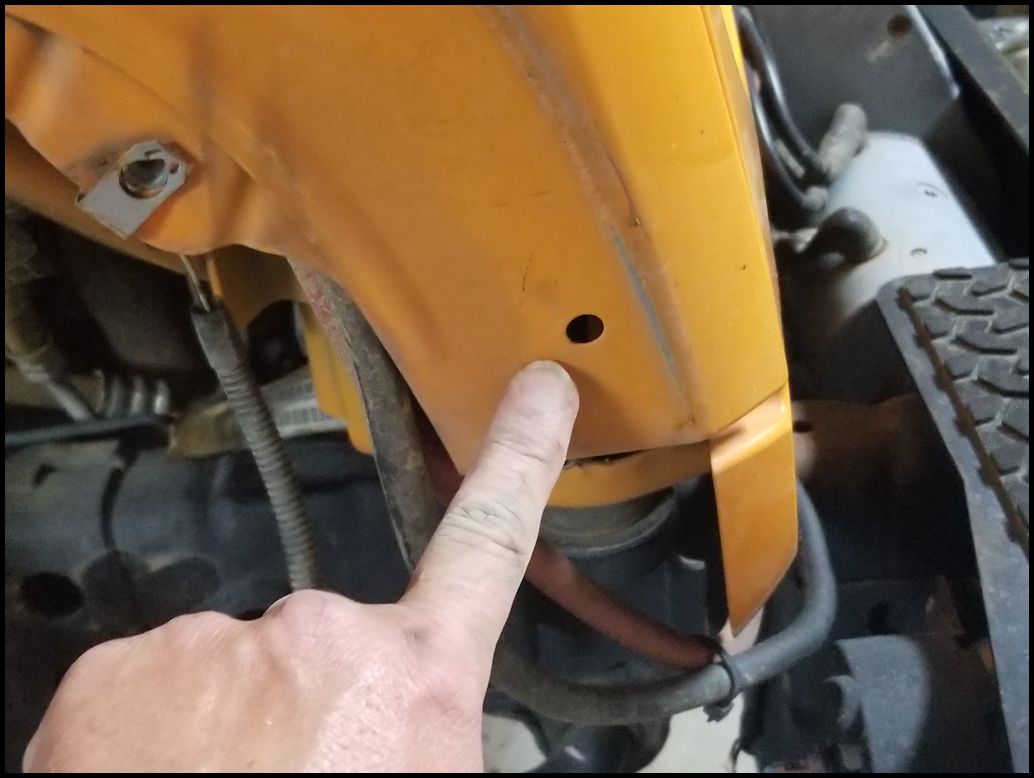
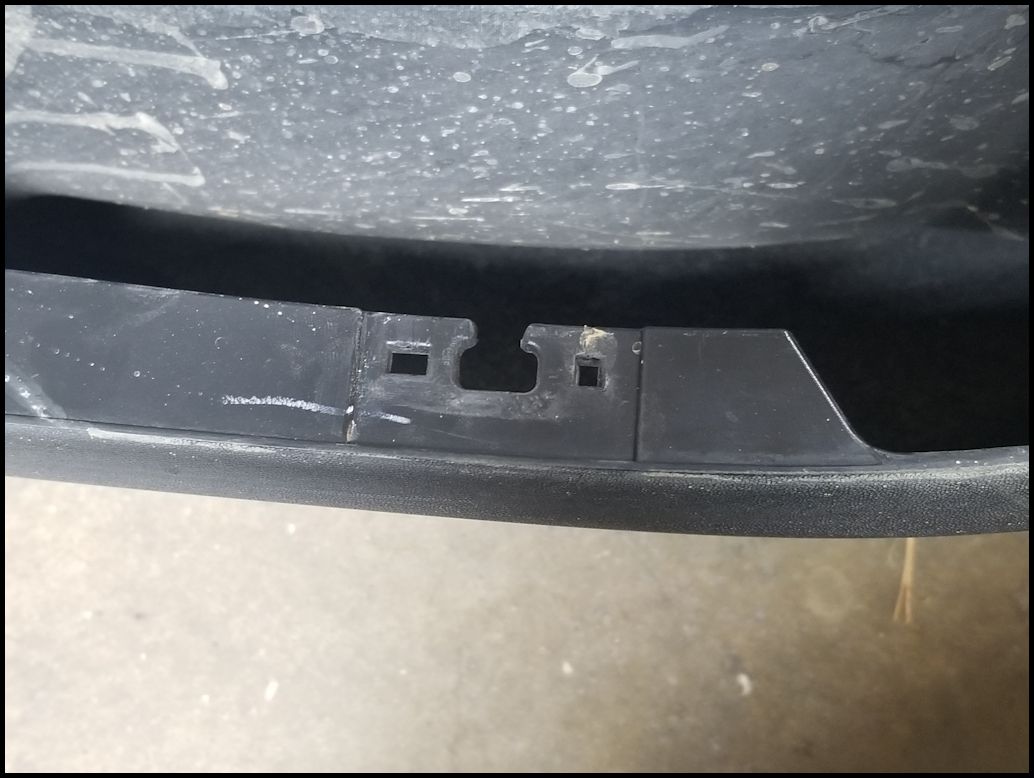
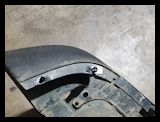
| The front lower corner didn't have a clip on this position. Instead it had a round headed push pin to hold it in position. I don't know when they changed this, but my 2007 had a clip in this position. You can see that the fender could hold a clip. I decided to clip the plastic and install a clip instead of ordering a different part. |
 |
 |
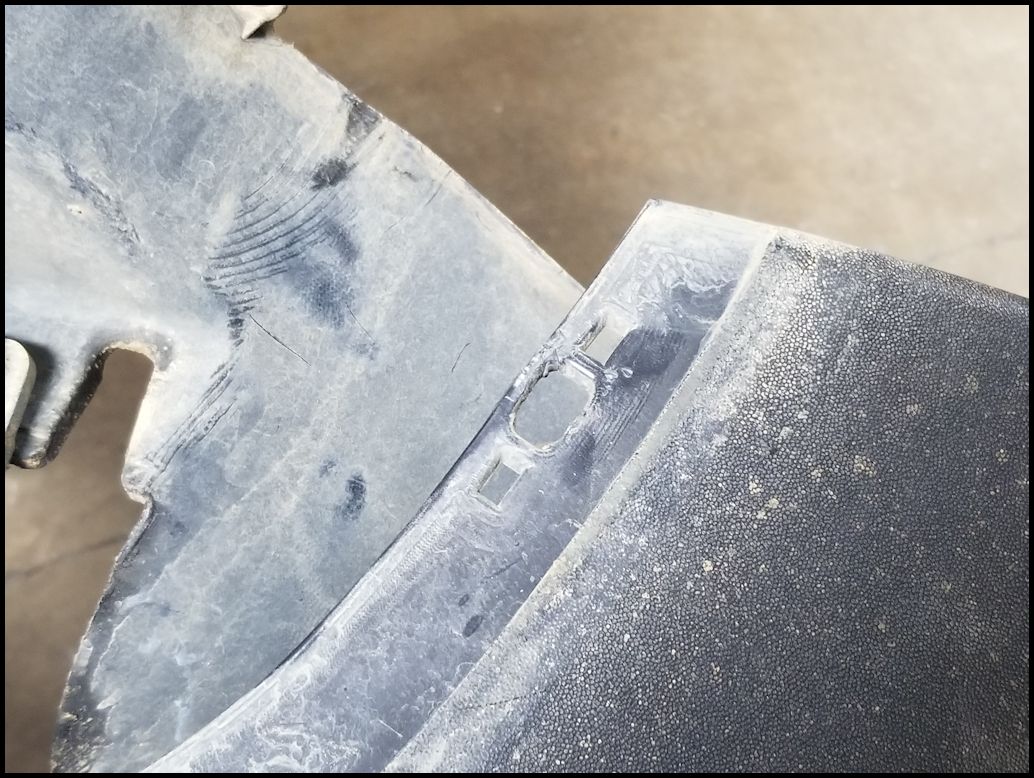
| I cut a notch in the front clip position so that I could slide a clip into it for reinstallation. I just used a diagonal cutter to cut the soft plastic. |
 |
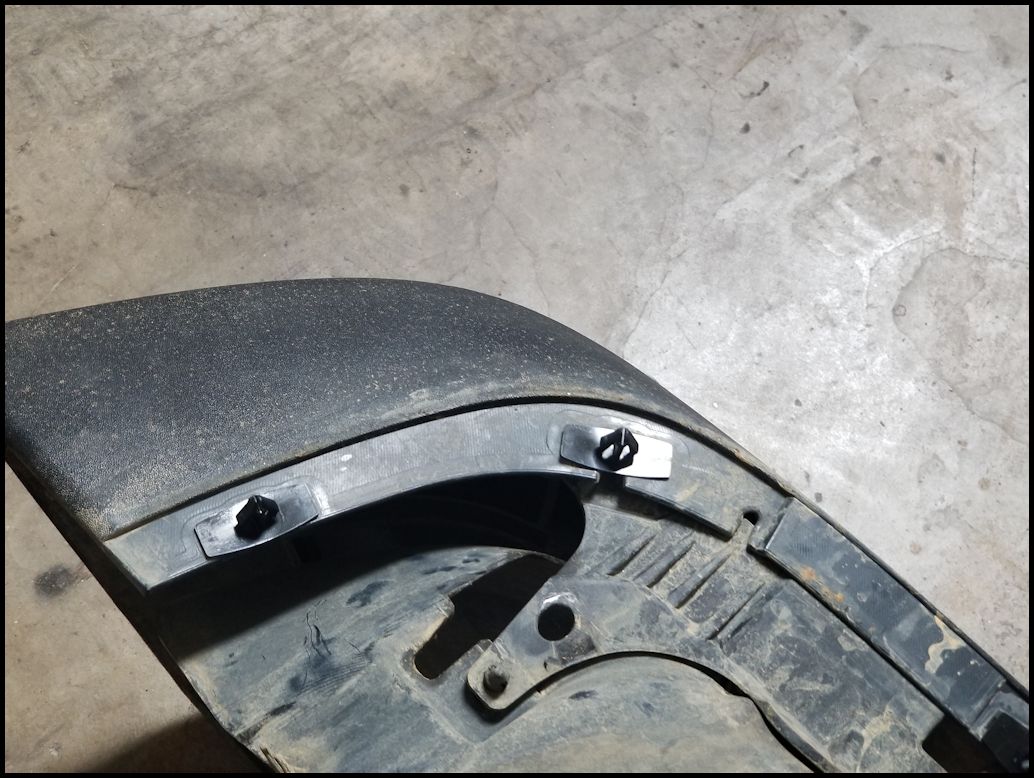
| Install the clips into the positions on the fender. |
 |
 |
 |
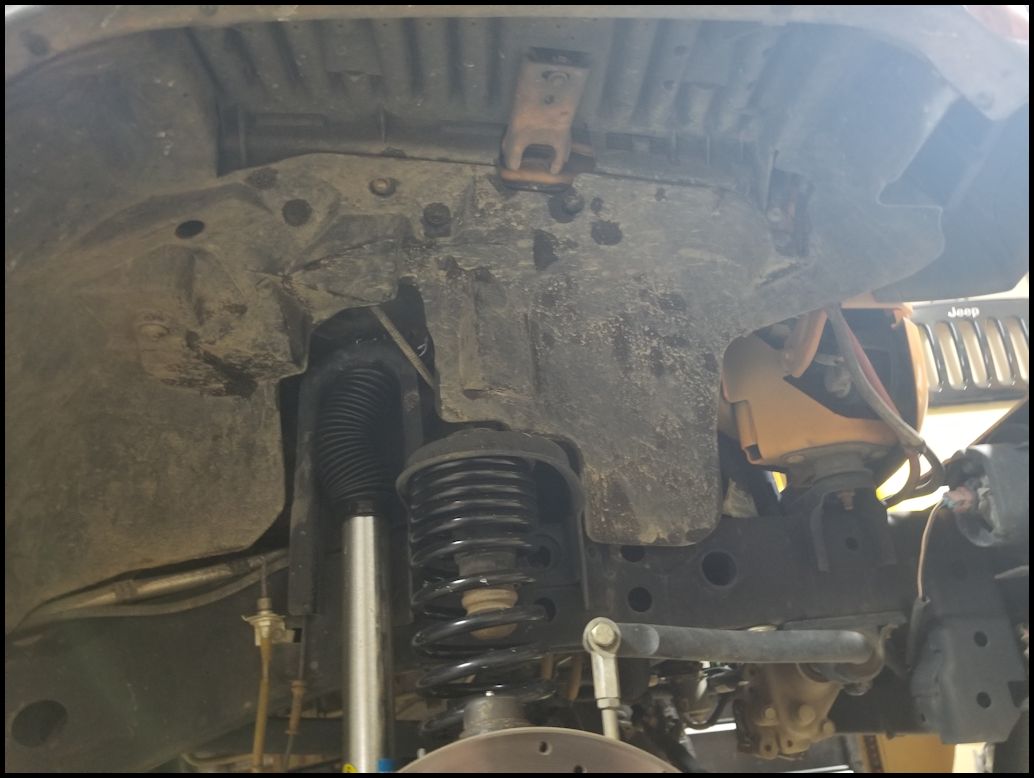
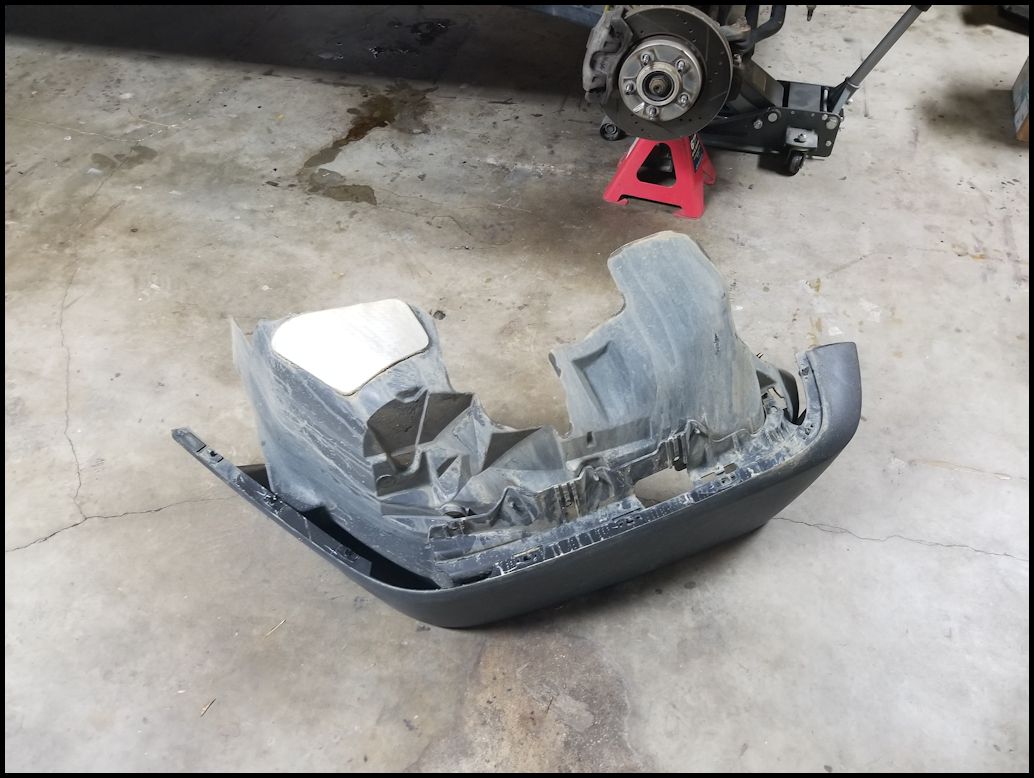
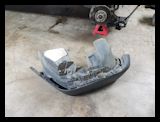
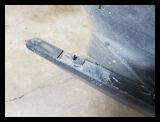
| Before you put the fender back on take the time to clean off the dirt and grime that has accumulated under the fender. |
 |
 |
| |
| Removing the PCV Valve: |
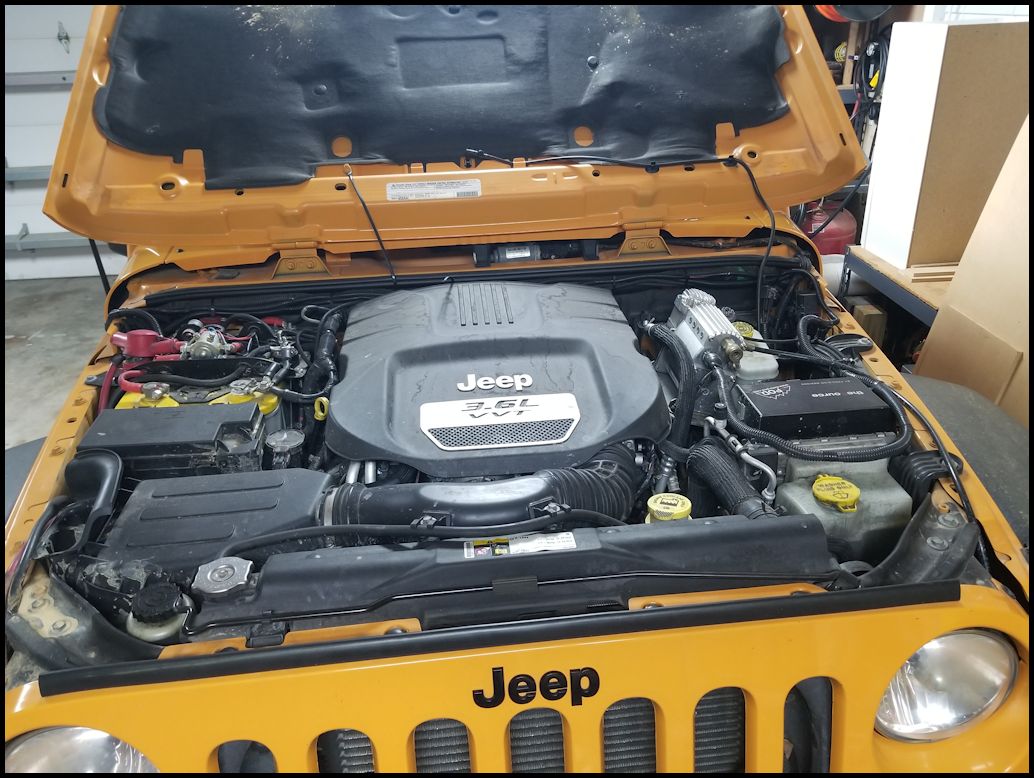
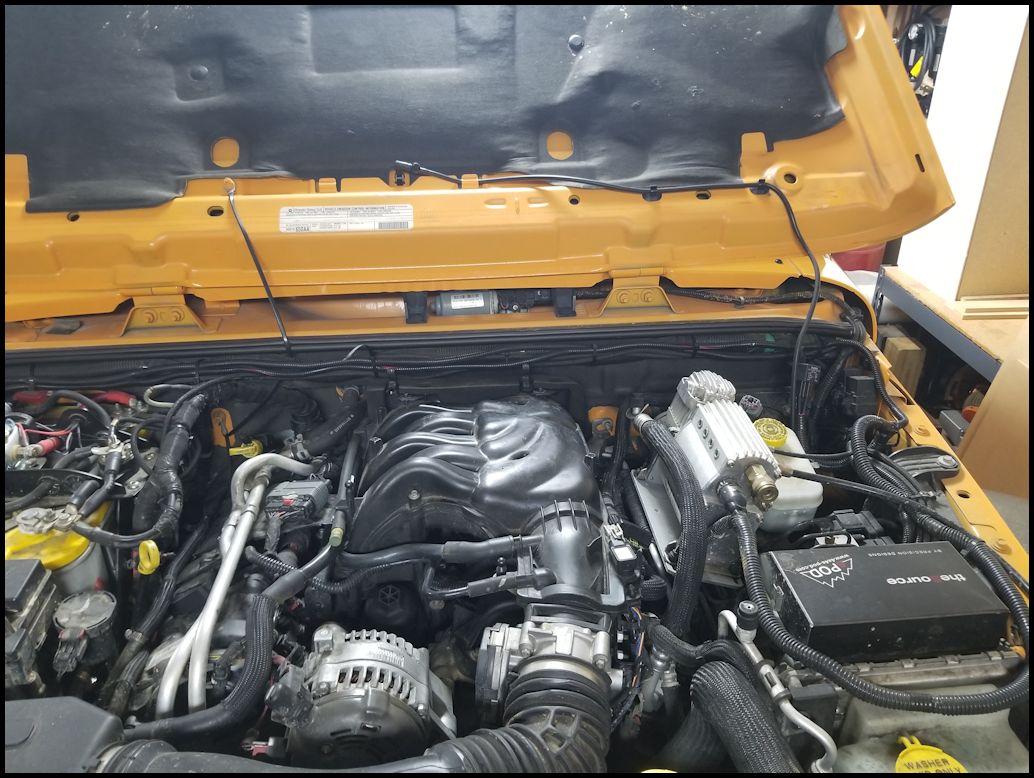
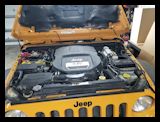
| Open the hood and remove the engine cover. |
 |
 |
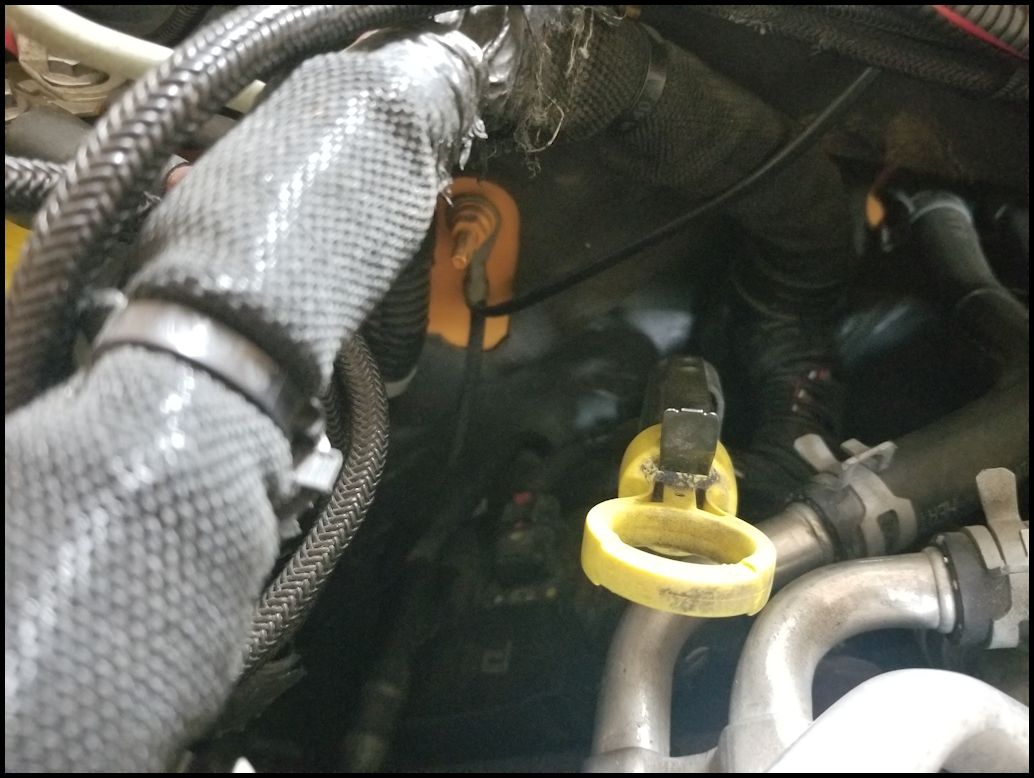
| Cover up the battery terminals since you will be leaning over them. A sweaty arm combined with positive and negative battery terminals can be slightly electrifying. |
Pic of covered up battery terminals |
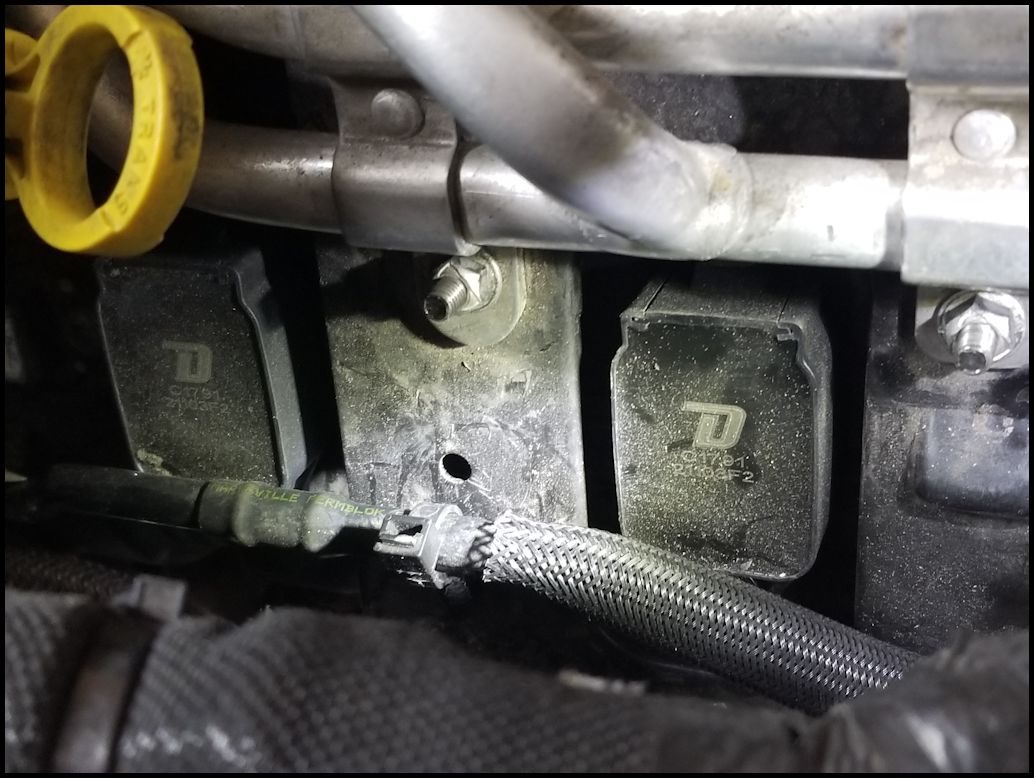
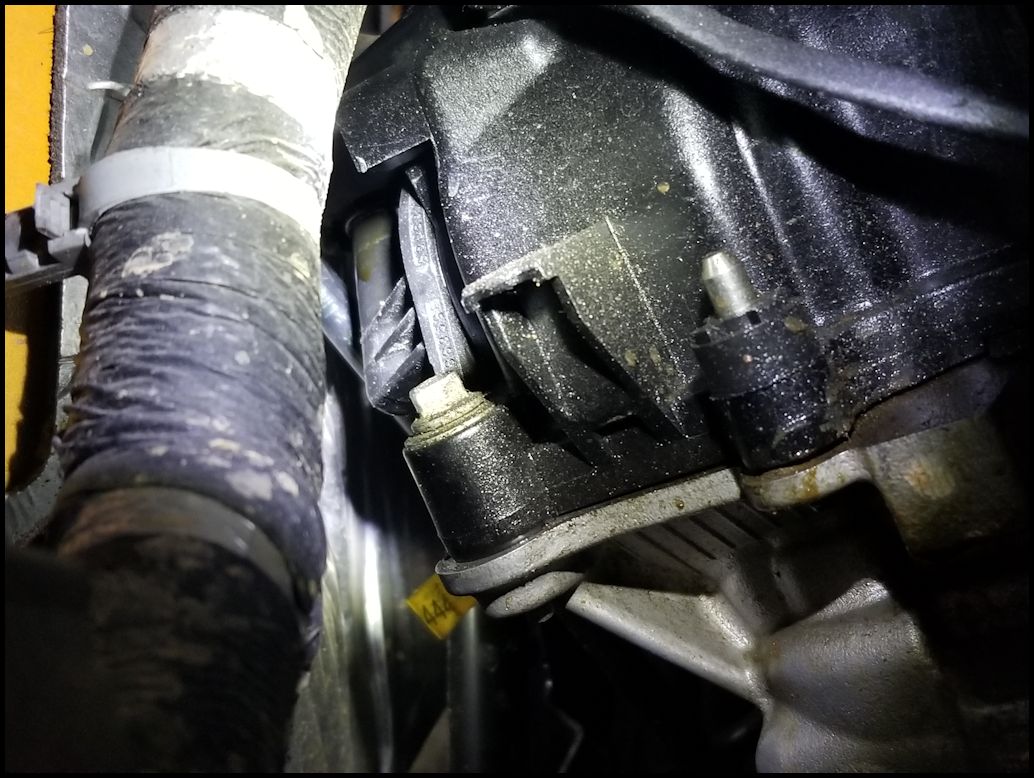
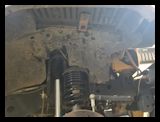
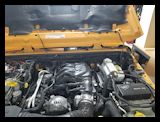
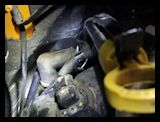
| The PCV valve is stuffed on the back side of the left side valve cover. There is almost no room to get anything back in there. You will be able to jam your right arm and hand back into the area, but it will require a litte sacrafice of skin in the process. |
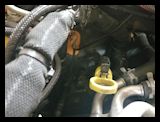 |
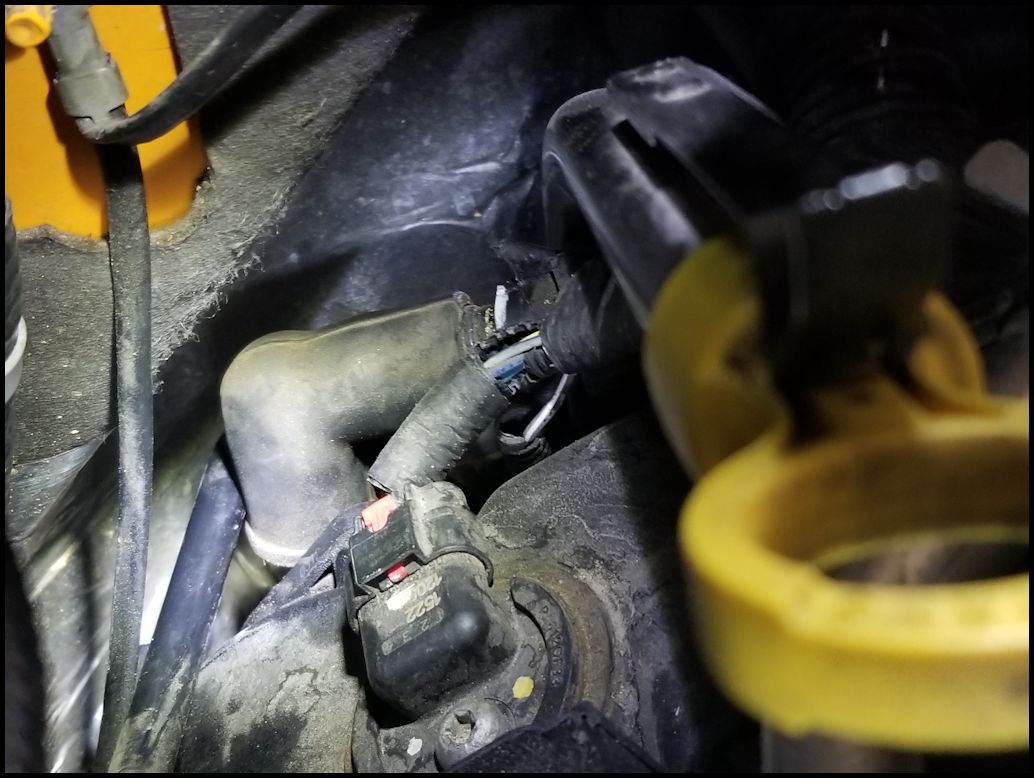
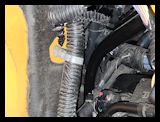
| Remove the tree holding the vinyl evap hose to the valve cover. You will need a trim removal tool. This will allow you enough room to get the hose off of the PCV valve. |
 |
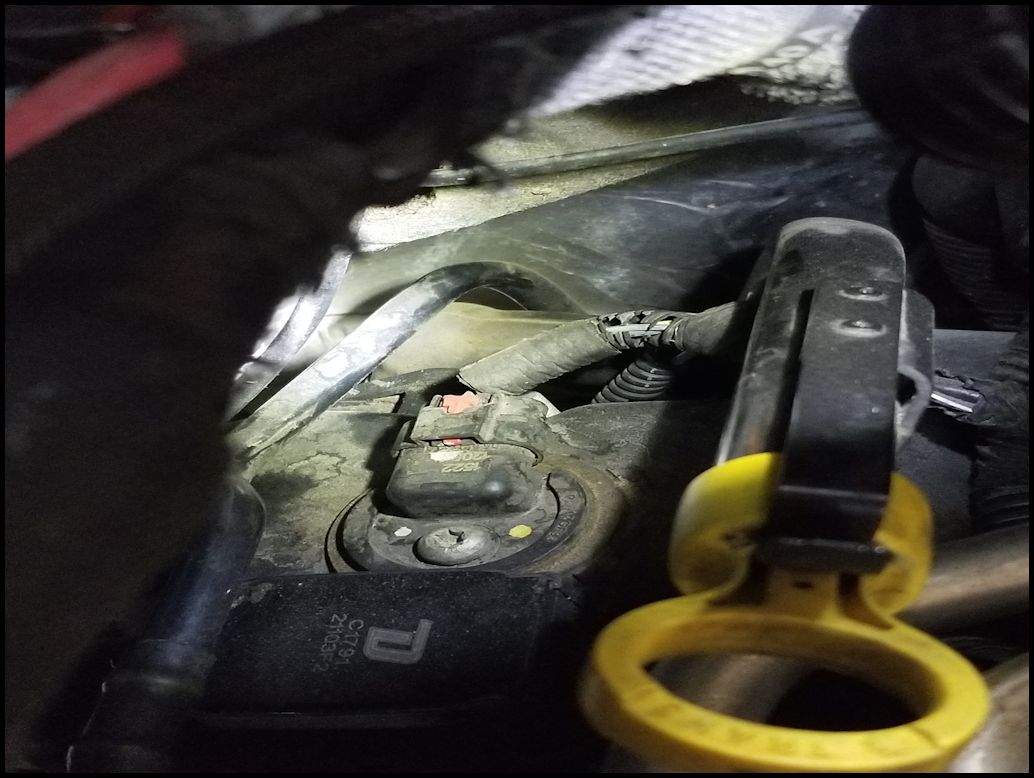
| Pull the hose up and off of the PCV valve. This is extremely difficult and is hampered by the fact that two wireing harness are attached to the hose just past the auto trans dipstick tube. Once you have the hose off, you will need to push it back and down behind the PCV valve to give you access to the upper screw. |
 |
 |
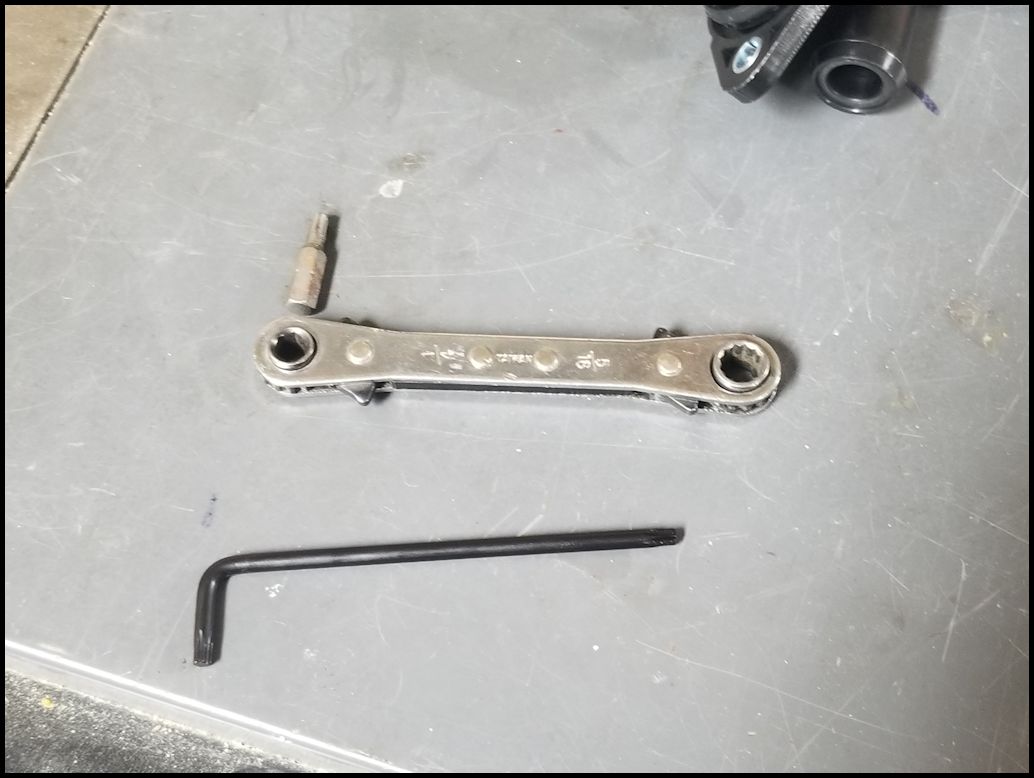
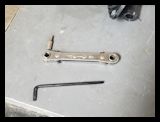
| Removing the upper screw (Option 1): |
There are 2 ways to get this screw out. Hopefully you can get it out the first way, but after doing this on mine and a few other Jeeps, I just go with the second way and make life easier on my hand.
WARNING: This is a T25 torx, do not use a T20 you will strip it out and then end up having to cut the PCV valve out. |
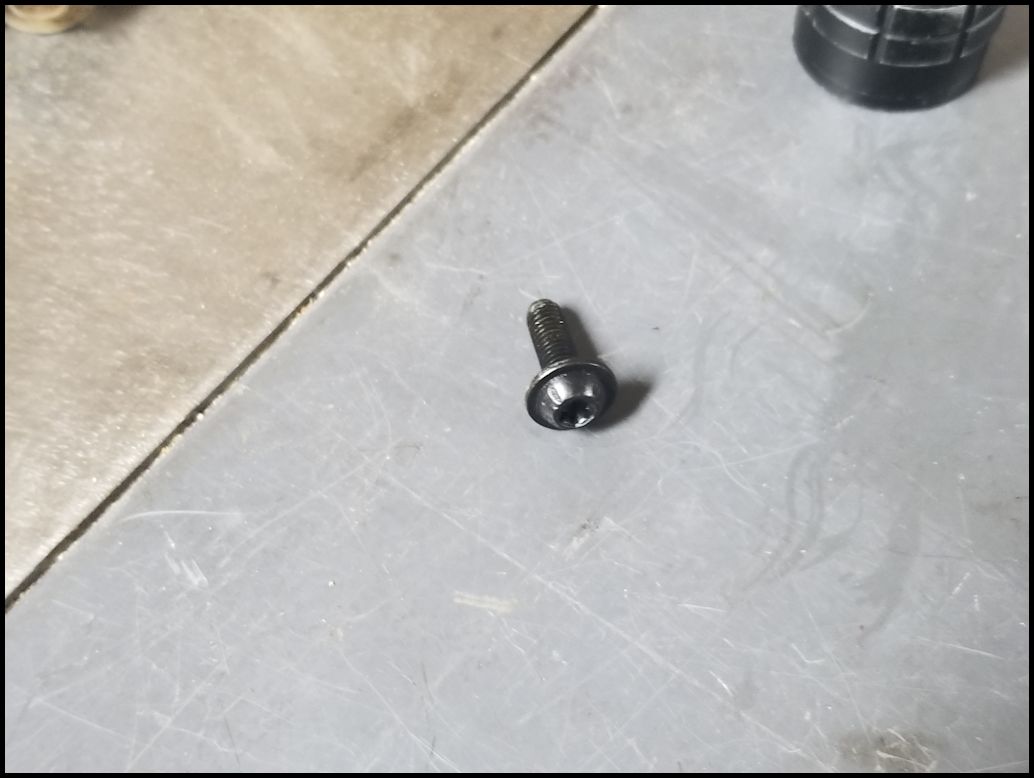
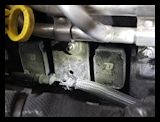
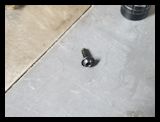
| The screws are not very large and are threaded into a machined insert on the plastic valve cover. |
 |
Feel behind the valve cover to locate the upper screw on the PCV valve. This is the hardest part of the project. It can be extremely difficult (if not a nightmare) to get out because of the limited room to get any tool in there and apply leverage to turn the screw. Your arm will probably get scrapped up by the objects around it as you jam your hand and tool back in there. I dropped the tool a couple times trying to get it positioned.
|
 |
 |
| |
| Removing the upper screw (Option 2): |
| You will need to remove the intake and battery box to get enough room to get back into that corner. A mechanic that I know at the dealership let me know that they do it this way almost all the time. Typically they try to do it in conjuction with new plugs and coil packs. Go here for Battery Tray Removal. It's the first part of the Genesis Dual Battery tray installation. |
| Once the battery box and intake is out of the way you will need to remove the wiring harness that runs down along the fire wall. It is clipped over two studs on the firewall and just pulls off towards the front of the engine bay. This will give you enough room to get into the screw and apply a little more leverage to the upper screw. I only needed to loosen it about 1/2 turn before I could screw it out with my finger tips. |
 |
 |
 |
 |
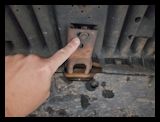
| Removing the lower screw: |
| Feel up behind the valve cover to locate the bottom screw on the PCV Valve. Remove the lower screw from the PCV valve. You will need a T25 Torx. I only needed to loosen it about 1/2 turn before I could screw it out with my finger tips. |
 |
| |
| Installing the new PCV valve: |
| Comparison of the old PCV Valve and the new one. While it looks like the old one on the left is worn out, the seal is actually in really good condition. The seal fits over the end of the exhaust cam shaft and accordians over the end of the shaft to create the seal. The large diameter hole is actually the size of the cam shaft, the rest of the seal that you can see on the new one is inside the old seal in the form of a cone. The only wear I could see was that the old PCV valve rubberized seal had lost its flexibility due to age. |
 |
| Reinstallation is the reverse of removal. It will require a little more pressure to push the new PCV valve over the end of the camshaft and up against the valve cover. The screws do have a torque setting, but good luck getting a torque wrench on them. I just went tight. |
| |