Time to replace the steering stabilizer on my 2012. The OEM stabilizer had started to leak and I figured I would replace it. For a change I didn't run into anything and mangle it. Me and steering stabilizers don't get along well. Funny, I've never damaged one off road (backyard tree stump, landscaping rock and 8x8 post don't count when they are in your yard). In the past I had gone with a Monroe stabilizer, but decided to install a Teraflex stabilizer after seeing one when I installed it along with a lift on a friends Jeep. This shock is definately bigger and stronger than the factory stabilizer. It's also heavy compared to the factory stabilizer
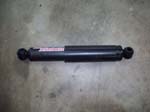
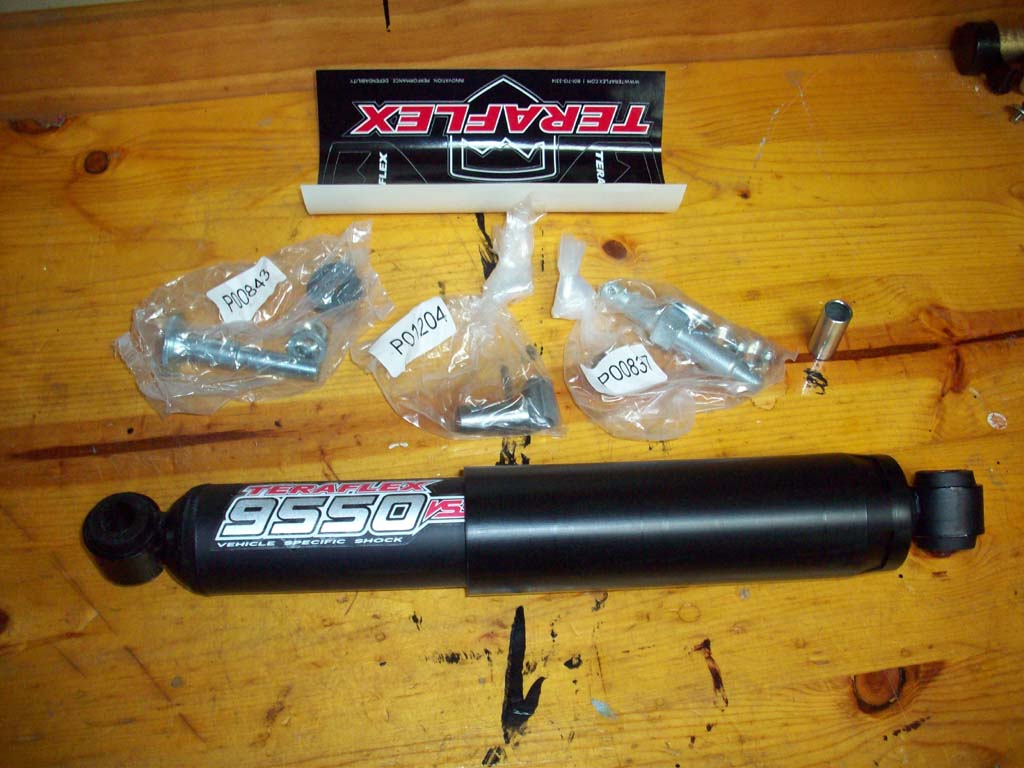
| The Parts: |
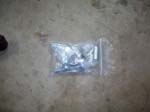
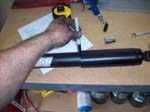
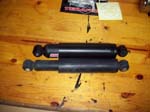
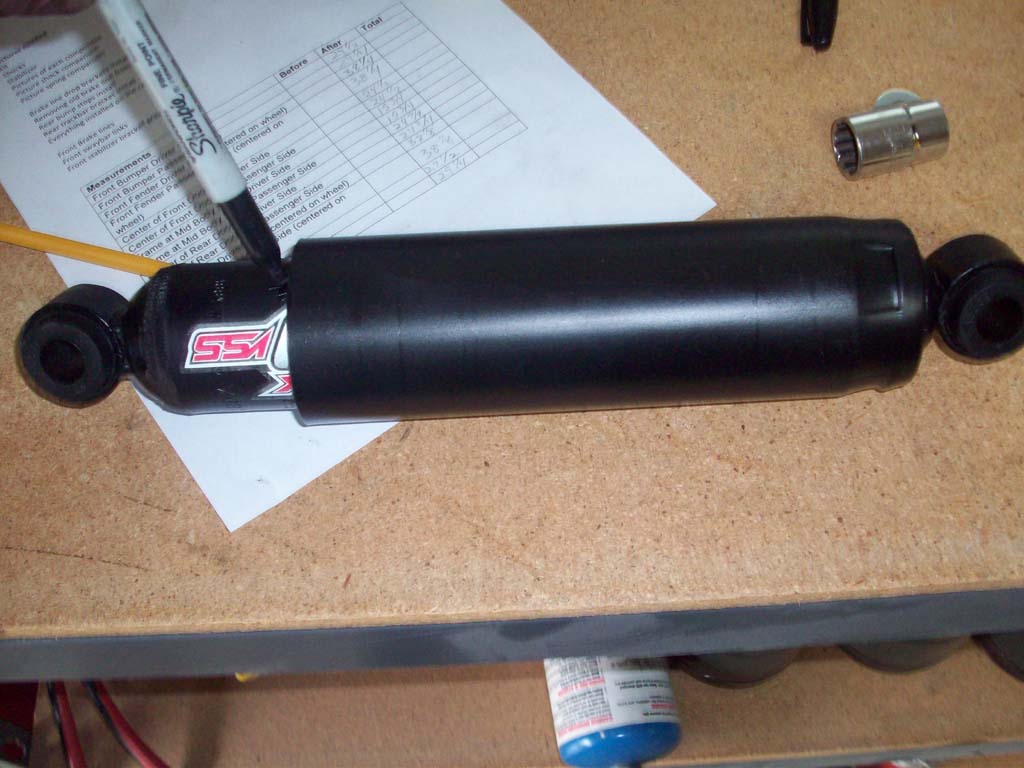
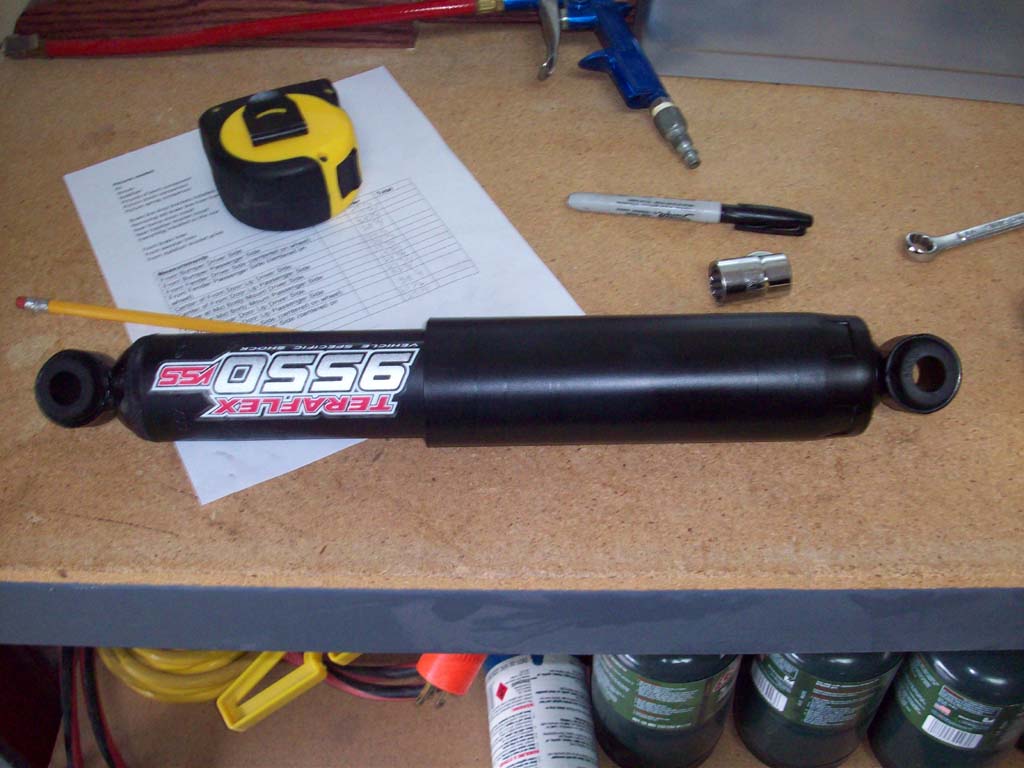
| Just the shock and a bag of parts that you might need depending on what year your Jeep JK is. |
 |
 |
 |
| |
| Assemble the Stabilizer: |
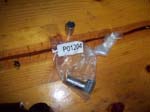
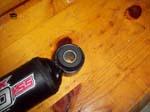
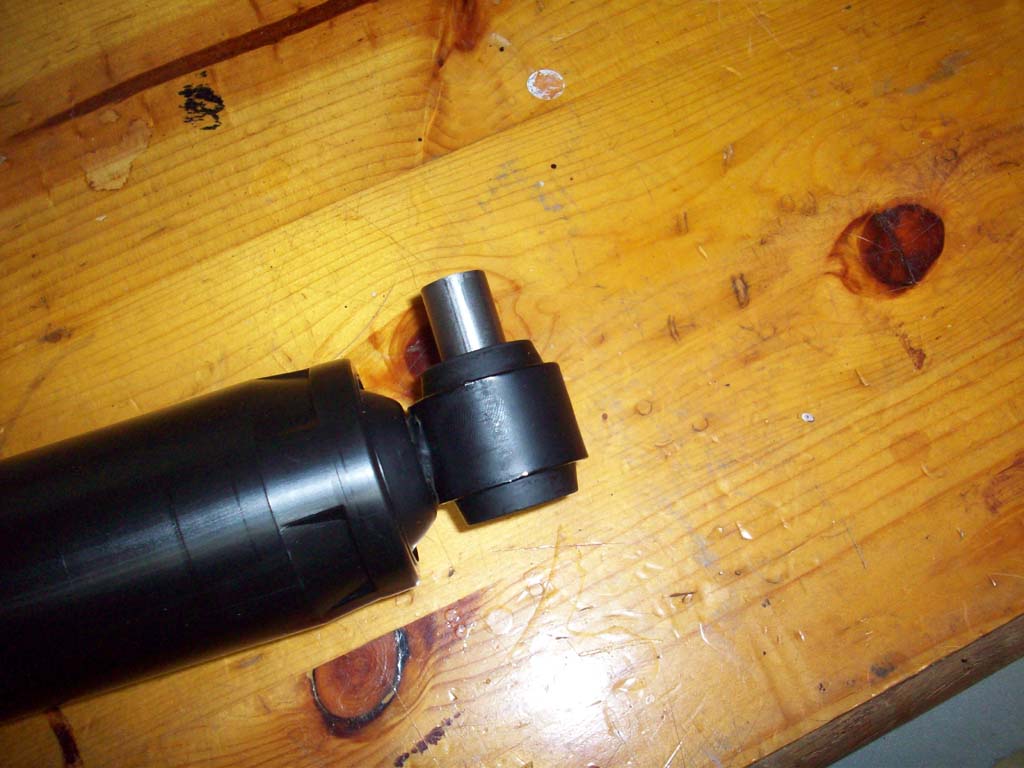
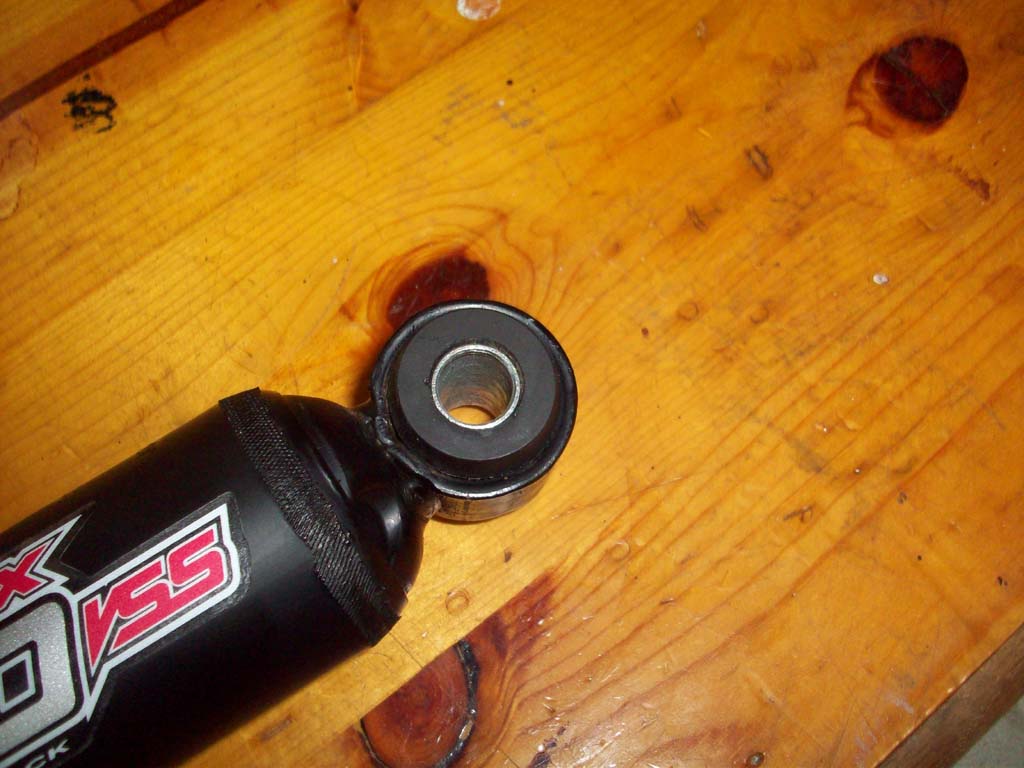
| 1. Locate the two 5/8” OD x 1-3/8” long sleeves. One is packaged loose and one is packaged in the P01204 hardware bag. Press the sleeves into the bushings as shown. Teraflex has you do this later on, but I found that if you do it now, you won't be laying under the Jeep thinking I should have done this earlier. |
 |
 |
 |
| |
| Measuring and marking (2007-2009): (some 2009's may have the new style bracket so check before cutting, do not cut if you have the newer bracket) |
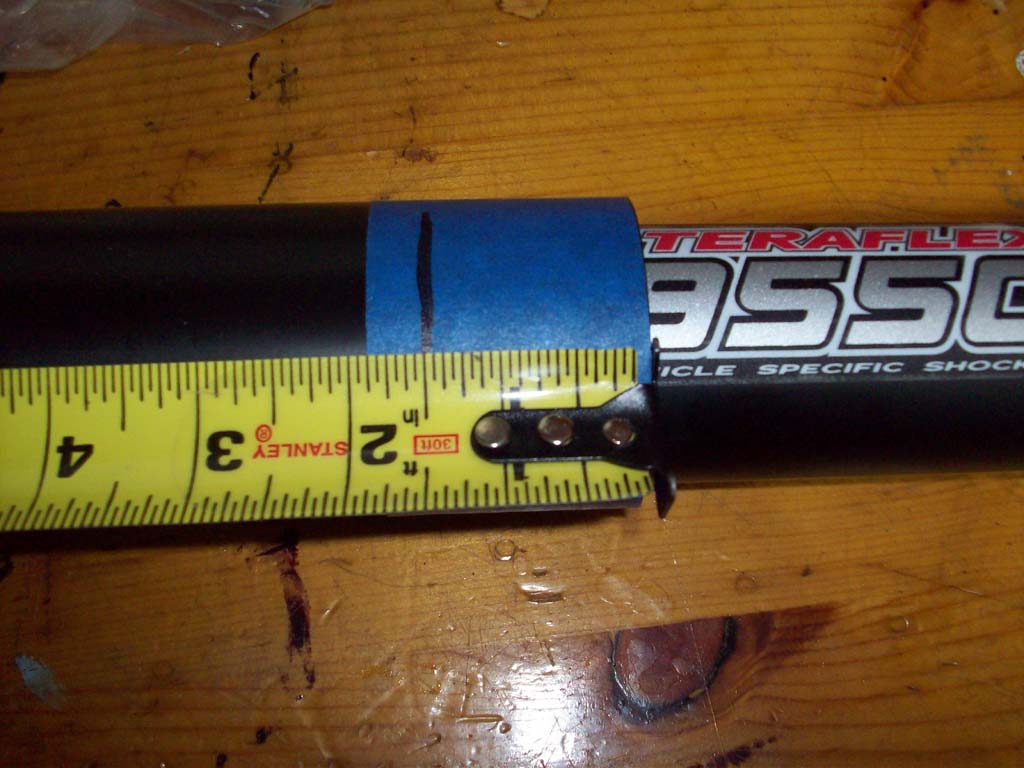
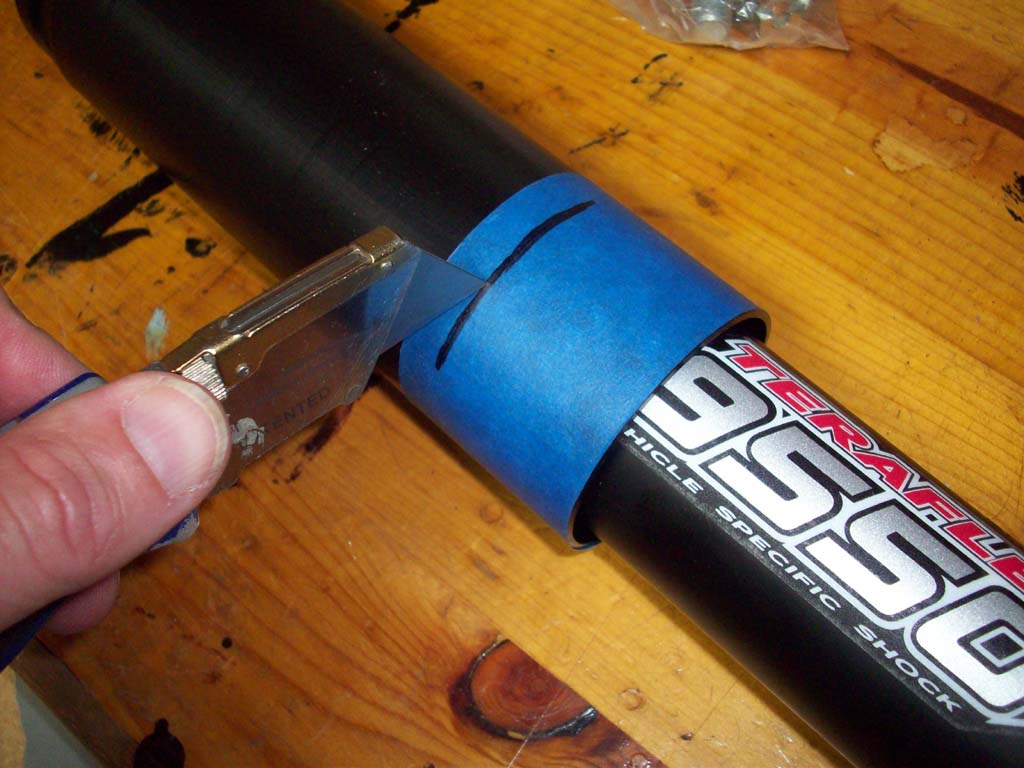
| 1. Place some blue painters tape on the dust shield and measure in 1 1/2". Mark all the way around and cut with a razor knife. You will have enough shield left to protect the shaft, so don't worry. This is to gain clearance on the old style tie rod bracket. Teraflex actually has you do this after you mark the shaft, which doesn't make sense since we are using those marks to determine travel. |
 |
 |
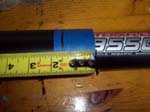
| 2. Full compress the stabilizer and make a mark. Then extend the stabilizer and make another mark. |
 |
 |
| 3. Measure the distance between the two marks and make a mark at the center point. I then just compressed the shock to that mark and left it. |
 |
 |
| |
| Measuring and marking (2010-2018): |
| 1. Full compress the stabilizer and make a mark. Then extend the stabilizer and make another mark. |
|
|
| 2. Measure the distance between the two marks and make a mark at the center point. I then just compressed the shock to that mark and left it. |
|
|
| |
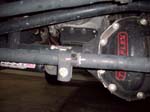
| Removing the old Shock: |
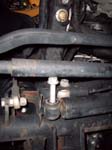
| 1. Remove the nut holding the stabilizer to the tie rod bracket with and 18mm socket. |
 |
 |
| 2. Remove the bolt holding stabilizer to the frame with and 18mm socket. You may need to grab the tie rod and rotate it upwards to remove the bolt. |
 |
 |
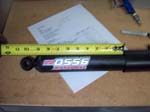
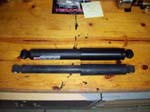
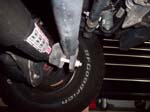
| Comparison Pictures. The Teraflex stabilizer is about 1 1/2" shorder than the OEM, but only has 1/2" less travel. OEM 7 1/2" travel, Teraflex 7" travel. |
 |
 |
| |
| 2007-2009 Installation: (if you replace the tie rod bracket with the 2010 version, or have a 2010 version on your 2009 use those instructions vice these) |
| 1. Mark the current location of the steering stabilizer bracket on the tie rod. Using a 13mm socket or wrench, loosen the 4 nuts on the u–bolts that attach the steering stabilizer bracket to the tie rod. |
 |
| Note: Some OEM tie rod brackets need additional clearance on the bent flange. You can install the stabilizer and check for clearance or remove the bracket completely and grind the clearance now. To grind the clearance, mark your bracket as shown and remove the small arc of material using a bench grinder or deburring tool. Another option is to replace you tie rod clamp with the 2010-current clamp, Mopar # 68066693AA. |
| 2. Move or Reinstall the bracket on the tie rod and tighten the nuts just enough so the bracket can be rotated when you check for clearance. You will need to move it over about 3/4". This is just an estimate, so may not apply exactly to your setup. |
|
|
| 3. Using the factory hardware, install your new steering stabilizer with the shock body to the axle side mount and the dust shield side to the tie rod mount. With an 18mm wrench tighten both ends and torque to 50 ft-lbs |
|
|
| |
Rotate the Steering Wheel lock to lock to verify the following:
- The stabilizer is centered so the stabilizer does not limit the steering wheel travel. Verify that there is still travel left by using the marks from step 3 or measuring the length. The Steering stabilizer is 12-1/8” fully collapsed and 19-1/8” fully extended. The steering stops should stop the travel, not the stabilizer or damage can occur!
- The stabilizer does not contact the track bar bracket through the complete travel.
- That the stabilizer does not contact the tie rod bracket through the complete travel.
- The dust shield does not go under the track bar bracket. It was trimmed in step 4 so it will not catch an edge and be damaged.
|
| Once the clearance is verified, tighten the U-bolt nuts to 35 ft*lbs using a 13mm wrench. Cycle the steering one more time to double check the clearance. |
|
|
| |
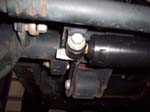
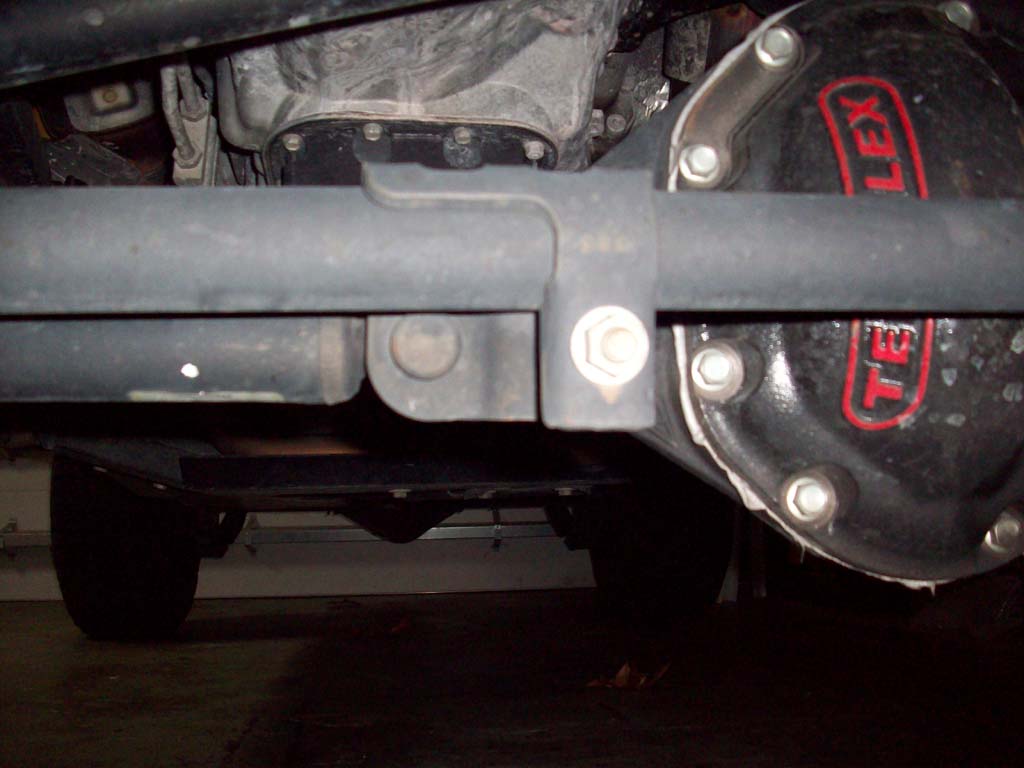
| 2010 + Installation: |
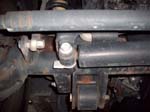
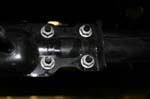
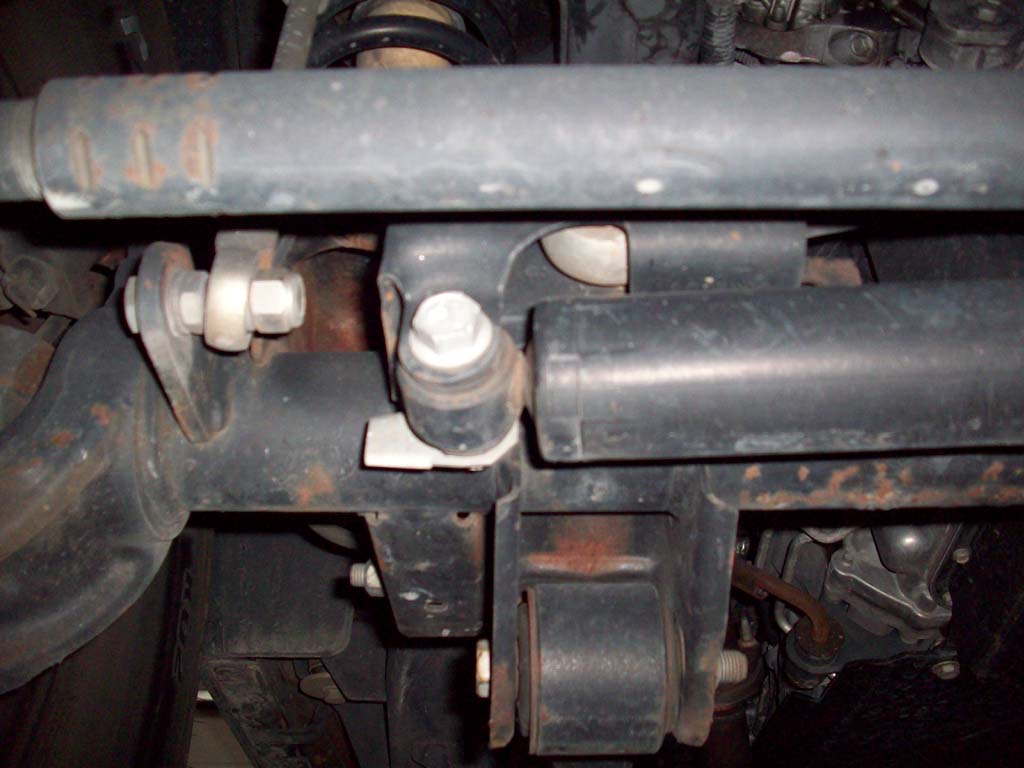
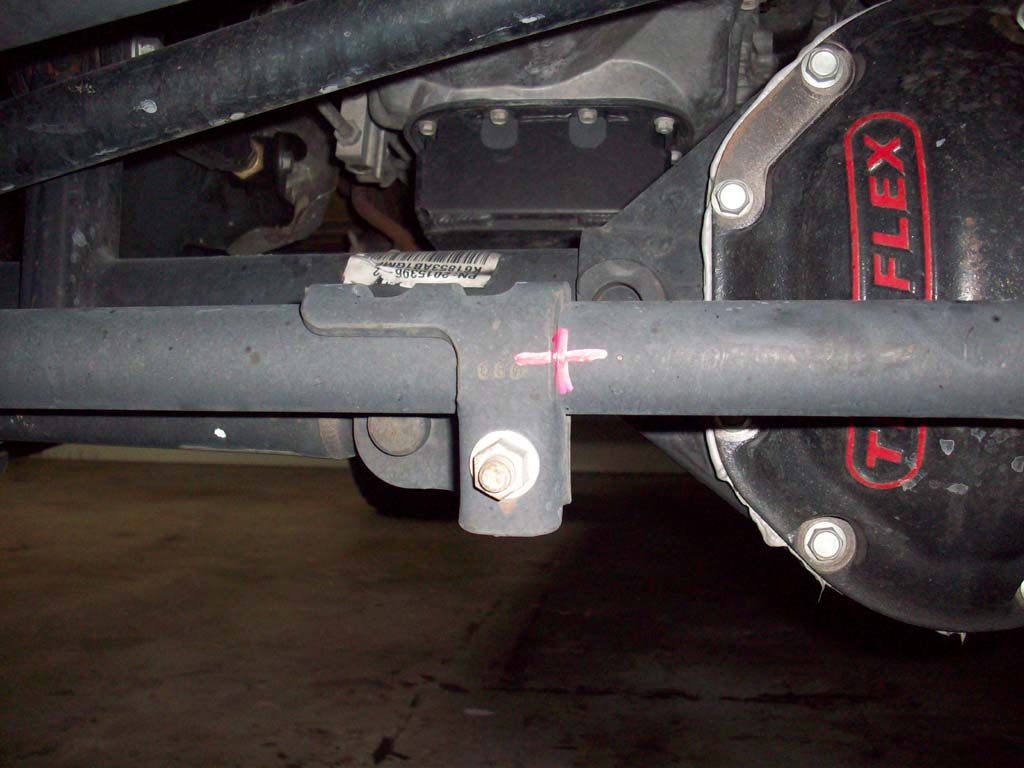
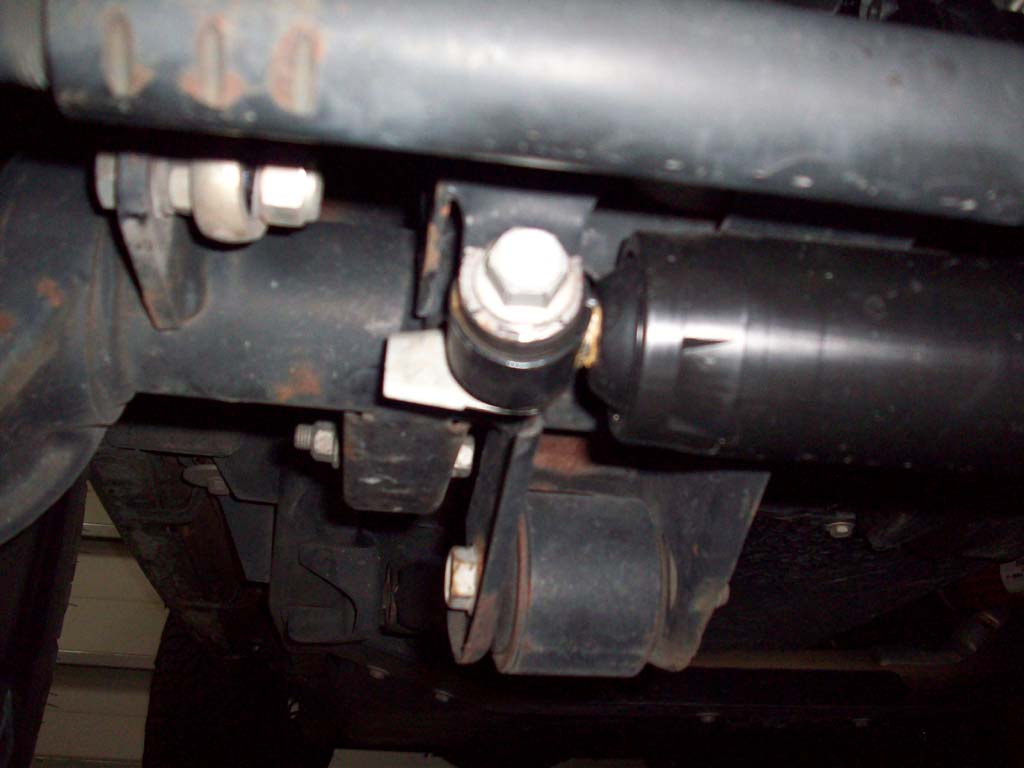
| 1. Mark the current location of the steering stabilizer bracket on the tie rod. Using a 15mm socket or wrench, loosen the nuts on the pinch bolt that attach the steering stabilizer bracket to the tie rod. |
 |
 |
| 2. Move the bracket on the tie rod and tighten the nut just enough so the bracket can be rotated when you check for clearance. You will need to move it over about 3/4". This is just an estimate, so may not apply exactly to your setup. Rotate the clamp so that the pinch bolt is parallel to the ground. |
 |
 |
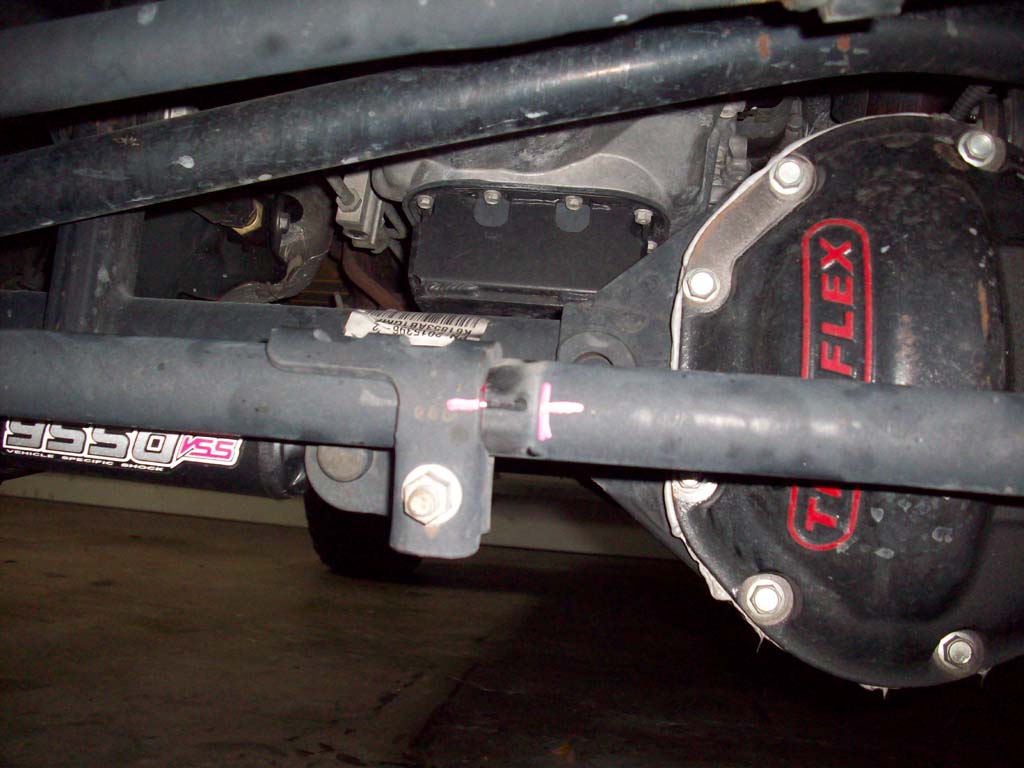
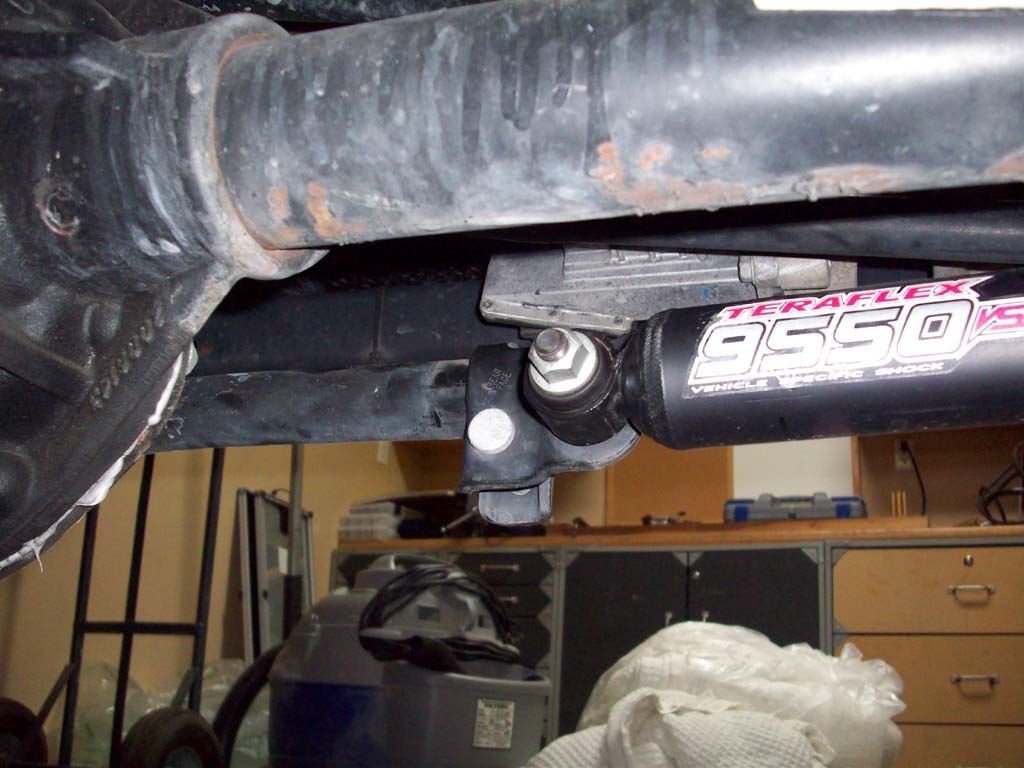
| 3. Using the factory hardware, install your new steering stabilizer with the dust shield to the axle side mount and the shock body to the tie rod mount. With an 18mm wrench tighten both ends and torque to 50 ft-lbs. |
 |
|
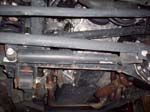
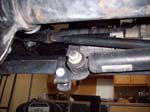
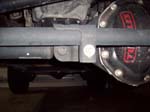
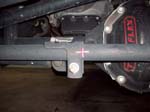
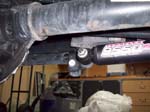
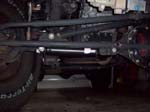
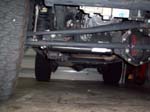
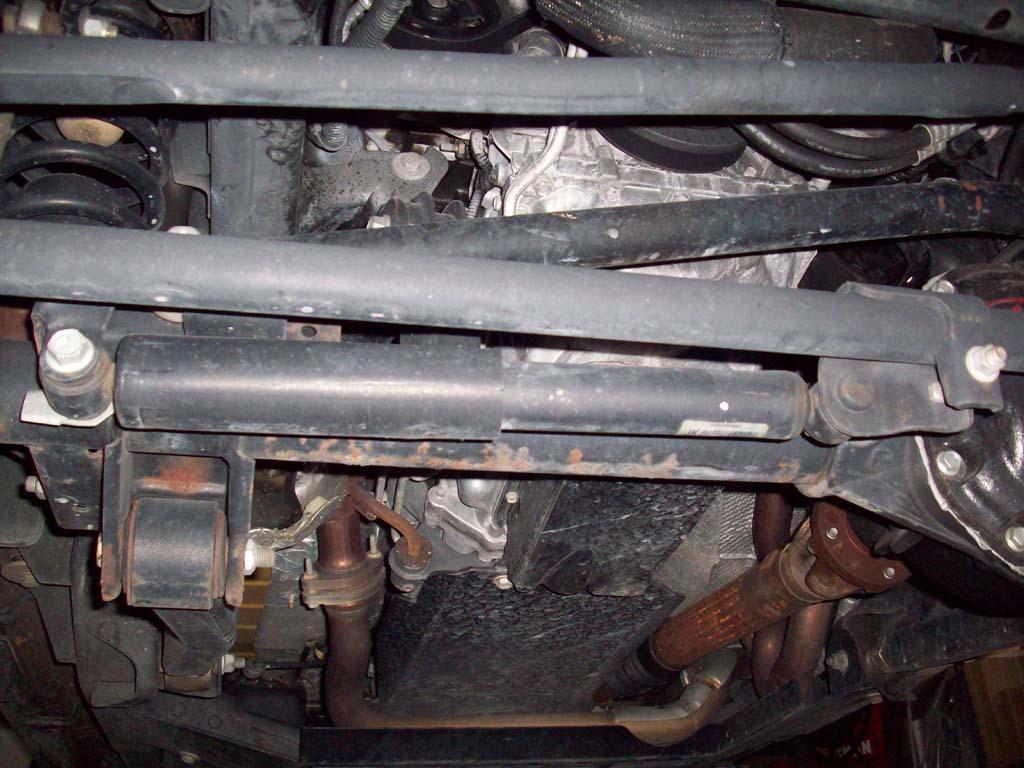
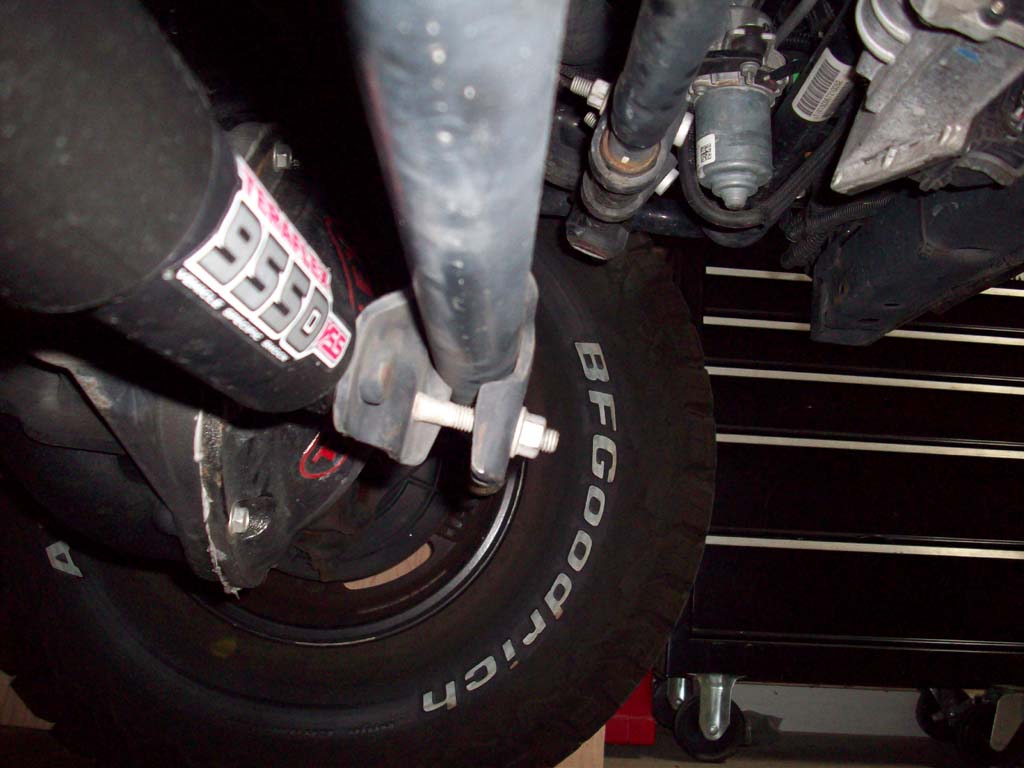
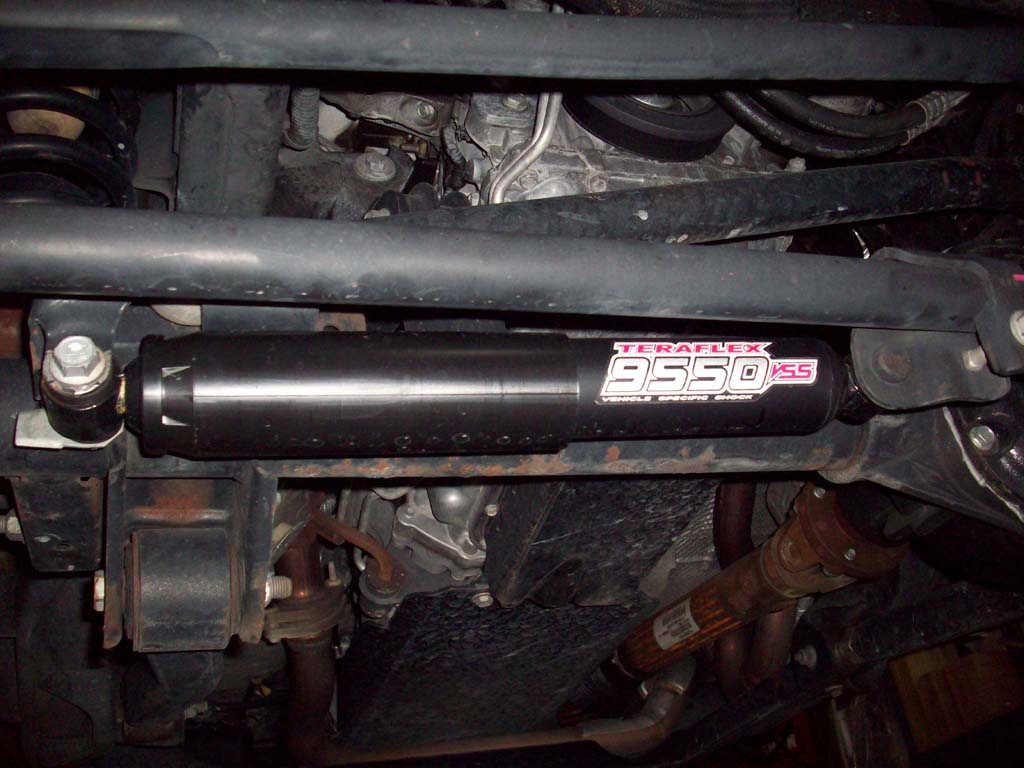
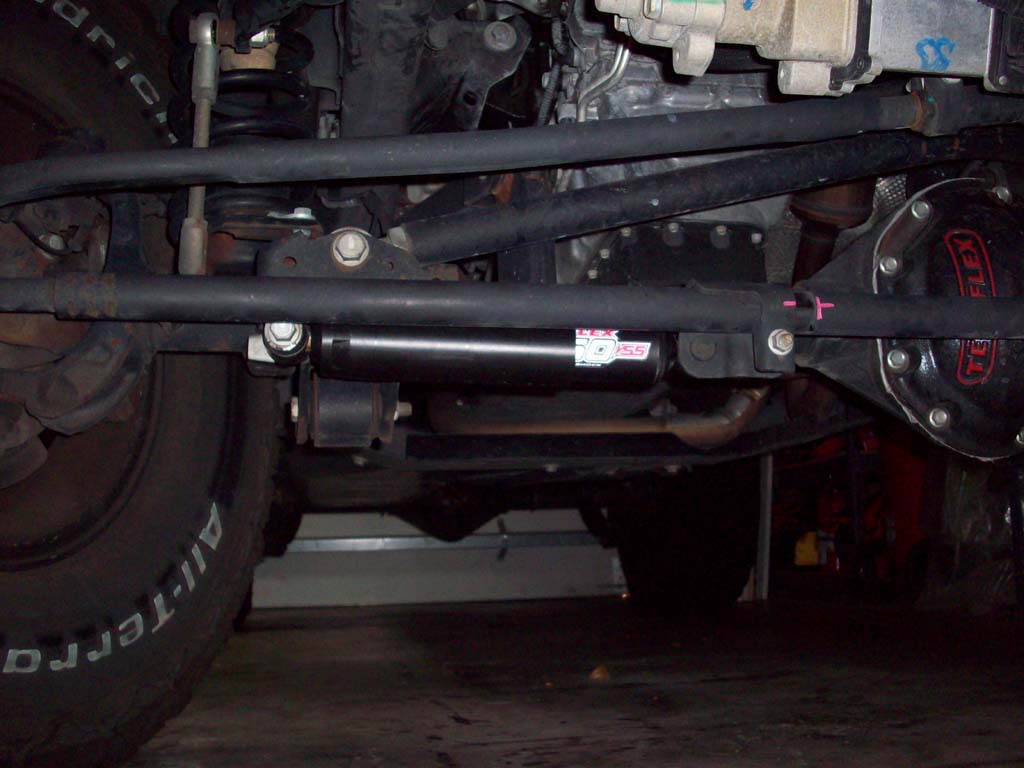
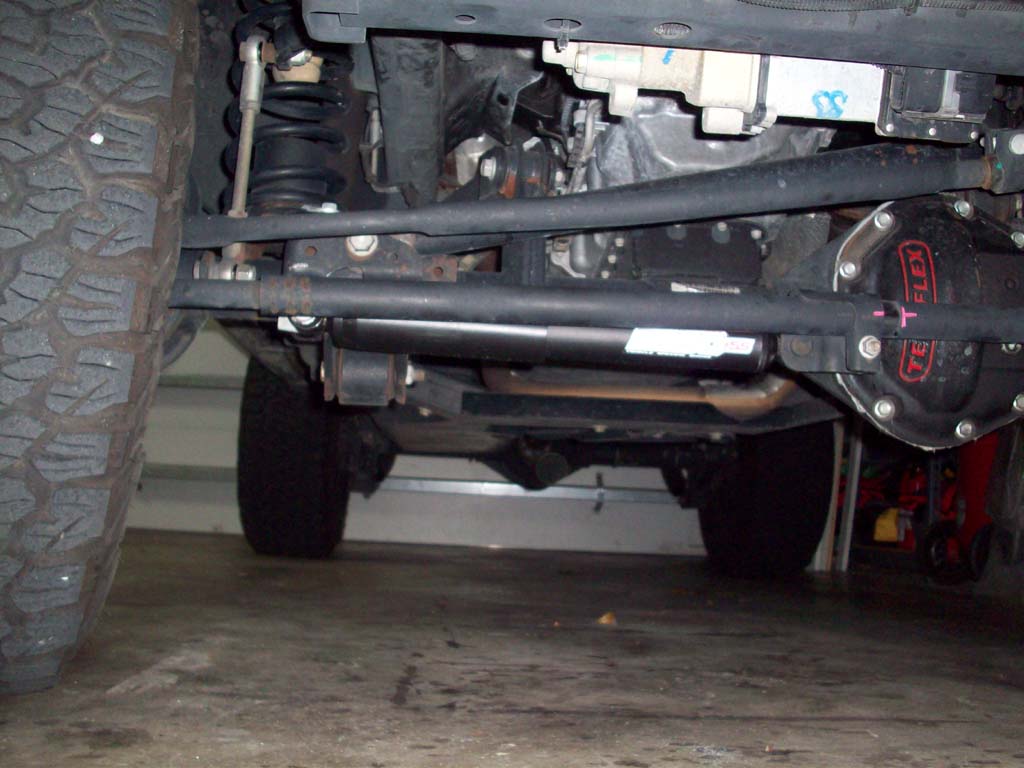
| Installed: |
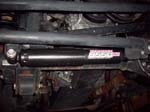 |
Rotate the Steering Wheel lock to lock to verify the following:
- The stabilizer is centered so the stabilizer does not limit the steering wheel travel. Verify that there is still travel left by using the marks from step 3 or measuring the length. The Steering stabilizer is 12-1/8” fully collapsed and 19-1/8” fully extended. The steering stops should stop the travel, not the stabilizer or damage can occur!
- The stabilizer does not contact the track bar bracket through the complete travel.
If there are any clearance issues, rotate the tie rod bracket down until there is sufficient clearance. |
| Once the clearance is verified, tighten the pinch bolt to 37 ft*lbs using a 15mm wrench. Cycle the steering one more time to double check the clearance. |
 |
 |
| |
| Upon completion, you should have extra
hardware. Don’t panic! The remaining
hardware is for other applications and not for
the JK models. |


