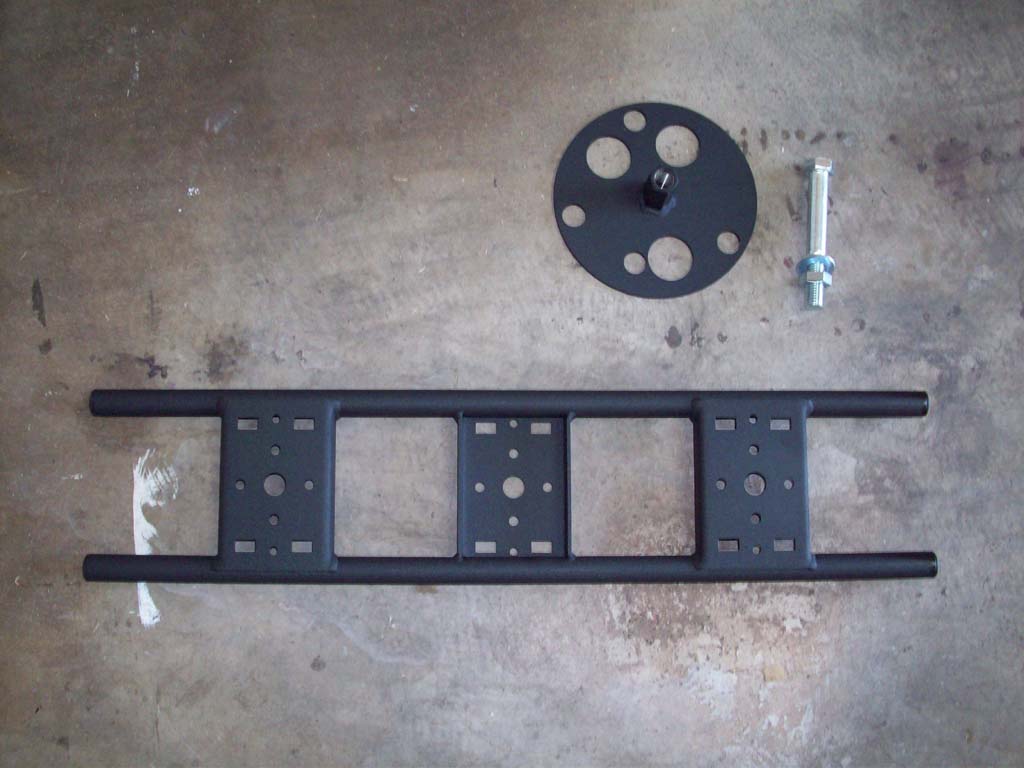
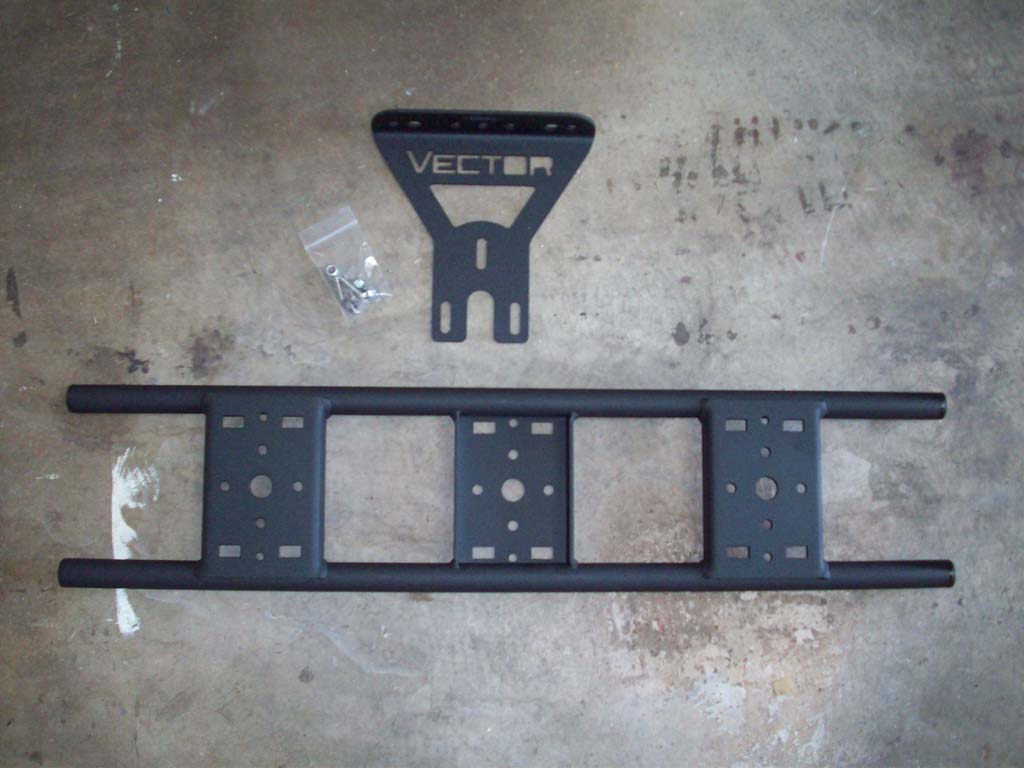
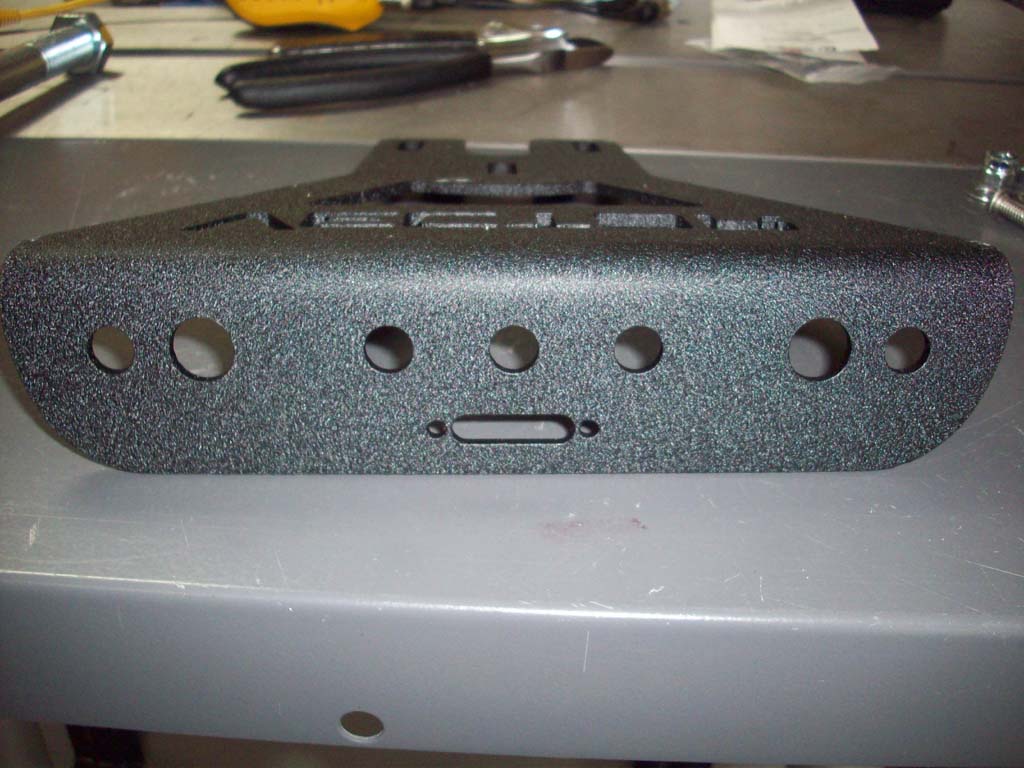
Part #: EXO Rack - EXO Rack Part #: 311-018 - EXO Rack Light Riser plate
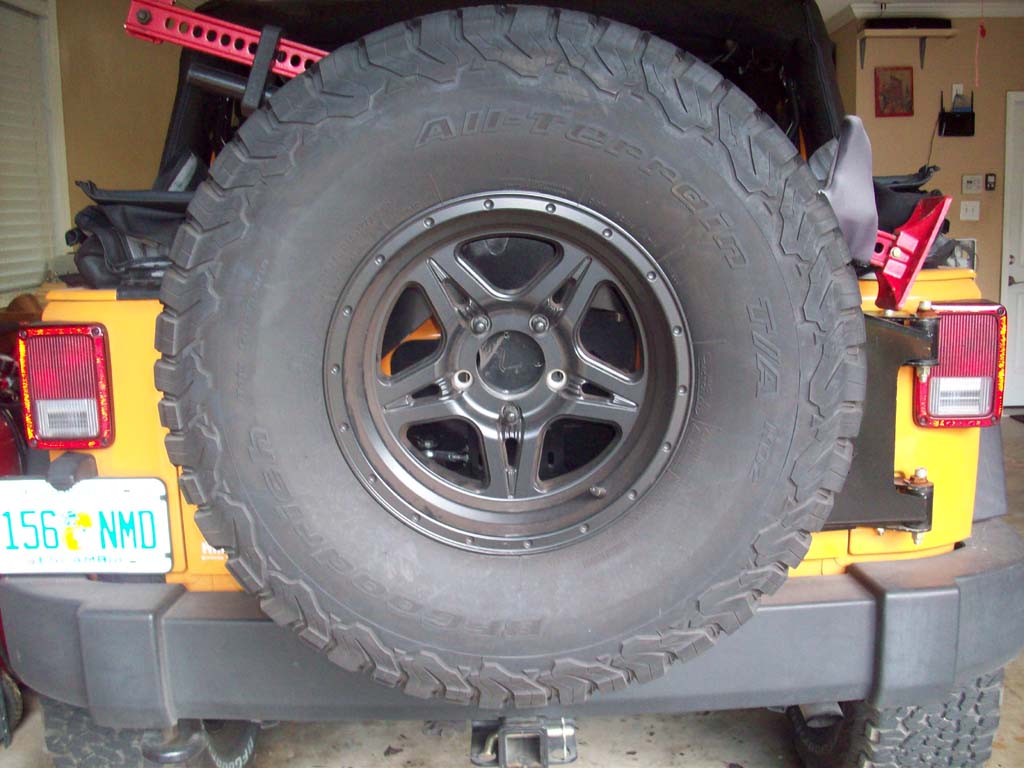
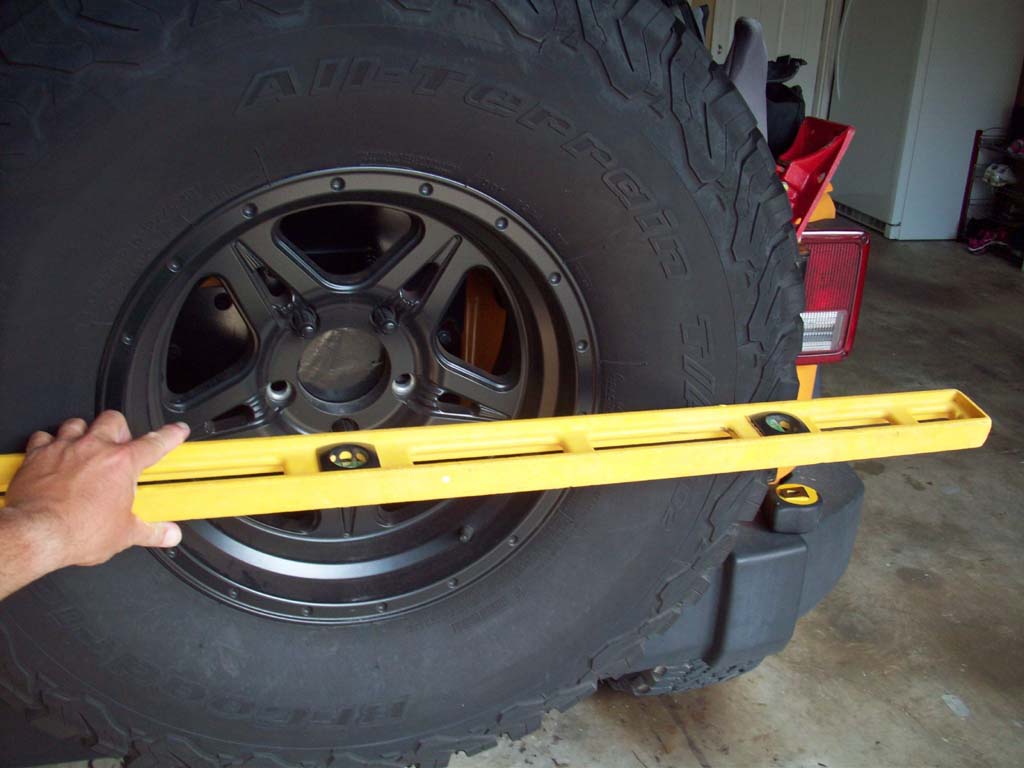
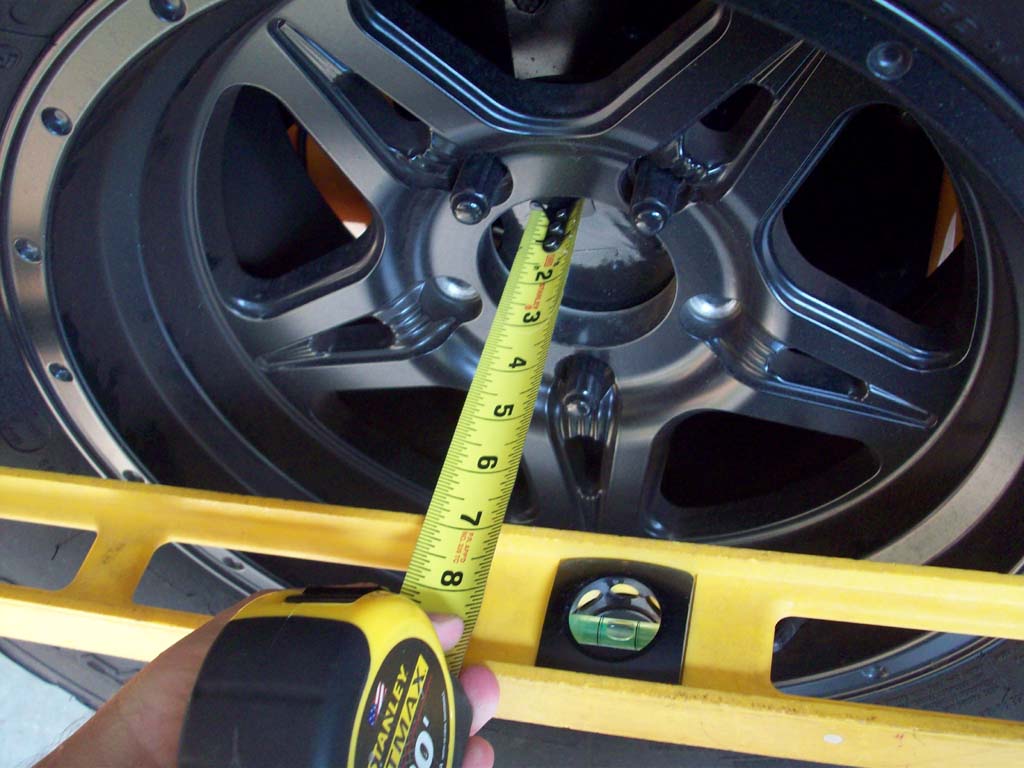
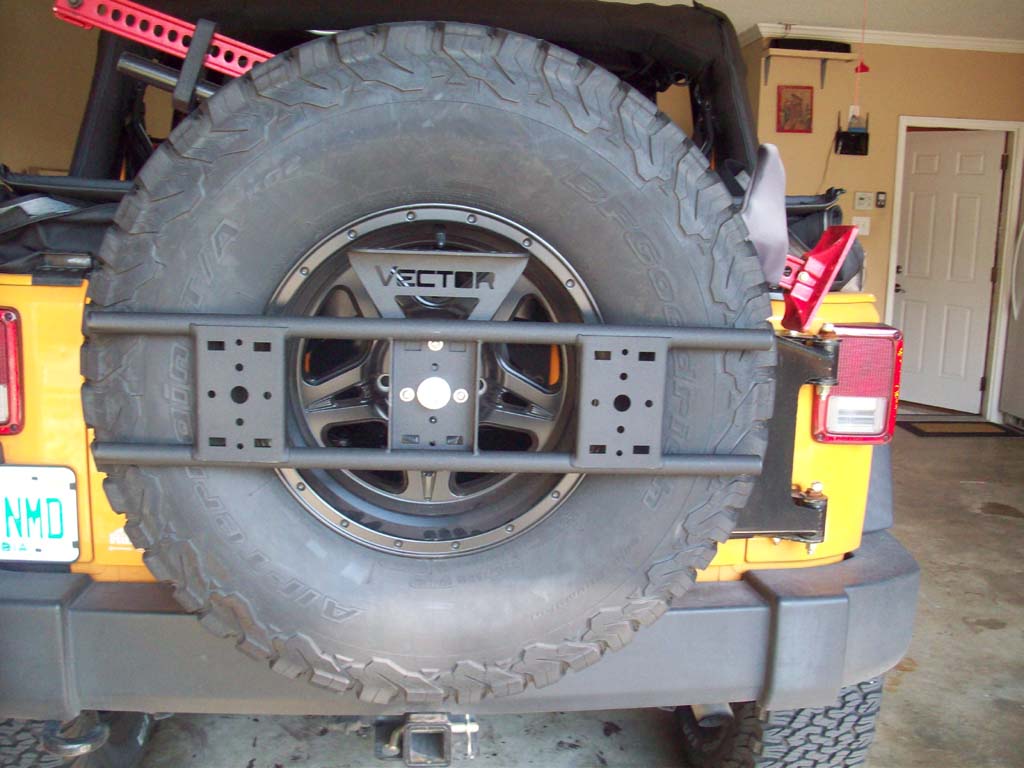
The Vector EXO-Rack is an add on to your existing tire carrier and is used to carry extra water, fuel and other vital supplies. The EXO Rack mounts by sandwiching your spare tire. Before ordering the EXO Rack you will need to measure the distance from the wheel mounting surface to the outer edge of your tire to determine what size mounting bolt you will need. The EXO Rack requires a minimum distance of 3" from the WMS to the outer edge of the tire. To measure put a straight edge across the outside edge of your tire and measure to the mounting plate on your tire carrier (through the hub opening).
Fits standard 3 lug tire carrier patterns of 5x5", 5x4.5", 5x5.5", 6x5.5", 8x6.5", 8x170mm. Please exercise judgement and caution when adding extra weight to tire carriers. Vector OffRoad is not liable if you overload your tire carrier and cause damage to yours or another vehicle. Consult with the manufacturer of your tire carrier for their total weight capacity rating.
The EXO Rack provides the following benefits:
Carry RotoPax Water/Fuel/Storage containers. The plate can hold up to qty 4-2 gallon RotoPax containers, or qty 2-4 gallon RotoPax Containers.
Purchase rotopax mounts and containers separately.
Alternatively, instead of rotopax containers, the EXO Rack can be used to carry a shovel, off-road jack (requires Vector OffRoad OffRoad Jack Mounting Kit), axes or other essential gear.
EXO Rack can be mounted vertically or horizontally.
- All Steel Construction
- Standard finish: Black wrinkle powder coat.
- Made in the USA
- Includes EXO Rack Base model only.
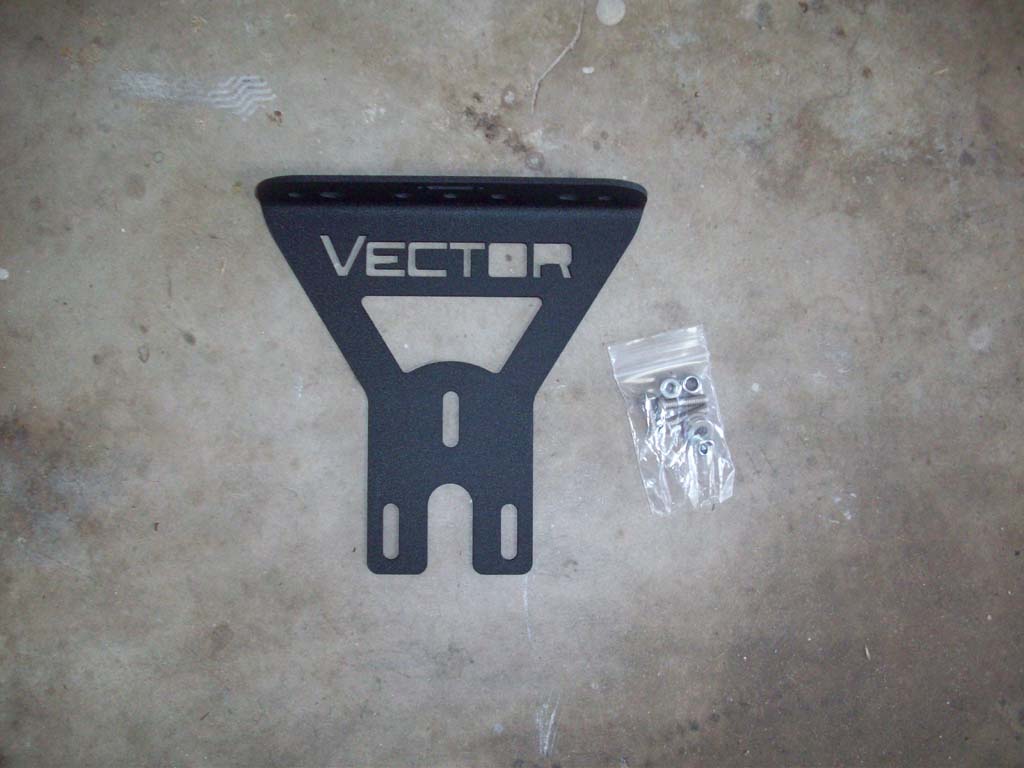
I picked up both the exo rack and the light riser plate so I could mount a set of reverse lights and backup lights to it.
Before You Order:
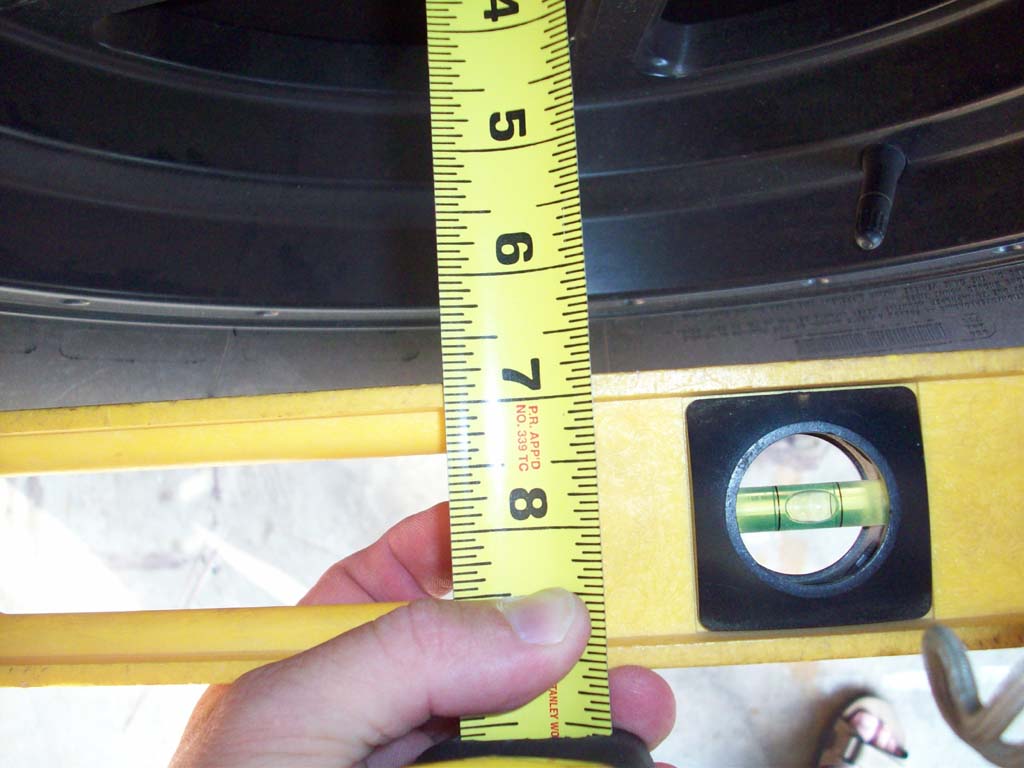
You will need to measure the distance from the edge of your tire to the mounting plate so that you can order it with the correct length bolt. Place some type of flat edge across the tire and measure the distance to the mounting surface. Mine was just under 7" with a 315 mounted on 16x8.5" wheels and a 4.5" backset.
Installation:
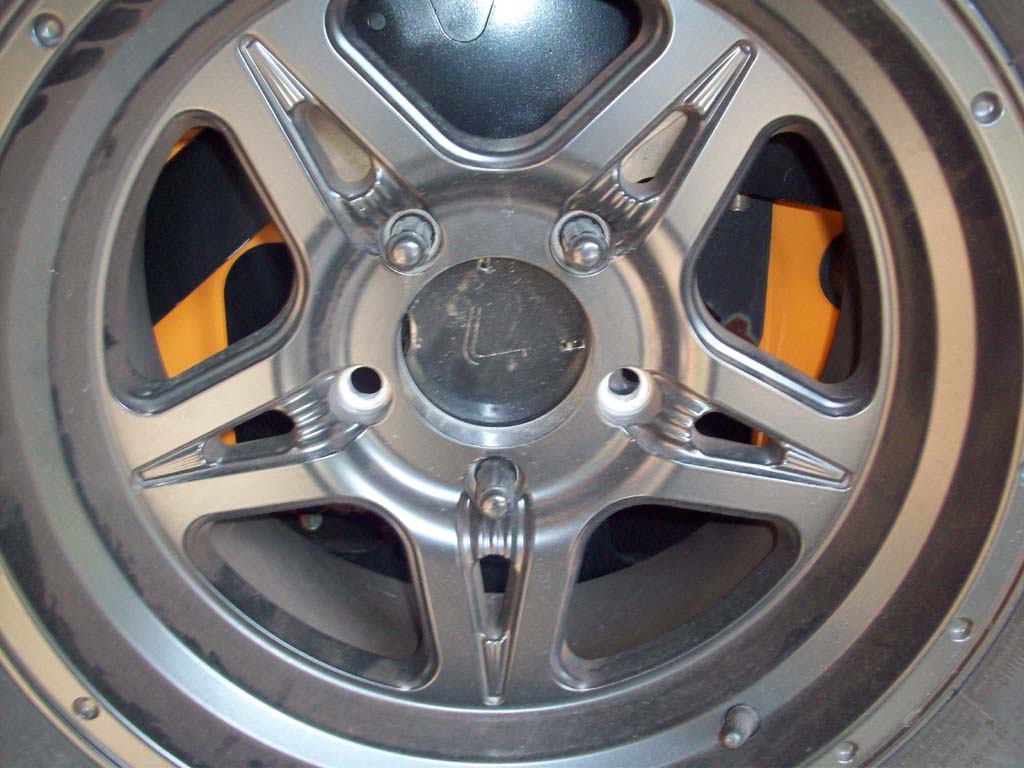
1. Remove the tire. This is a good time to clean up the mounting surface and do any touch up paint that you need to do. Just remember you did it and don't end up with it all over your fingers.
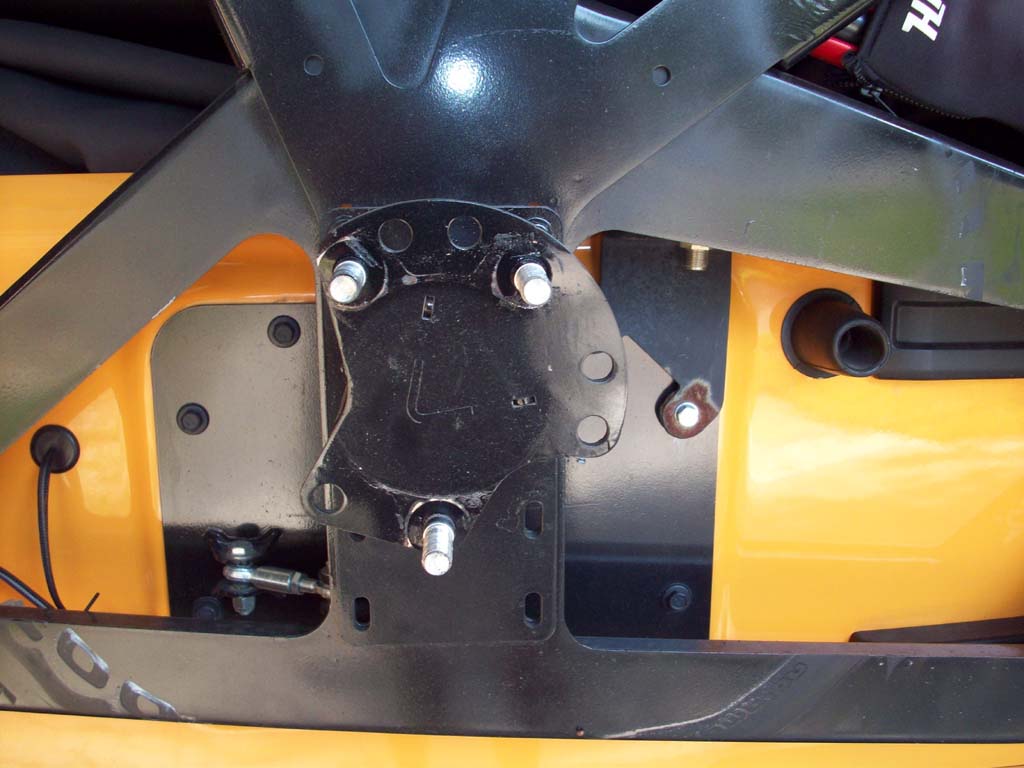
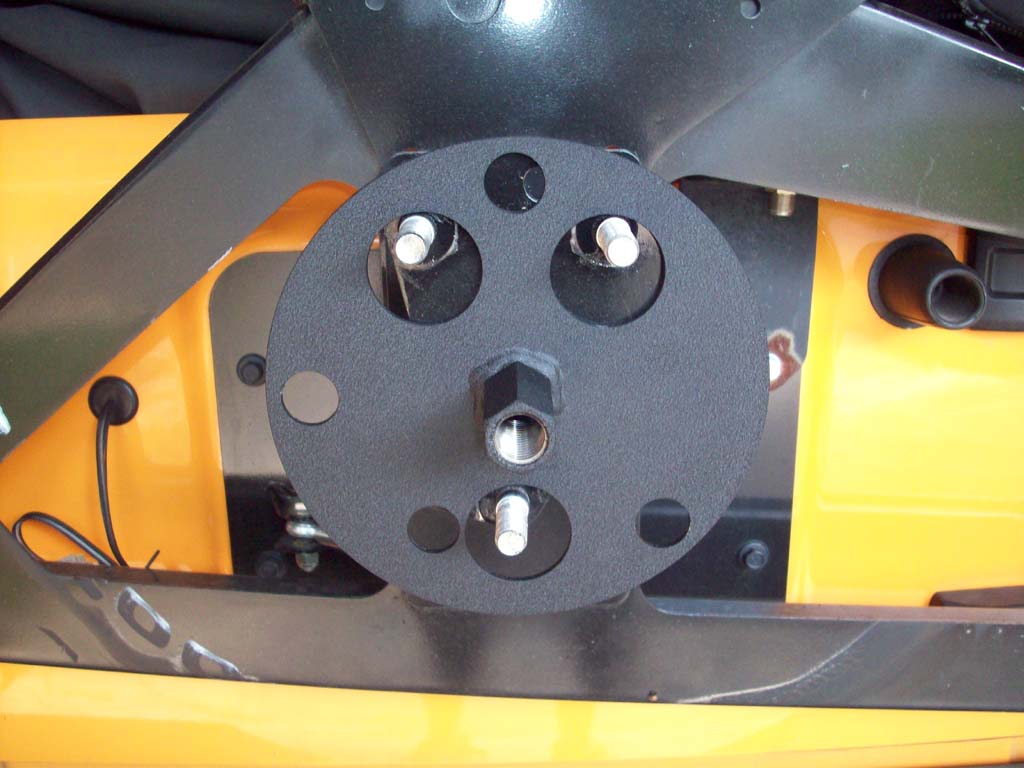
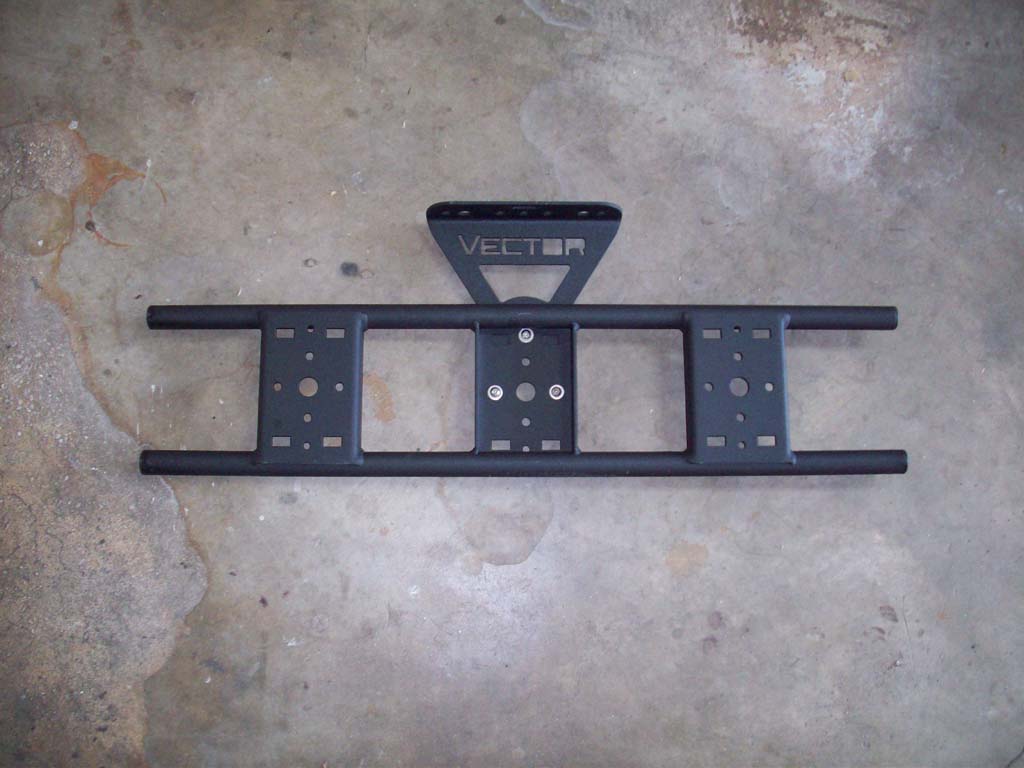
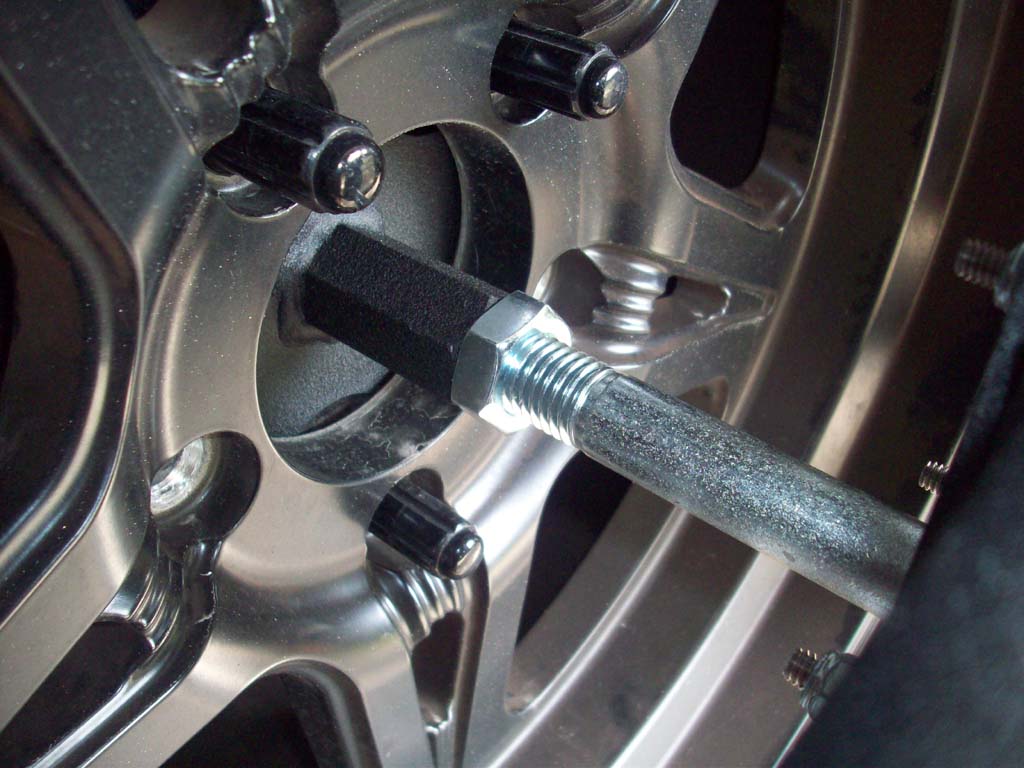
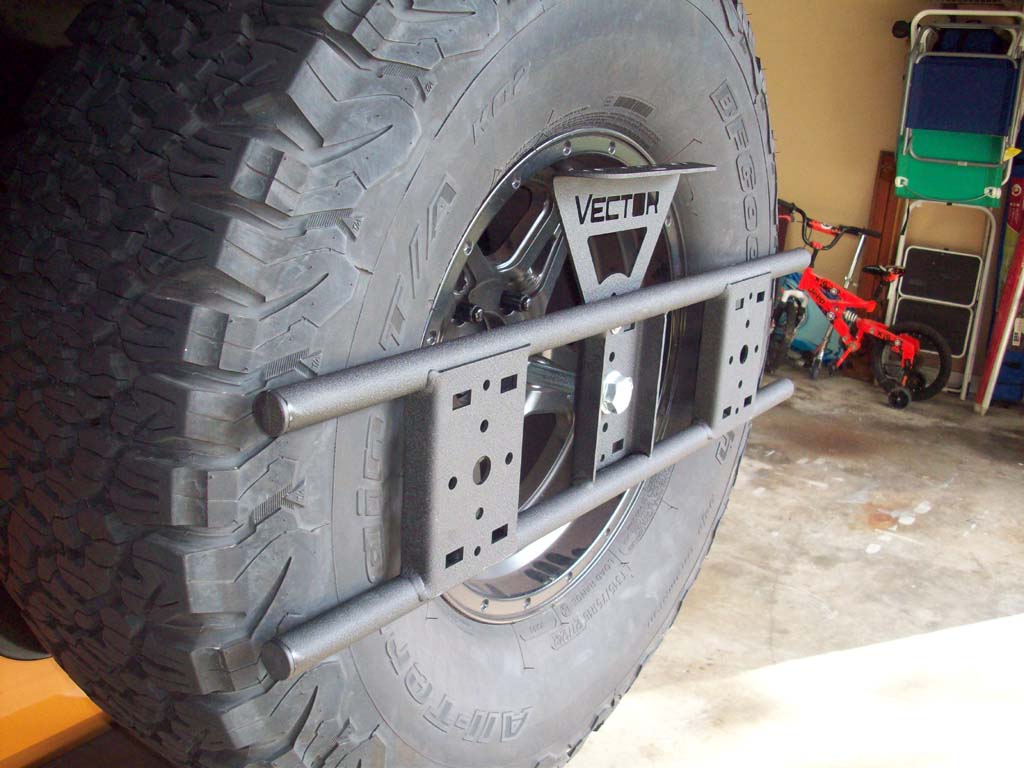
2. Install the mounting plate over the wheel lugs. The exo-rack fits all sorts of different patterns so you have lots to choose from. The JK 5 on 5" pattern uses the 3 really big holes in the exo-rack mounting plate.
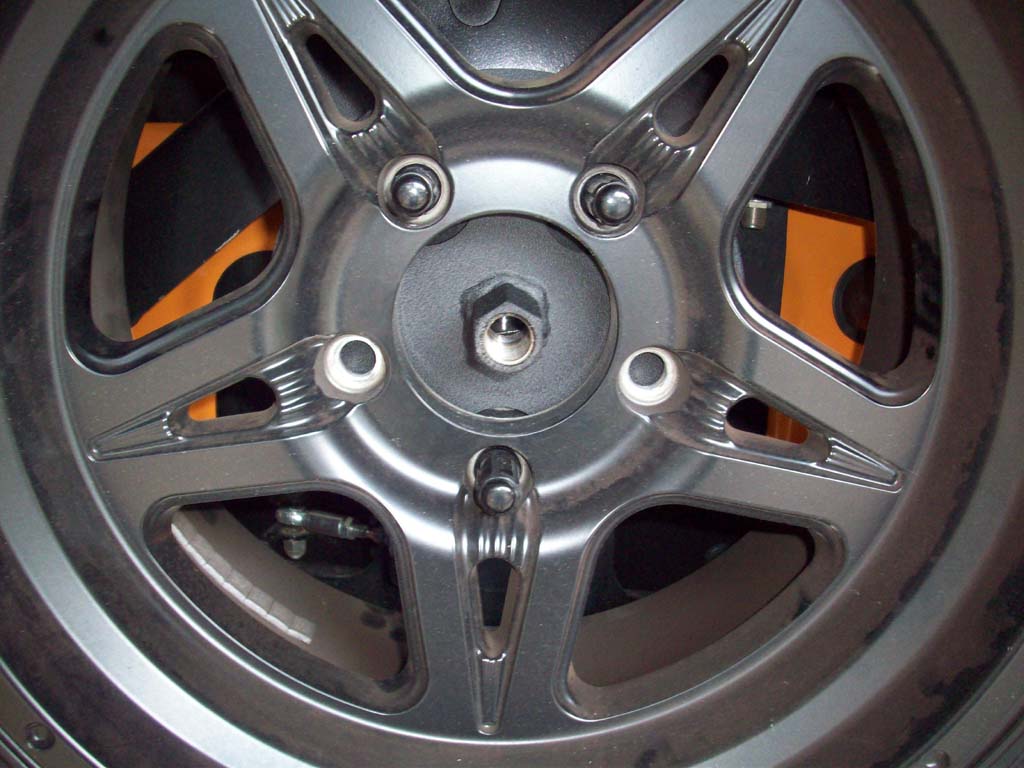
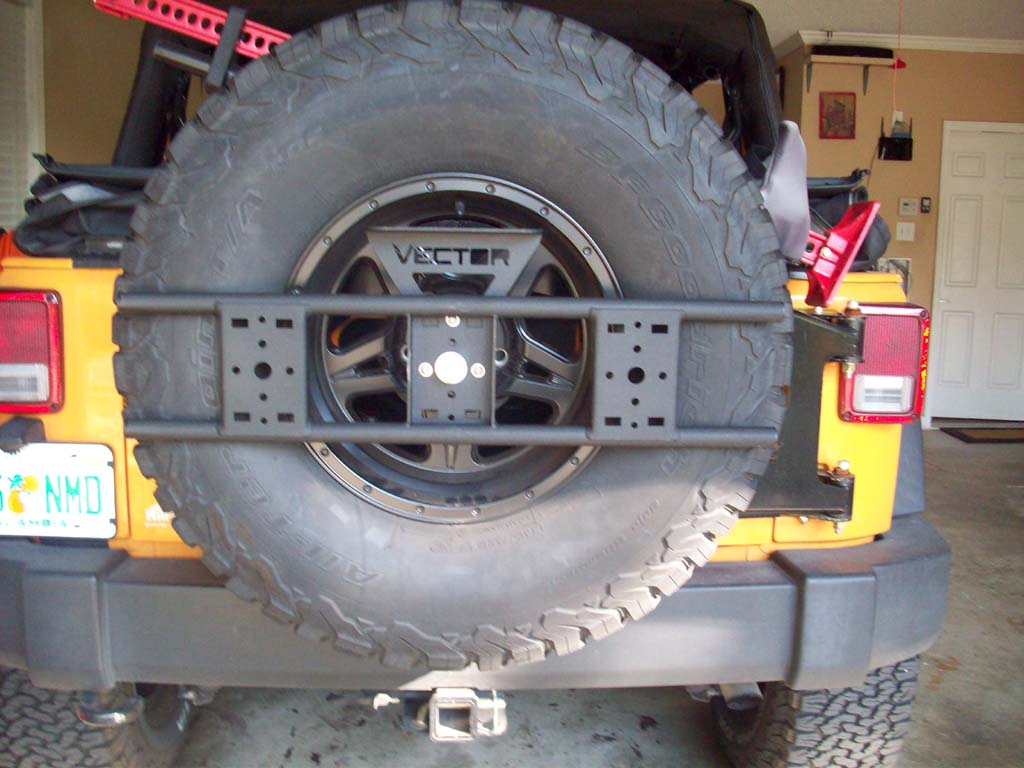
3. Now reinstall the tire. As you can see you can adjust the position of the mounting plate before you tighten down the tire. I ended up leaving mine in the down position.
You can see a few examples of how the different positions work out.
Mounted Center (high)
Lights would hit the tires.
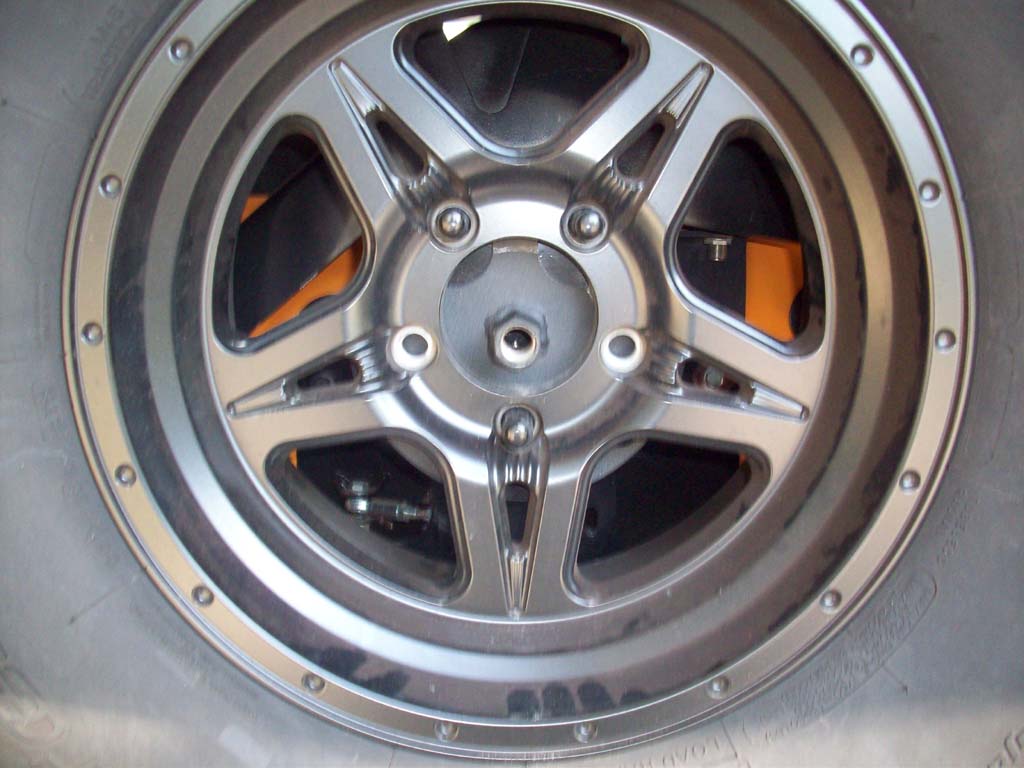
Mounted Center (low)
Not high enough for RotoPax to clear well
Mounted Low (Low)
Not high enough for RotoPax to clear well
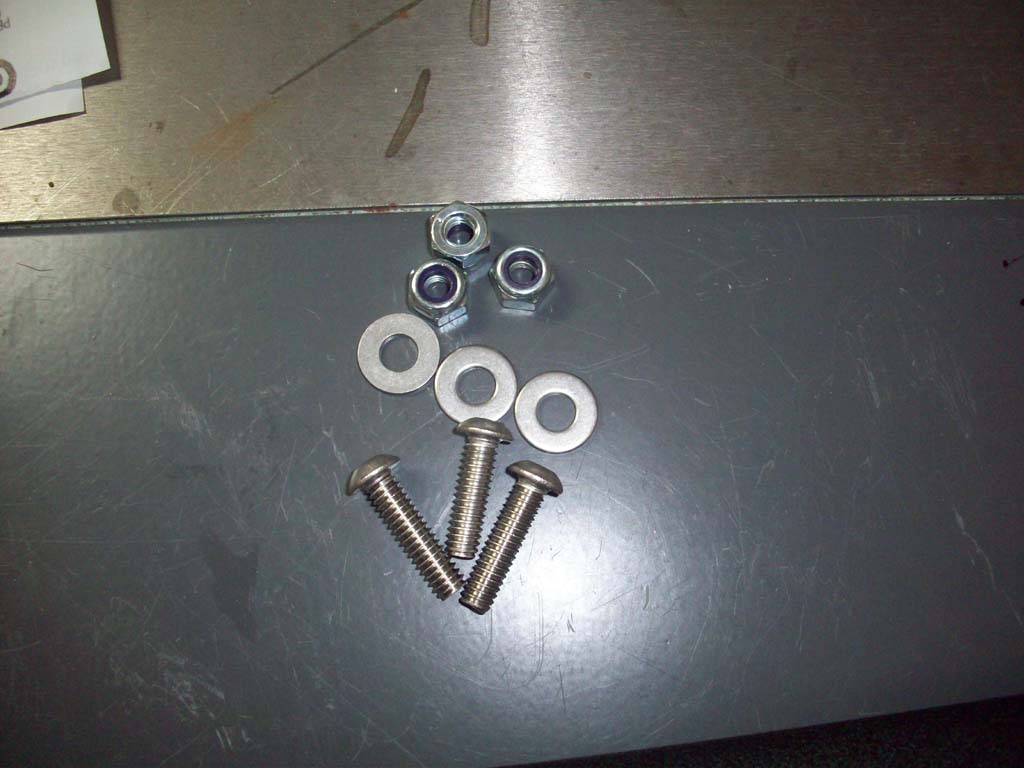
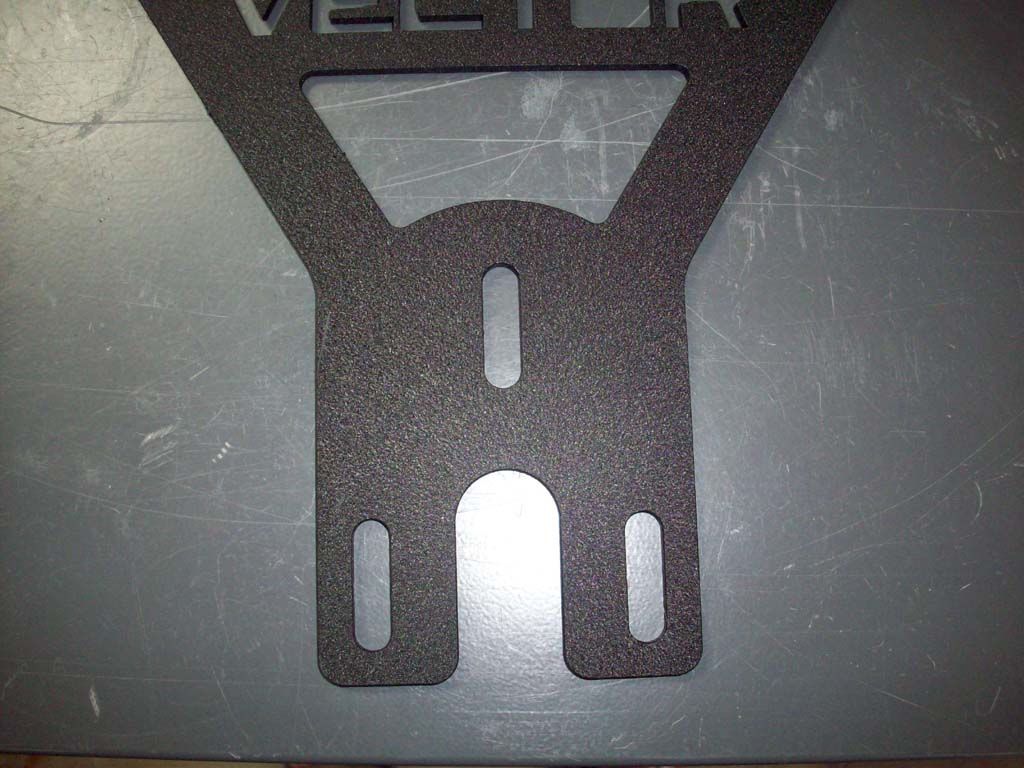
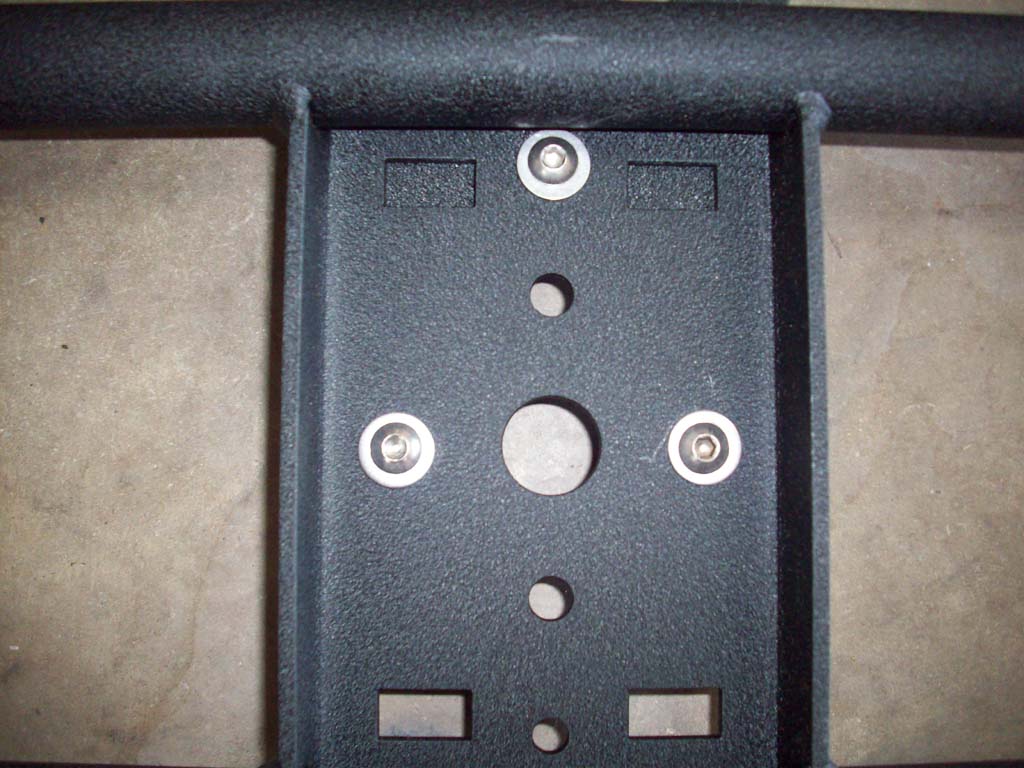
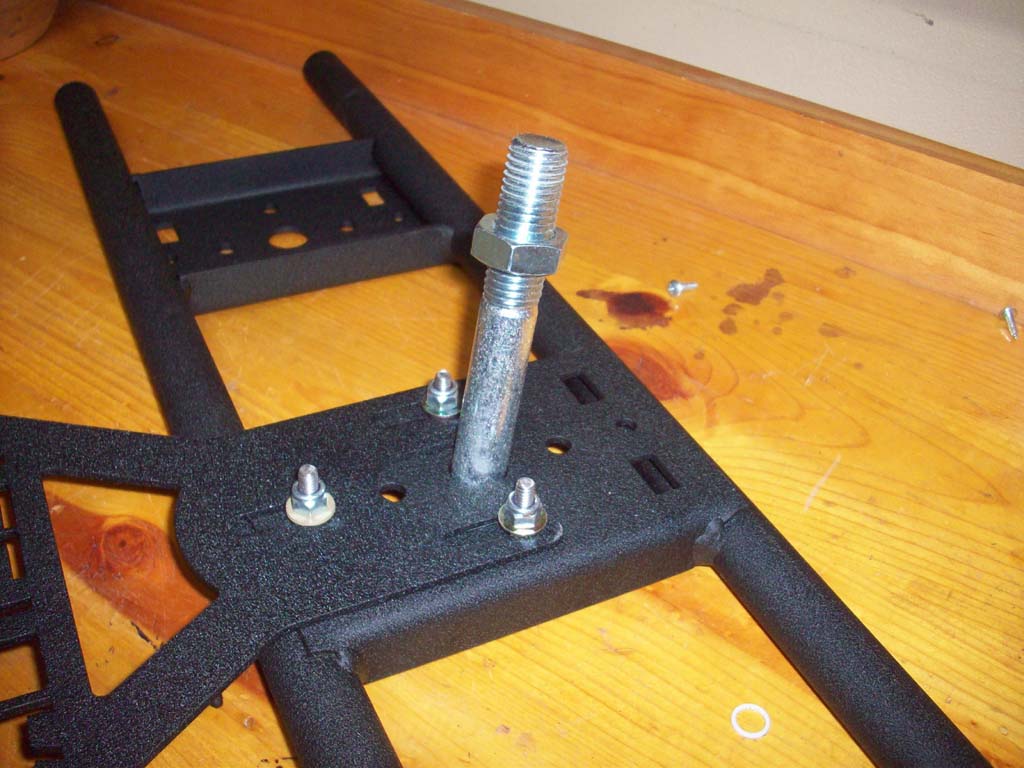
4. Install the light riser plate to the exo-rack. You will need the three (3) allen head bolts, washers and nuts. The plate is slotted so you can adjust the height as you need to.
5. Install the bolts and washers from the outside (the center section should be a u shape facing you). Install the nuts on the back side and tighten down. You will need a 5/16" combo wrench and a 5/32" allen wrench.
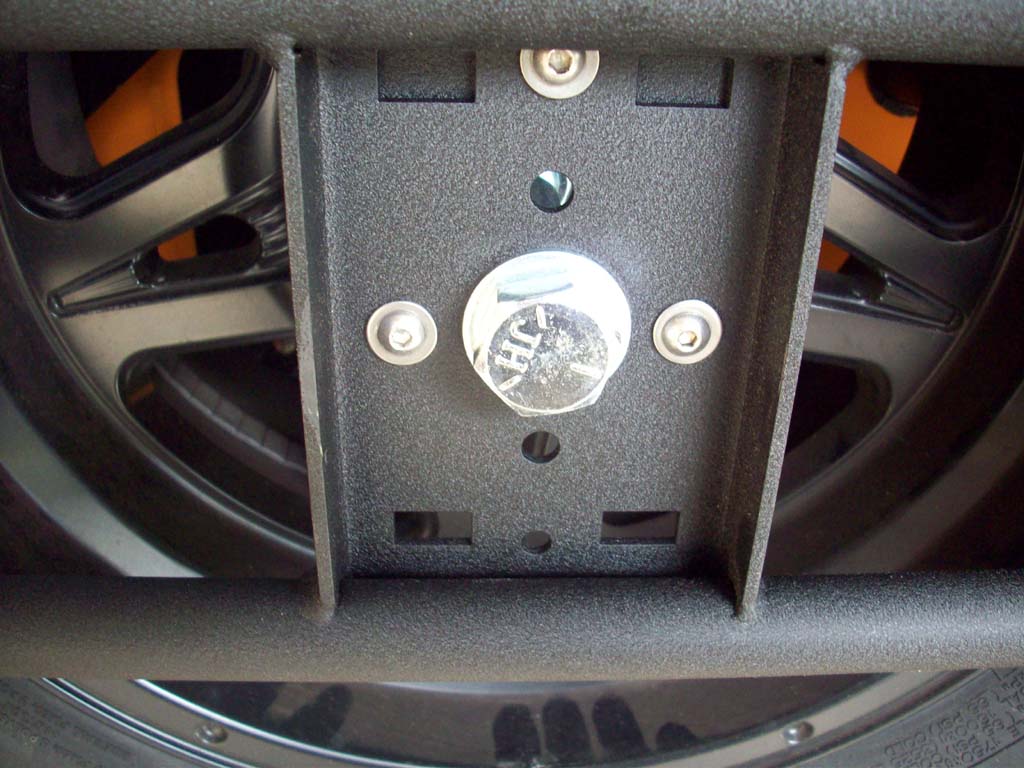
6. You can see that there a plenty of different size holes to allow for combinations of mounting lights, antenna's, and camera's to the plate. There is an optional brake light kit you can buy from Vector that can be installed. I had a set of motorcycle brake lights that I was going to install, so I didn't use their's.
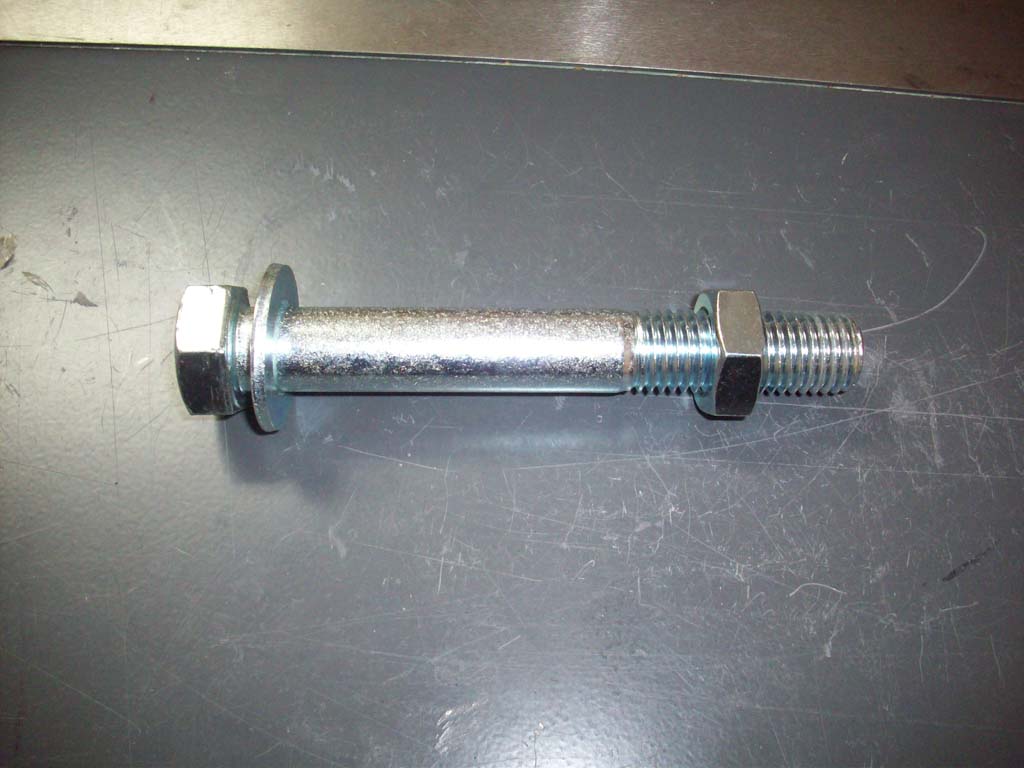
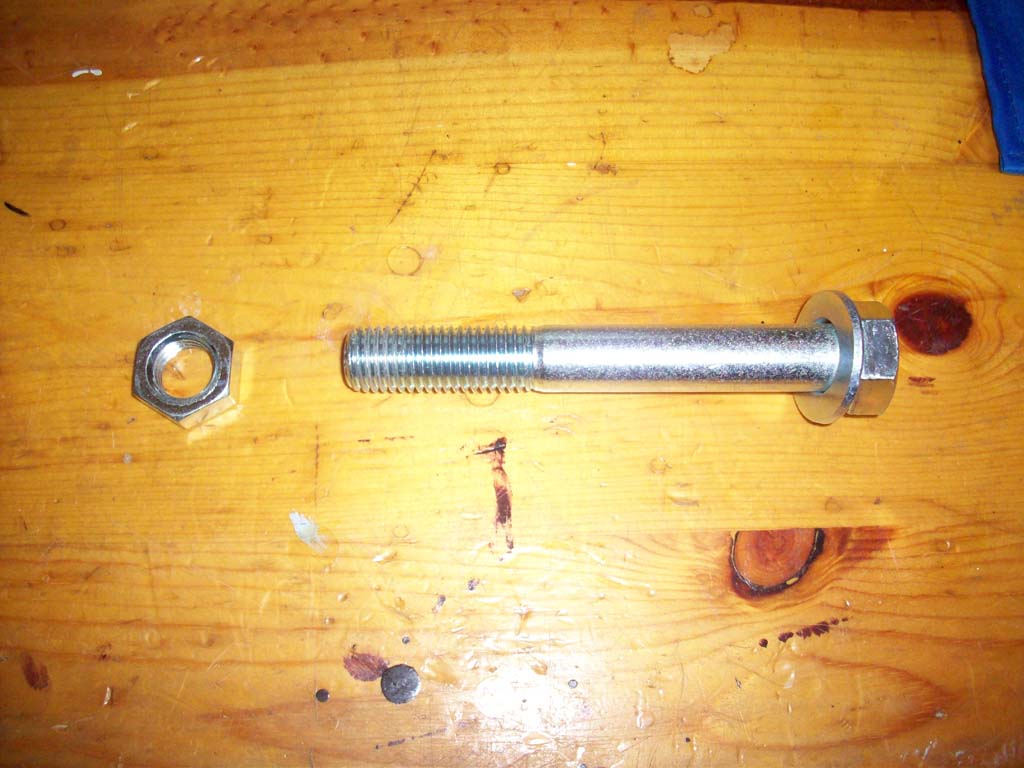
7. Remove the jam nut from the very large bolt.
8. Install the bolt through the exo-rack and thread the jam nut back on. You will need to run the jam nut up almost all the way the first time. This is to ensure that you have enough clearance when threading the bolt into the mounting plate and getting the exo-rack tight before locking it in with the jam nut.
9. Tighten the bolt with a 1 1/8" socket or combo wrench. Make sure the exo-rack is snug against the tire and then tighten the jam nut with the same wrench.
10. Now stand back and admire your work...
I still need to install the rear reverse lights and 3rd brake light onto the light riser bracket. The links are below (as soon as I get them written up)