A lot of us like to run our jeeps with the soft tops on or with our tops off when the weather will allow us. Jeep didn’t include much in the way of security in their previous Jeeps and that trend continues on to the latest incarnation of the Jeep lineage. The JK has three places to store stuff, the normal glove box (which will fit a pair of gloves), the handy center console and the new rear storage compartment disguised under a piece of cardboard in the back. None of these options really allow for any safe storage and nothing will ruin your day faster than someone making off with your stuff.
Tuffy has built security items with the Jeeper in mind in the past and that continues today. Thieves want to get in fast and get your stuff. Tuffy has been referenced to me as building VAULTS. The only way your getting in is with the Key. Now knowing this reputation probably saved the valuables that I had stored away in the Tuffy boxes on my old TJ. Either that or I had some really dumb thieves try to steal my stuff. When the thieves broke into my Jeep they rifled through everything and immediately tried to pry open the Tuffy boxes with a pry bar. They did a bit of damage to the interior, but did not get into the boxes for what was inside. I guess they knew the reputation of Tuffy, the boxes were unlocked. They didn’t even try to open them normally.
All of the Tuffy boxes are built with 16 gauge steel and finished with an electronically fusion-bonded epoxy powder coat. In other words it’s hard to scratch them and even harder to get into them. Tuffy features a few unique safety features on their boxes.
Patented Anti-twist push button design - If a product is locked, the push-button can still be pushed without deactivating the latch. Tuffy's anti-twist feature overcomes a major vulnerability of typical push-button locks while keeping it convenient to use.
Stronger Latch Mechanism - The Hardened Steel Latch is mounted in a unique welded metal assembly offering tremendous strength compared to look-alike unhardened latches or weak hook catches.
Tuffy’s High Security Key - Tuffy's pick resistant lock is typically the same or greater security that the vehicles ignition key. Other products using tubular keys can be broken into by simply punching out the center pin. Products with inexpensive, 5 tumbler, single bitted flat keys are easily picked.
2 Point Welded Striker - The Striker is welded with a 2 Point solid pin. Other manufacturers cut corners, & compromise security by fastening the striker with weak hardware or only connecting the pin on one side.
CAM-Locking System - CAM-Locking System Security is provided by a deadbolt effect which eliminates the force applied to the actual cam-lock components. A high security Cam-lock with a 10 Tumbler Double Bitted Key is featured. A large mounting shaft for increased strength is included.
Heavier Duty Design – The Hinge is welded, not riveted, custom hinge with Stainless Steel and 16-gauge Carbon Steel components. Featuring special Pin-Lock security. Lip Edges are hemmed creating a 1/8" thick steel rim offering extra strength during a break-in attempt. Weather Protection includes a special formed & welded lid design incorporating neoprene weather seal, lock dust cover, & internal "O" ring protection.
So far the JK line up includes:
Center Console Insert
Overhead Console
Rear Security Drawer
Glove Box
And a rear storage cover.
Additional
Parts:
Silicone sealant
5/16-18 x 3 ½” hex cap screw, grade 8
Tools
Needed:
T-20 Torx
T-27 Torx
½” Socket
½” Combo Wrench
Long extension
Ratchet
Drill
3/8” Drill bit
Scissors
5/64” Allen wrench
Needle nose pliers
Flat tip screwdriver
1 extra body
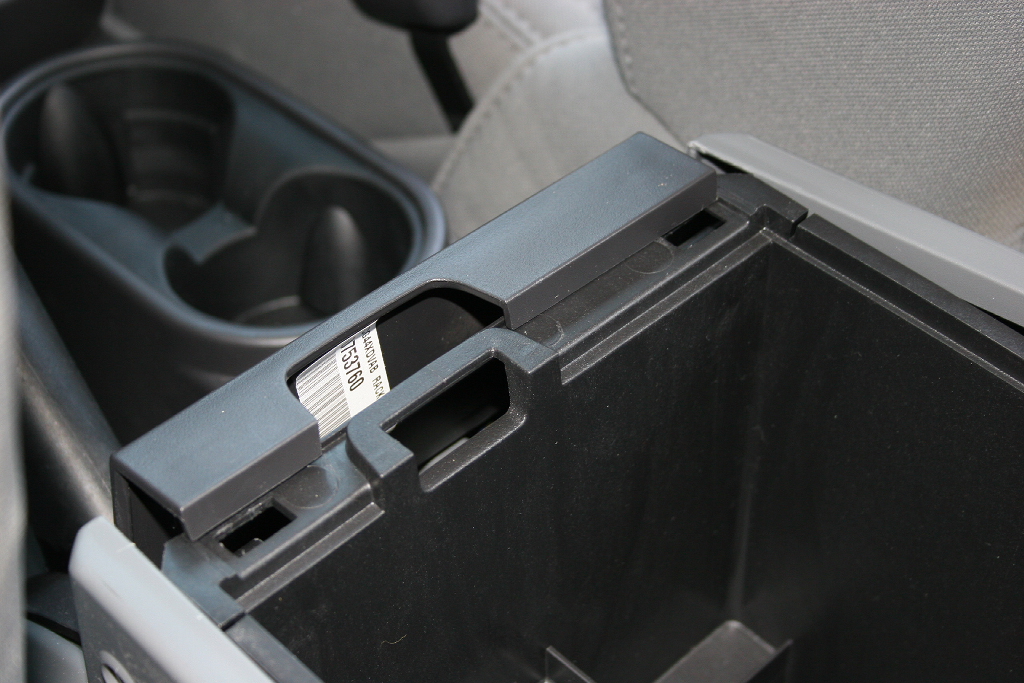
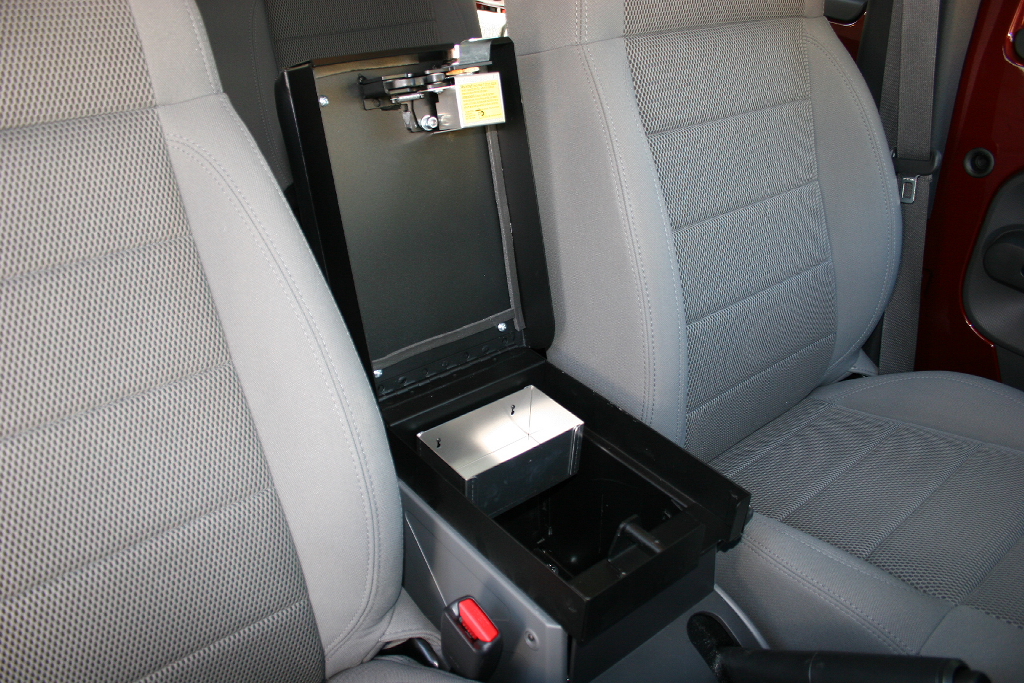
The Center Console Insert arrived packaged in exactly the quality that I expect from Tuffy. It was completely encased in Foam packing, even the tray that is inside the Insert had foam packing to hold it steady.
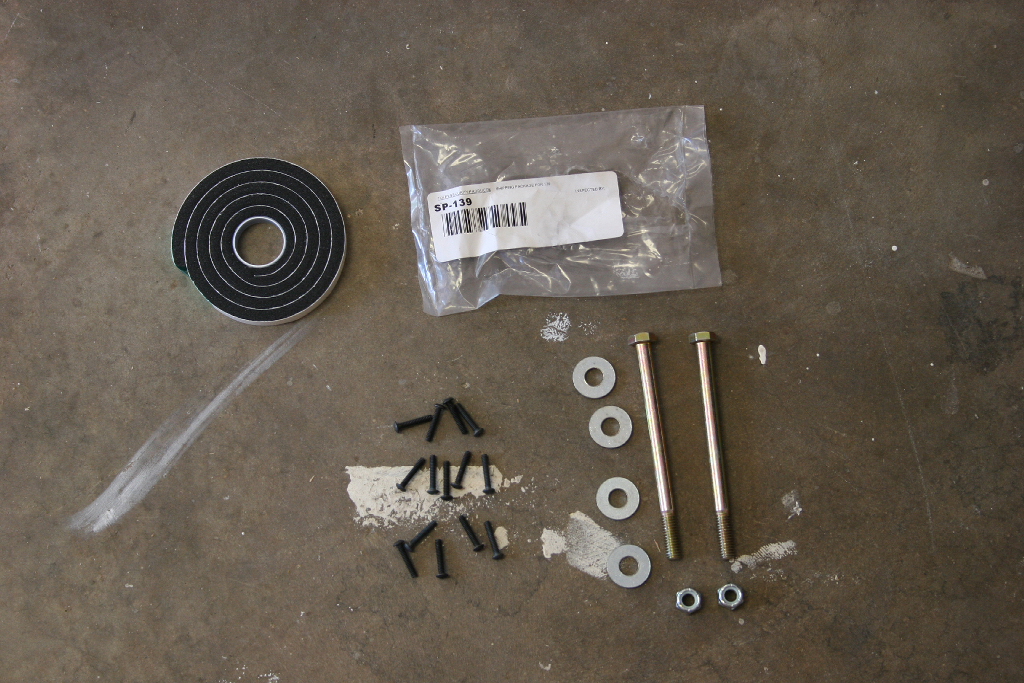
Make certain you have all the parts listed on the instruction sheet. We didn’t get any black #6 washers with our kit. This is one of the early production kits, and have been included in the current kits.
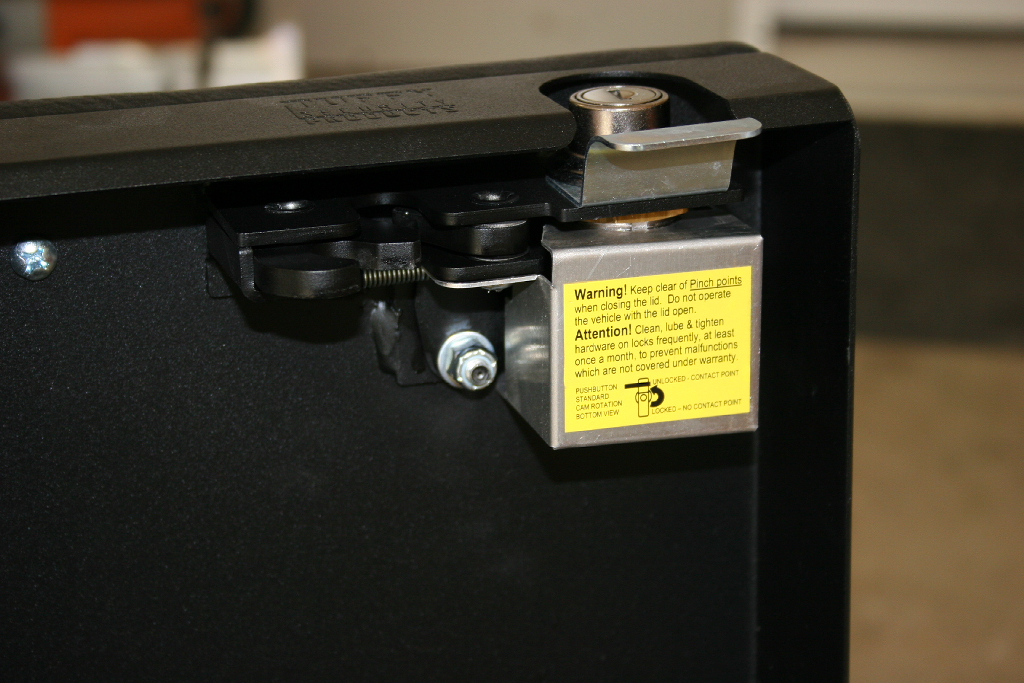
Pushbutton Lock
Striker
Striker
Security Keys
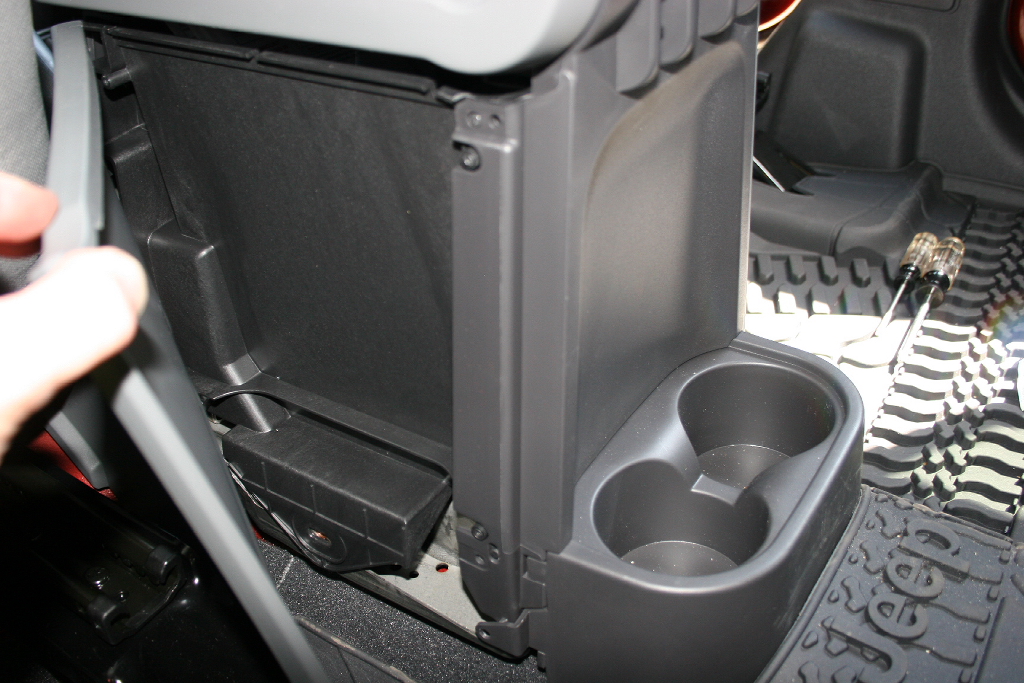
Remove the OEM console insert:
Remove the four Torx mounting screws (two on each side) from the console with a T-27 Torx. You will need to slide the seats forward to access the rear screws. Don’t lose these you will need to put these back later.
Remove the eight or ten torx screws from the sides of the console with a T-20 Torx. Jeep changed their design somewhere along the way, and the 2 bottom screws are now just push fasteners. You can pull these out with a needle nose pliers, or they will come out when you pull the side panels away from the rear panel.
Remove the four torx screws, if installed, from behind the console sides to detach the rear panel of the center console. This JK’s rear panel was just clipped in, so no screws.
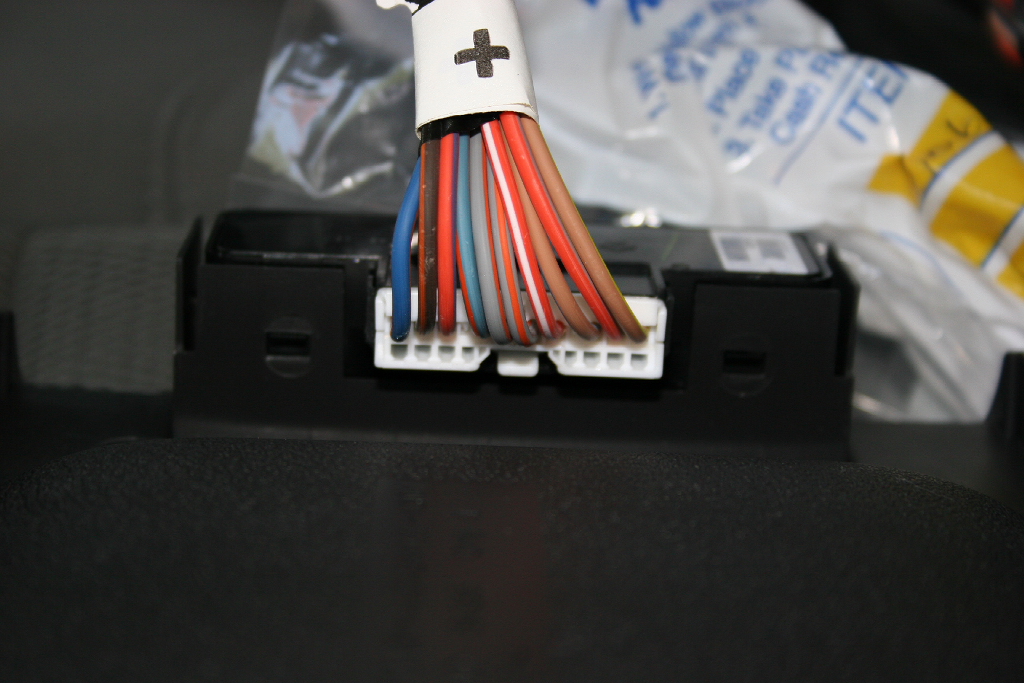
Note: If you have the power windows you will need to disconnect the wiring harness for the switches.
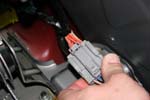
Disconnect the wire bundle from the power window switches by pushing in the tab on the underside of the connector and pulling it out. This gets the rear panel out of the way.
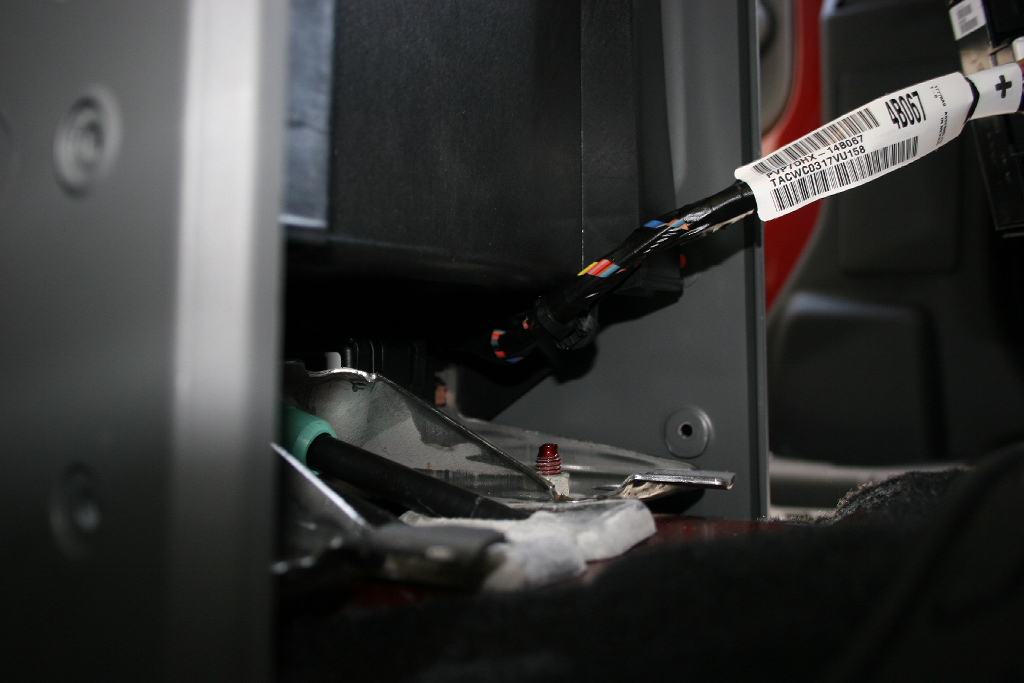
The wire bundle is attached to the bottom of the console by 3 push fasteners. You will need to pry them out with a flat tip screwdriver or needle nose pliers. Don’t worry about breaking them, they will not be reused.
The three push fasteners.
Where they connect.
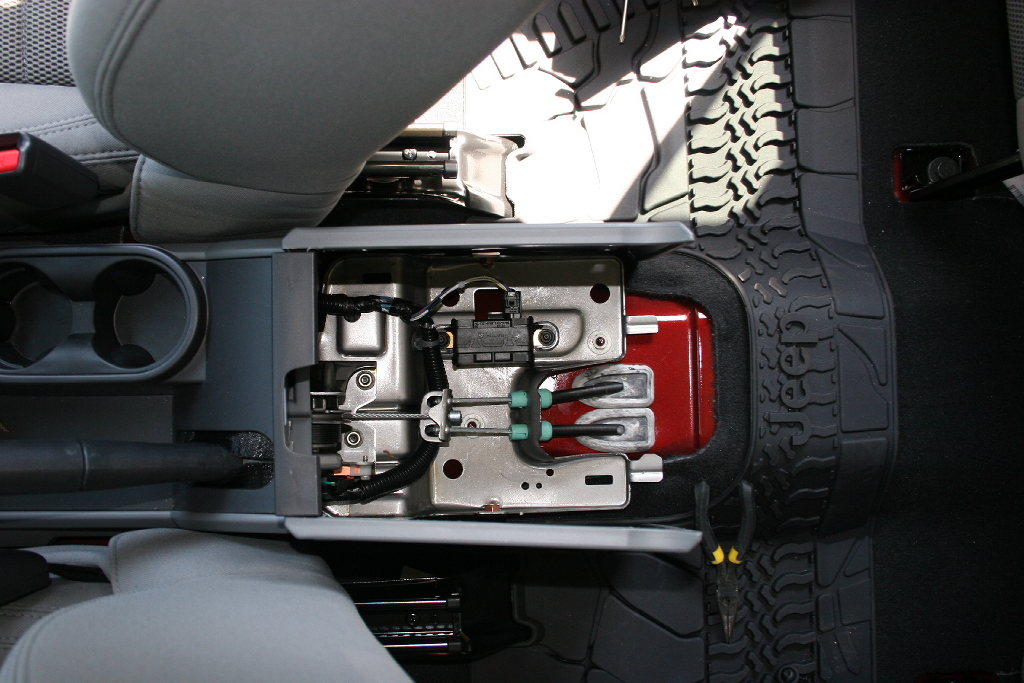
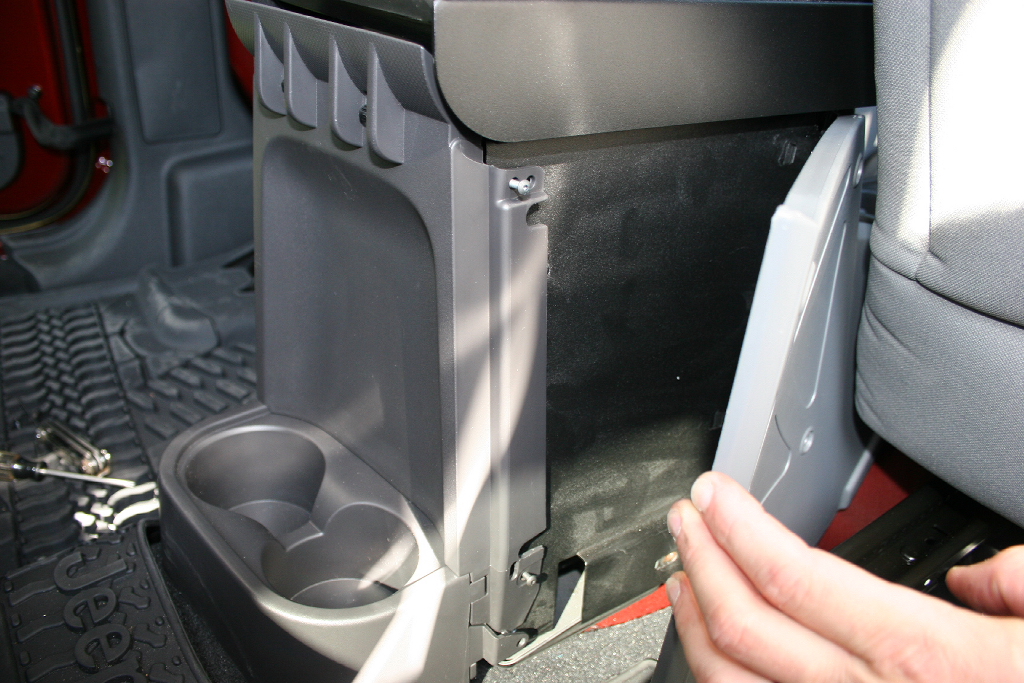
Remove the OEM center console, by pushing down to free the tabs on the inside front of the original console. Pulling up on the outer lip of the center console will aid in getting the insert to come out.
Once you have the console out remove the rest of the wiring harness for the rear window switches.
Pull the connector off of the mounting point on the center console, push in the latch and disconnect.
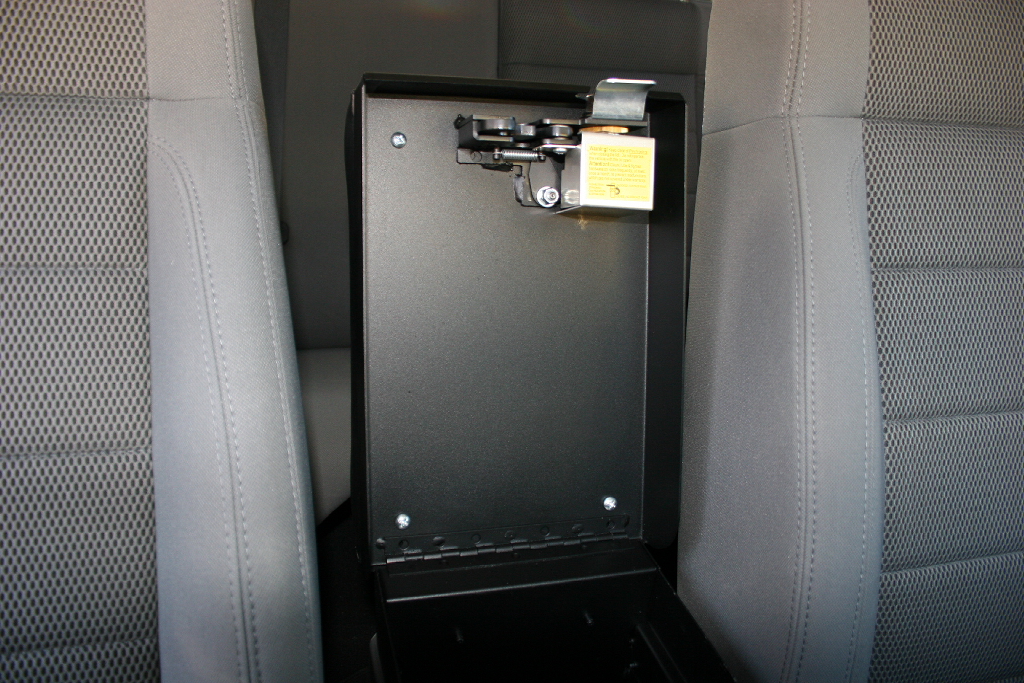
Installing the Tuffy Security Console Insert:
Tuffy has an optional security step that we went ahead and installed on our JK. They might not be able to get into the box, but if it’s not bolted down, it’s only held in by two of the original console bolts which are accessible.
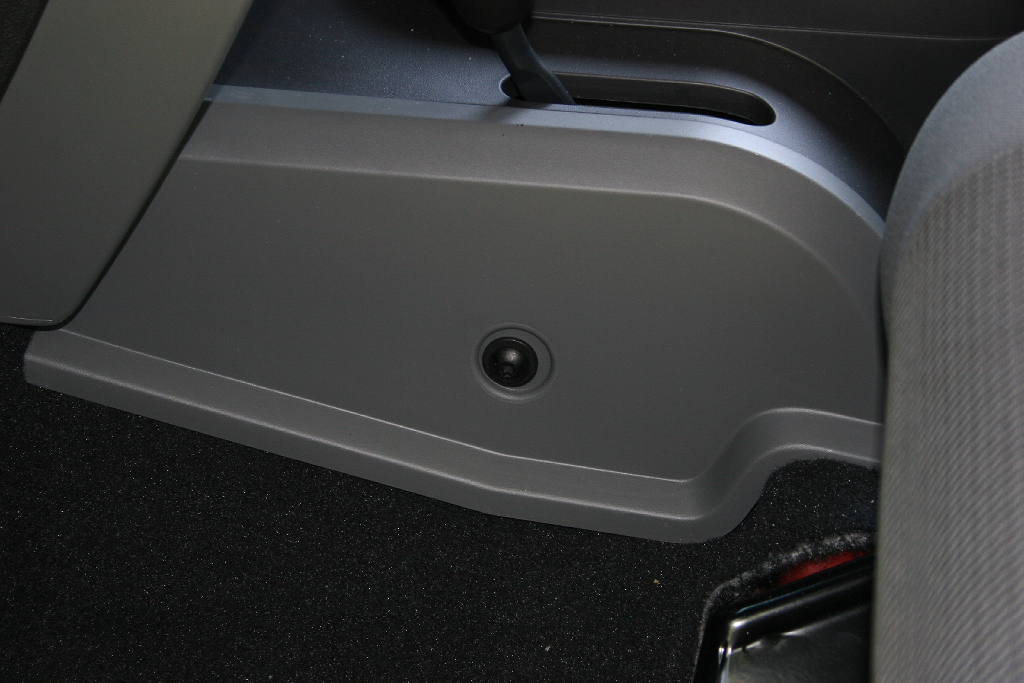
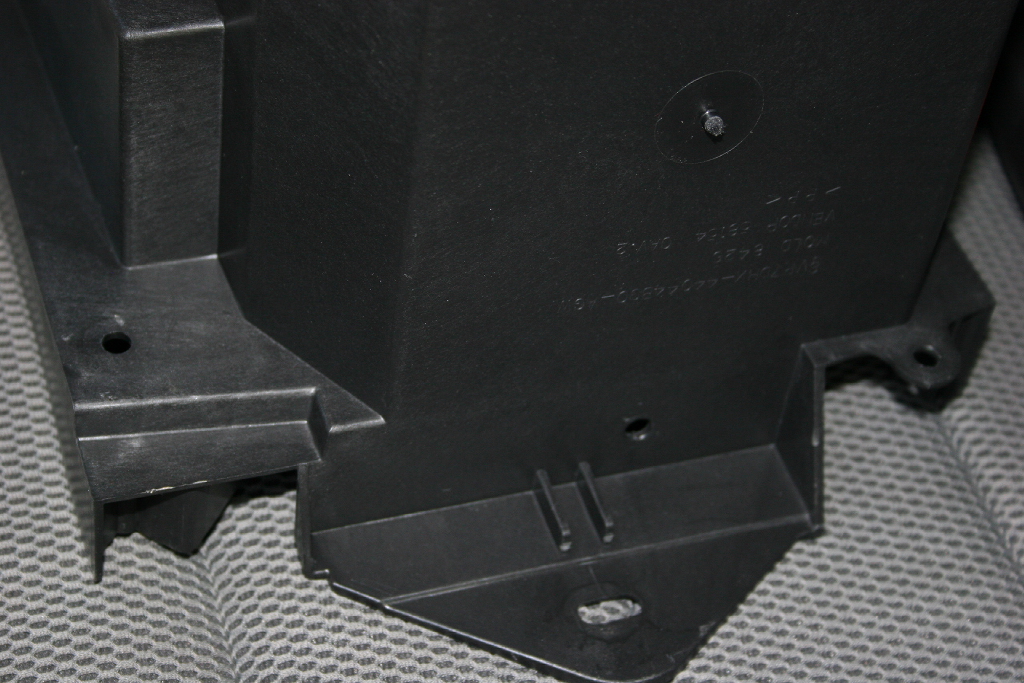
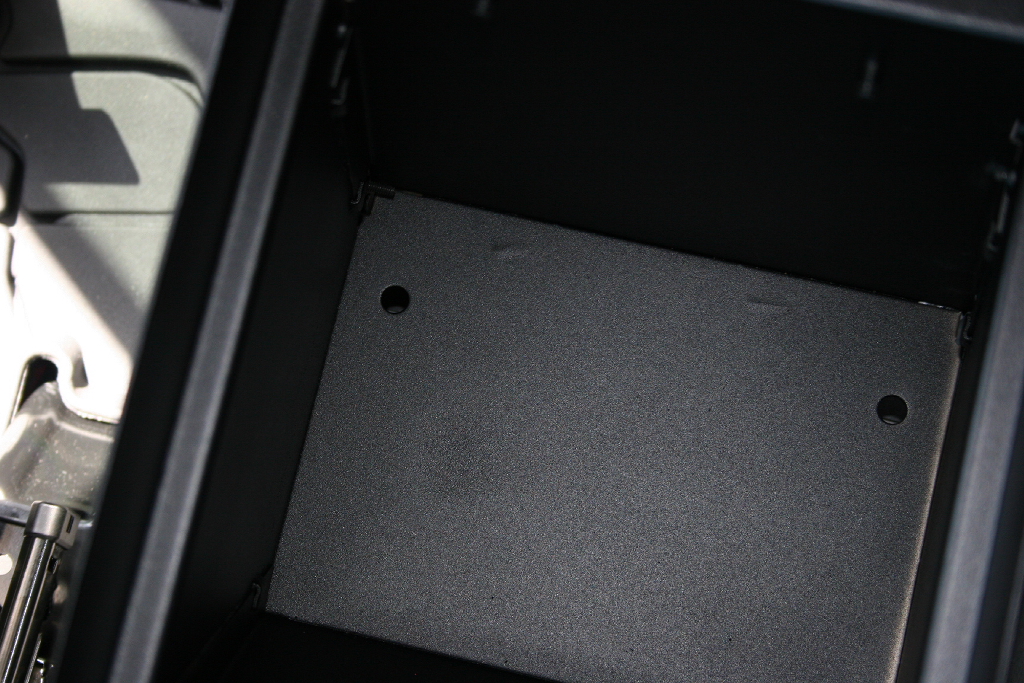
Place the Tuffy insert in the finished mounting position by lining up all the mounting holes and mark the two spots under the 3/8” holes in the bottom of the Tuffy insert for drilling.
It is easier to preinstall a few of the small machine screws on the side and the two rear console bolts that you removed originally to get everything lined up.
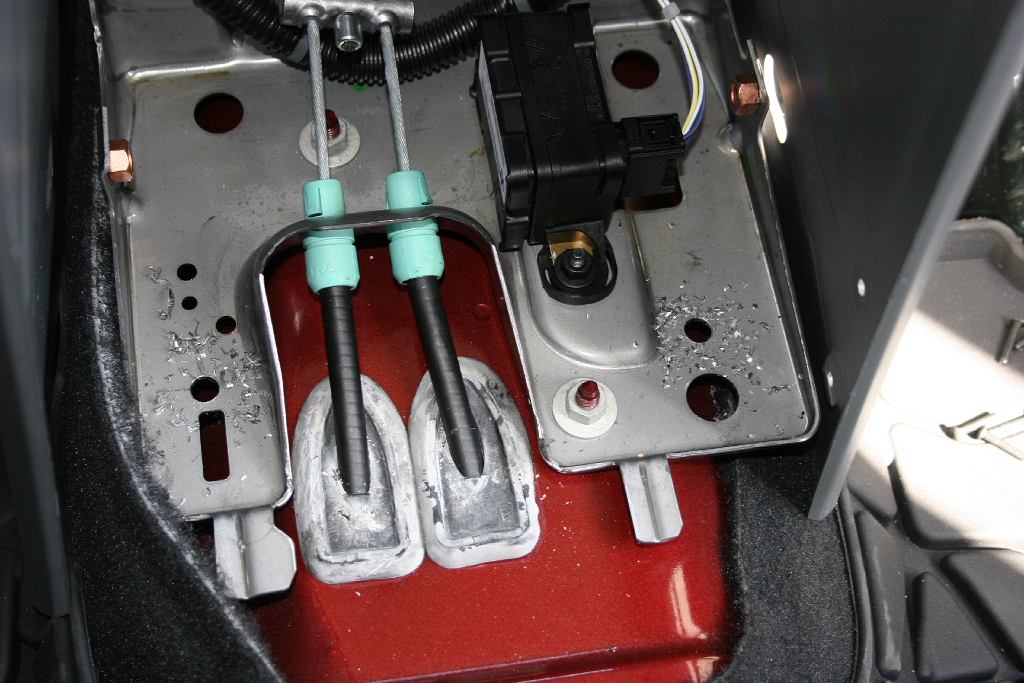
Marking the bolt holes to drill is difficult I ended up just inserting a bolt, getting it fairly straight and then hitting the head with a 3lb hammer to leave a mark on the tray.
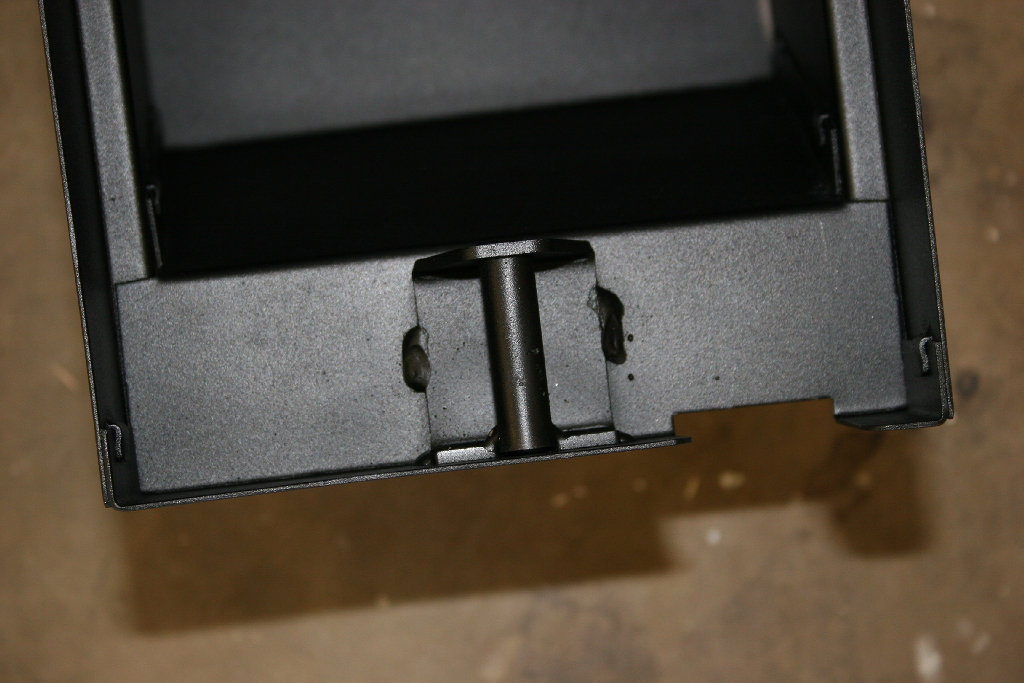
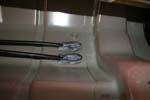
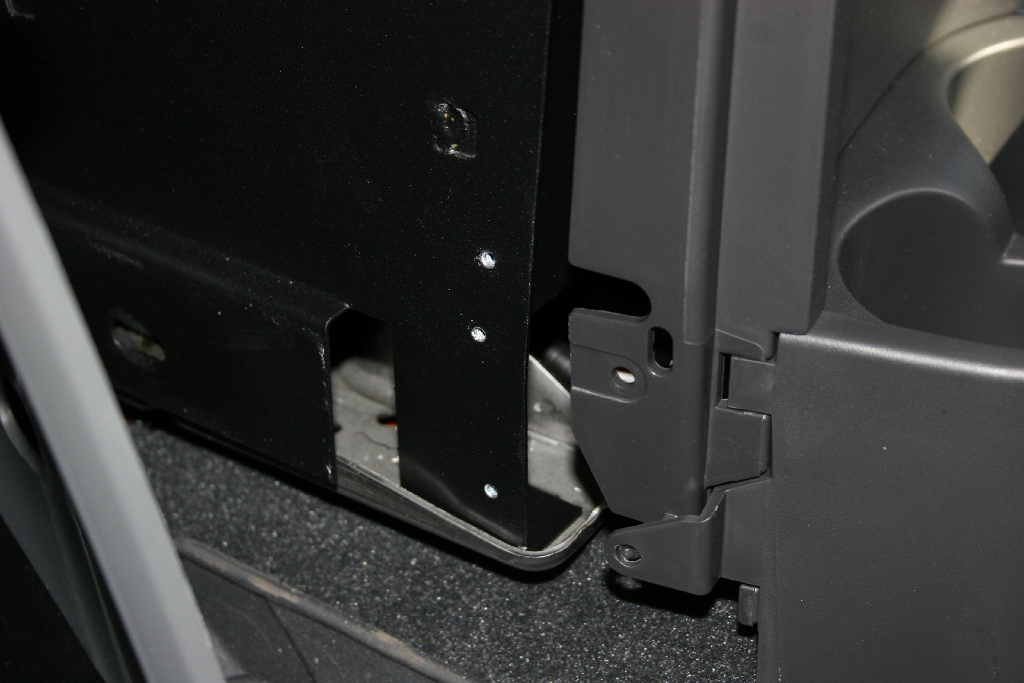
The box sits on a heavy metal tray on the inside that you will need to drill through first before you drill through the body. Pull out the carpet from below the tray. Trying to drill through the carpet is more than interesting. Warning: Make certain that there is nothing under/ on the vehicle that will be damaged by drilling through the floor. Wiring harness can be pretty expensive.
Remove the Tuffy insert and drill a ¼” pilot hole in each marked spot then follow up with a 3/8” drill bit. Use touch up paint or silicone sealant on the holes when you install the bolts. This will prevent rust and reseal the cab floor.
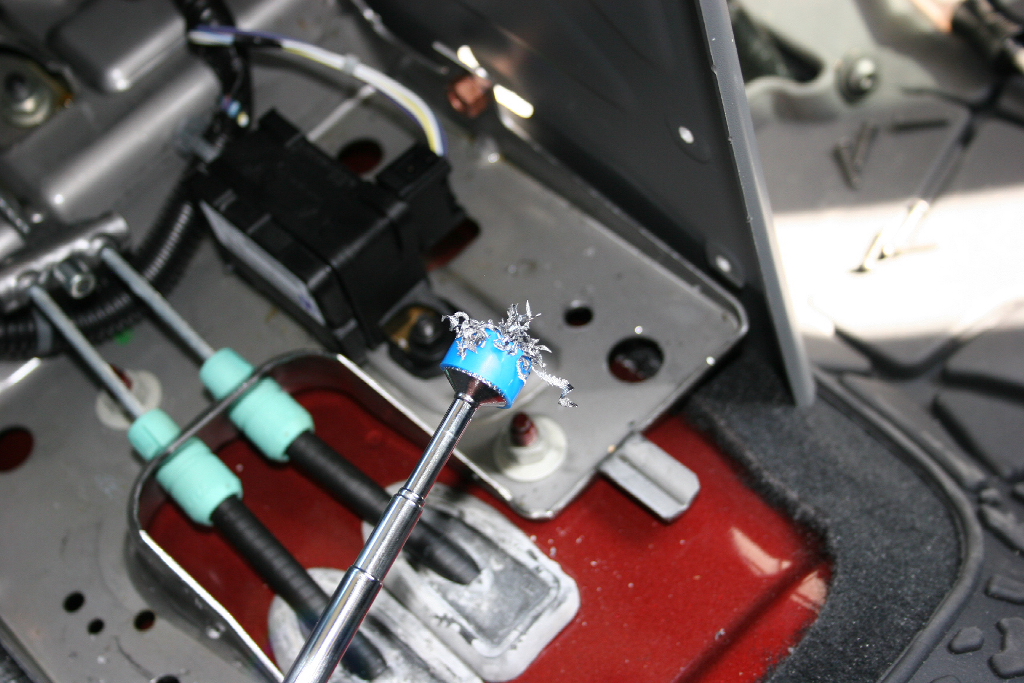
Don't forget to clean up your metal debris. A retrieval magnet with it's cover on makes short work of this. Picking up the debris with your fingers can be painful.
Reconnect the rear switch harness.
Attach the OEM rear panel to the Tuffy insert using the four supplied 6-32x3/4” button socket cap screws. Make sure the bottom holes which are not used yet on the original rear panel are aligned with the nuts on the Tuffy insert when tightening this hardware. Be careful with these screws, you can strip them out easily. These screws require a 5/64" Allen wrench
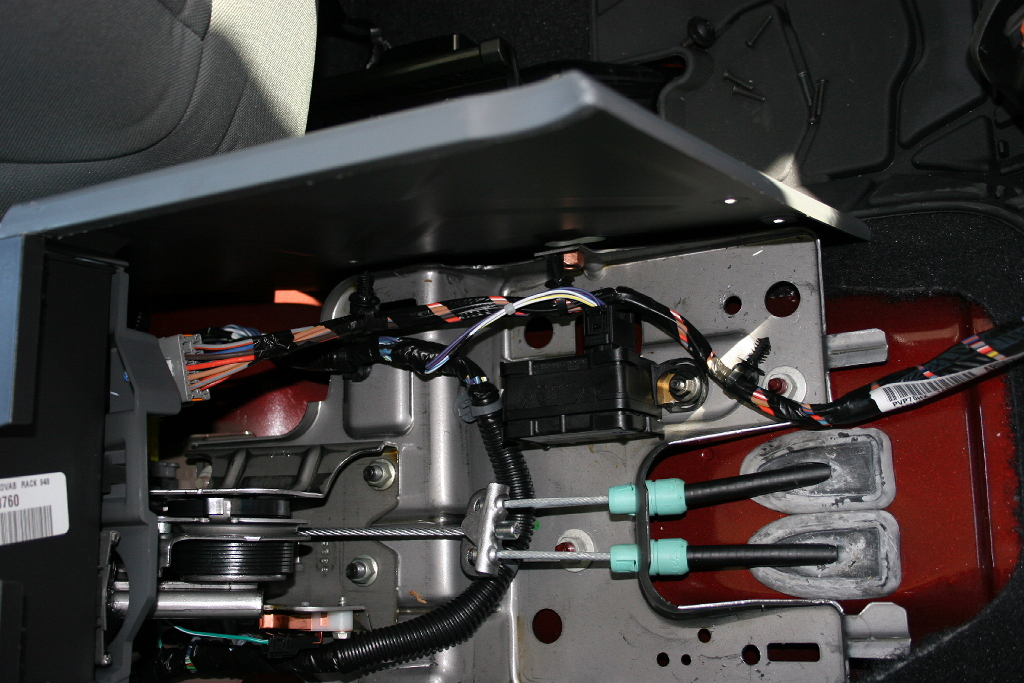
Slide the Tuffy insert partially into position and reconnect the wiring harness for the rear window switches to the connector on the center console. Make certain the wiring harness is on the passenger side underneath the console insert.
This is about how the harness should lay.
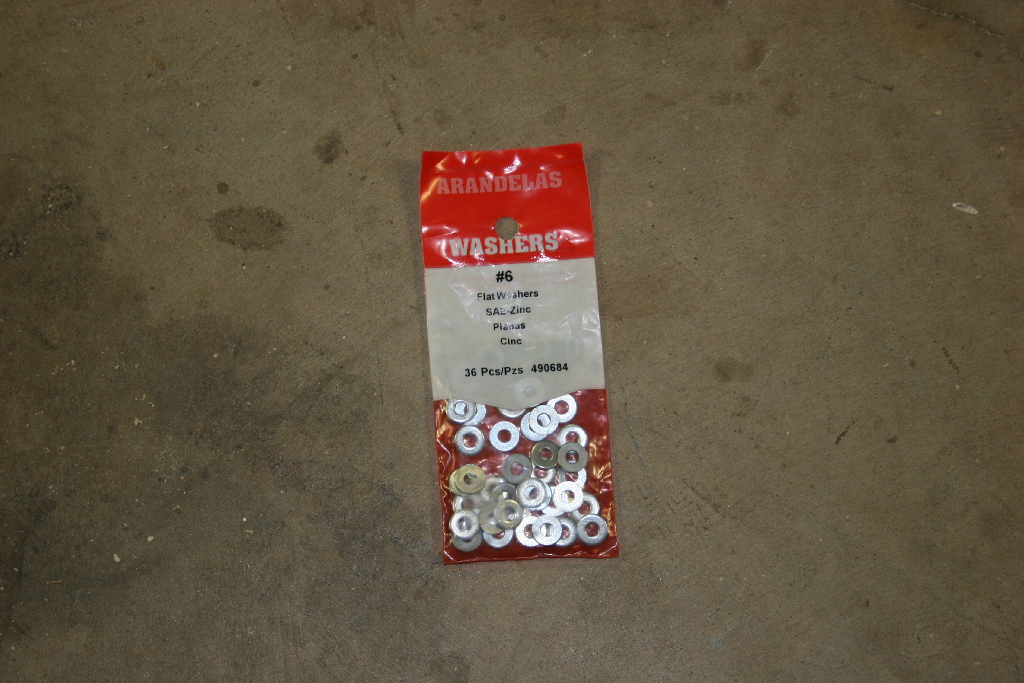
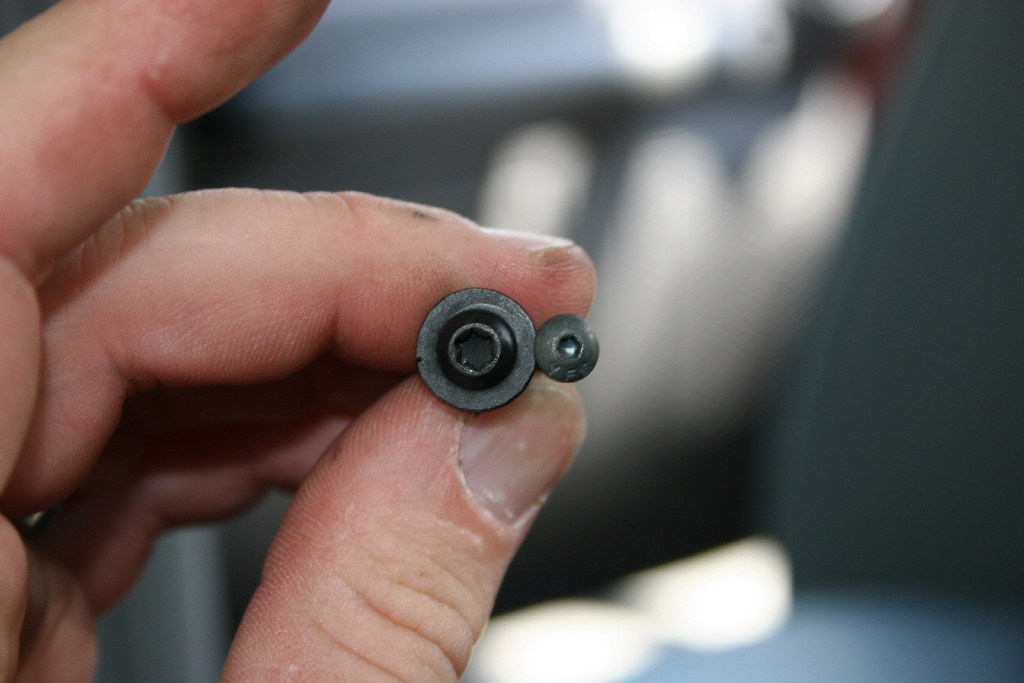
There is a difference between the original screws and the tuffy supplied screws. I needed to run and pick up some #6 washers.
Attach the Tuffy insert to the original console using the ten supplied 6-32x3/4” button socket cap screws and ten #6 black washers . Just start the screws into the holes. Do not tighten until you have all of the screws started. Start at the rear bottom left and right sides. On a rare occasion, you may need to oblong a hole with a 3/16” drill bit if the holes do not line up with the Tuffy insert. Be careful with these screws, you can strip them out easily. These screws require a 5/64" Allen wrench
Fasten the entire console down using the four OEM torx screws that you removed in the very beginning with a T-27 Torx. You do remember where you put them.
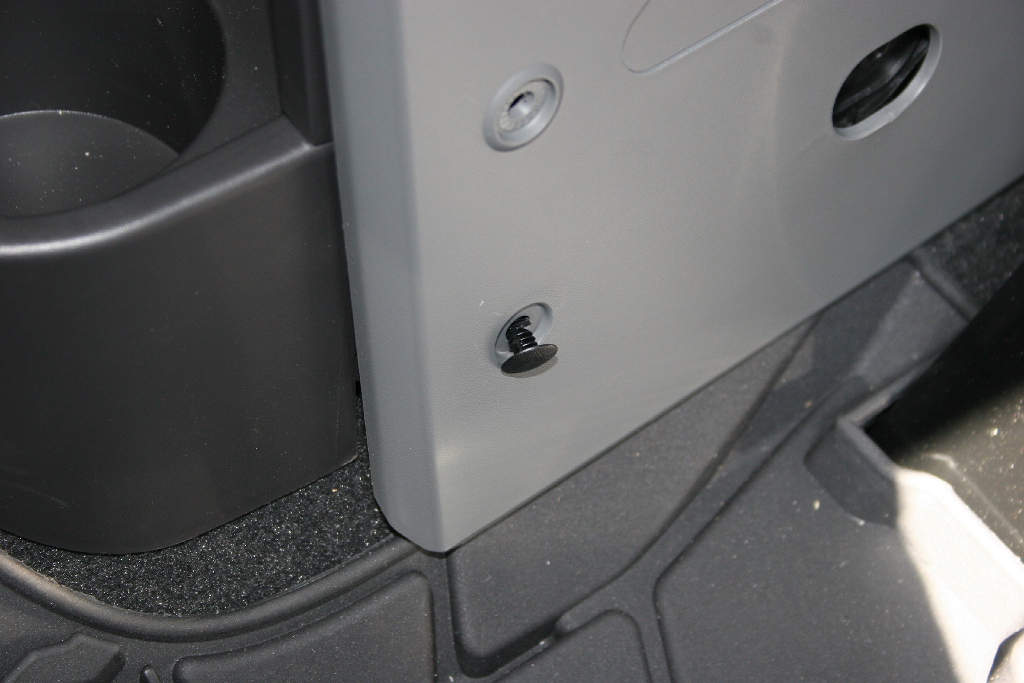
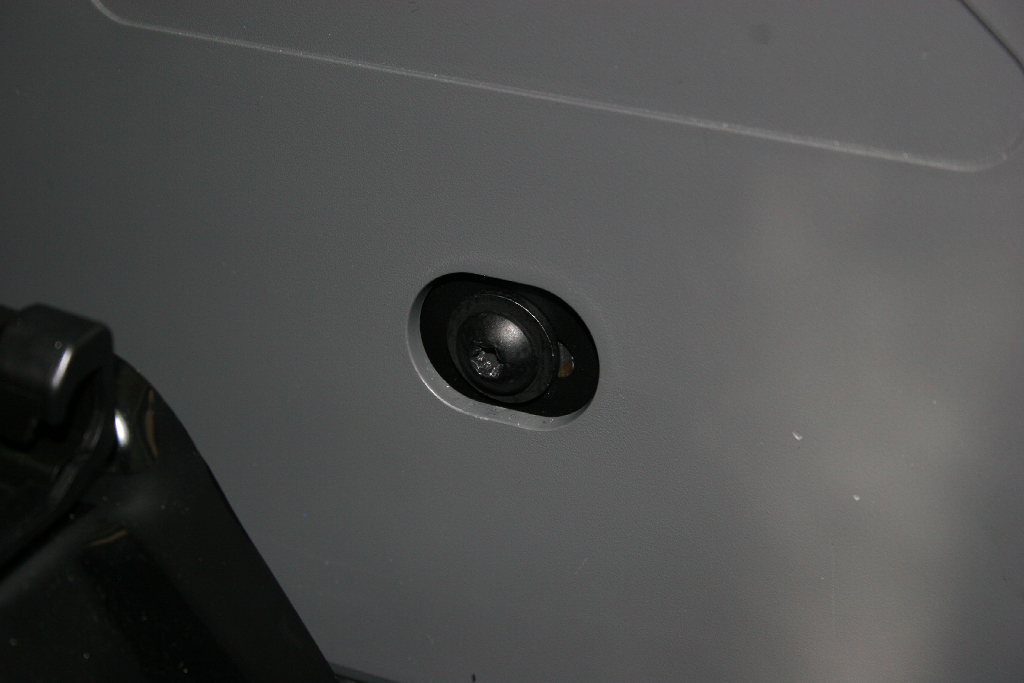
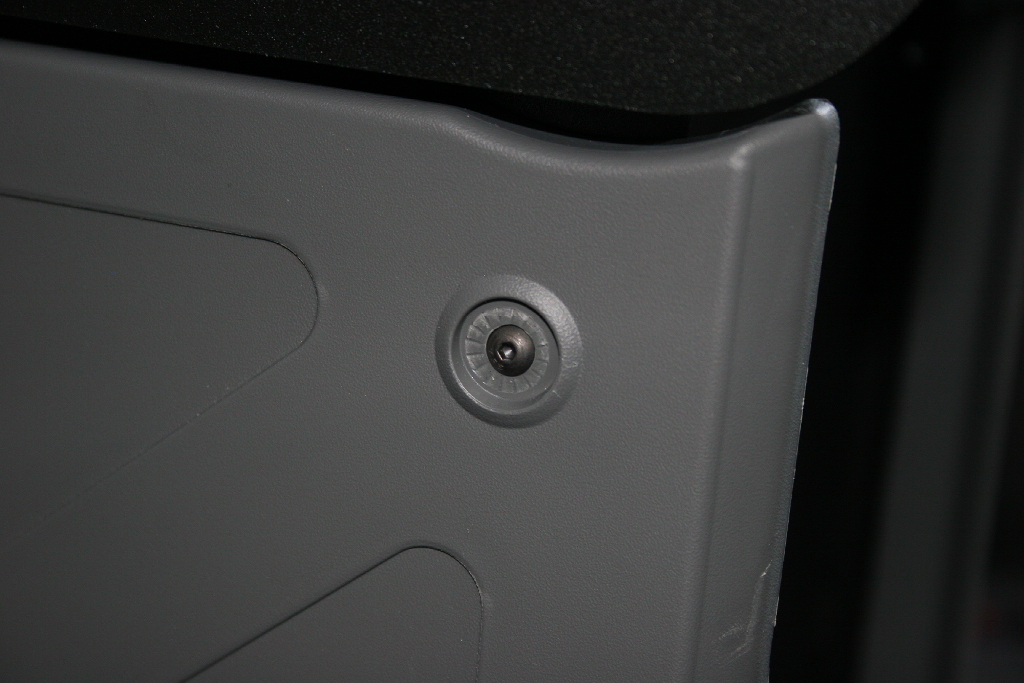
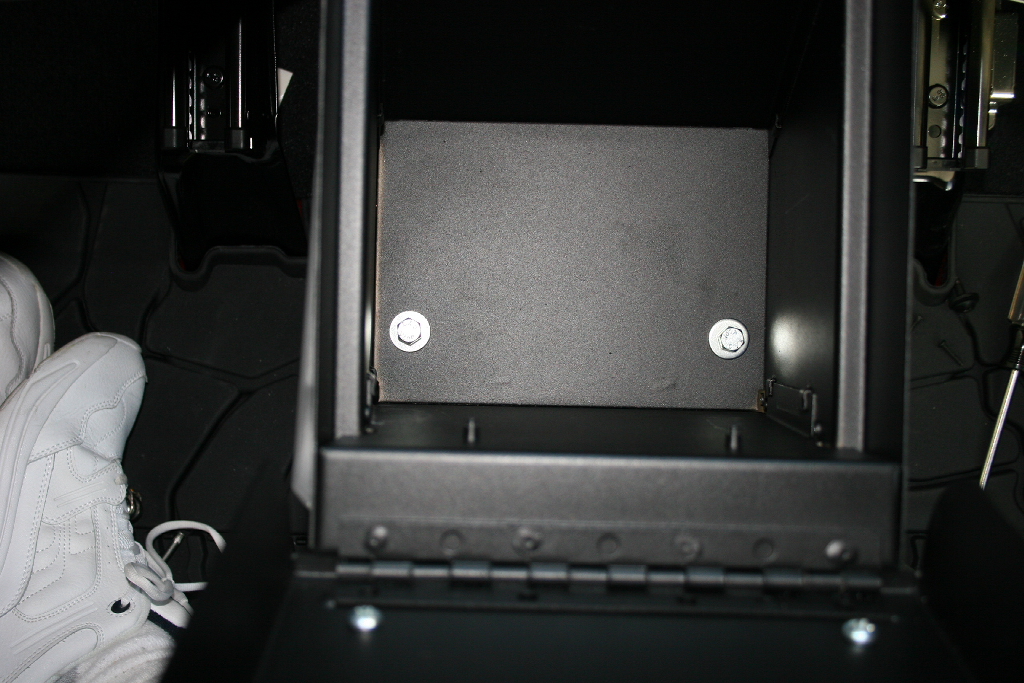
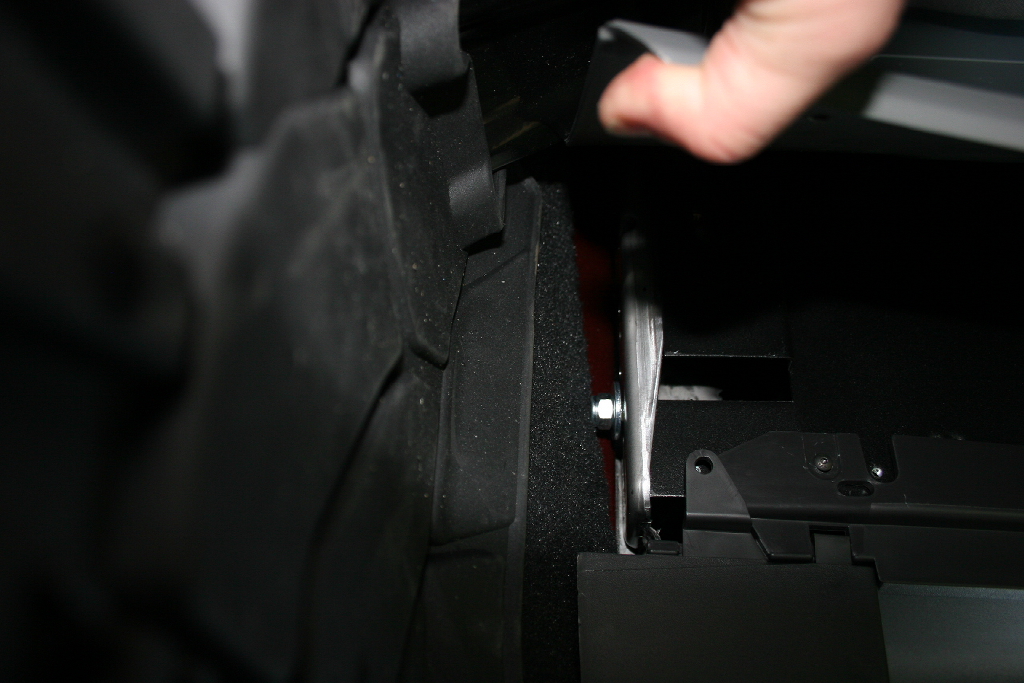
If you drilled the holes for the optional security step, insert the two 5/16-18x 4 ½” hex cap screws, nuts and washers through the holes previously drilled. Do not over tighten you can deform the body. You will need a ½” socket, long extension, ½” combo wrench and an extra body.
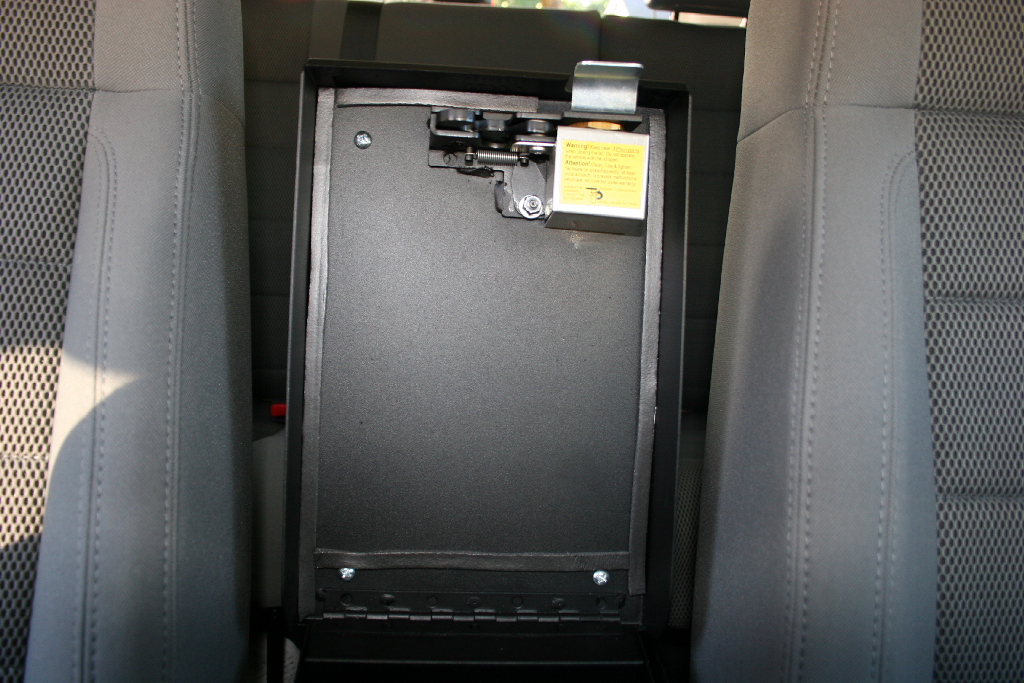
Install the rubber seal on the inside of the lid buy cutting strips to fit. Tuffy does include just enough seal to run a lip across the back of the box also. Double check the lock and latch operation.
What we did differently:
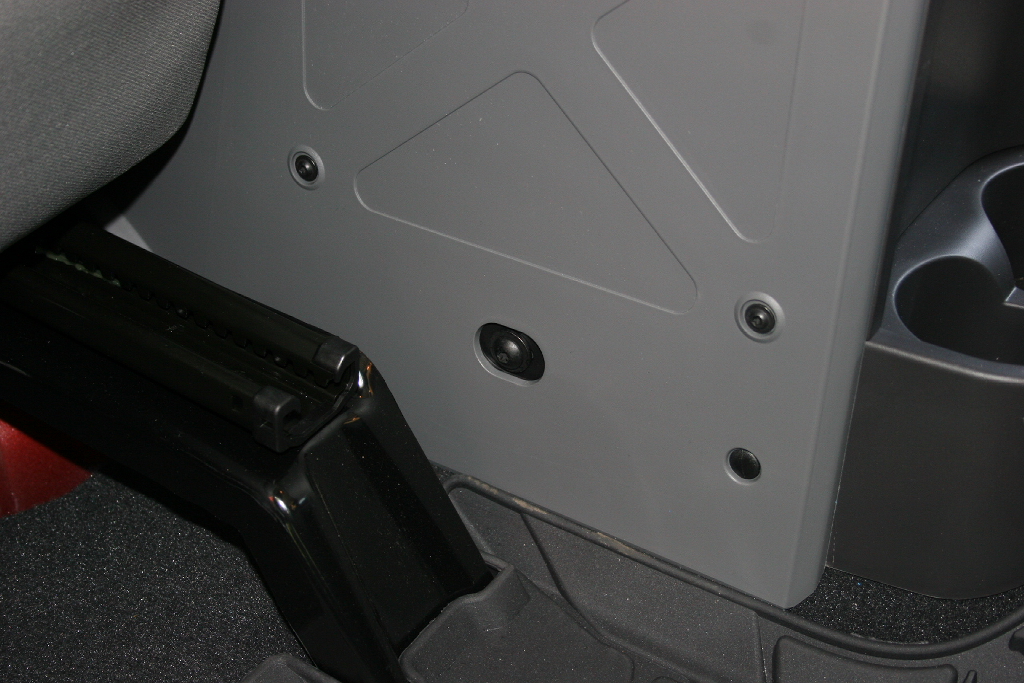
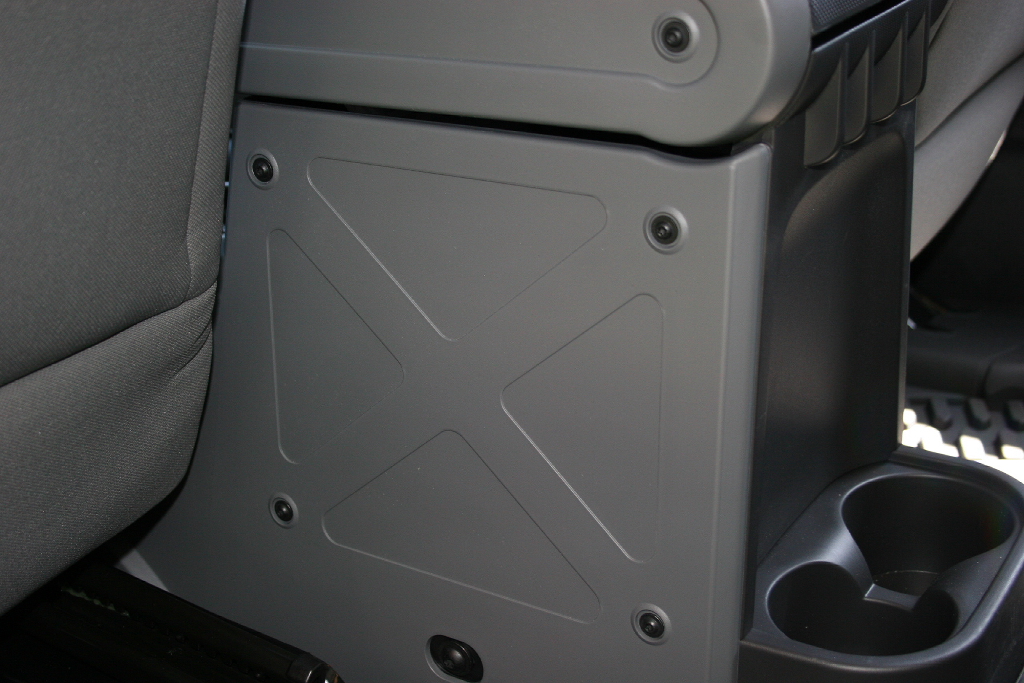
After looking at the plate that the Tuffy box sits on inside the Jeep and how the body was humped at that point we didn’t drill through the body, just the plate. Drilling through an angled piece of sheet metal and not having the drill walk. I didn't seen any extra security gain by attempting to install a nut and washer at a 45degree angle to the body. This provides a flat surface to distribute the load for the security bolts. This prompted another trip over to the local hardware store for two shorter 5/16” bolts. We picked up two 5/16-18 x 3 ½” Hex cap screws, Grade 8. There is just enough room under the plate to get your fingers in and carefully install a washer and the Nylon insert nut on the bottom.
Issues / Complaints:
The quality of the print on the instructions is poor, the copier made the pictures one dark blob on the page, and left fade lines in the print. This looks like the bottom of the toner cartridge print. Tuffy is nice enough to include the color instructions on their web site for download. Even with the bad picture you can still follow the directions and install the product.
Overall impressions:
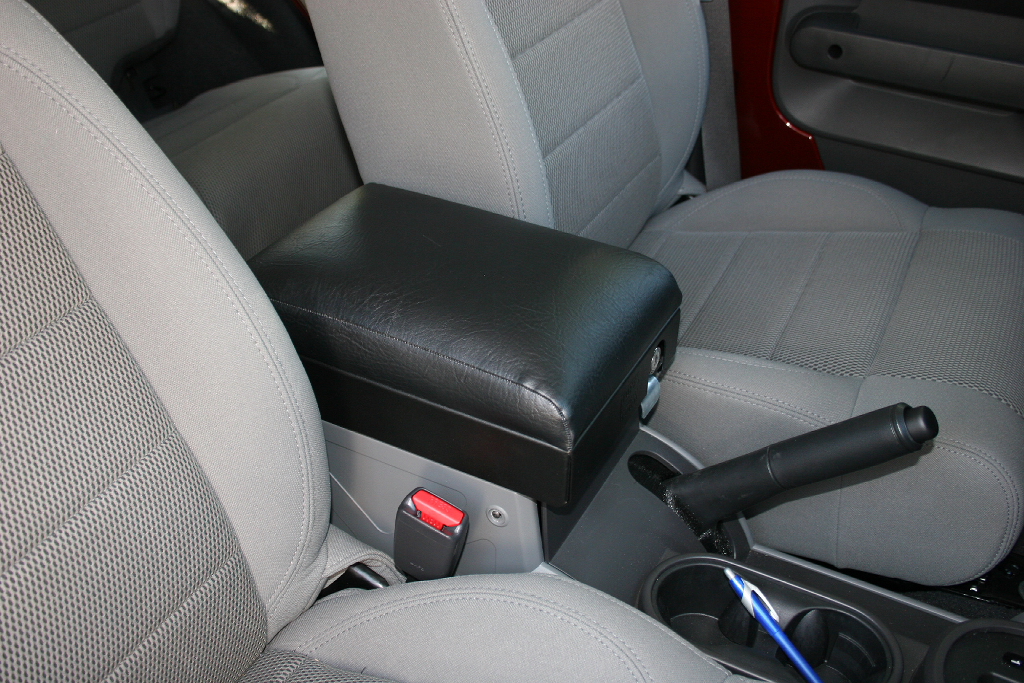
I feel sorry for the thief trying to get into this console. The marine grade vinyl pad on the top is really nice, it’s comfortable to rest your arm against while driving, just be careful it will singe the hair off your arm on a hot sunny day. Another item to be watchful for is the weight of the top, make certain that this is all the way open, it will definitely hurt the fingers if it drops on your hand. This is just because of the security that goes into the top lid. Secure or light, you can only choose one. Tuffy included a small tray on the inside of the console. This fits really snug in place and doesn’t rattle. I talked to Erik at Tuffy about a few thoughts that I had on the console, along with the missing parts. Another complete hardware pack was in the mail immediately to me for the missing black washers, so I will change them out when they show up. The console was originally designed on the factory vehicles, so production did change a few things around that the designers are going back to look at based upon my discussions with Erik. Product improvement is important.