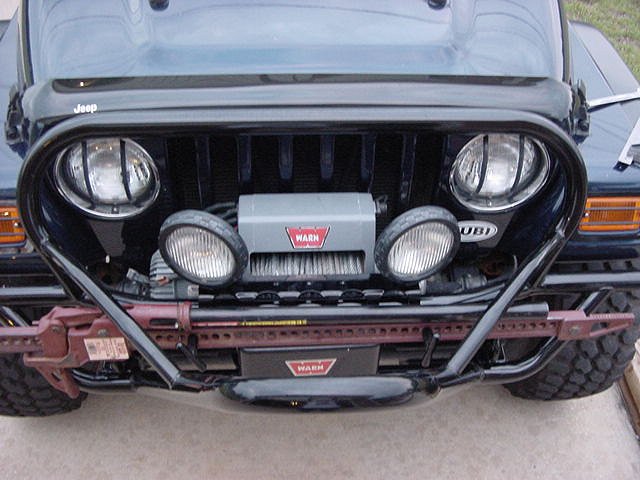
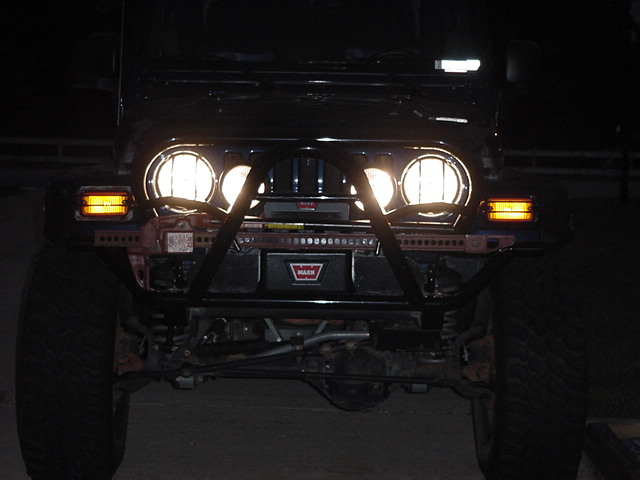
Well once I got the TBT stinger installed, I realized
that I had no place to mount my fog lights. I did remember that
Troy made a light bar for his bumpers, but I had forgotten to order
one when I got mine. Oh well a quick phone call back to Mac
and I had one on the way. Here's the link to his site,
he's going to continue to add products, so who knows what will show
up next. www.macs4x4products.com
Of course UPS delivered this as late as they could on Friday, but
it was still light out so I decided to go ahead and put it on.
Pretty easy install.
| Installation: |
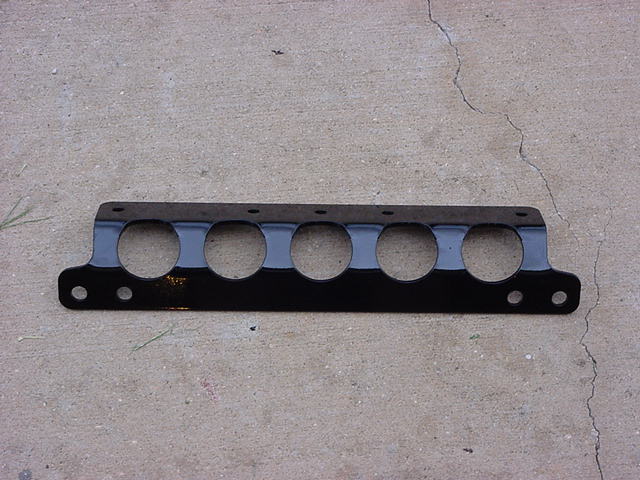
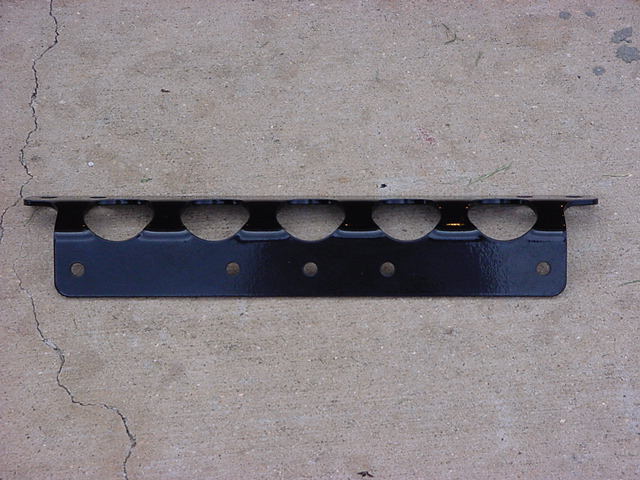
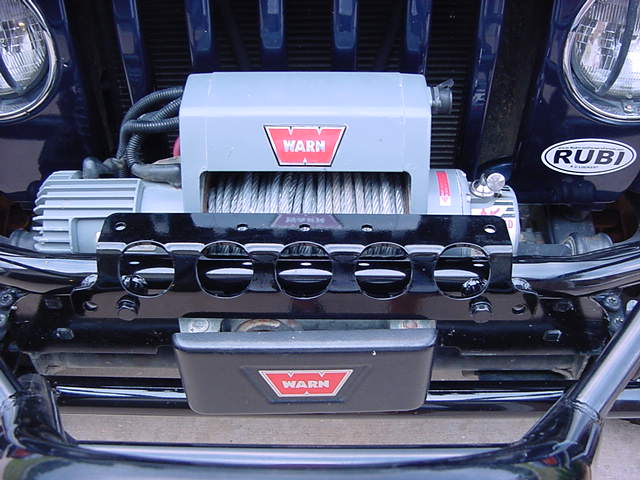
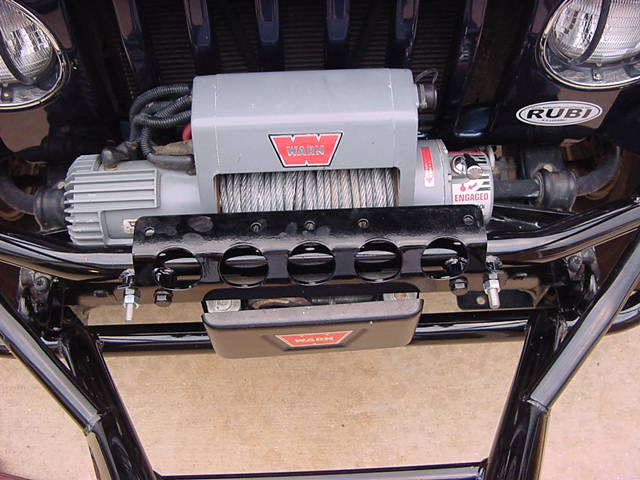
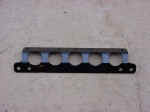
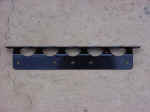
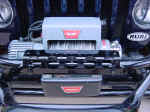
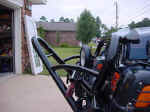
| This
is a nice heavy piece of metal. It has multiple (5) holes drilled
in the top to support various combinations of lights. |
 |
 |
| 1. First thing you need to do is remove the bolts that were installed
in the holes on the front of you bumper. 2 of these came installed
with the bumper from Troy. In my case I decided to put other
bolts in the other 2 holes so that I wouldn't get any dirt packed
in there. You will need a 3/4" socket to remove these. |
 |
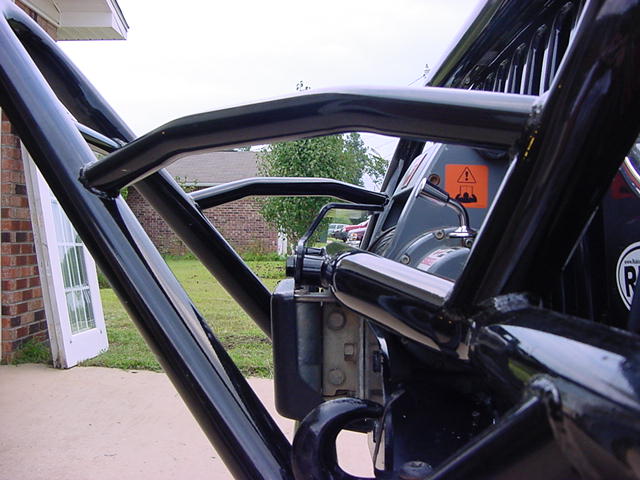
| 2. Now take out your hi-lift jack (if your installing one, otherwise
skip this). Hold the jack up to the 4 holes and see which 2
line up the best. Some hi-lifts are different than others and
may take either the outer or the inner holes. In my case mine
took the outer ones. |
 |
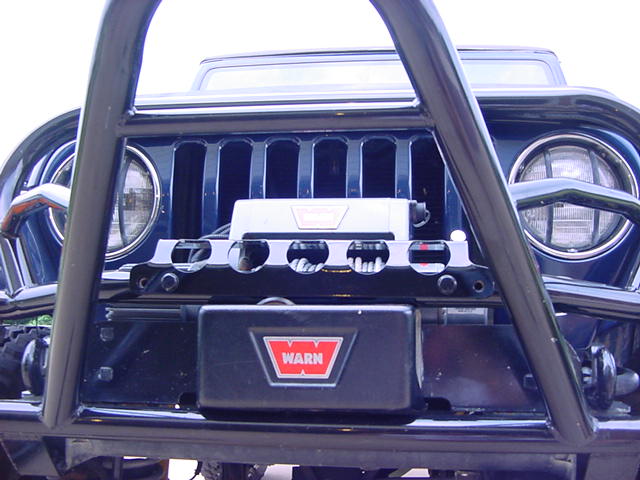
| 3. Now I did a quick test fit of the light bar to make certain I had
plenty of clearance around it. |
 |
 |
 |
| 4. Now anti-seize about 1" of the all thread and insert the 2 pieces
that came with the bumper into the holes that you will be using for
your hi-lift jack. I screwed them in until I had 1 1/2"
of all-thread sticking out of the bumper. This will give you
1 1/2 times the diameter of all-thread in the hole. Plenty for
a good support. I had to clean up the 2 pieces of all-thread
with the wire brush because of debris in the threads. |
 |
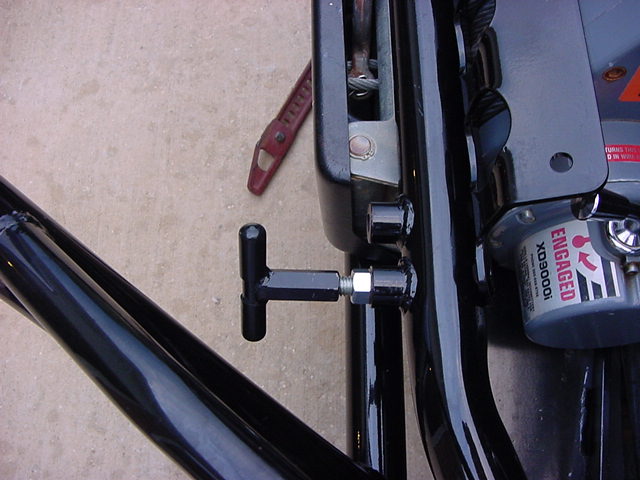
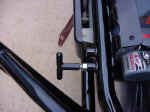
| 5. I then threaded down the nut to make certain there would be no problems,
I even installed the t-handle on it to make certain that I wasn't
out to far. Note I still need to reinstall the light bar in
this picture. |
 |
| 6. Now slide the light bar over the 2 studs and insert the bolts from
the bumper into their holes. You may need to play with the plate
a little, because it is a tight fit. You will need a 3/4"
socket to tighten these down. |
 |
| 7. Now carefully thread down the nuts over the all-thread. I ended
up with 7/8" remaining beyond the nut. Tighten down these
with a 3/4" combo wrench. |
 |
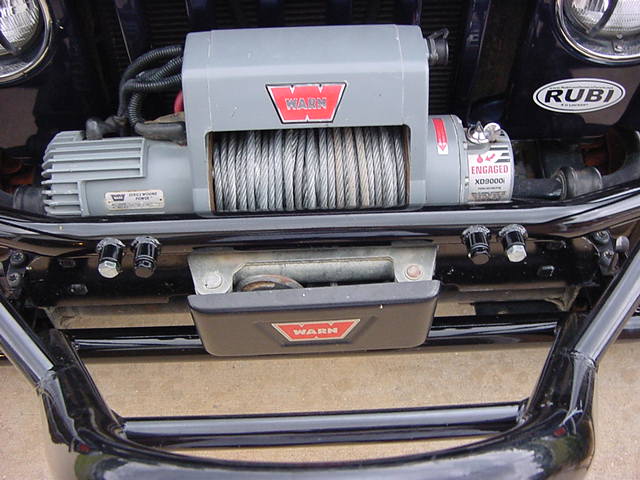
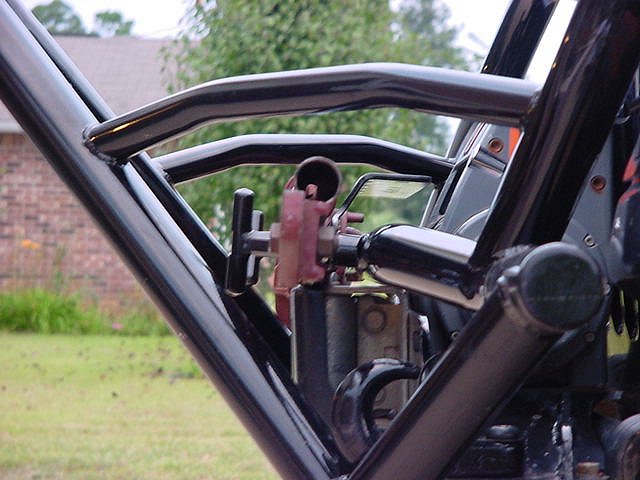
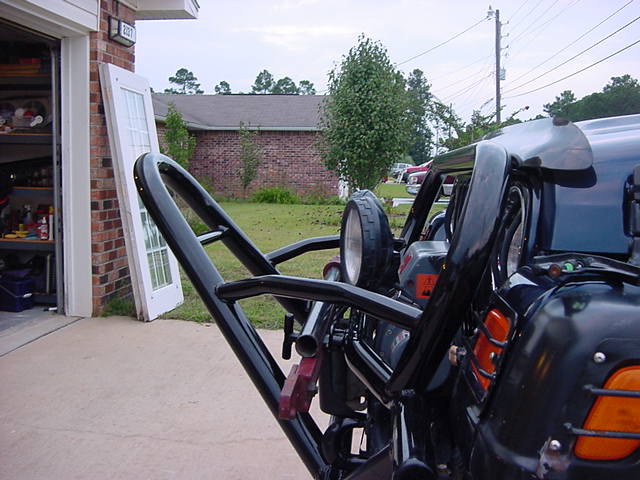
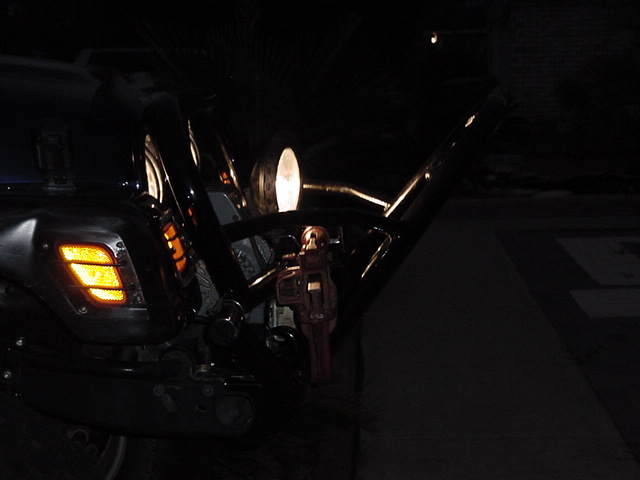
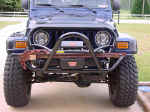
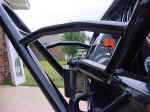
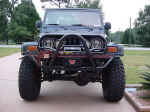
| 8. I now installed the hi-lift jack into place and tightened down the
t-handles to hold it secure. I do need to install a cable lock
for the hi-lift, so it will go into the back of the jeep again for
a little while. Troy does make a lock system for this.
As you can see the jack sits nicely inside the angles of the bumper.
My only concern is that it sits forwards a little so may get hit by
a rock if you get lucky enough. |
 |
 |
 |
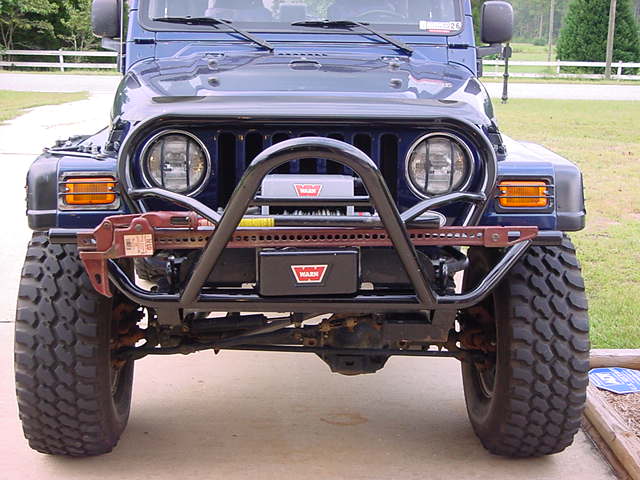
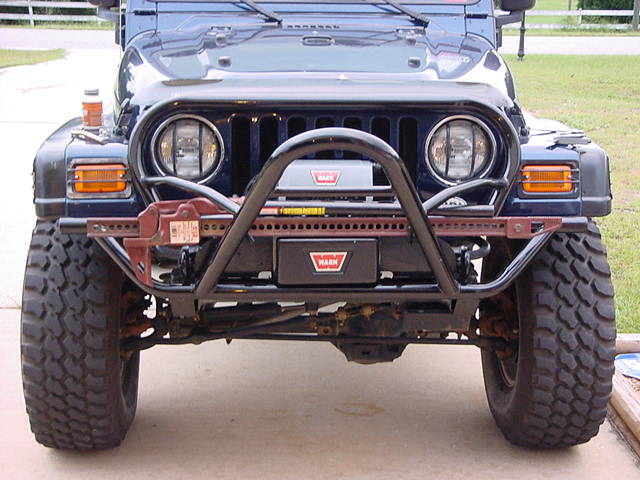
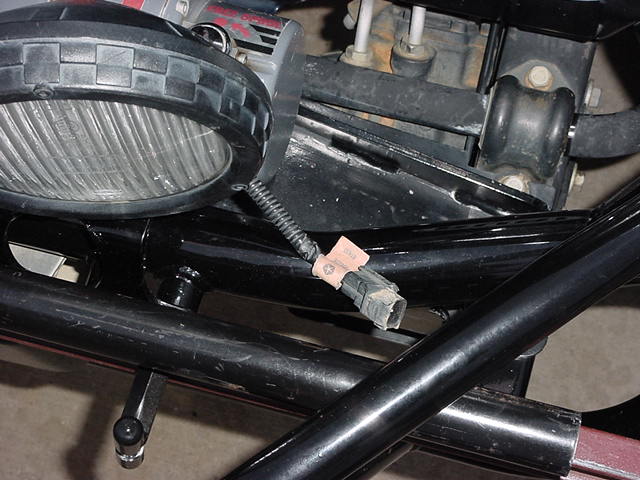
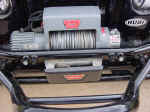
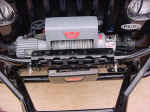
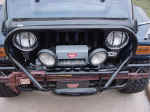
| 9.
I decided to reuse my stock fog lights on the light bar. You
will need a 13mm socket to remove them from the old bumper and a 13mm
combo wrench to install them on the light bar. Not a lot of
clearance underneath. As you can see one problem you will have
is that the stock fogs have a locating tab in the back. Simple
fix with a pair of pliers and a hammer, just pound it smooth.
I installed them in the outer holes in the top. I will be mounting
a single fog or pencil beam in the center to shine through the stinger
bumper. |
 |
 |
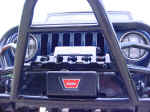
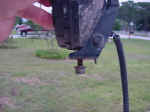
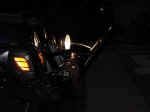
| 10.
I decided to angle mine outwards since I normally only use them on
the trails, and the stinger sits in front of them. They now
sit high enough that they will be illegal to use on the road since
they are at the same height as the stock headlights. |
 |
 |
 |
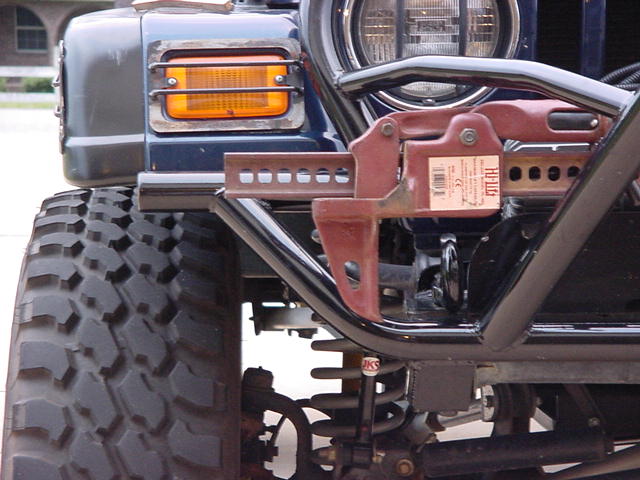
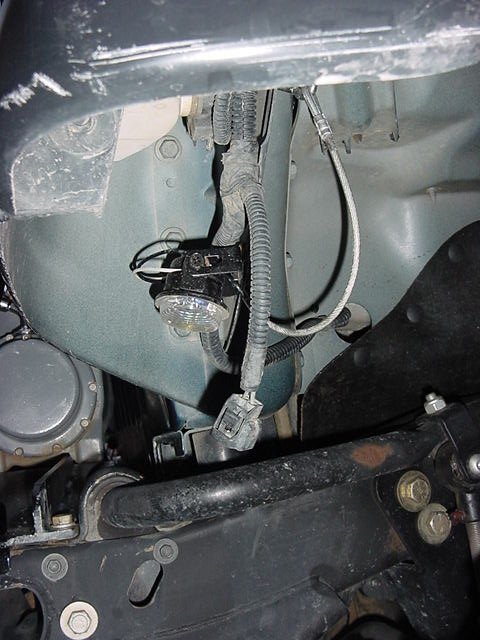
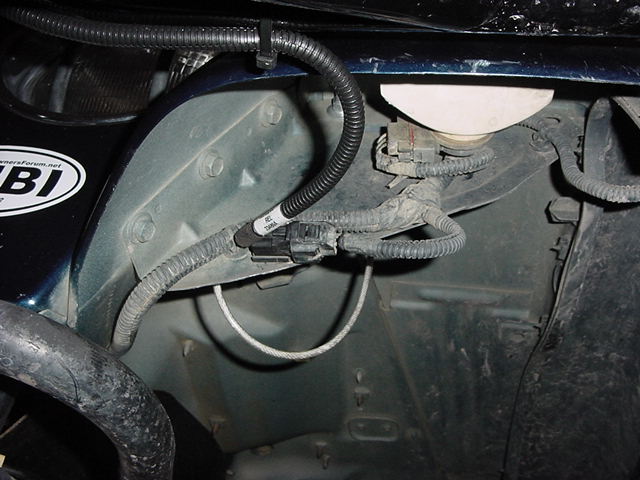
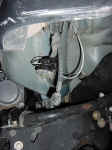
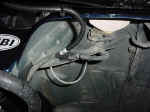
| 11.
Now if you've been following this install have figured out that the
cables on the lights are now two short in this location. Don't
worry Jeep actually thought about this already. |
 |
 |
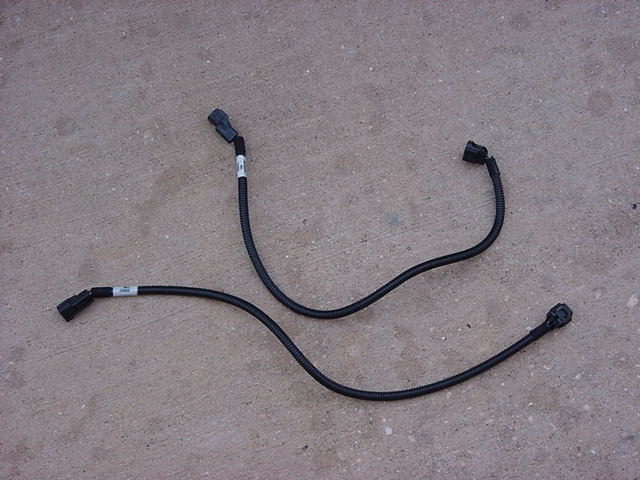
| 12.
Now find where you put the extension cables from Jeep. |
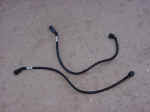 |
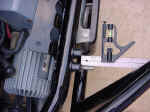
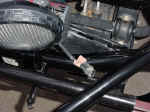
| 13.
You will need to remove the tree from the stock cable. It's
located on the fog light. To remove you will need to insert
a scribe into the center hole on cable side of the tree. There
is a small tab inside that needs to be pushed up at the same time
you slide the tree towards the cable. Not really easy to do,
but once you get the tree moved over a little, you can get a flat
tip screwdriver into the end an push it all the way off. |
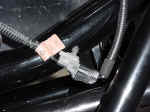 |
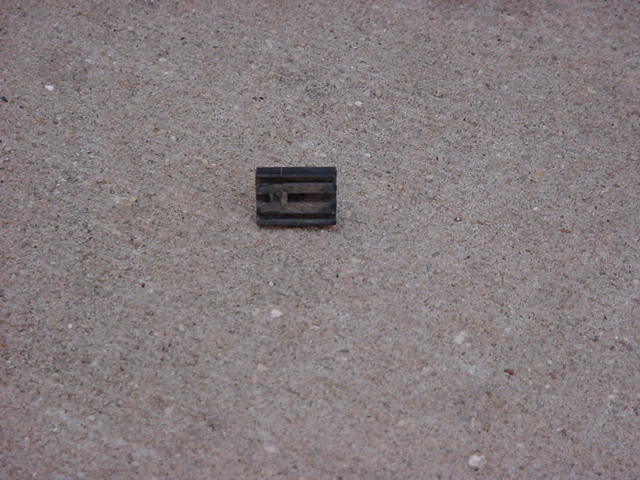
| 14.
This is what the underside of the tree looks like. You will
need to slide this onto the extension cable. |
 |
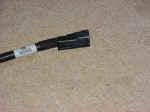 |
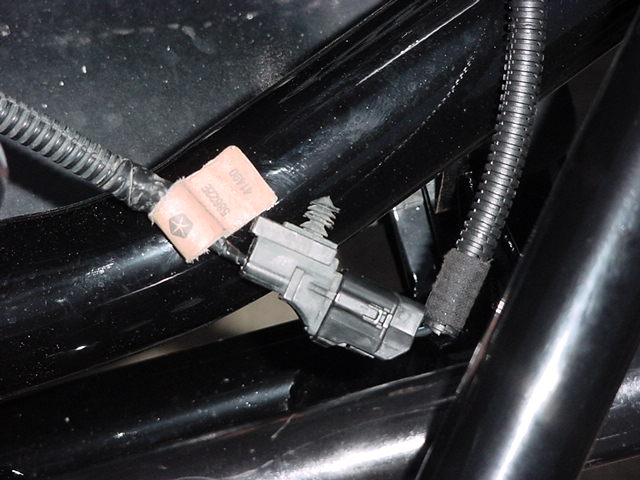
| 15. Now all you need to do is plug the cable in to the factory harness
and to the fog light. The tree goes back into the stock location
that it originally came out of. |
 |
 |
 |
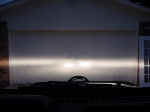
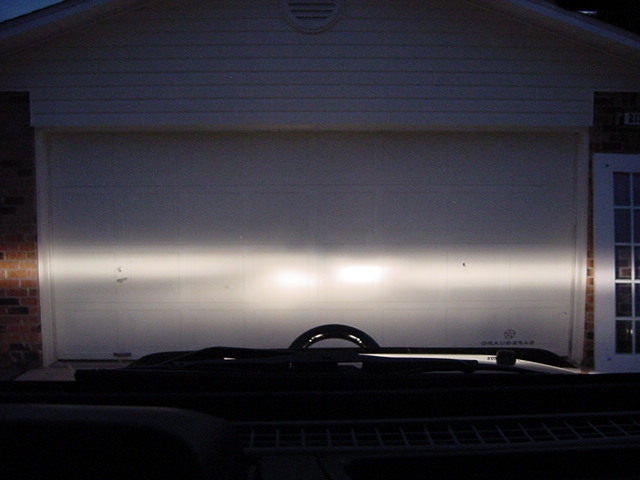
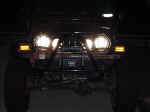
Fogs On |
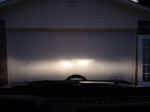
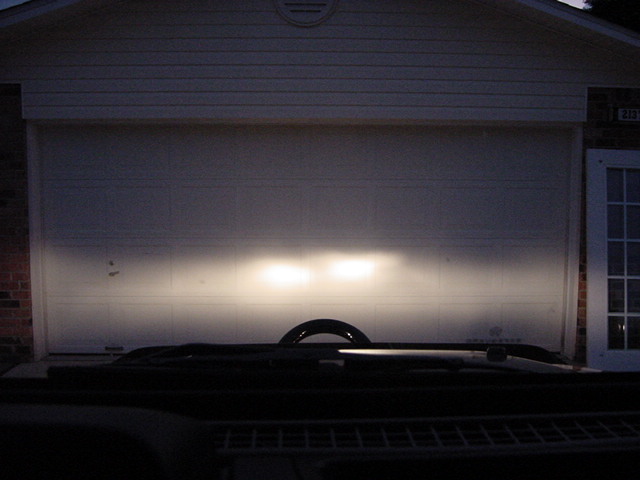
Fogs Off |