I found that the parking brake lever needed to be pulled pretty high to engage the parking brakes on the JK. The maintenance schedule has you adjusting the parking brake every 32,000 miles and I was just a little beyond that (about double), so I decided to go ahead and adjust the brakes. Typically there is small rubber plug on the back side of the rear brakes that you can easily access and adjust the parking brake adjuster. Jeep decided that it would be a good idea to bury it behind the brake caliper bracket. It's pretty easy to adjust the brakes. Jk ownerseither feel that the parking brake works great or it's junk. Most of the time it's out of adjustment, or bound up somewhere. The system design is fairly simple, but does require periodic inspection and maintenance, especially if your wheeling consists of lots of mud, sand, and water. That about covers most of us, see you at the mall. Contrary to popular belief, the parking brakes are not self-adjusting, but the adjustment is relatively simple.
| Adjustment: |
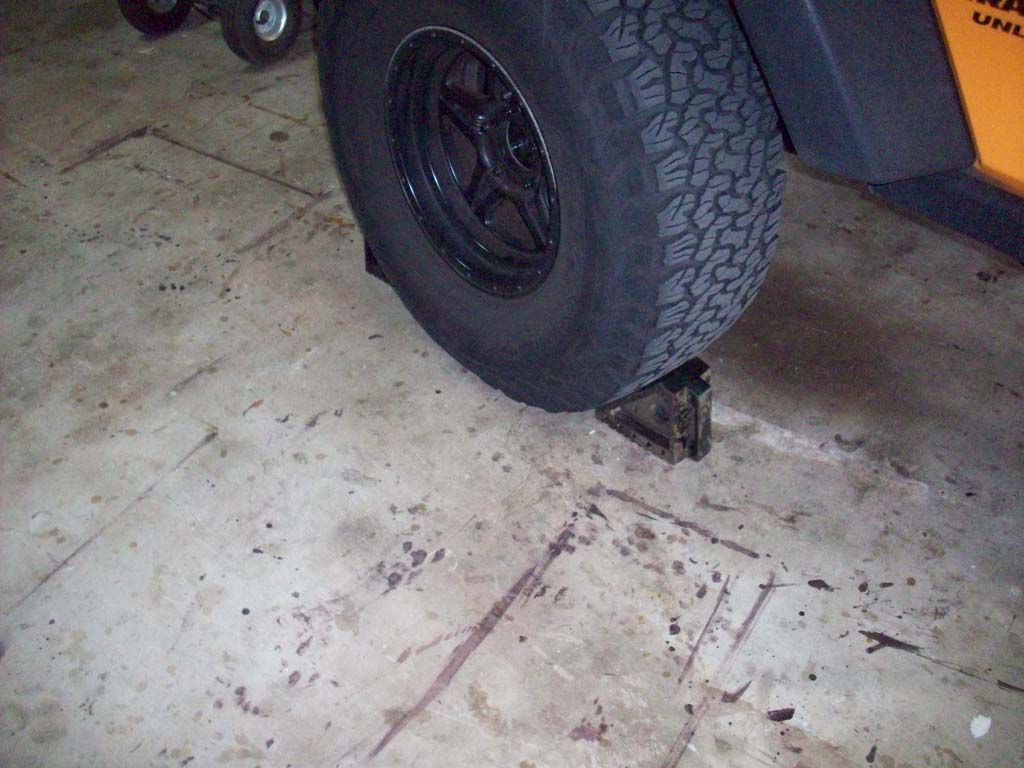
| 1. Chock the front tires and realease the parking brake. You don't want the Jeep to roll after we lift the rear off the ground. |
 |
 |
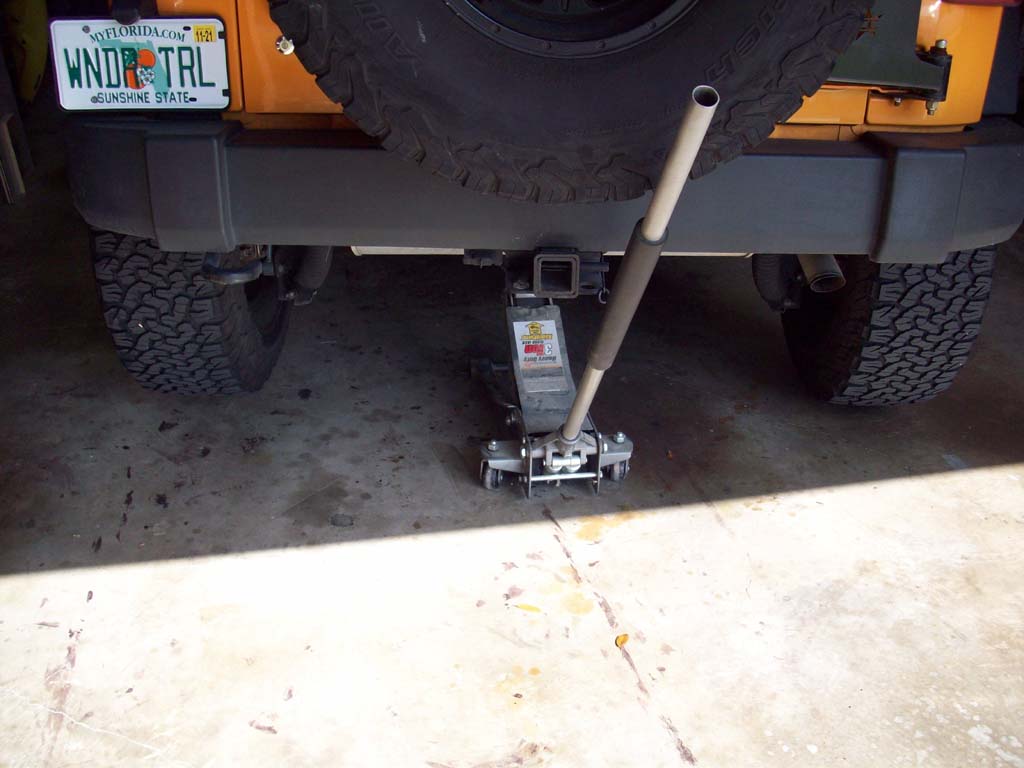
| 2. Jack up the rear axle and rest it on jack stands with the tires just off the ground. |
 |
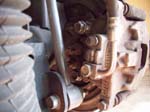
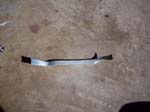
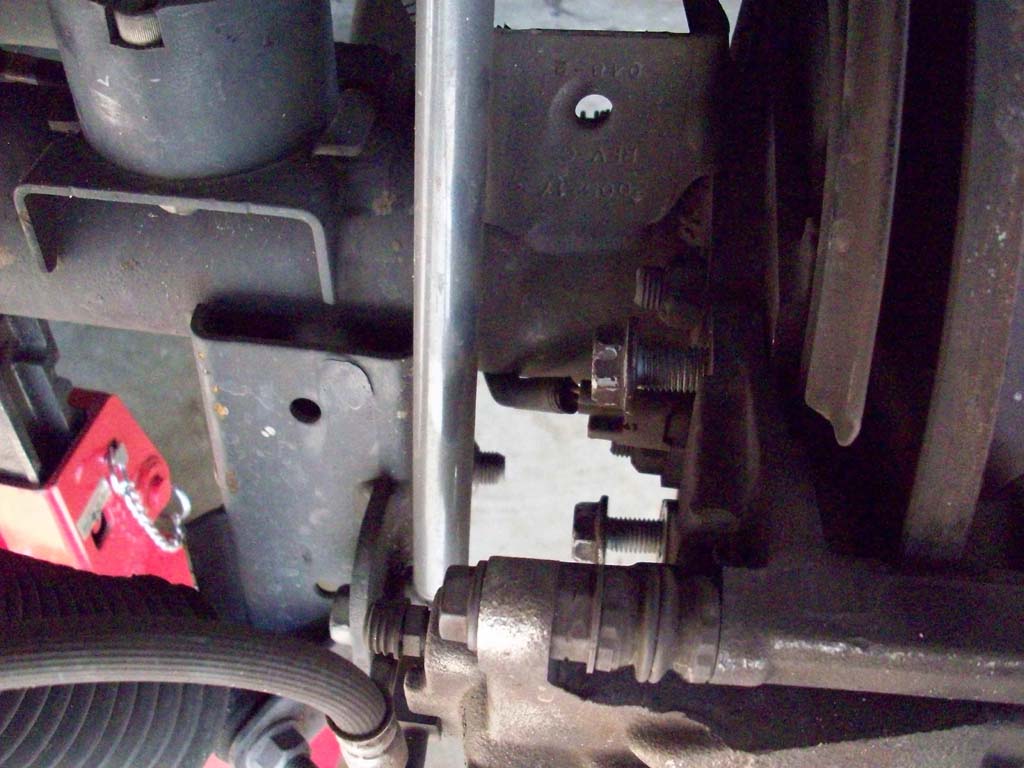
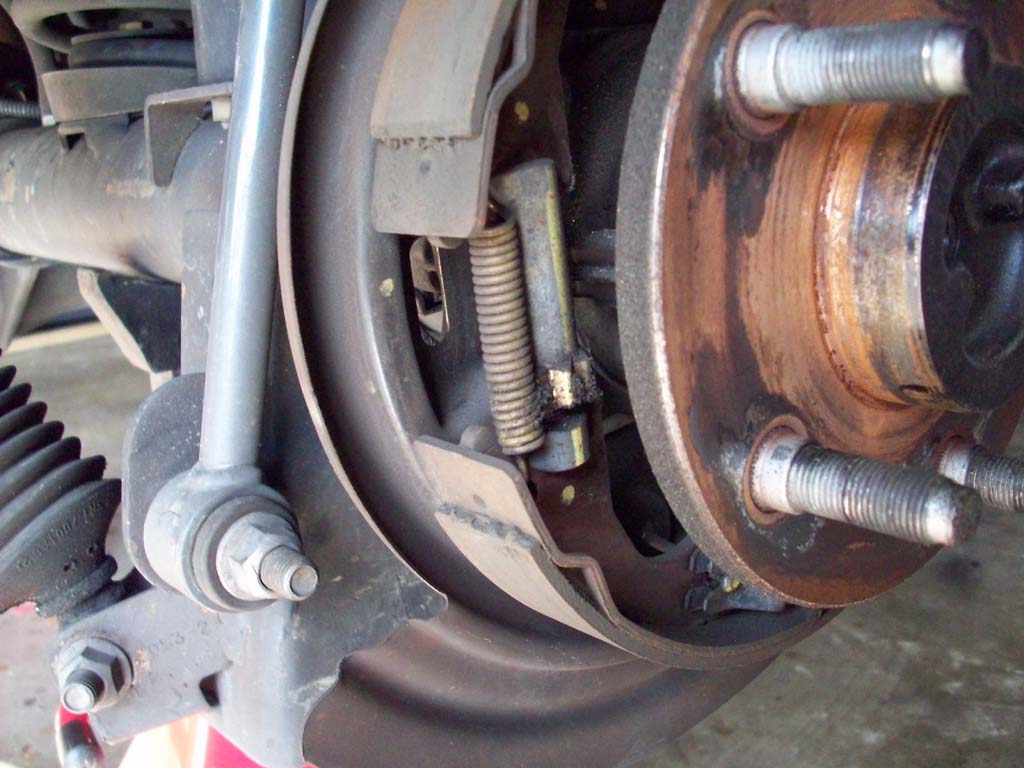
| 3. The rubber access plug for the adjustment wheel is located between the horns of the brake caliper bracket on the back side of the drum. This rubber plug is nearly impossible to get to and remove. If you can get it out then skip the following steps, just becareful putting it back in because it can get caught underneath the caliper bracket. I couldn't get a picture of where the plug is because of everything in the way.. |
 |
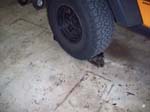
| 4. Remove the wheels using a 19mm socket, or appropriate sized socket for yours. |
 |
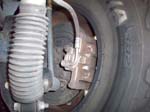
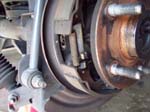
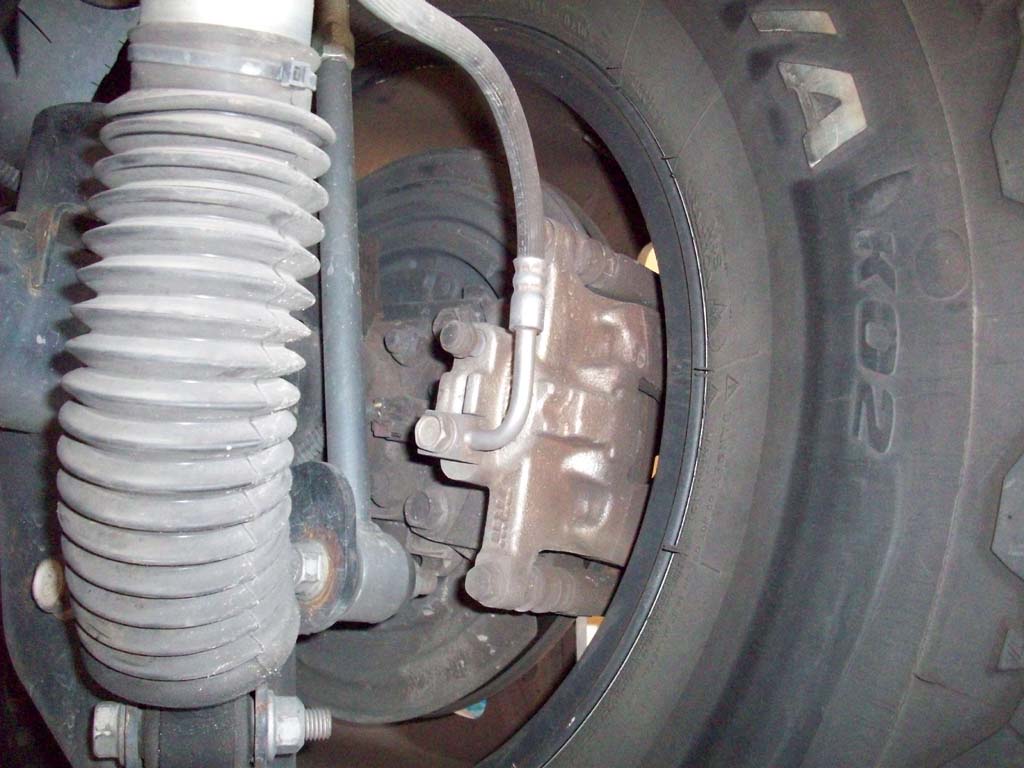
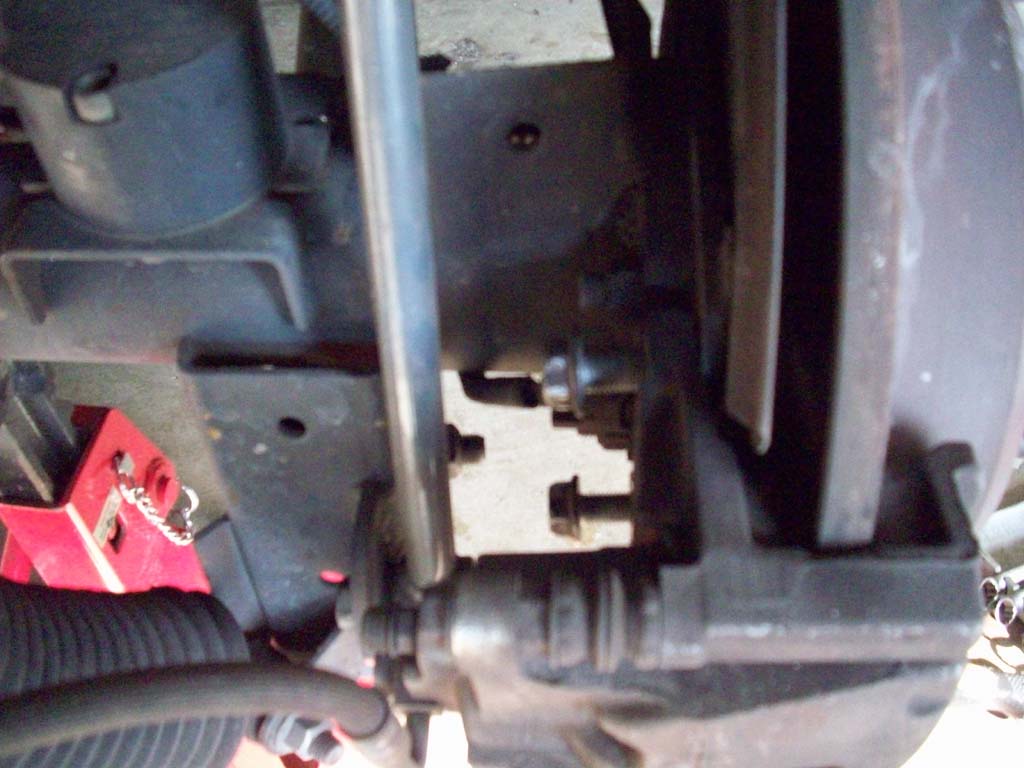
5. Remove the two 18mm bolts holding the caliper bracket to the axle. Set the caliper up and out of the way. Hang it from the frame using a bungee cord or zip ties.
Warning: Do not let the caliper hang by the hose. |
 |
 |
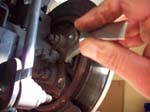
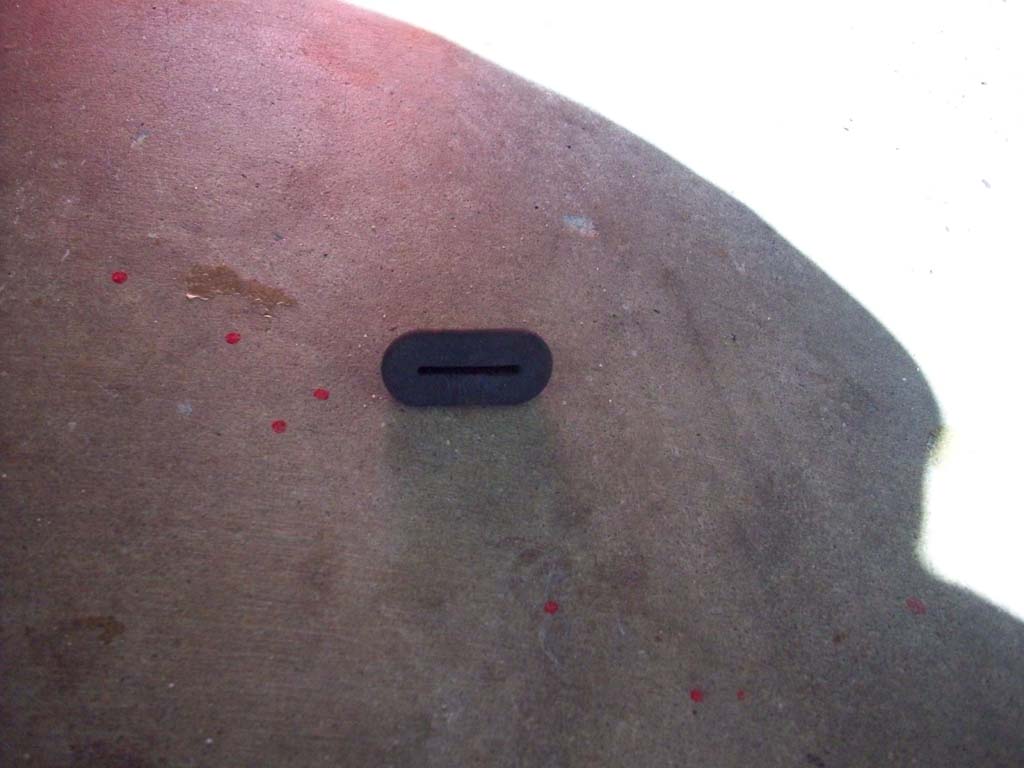
| 6. Remove the rubber plug from the adjustment access hole. I used a needlenose pliers to get a good grip on it and pull it out. If yours are rotted out or even missing, I've seen them at the local parts store in the help section with all the other little parts. |
 |
 |
 |
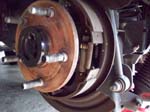
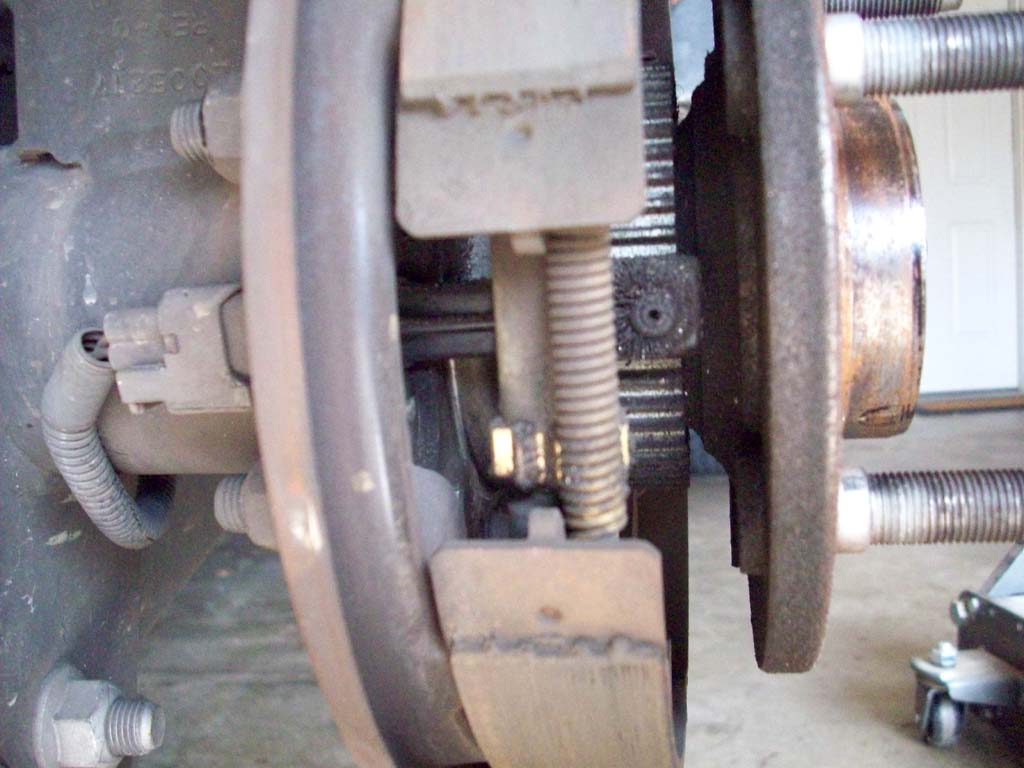
If this is your first adjustment you probably don't need to remove the rotor. If you do a lot of wheeling in the sand, mud and water and if it is rusted you should inspect the shoes and mechanism underneath. I will outline the steps since this is an afterthought of doing the adjustment. I will update this when I pull the rear rotors again.
a. Remove the assembly clips from the wheel studs with a needle nose pliers. The rotor should just wiggle off with some pulling, but you might need to use a dead blow hammer, rap the rotor sharply until he rotor becomes free.
b. Inspect the parking brake shoe assembly for wear, rust, or debris. Replace the shoes if they are worn to less than 1/32", the shoes aren't that thick to begin with, but this is nearly bare metal. Clean out any mud or rust with a wirebrush/screwdriver and brake cleaner. DO NOT use compressed air, this will blow brake dust everywhere and it's hard to clean up.
c. Check the inside of the rotor for damage. Light scoring may be removed on a brake lathe. Deep scoring or cracks will require the rotor to be replaced. The minimum dimensions are cast into the inside of the rotor.
d. Install the rotor back on the end of the axle. |
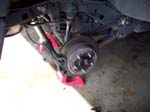
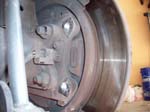
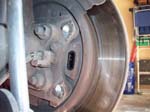
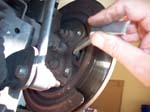
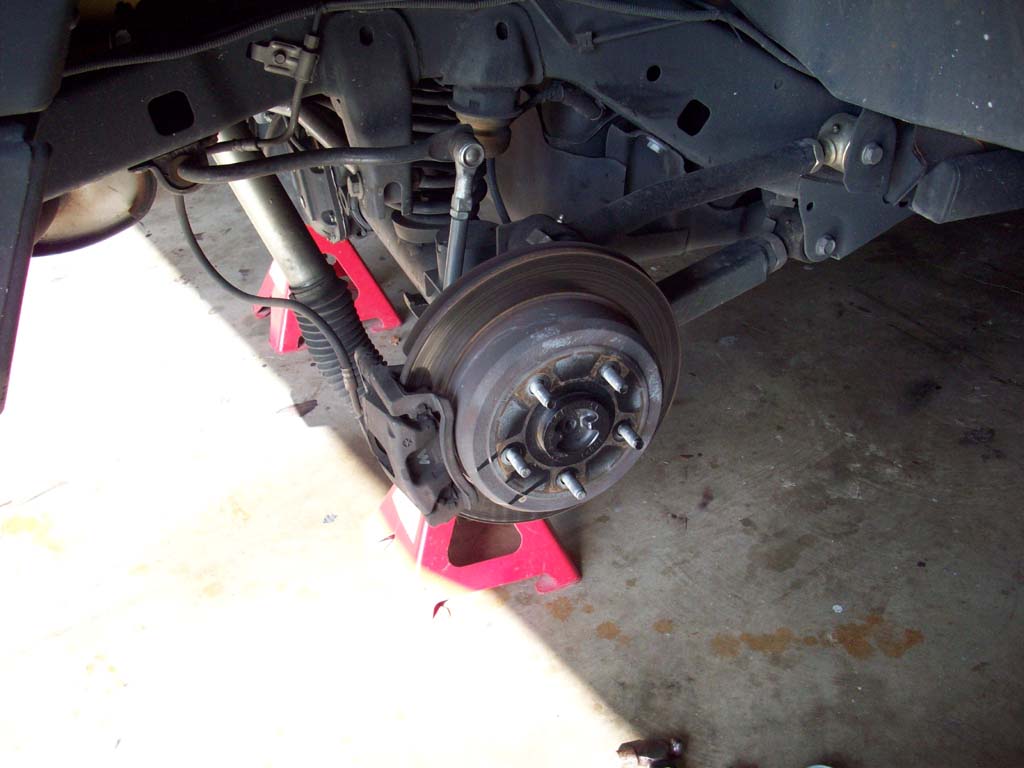
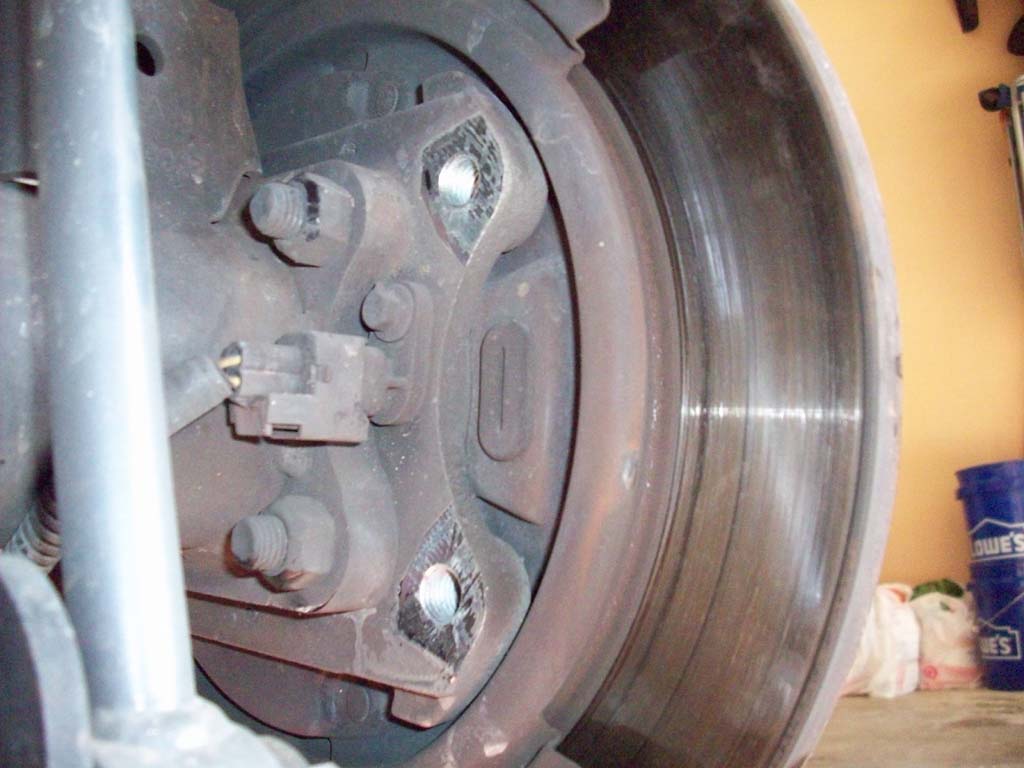
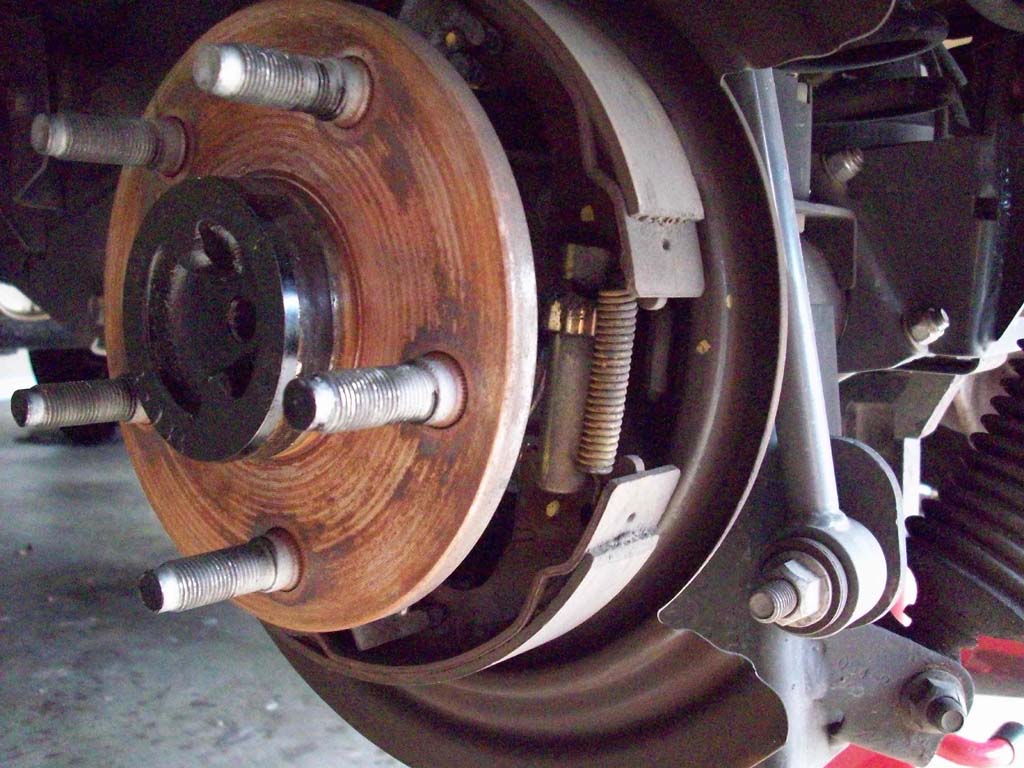
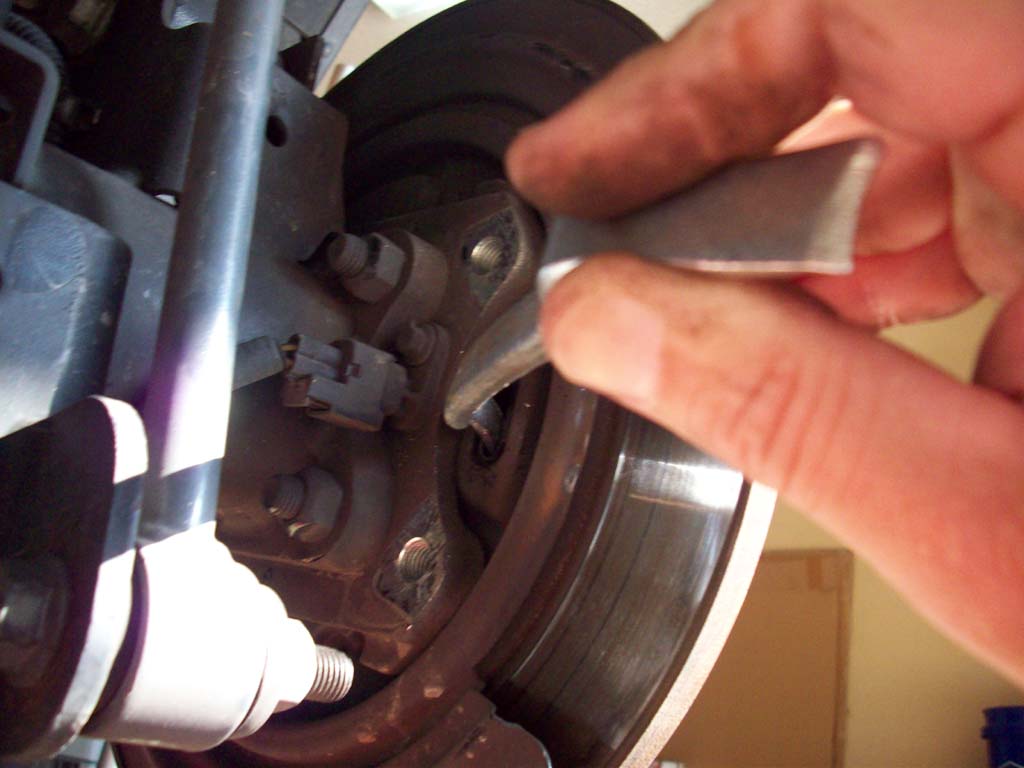
| I removed the drum here to show you a better picture of what you are going to be doing. Do not remove the rear disk/drum when doing the actual adjustment. Make sure the parking brake is disengaged. |
 |
| The passenger side star adjuster is on the bottom of the hole while the drivers side is on the top. This allows you to go the same direction when you adjusting the brake. If you were to look down from the top, the passenger side would rotate counter clockwise, and the drivers side would rotate clockwise. |
 |
 |
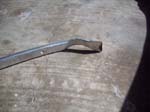
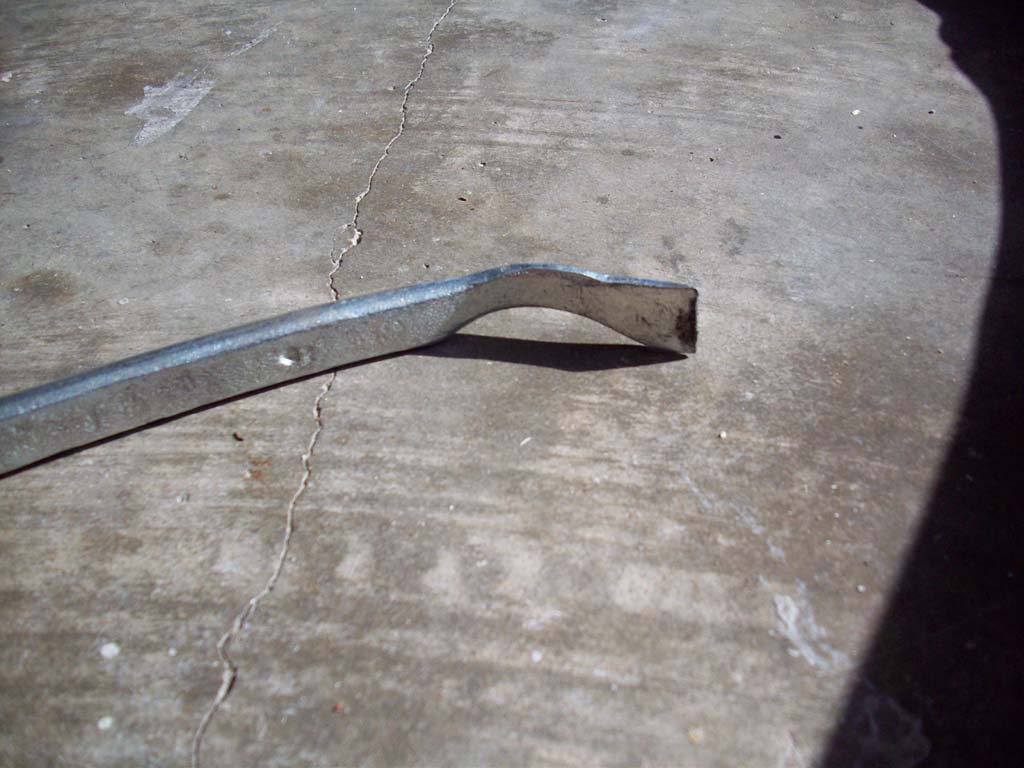
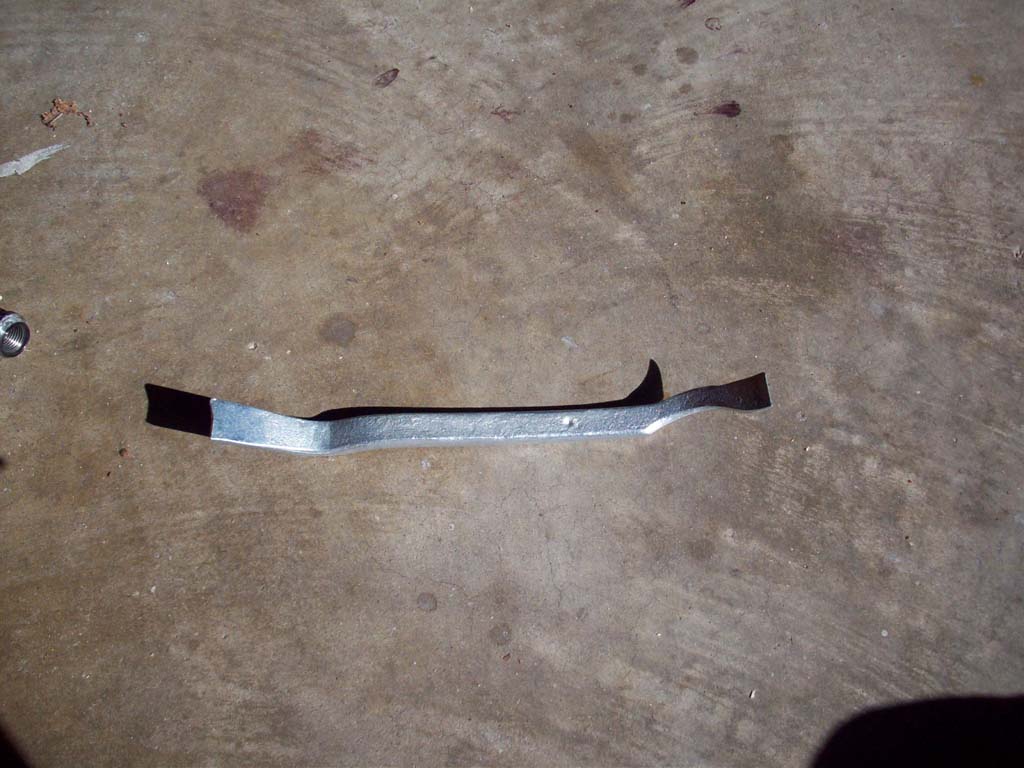
| The brake spoon has a skinny side with a notch in it, and the other side is thick. That side is typically used on full size truck brakes. The skinny side with the notch allows the blade of the spoon to match up with the star adjuster teeth. |
|
 |
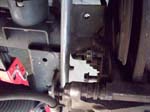
| 7. Insert the brake spoon into the hole until it engages the teeth on the star wheel. This is pretty much by feel since it's nearly impossible to see inside the hole at the same time. You will rotate the star adjuster towards yourself, or towards the rear of the vehicle. It rotates counter clockwise on the passenger side, clockwise on the drivers side. |
 |
 |
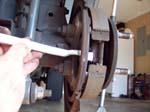
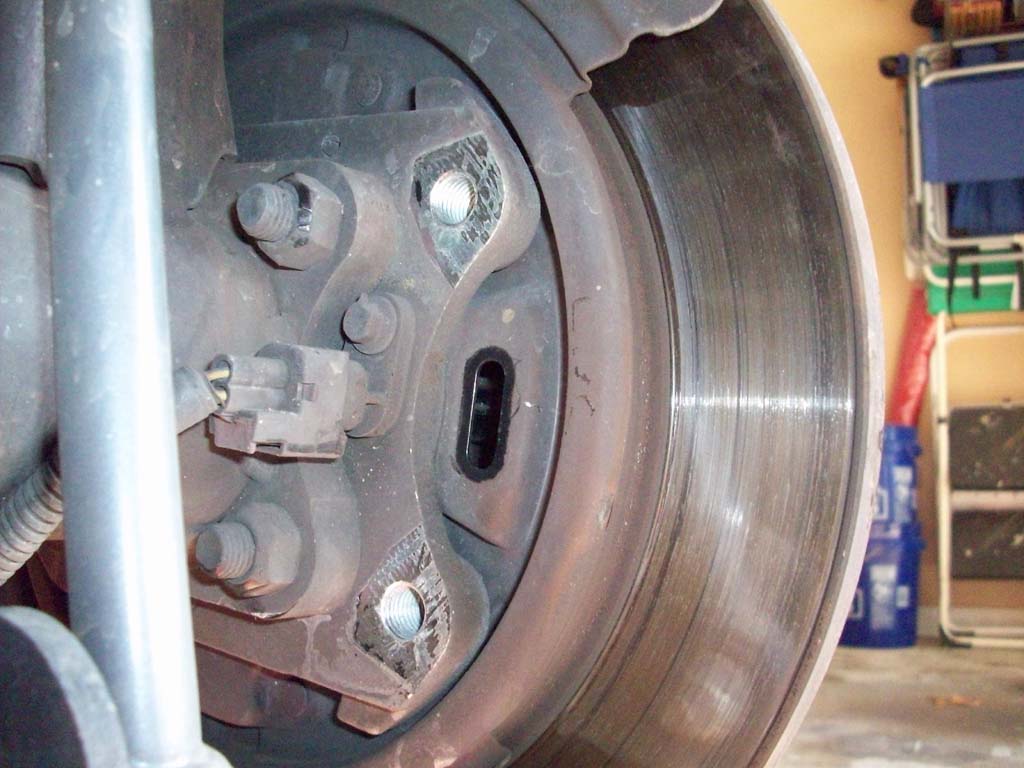
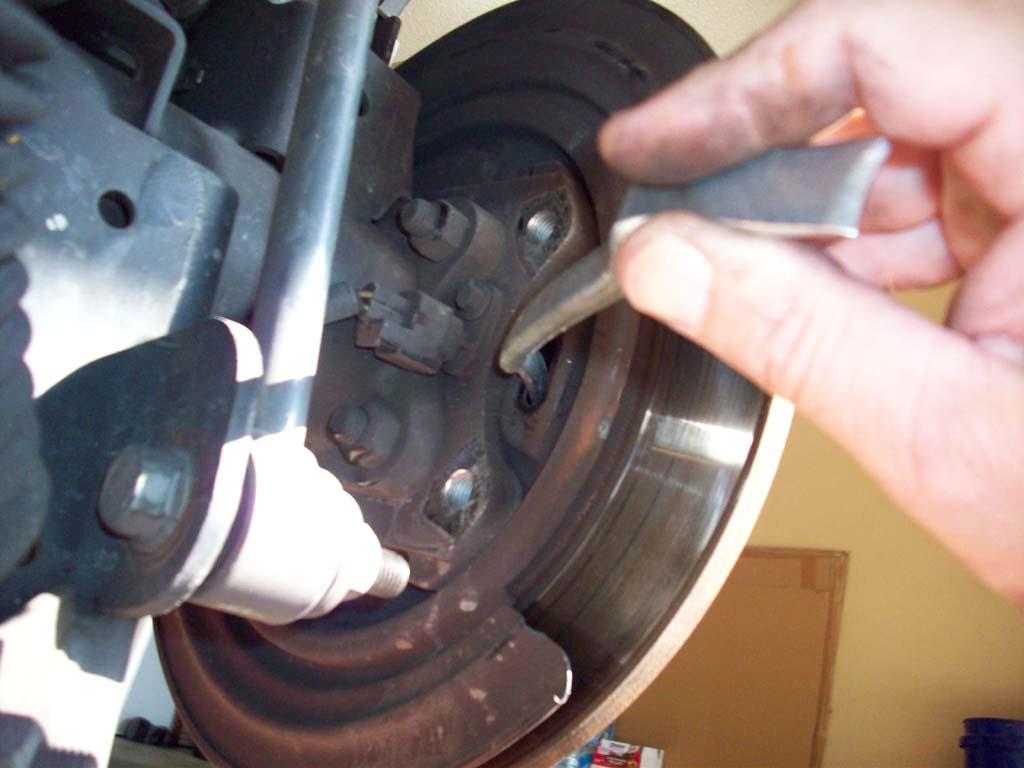
8. Rotate the adjuster screw until you feel a slight drag when you rotate the brake disc or wheel. (See the note below step 9 for an alternative method)
Note: Drum removed for visual only.
|
 |
| 9. Once you feel the drag, stop and back off the star adjuster a couple of teeth until the drag goes away. Shouldn't take more than a couple of teeth. Don't be to worried if the drag isn't exactly the same on both sides. |
 |
| NOTE: Alternatively, you can turn the star wheel until it suddenly become difficult to move. Stop and back the star wheel off 4 - 5 points or notches. I have used both methods and they work equally well, though this method does get the tension a little more even. Both methods work. |
| 10. Reinstall the rubber plug in the access hole. |
|
|
| 11. Reinstall the brake caliper, you may need to press the piston in just a little to get it to clear the disk again. Using an 18mm combo wrench. |
| 12. Reinstall the wheels. |
| 13. Remove the jack stands and test out your parking brake. You should find that won't be able to pull the parking brake lever as high as before. |
| 14. If you removed the calipers you will need to start the engine and pump the brakes a few times to get the rear calipers engaged properly. |
| 15. Set the parking brake and remove the wheel chocks from the front tires. |


