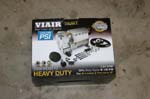
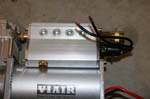
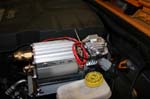
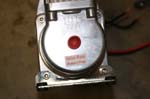
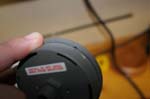
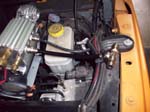
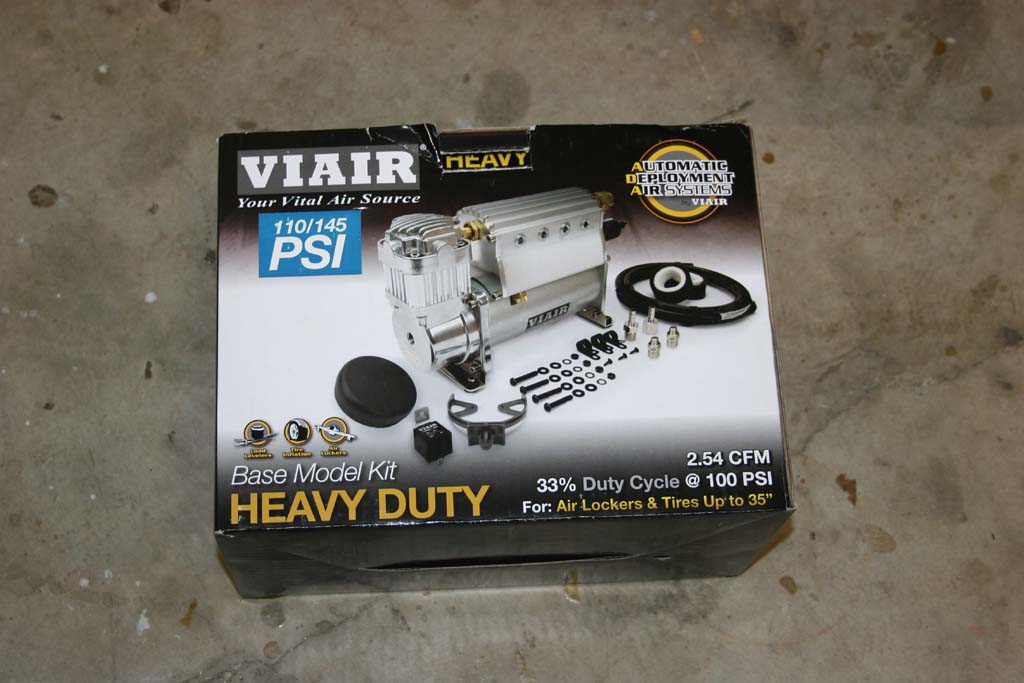
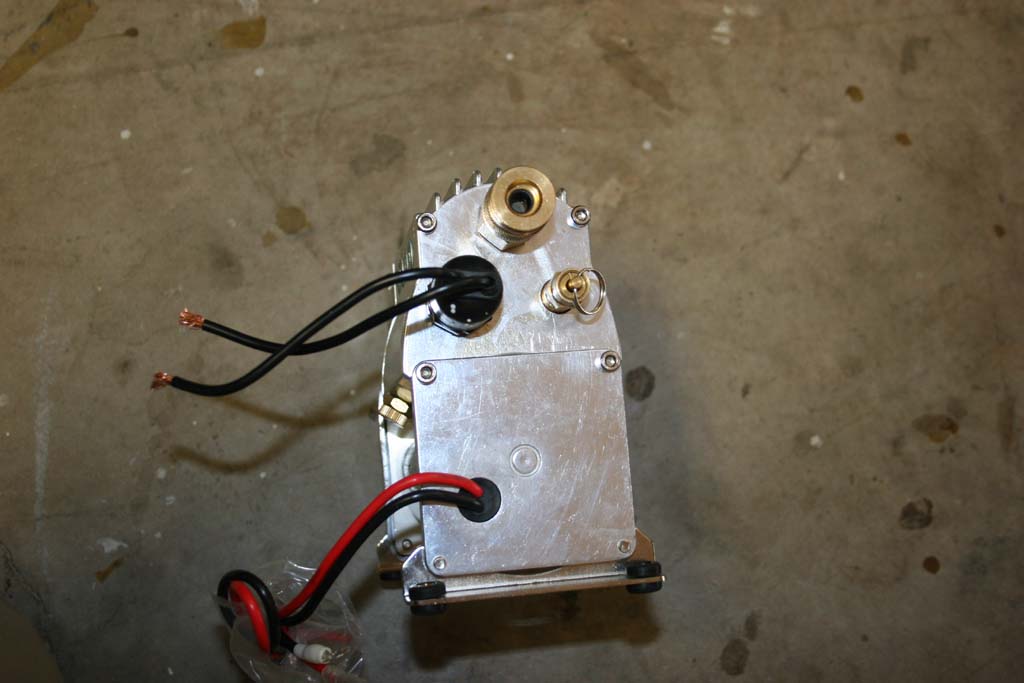
My previous Jeeps had engine driven York compressors to supply my air for tools, tires and AiROCK suspension. This time I'm not going with AiROCK and have found that I really didn't use air driven tools that much off road. So I really only needed something to air up my tires. The new 3.6L engines that came in the 2012 and up JK's doesn't lend itself to an engine mounted compressor. I also didn't want to mount a compressor inside the cab just because of the noise. I had looked at the Dual ARB setup, but couldn't swallow the price tag of that baby. ViAIR has been around for a while and I have seen plenty of torture tests on their compressors. I decided that this would be a good route to go. I just had to wait until the new brackets came out for the 2012 and ups. ViAIR now makes an ADA complete kit for this, but I sourced most of the parts out from different Vendors at the time. ViAIR for the compressor kit, Poly Performance for the bracket and my miscellaneous parts drawers for wiring and connectors. 400C compressor. There are 4 ADA kits that you can purchase, either a 400c or a 450c compressor each one has either a 85/105 or a 110/145 pressure switch. They do not recommend using the higher pressure switch with air lockers.
| Parts: |
| Poly Peformance: |
 |

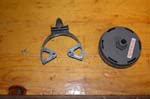
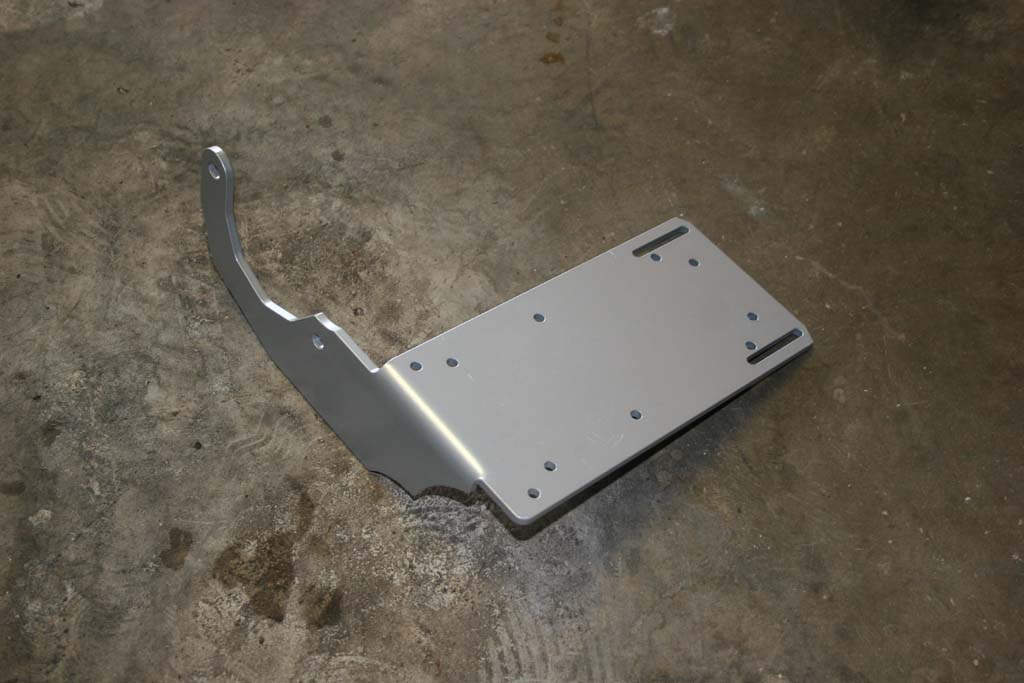
The Bracket
|
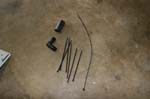
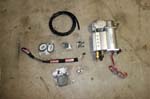
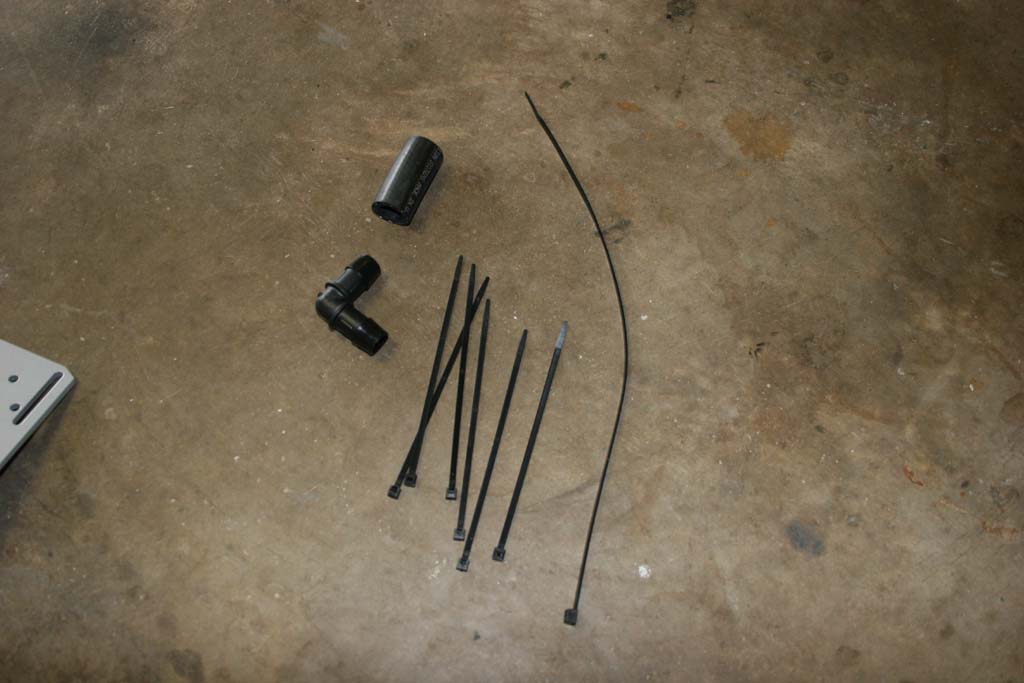
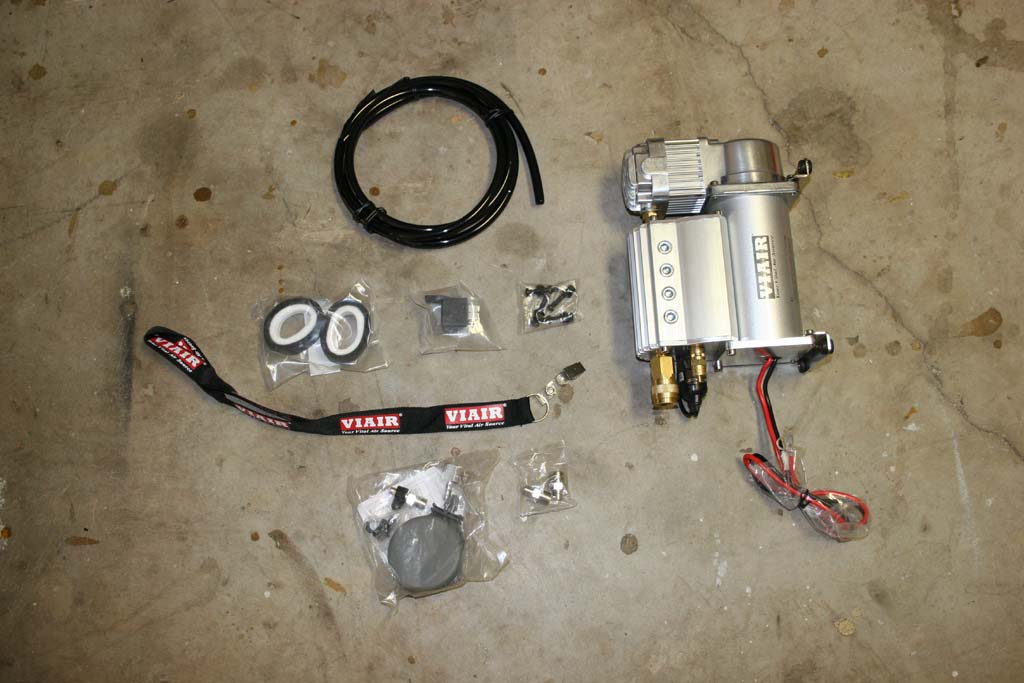
All the parts
|
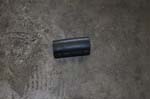
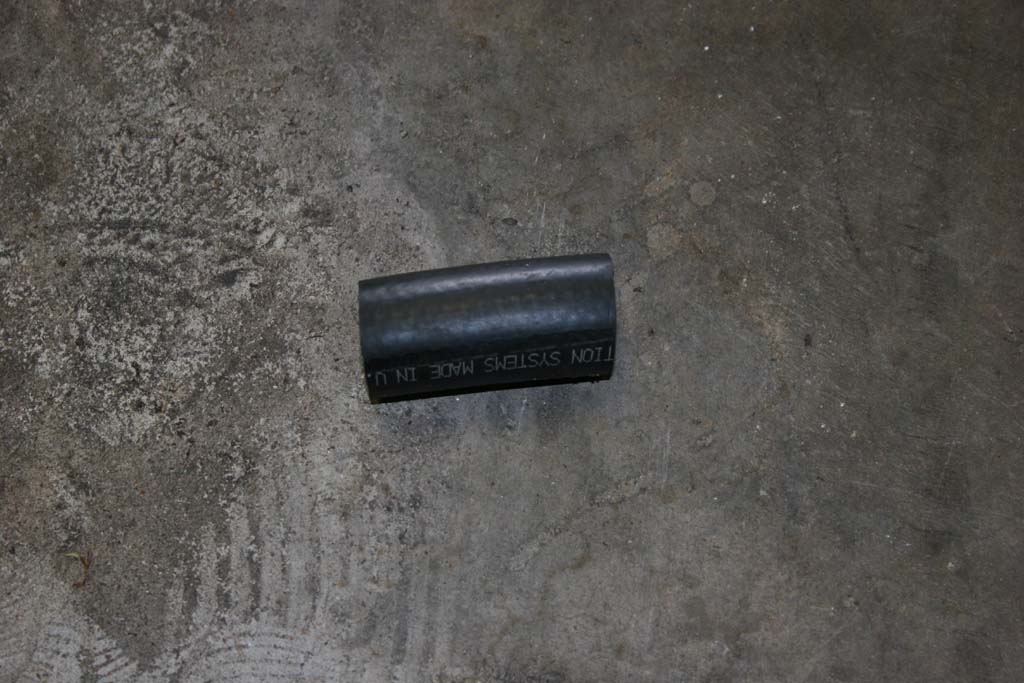
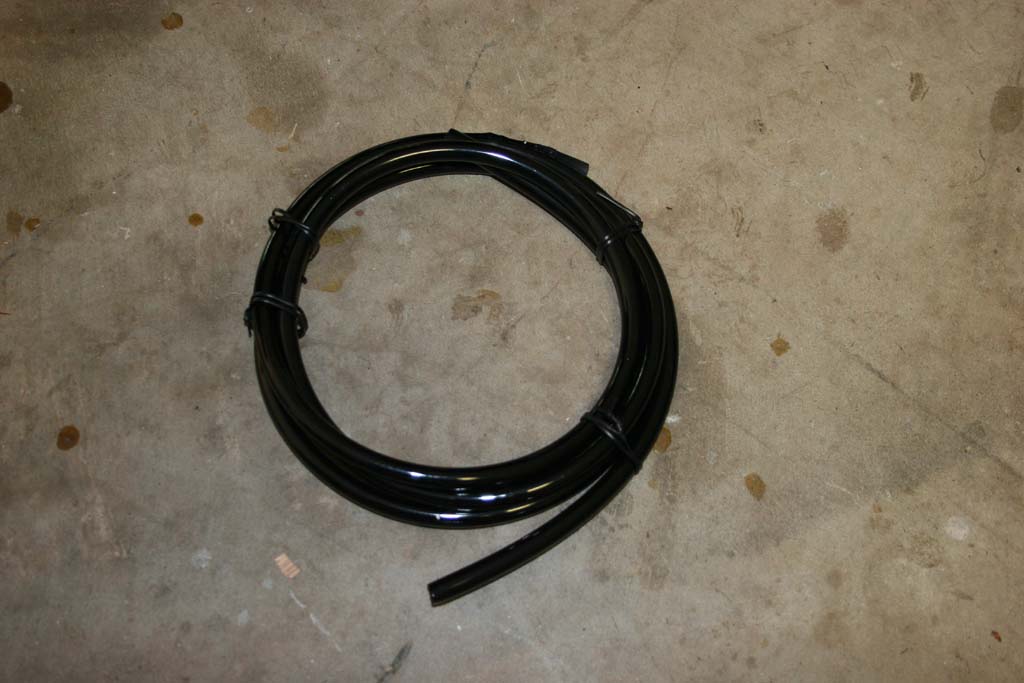
Small hose
|
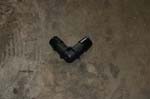
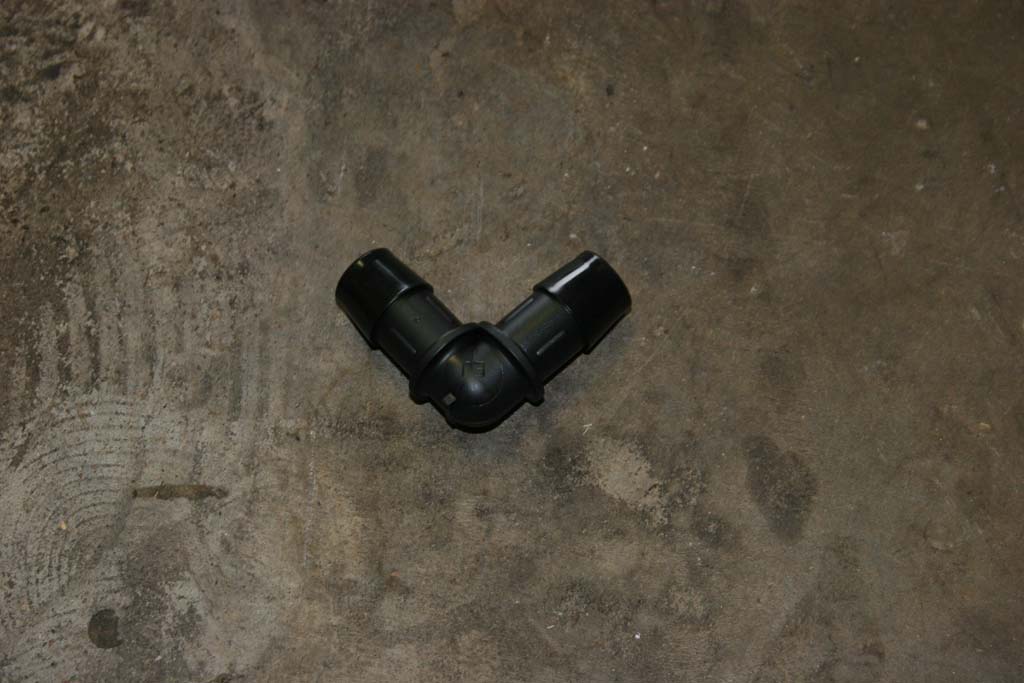
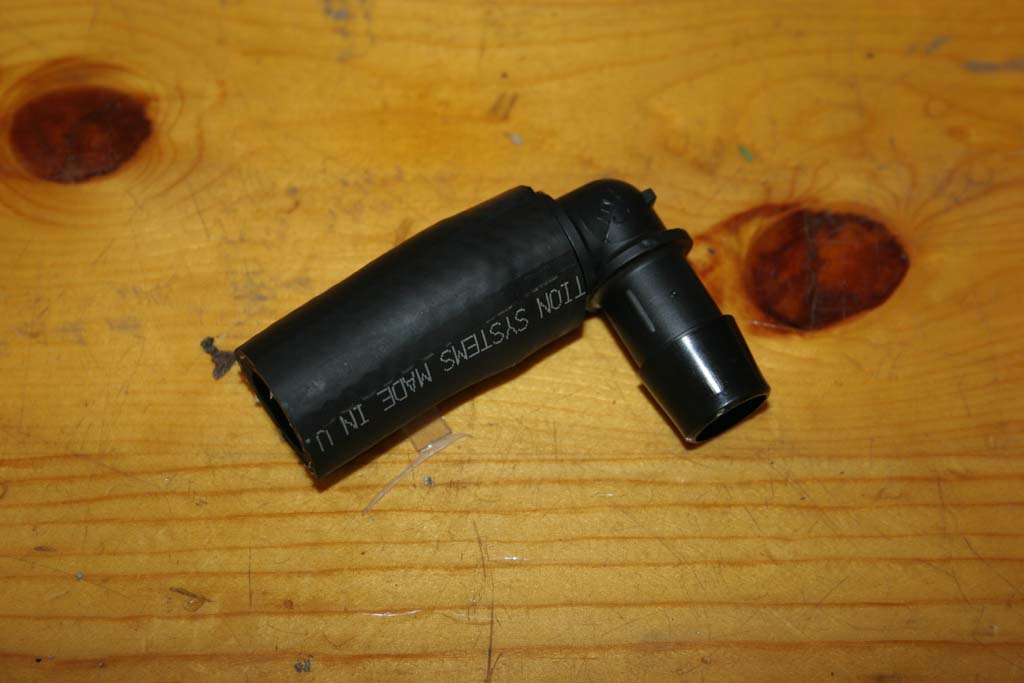
Elbow
|
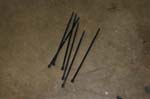
Medium Zip Ties
|
Long Zip Tie
|
| |
| ViAIR: |
 |
 |
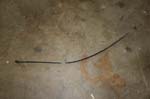
Suction Hard Line
|
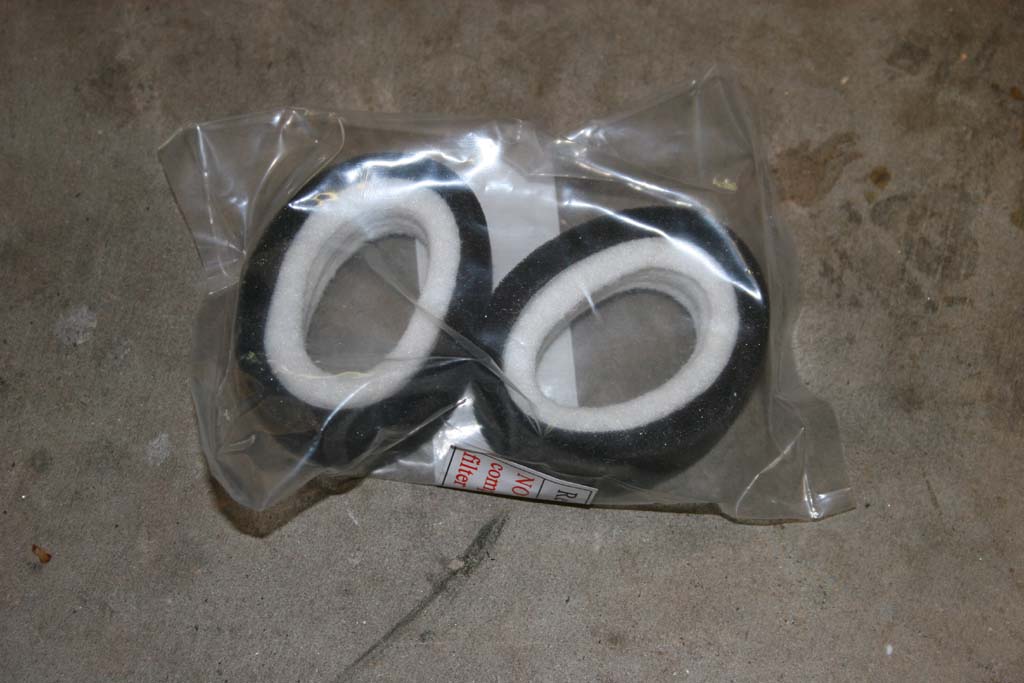
Suction Filters
|
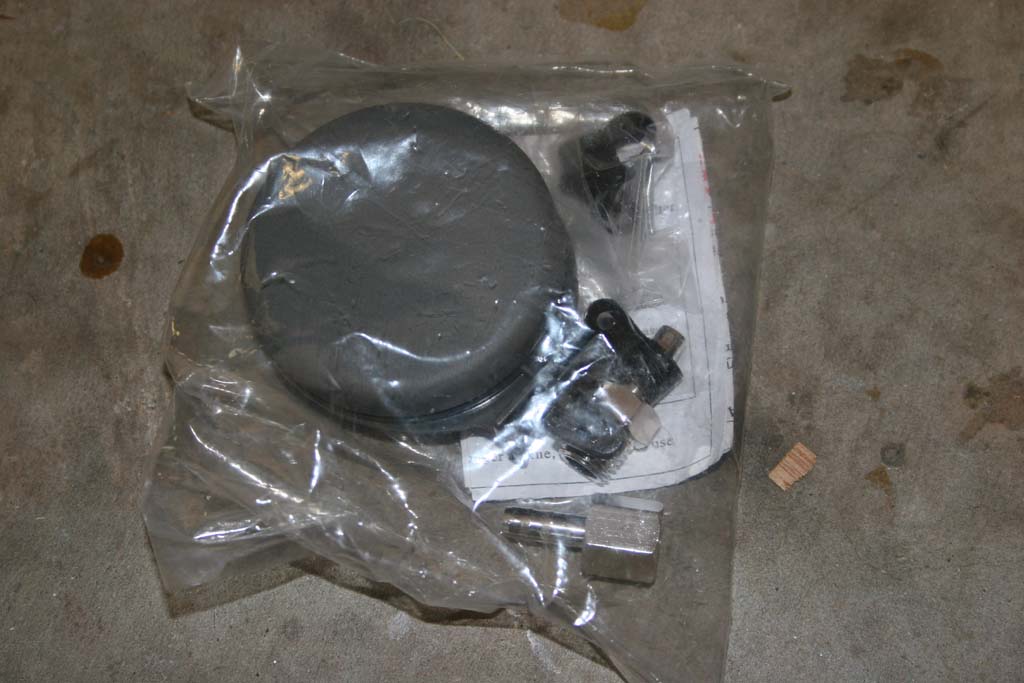
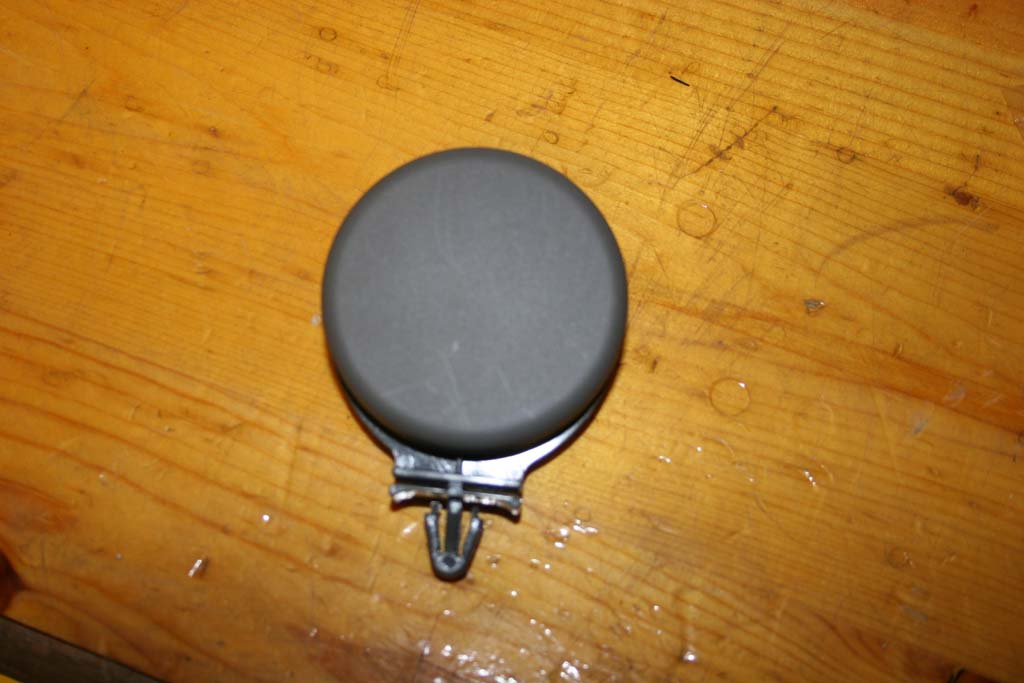
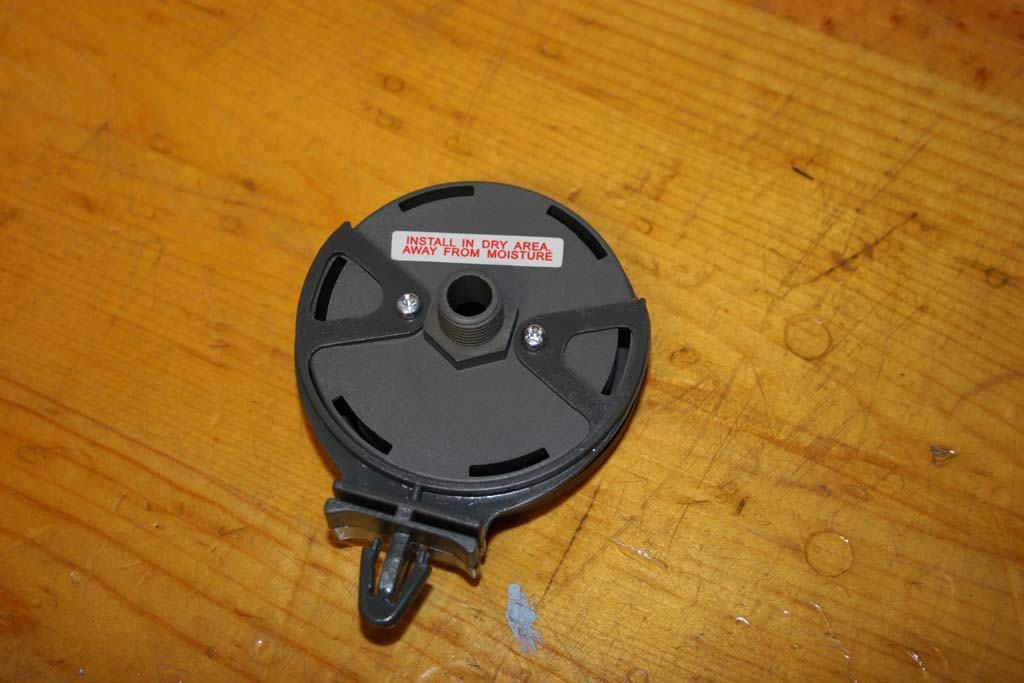
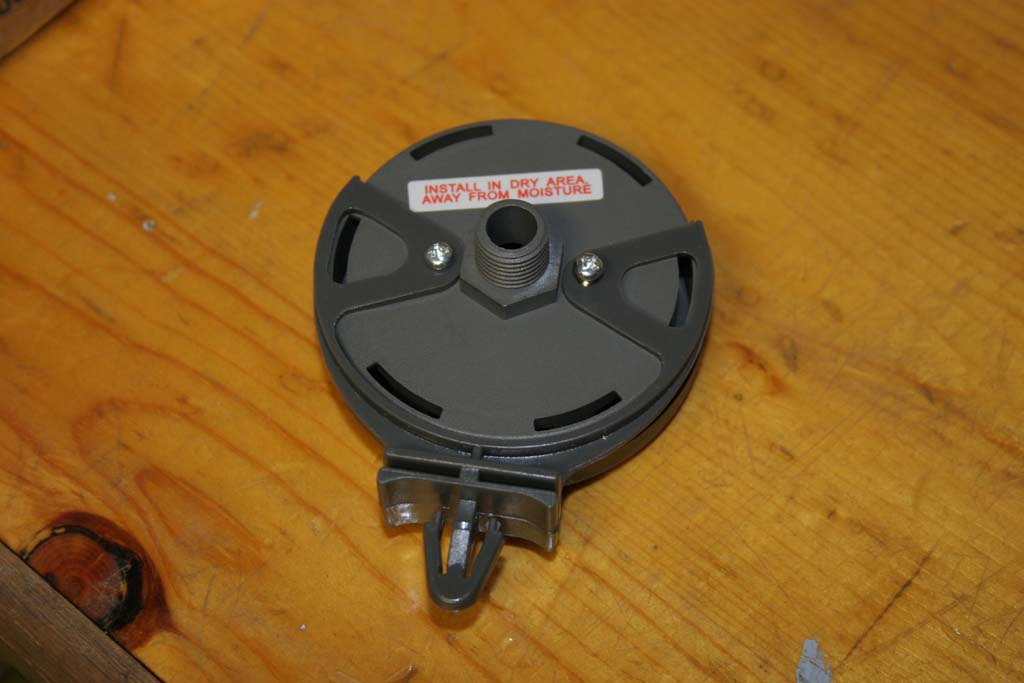
Suction Housing
|
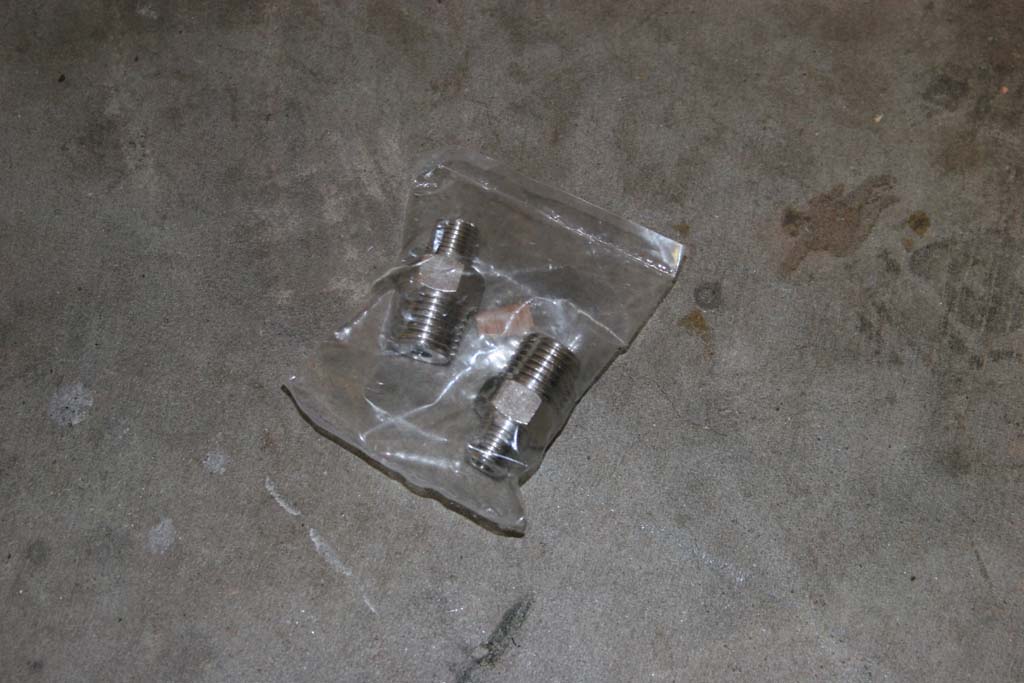
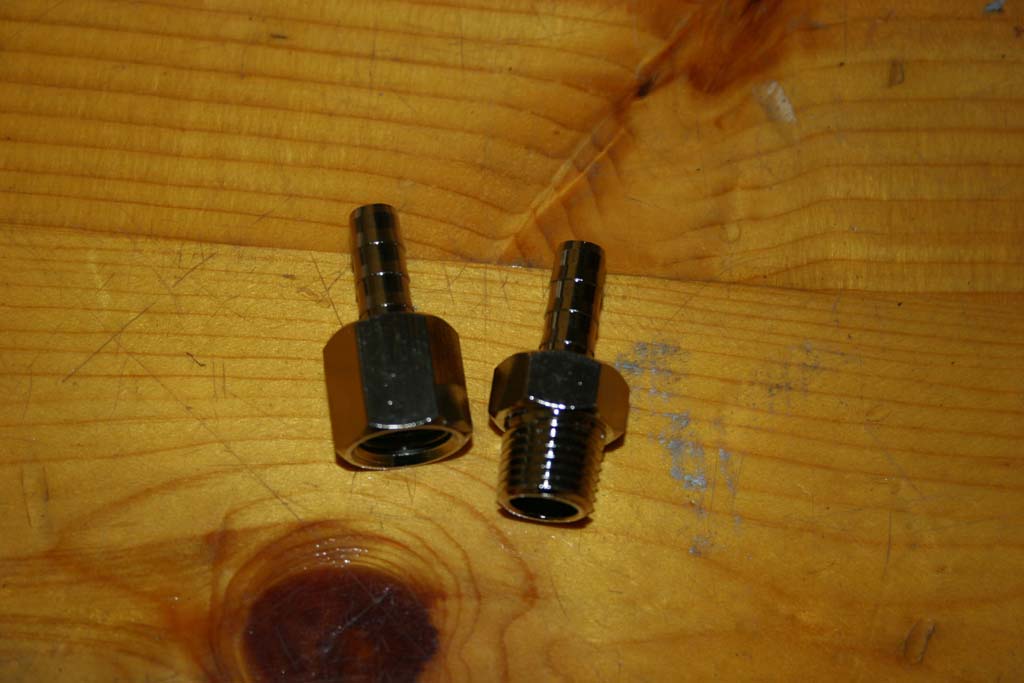
Air Fittings
|
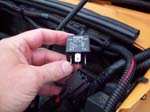
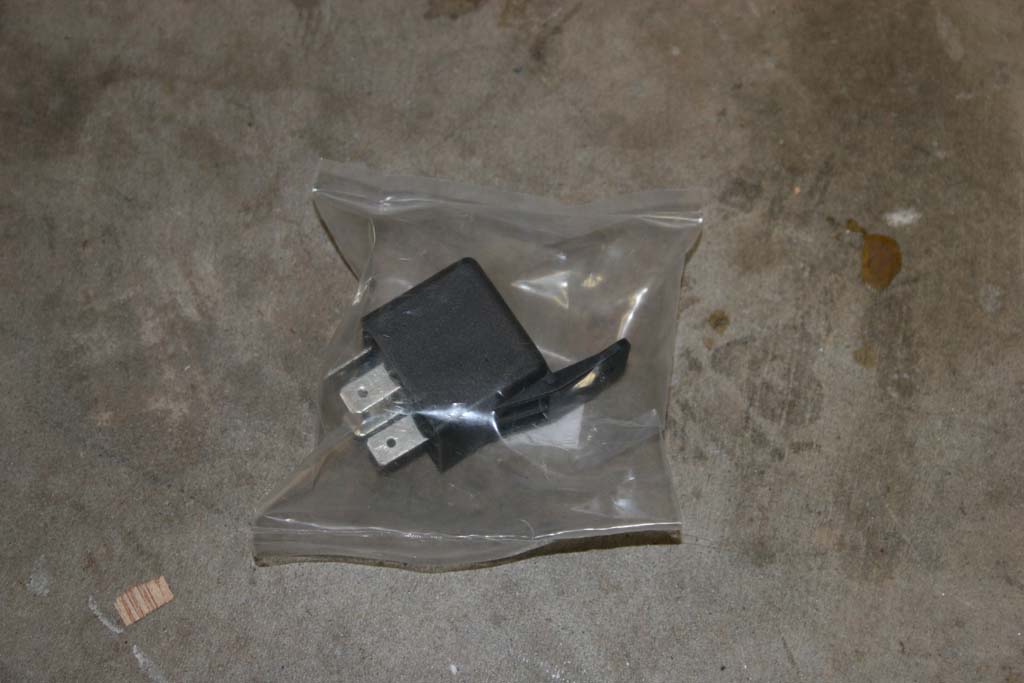
40 amp Relay
|
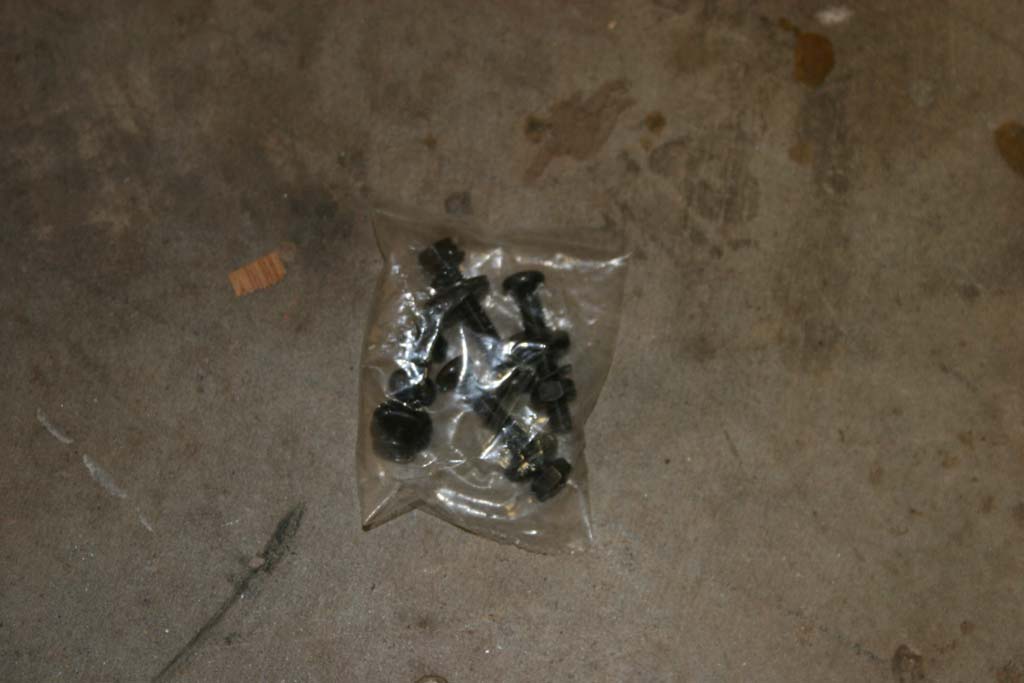
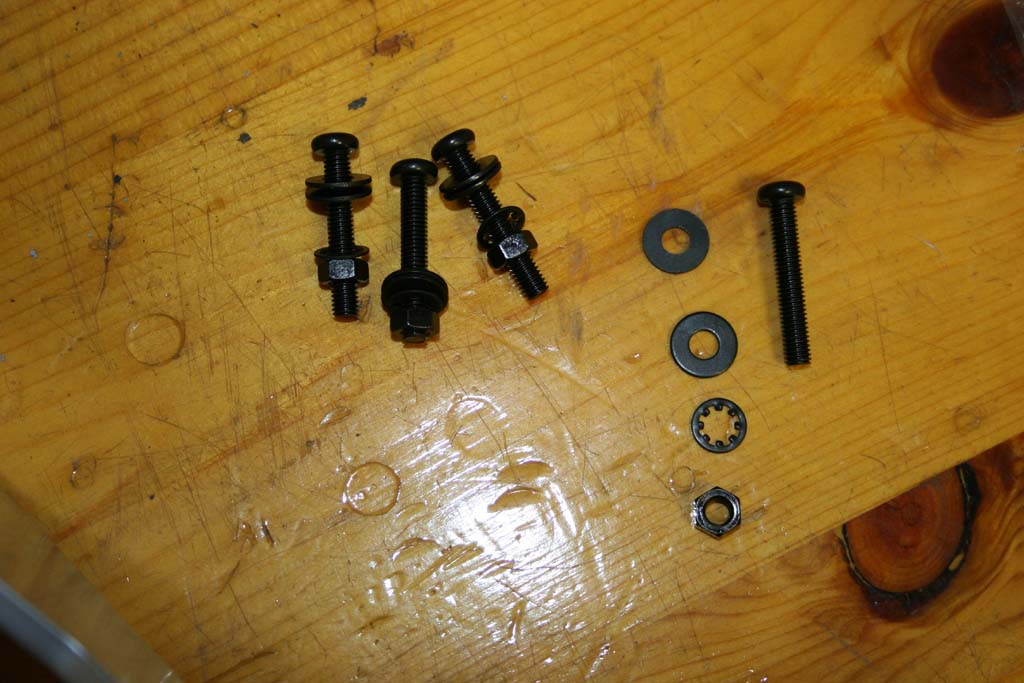
Screws
|
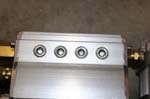
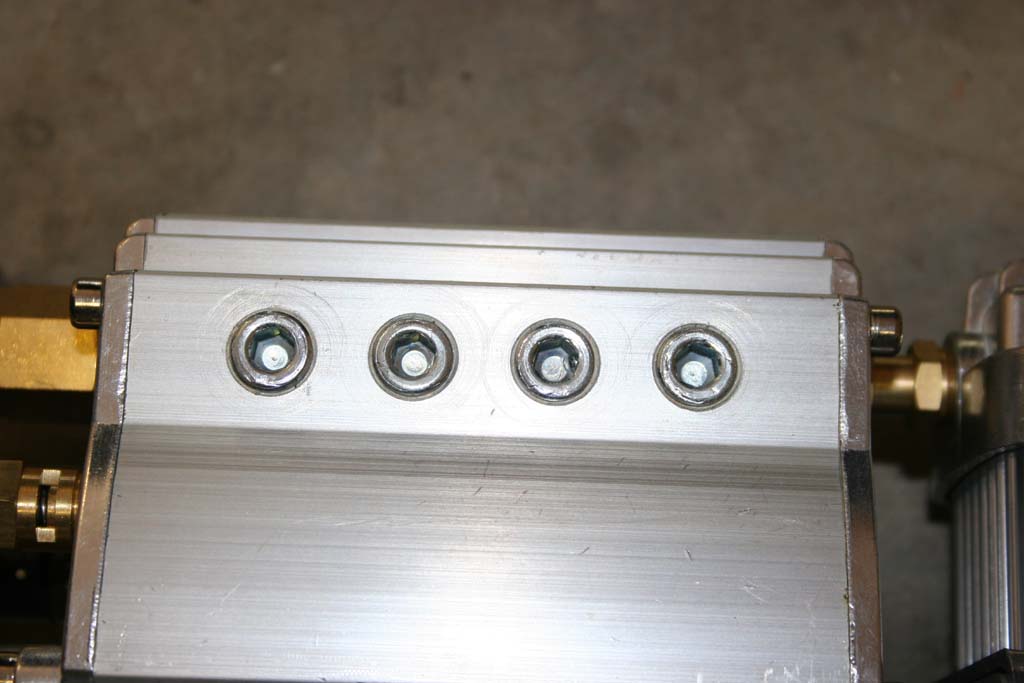
Four (4) 1/4" fitting points
|
Four (4) 1/4" fitting points and tank drain
|
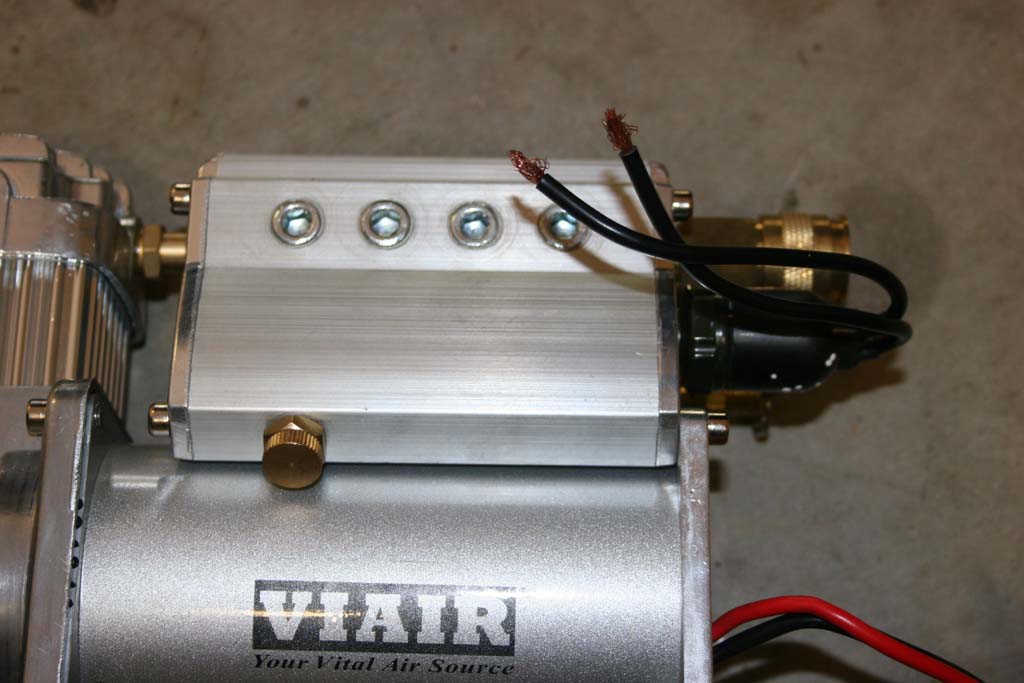
Safety Valve, Pressure Switch and Quick Disconnect fitting
|
Suction Filter Connection
|
| |
| Installation: |
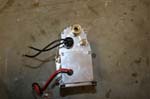
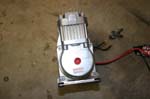
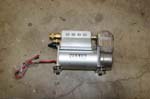
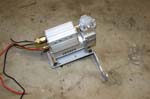
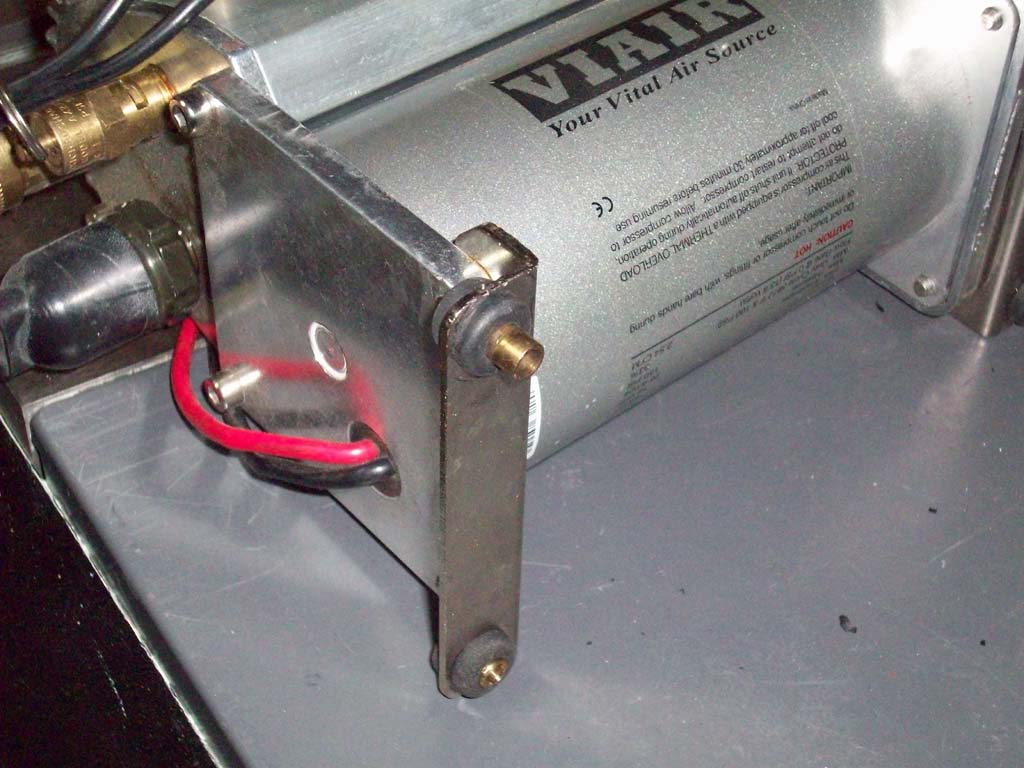
| 1. First assemble the compressor to the bracket. Install the compressor with the suction connection towards the end of the bracket with the bracket mounting leg. Insert a bolt with washer down through the compressor and then install an washer, lock washer and nut on the bottom side. Get all the bolts through and nuts started before tightening down. Tighten the nuts and bolts with a #2 phillips screw driver and a 5/16" combo wrench. |
|
 |
 |
 |
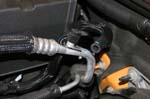
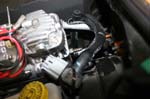
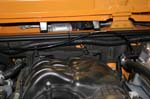
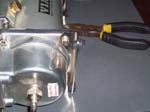
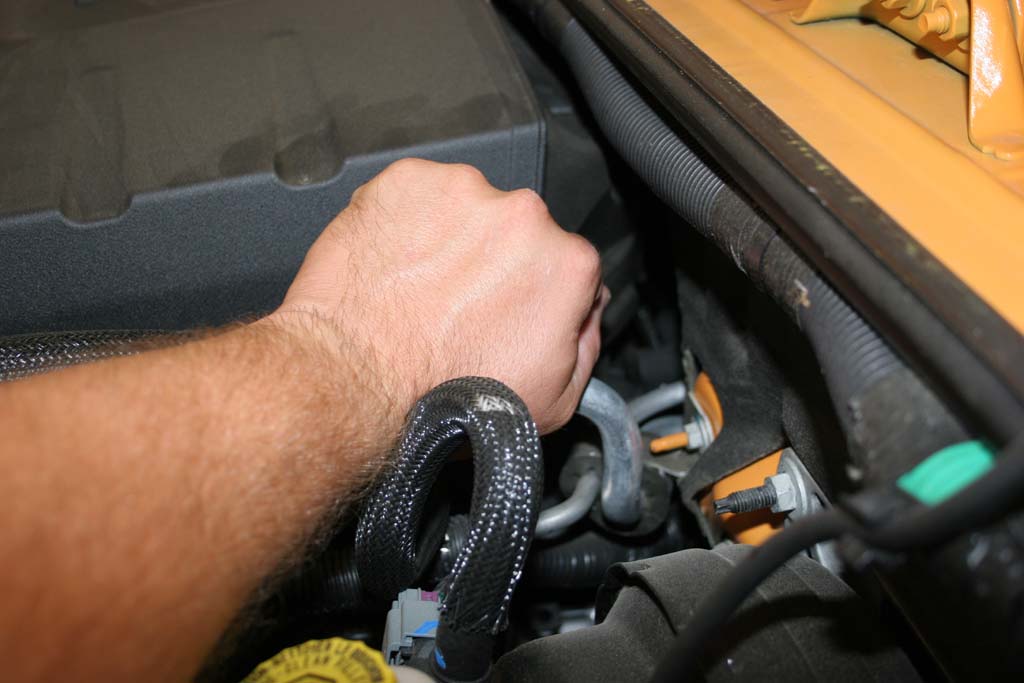
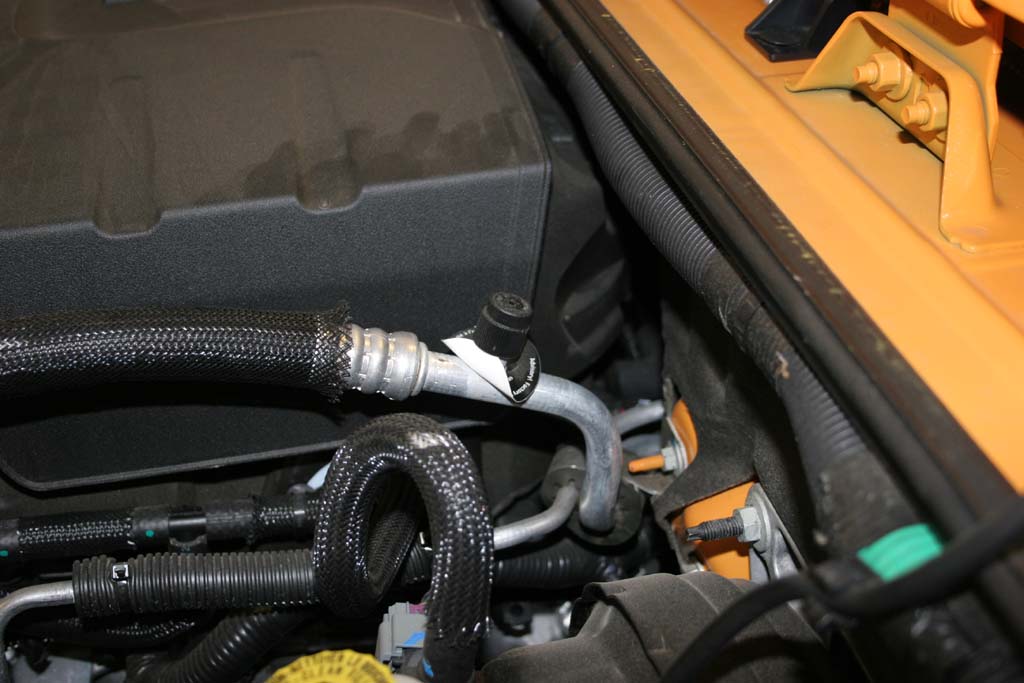
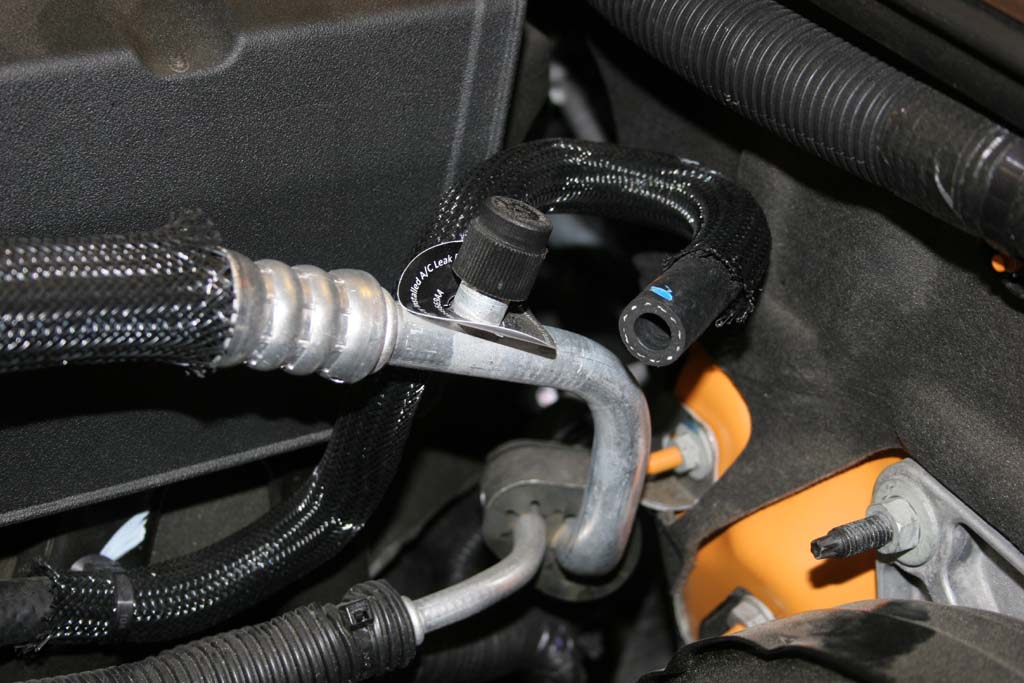
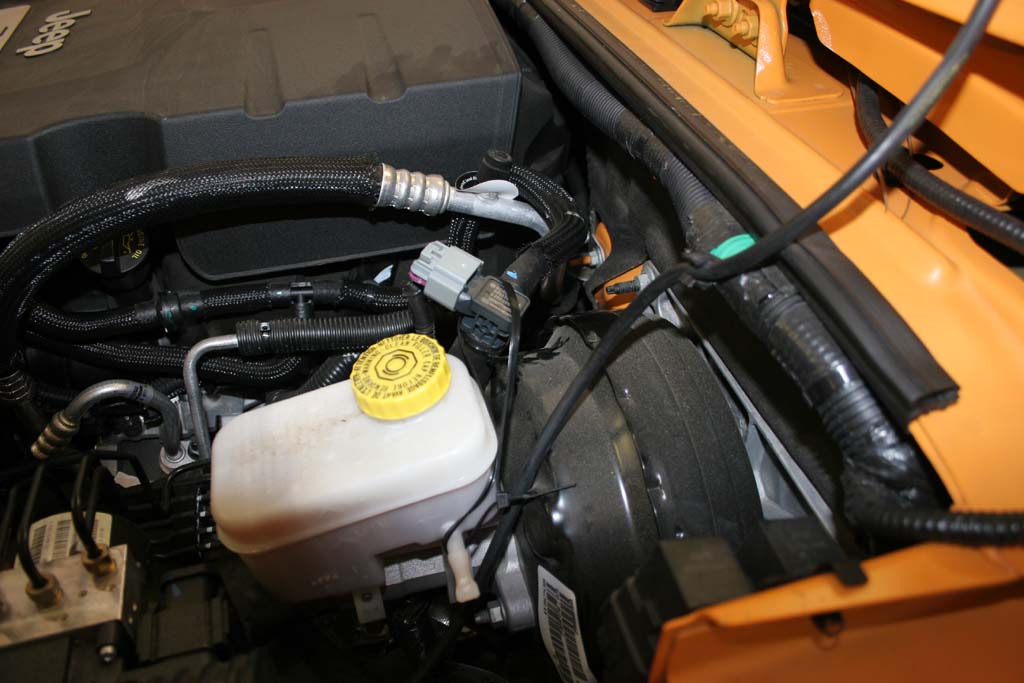
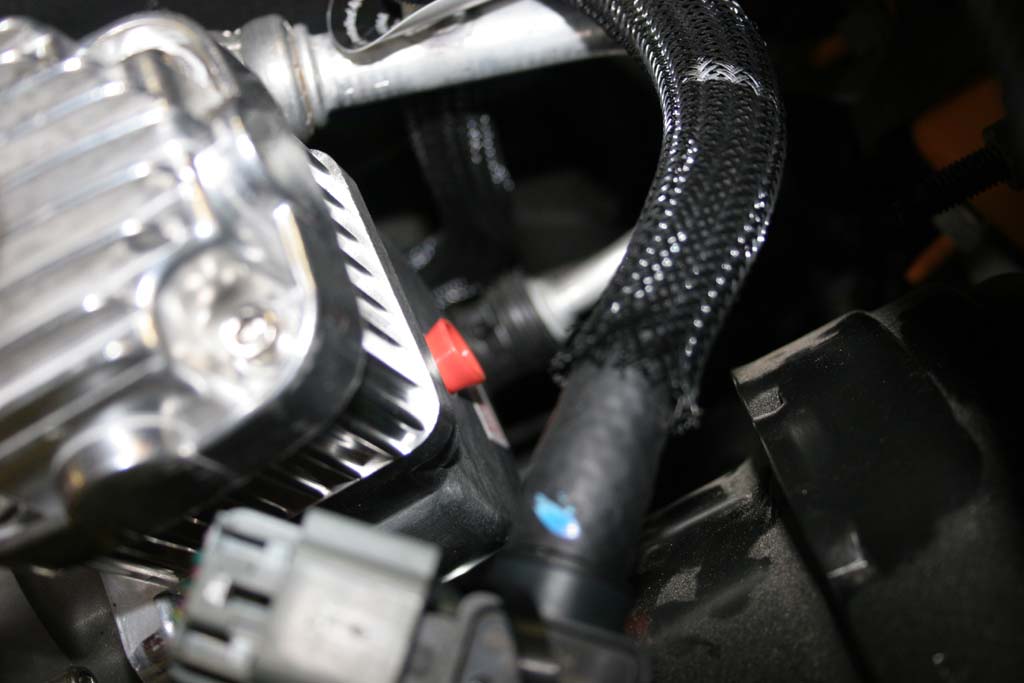
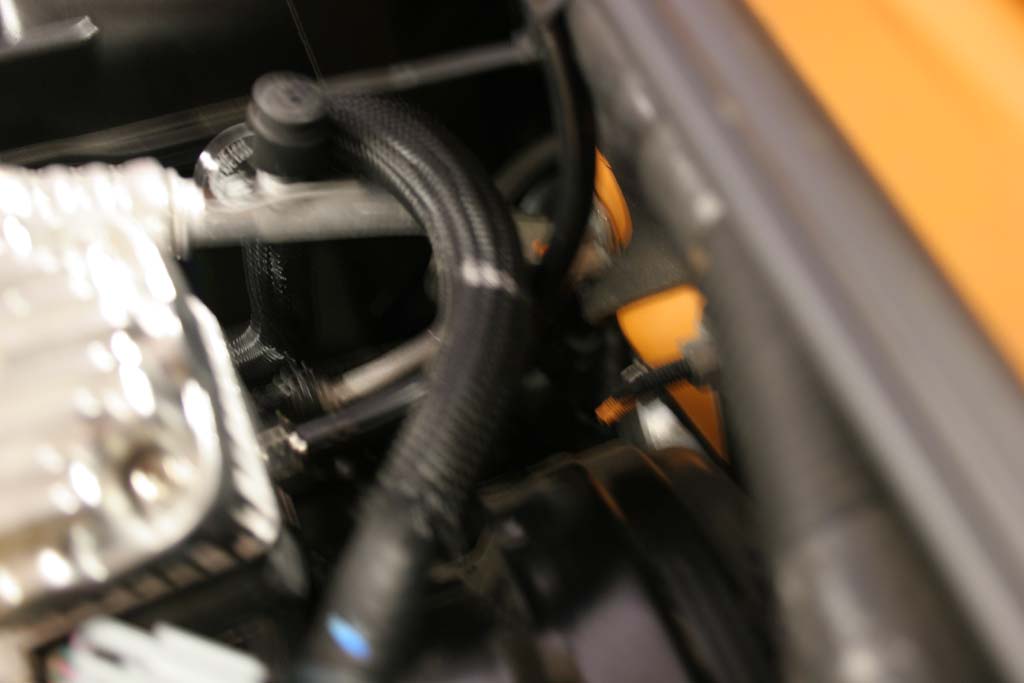
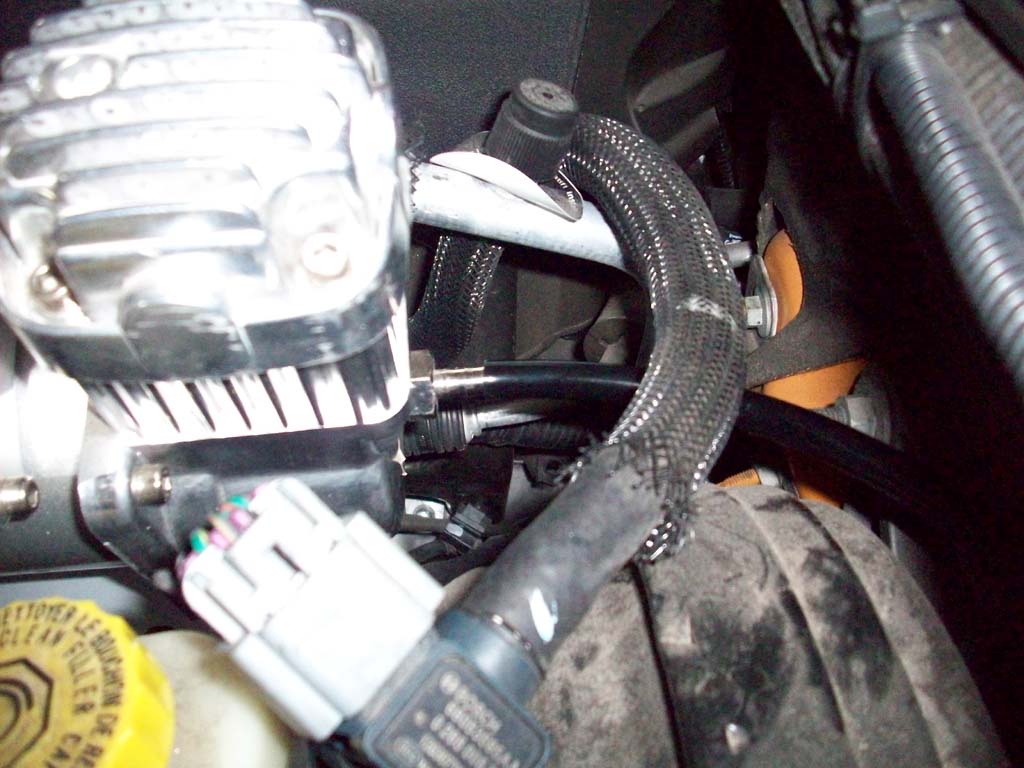
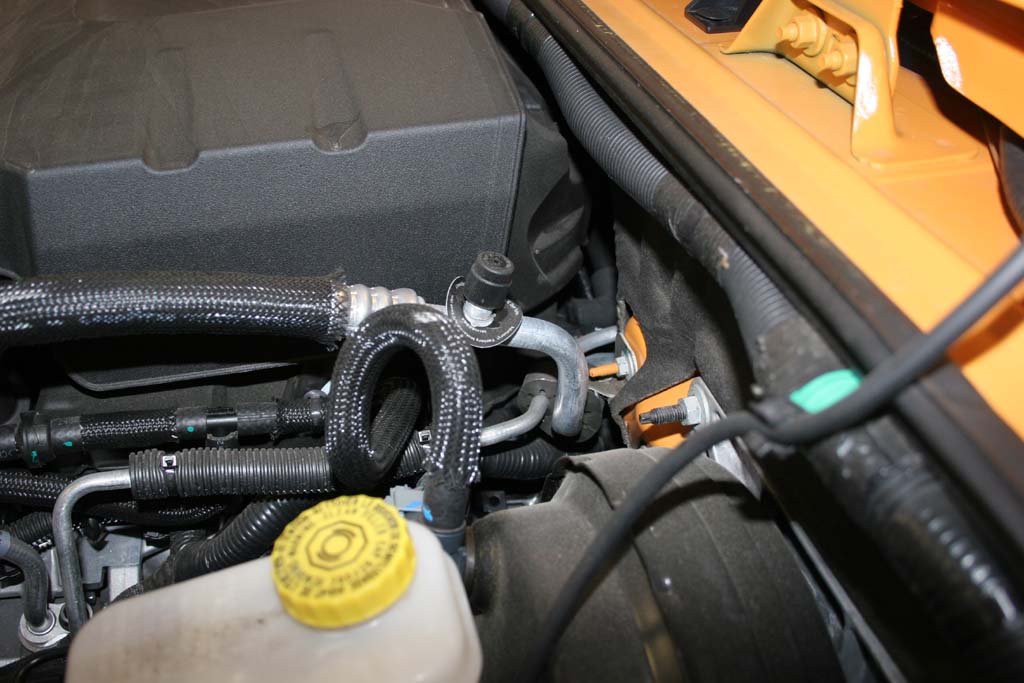
| 2. Use firm pressure and push the rigid A/C hose (the big thick one) towards the engine to provide clearance for the bracket. You will be pushing at the top of the bend. Do not just jerk the pipe over, you can kink it. |
 |
 |
 |
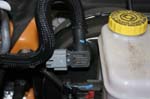
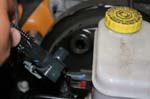
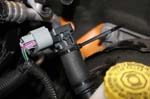
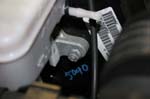
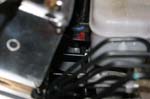
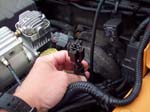
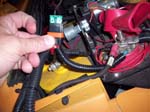
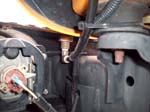
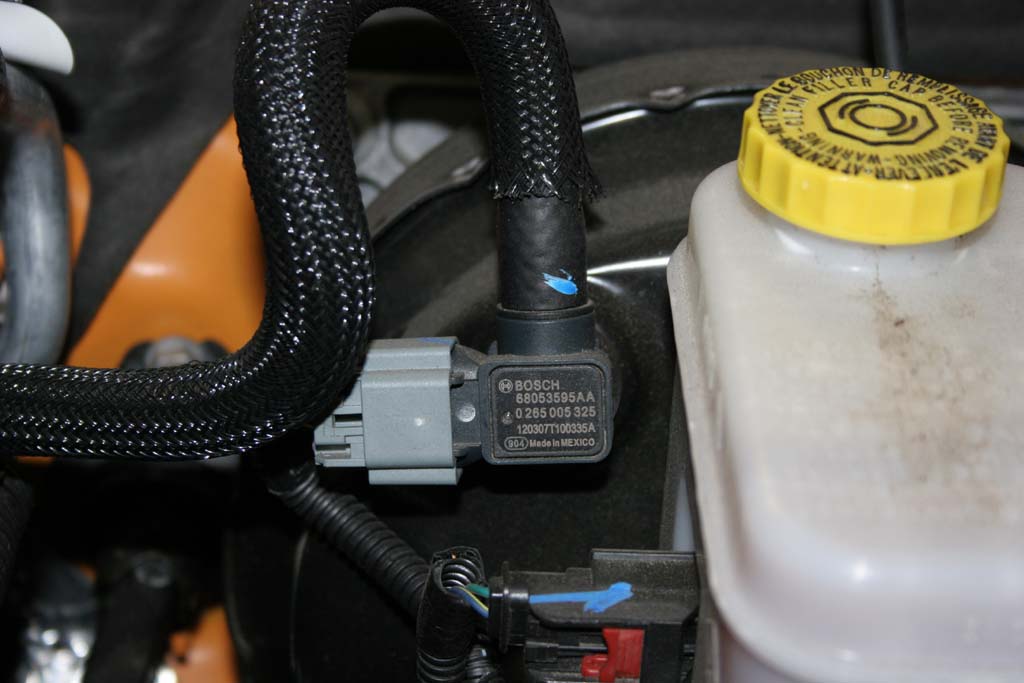
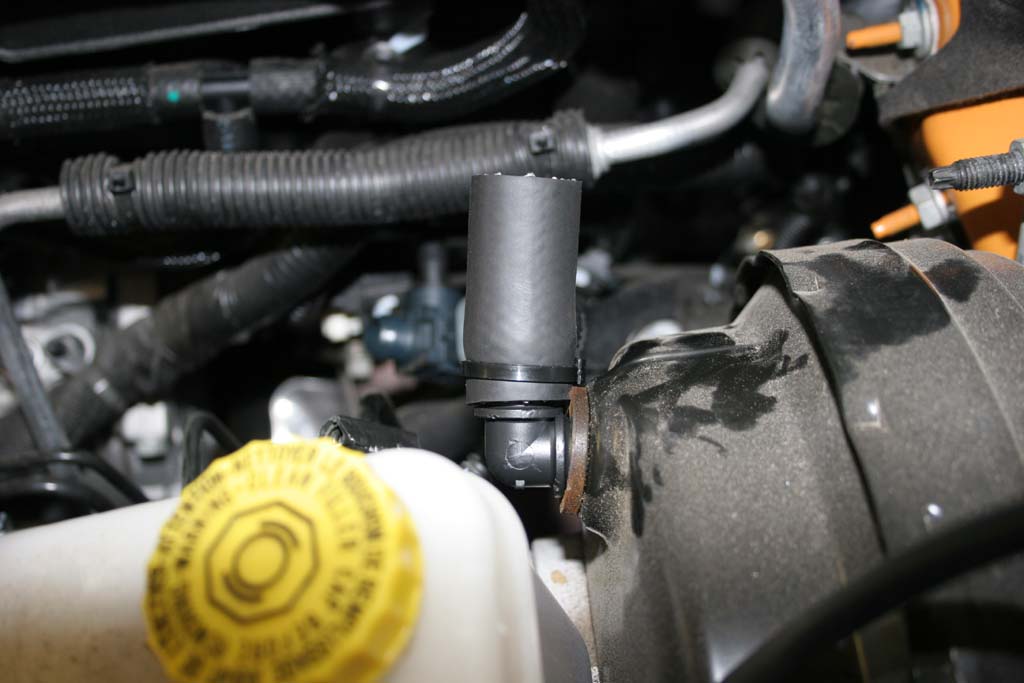
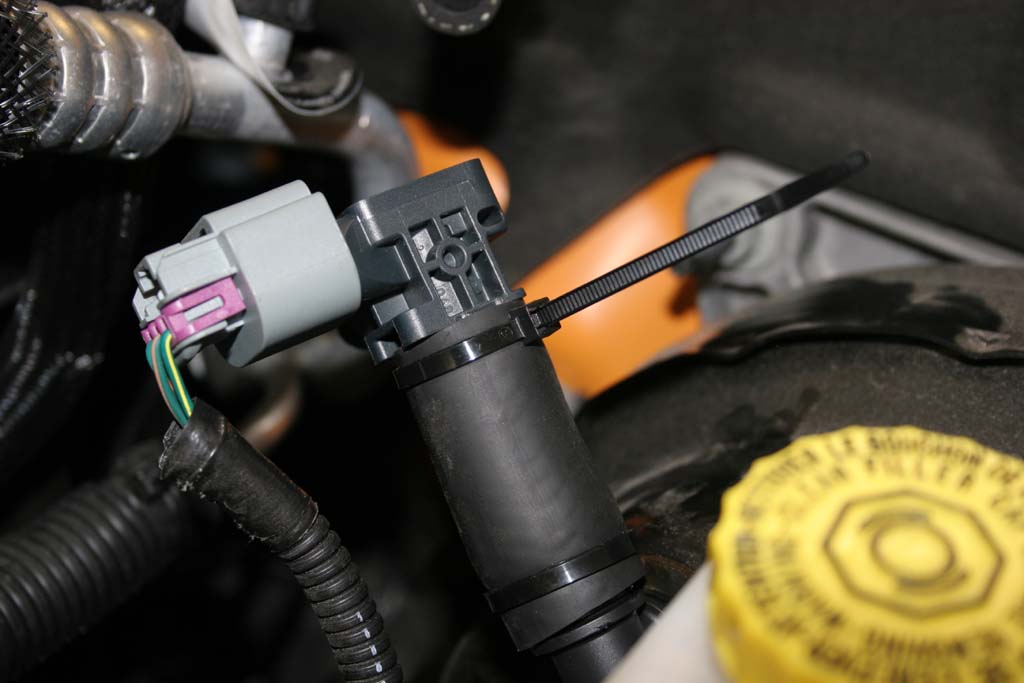
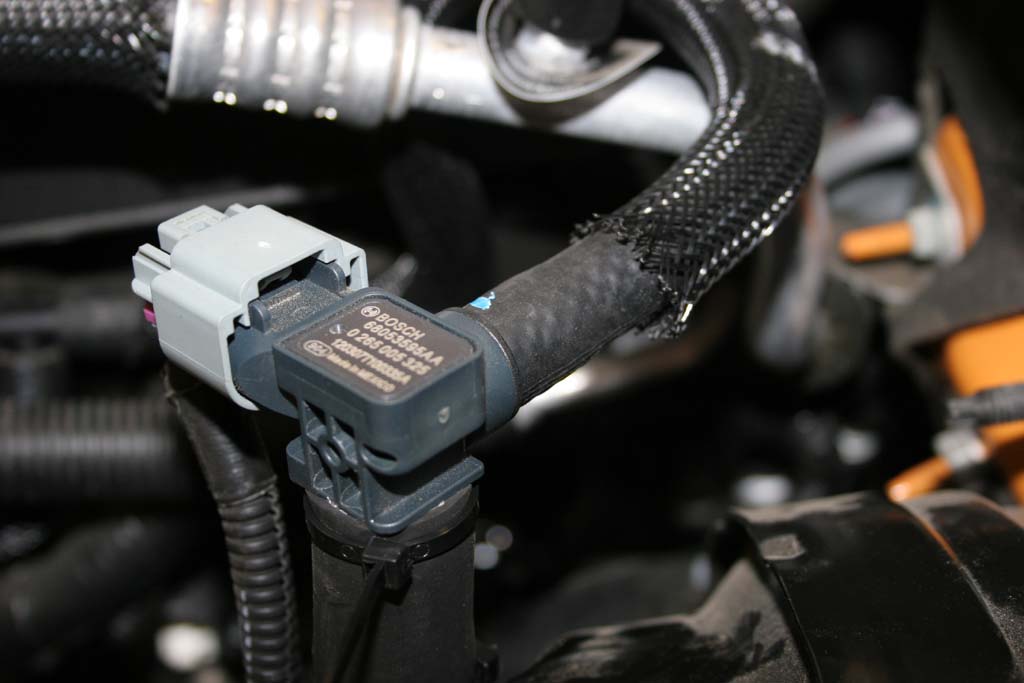
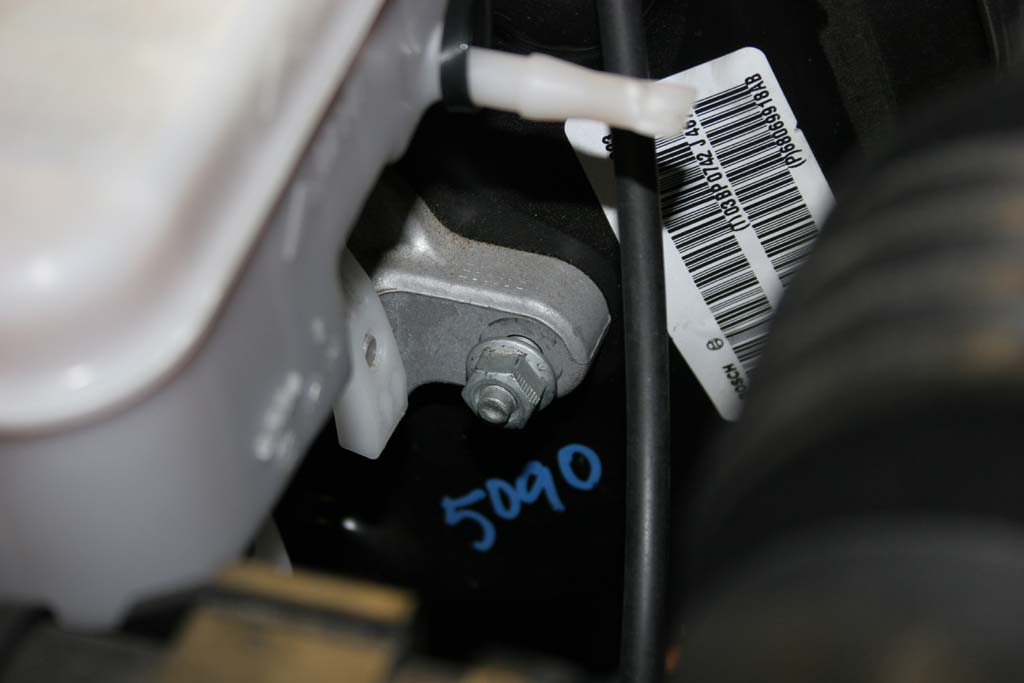
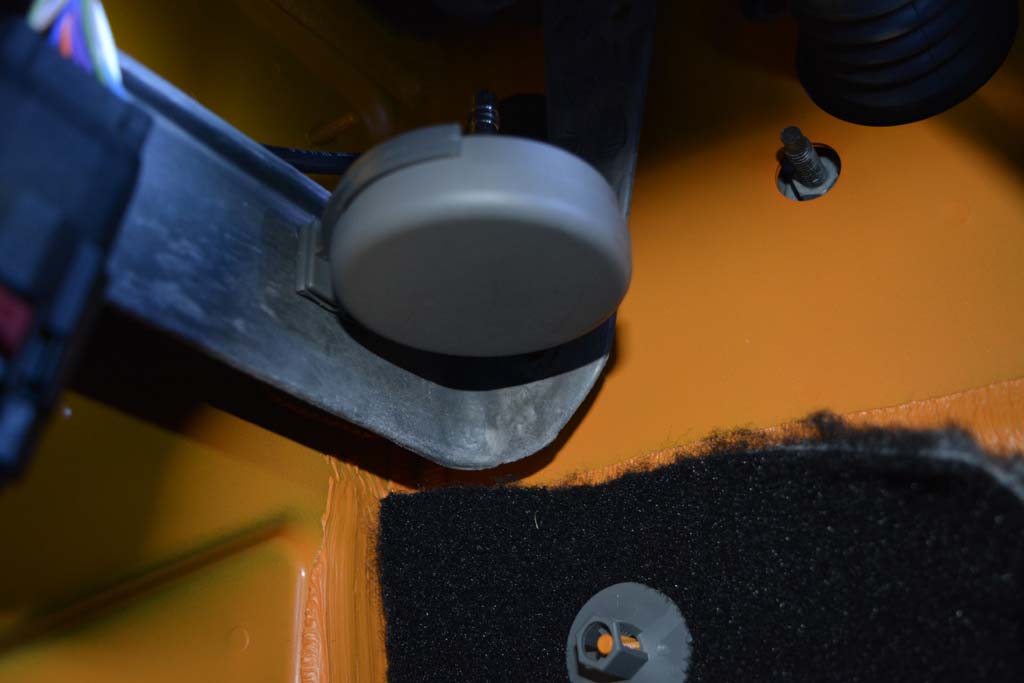
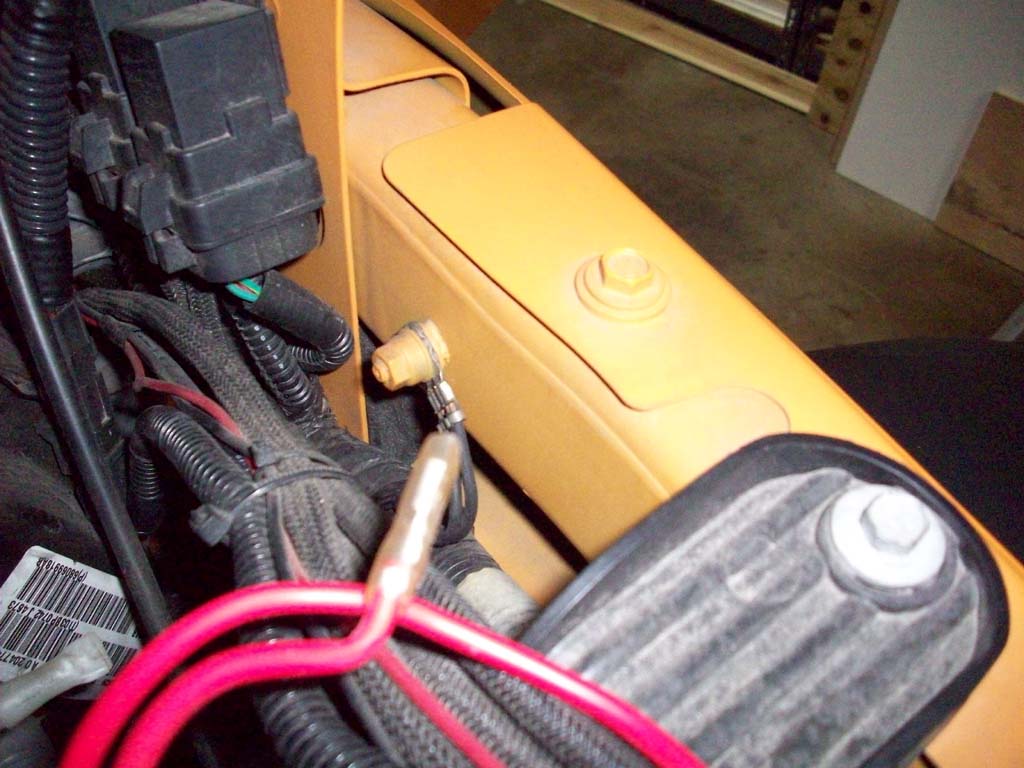
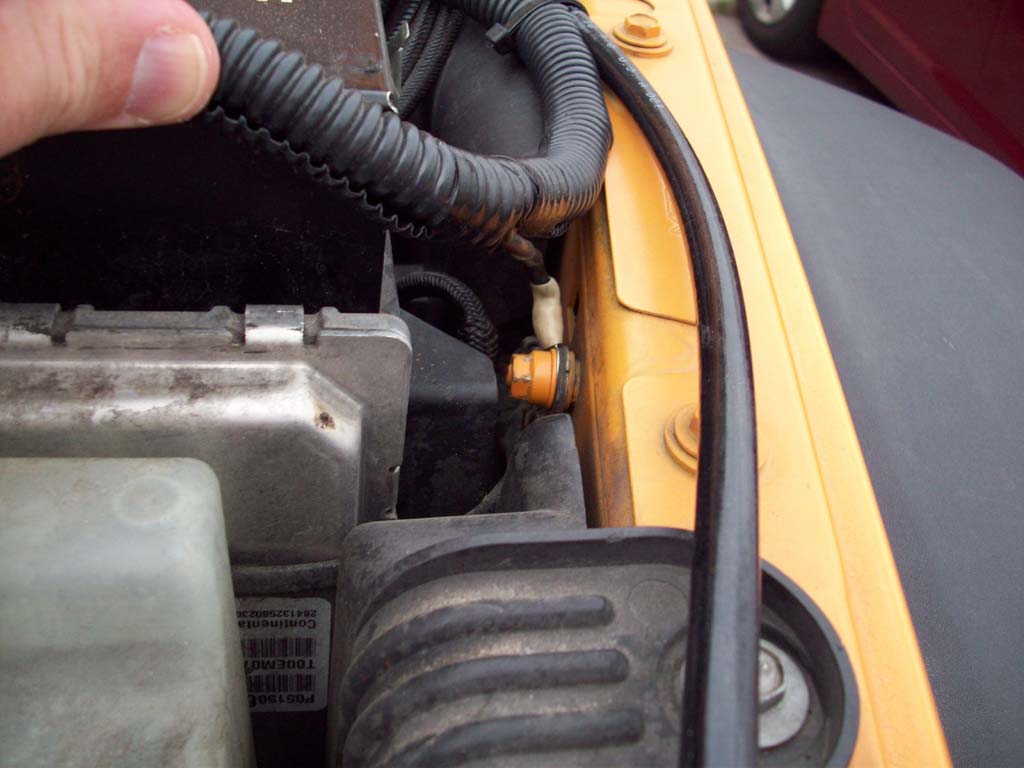
| 3. Remove the sensor from the brake booster. It just pulls out, you may hear a vacuum sucking sound as the air goes into the brake booster, this is normal. |
 |
 |
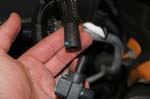
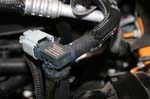
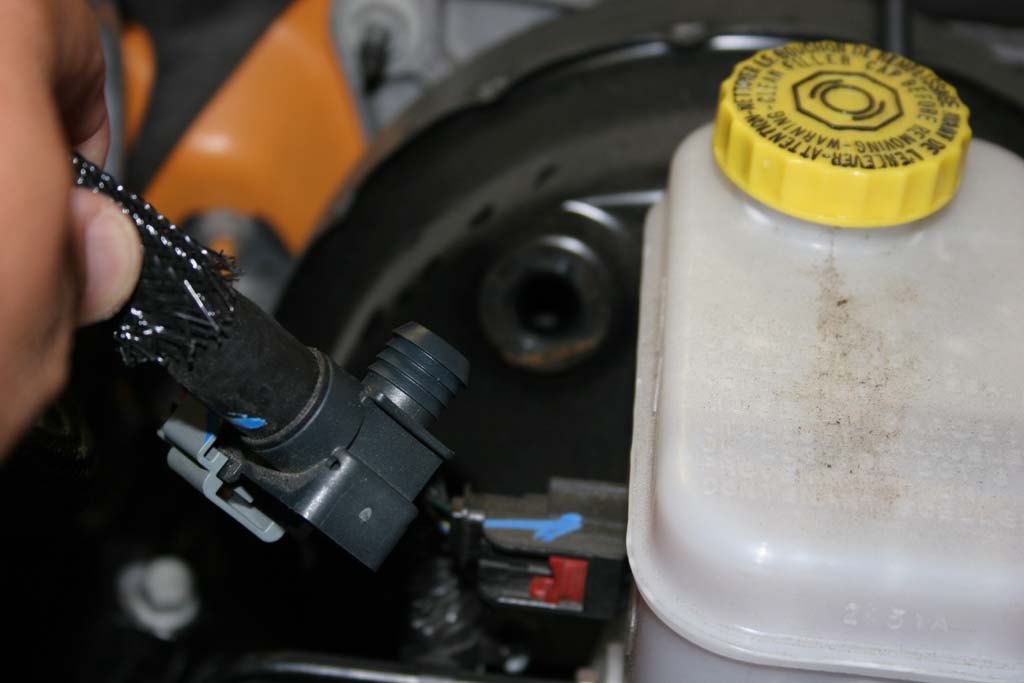
| 4. Disconnect the vacuum hose from the sensor in the brack booster. It just pulls off with a slight twisting motion. |
 |
 |
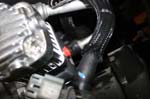
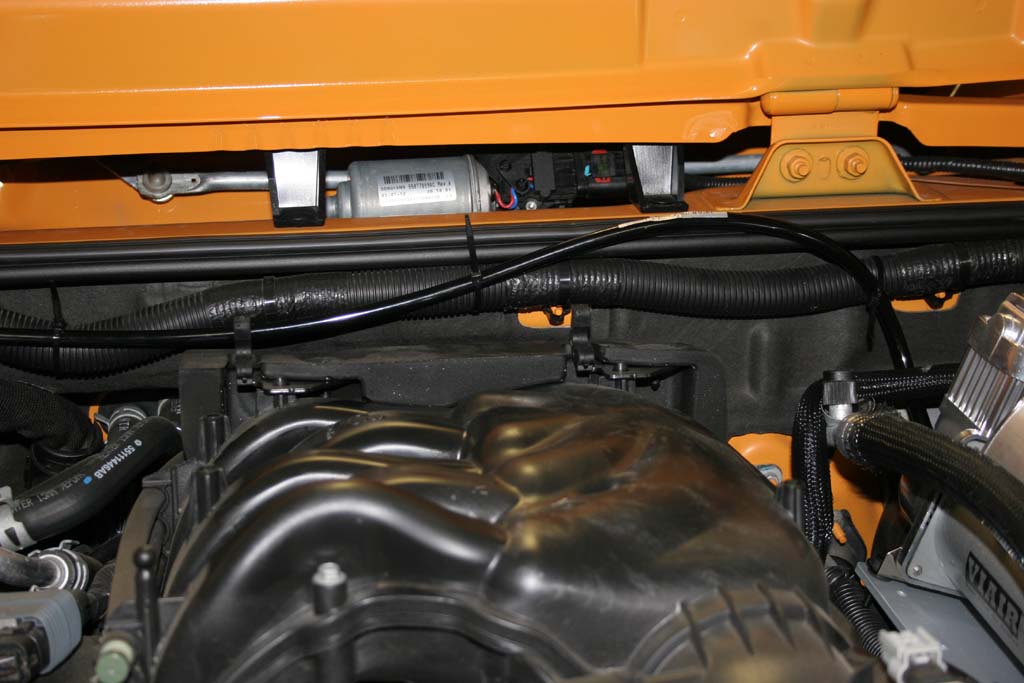
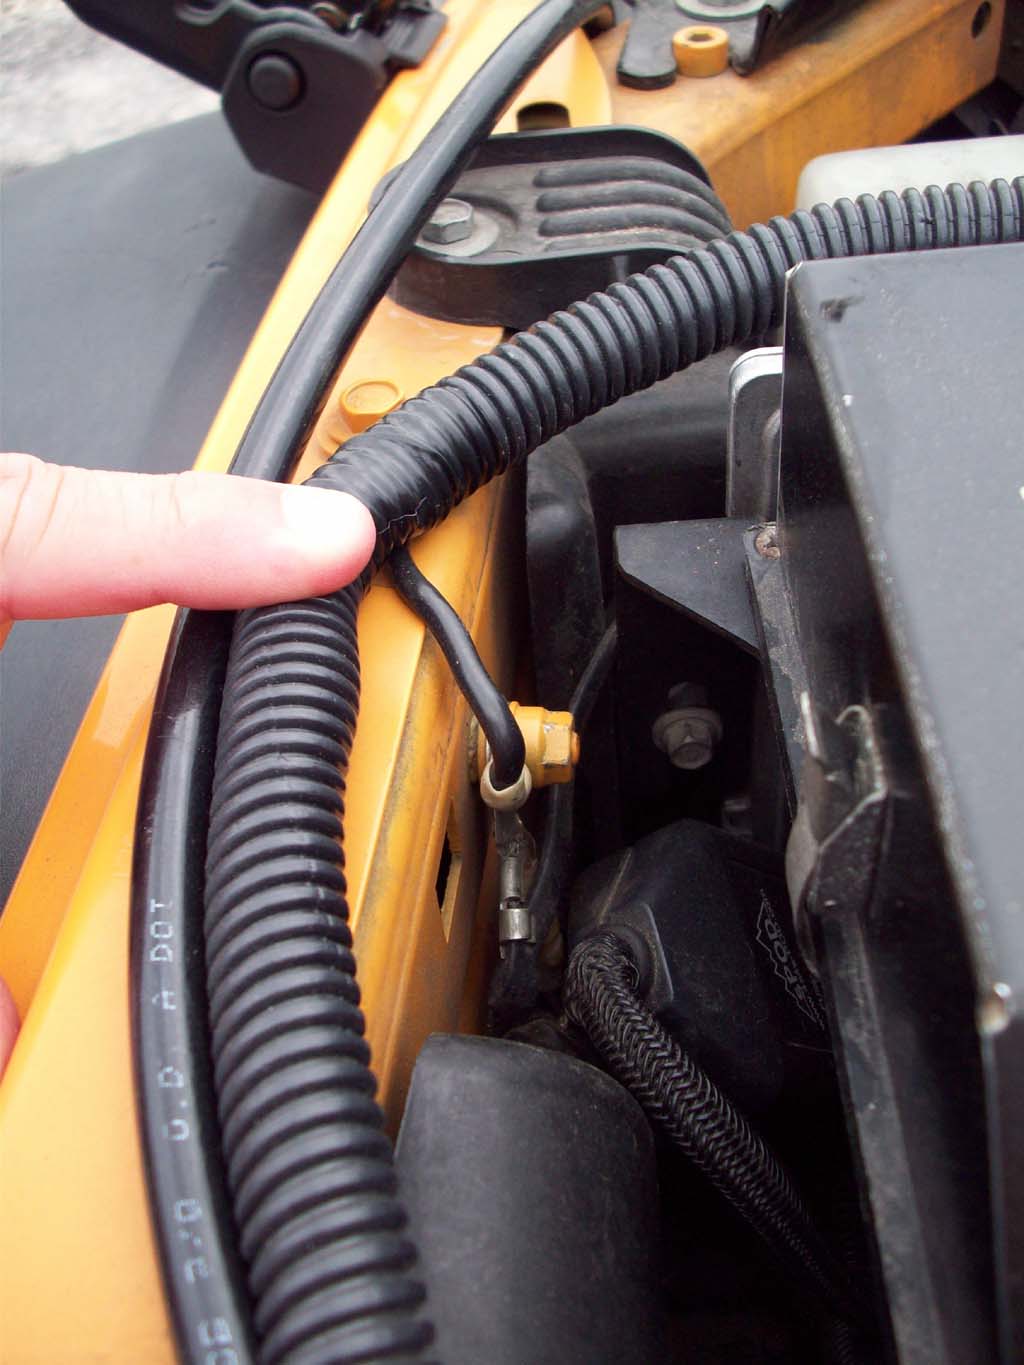
| 5. Route the vacuum hose behind the A/C hose that you just bent towards the engine in step 2. |
 |
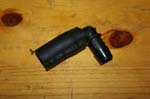
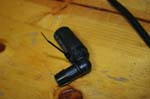
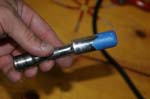
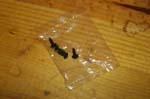
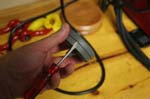
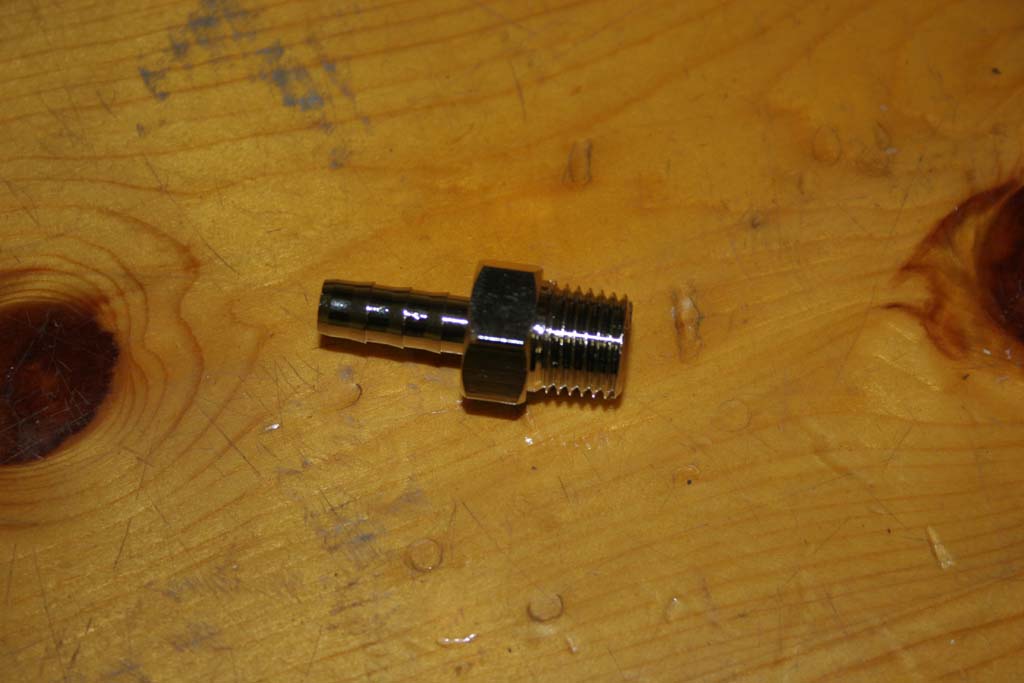
| 6. Install the small hose onto one end of the elbow. This is a pain, but a little water lubrication allows the fitting to slide in. The elbow has a few sharp edges that make pushing a pain. |
|
|
 |
| 7. Install a zip tie and pull tight around the hose. Carefully cut the tail off of the zip tie. |
 |
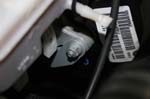
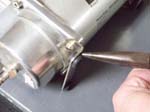
| 8. Install the 90 degree fitting into the vacuum booster. You may need to press hard to get this to go in. |
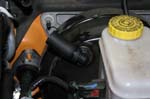 |
 |
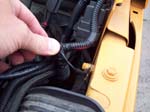
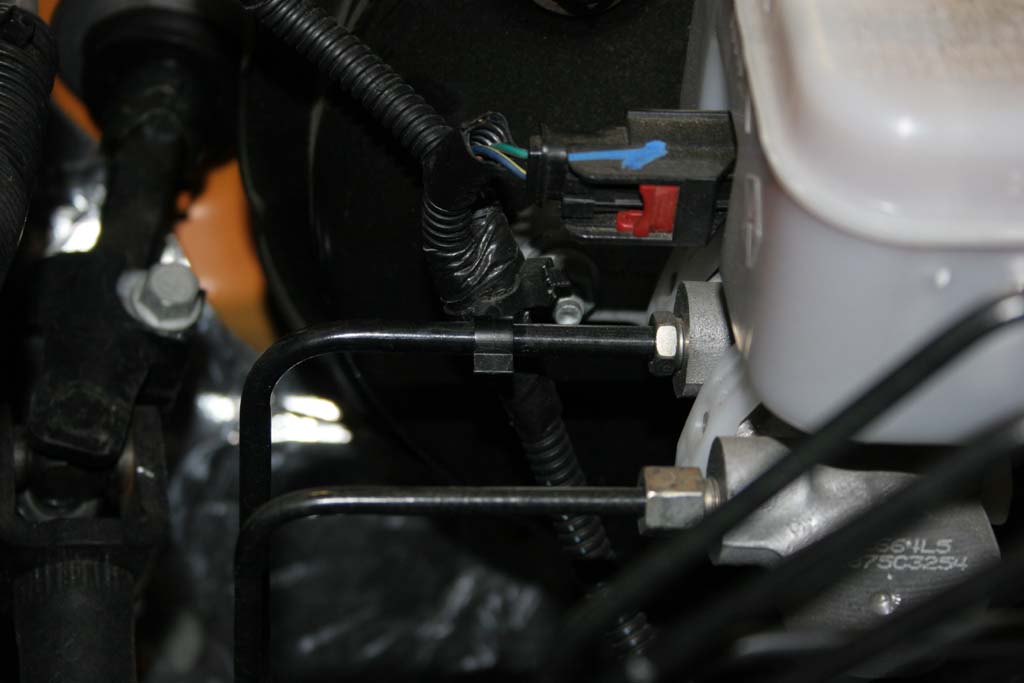
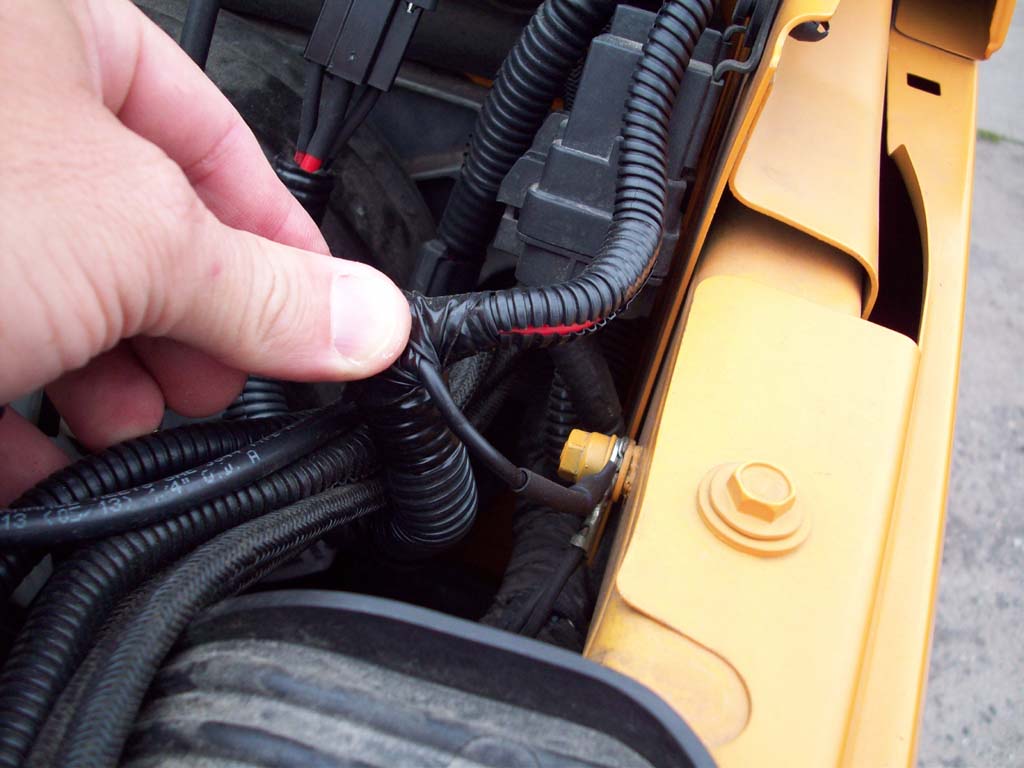
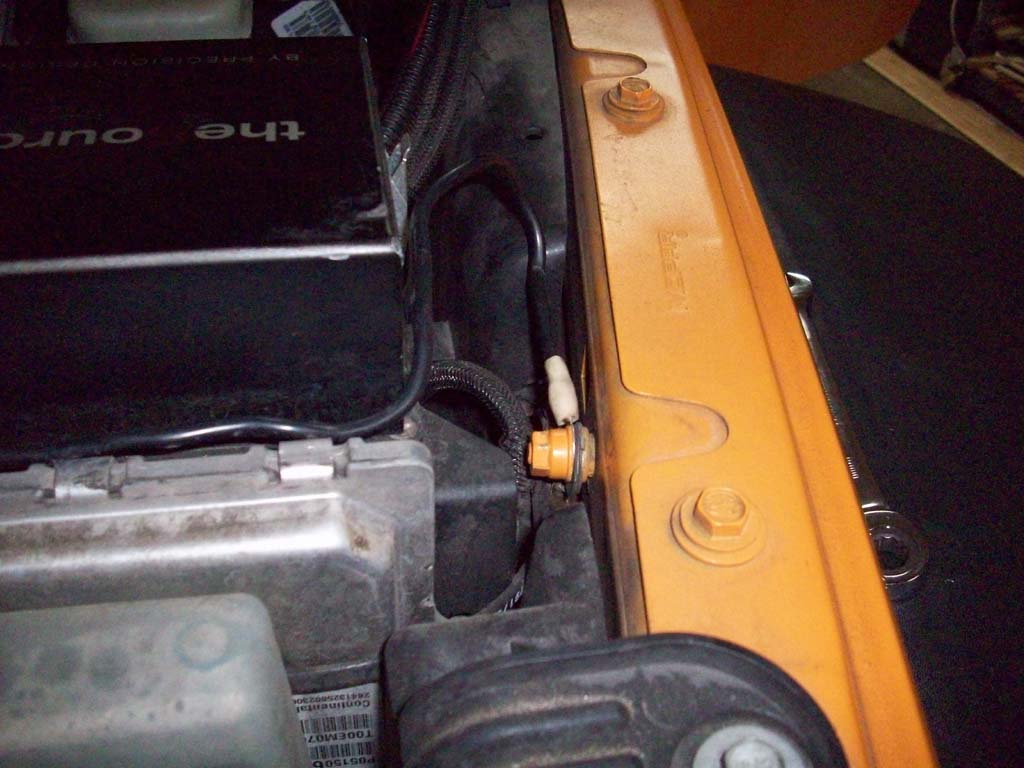
| 9. Unclip the clip holding the sensor wires to the brake line. This will give you a little more length on the cable. |
 |
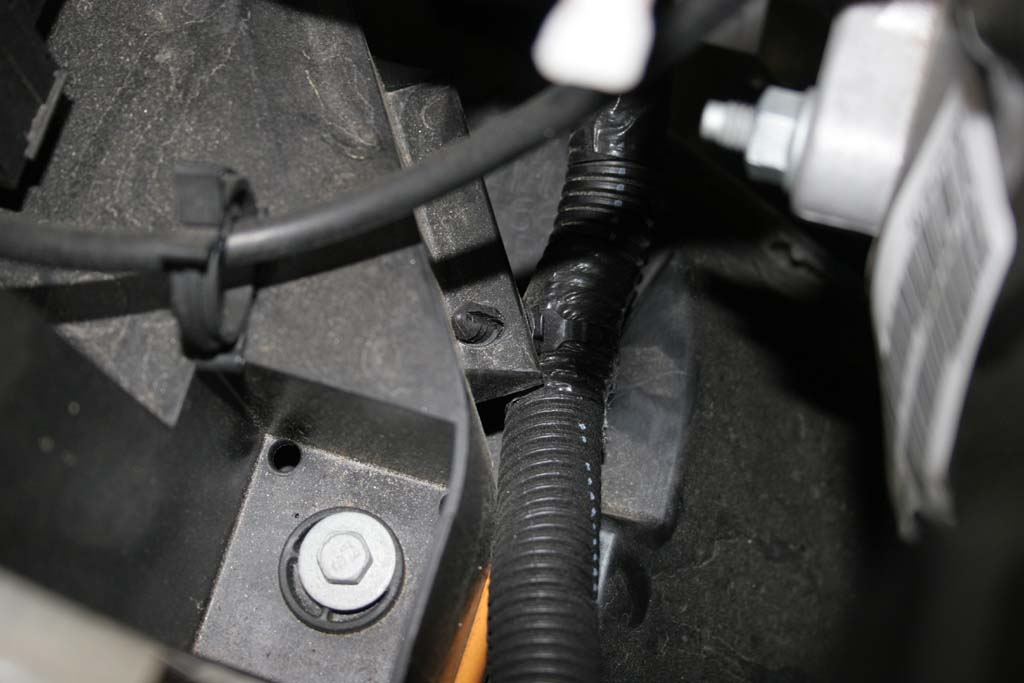
| 9a. My wires were still a little tight for my pleasure, so I looked down where the big cable bundle ran and saw that I could easily flip the mounting point from below the mount to above the mount. Just a simple matter of pushing out the tree from the hole, rotating the zip tie on the cable bundle and pushing it back in from above. |
 |
 |
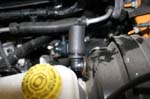
| 10. Install the end of the sensor that came out of the brake booster into the other end of the small tube. Install a ziptie around this connection and pull tight. |
 |
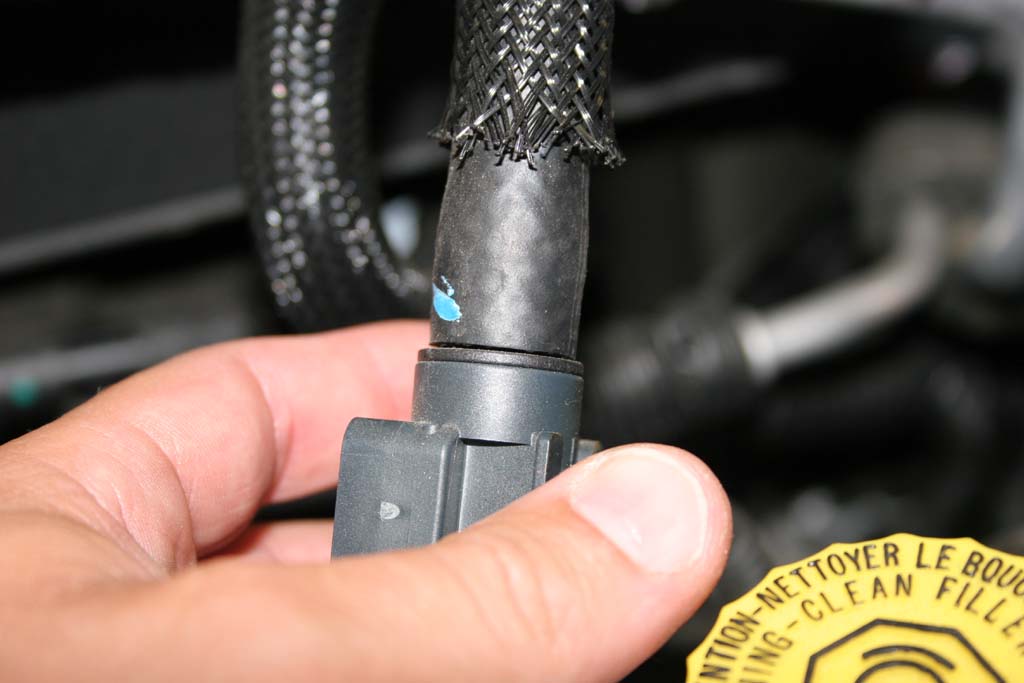
| 11. Reconnect the vacuum hose to the sensor and install a ziptie around this connection and pull tight. |
 |
| 12. Adjust the hoses attached to the sensor if required. |
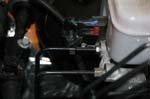
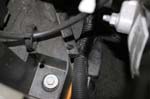
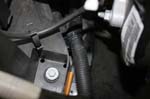
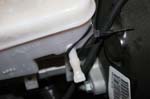
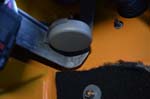
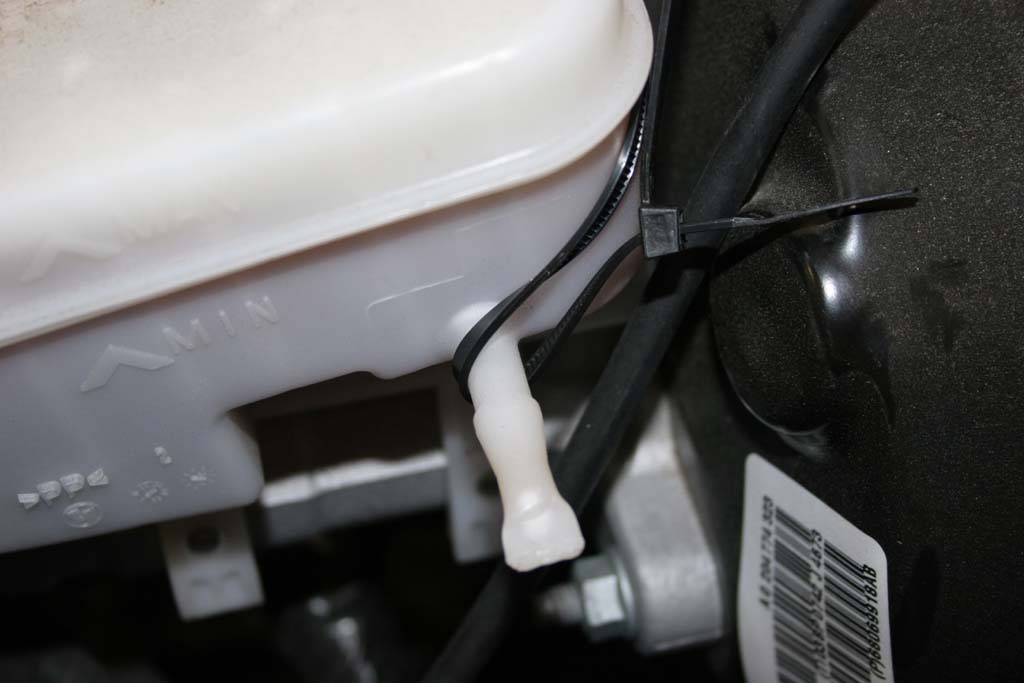
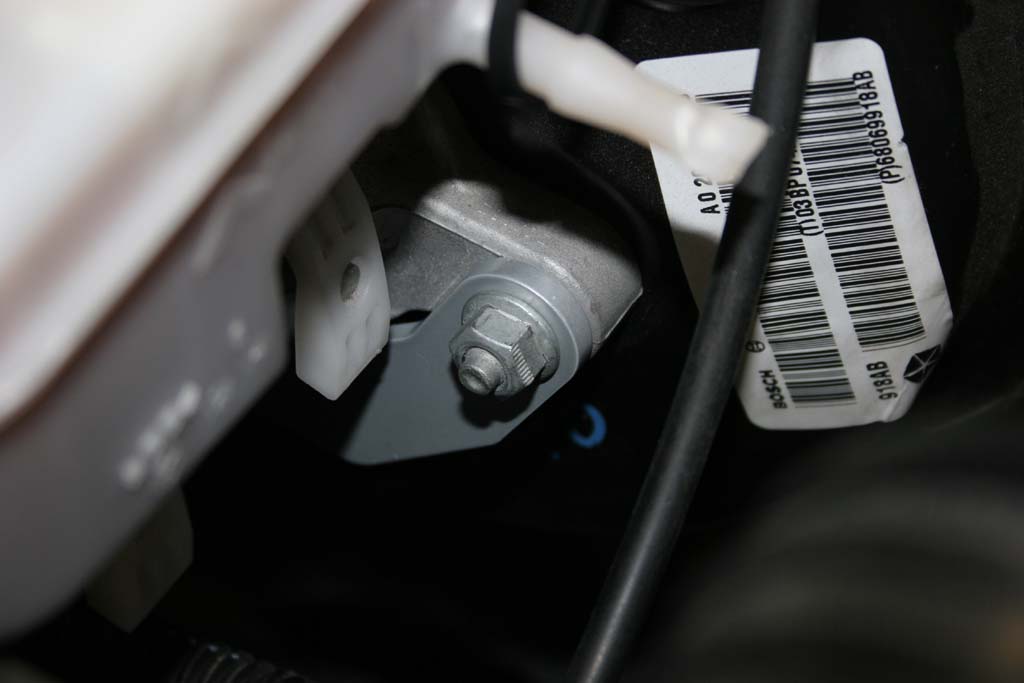
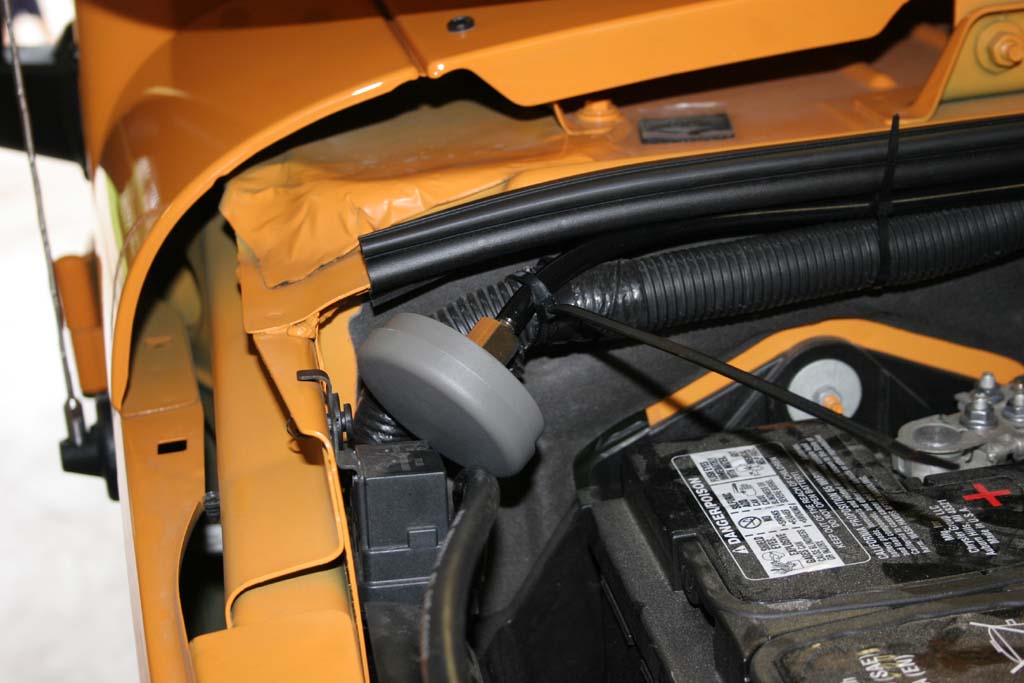
| 10. Use the long zip tie to hold the sensor back. Loop the zip tie around the sensor and around the plastic extrusion on the side of the master cylinder. |
|
 |
 |
| DANGER: DO NOT BUMP OR PULL THE MASTER CYLINDER AWAY FROM THE BOOSTER. You will dislodge the booster O-Ring. If it becomes dislodged, do not drive the Jeep, call Poly Performance Tech support for assistance. |
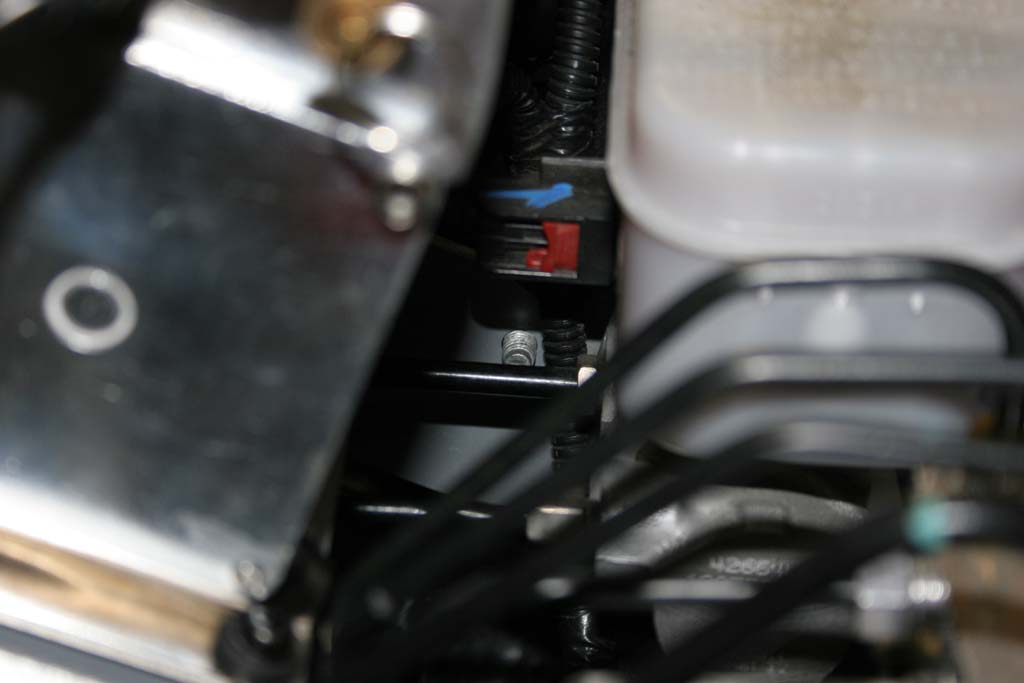
11. Using a 13mm socket, several long extension and a ratchet, remove the two (2) nuts holding the master cylinder to the vacuum booster. I used a ratcheting box end to remove the nuts. Leave these nuts where you can reach them with your right hand. Along with a ratchet or wrench.
|
 |
 |
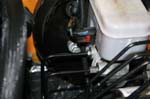
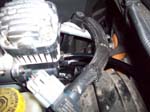
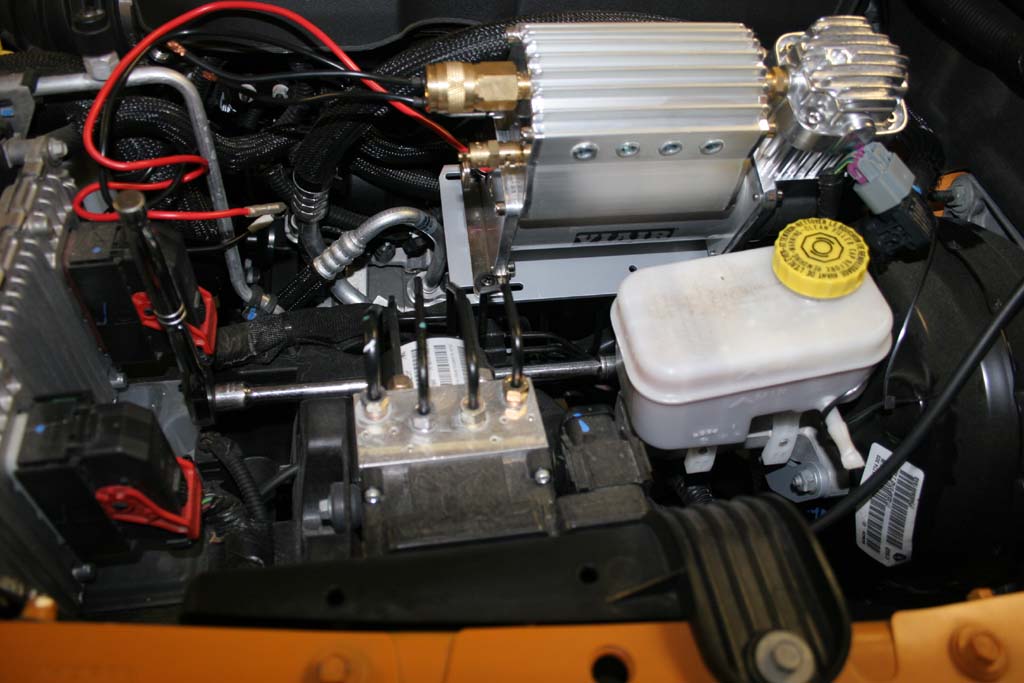
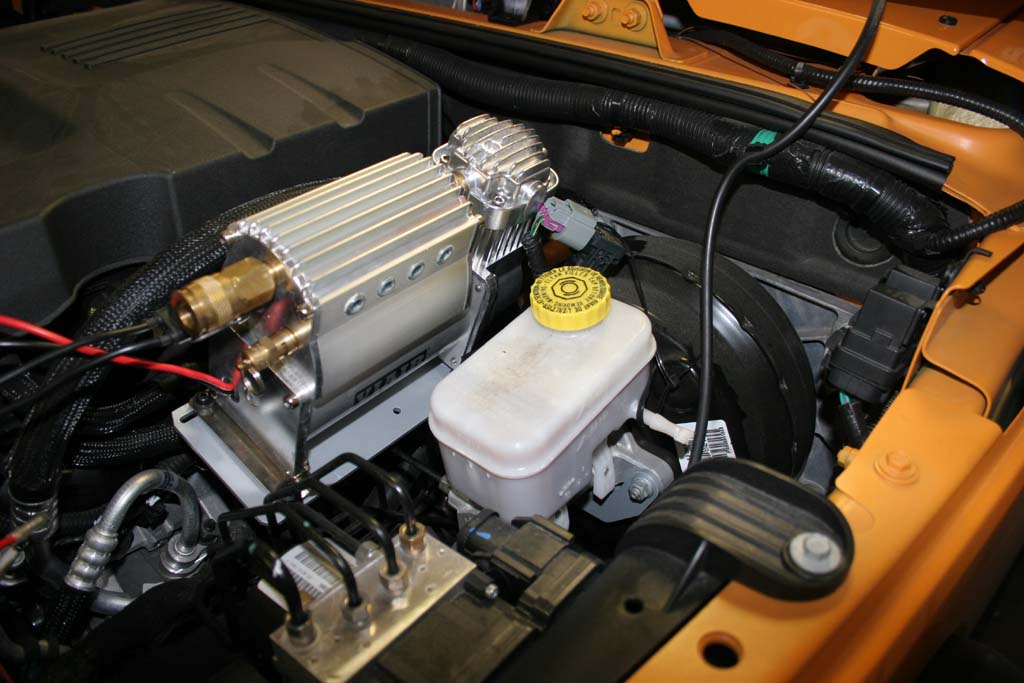
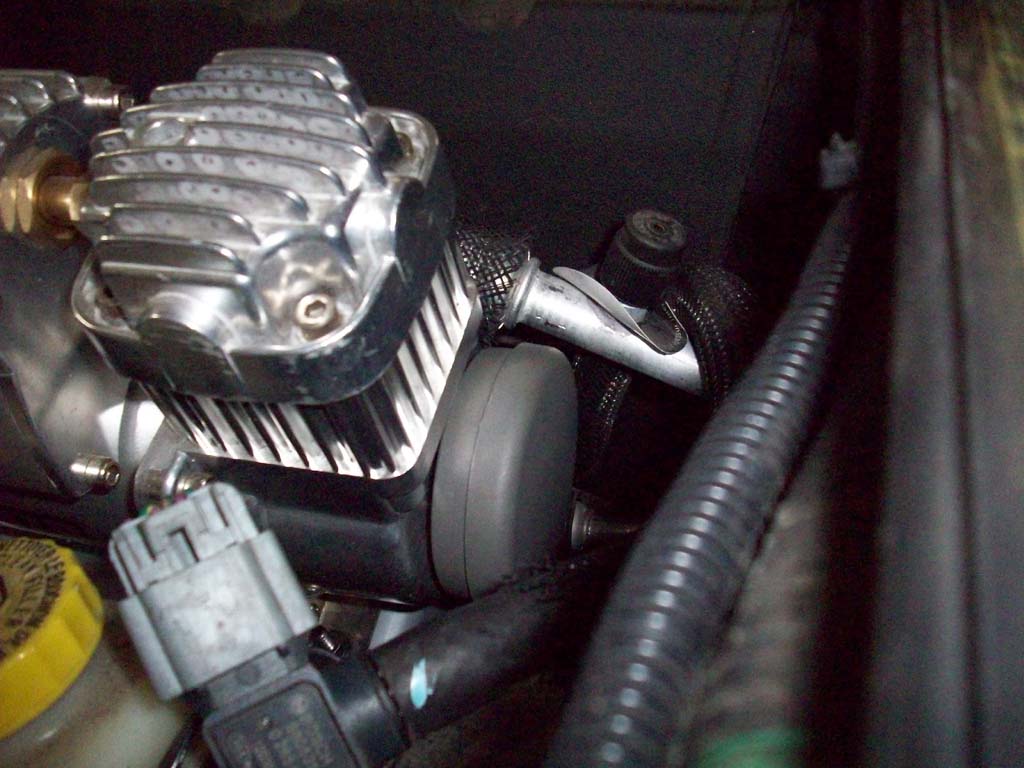
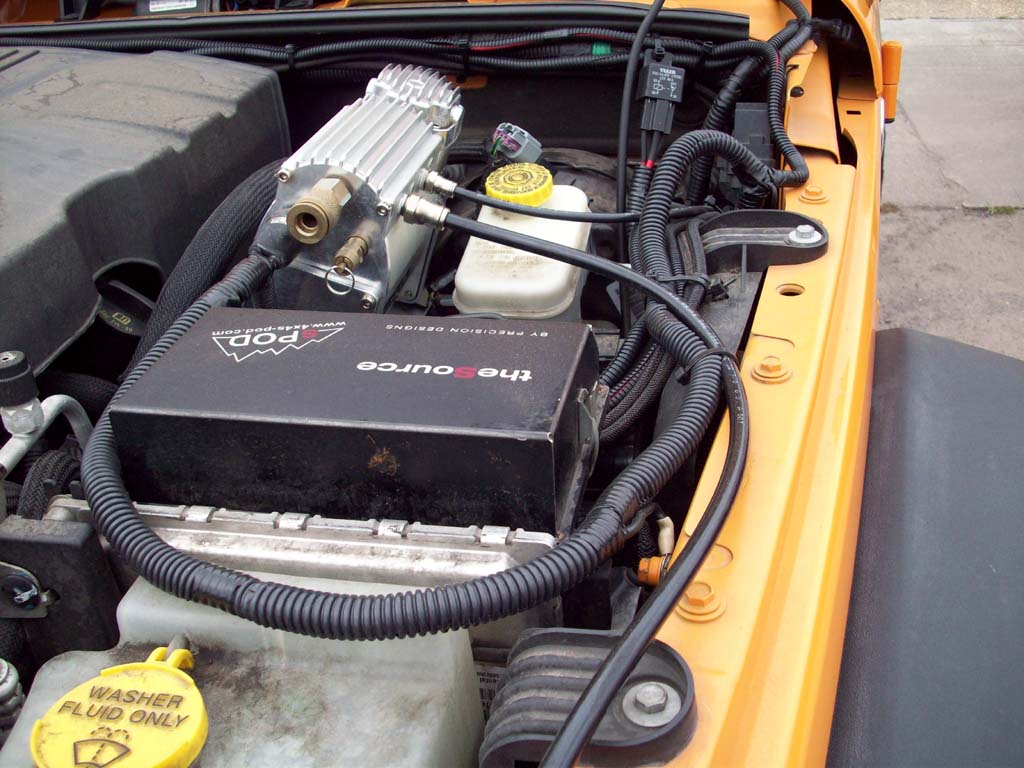
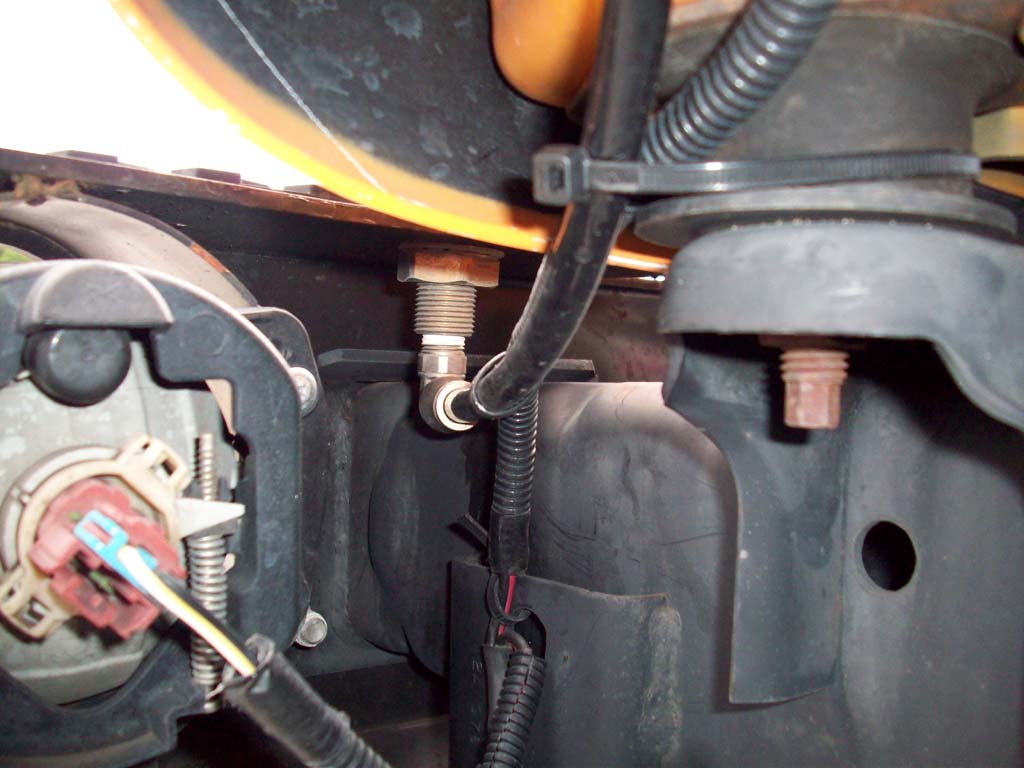
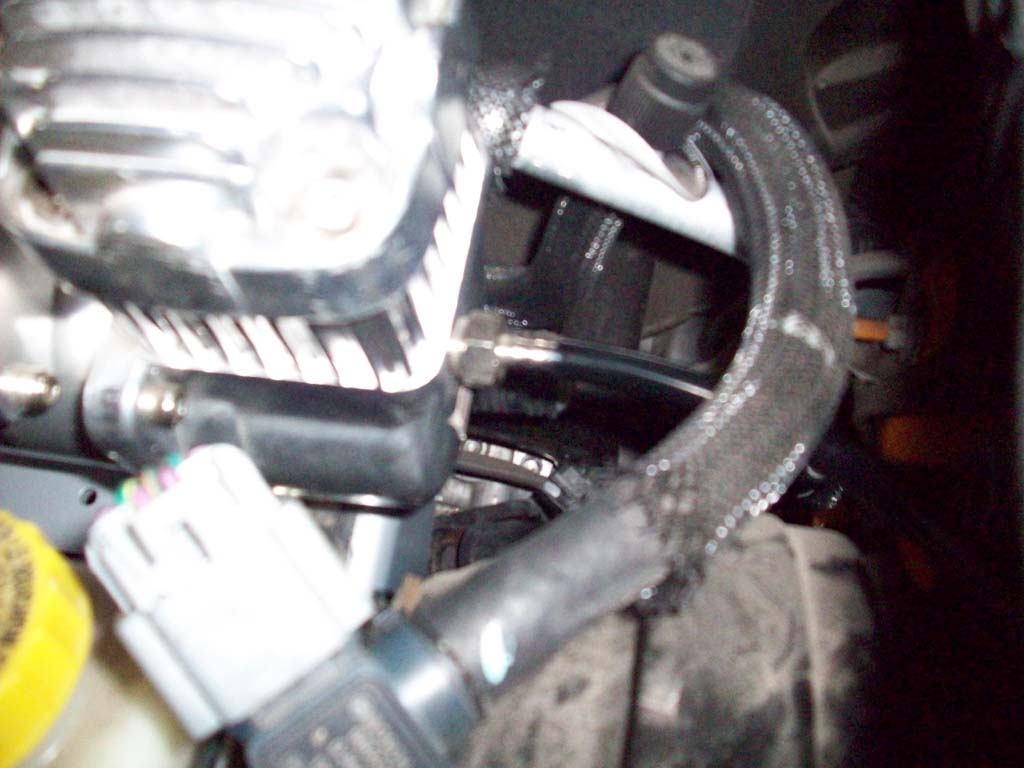
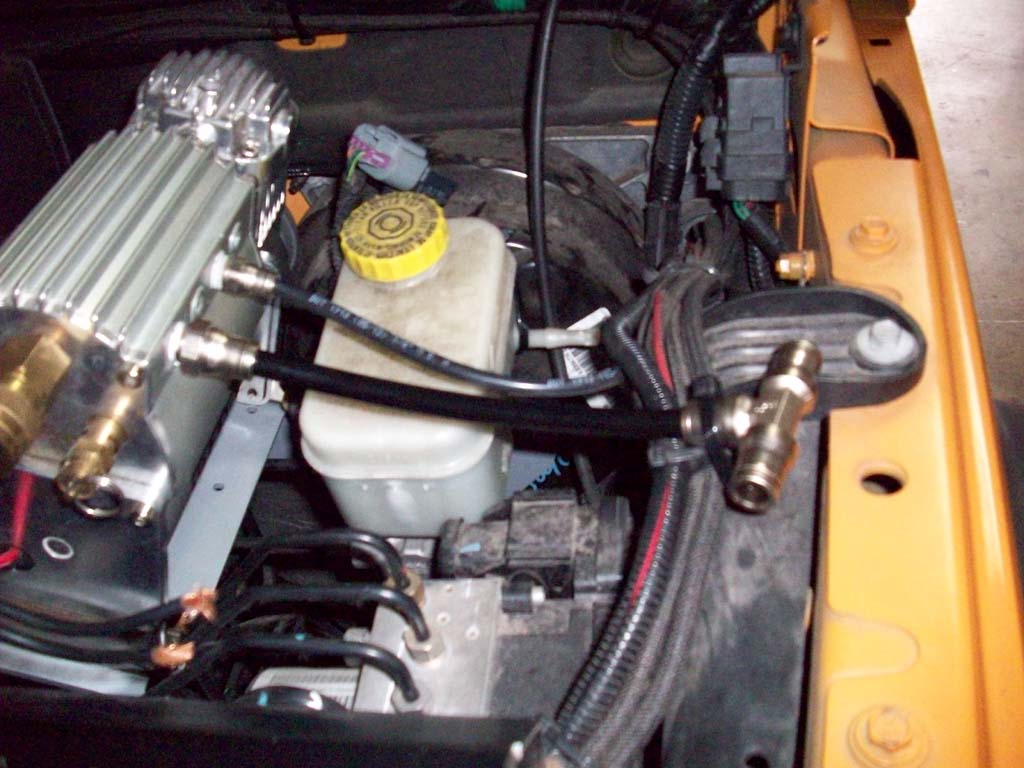
| 12. Rotate the compressor down and around the master cylinder. Install the bracket onto the studs from the vacuum booster. Install the outboard nut and snug it in place. Hard to get pictures as you do this by yourself, but you will end up holding the end of the compressor and bracket with your left hand as you install the nut on the shaft with your right. |
 |
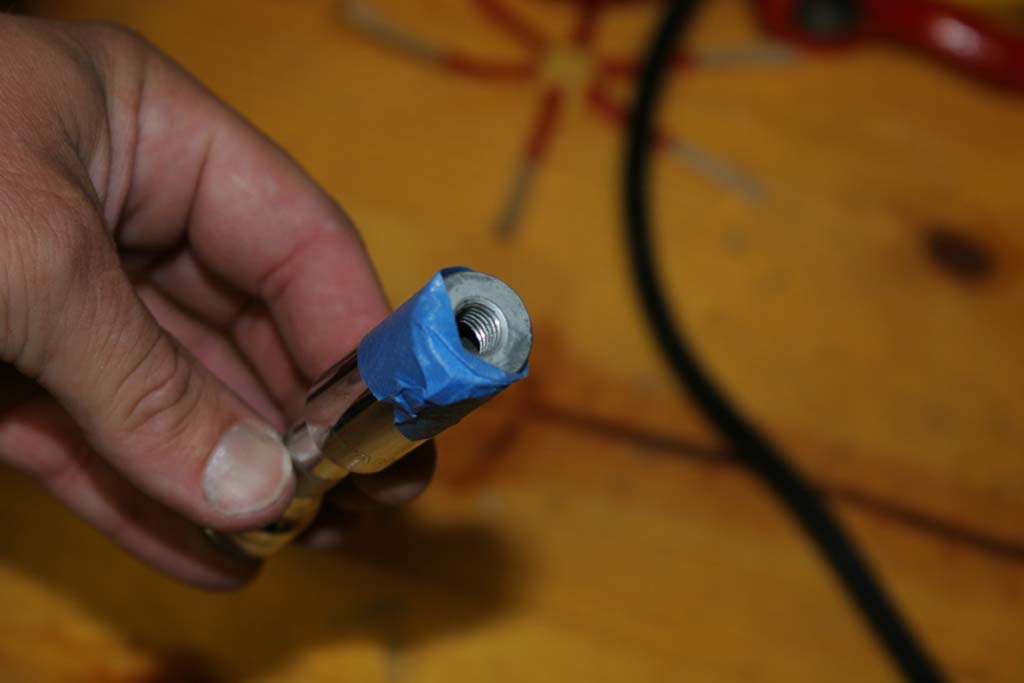
| 13. How to get that inner nut on with everything in the way. Getting the inner nut on is a little bit difficult, but here's a trick. Take a deepwell socket and a short extension, tape the nut into the socket and reach in and screw the nut on, then feed a long extension through the brake lines and connect it to the short extension. Tighten down the nut. |
 |
 |
 |
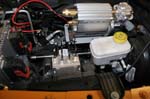 |
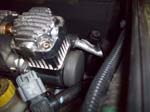
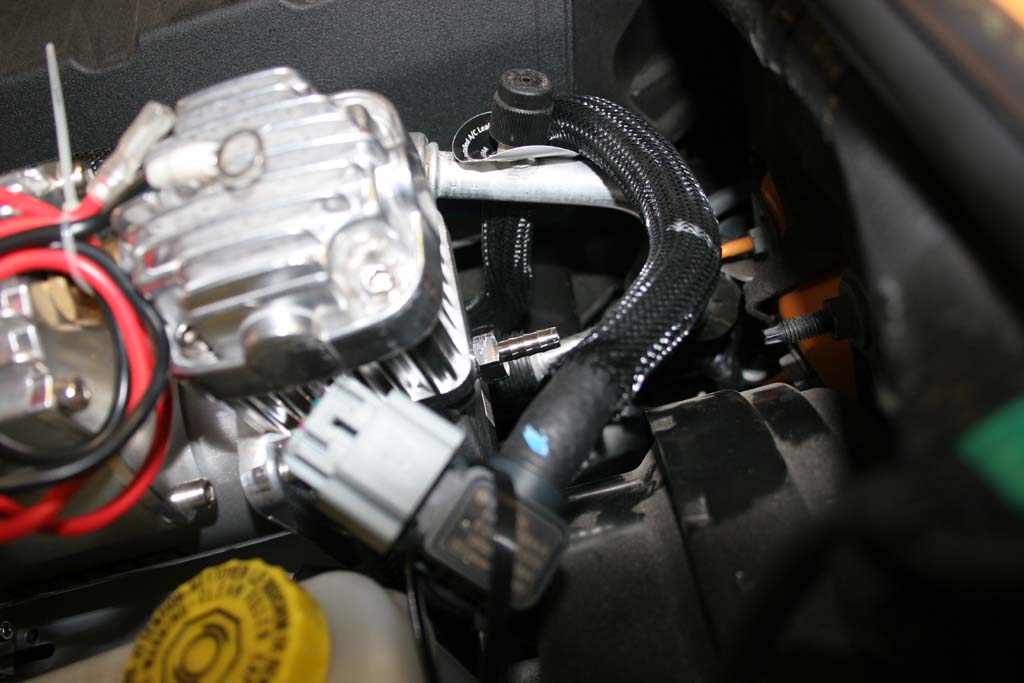
| 14. Check to make sure nothing is rubbing on the compressor or the bracket once you get everything installed. I would recommend zip tieing the power wires to the compressor until you are ready to wire them in place until you are ready to do your wireing. The full ADA kit comes with a nice wireing harness that you just plug everything into and go from there. |
 |
 |
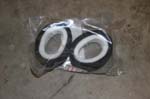
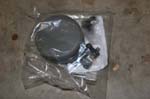
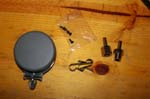
| Remote Air Filter Installation: |
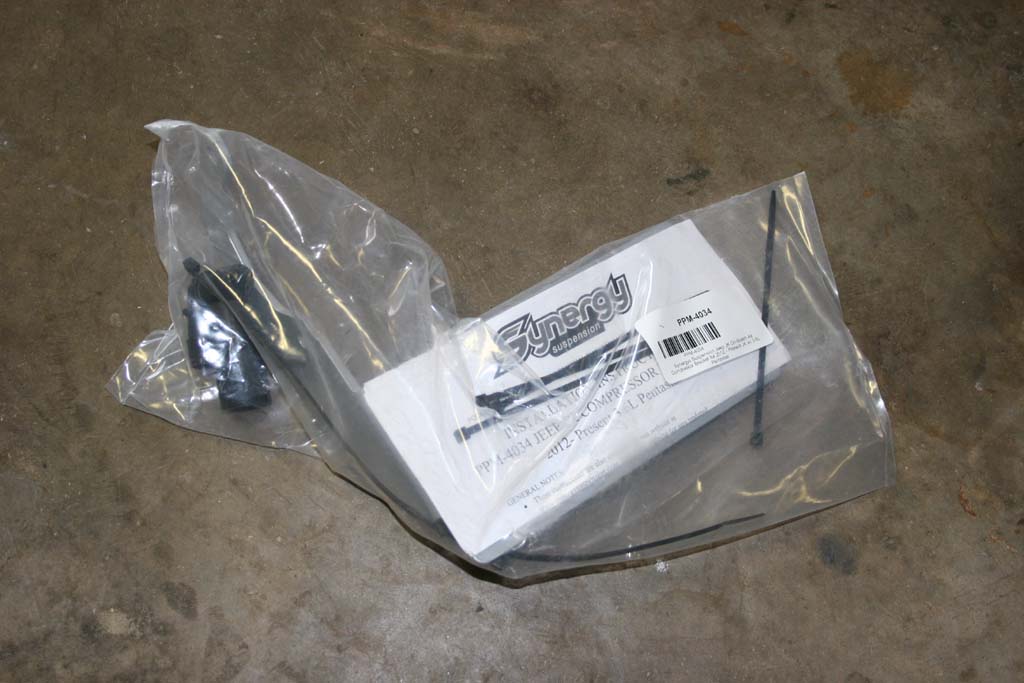
| Time to install the remote air filter. |
|
|
|
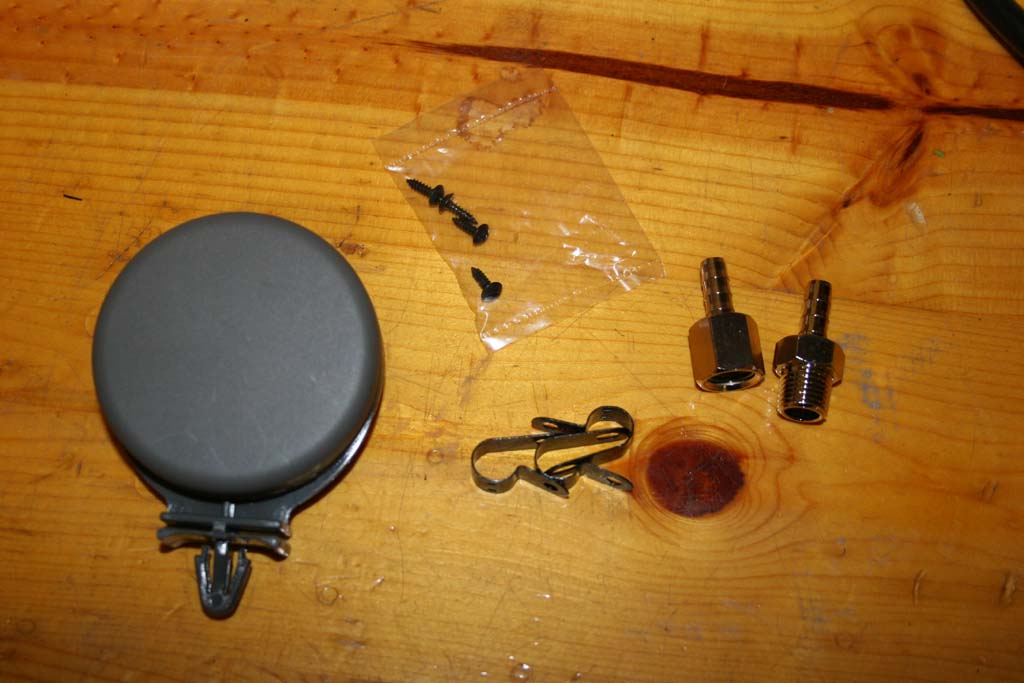
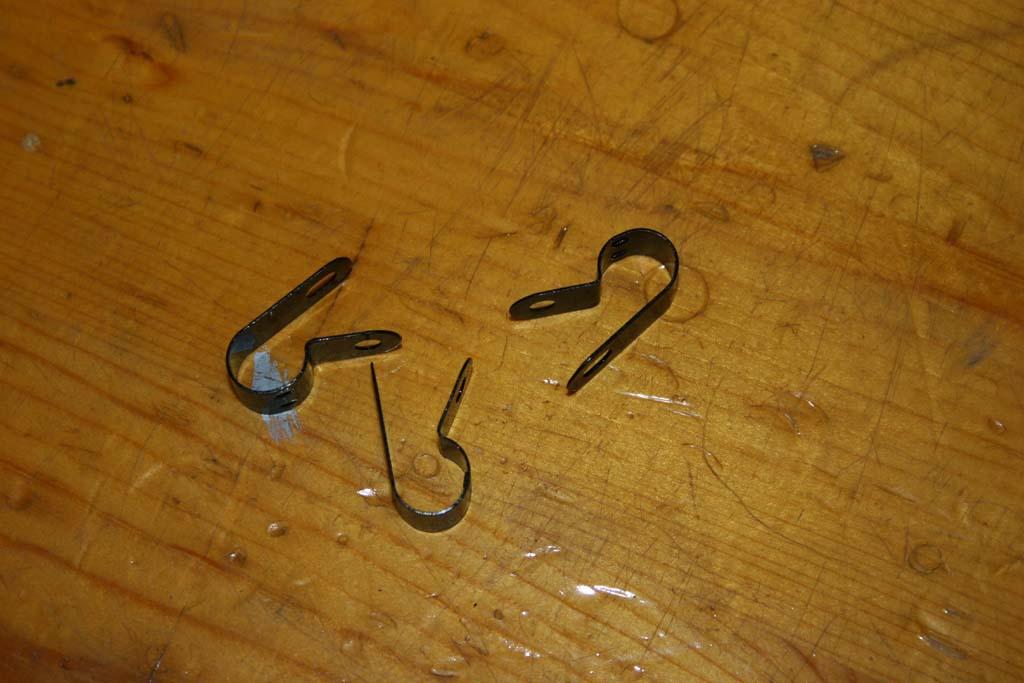
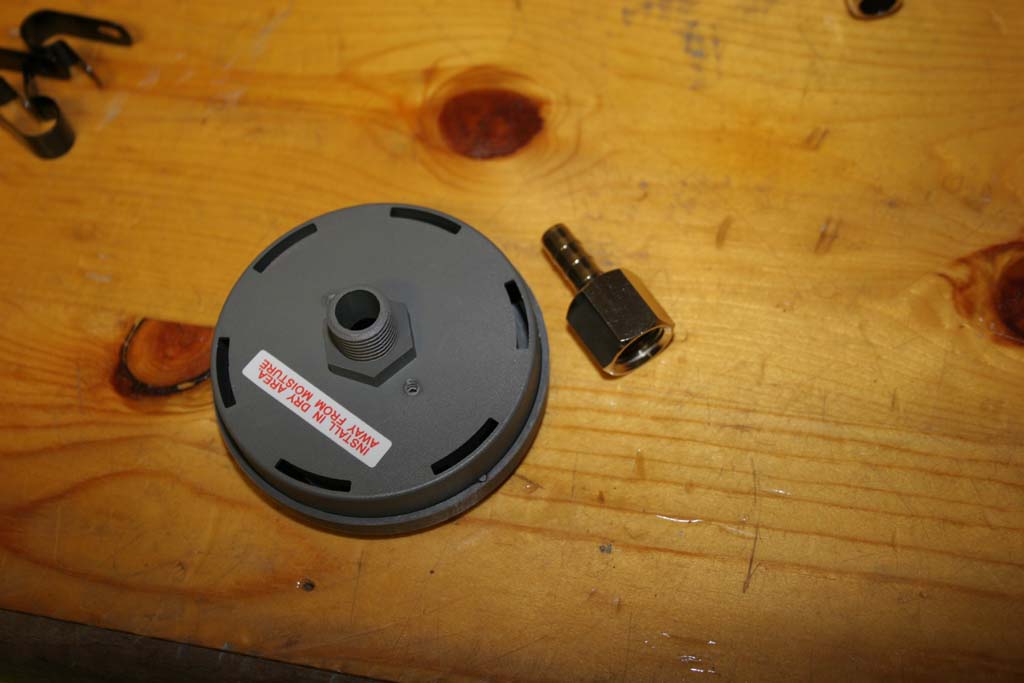
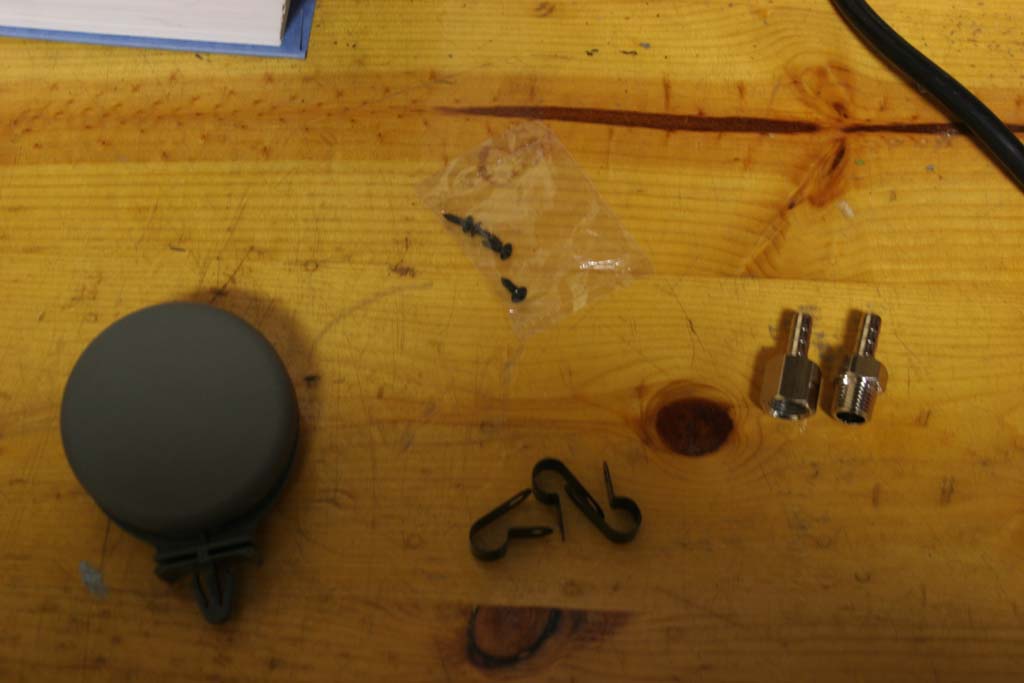
| The bag contains the filter housing, some clamps, screws and the barbed fittings for the compressor and the filter. |
 |
 |
 |
 |
 |
 |
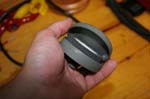
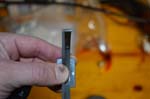
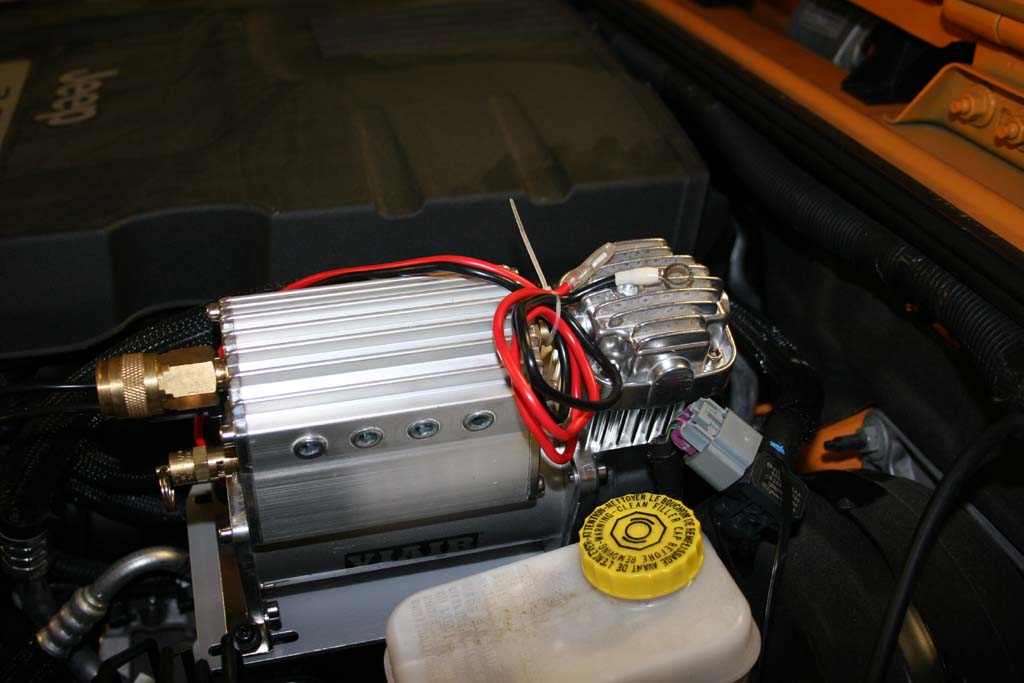
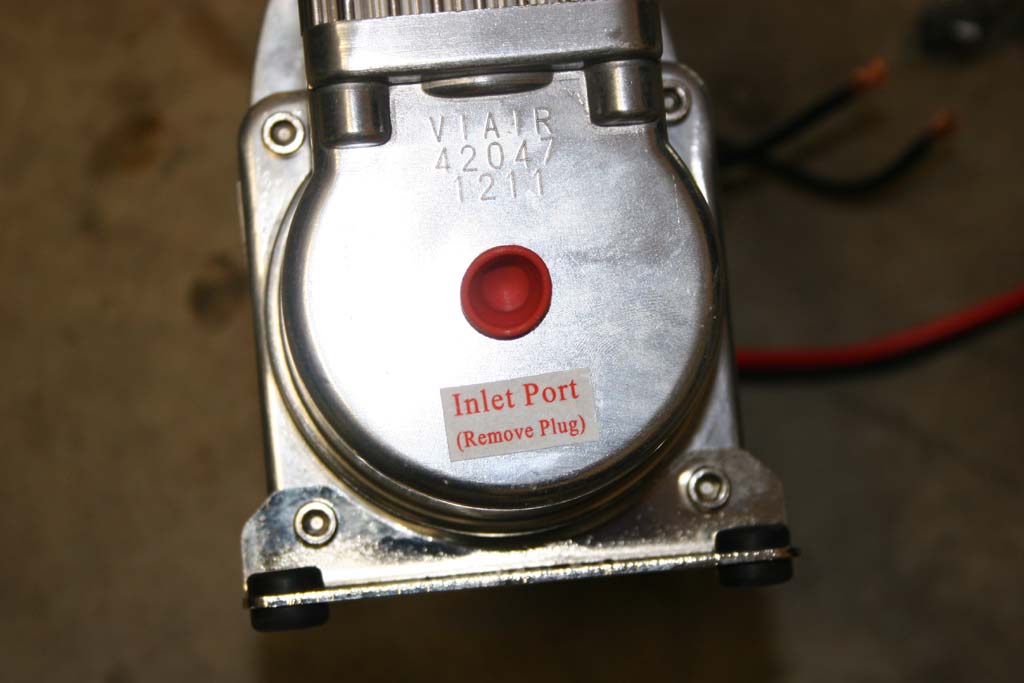
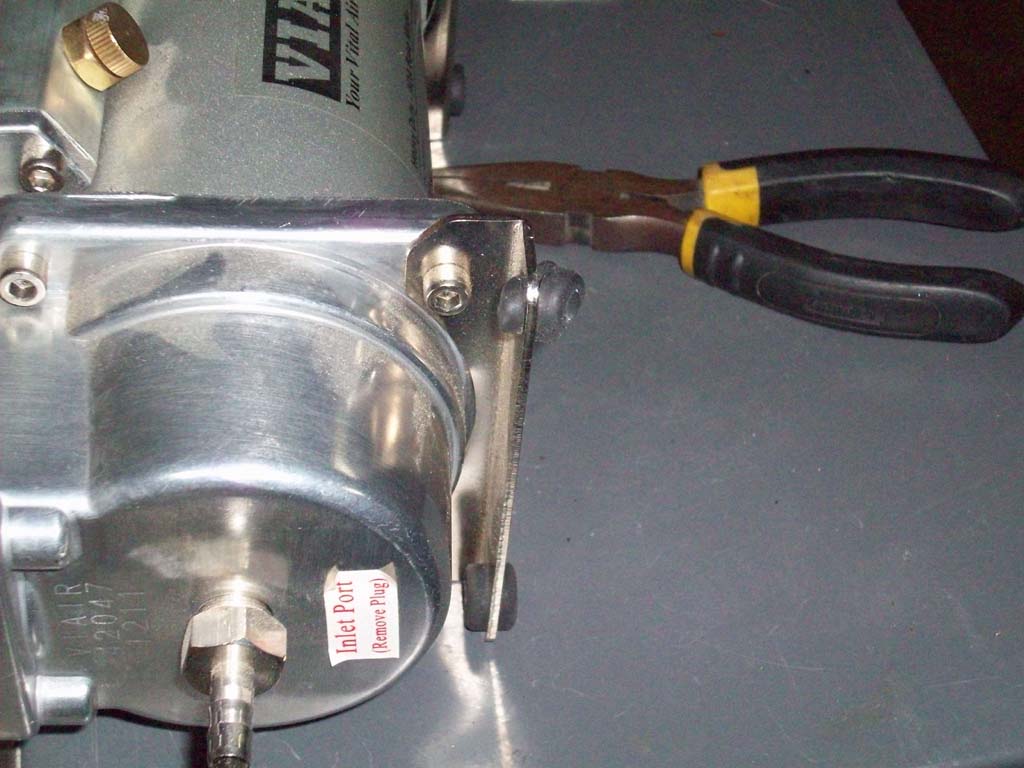
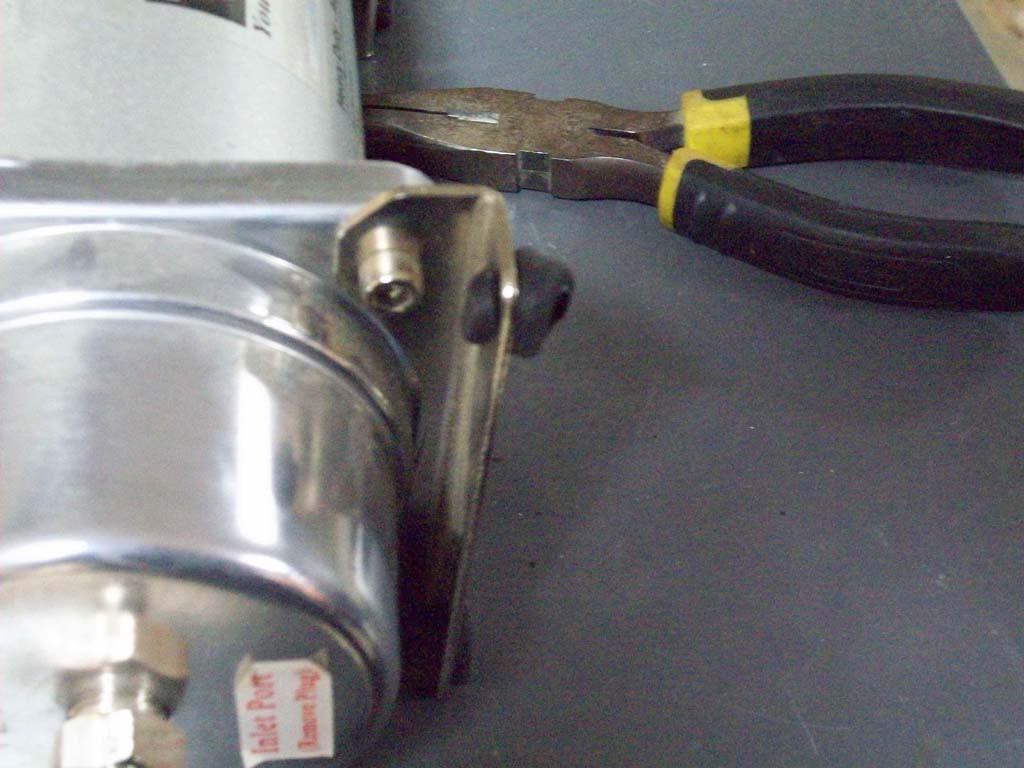
| 1. Remove the rubber plug from the end of the compressor. |
 |
 |
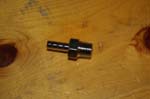
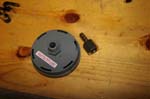
2. Install the barbed fitting into the end of the compressor. This is a little more difficult to do with the compressor installed.
CAUTION: DO NOT use teflon tape on the connection, it can be sucked into the piston and screw up the compressor. |
 |
 |
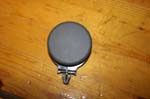
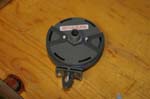
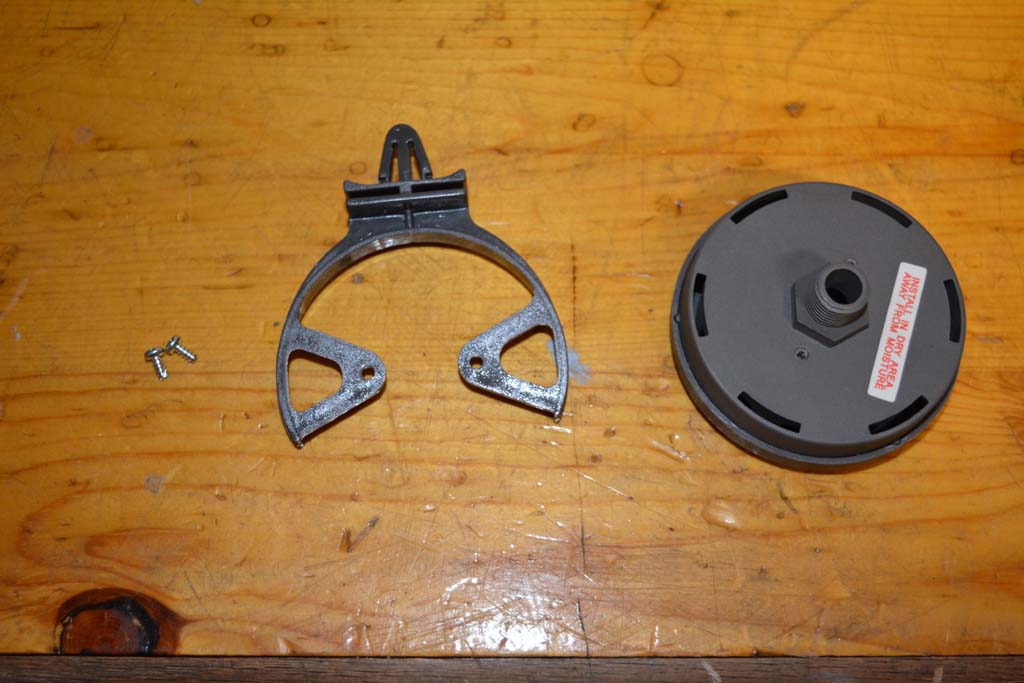
| 3. I removed the bracket from the filter housing. Remove the two small screws holding the bracket to the back of the filter housing with a #1 Phillips screwdriver. Put all of this away for safe keeping. |
 |
 |
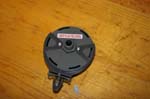
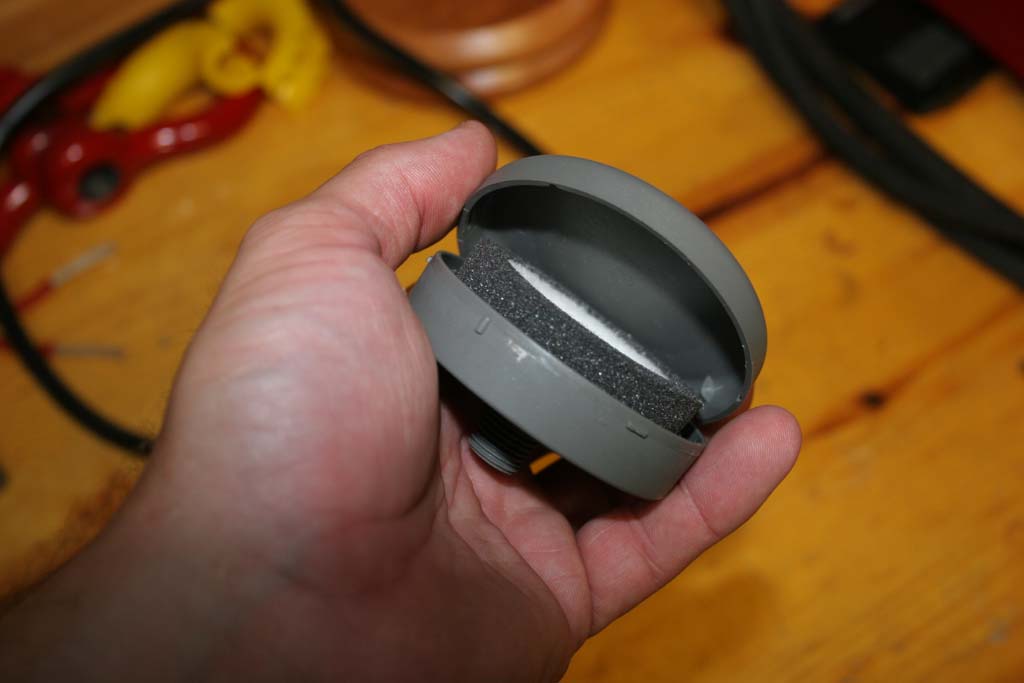
| 4. I don't hold it on blind faith that a filter is actually installed in the housing, so I check. Better safe than sucking up dirt. Sometimes you can just pull the top off of the filter housing, otherwise, use a small screw flat tip screwdriver. Push it between the housing cover and base and give it a small pry, it will pop off. |
 |
 |
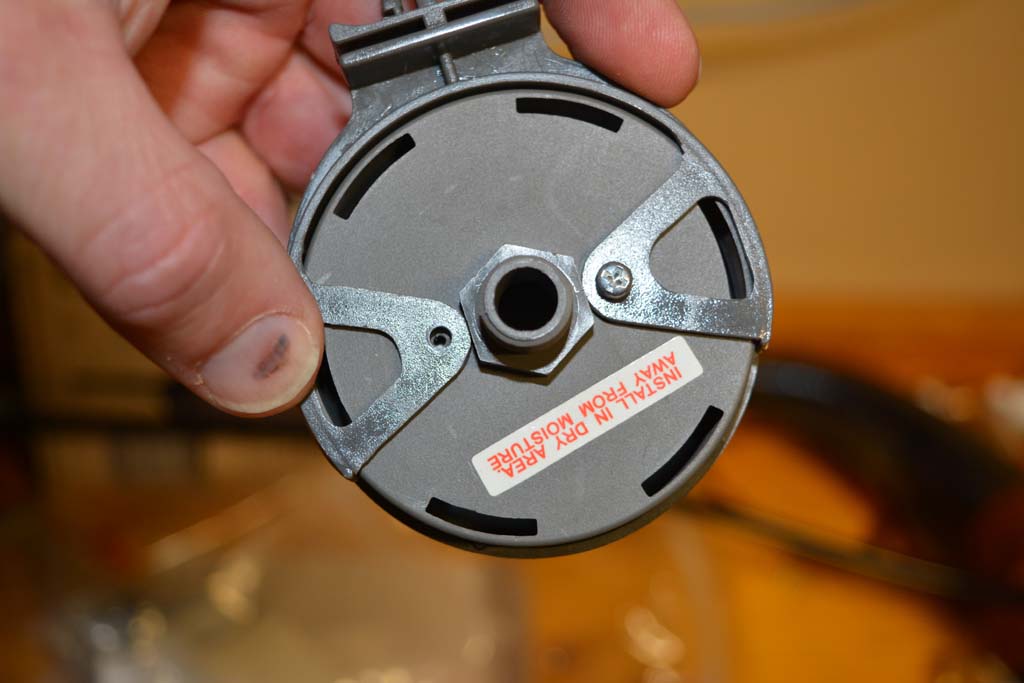
| 4a. When you go to put it back on, just line up the slots in the cover with the tangs on the base. |
 |
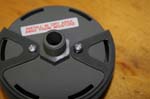
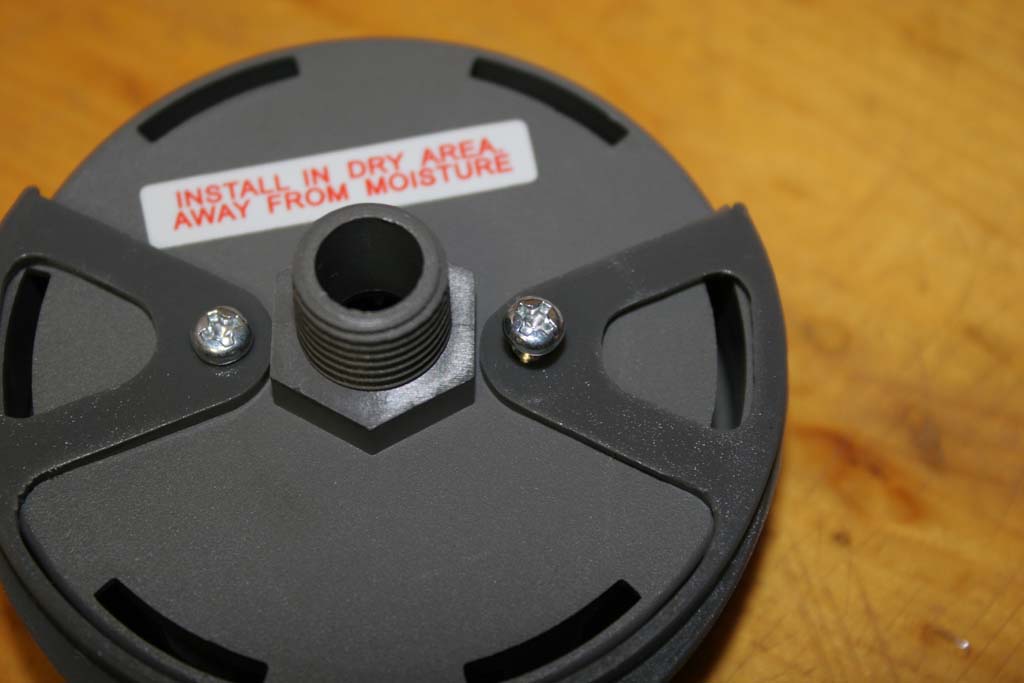
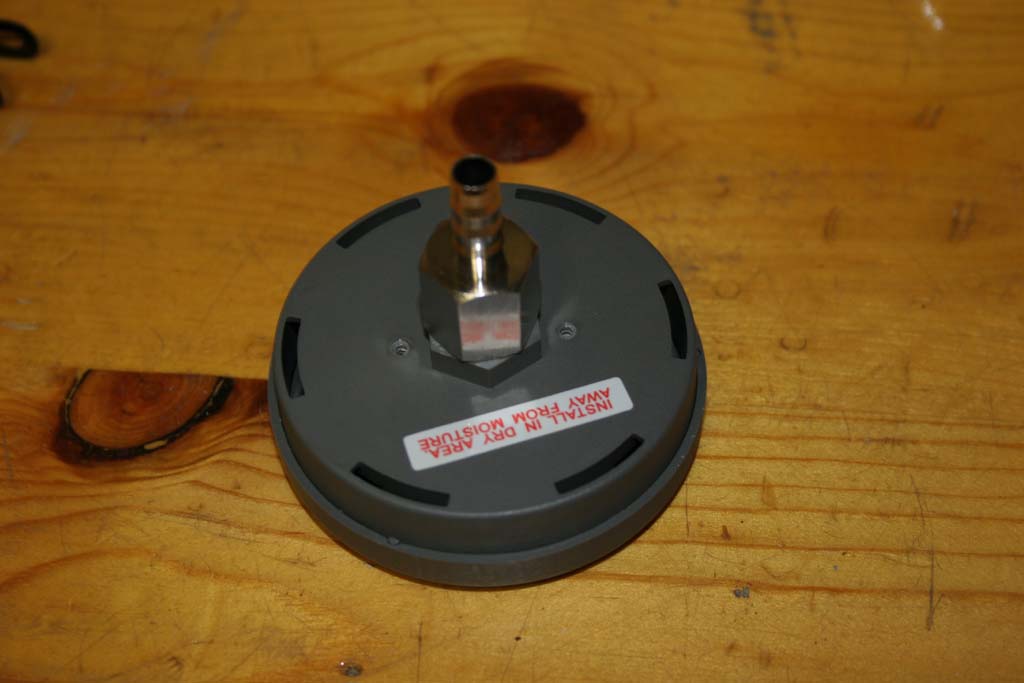
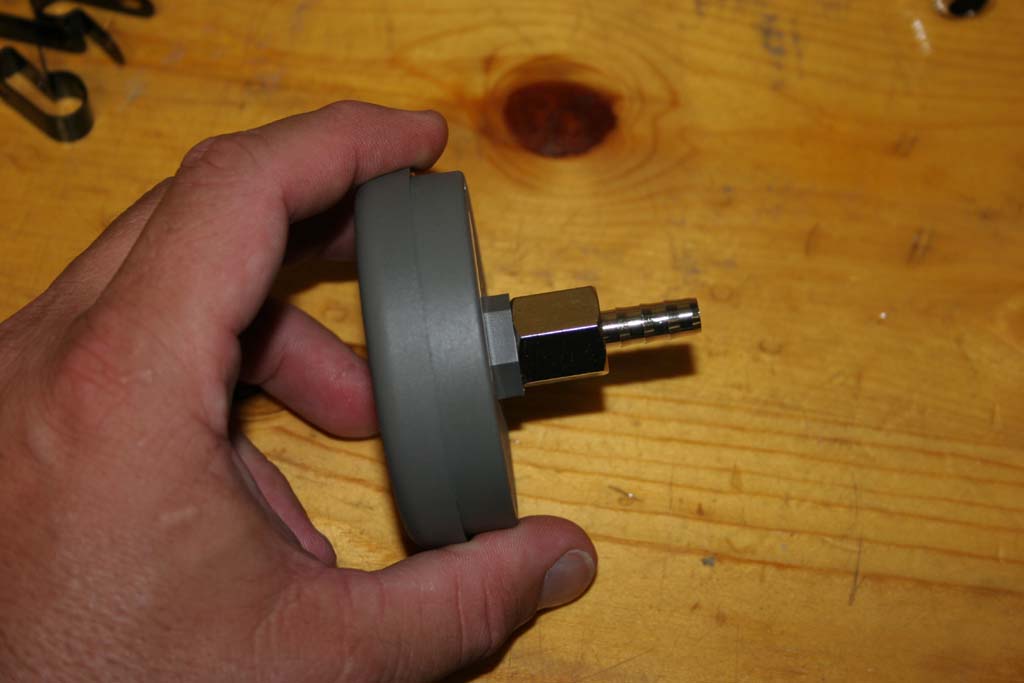
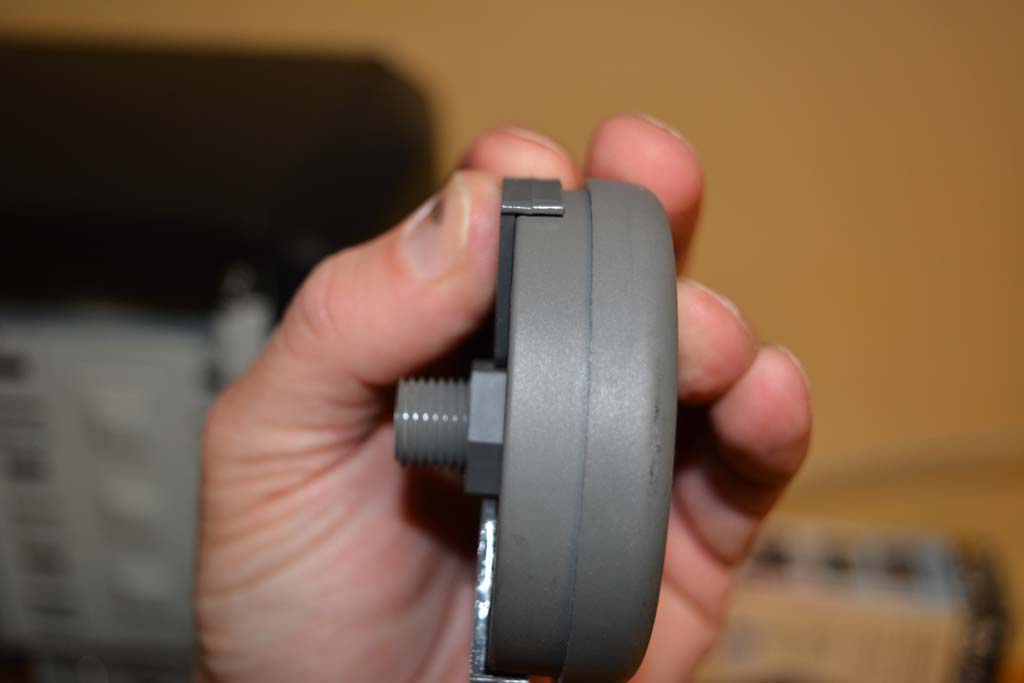
| 5. Install the barbed fitting onto the filter housing. This just screws on hand tight, do not try to torque this fitting on, the threads are plastic and will strip out. |
 |
 |
 |
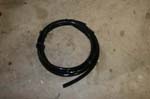
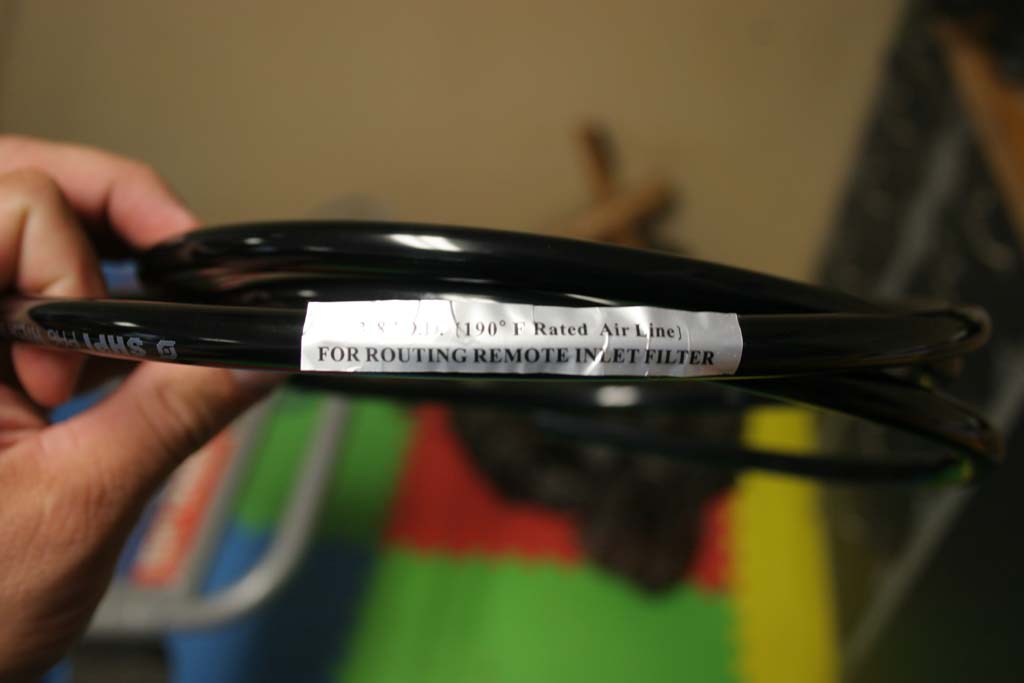
| The plastic tubing comes rolled up in a coil, it's pretty much been set into this position, so you can either sit it in some hot water (not recommended by me), or just leave it out in the sun for a while and slowly work the coil out of it. The tubing is rated for 190F, so be careful to keep it away from heat sources. |
|
 |
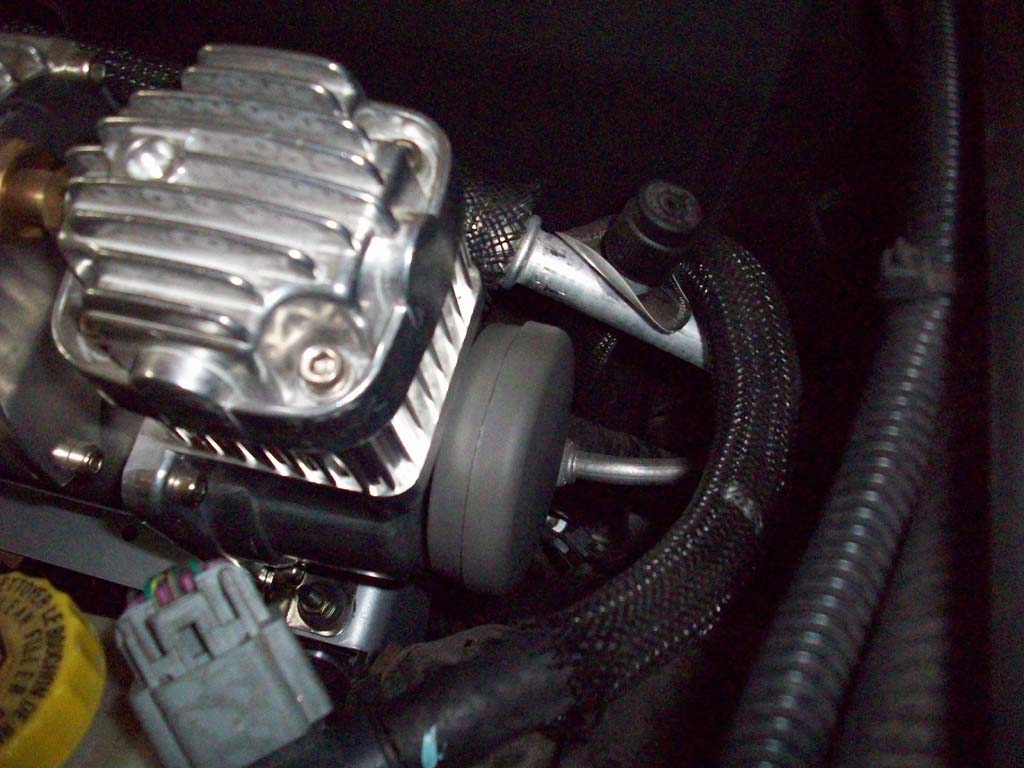
| 6. Install one end of the plastic tubing over the barbed fitting on the compressor. Make sure you get it all the way on. |
 |
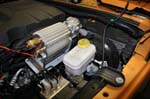
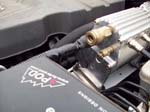
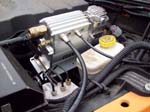
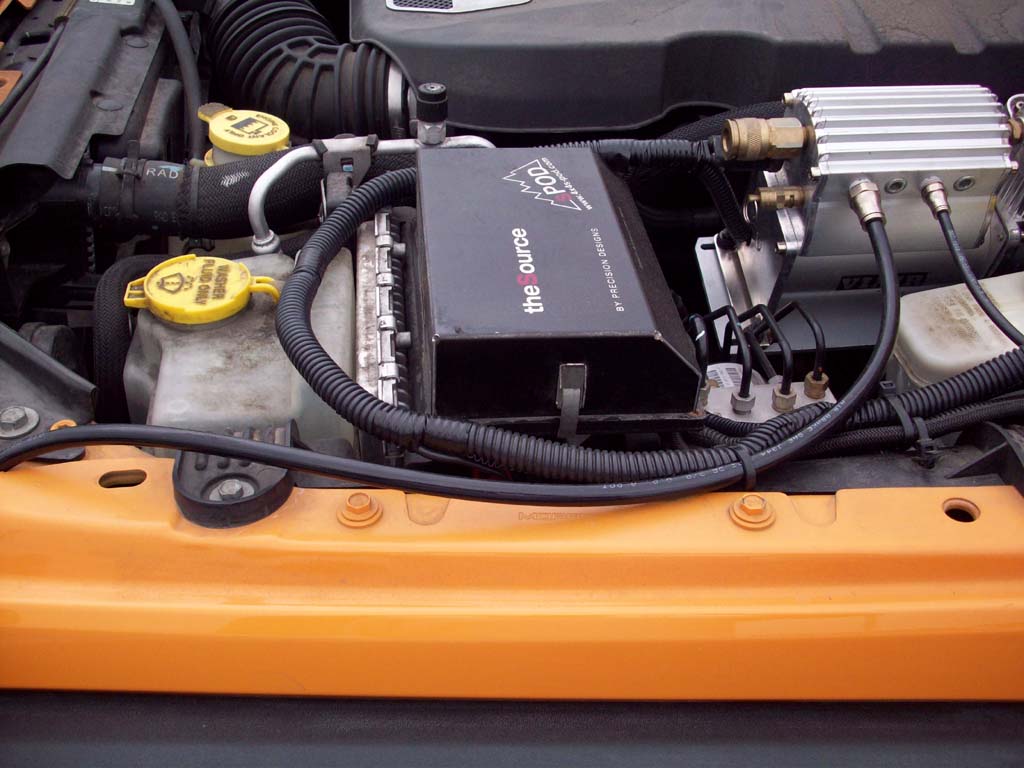
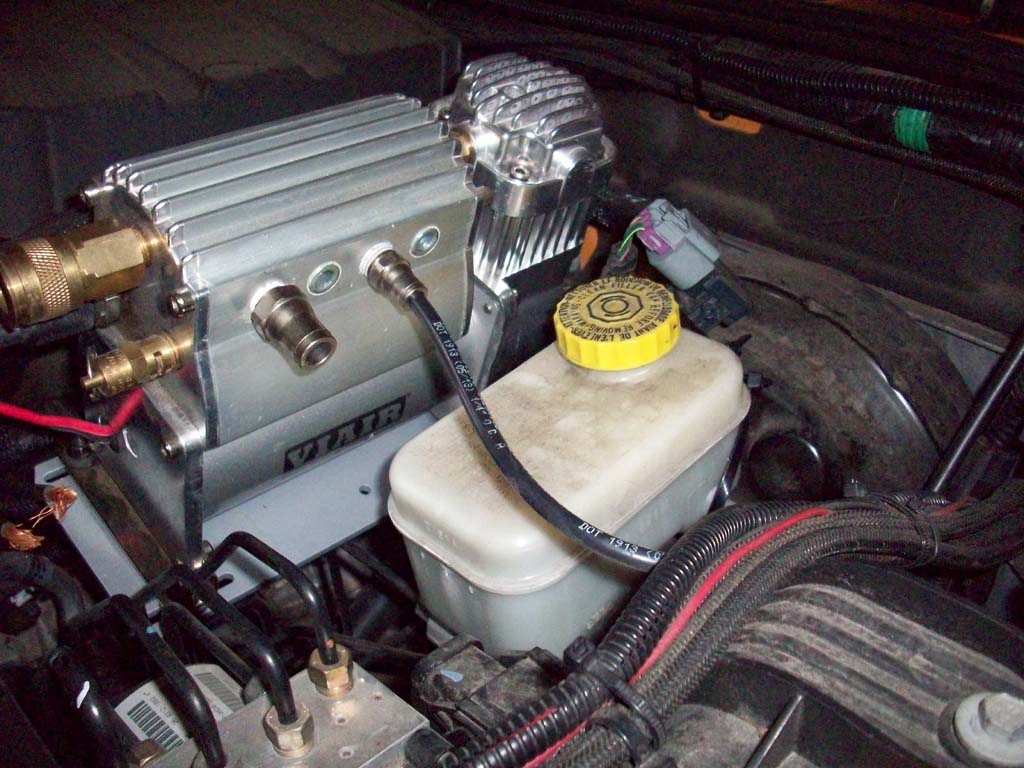
| 7. My filter is currently under the hood, I'm still working on a good location elsewhere to get it away from the heat, but I'll see how this tubing holds up being routed over the top of the engine along the firewall. You need to make sure that the filter housing is positioned so that the holes in the bottom are pointed downwards so you don't get water in to the housing and possible compressor. |
 |
 |
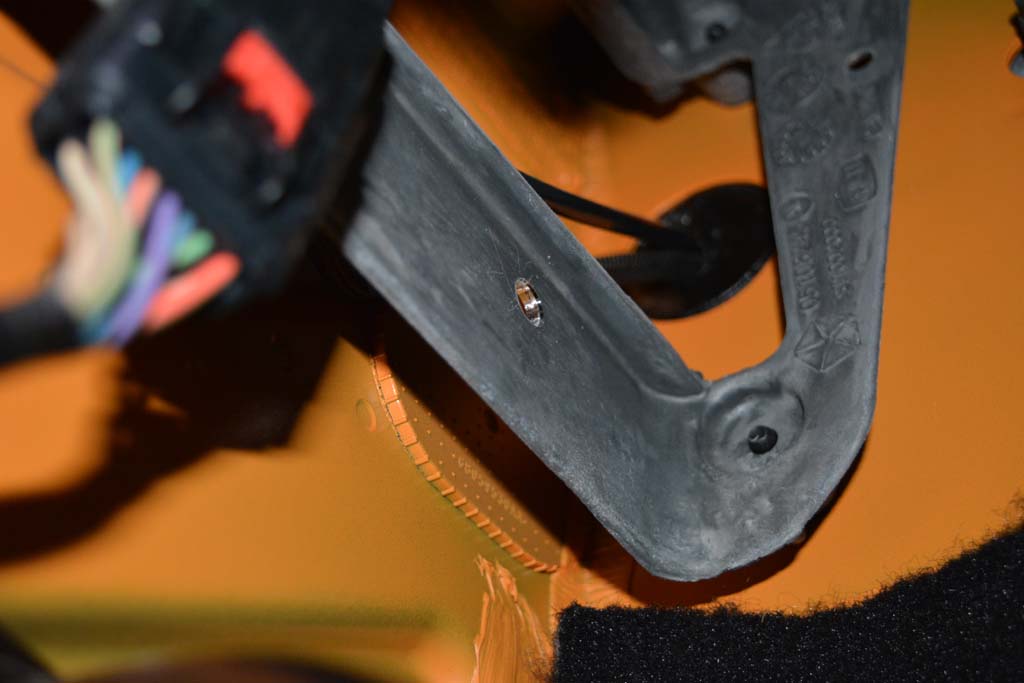
| 7a. I Finally decided where I wanted to put the filter. The dash support bracket in the driveside footwell is a pretty good place and close to the compressor. I drilled a 3/8" hole through the support. |
 |
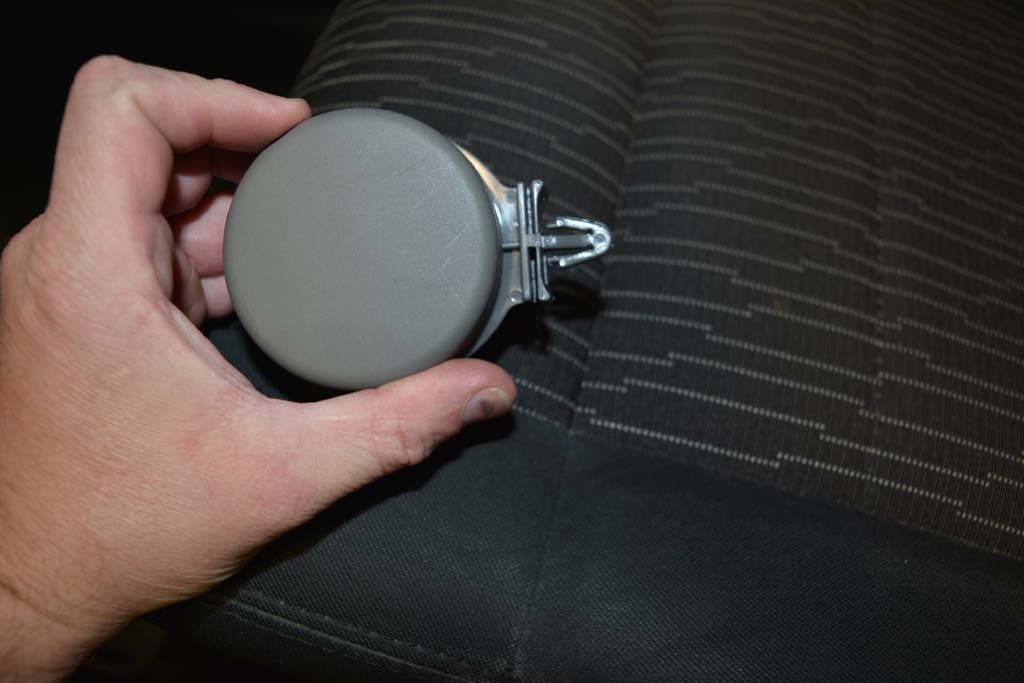
| 8. Reinstall the bracket on the filter if you had previously removed it. Be careful with the screws since they are only going into plastic. The bracket fits over the filter housing as shown in the pictures. |
 |
 |
 |
 |
| 9. Screw the barbed fitting on to the plastic filter housing. I tightened it down with my hands until it was tight and stopped. Remember this is only plastic. |
 |
| 10. Insert the barbed fitting on the bracket into the hole you drilled into the dash support. I do know that the holes on the air filter are now pointed up, but I don't think I will be running my compressor if I'm in water up to my knees inside the Jeep. |
 |
 |
| 11. Run the tubeing through the hole in the firewall and down to the top of the air filter. |
 |
 |
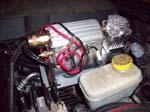
| 7b. After some thought and a stream that flooded my floor boards I decided that this wasn't that great of a spot to put a filter. Back under the hood and now just screwed into the compressor. I really only use it for filling tires and beach toys for the most part, so this location is convient. |
 |
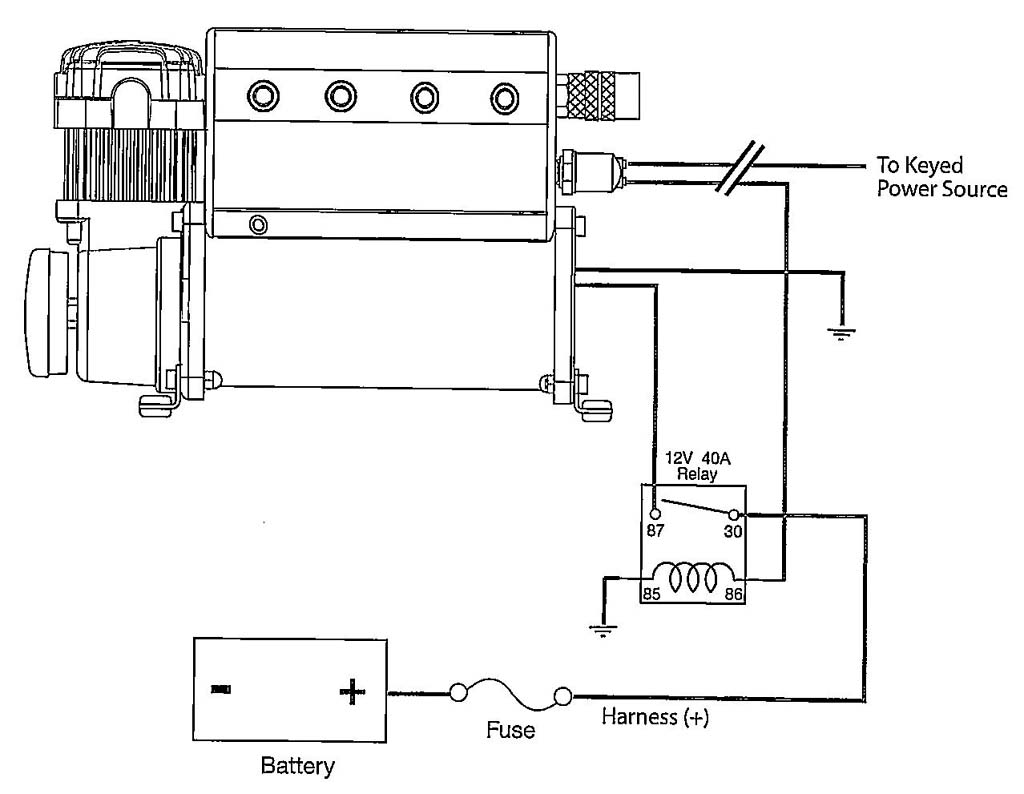
| Electrical Wiring: (I lost all the original pictures of the wiring, so this part isn't the greatest for pictures) |
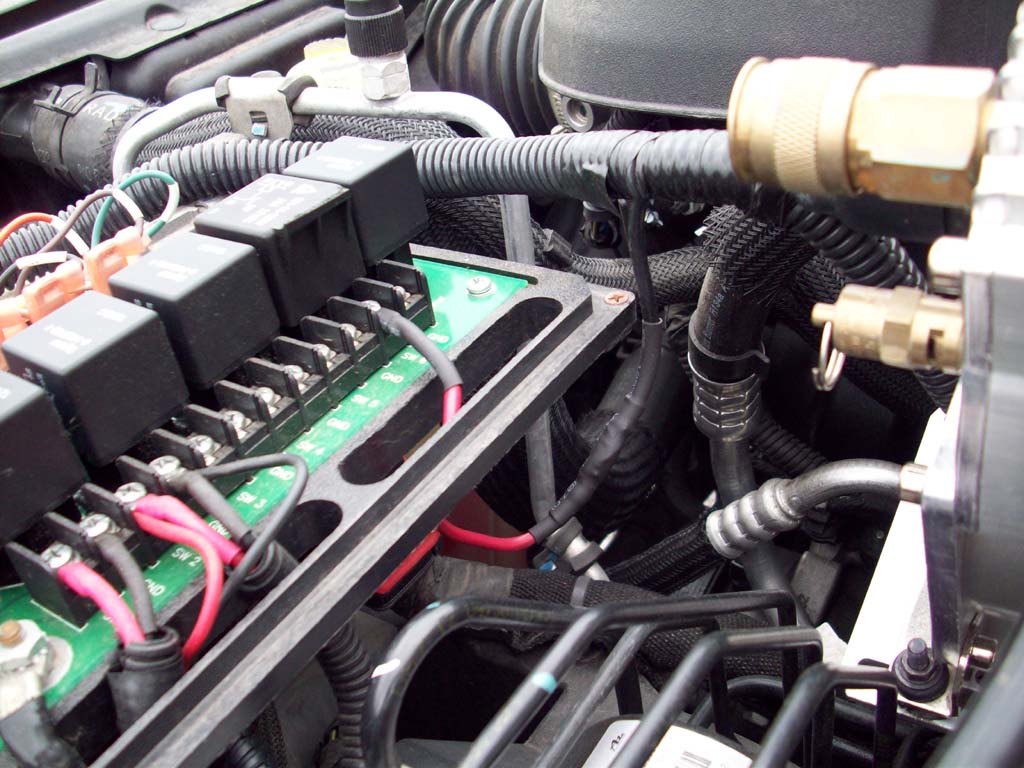
| This is the wiring diagram for the compressor and switch. I used the sPOD to power the pressure switch on the compressor. |
 |
| 1. ViAIR supplies a relay and the wiring attached to the compressor. You will need to provide the wiring and switch from the battery to the compressor. ViAIR does have a wiring kit you can purchase, but since I already had sPOD installed, I only needed to run a power wire from the battery to the relay. |
|
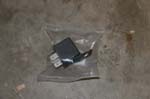
 |
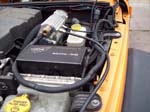
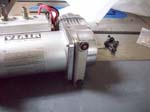
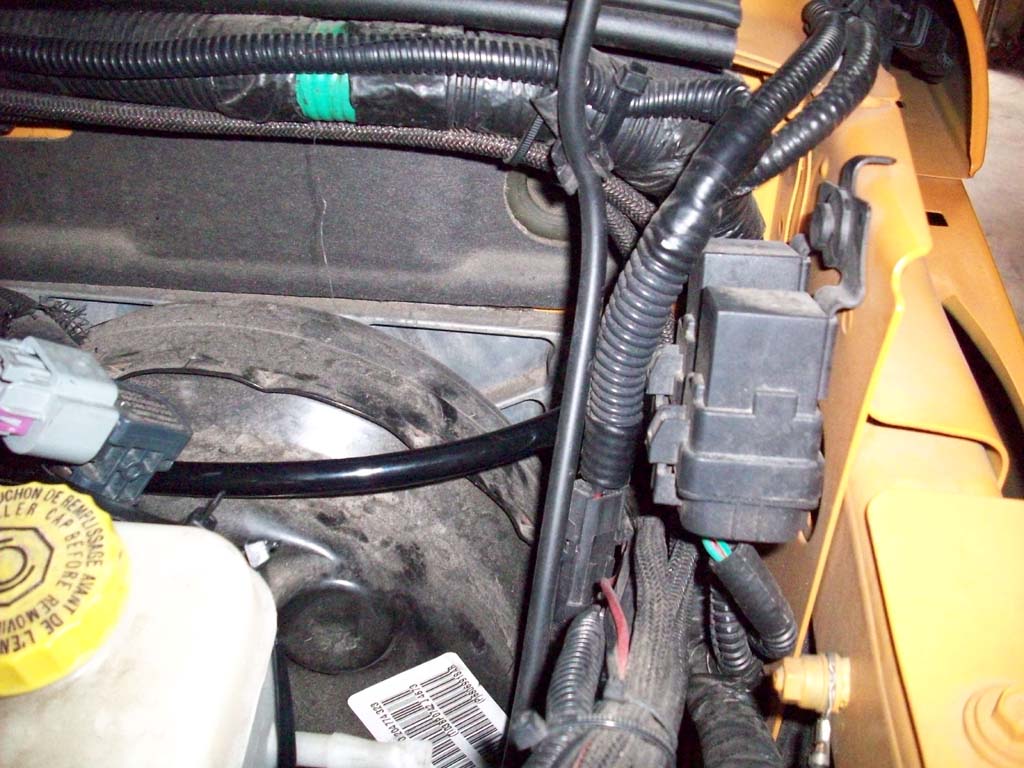
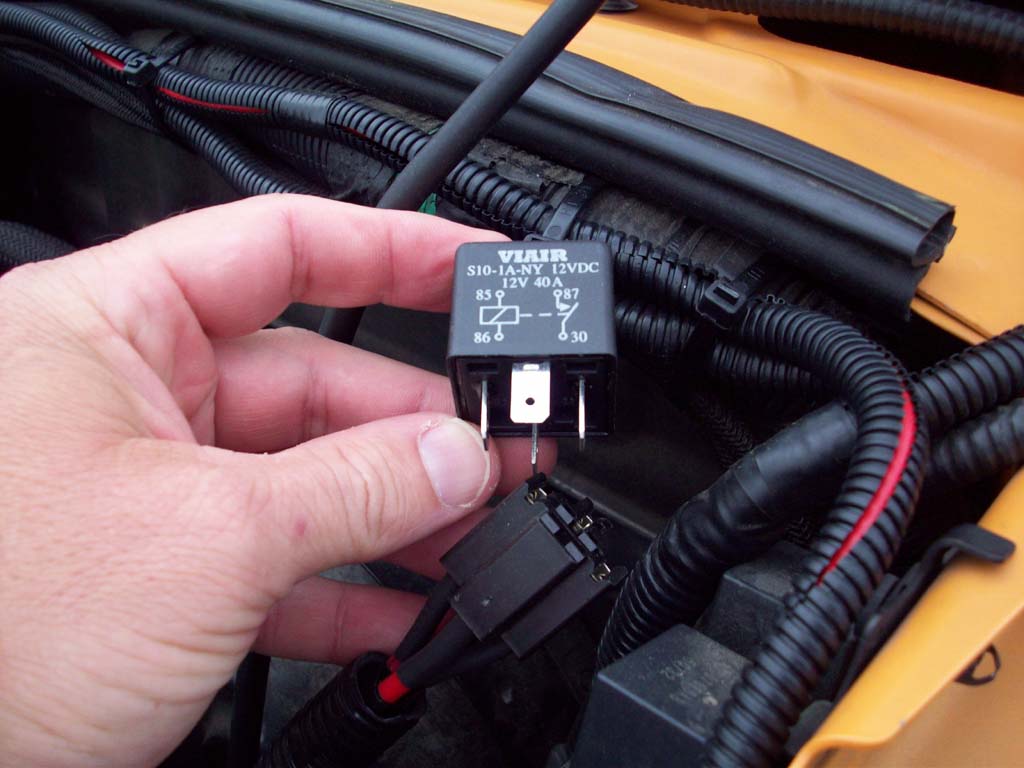
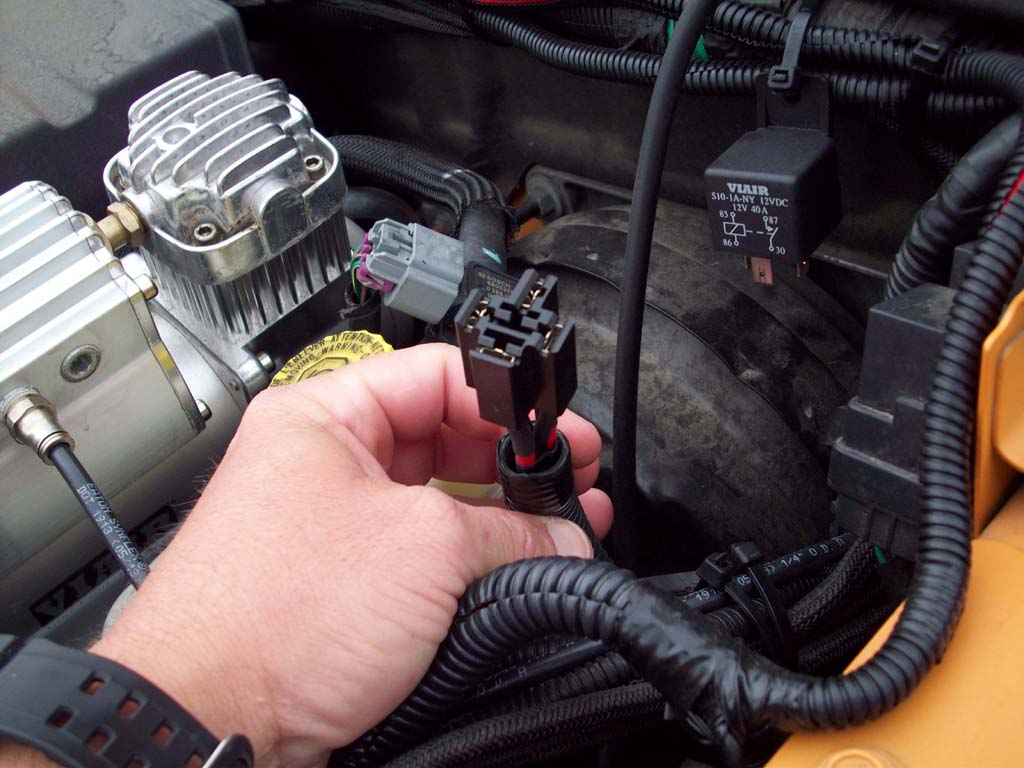
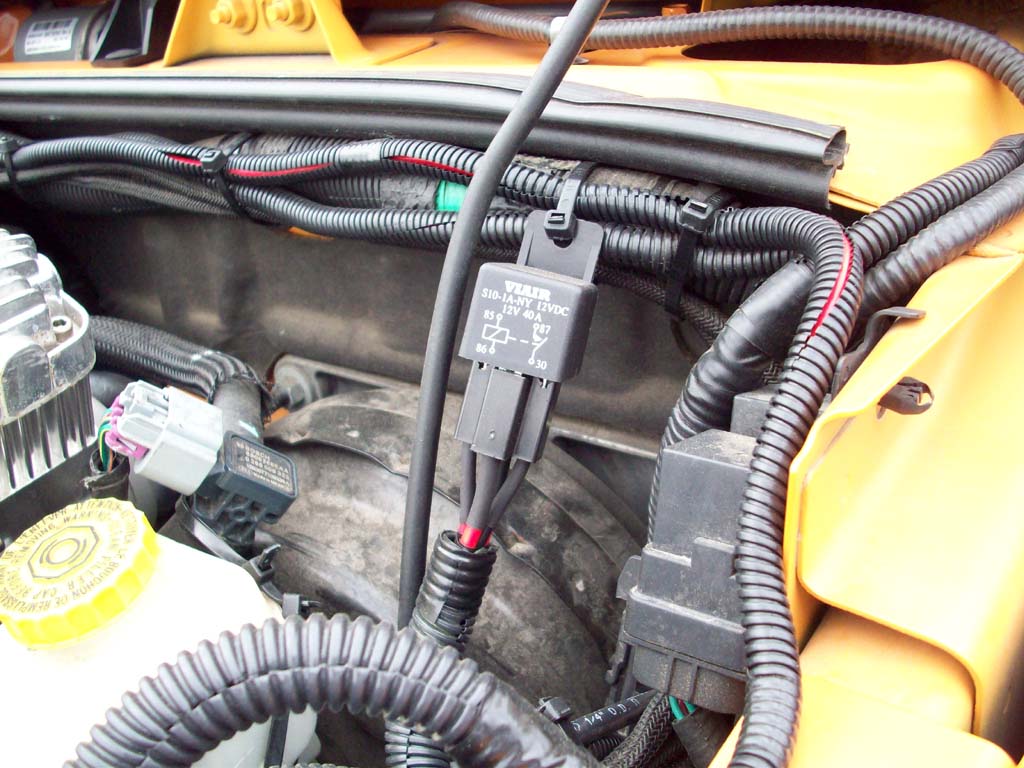
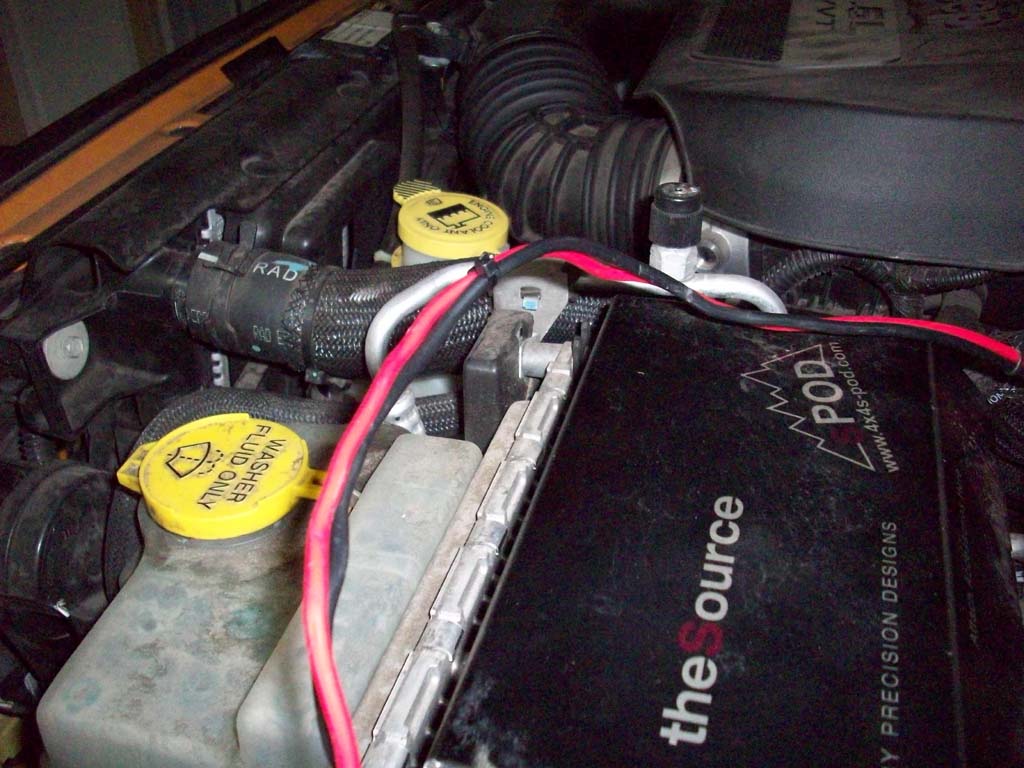
| 2. Find a good location for the relay. I decided to just mount it to the firewall along the cable bundle. |
 |
| 3. You can run all the wires to the relay using spade connectors, or if you have a spare relay mount you can install the female spade connectors inside of it. |
 |
 |
| 3. Connect one wire from the pressure switch to the sPOD. You may need to extend this wire with a 12gauge wire. Alternatively you can run power from a dash mounted switch. This would require you to run a power wire from the battery, or ignition hot source to the switch first. |
 |
| 4. Extend the second wire from the pressure switch to supply power to the relay with a 12gauge wire. I used heatshrink soldering connectors to connect the wires and provide a good connection. Alternatively you can crimp on electrical connectors and heatshrink over them. |
 |
 |
 |
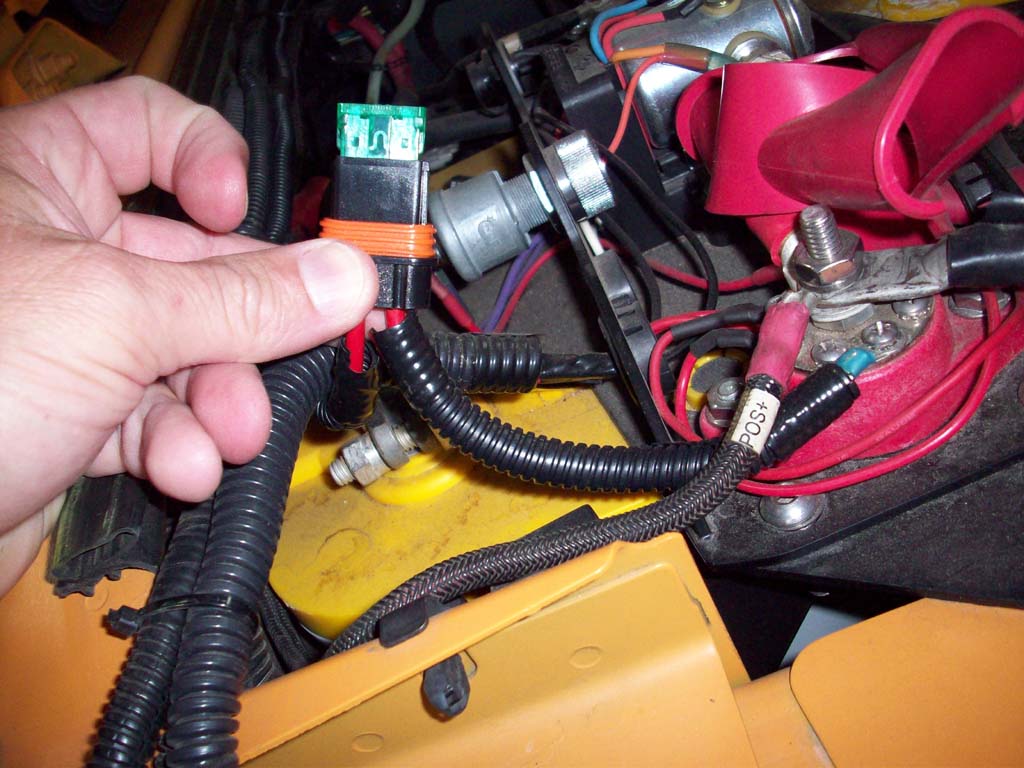
| 5. Connect a 10gauge power wire and fuse (30 amp) from the battery to the relay. |
 |
| 6. Extended the power wire from the compressor and connect it to the relay. |
| 7. Connect a ground wire from the relay to the grounding lug on the driver side fender by the firewall and the ground from the compressor to the grounding lug located on the driver side fender by the ABS module. You will need a 10mm combo wrench. The only reason I ran them to seperate lugs is convience on routing the wires, I could have ran them to the same lug. |
 |
 |
| |
|
|
|
| |
| Air Line Routing: |
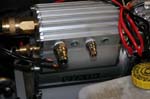
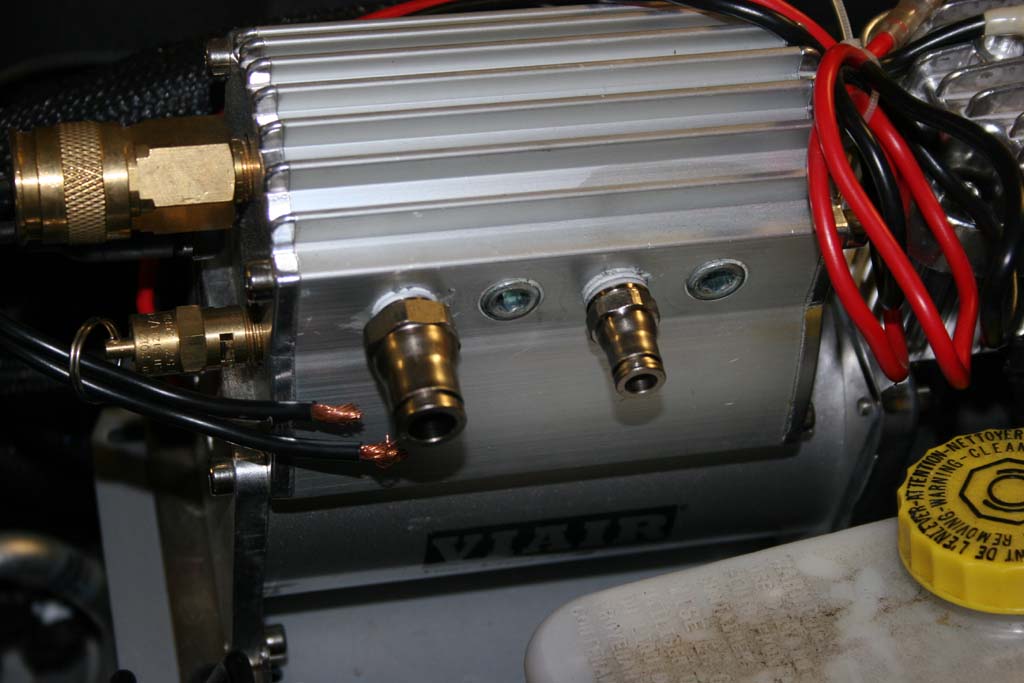
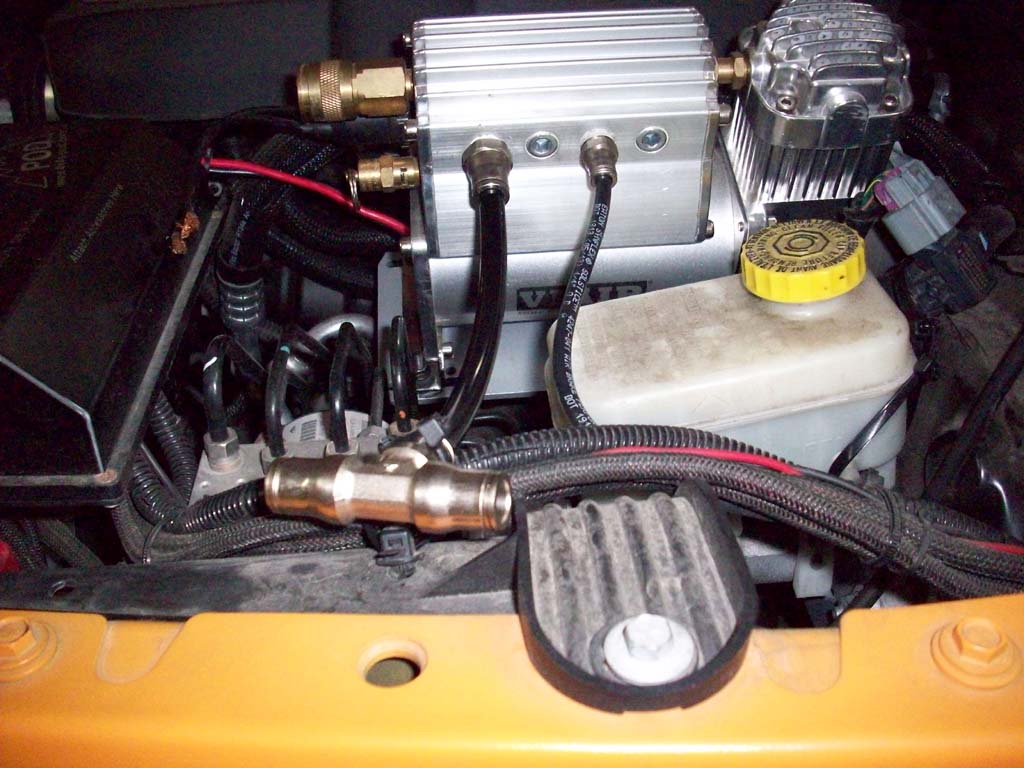
I typically use the press-to-connect tubing connectors and nylon air brake line. You just need to be careful that you don't route any lines to close to exhaust manifolds and pipes. I installed a 1/4" tube and a 3/8" tube connector into the side of the air tank on the compressor. You will need a 1/4" Allen wrench or socket to remove the plugs.
Note: The plugs are in really tight. Your setup will be based upon where your air fitting are going to be, or what other accessories have installed. |
 |
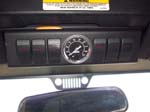
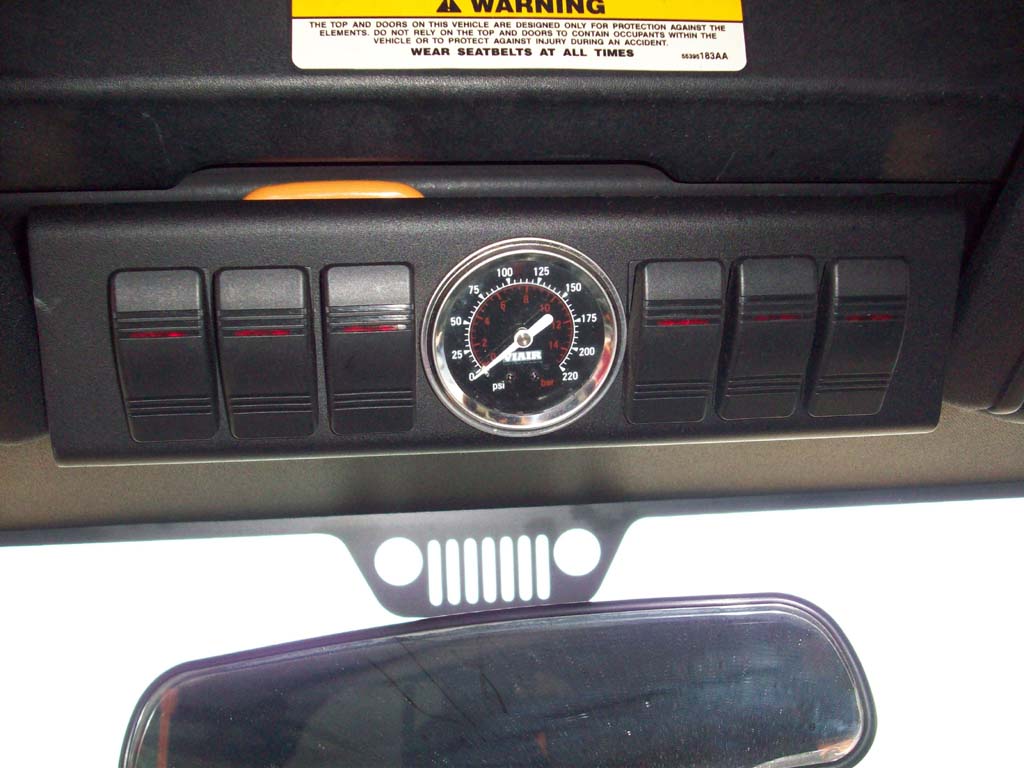
| The sPOD mounted in this Jeep has an air gauge installed in it. I ran the line from it down the driverside A pillar, through the clutch grommet in the firewall. Connect the 1/4" tubing from the inside pressure gauge to the 1/4" push-to-connect fitting mounted on the compressor. |
 |
 |
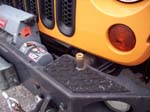
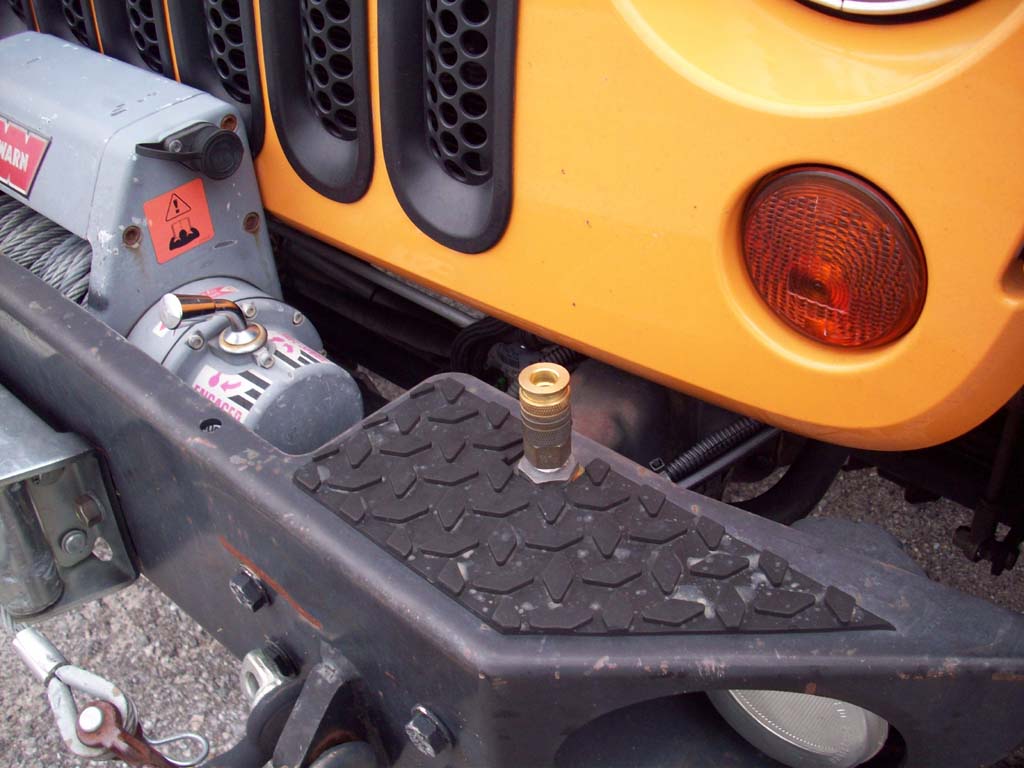
| I have an quick disconnect mounted in the front bumper and will mount a second one in the rear bumper. For this configuration I will install a 3/8" air line from the compressor to a push-to-connect T-fitting and then to both of the quick disconnects. Currently I only have the front connected so I ran a 3/8" line directly from the compressor to it. |
 |
 |
 |
 |
| |
| Thoughts: |
| The biggest thing that I noticed running this is that when the compressor kicks in you can feel the vibration back through the brake pedal. This made me paranoid that the nuts holding it to the brake booster were going to be vibrated loose. I do check these bolt after I use the compressor to air up the tires. |
| |
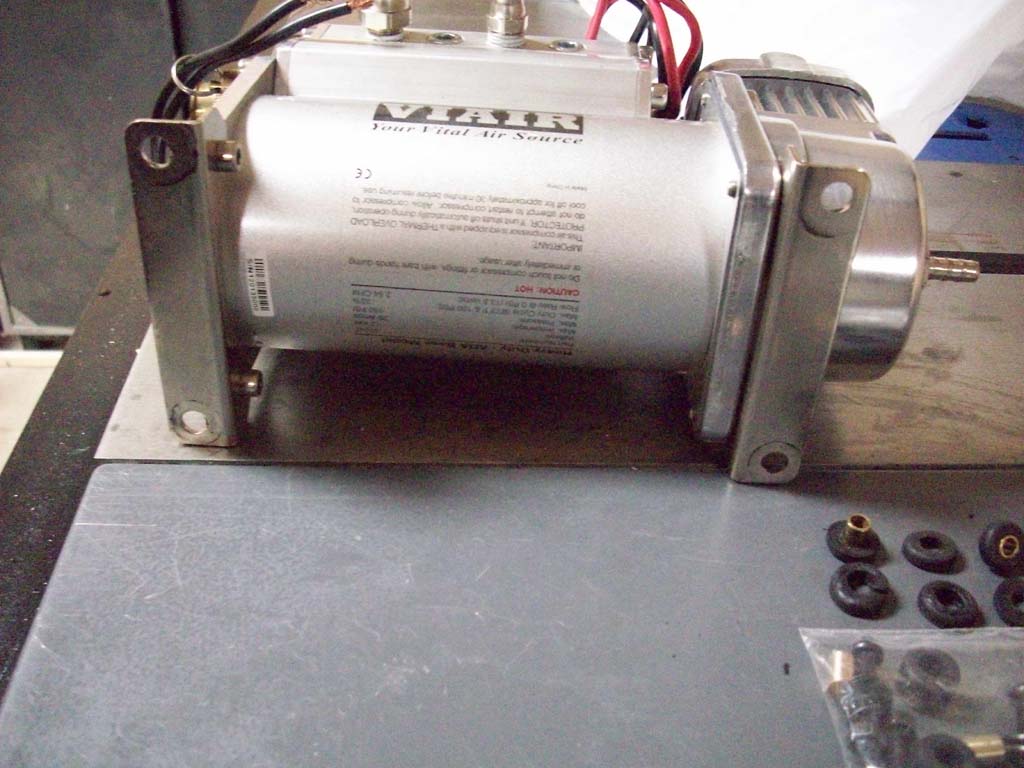
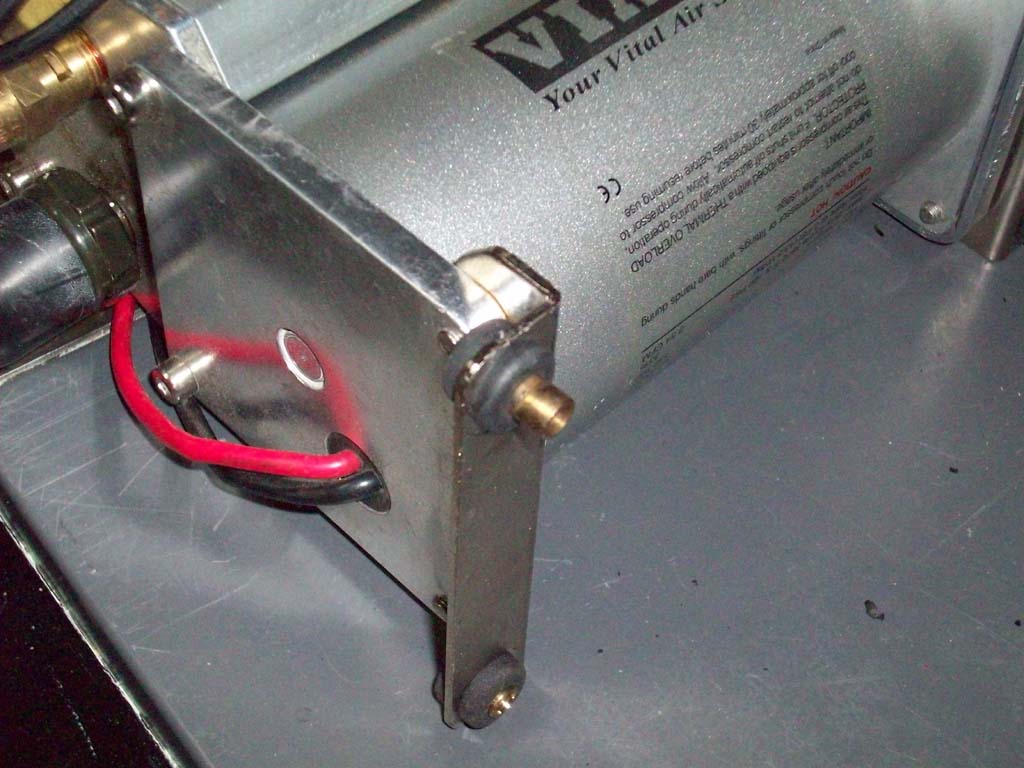
| Compressor foot replacement: |
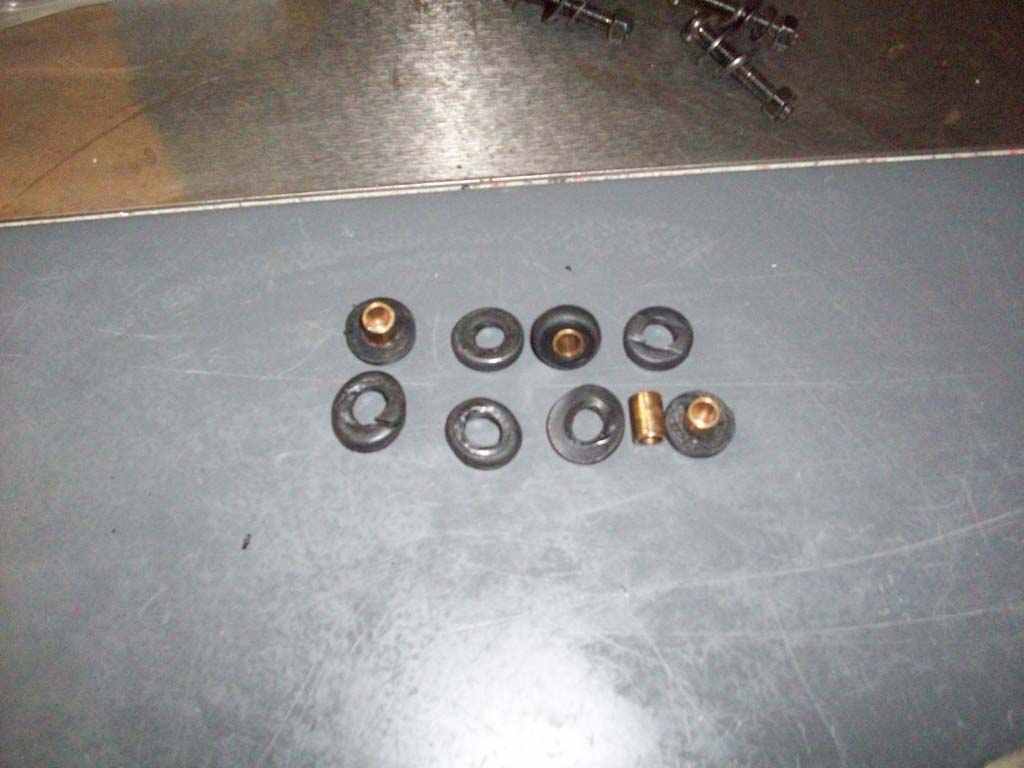
| I noticed a metallic sound when I was running the compressor and after a little investigation I noticed that grommets that VIAIR uses to support and dampen the vibrations had turned to hard rubber chunks and broken apart. I had to take the compressor and bracket back out of the Jeep to replace them. |
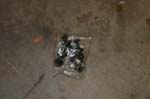
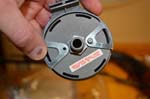
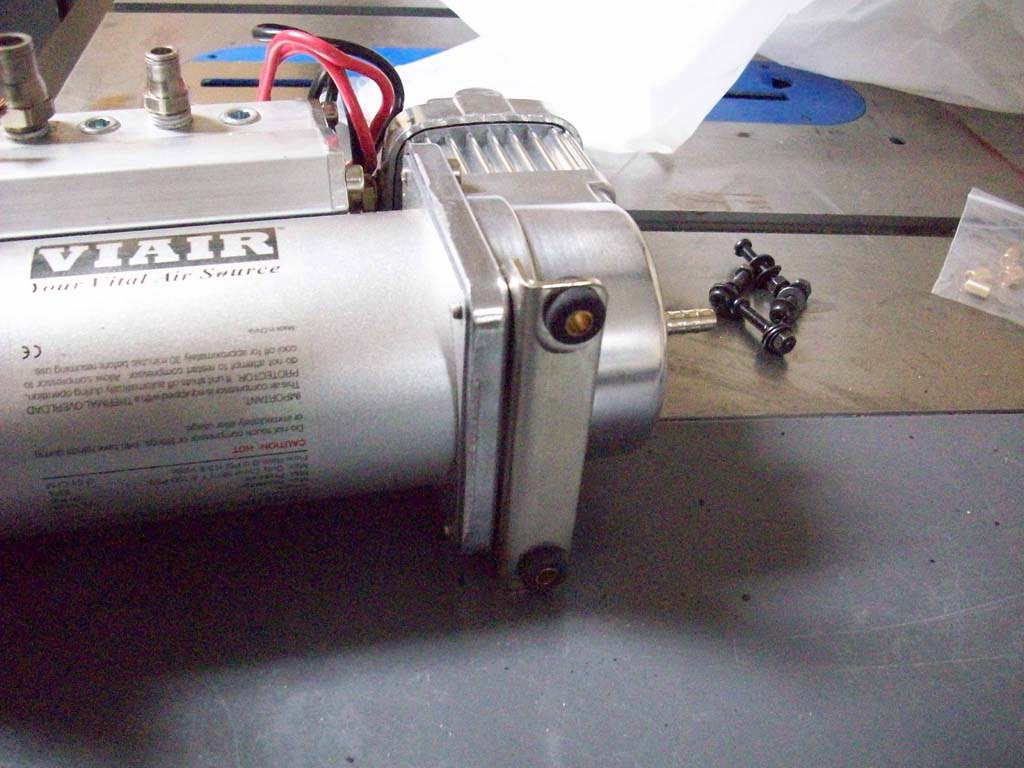
| 1. Remove any remains of the rubber grommets and brass inserts from the compressor mount. |
 |
 |
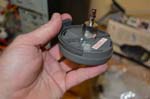
| 2. Carefully push the new grommets into the holes on the compressor feet. It helps if you squeeze the grommet together to get the one side in first, then just work your way around the grommet pushing it into the hole. I used a needle nose pliers to push it in, but you could use a screwdriver. Do not grab it and try to pull it through, you will end up tearing the grommet. The first one is always the hardest to get in. |
 |
 |
| 3. Install the brass bushings through the rubber grommets. I used a needle nose pliers to slowly push the bushings in. I didn't use any lube to get these in, just a little patients. |
 |
 |
| 4. Now you can reinstall the compressor and mount back into the Jeep and reconnect all the wiring. |


