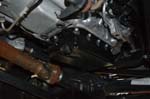
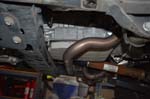
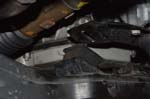
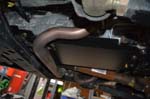
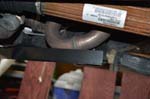
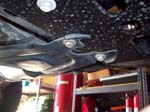
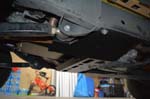
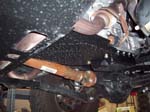
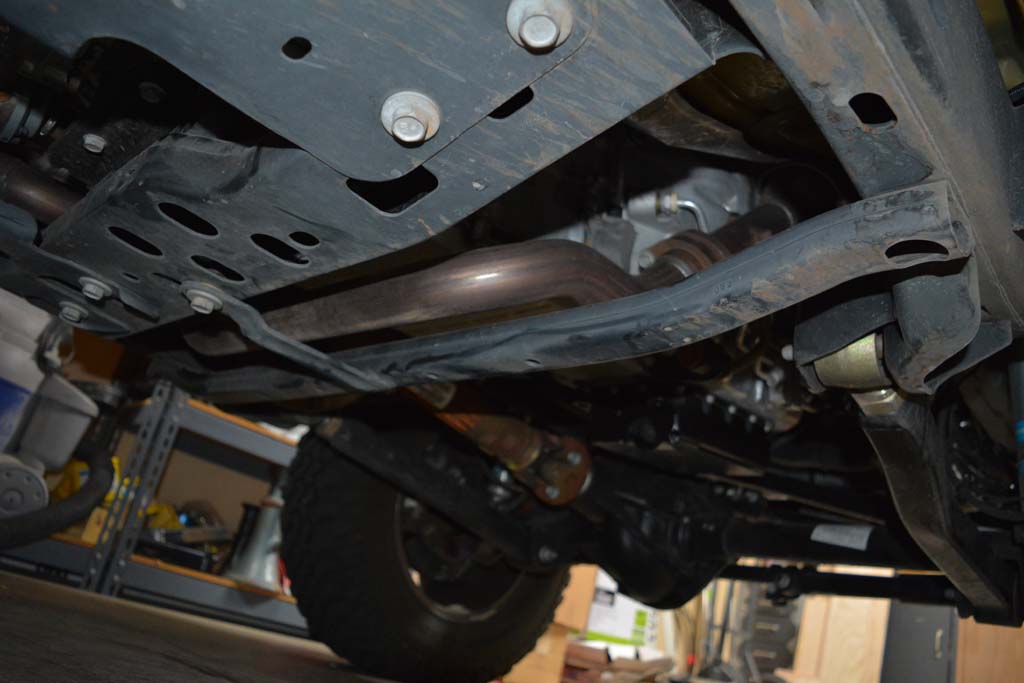
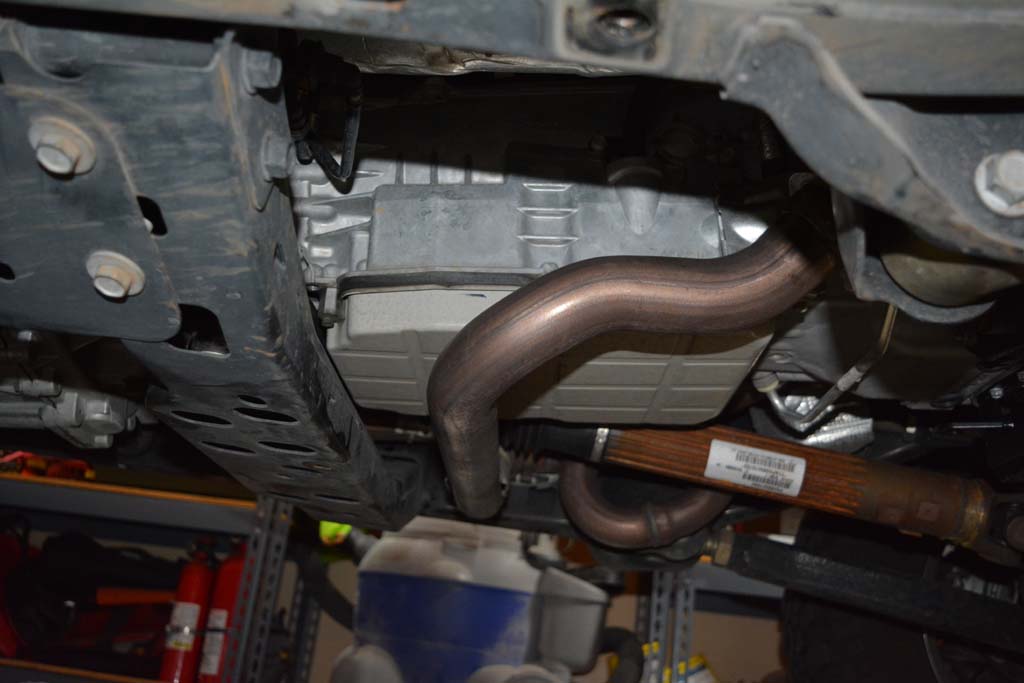
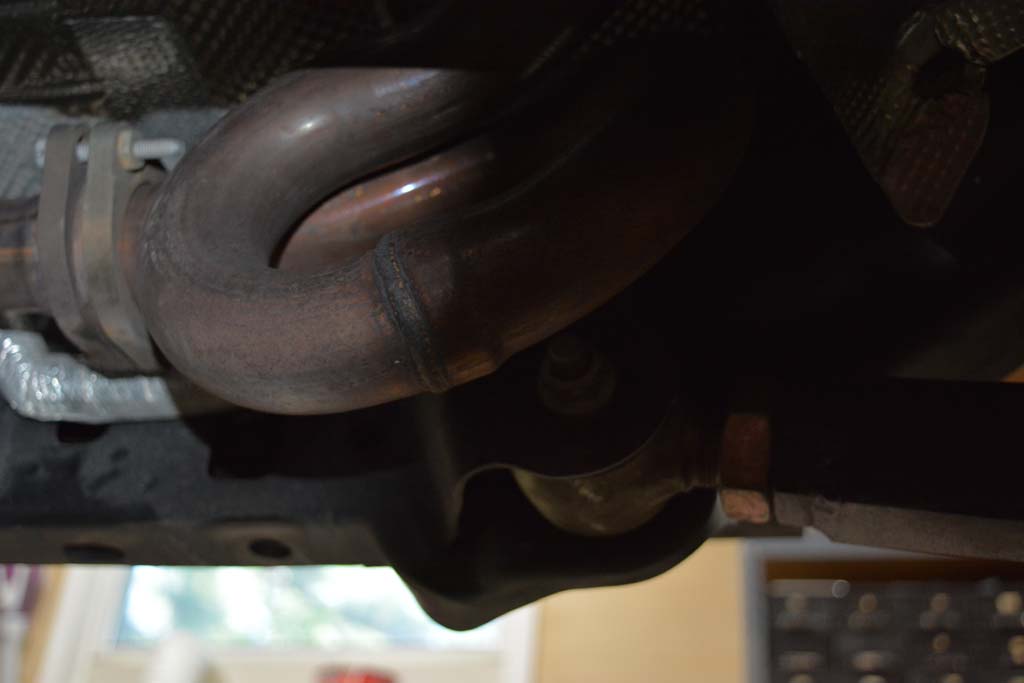
The 2012 and up JK's came just like the rest with no real skid protecting the oil pan and transmission. The 2012's and up came with a few interesting additions in the way of a plastic cover for the auto transmission sump, an oil cooler line that runs below the transmission and of course a big chuck of exhaust pipe over on the driver side. I have ran River Raider's skid plates before and helped install Rockhards on a friends JK. This time I decided to go with EVO Manufacturing. Nothing really wrong with any of them. EVO had a good price point at $400 for their skid system and it was different than what I had installed before. All the pieces came well protected. I know have enough popcorn packing to probably ship the Jeep in a box
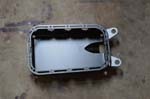
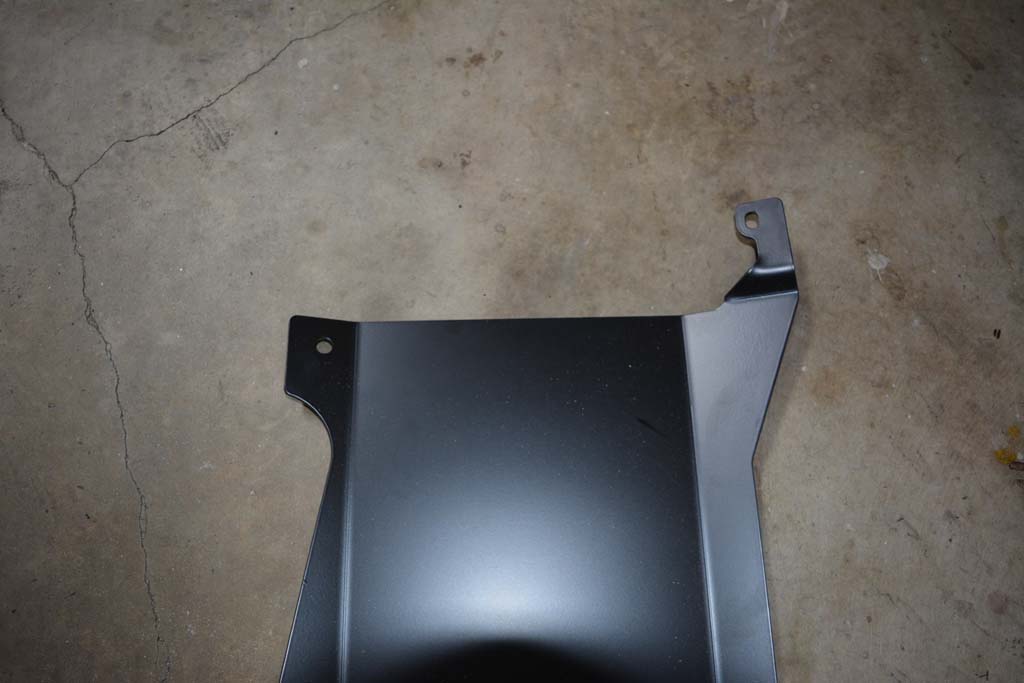
| EVO-1091B 2012+ JK Oil Pan Skid Installation: |
| EVO and I recommend that you drain the oil from the oil pan before you begin installation. The RTV silicone may retain the oil pan to the block, however if you decide to not drain the oil, I recommend doing it when the oil is cold and at YOUR OWN RISK. If it comes off you will have a mess. In either case I recommend you have oil on hand just in case. |
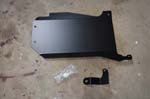
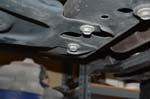
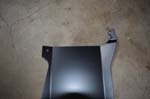
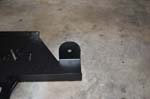
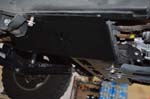
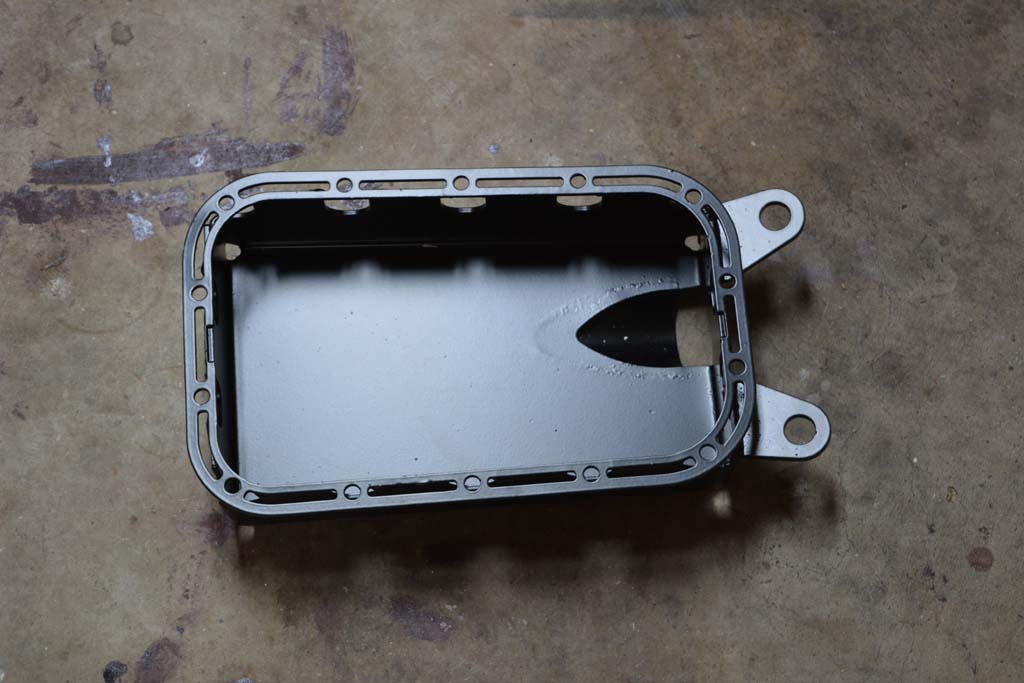
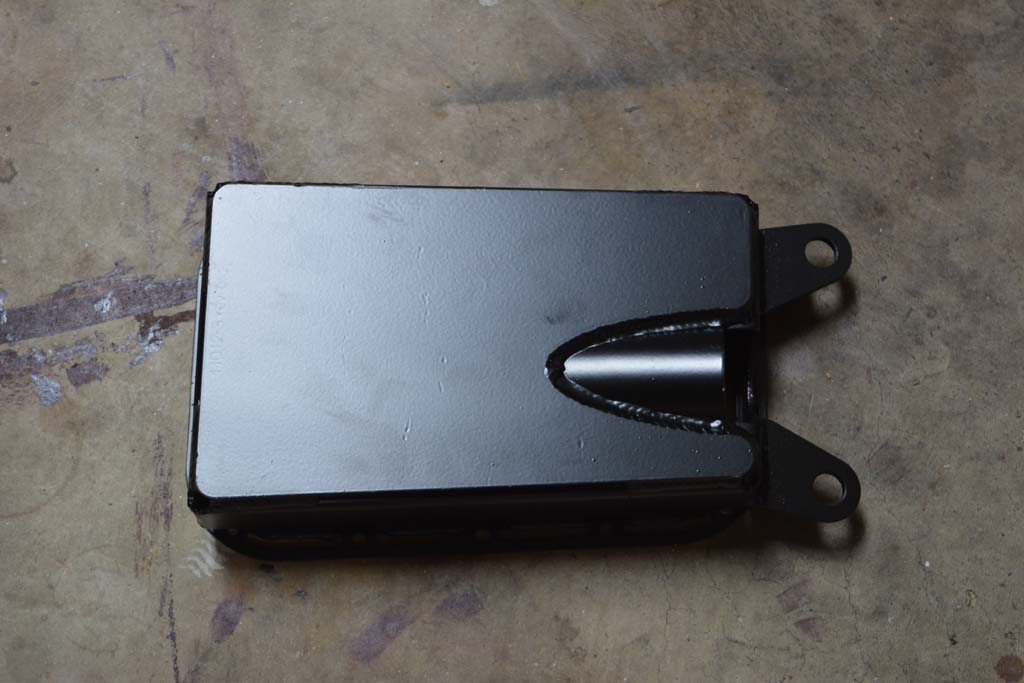
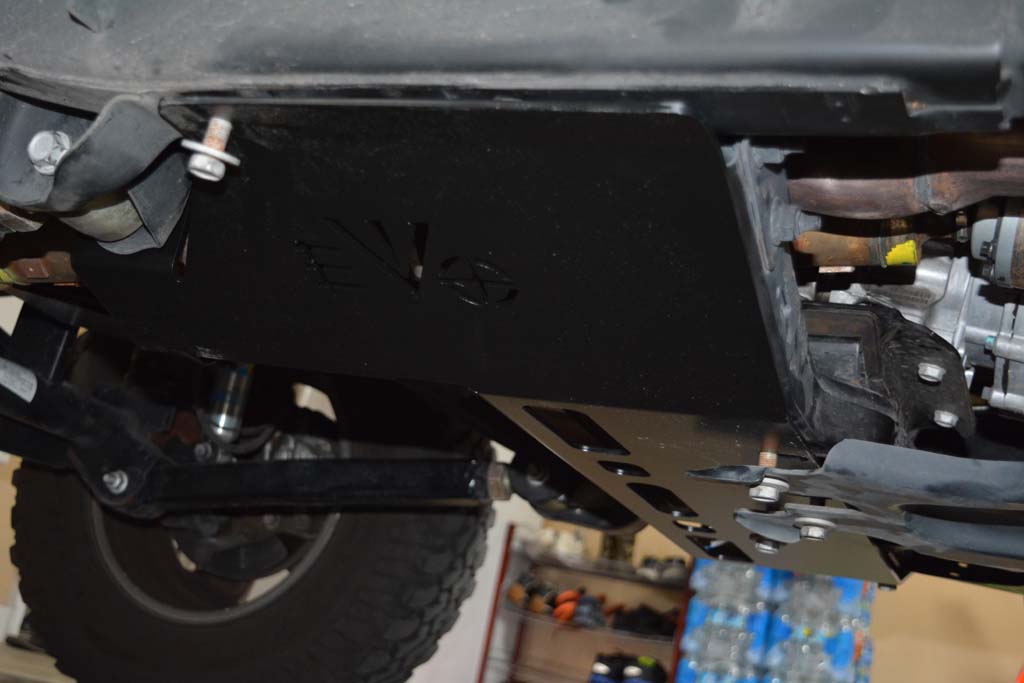
| The pan is very wll made and heavy. I like that EVO a tapered guard for the oil drain plug. Now the oil will flow out instead of just pooling in the bottom of a skid. |
 |
 |
 |
| 1. Drain the engine oil, or proceed to the next step. Just ask yourself "Do you feel lucky?" |
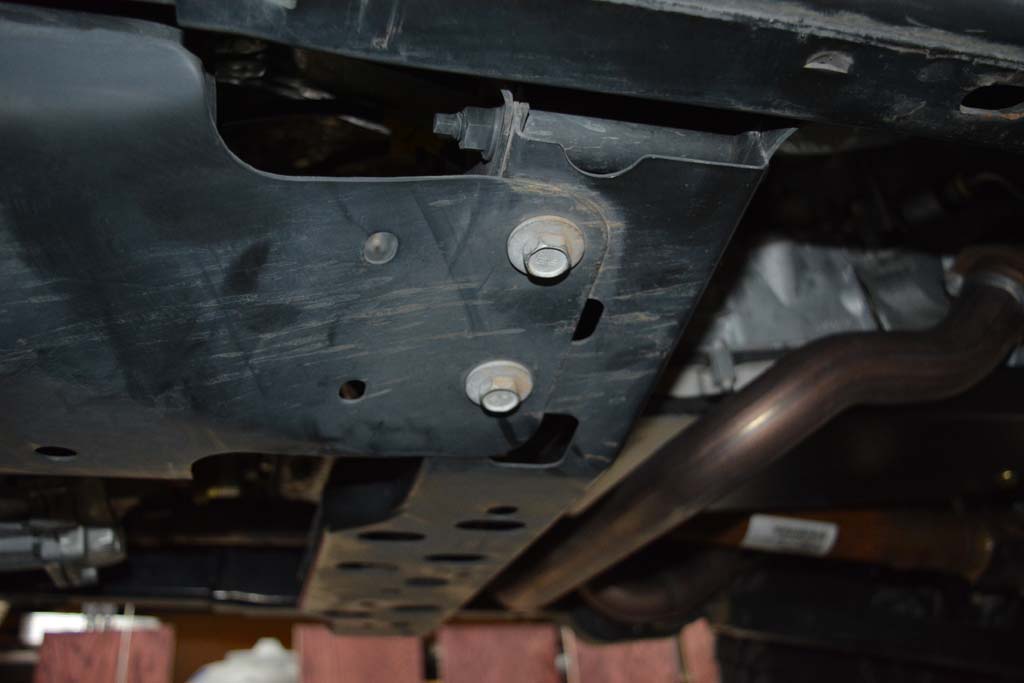
| 2. Remove the bolts and the two nuts holding the oil pan to the engine with a 10mm socket. DO NOT remove the oil pan. |
 |
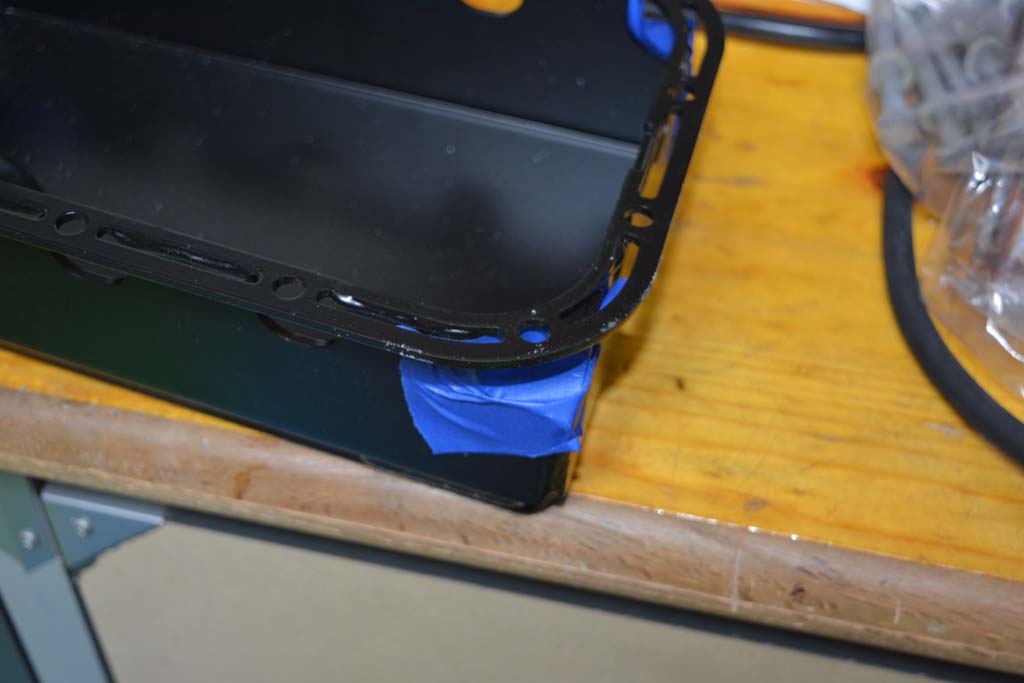
| 3. Install some tape on the corners of you EVO Oil Pan Skid so that you don't lose a bolt or nut down in between the oil pan and the skid. |
 |
 |
| 4. Carefully install the EVO Oil Pan Skid over the factory pan. Be careful not to hit or tap on the factory pan. |
| 5. Install the two nuts (driver front, passenger rear). Quickly finger tighten these onto the two studs to hold the EVO skid and oil pan to the engine. |
 |
| 6. Thread the remaining bolts in to the engine. Make sure you get at least 3 full turns into the engine. The block is aluminum so you can easily strip or cross thread the bolts. |
 |
| 7. Use a 10mm socket, 10mm combo wrench (gear wrench works well), thread in all of the bolts until they are just touching the EVO Oil Pan Skid. Do not fully tighten any bolts/nuts yet. |
| 8. With all of the bolts touching, begin tightening all bolts in a crossing fashion to 85 in/lbs. The oil pan/skid will compress the RTV sealant as it becomes tight. You will need to do this a few times. Using a torque wrench in this area is extremely difficult, and I have all sorts of different sockets and a 1/4" drive shorty torque wrench. In the end I used an educated guess for torque based upon a couple bolts that I was able to actually get a good torque on. |
| 9. Double check that all the bolts are tight by starting at one bolt and going all the way around the circle checking each one. It is important to have all the bolts equally tight. |
| 10. Now if you drained the oil, make sure you refill your engine with the proper amount of oil. Running an engine without oil is not really a good thing. |
| 11. Start your engine and check for any oil leaks. After about 500 miles recheck for oil leaks and tightness of your bolts. I recommend checking under there the next day for oil leaks. |
| |
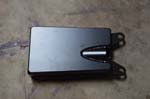
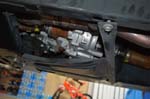
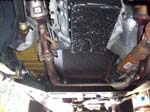
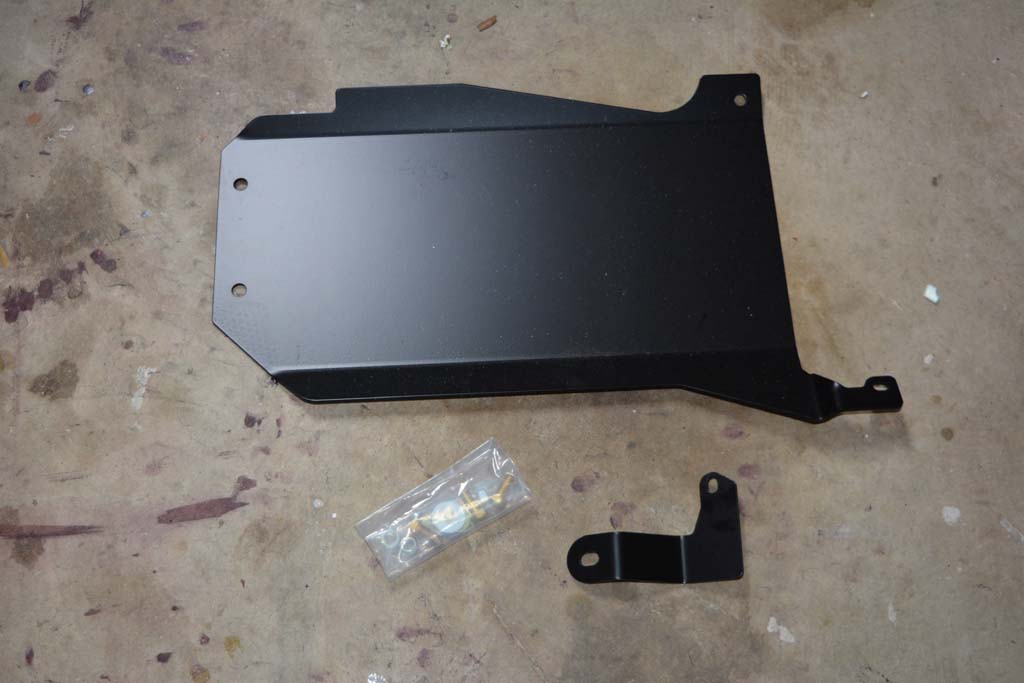
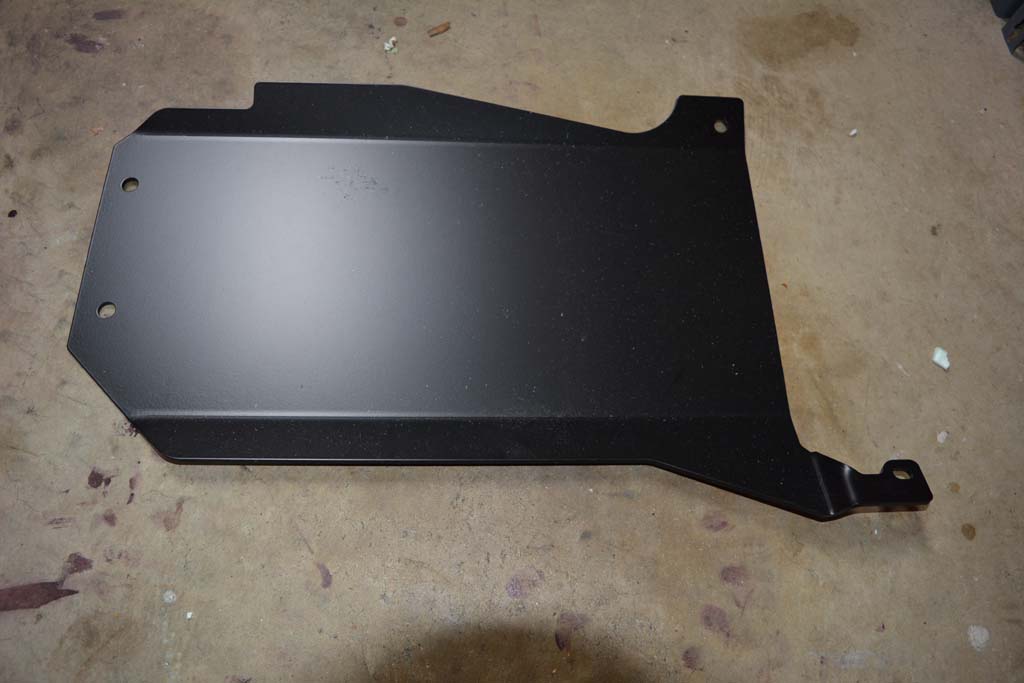
| EVO-1092 2012+ JK Auto Transmission Skid Installation: ( EVO's instructions kind of suck on this one.) (The instructions for the manual only differ a little) |
| Make sure you are doing this with the engine cold. The exhaust cools off long before the transmission does and getting your hand trapped up against the transmission can be painful. Do not tighten up any bolts or nuts until you have all of them installed. |
| |
 |
 |
 |
 |
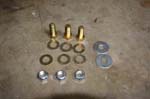
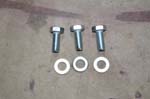
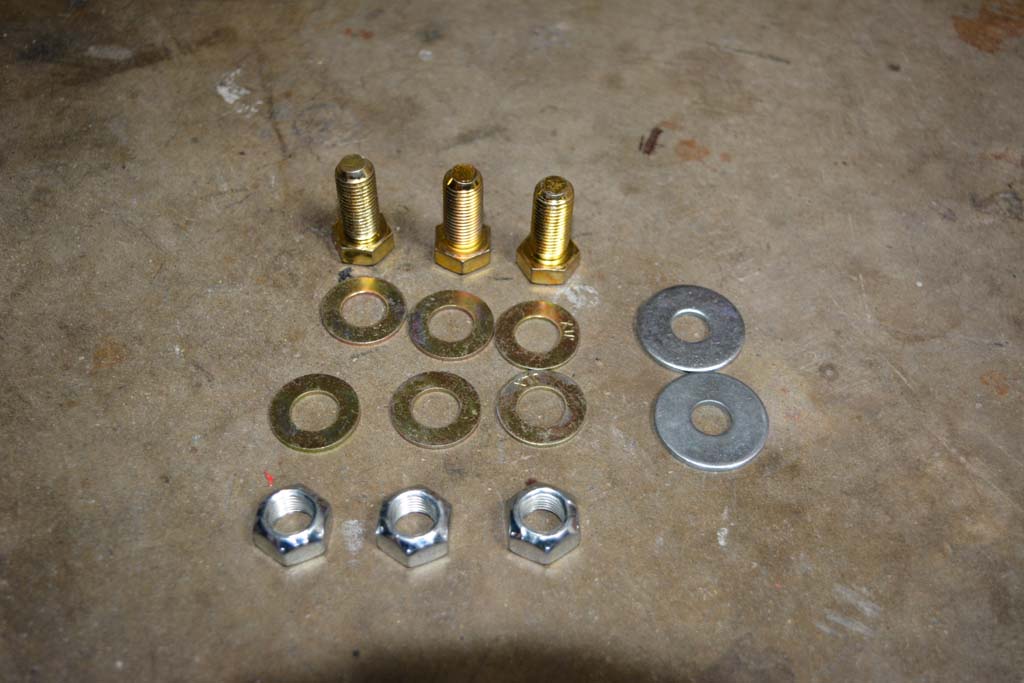
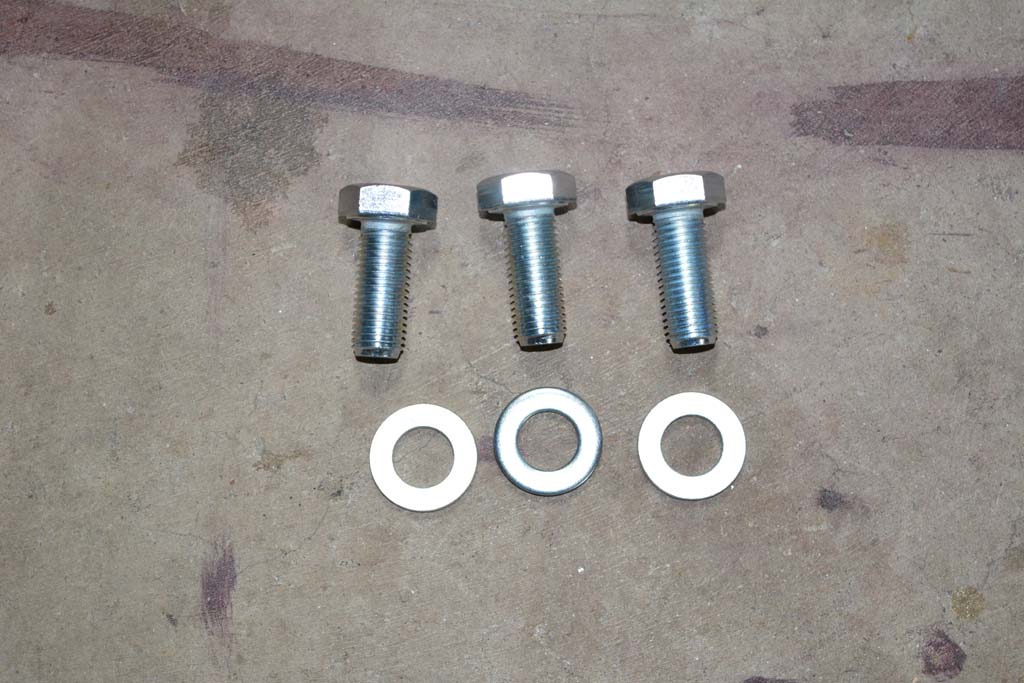
| The instructions say that it comes with two 7/16" bolts, washers and nuts, and one 3/8" bolt, washers and nuts. That is not what was in the package. More like three 7/16" bolts, washers and nuts, and two mystery washers. I suspect that the mystery washers are for the manual transmission skid where it bolts to the transmission mount. Waiting to hear back from EVO? |
 |
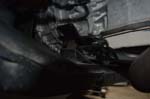
| 1. Remove the factory transmission skid or bar by removing the 3 bolts with an 18mm socket and ratchet. |
 |
 |
 |
| 2. Remove the factory transfer case skid by removing the 4 bolts with an 18mm socket and ratchet. |
 |
 |
 |
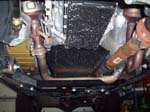
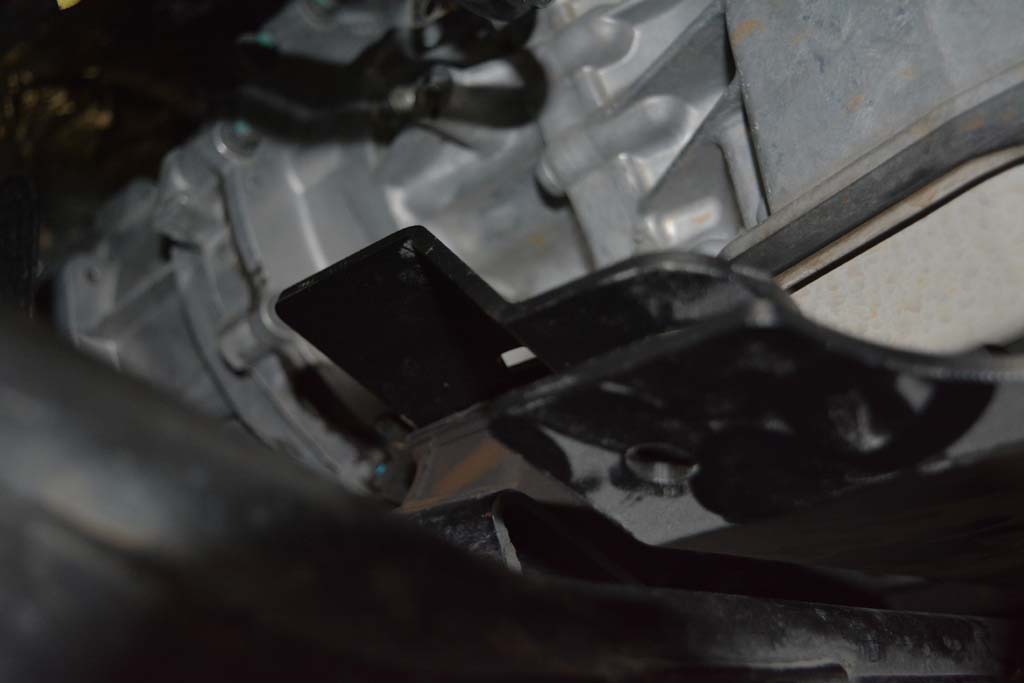
| Now you have plenty of room to work on the transmission mount. Besides you kind of need to take them off if you are installing the EVO exhaust skid. |
 |
 |
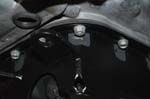
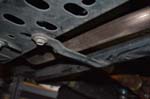
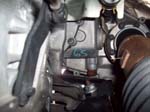
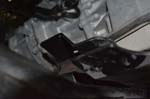
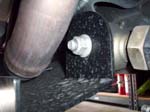
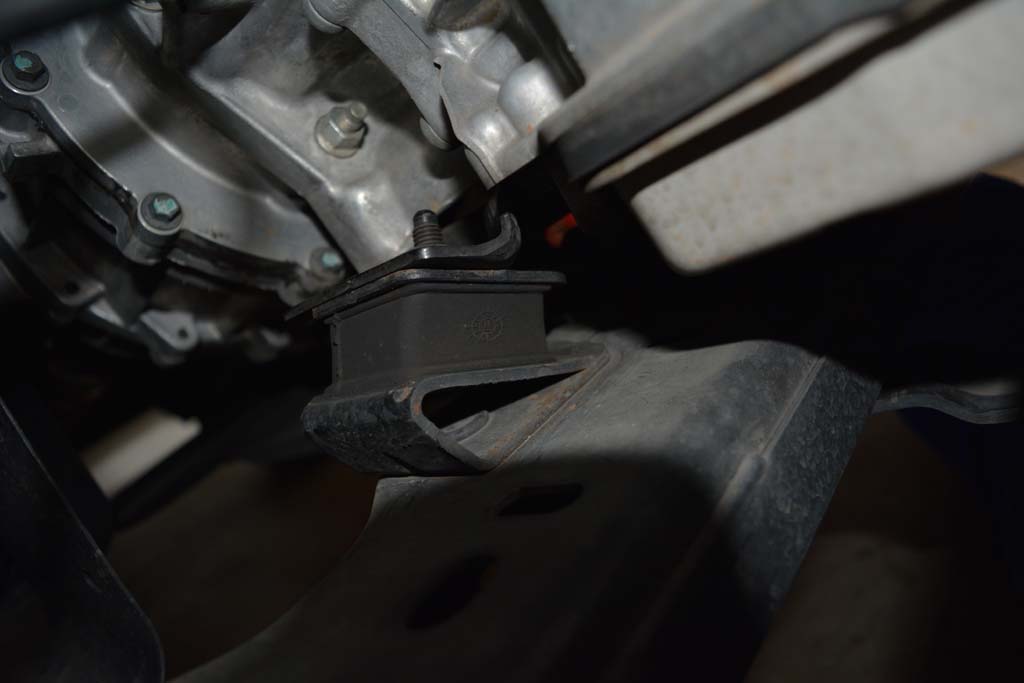
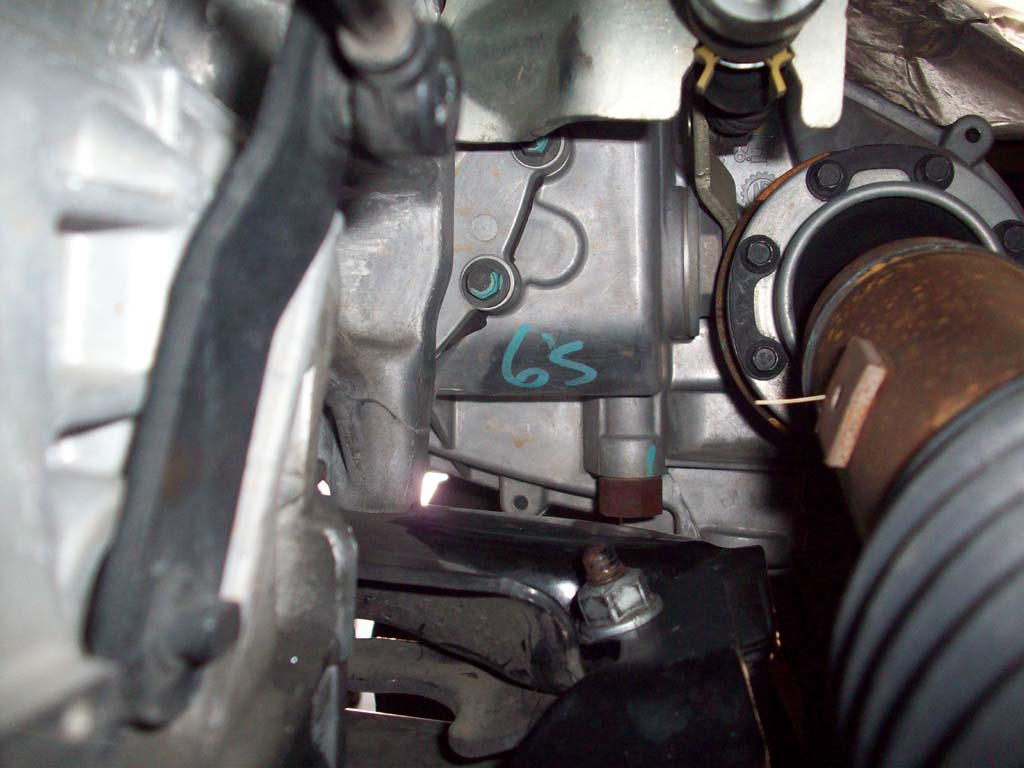
| 3. Find and remove the two nuts from the transmission mount. These are the ones on the studs sticking up from the rubber isolators and through the metal plate attached to the bottom of the transmission. You will need a 16mm combo wrench (gear wrench works well) for the passenger side, and either the same, or a deepwell 16mm socket for the driver side. The ratchet should just clear the exhaust, but either way it's a really tight fit on this side. I found the ratchet worked better. If you have an auto, check to see if you can get the skid in over the exhaust and onto the stud like step 5. That way you don't have to jack up the transmission at all. |
 |
 |
4. For Manuals: you would now slide the skid plate over these two studs via the slots cut in the manual skid plate and then skip down to step 8. Sorry no pictures until I get to do a manual transmission.
For Autos: Use a floor jack lift the transmission case about 1/2", so that the studs are just protruding past the transmission mount plate. DO NOT JACK THE TRANSMISSION UP PAST THE STUDS. If you do by accident, you can push the studs back into the holes in the transmission mount plate with a prybar and gentle taps with a screwdriver and hammer. Be careful of the threads. |
 |
|
DO NOT DO THIS!
It is a pain to get the studs back in the plate and you may end up with vibrations.
|
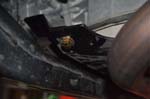
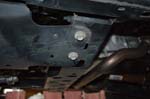
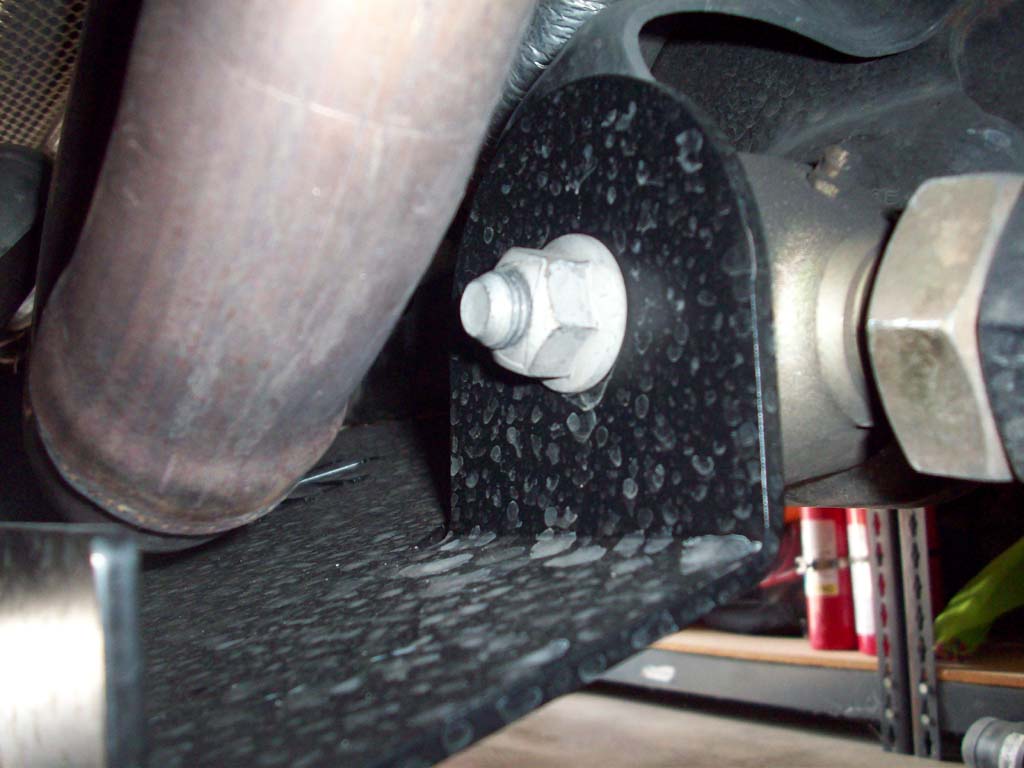
| 5. Now that you have clearance to slide the Auto's skid plate into position, carefully slide the EVO skid on to the stud on the driver side. Make sure the hole in the skid is lined up with the stud on the transmission. Slowly lower the transmission down. I screwed the nut onto the driverside transmission mount to hold the skid in place. |
 |
 |
 |
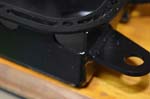
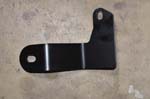
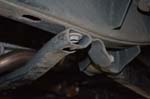
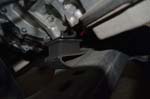
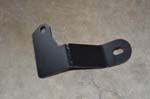
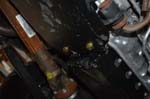
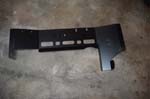
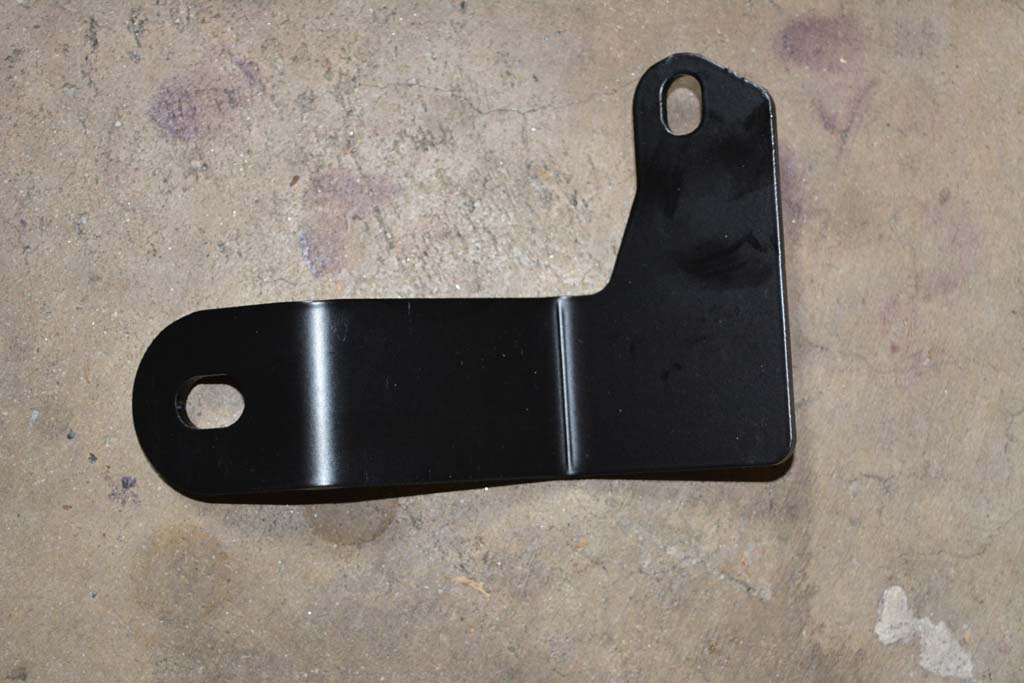
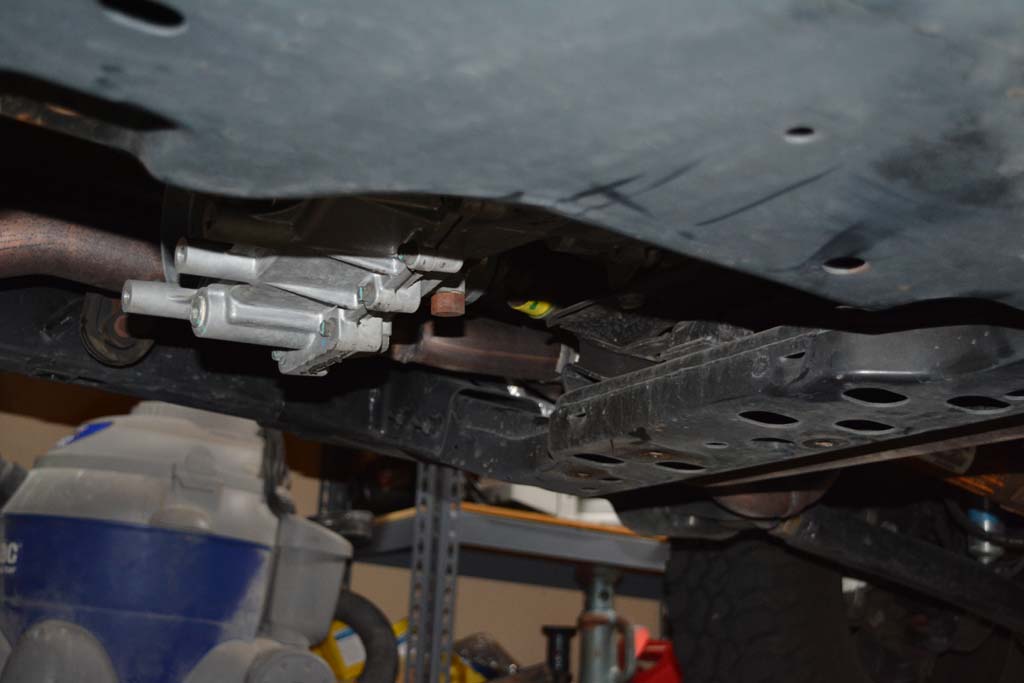
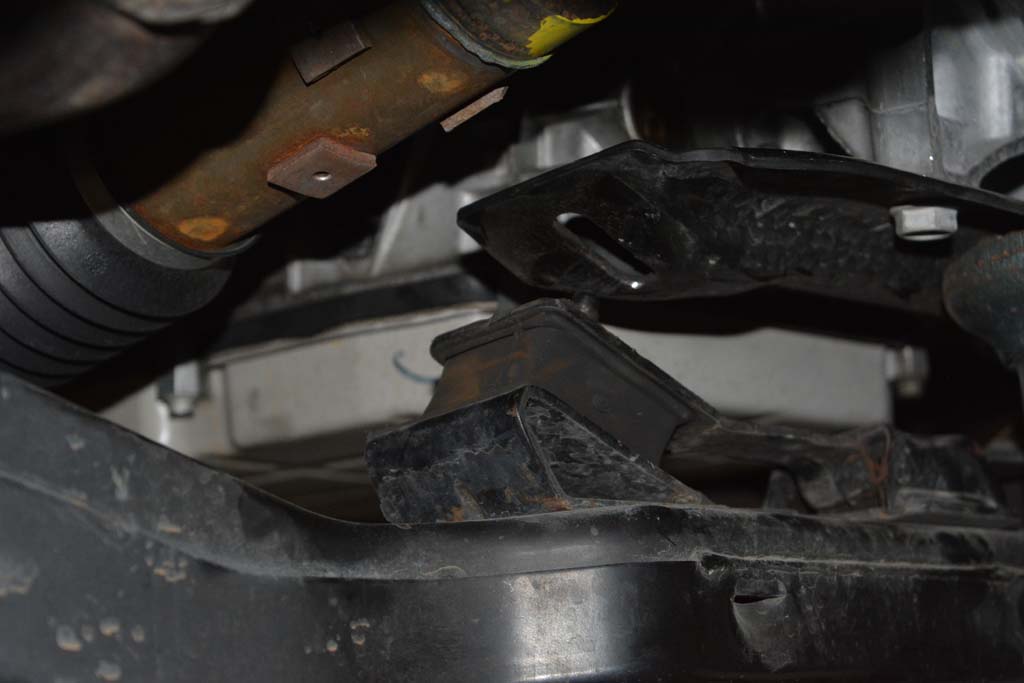
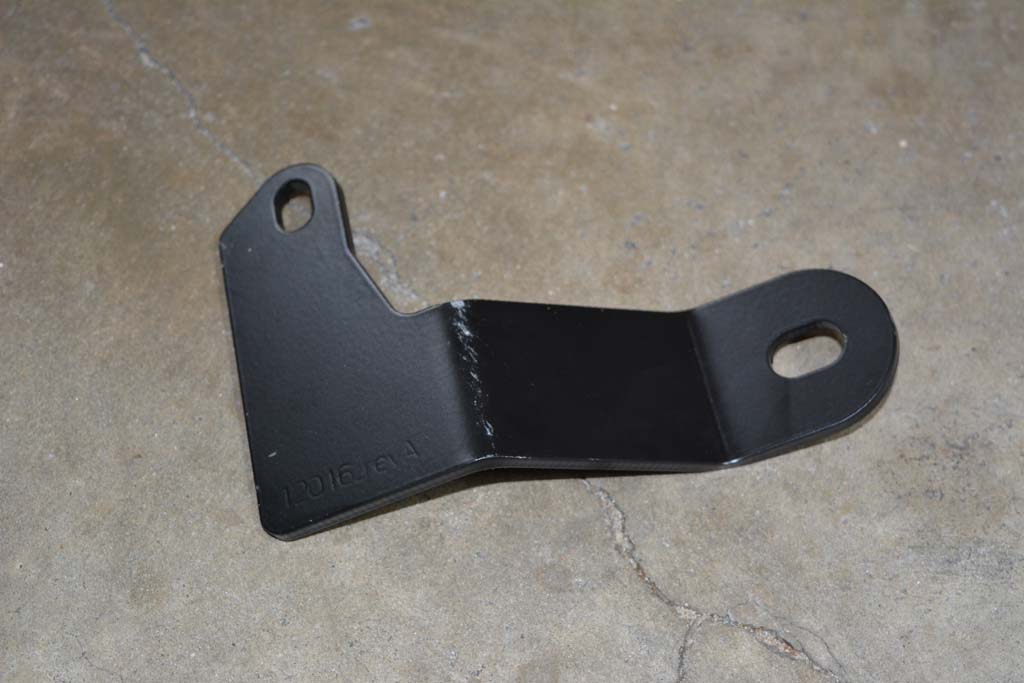
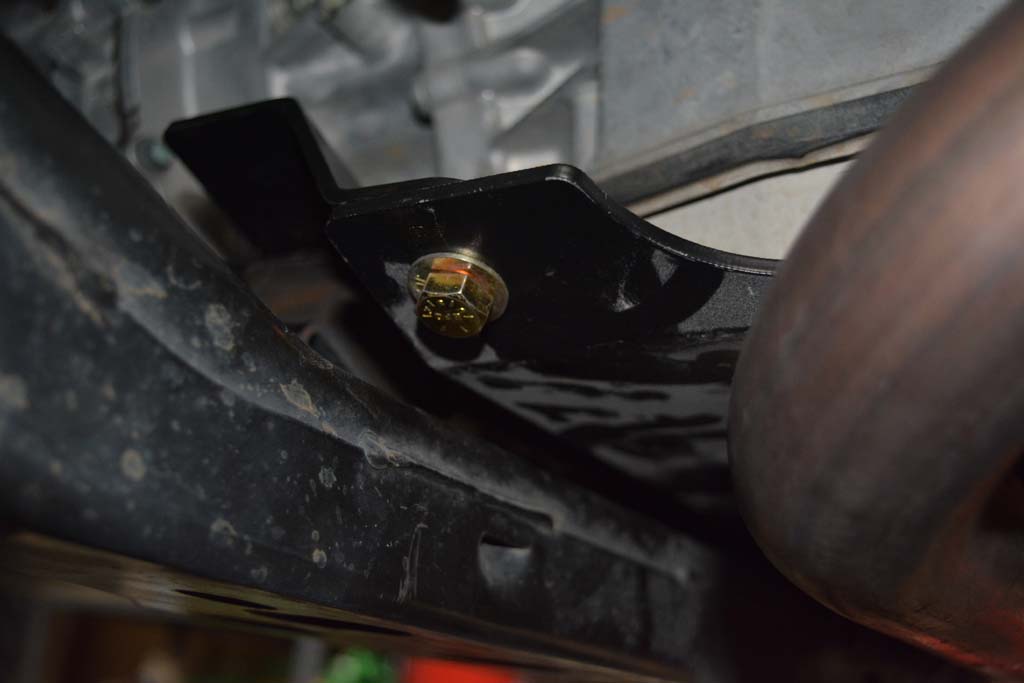
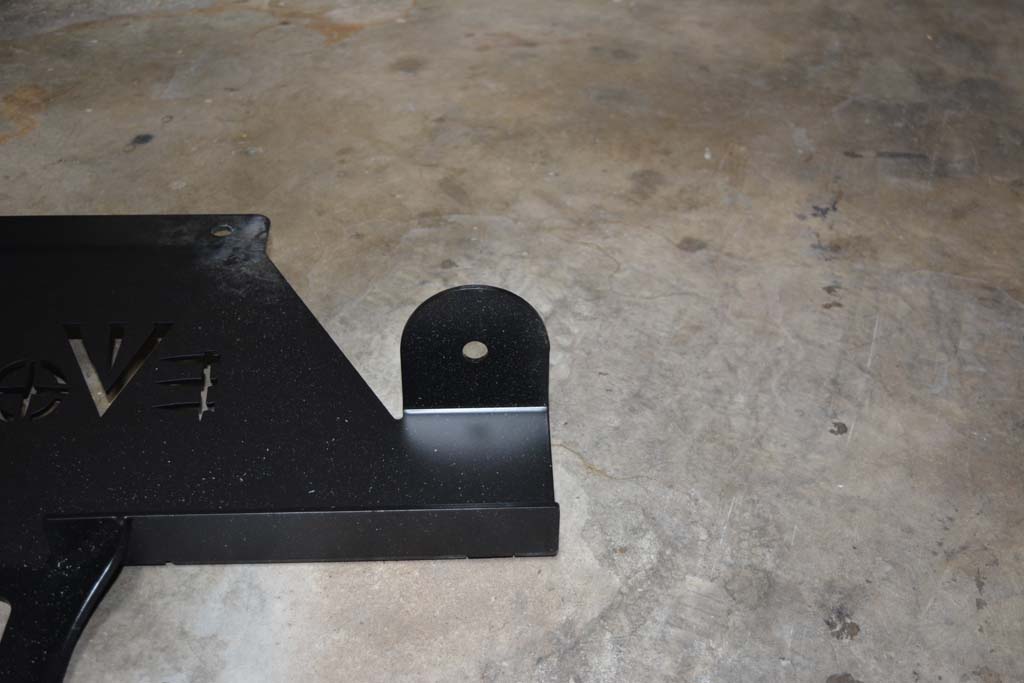
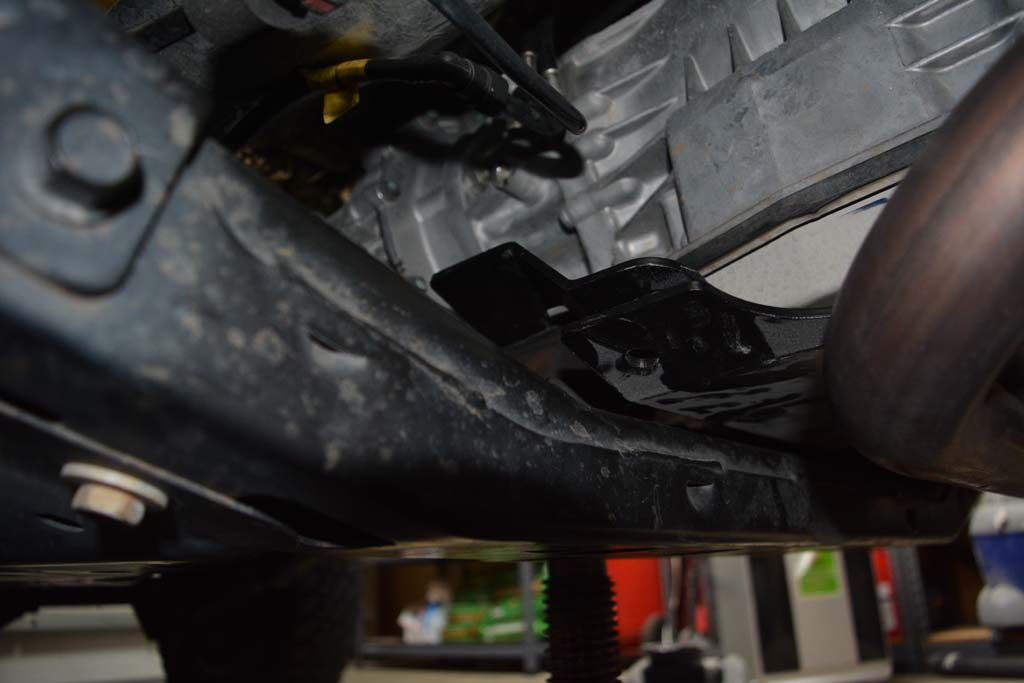
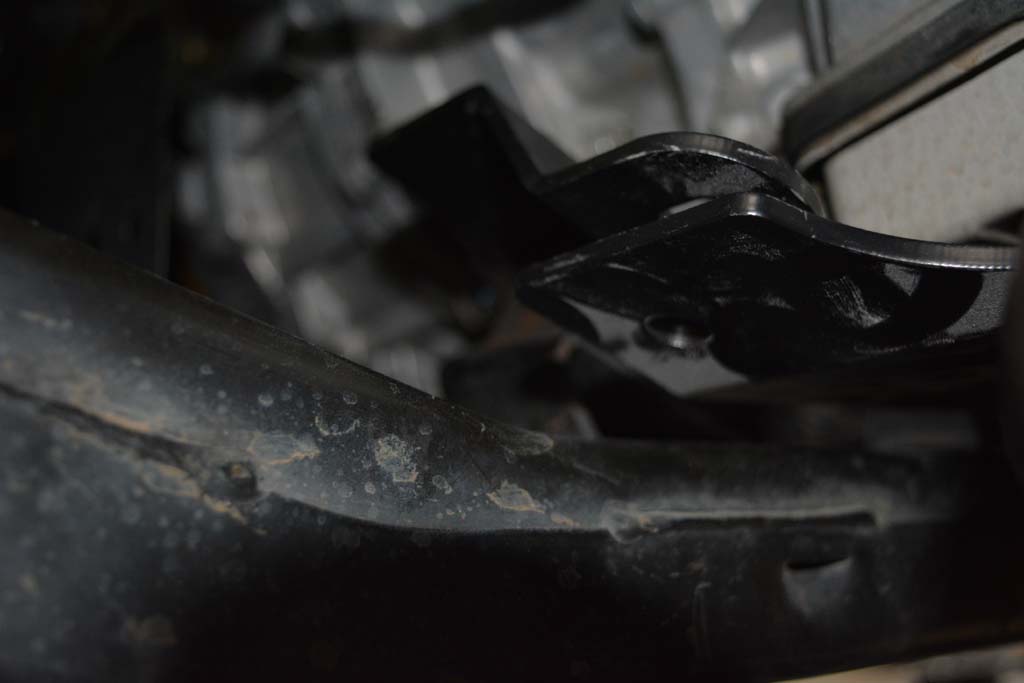
| 6. On the passenger side install the bracket for the Auto's transmission skid. The bracket looks like a bent "L". The short leg goes on the transmission mount stud and the long leg goes towards the front of the Jeep with the bend going down. Install the Factory nut onto the transmission mount stud to hold the bracket in place. |
 |
 |
| 7. Secure the bracket to the transmission skid using a 7/16" bolt, 2 washers and a nut. Do not tighten yet. |
 |
 |
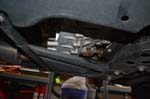
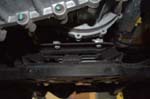
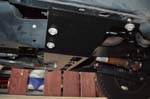
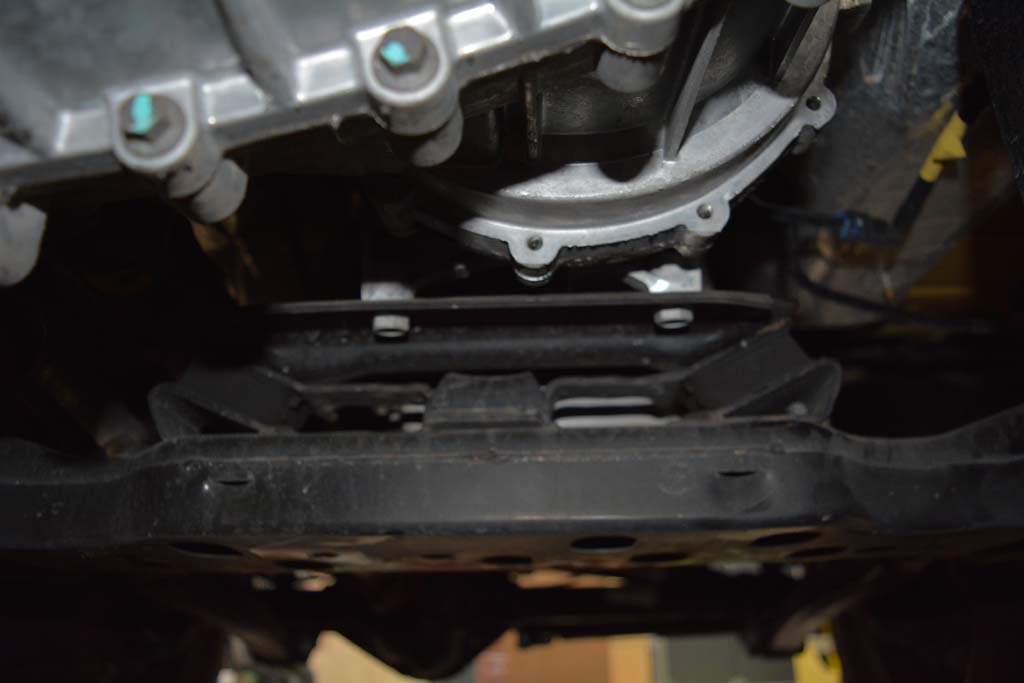
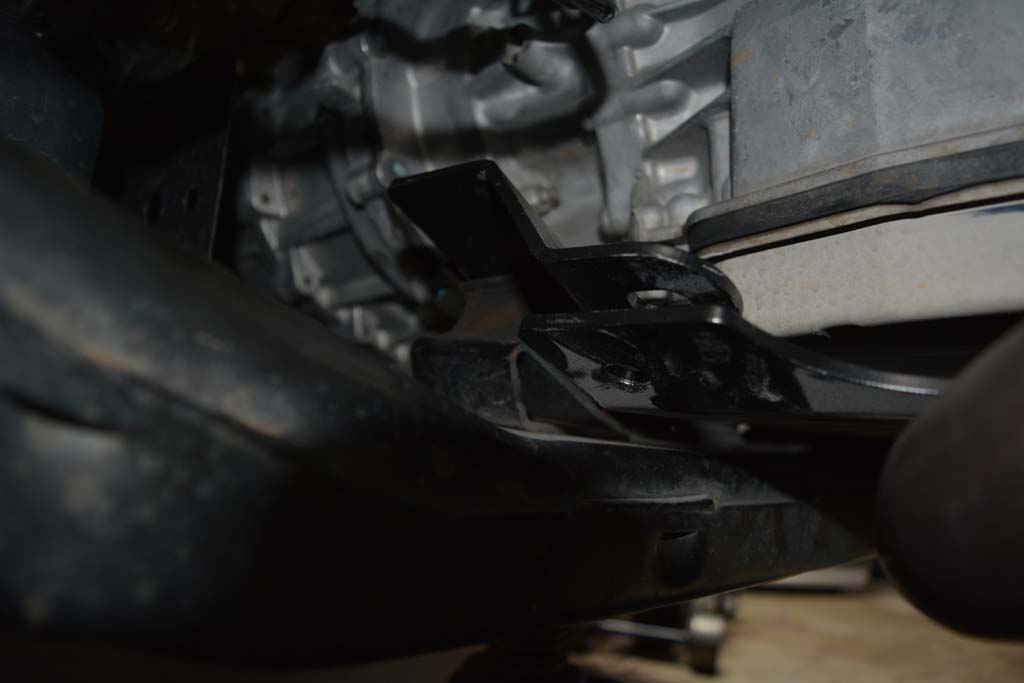
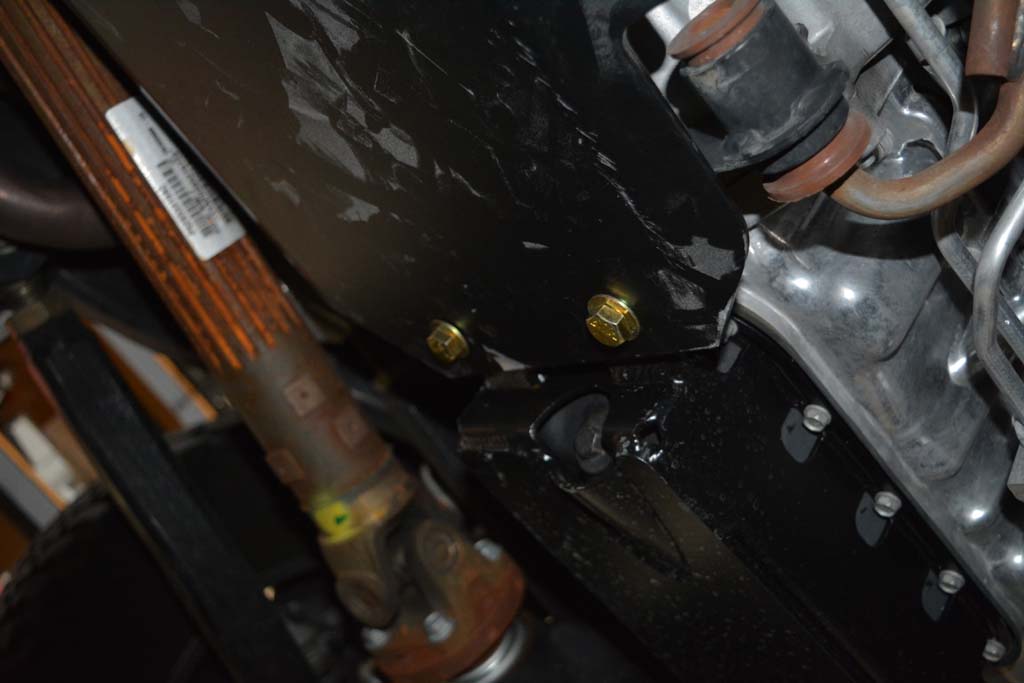
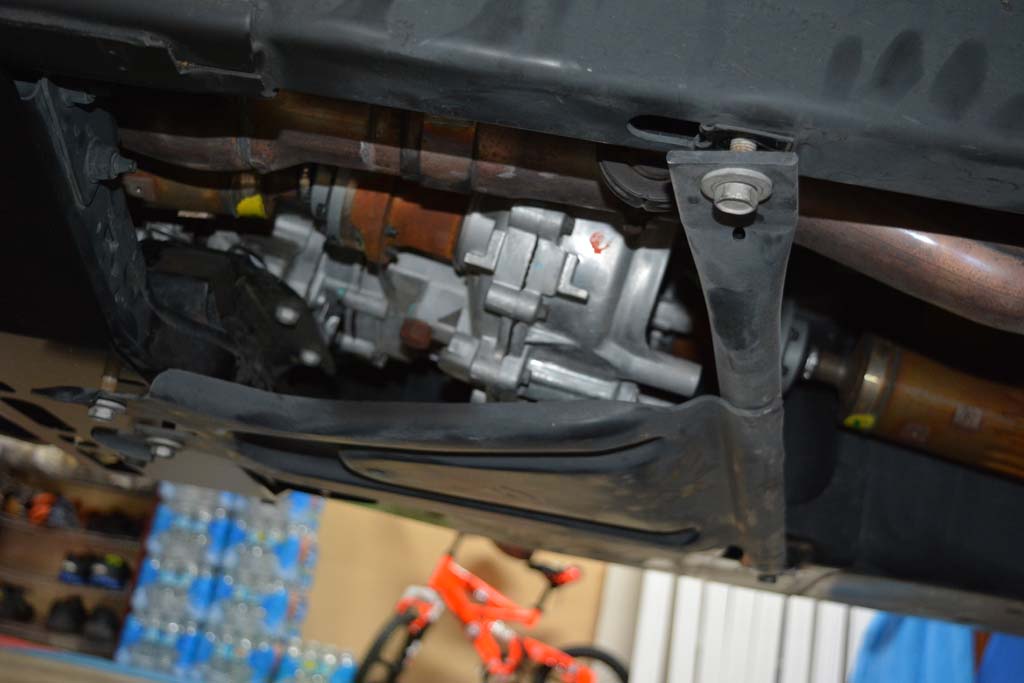
| 8. Secure the skid plate to the oil pan skid using two 7/16" bolts, 4 washers and 2 nuts. The transmission skid should sit below the tabs on the oil pan skid. Do not tighten yet. |
 |
| 9. Tighten all of the bolts. You will need a 11/16" combo wrench and 5/8" socket for the 7/16" bolts and nuts. You will need a 16mm combo wrench and 16mm deepwell socket for the factory transmission mount nuts. |
| I snugged up the transmission mount nuts first, then tightened the transmission mount to oil pan skid bolts, then the passenger side bracket bolt, and finally the factory transmission mount nuts. |
 |
| |
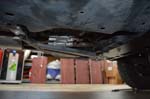
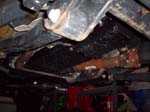
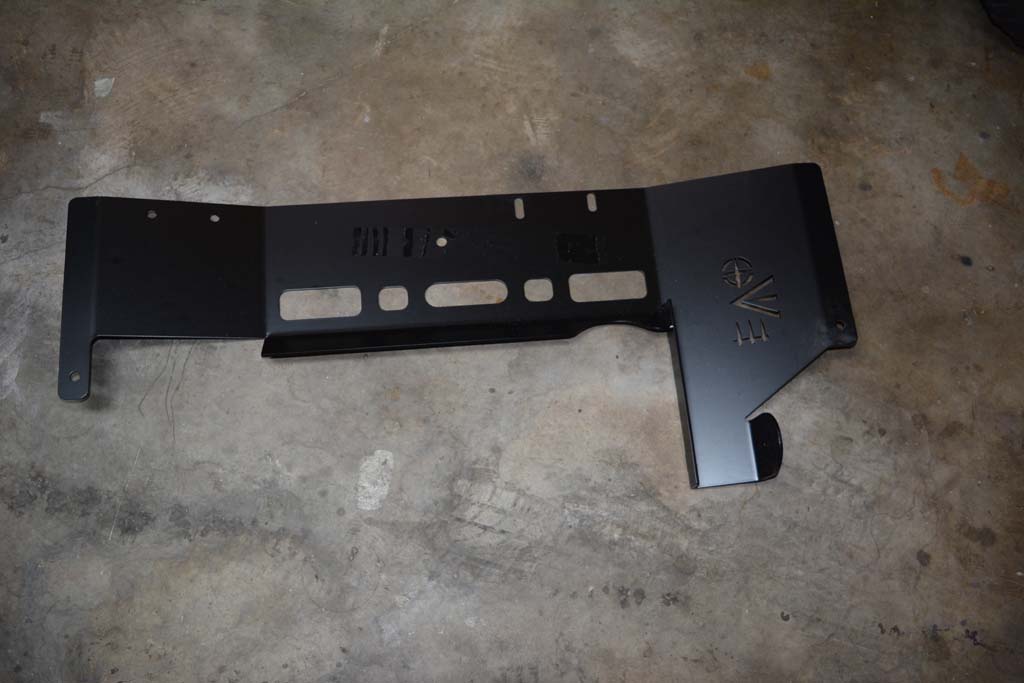
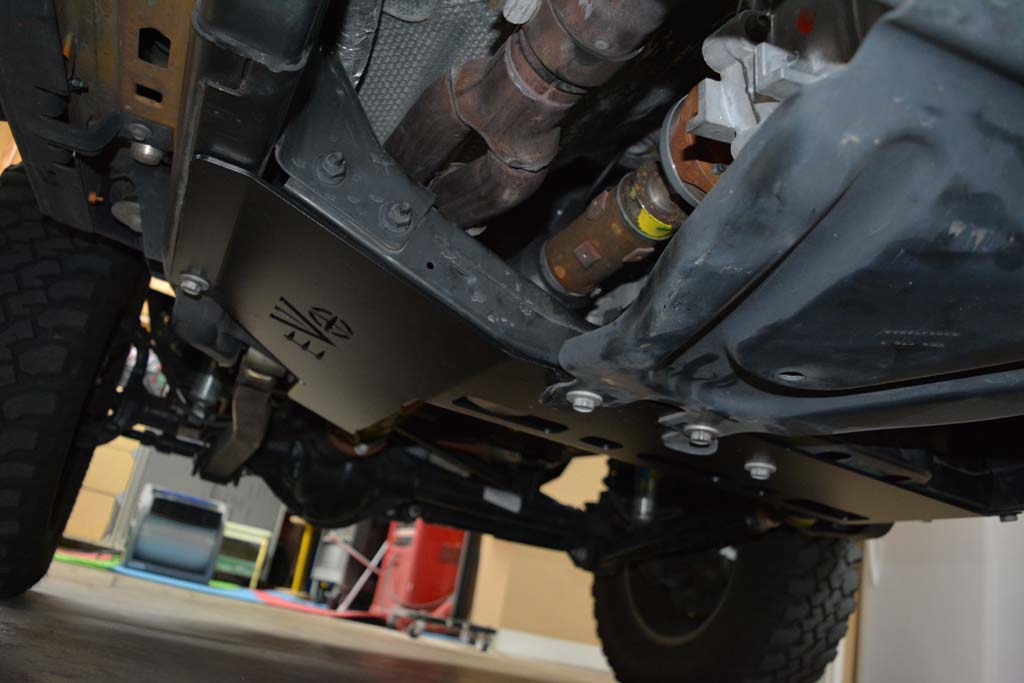
| EVO-1093 JK Transmission Crossmember and Exhaust Skid Installation: |
| Note: If you already removed the transmission skid/bar and the transfer case skid previously, just go find where you put the bolts, you will need them. Skip to step 3. |
 |
 |
| 1. Remove the 4 bolts holding the factory transfer case skid plate. Two on the center of the transmission cross member, 1 on the gas tank and 1 on the driver side frame with an 18mm socket. |
|
|
|
| 2. Remove the 3 bolts holding transmission skid plate/bar. One on each frame rail, and one on the transmission cross member with an 18mm socket. |
|
|
|
| 3. Remove the 2 bolts from the gas tank skid to transmission cross member. You will need an 18mm socket. |
 |
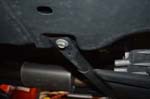
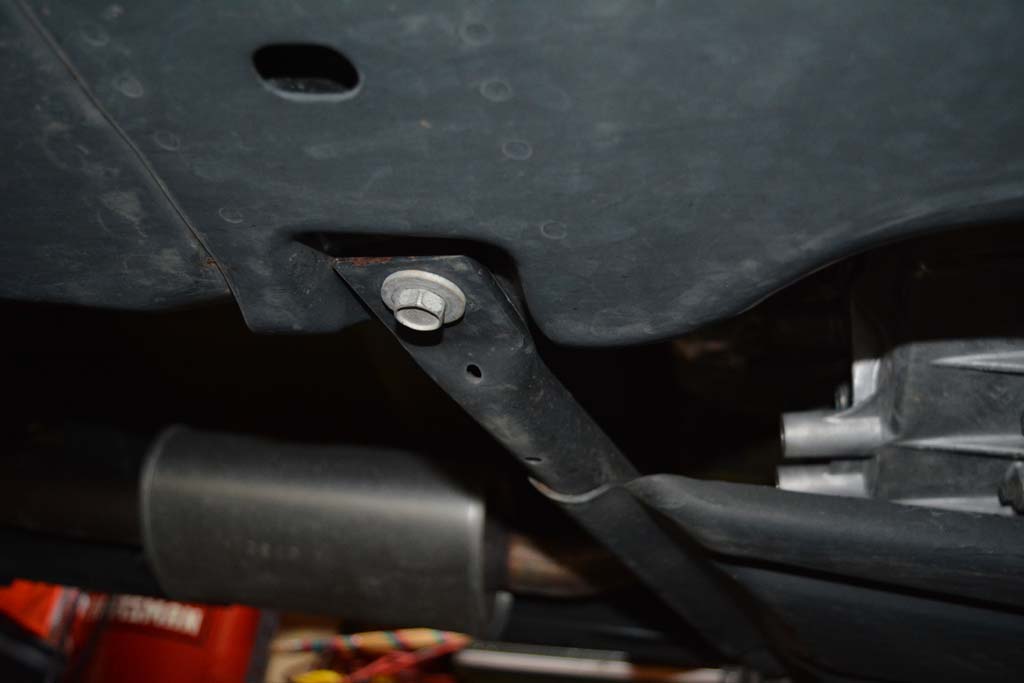
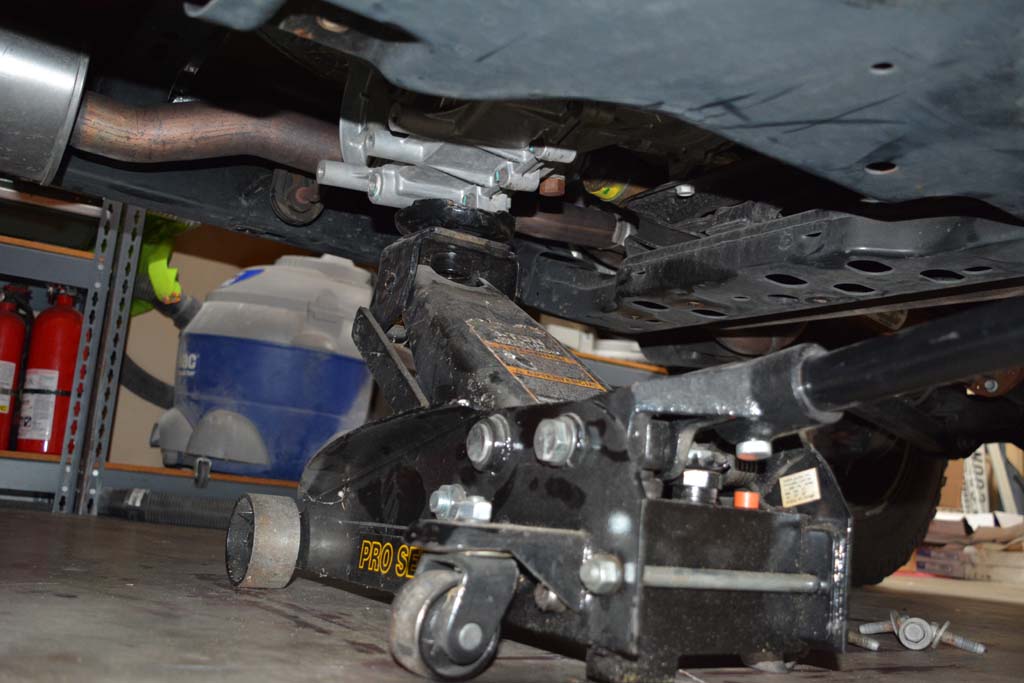
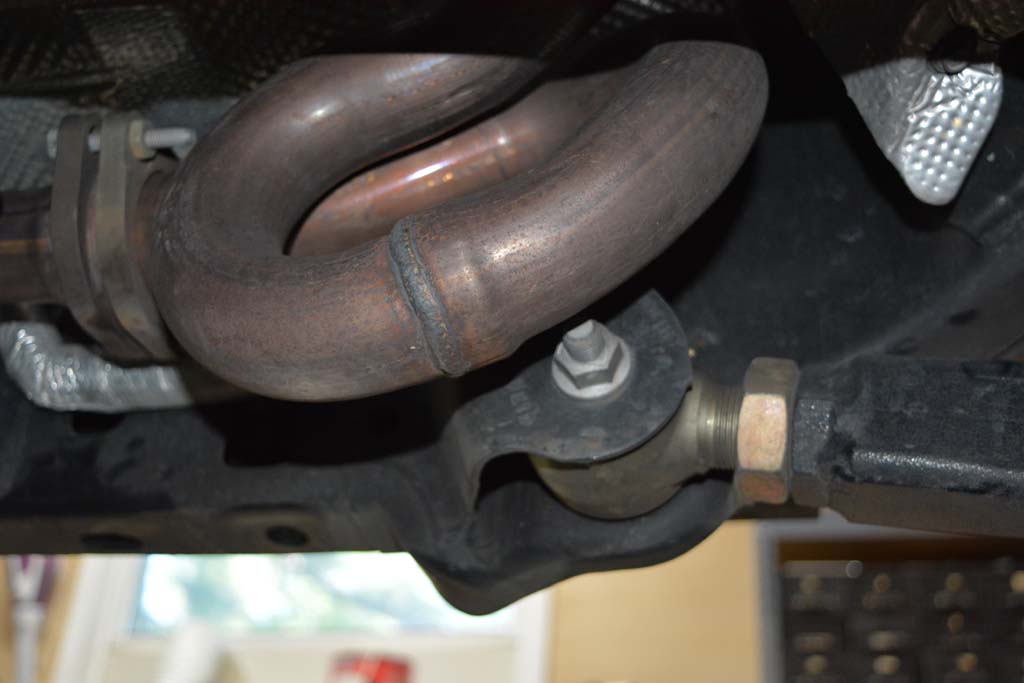
| 4. Remove the nut from the driverside lower control arm frame mount. Do not remove the bolt. You will need a 21mm combo wrench and socket. |
 |
| 5. Slide the rounded tab on the end of the skid over the end of the bolt on the lower control arm, and thread the 2 bolts you just removed from the gas tank skid through the EVO skid, gas tank skid and back into the transmission cross member. |
 |
 |
 |
| 6. Install the nut back onto the lower control arm bolt, but do not tighten. We need to get all of the other bolts in place first. |
 |
| 7. Reinstall the transfer case skid with the 4 bolts you removed earlier. Do not tighten. |
 |
 |
 |
| 8. Install the 3 bolts you removed from the factory transmission skid/bar. EVO provided bolts and washers if yours did not come with a factory skid/bar in this position. |
|
 |
 |
 |
| 9. Snug up the lower control arm nut. You will need a 21mm combo wrench and socket. |
| 10. Snug up all of the skid plate bolts. You will need an 18 mm socket. |
| 11. Tighten the lower control arm nut, then all of the skid plate bolts. |
| |
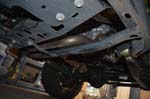
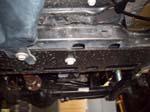
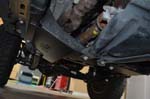
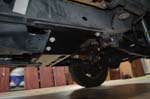
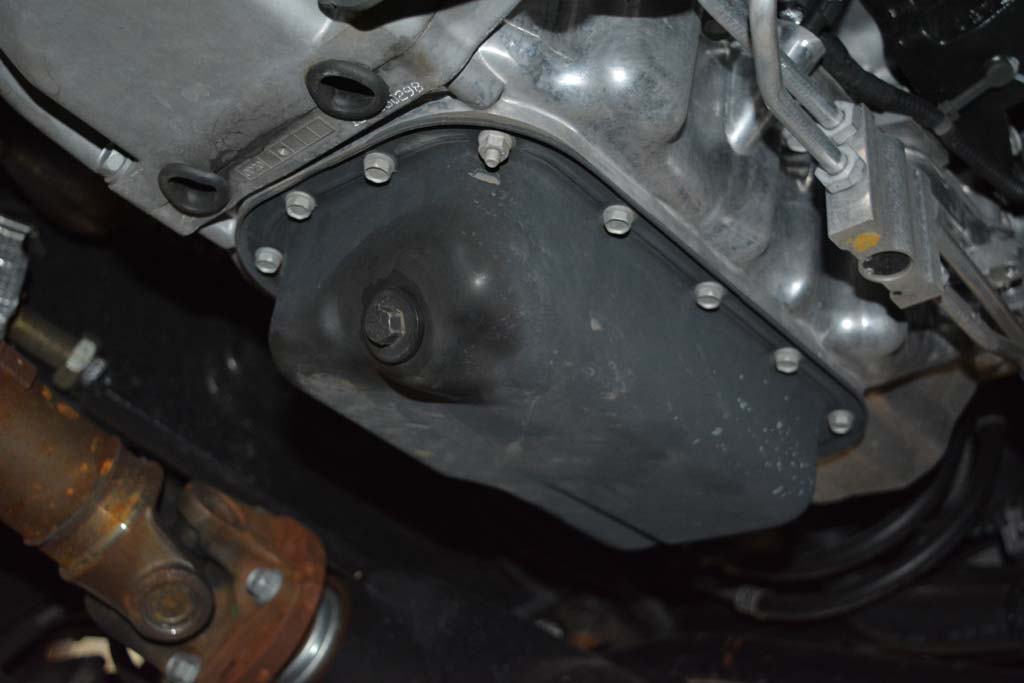
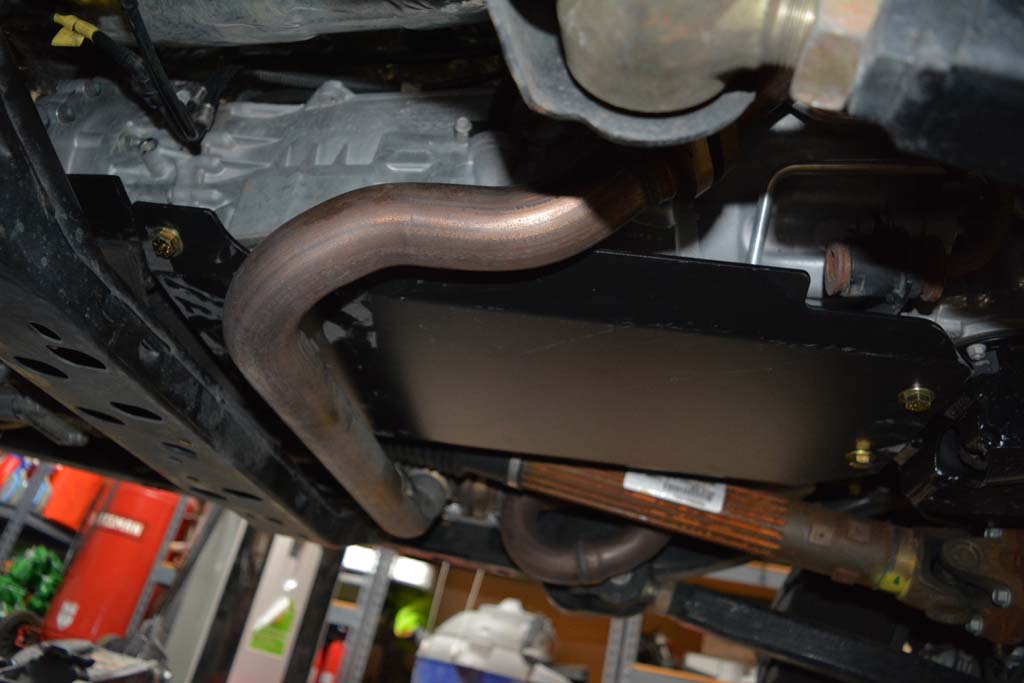
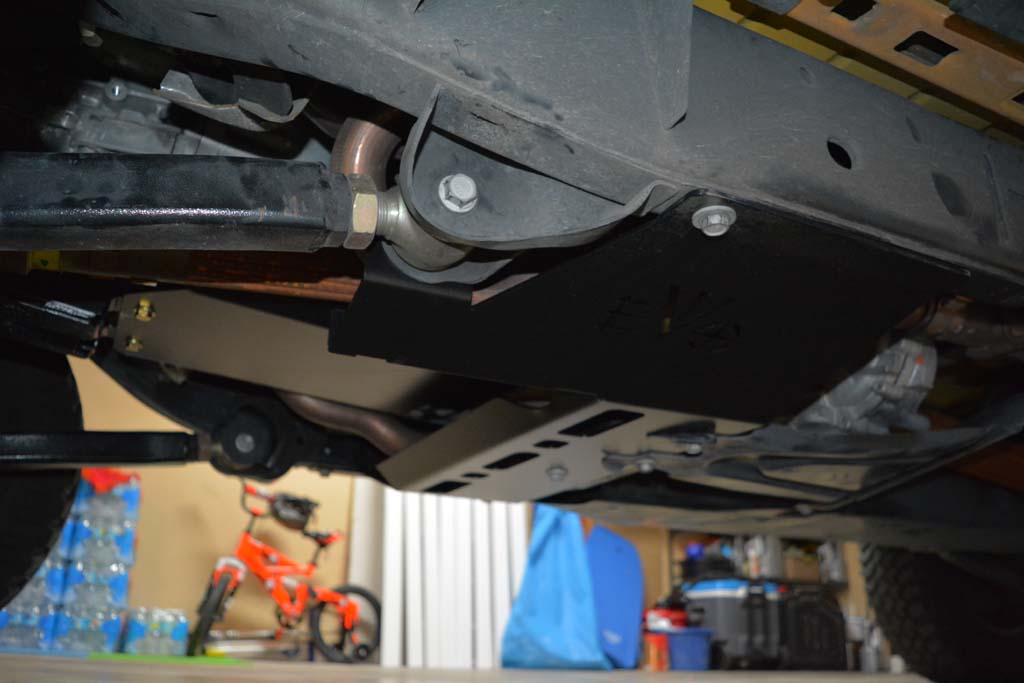
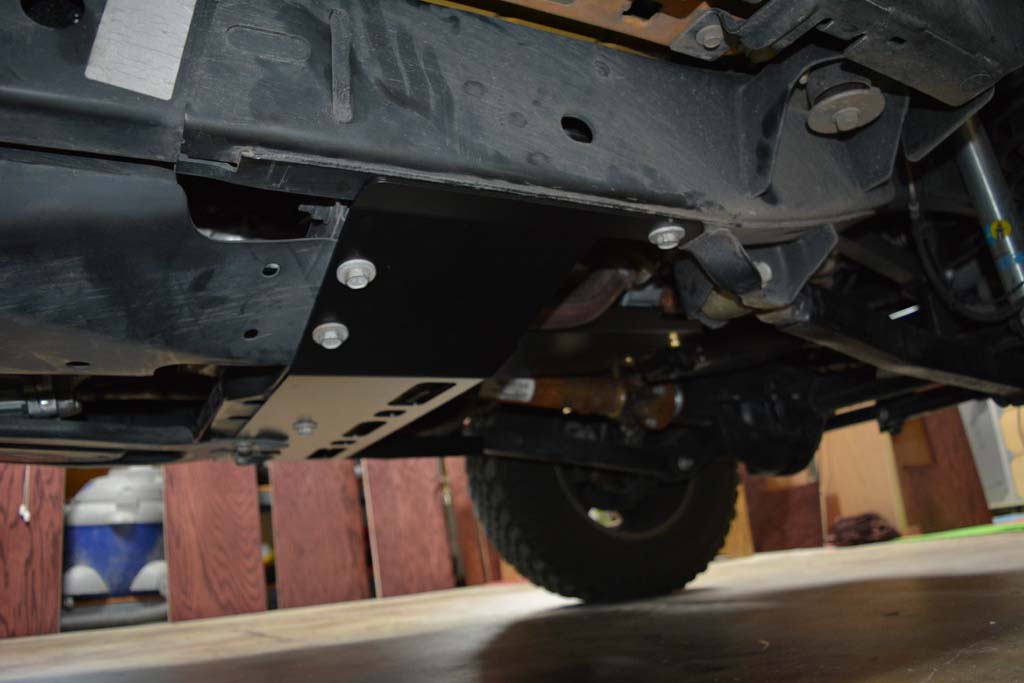
| Final Product: |
 |
 |
 |
|
 |
 |
 |
 |


