I used the JK for this one, but the older 4.0L in the LJ, TJ, etc.. is not very different. This is routine maintenance for your Jeep. Very simple and practically anyone can do it. Now there are a few advantages to taking it to a shop or the dealership to do. I would recommend the dealership over a local shop just for the simple fact that they use the (at last check) better oil filters and they get to see your Jeep more often and are sometimes easier to deal with for warranty work. Everyone has their choice in oil, I generally use Mobil 1 oil and a Mopar oil filter for the Jeep. If I don't have any of those I go with a Mobil 1 oil filter. I have been told that the Mobil 1 M1-209 is a higher capacity filter that fits the JK. I have not verified this.
| Change your oil: |
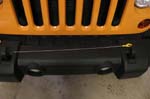
| 1. Park your Jeep in a level area and put it in park (auto) or in gear (standard), set the parking brake. Remember you are crawling under the vehicle and will be positioning your body behind one of the tires. |
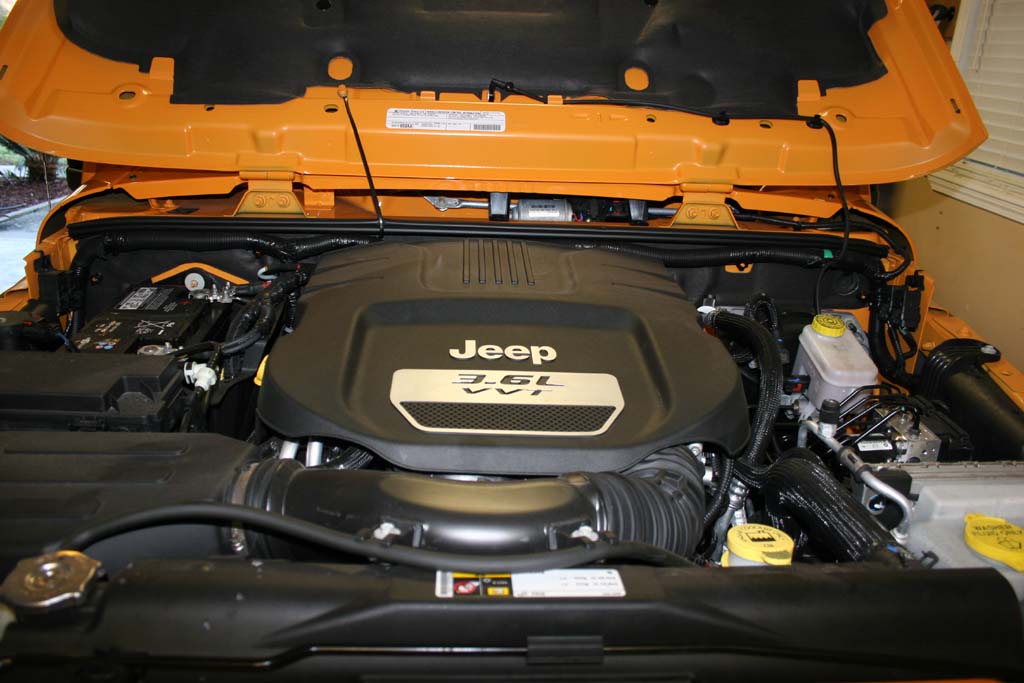
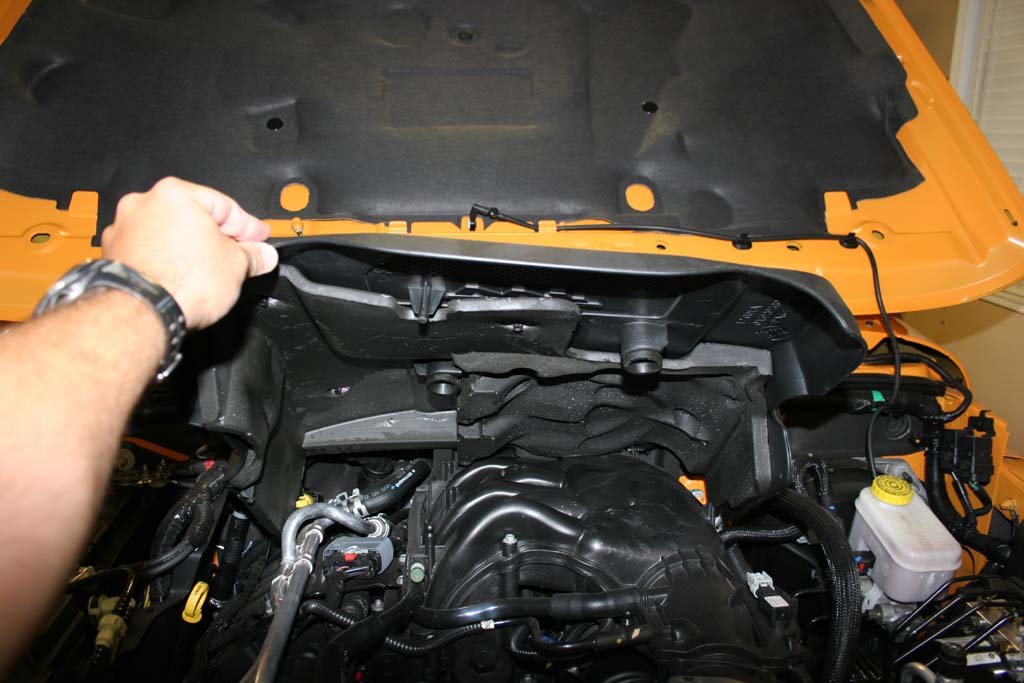
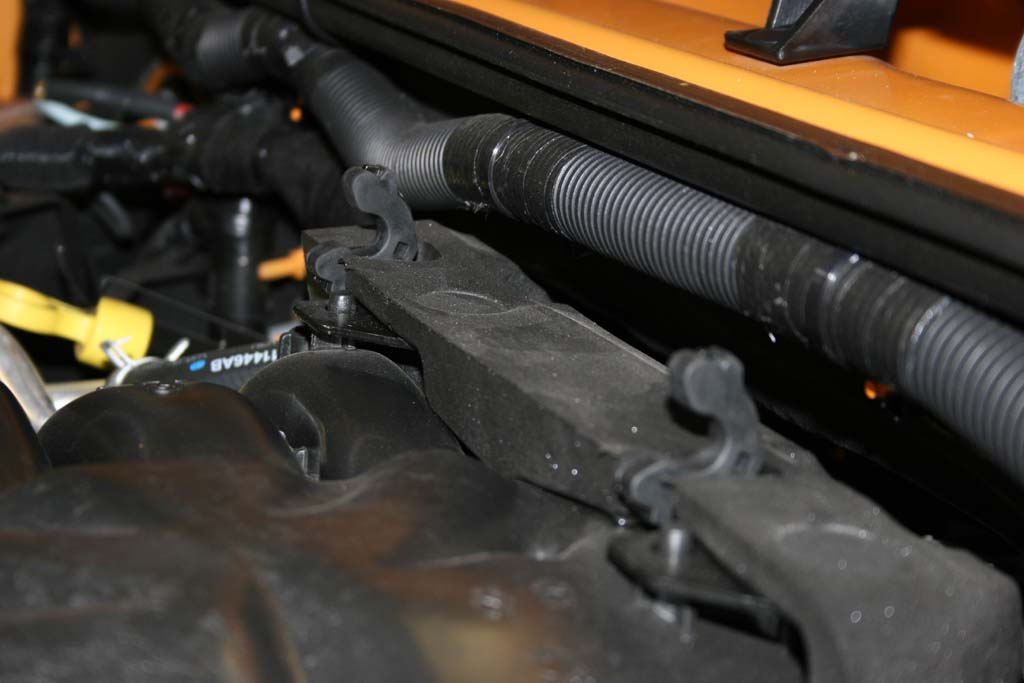
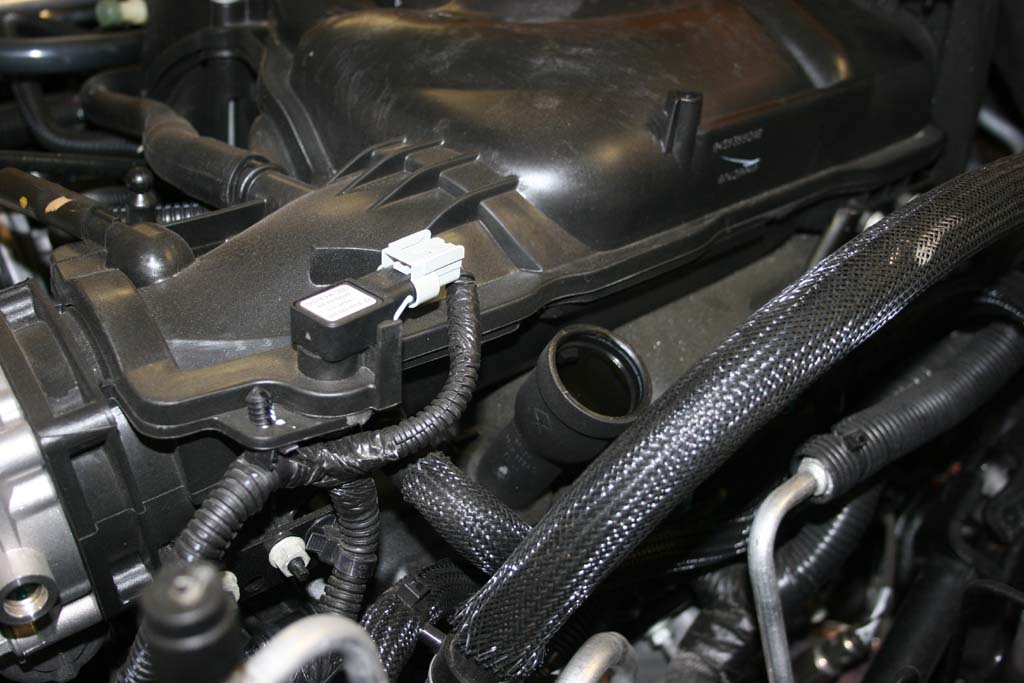
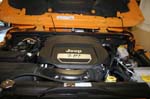
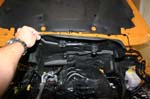
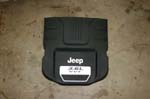
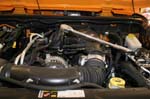
| 2. Remove the engine cover by lifting up in the front. After lifting it up pull the cover off the engine by pulling it forward. There are hinges on the rear of the cover that hold it in place. |
 |
 |
 |
 |
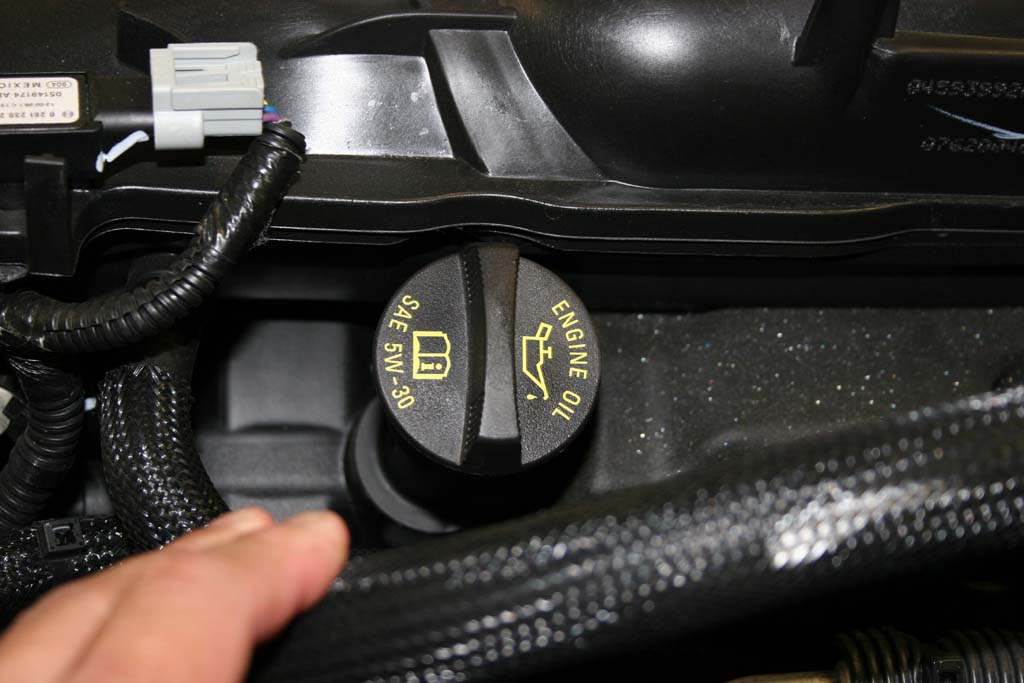
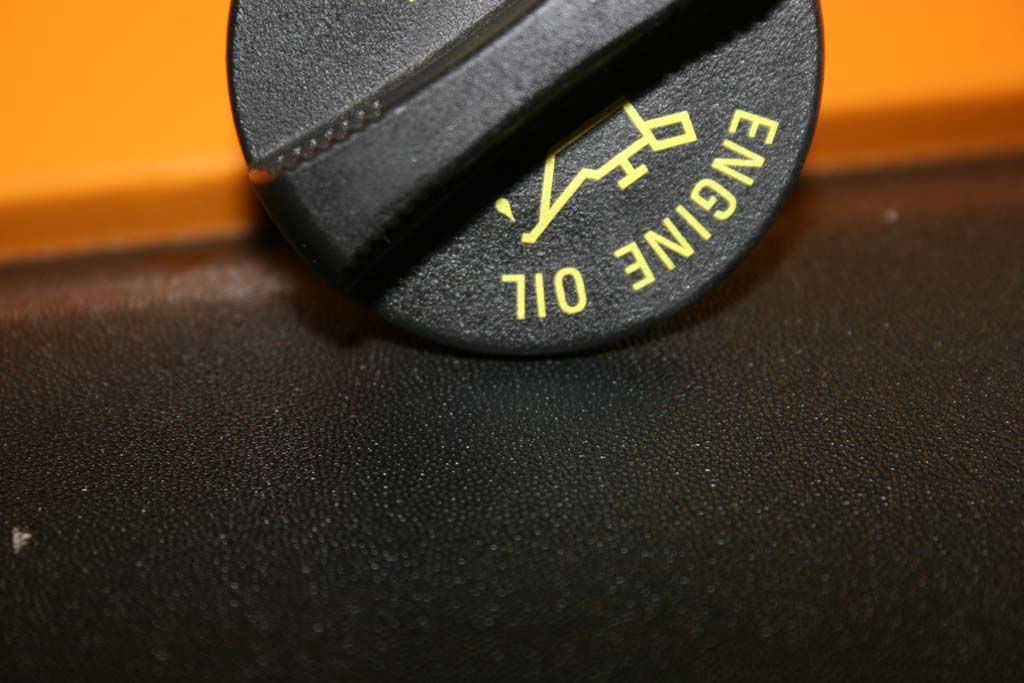
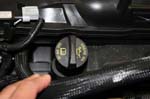
| 3. Wipe off the area around the oil fill. Remove the oil fill cap and clean it off also. |
 |
 |
| Note: It is an OIL not a 710 cap. If you remember the Joke. |
OIL |
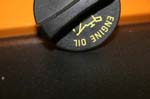
710 |
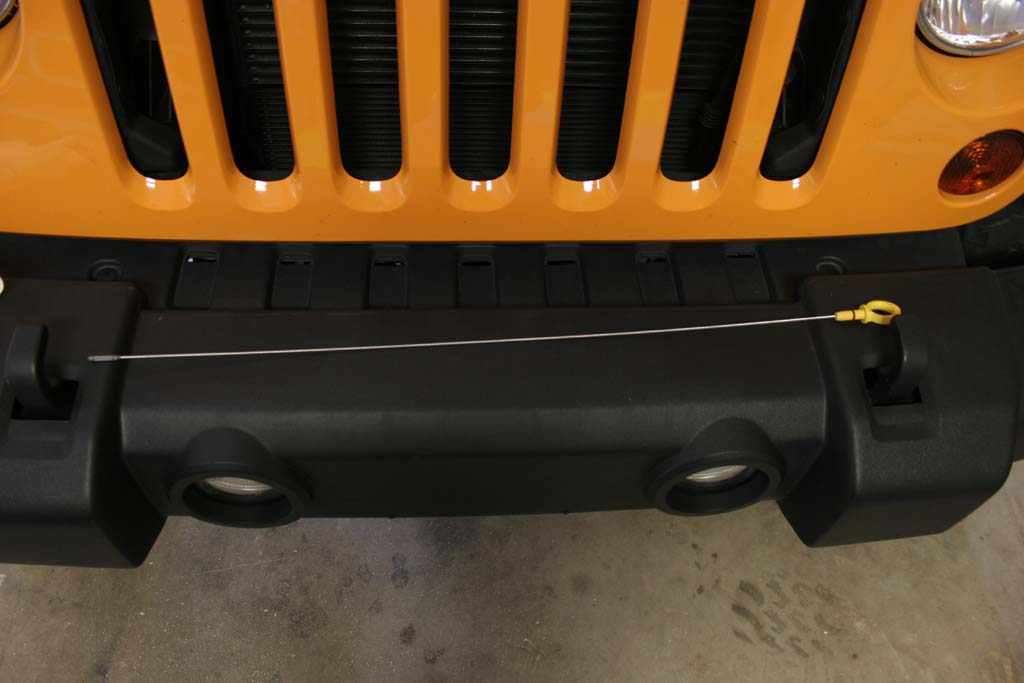
| 4. Wipe off the area around the oil dipstick. Remove the oil dipstick, wipe it off and put it somewhere safe. Most of us just throw it on the top of the grill by the radiator. Shutting the hood on the dipstick is not a good thing for the dipstick. |
 |
 |
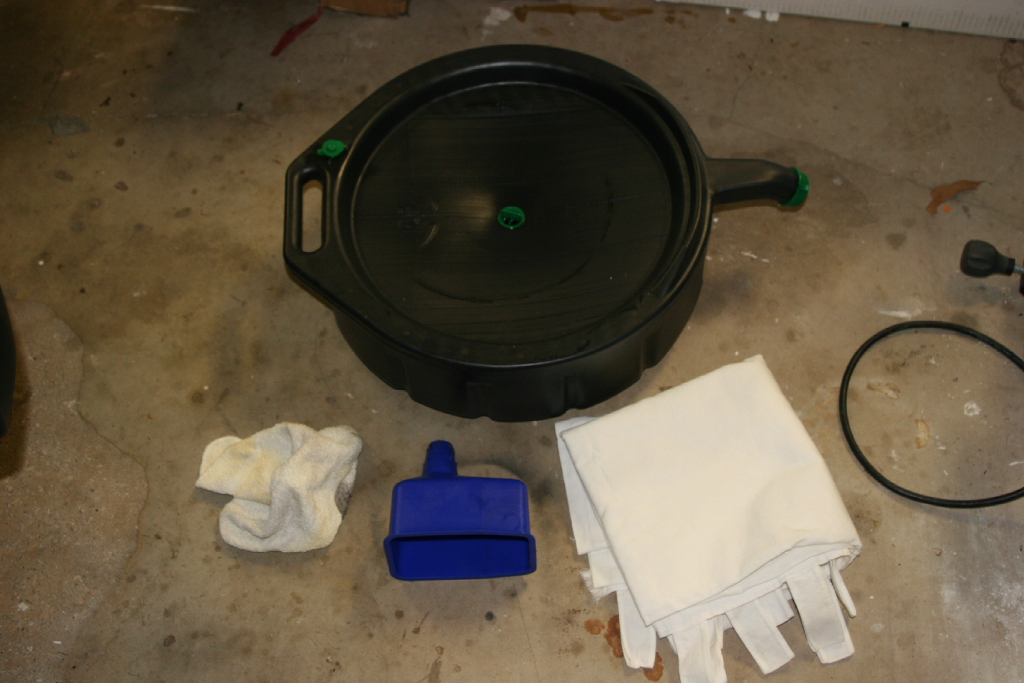
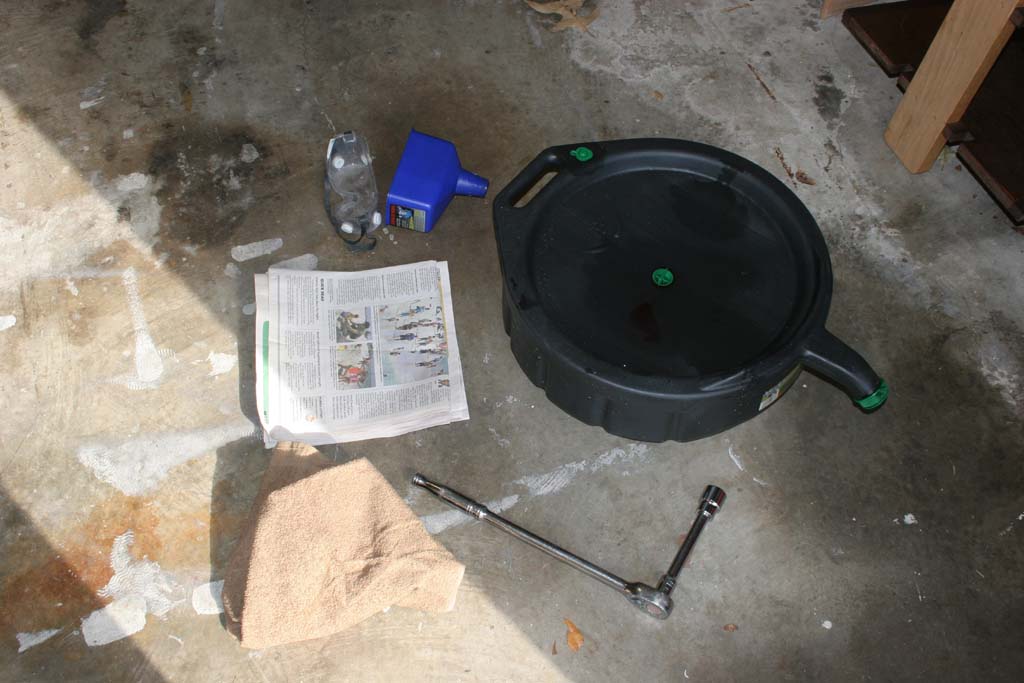
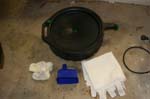
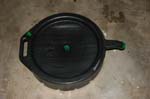
| 5. Gather up your supplies for draining the oil. Oil pan, rags, newspaper, or an old drop cloth and the fill funnel. You can throw in some rubber gloves also. I didn't take a picture of them. |
 |
 |
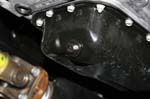
| 6. Wipe off the area around the oil drain plug. Lay out your newspaper or drop cloth, position the oil pan under the drain. Remember that the oil is going to flow out in an arc, so you don't want to center the pan under the plug, it should sit off center towards the rear. |
 |
 |
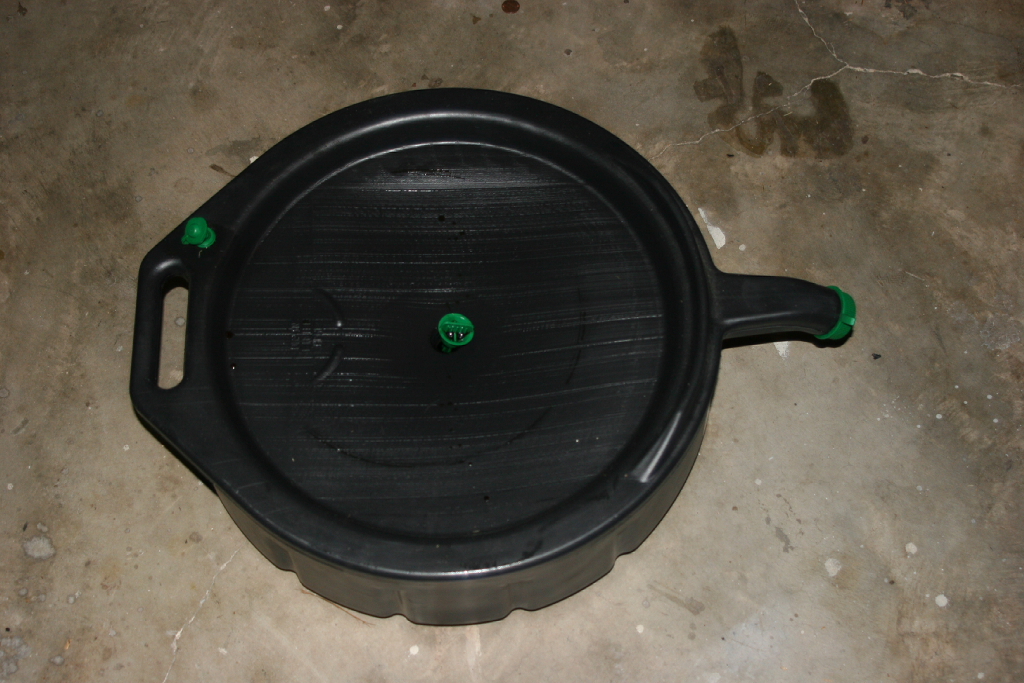
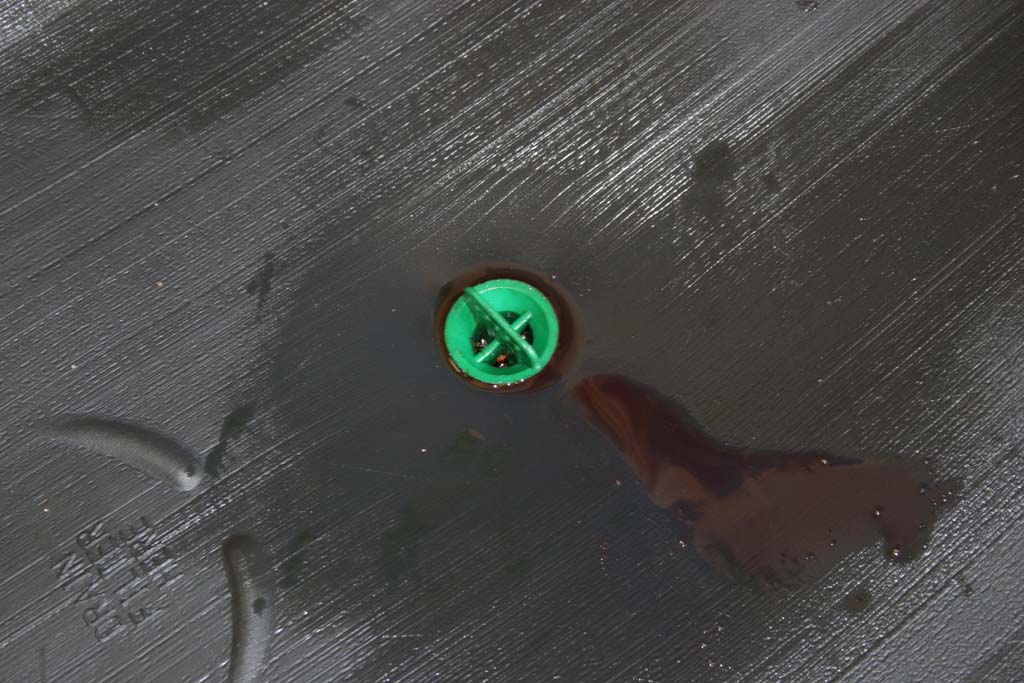
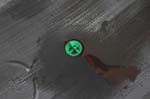
| Note: If your drain pan has a plug and a vent in it. It's a good thing to open both of these. Otherwise you will have a good use of the drop cloth or newspapers. Yes, I was not paying attention and left the drain in the center of the catch basin closed... |
 |
 |
 |
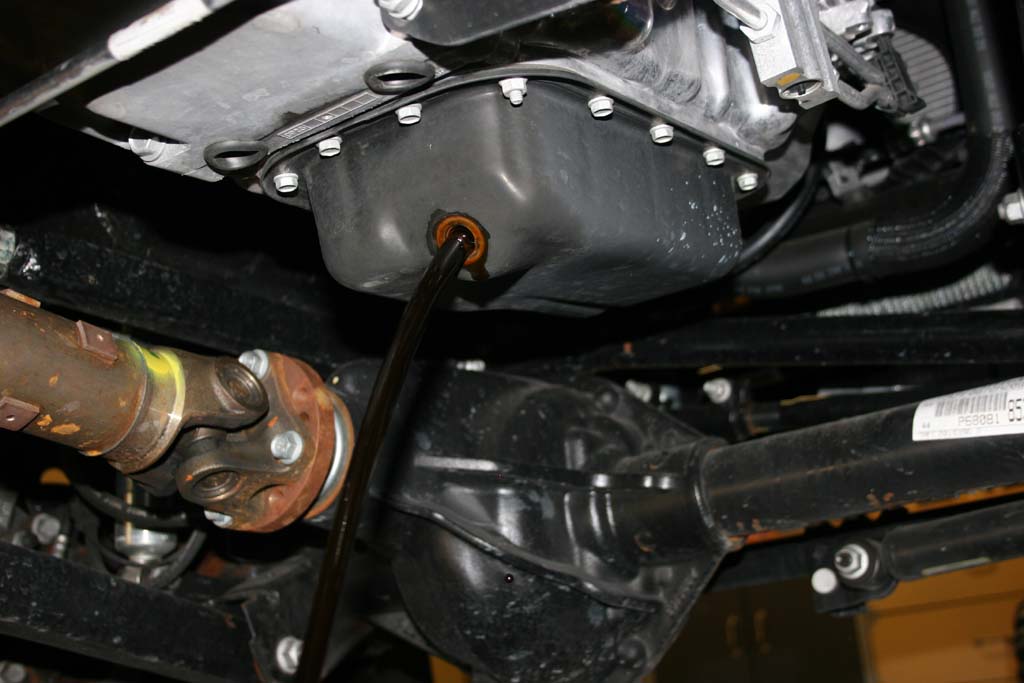
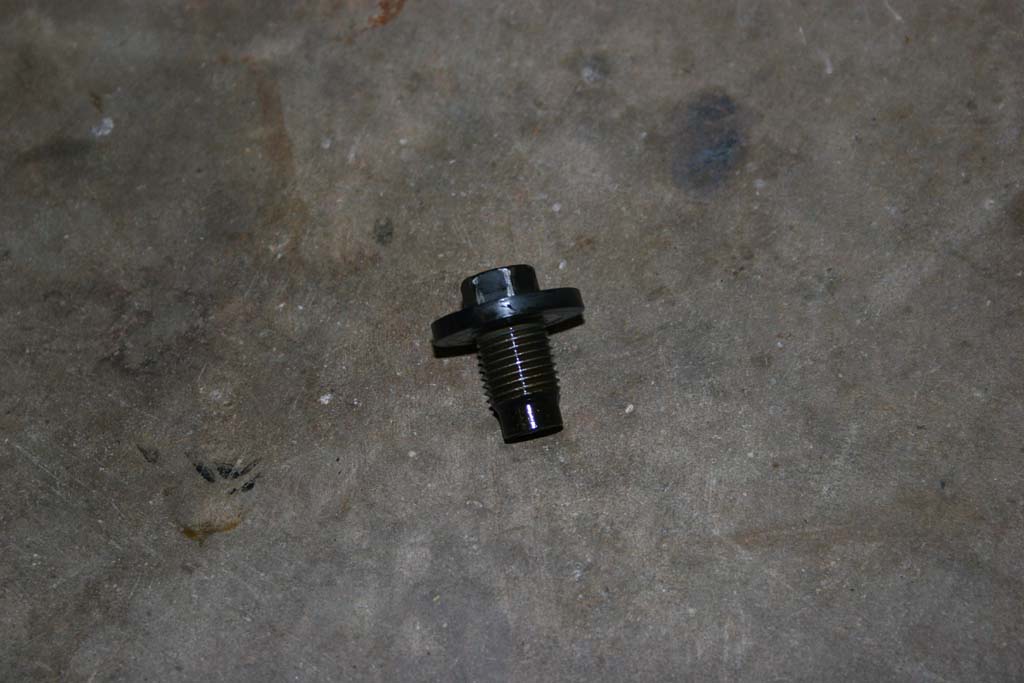
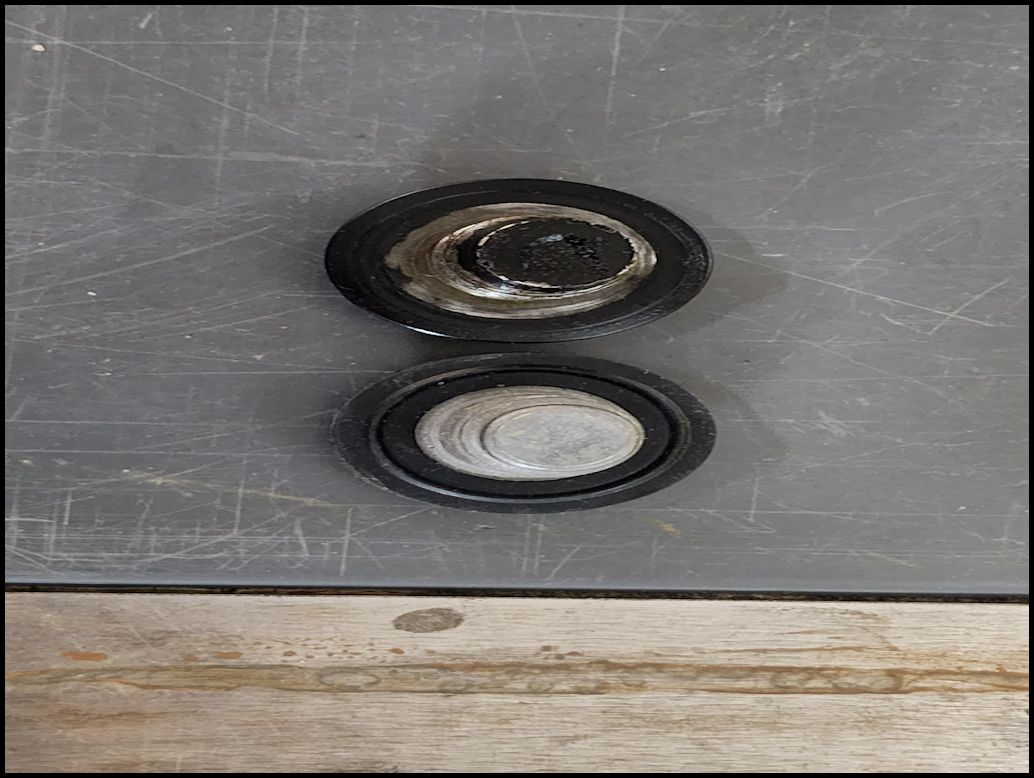
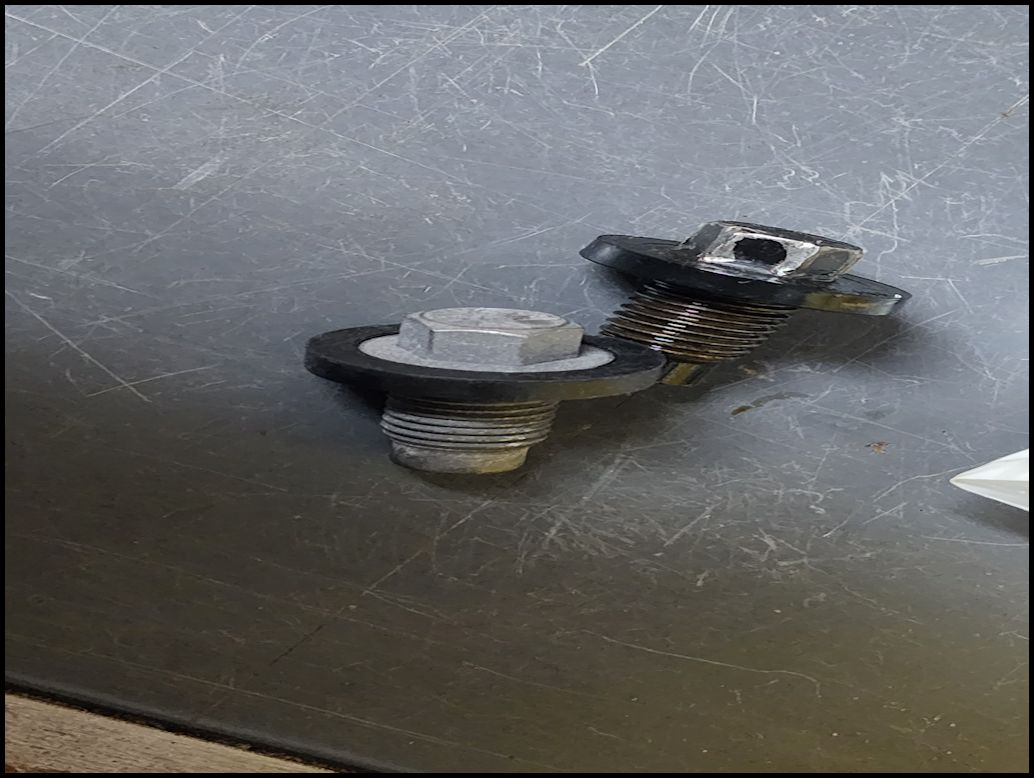
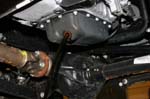
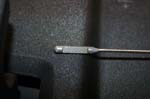
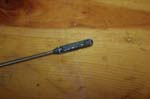
| 7. Put a pair of ventless goggles on. Remove the plug slowly with a 13mm combo wrench. The oil will flow out. While the oil is flowing, clean the drain plug off with a rag and take a look at the rubber seal on it to make sure it is not cracked. |
 |
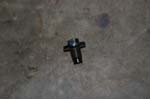 |
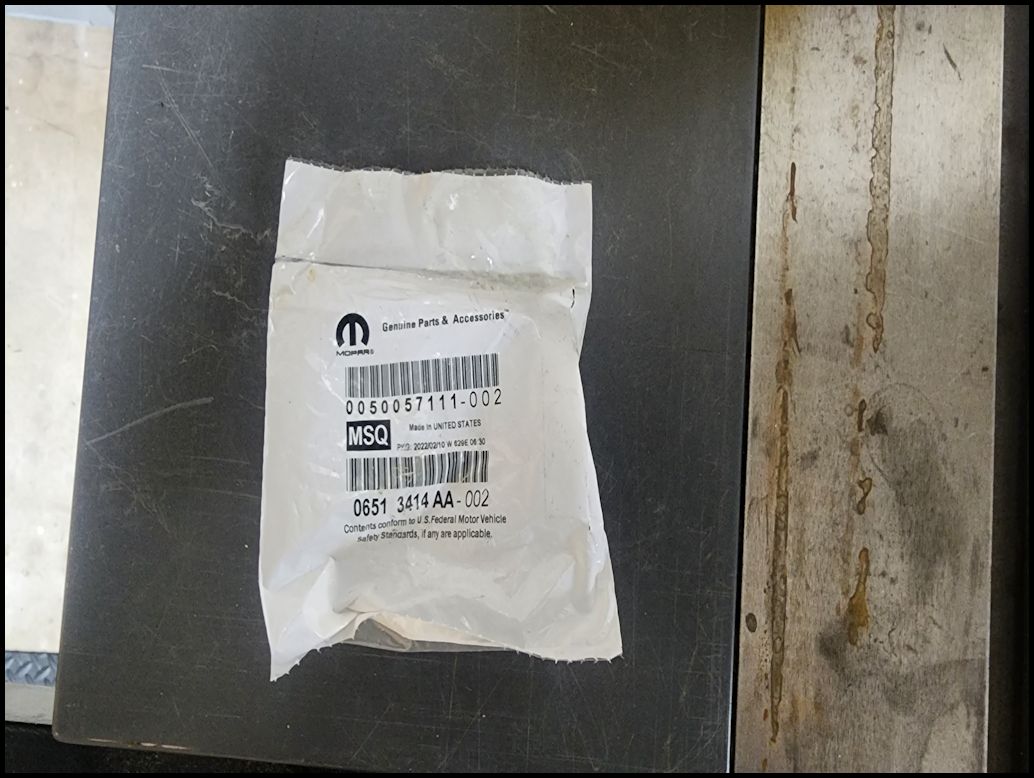
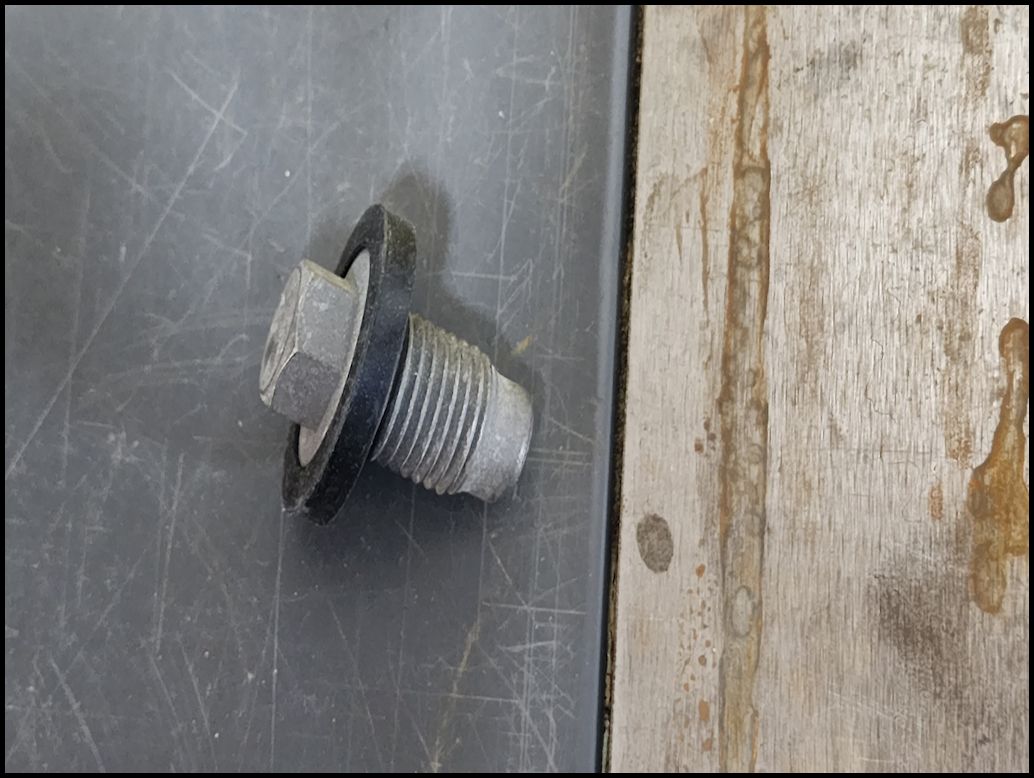
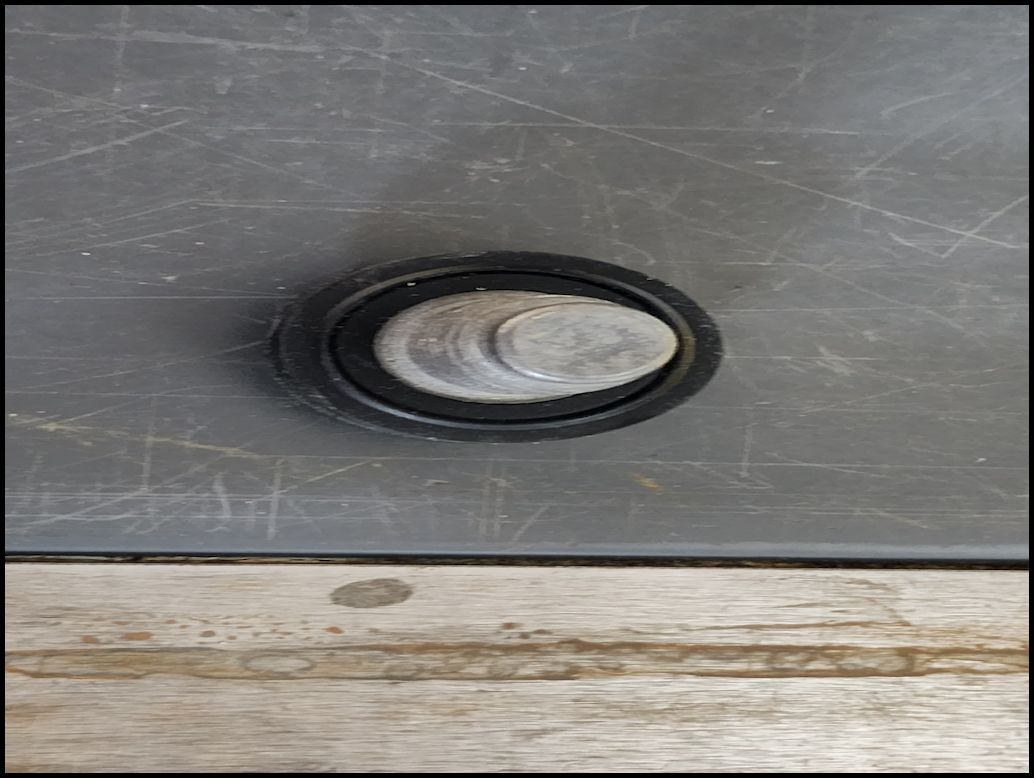
| I replaced my drain plug after 11 1/2 years. I didn't replace it because it was leaking, rather a just because it's been a long time and I felt like replacing it. |
 |
 |
 |
 |
 |
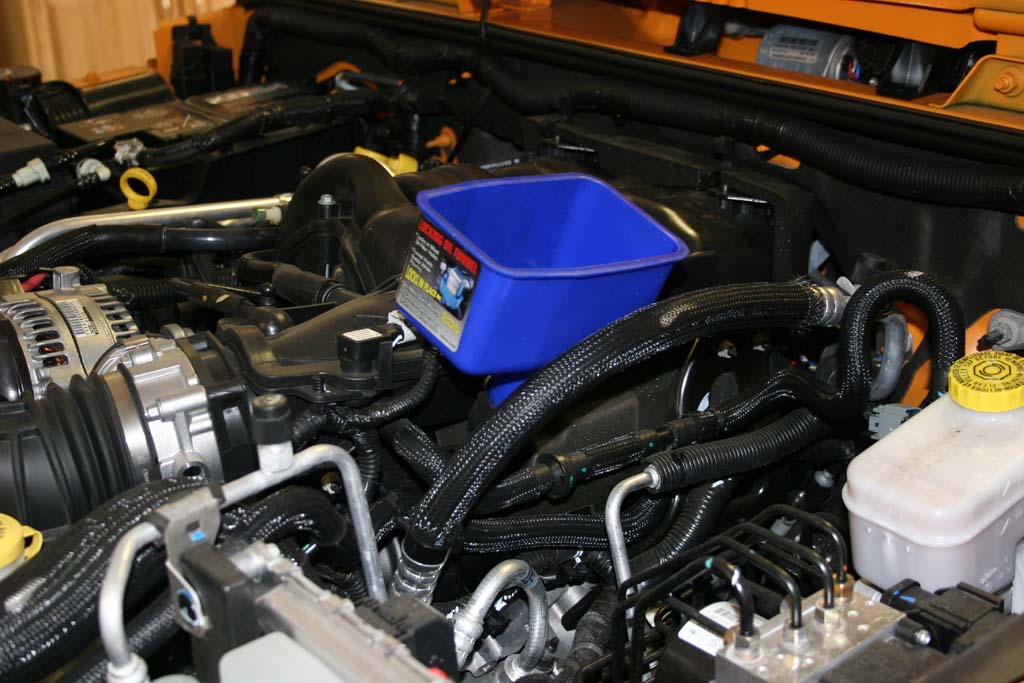
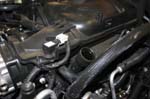
| 8. Insert the funnel into the oil fill on the valve cover. |
 |
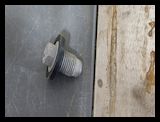
| 9. Once the oil has drained from the oil pan, reinstall the oil drain plug. |
|
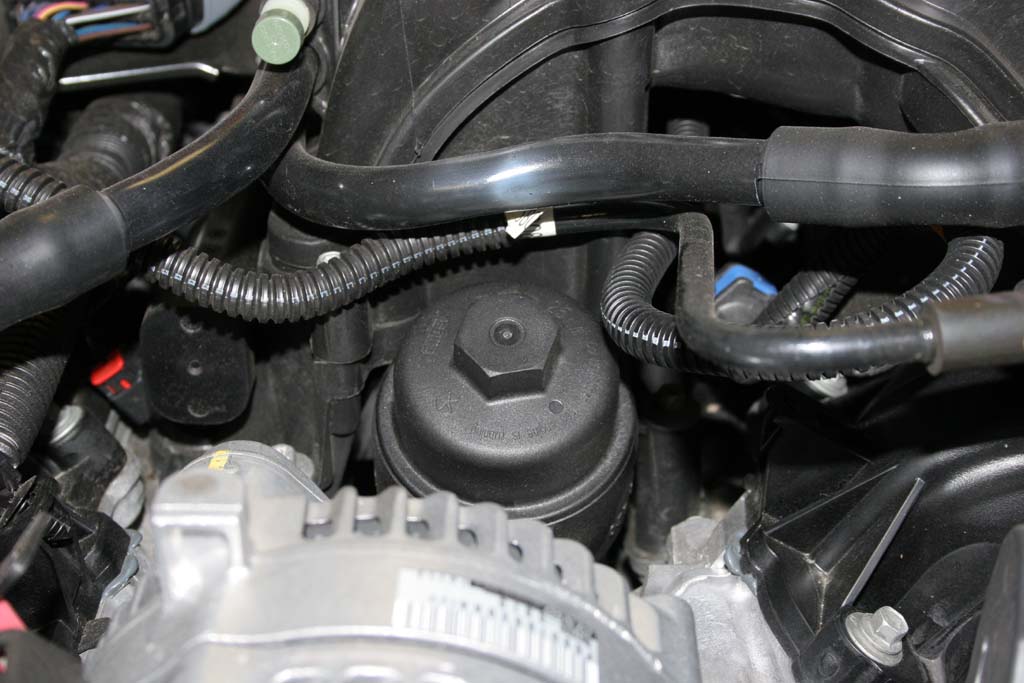
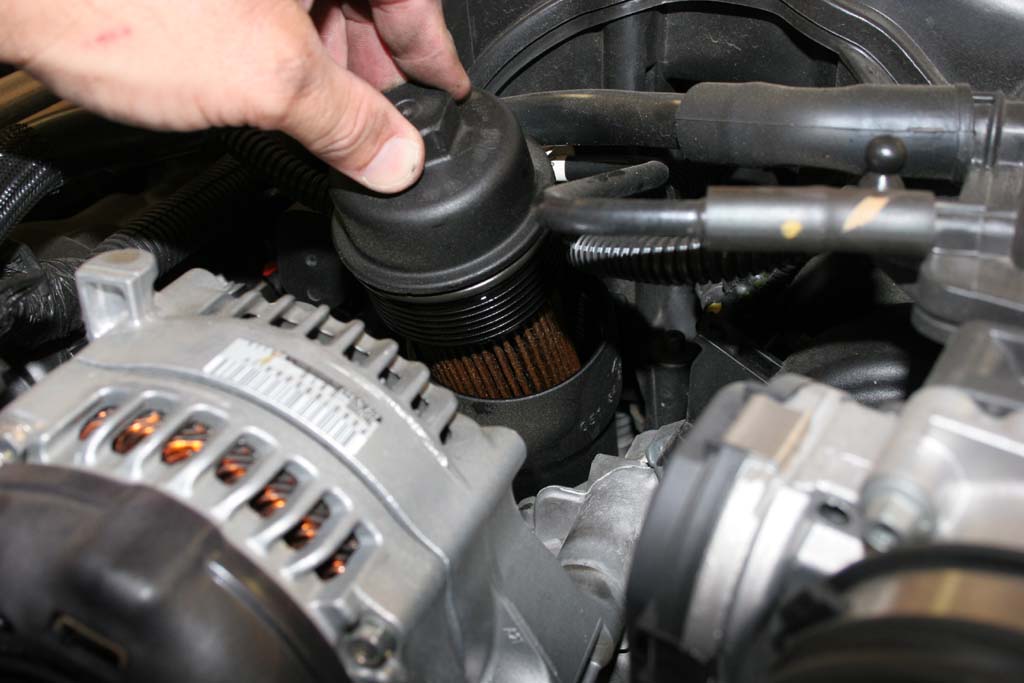
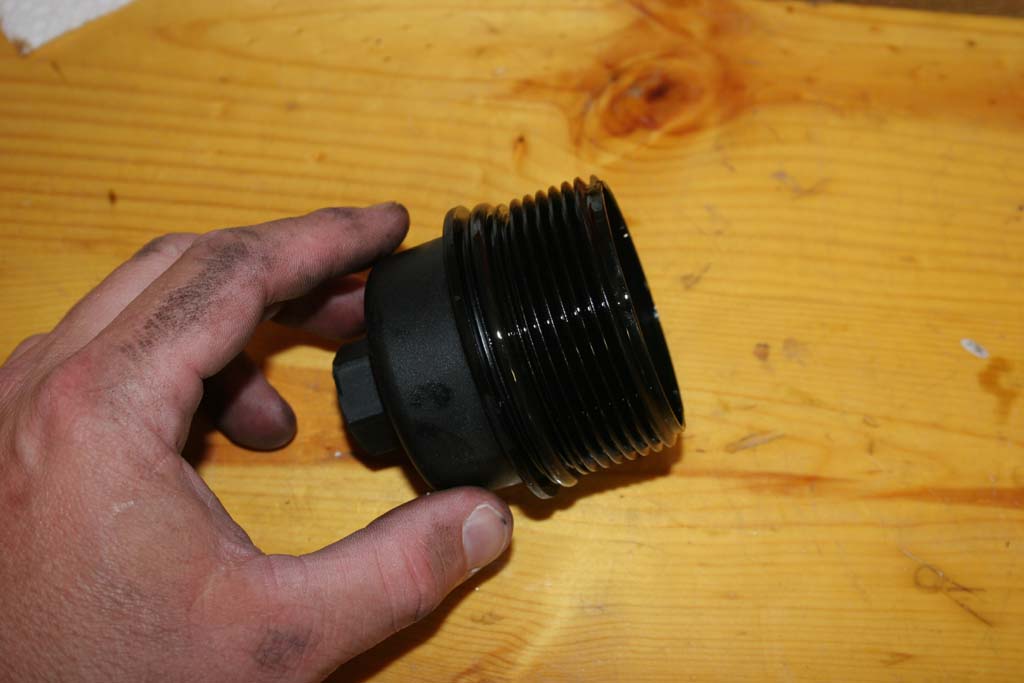
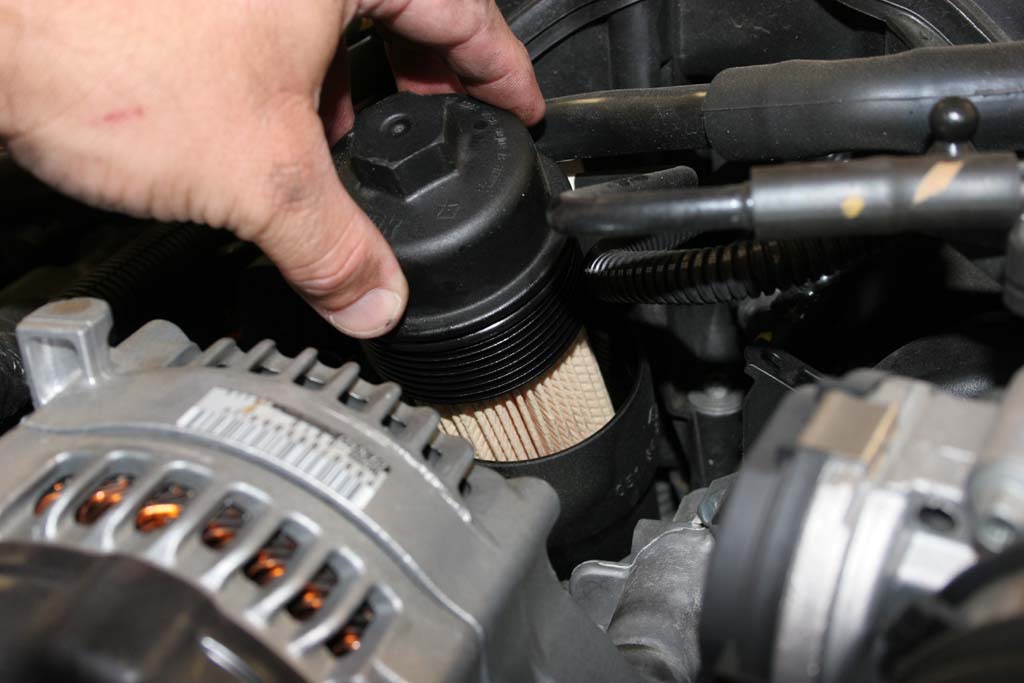
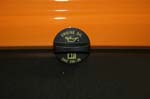
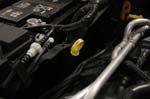
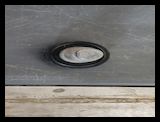
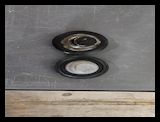
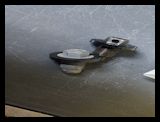
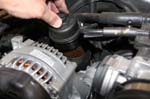
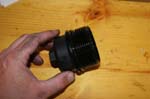
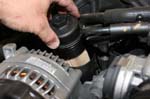
10. Remove the oil filter cap with a 24mm socket and extension. |
 |
 |
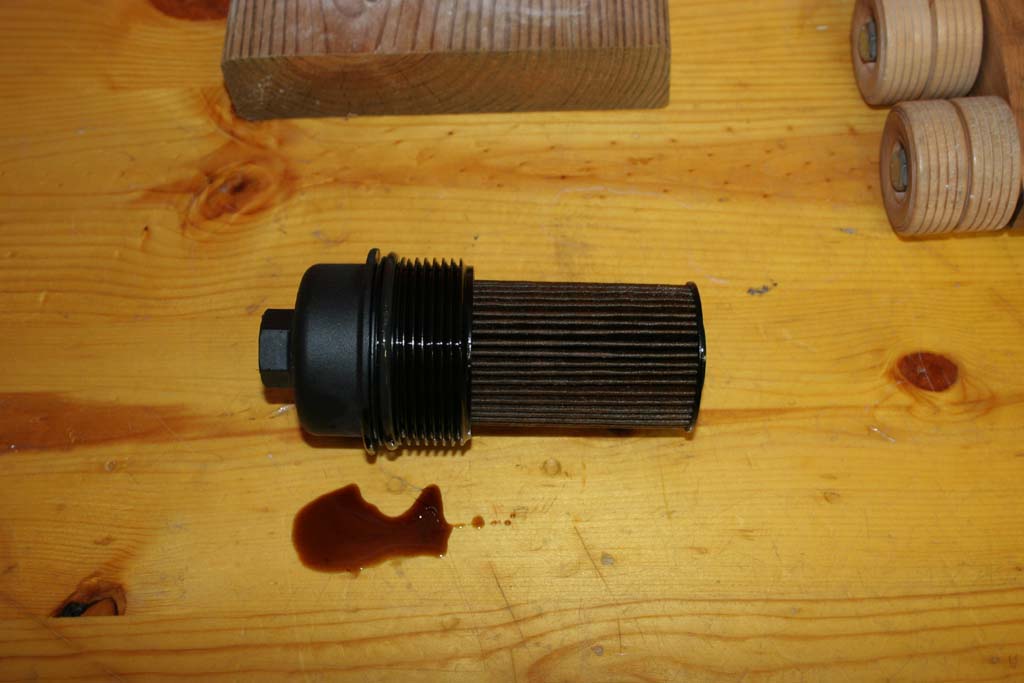
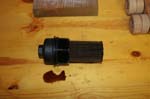
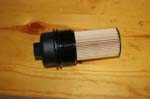
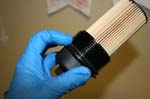
| 11. Lift the cap and filter out of the housing. |
 |
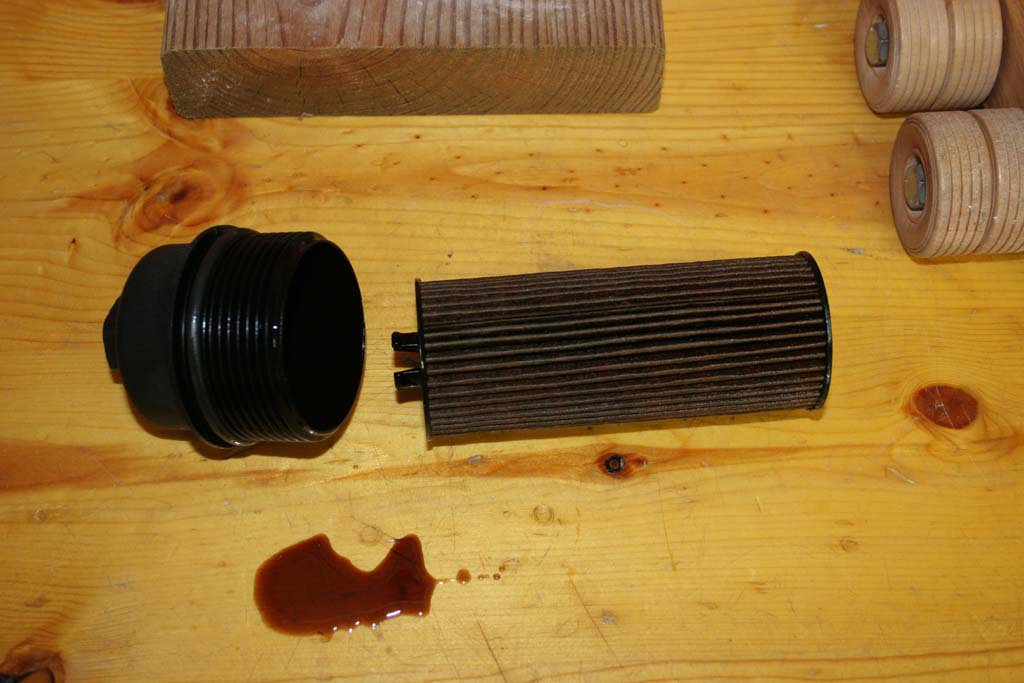
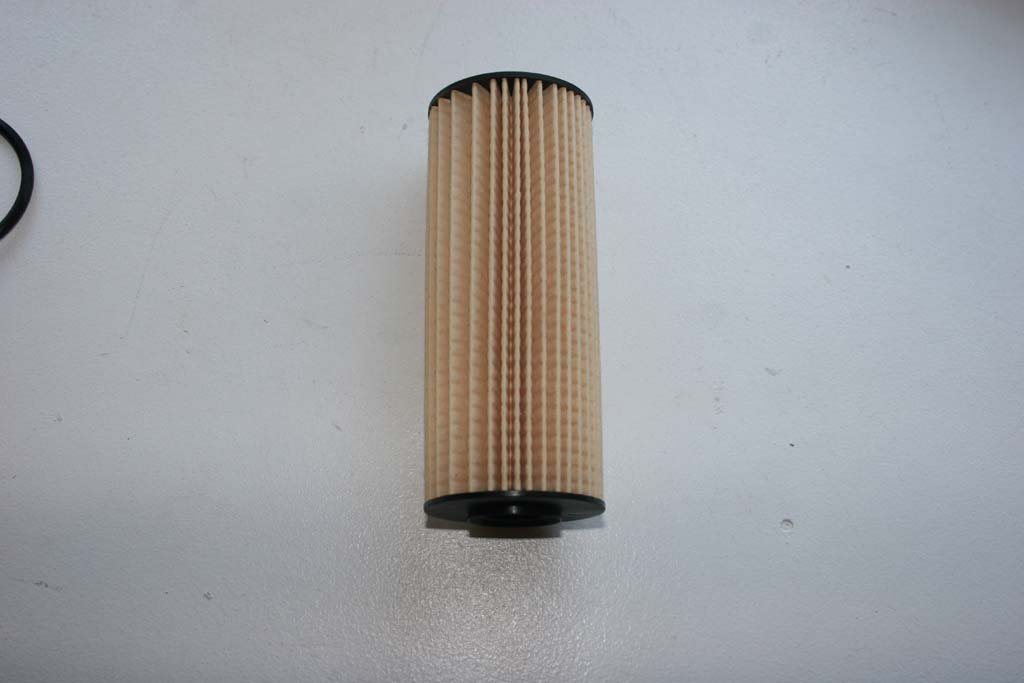
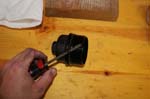
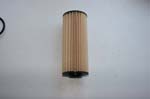
12. Remove the filter from the cap. |
 |
 |
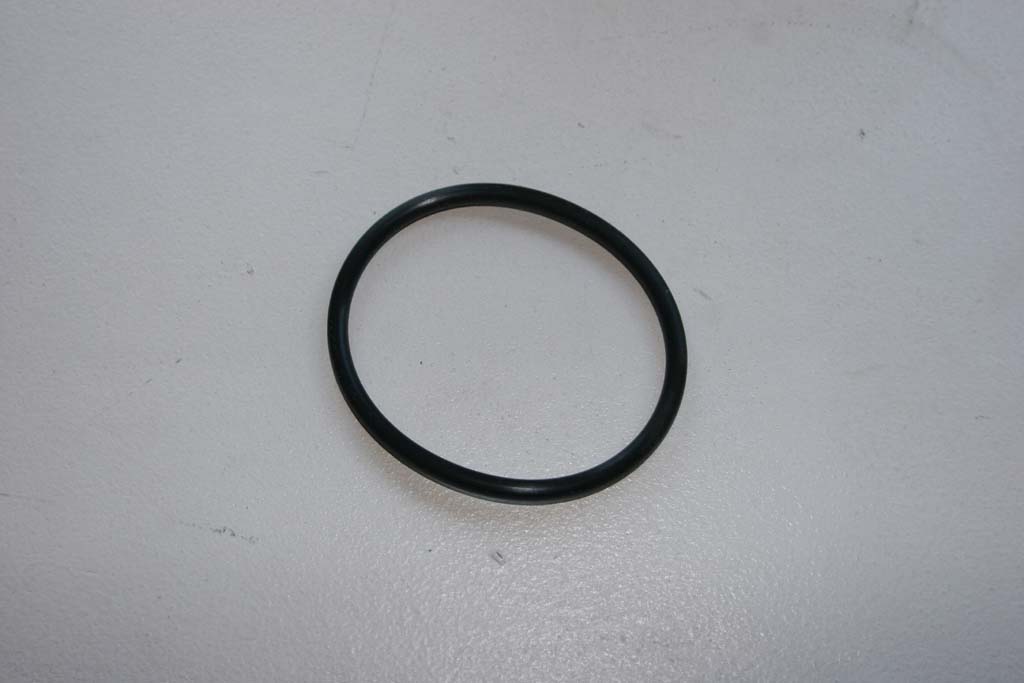
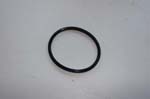
| 13. Remove the old o-ring. |
 |
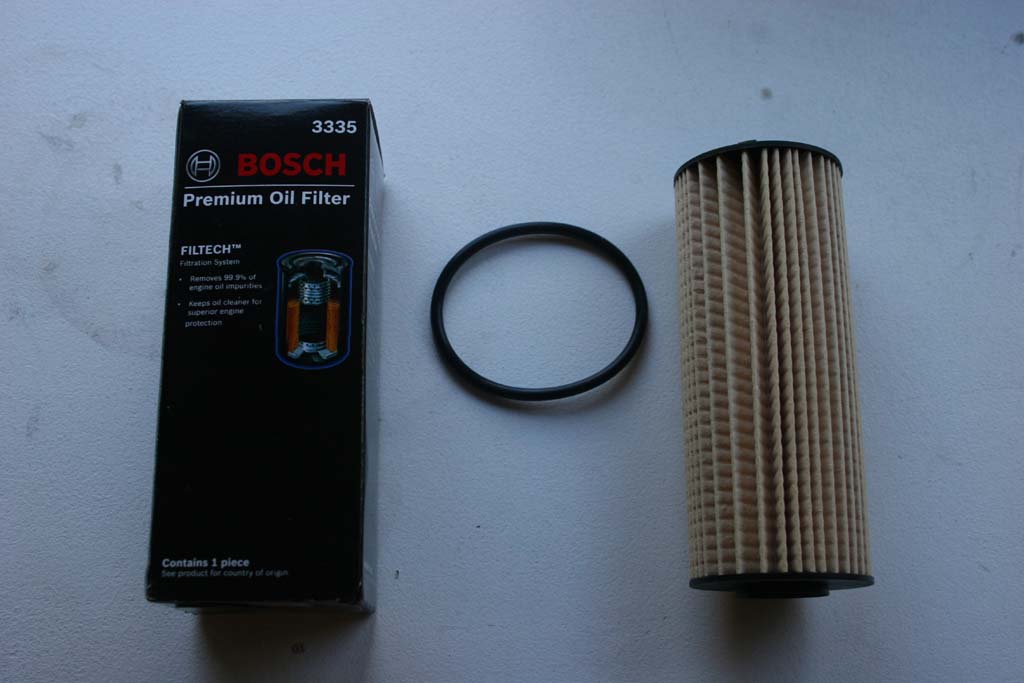
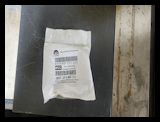
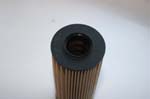
| 14. Inspect the new oil filter and o-ring to make sure nothing is damaged. |
 |
| 15. Install the new o-ring onto the cap |
 |
 |
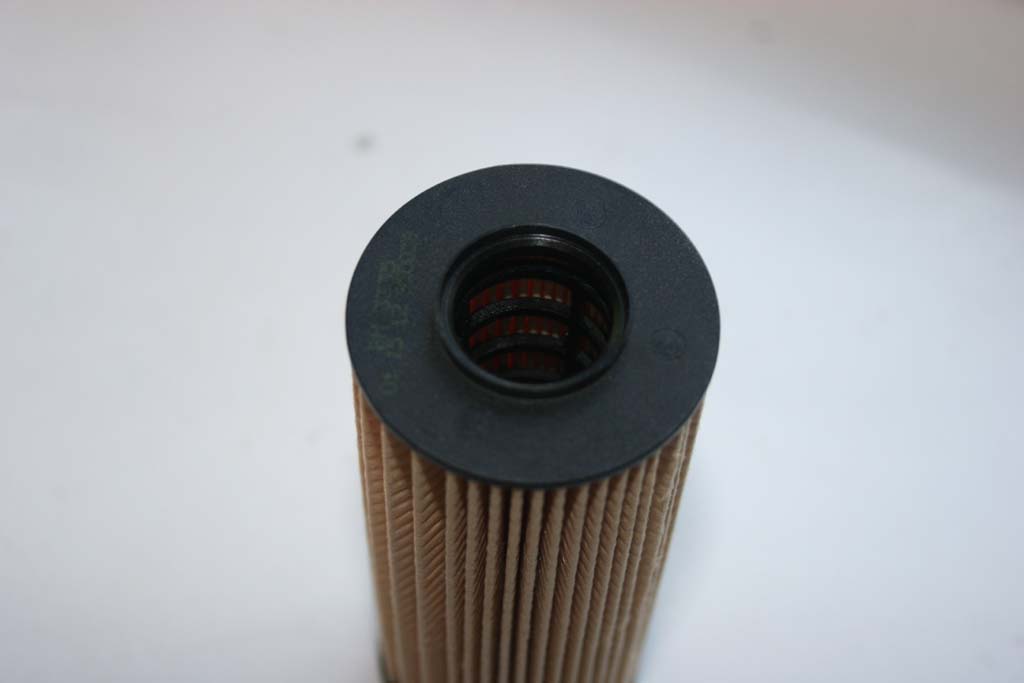
| 15. Install the new oil filter onto the cap. |
 |
 |
| NOTE: Install the end with the prongs on it into the cap. |
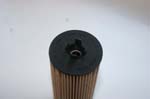
Right Way |
Wrong way |
| 16. Lubricate the o-ring with some new engine oil. |
 |
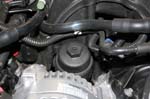
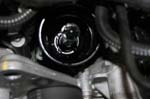
| 17. Inspect the canister on the engine to ensure no debris has fallen into it. Carefully screw the oil filter back onto the canister. |
 |
 |
| 18. The 3.6L uses 6 qt's of oil, so pour in 6 qts to begin with. Check the level on the dip stick, it should be a little high. Check underneath for any leaks. |
 |
 |
| 19. Start the engine and let it run for a few moments. Shut the engine off and restart it. Watch to make sure that the oil pressure warning indicator does not light. Shut the engine off, and check underneath for any leaks from the oil drain and oil filter. Check the oil level on the dipstick and top off with oil if required. |
| 20. You can drain the oil pan into the jugs that you just poured the new oil out of and take the oil to a recycling center. Most autoparts stores have a tank in the back. My local Pepboys and Autozone does it, though my local Advanced Auto doesn't. |
| |
The 2012 and up JK's have an oil change reminder that comes on according to some internal timer. Mine has turned on at about 3,500 miles the first time and about 5,000 miles the others. To reset this you will need to do the following.
1. Turn the ignition switch to the ON position (Do not start the engine).
2. Slowly fully depress the accelerator pedal slowly three times within 10 seconds.
3. Turn the ignition switch to the OFF/LOCK position. |