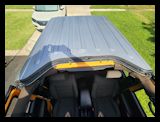
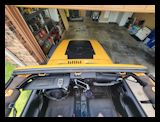
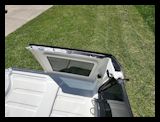
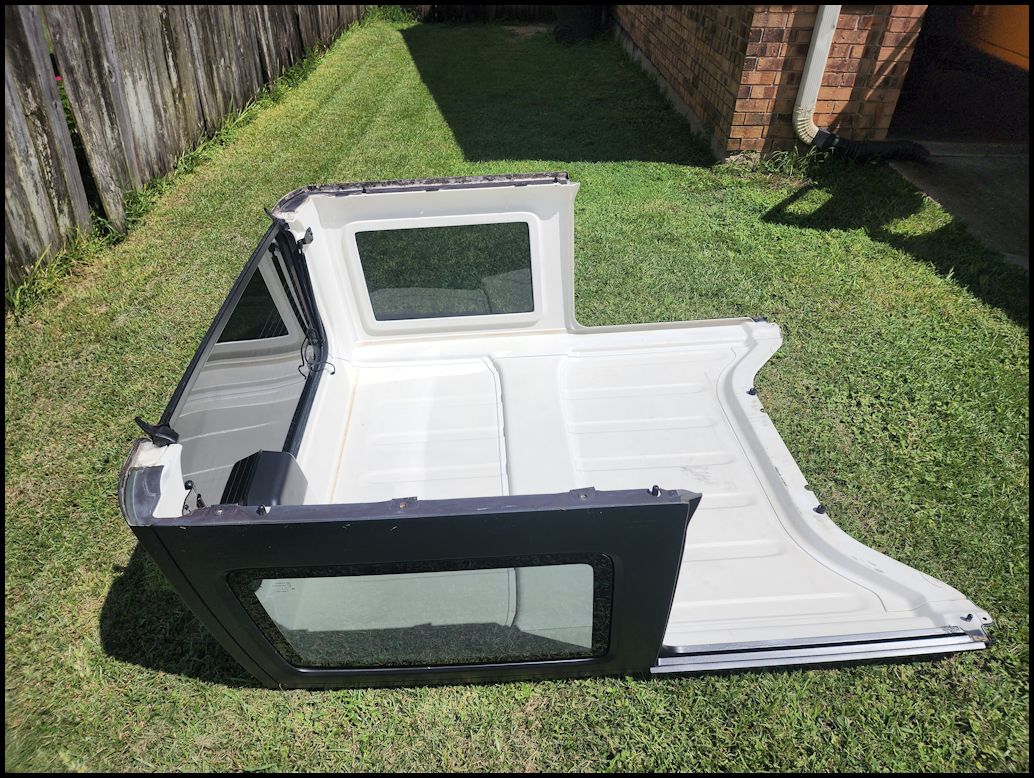
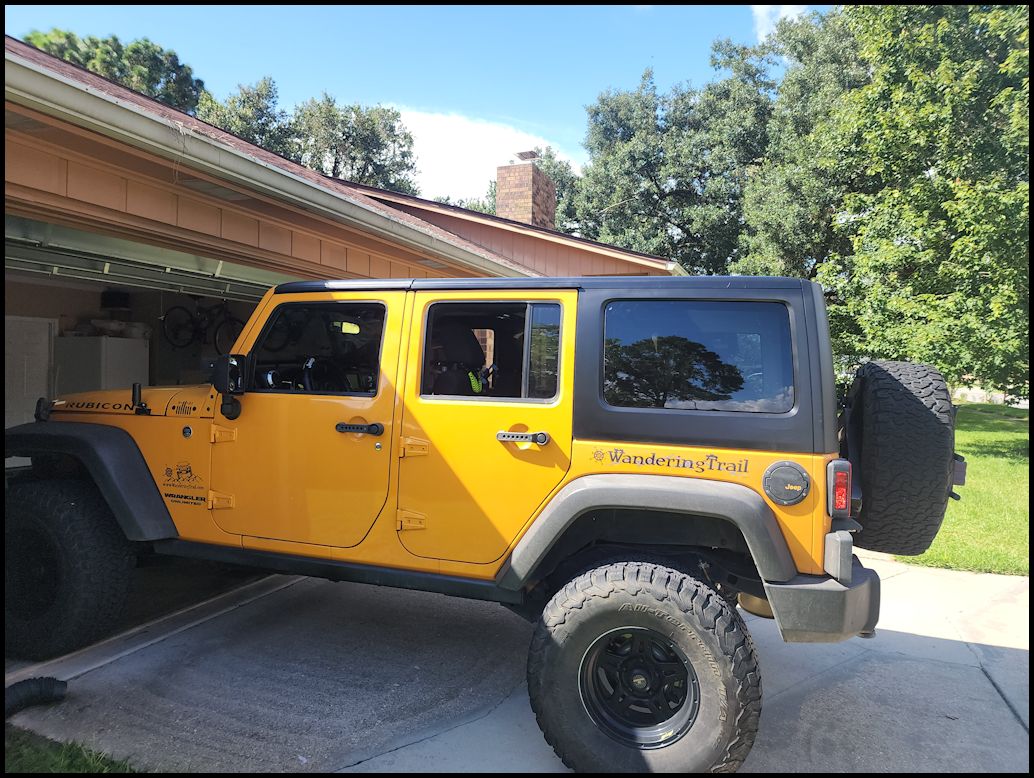
The new Jeep JK's came with a hard top that had removeable panels "Freedom Panels" and while this allowed for an open air feeling on a hardtop equiped Jeep it also had lots of seams that could become potential areas where the water could leak in. At each point on the A and B pillars there is a flexible bucket shaped seal (Jeep calls it a mucket) that helps channel the water and allow it to flow down the side of the pillars. This is a good area to fill up with debris and not allow the water to flow out. It is also the contact point for lots of the foam seals. Eventually your Jeep JK hard top will start to leak if you pull the freedom panels and hard top off a number of times. Most of the time you will find that it starts to leak around the freedom panels right above your head. There are a couple TSB's out to help diagnose the issues along with an entire manual that was put out to help technicians diagnose where the possible source of water intrusion can occur on the hard top and freedom panels. I had a few intermitten leaks, but nothing that was consistent or terrible and usually only showed up in a heavy rain or when I was splashing through puddles. I did occasionally get a wind/whistling noise from the top. The foam on the top can break down just sitting there. In fact the seals that came from Mopar had a two year shelf life. So seeing this I could assume that 10 years on the top was pretty much past their time. I did decided that before I put the hardtop back on I would go ahead and make sure that all the seal area's were cleaned up and had new foam installed to prevent any leaks. Yes, my hardtop went from being silver back to the original black again. I also repainted the top while it was off, so you will see silver and black as the hardtop. A lot of the replacement is going to be a compare and replace type of procedure. I used this to setup where the seals were going to be placed on the top initially.
| Remove the Freedom Panels: |
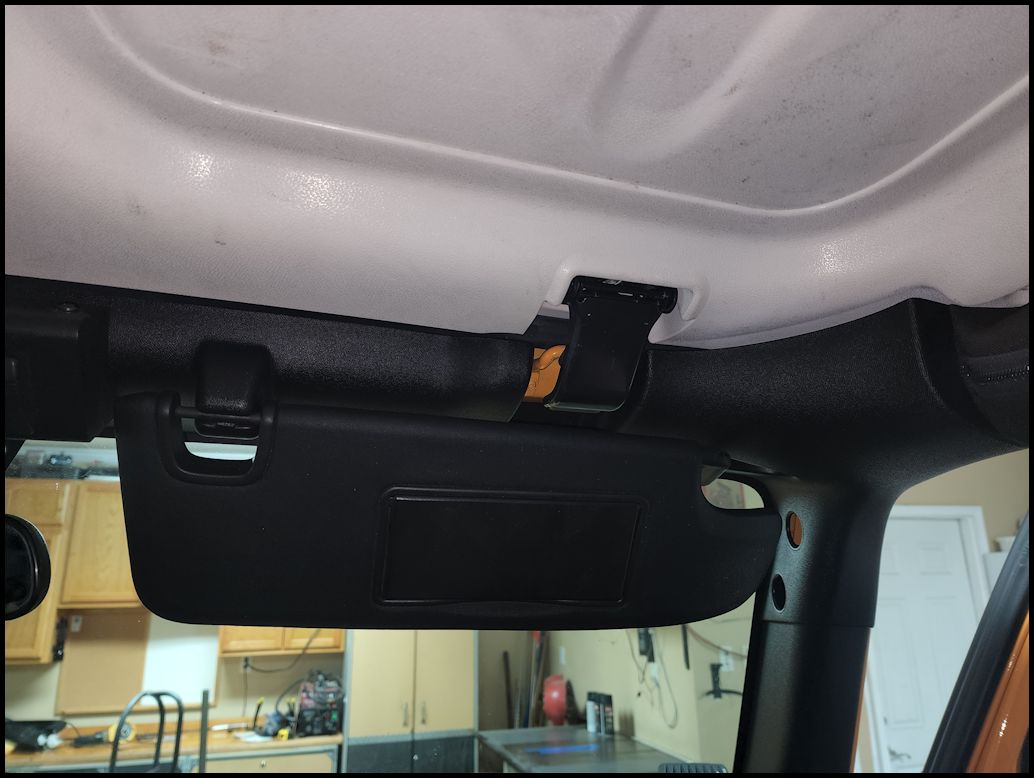
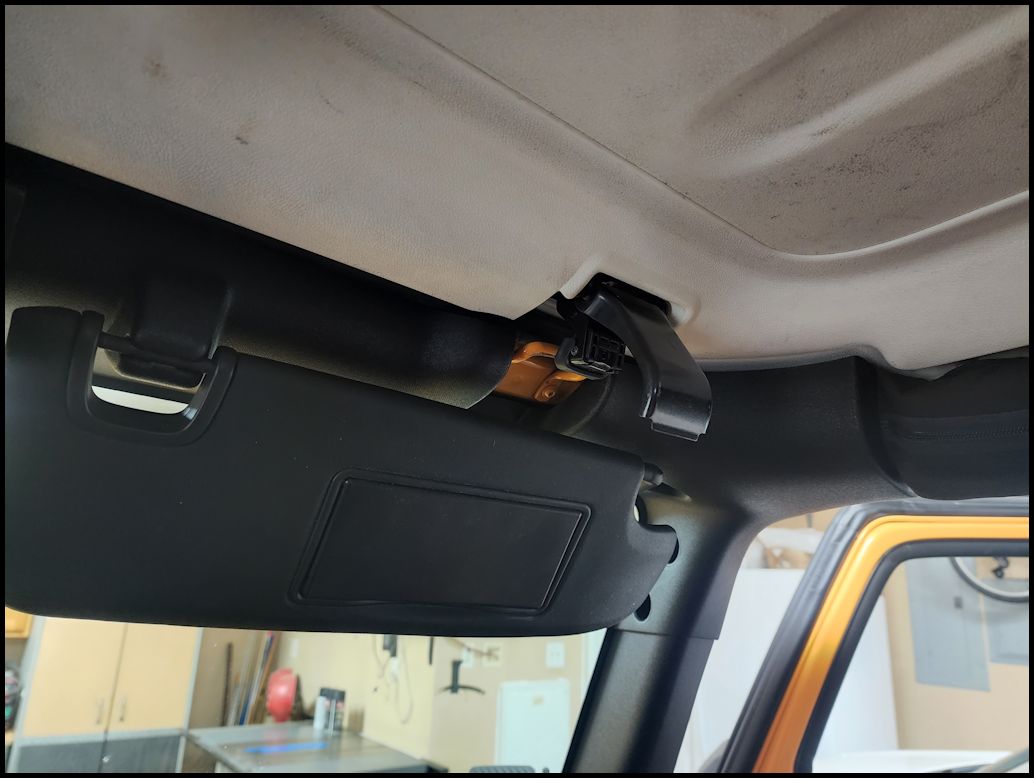
| 1. Fold down the sun visor and release the front latch. |
 |
 |
 |
| Unlatch the front center latch |
 |
 |
| Unlatch both of the rear side latches |
 |
 |
| Unlatch the rear center latch. |
 |
 |
| Remove the two screws holding the rear of the freedom panels. I do not recommend leaving these sitting on your seats, they can be painful if sat upon. |
 |
 |
 |
| Remove the panels from the Jeep. Driverside first, then passenger. They do have a molded in hand grip to carry they with. |
 |
 |
| Lay the panels upside down on a soft surface to protect the paint from any more scratches than are already there. |
 |
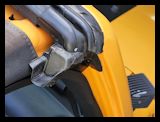
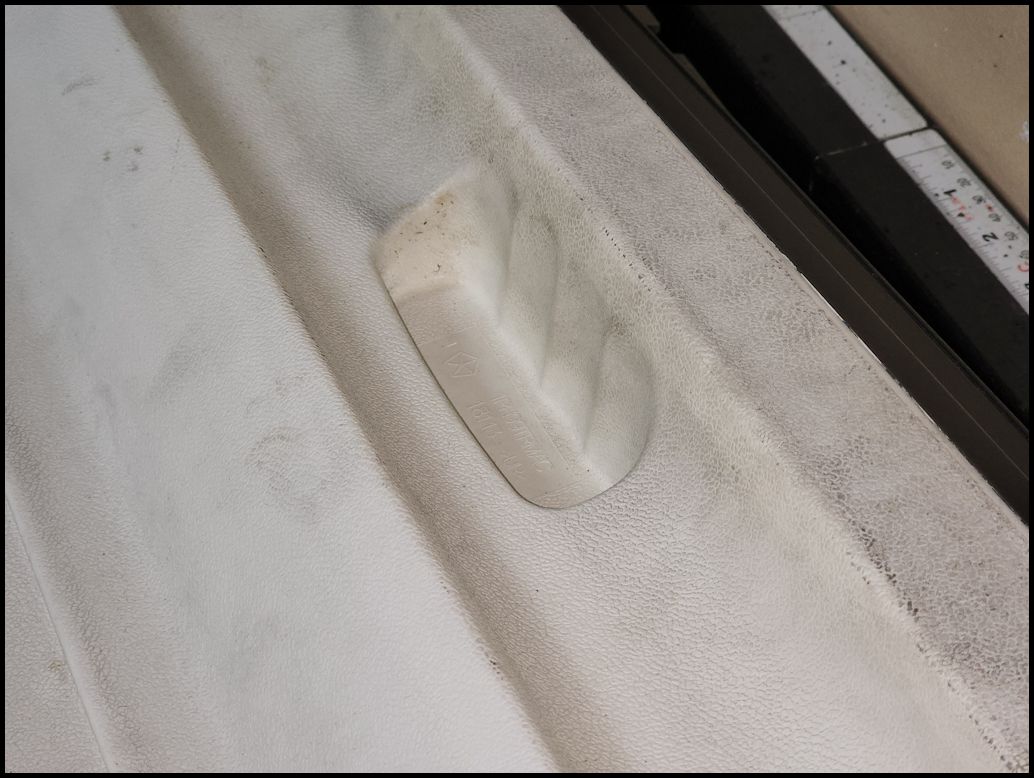
| If your wondering what the flip up braces are on the rear of each freedom panel. They are so that you can put the panels on without having the back half of the hard top on. Just flip open they supports and then install the screws back into the roll bar. These provide the support so you can reinstall the screws without the rest of the hard top. Make sure you fold them back down when you reinstall the panels with the hard top.. |
 |
 |
| |
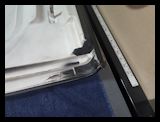
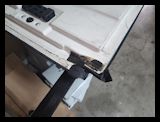
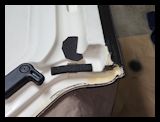
| Trying to find the leaks (Freedom Panels): |
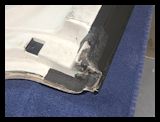
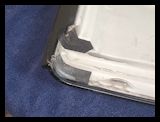
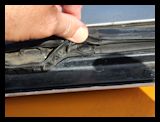
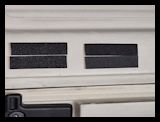
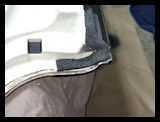
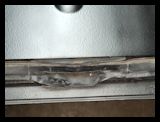
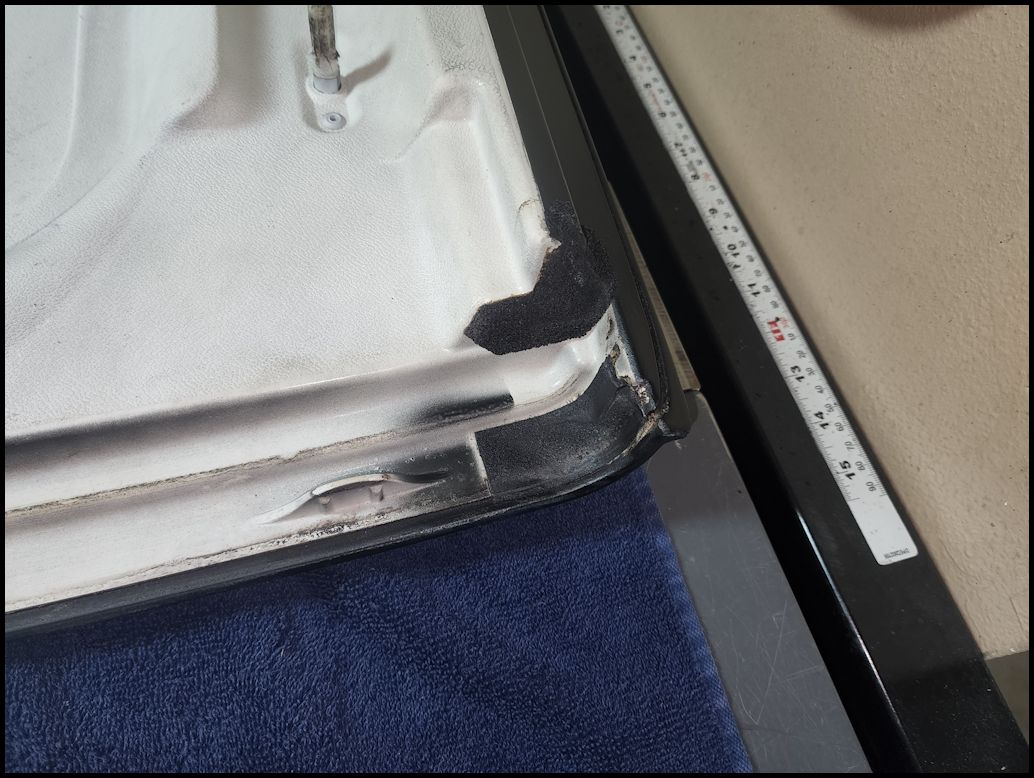
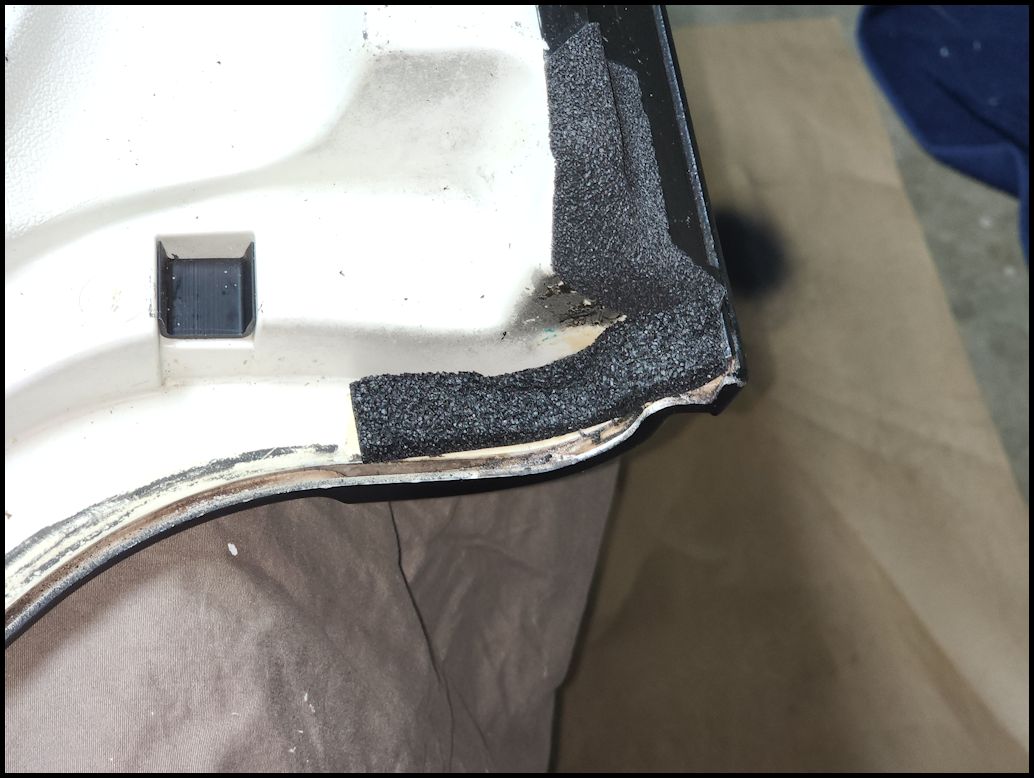
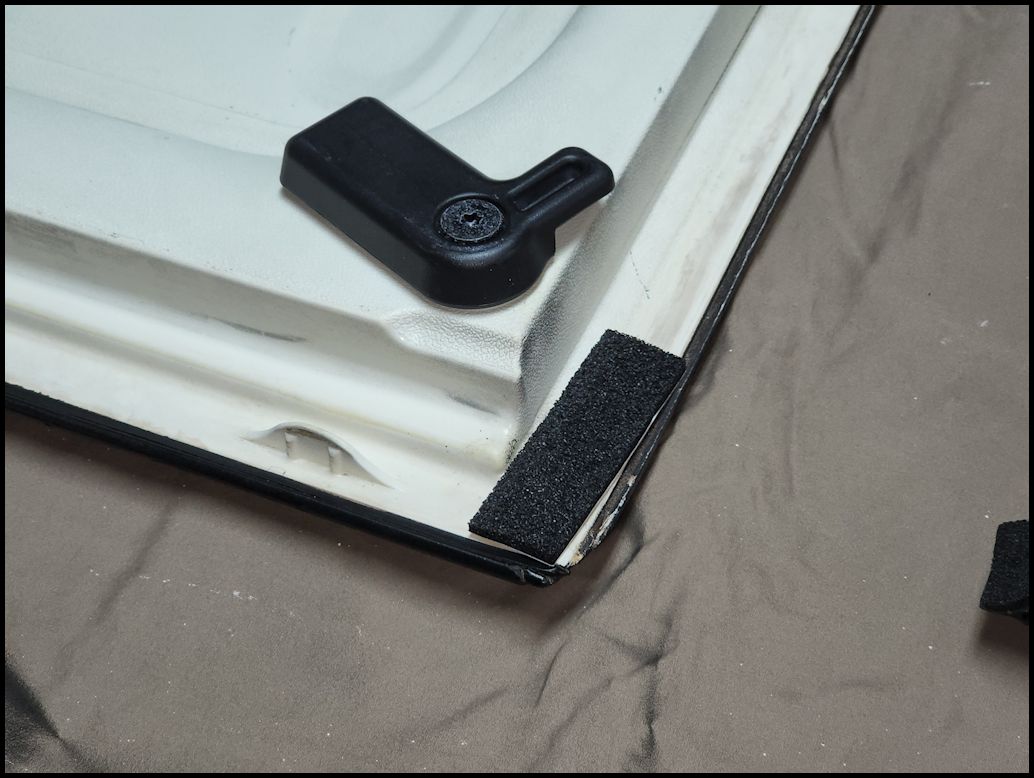
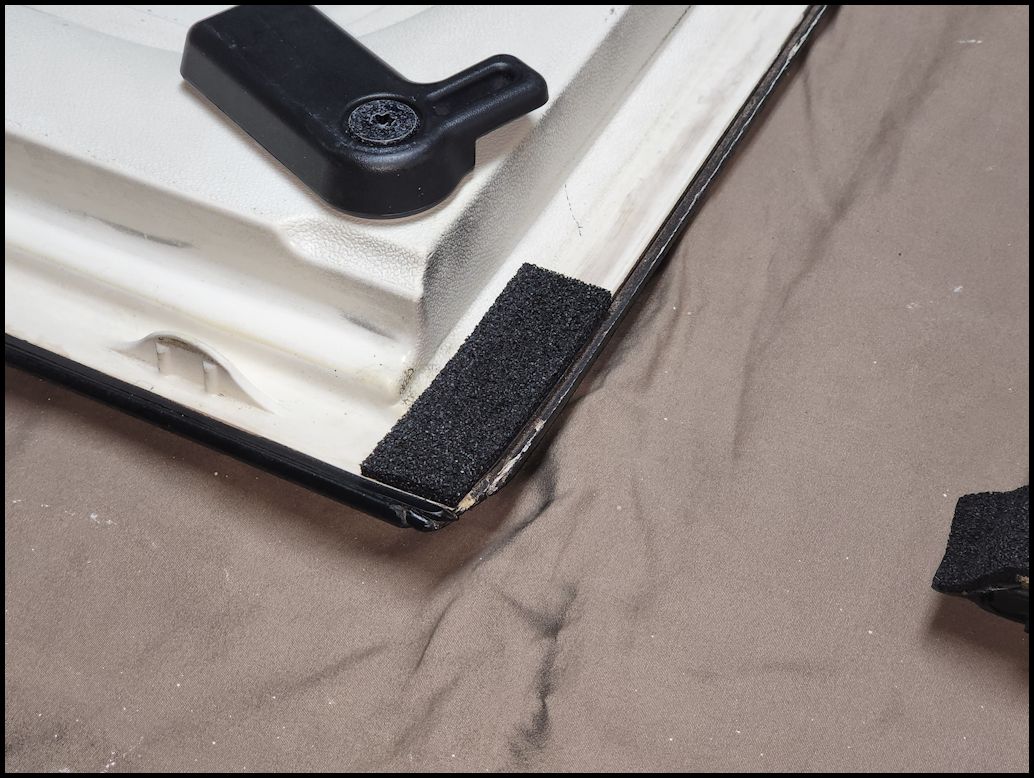
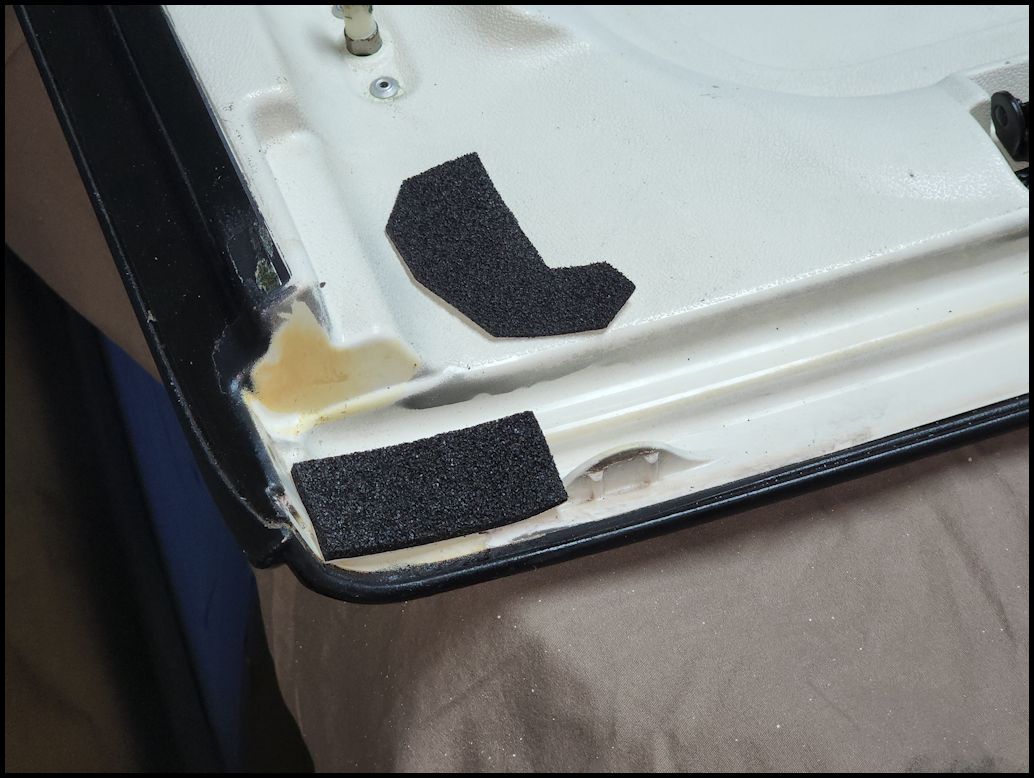
| The Freedom panels have to seal across the windshield, along the back where they meet the hardtop, and down the center between the panels. Jeep had rubber gaskets in these areas along with some foam seal tape in specific areas on the freedom panels themselves. You will probably find that most if not all of your seals are crushed, worn out and missing sections of them, especially if you have removed your panels a few times. As you can see from the pictures Jeep has them primarily where the end of the panel meets the rubber gasket. The foam on my 10 year old top is pretty worn out from all the times the panels have been off. |
 |
 |
 |
 |
 |
 |
 |
 |
| The panels have groves along the edges in a few locations. It's always good to ensure that you haven't picked up some debris in these that can cause the seal to have a small opening. I just clean them out with a small pick. |
 |
 |
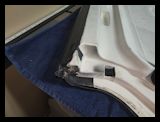
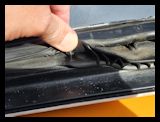
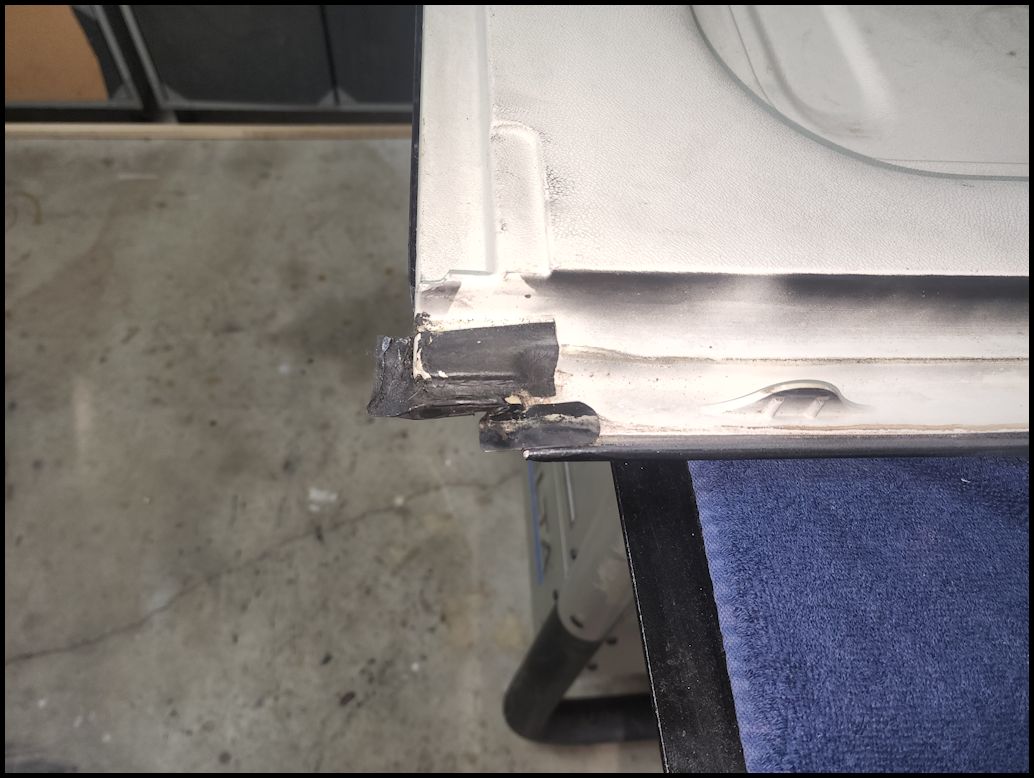
| The driver side panel (left side) seals down against the rubber gasket on the passenger (right side) side panel. Make sure that this is cleaned off. Dirt and debris can cause it to not seal well against the gasket. |
 |
| Flip the passenger side panel over and clean the rubber seal to remove any dirt and debris. |
 |
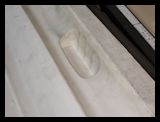
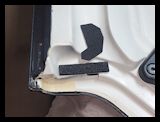
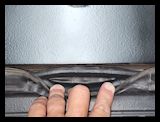
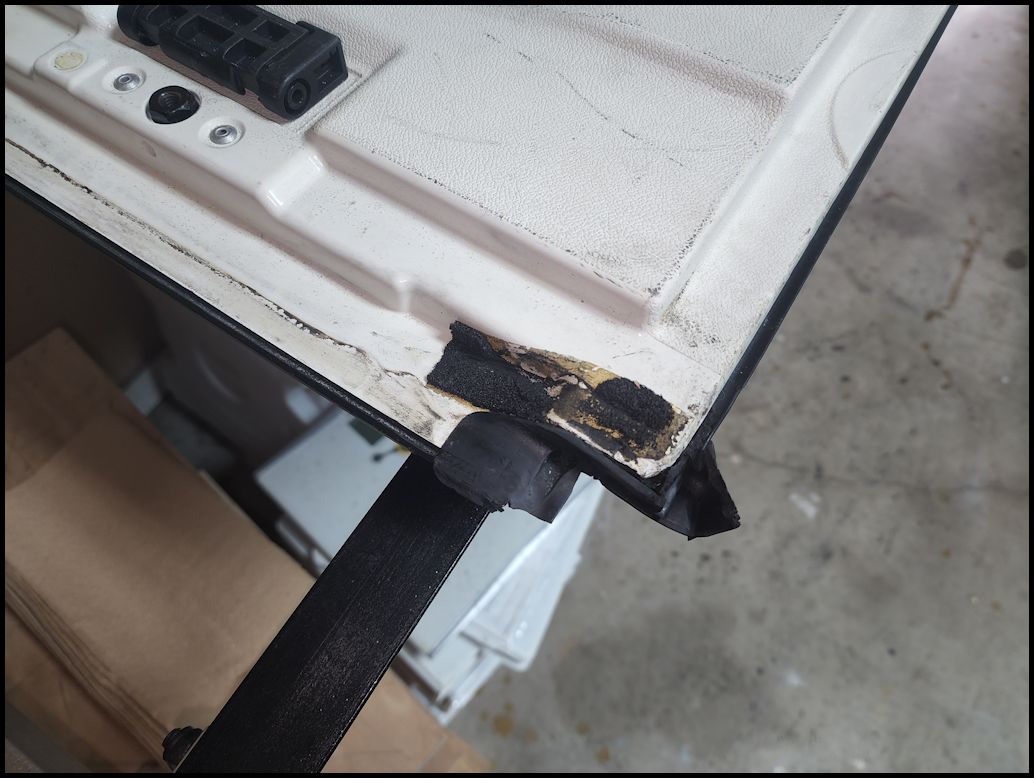
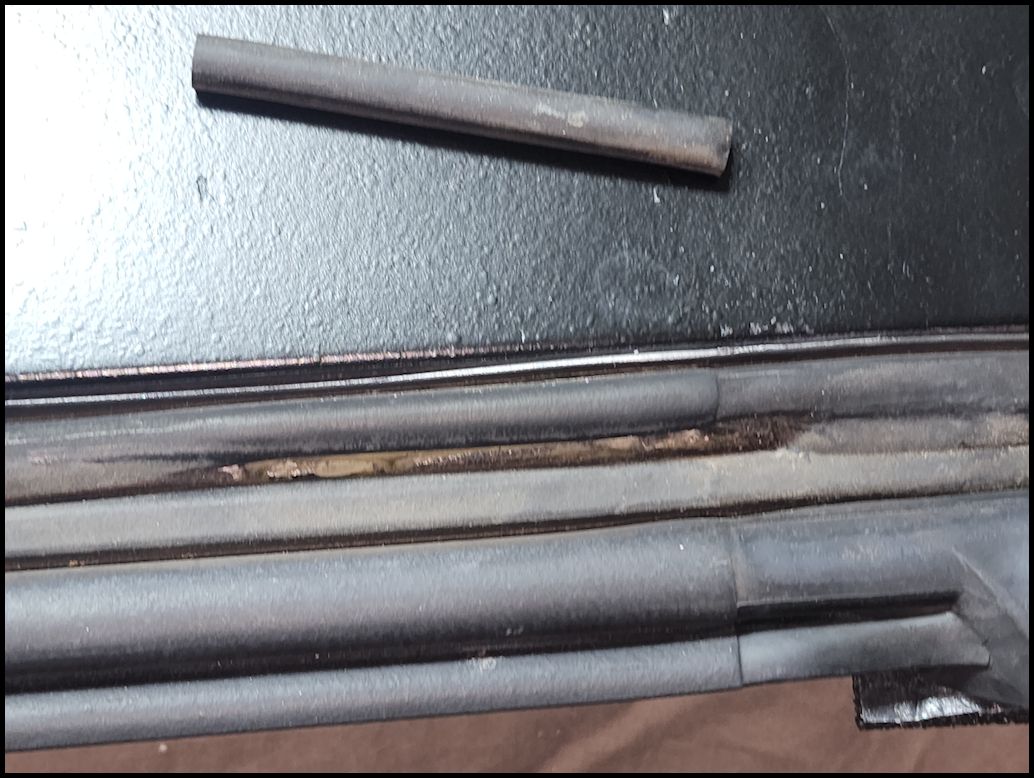
| Check the rear part of the seal for a small piece of rubber rod in a groove. |
 |
 |
| On the front side there is a similar piece of rubber rod installed inside of the rubber seal. |
 |
 |
| |
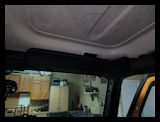
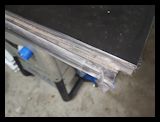
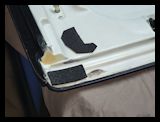
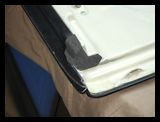
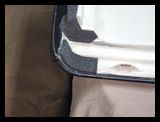
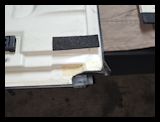
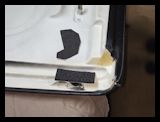
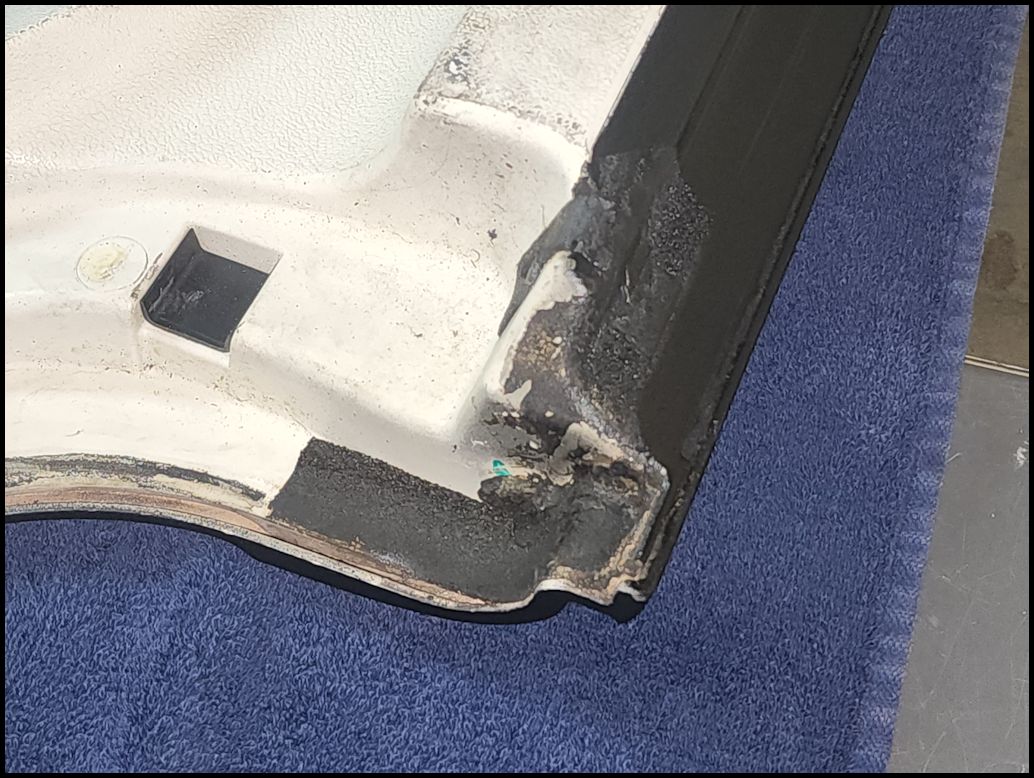
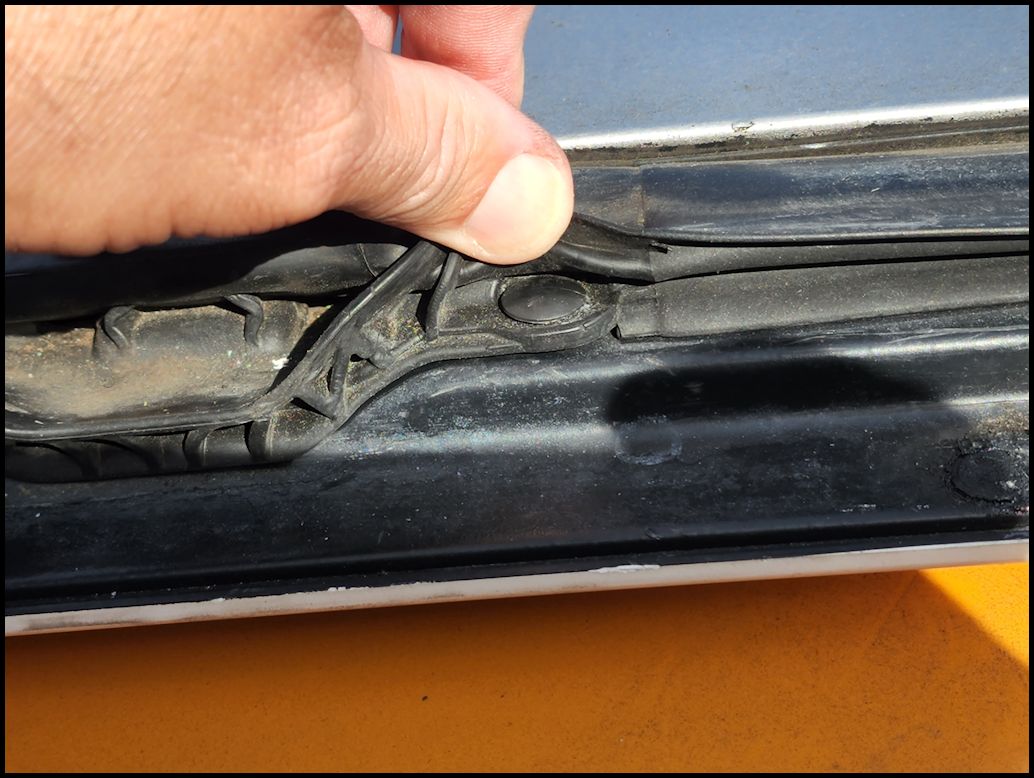
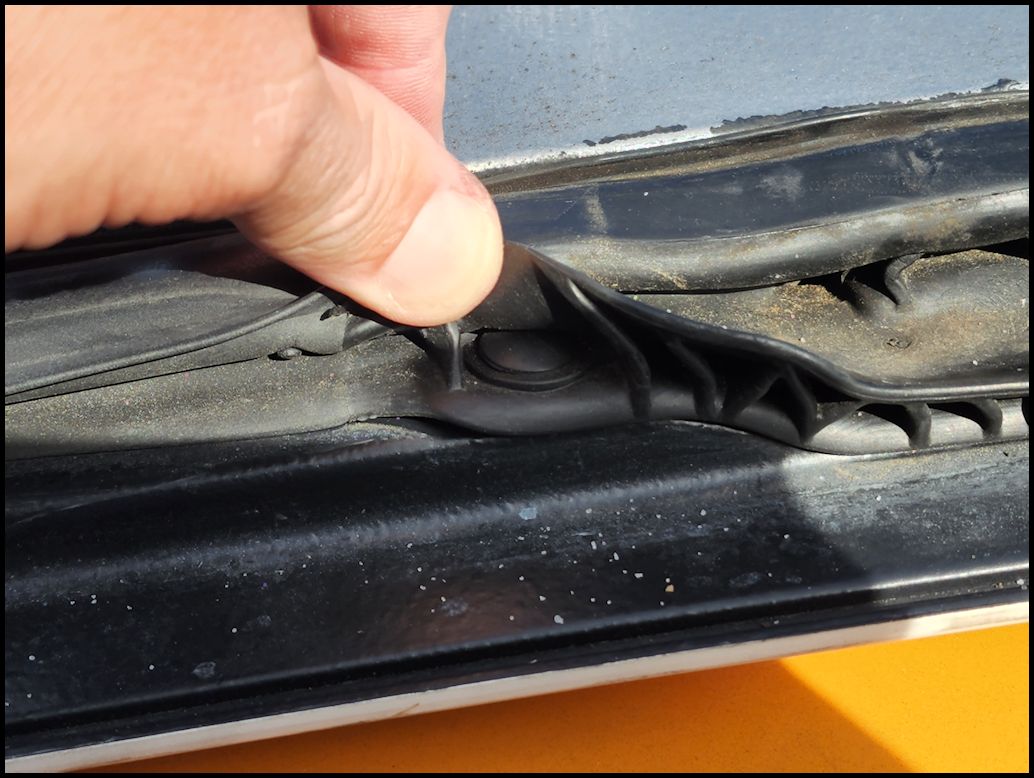
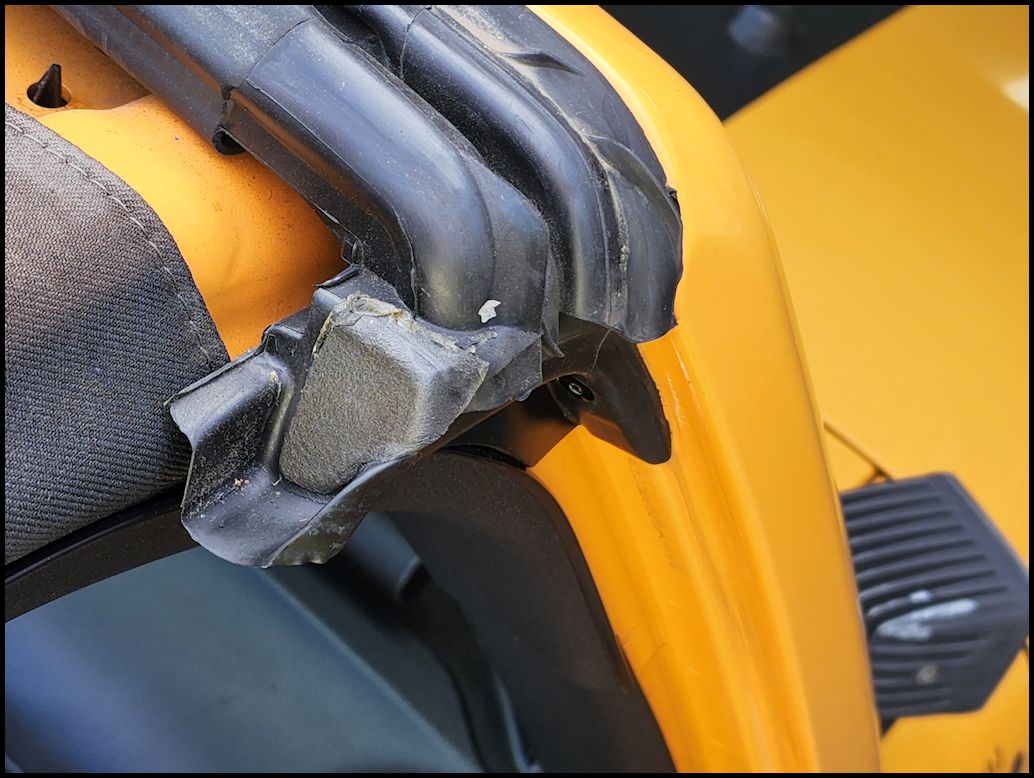
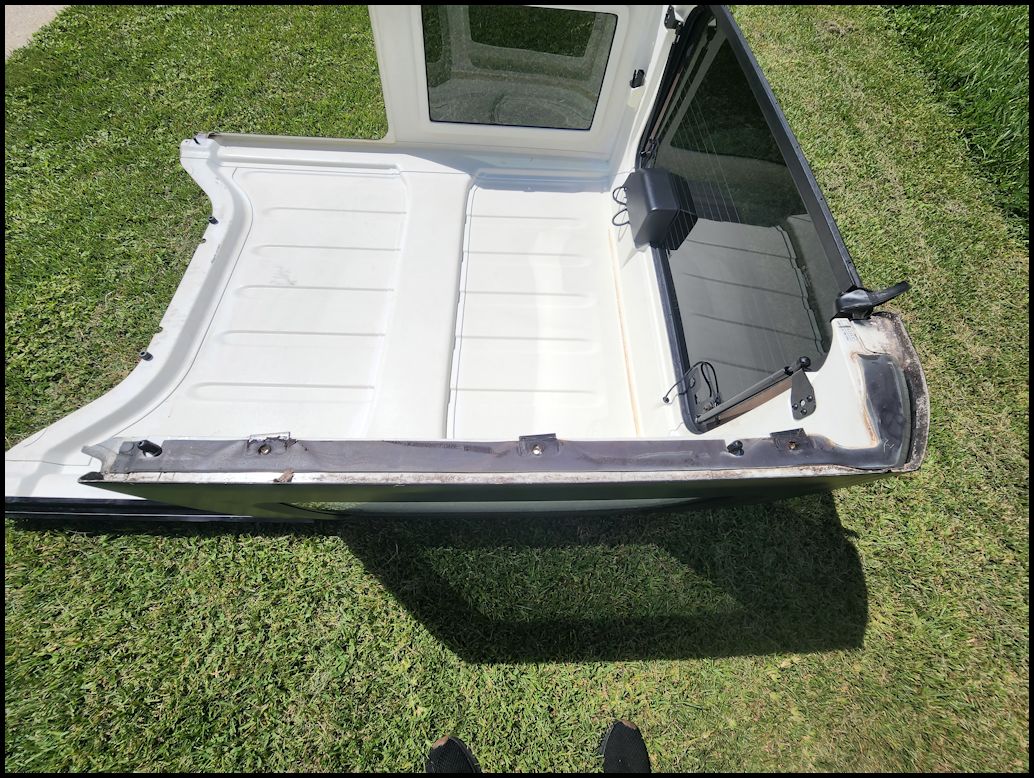
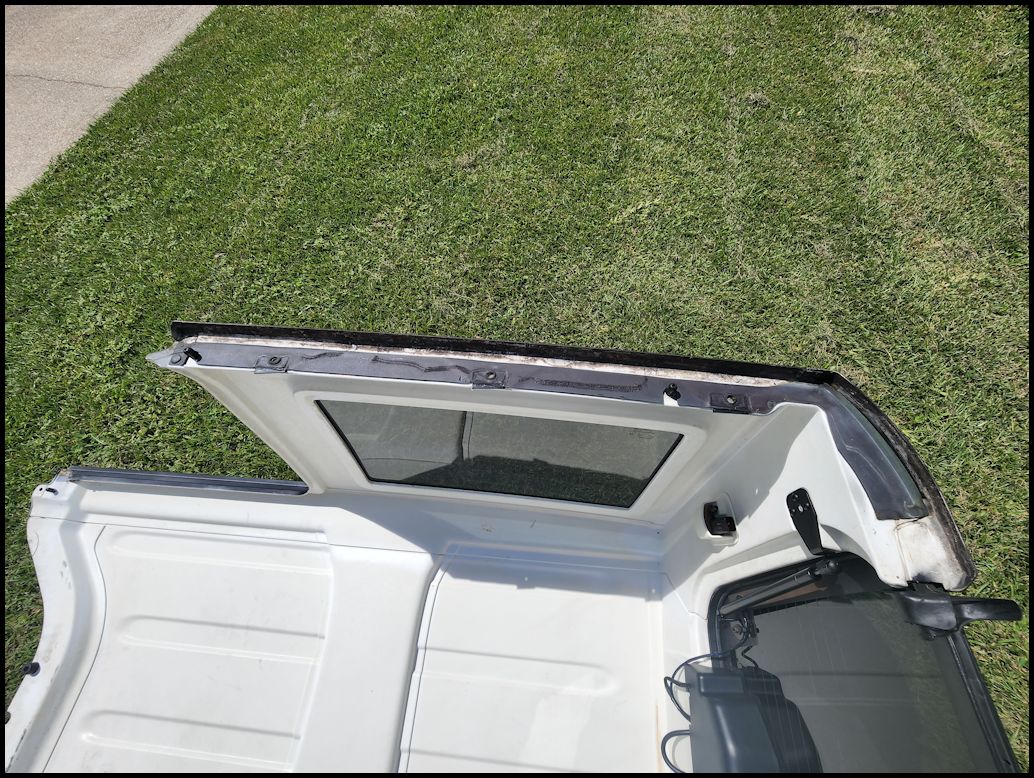
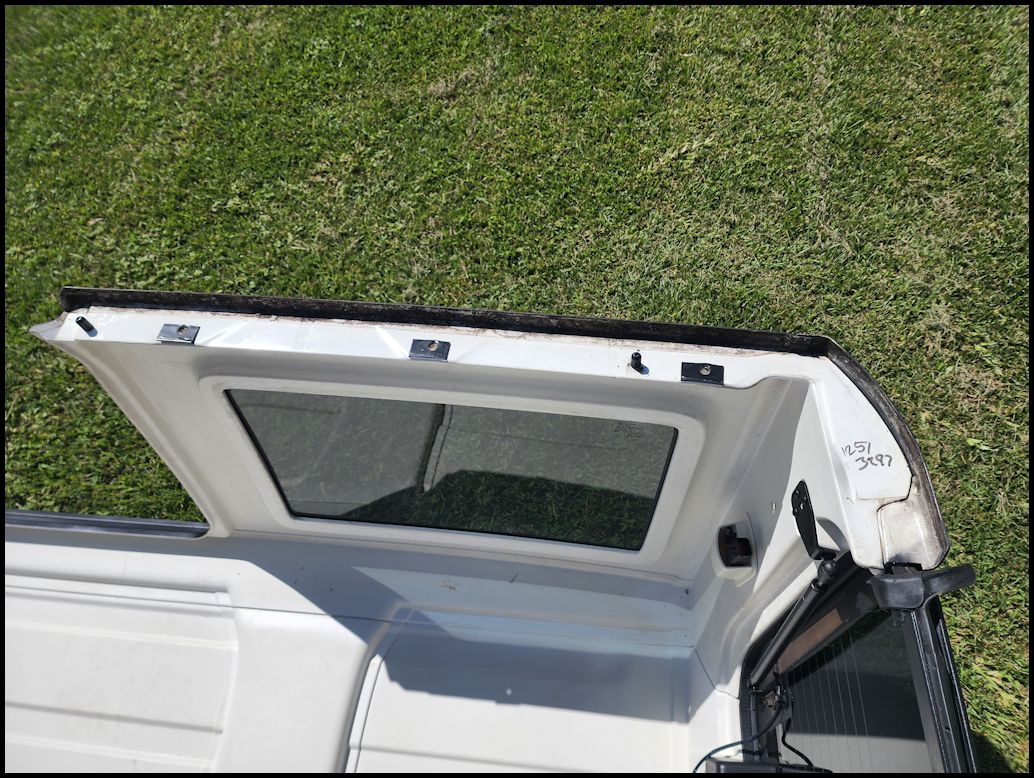
| Trying to find the leaks (Hard Top): |
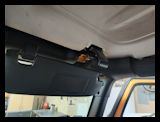
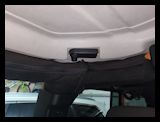
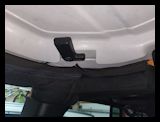
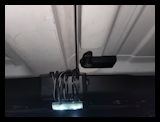
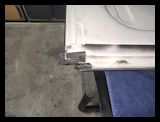
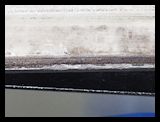
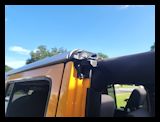
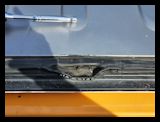
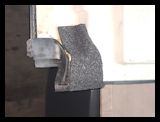
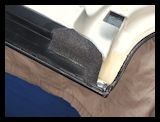
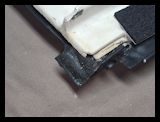
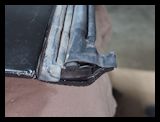
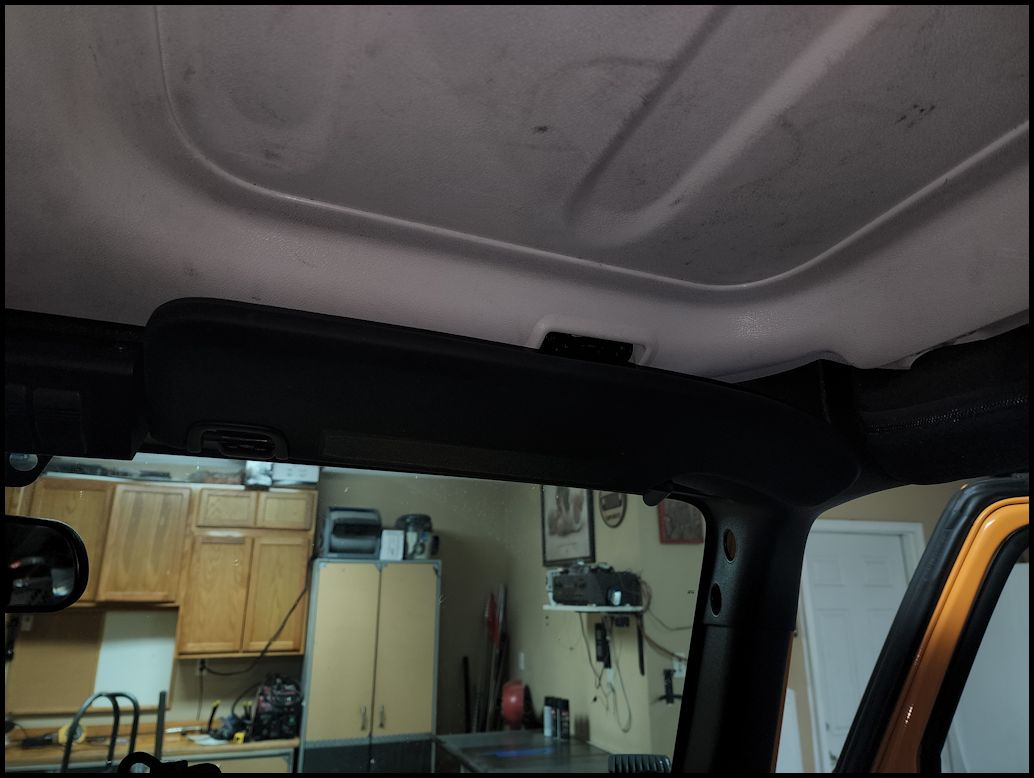
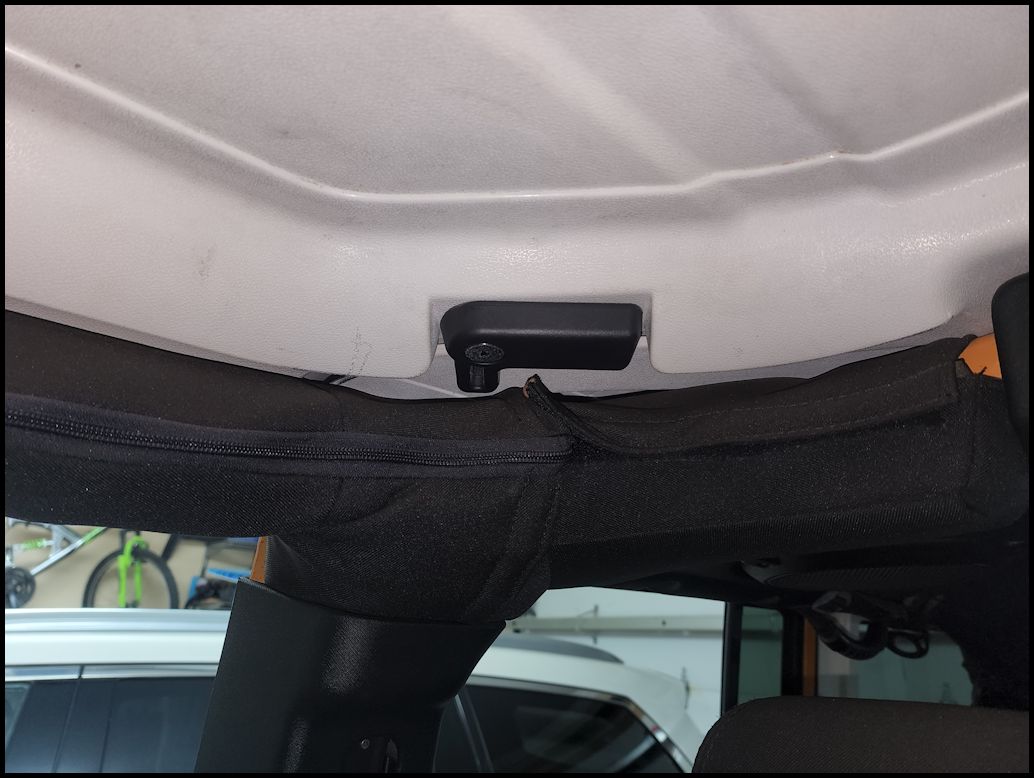
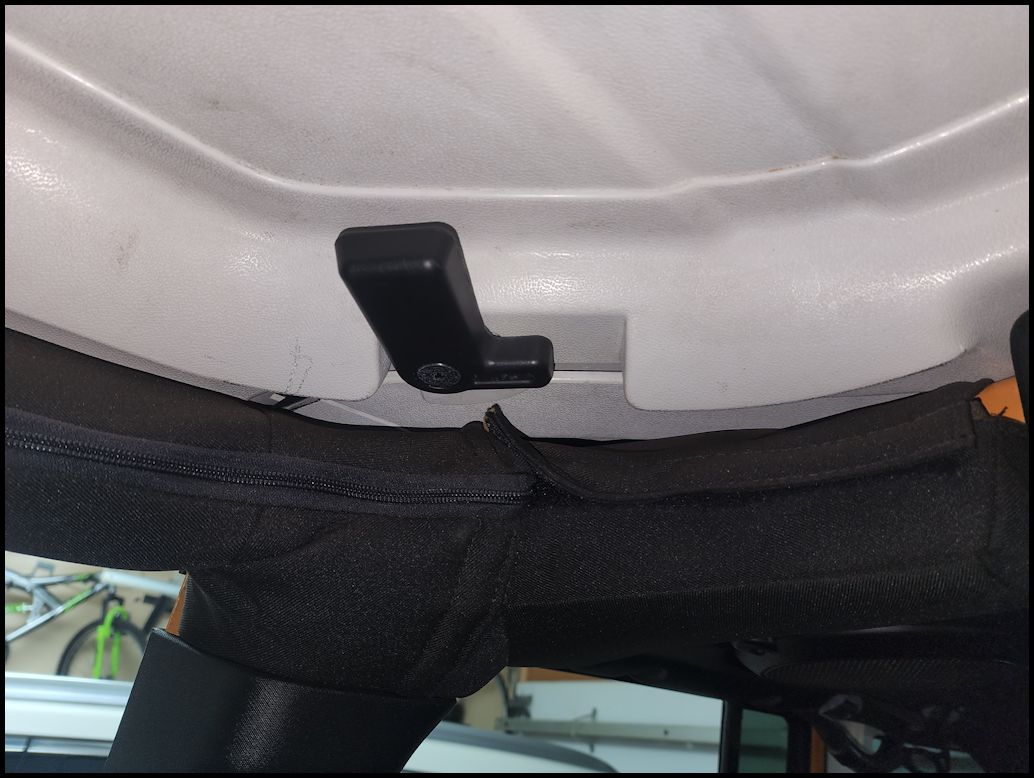
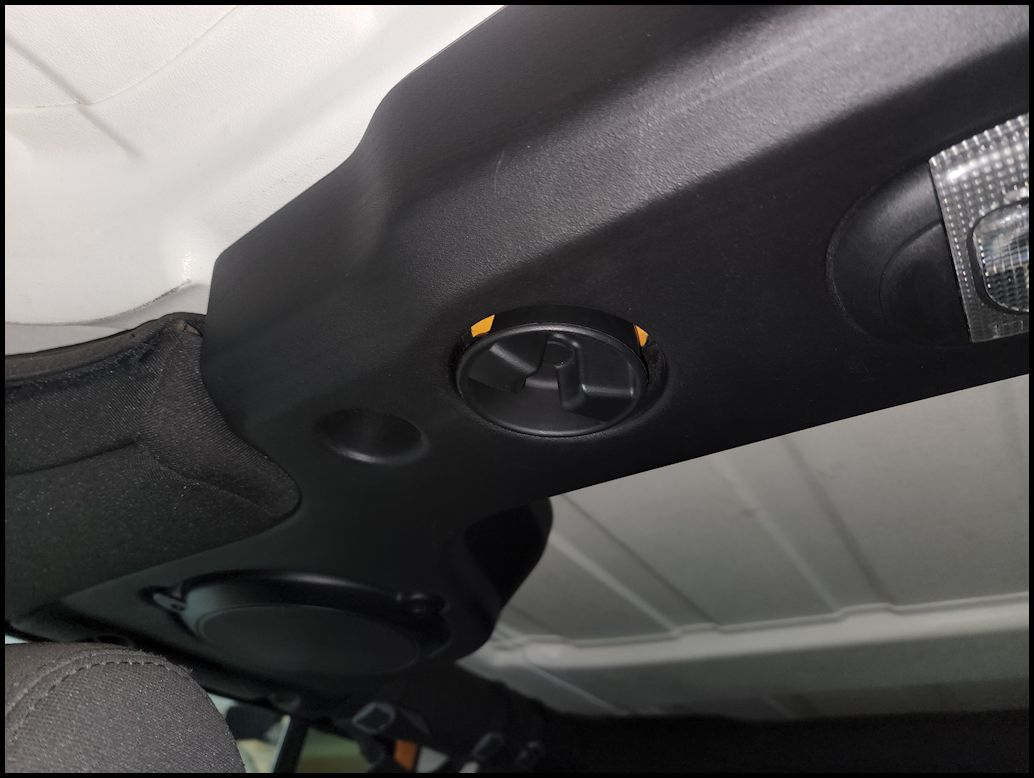
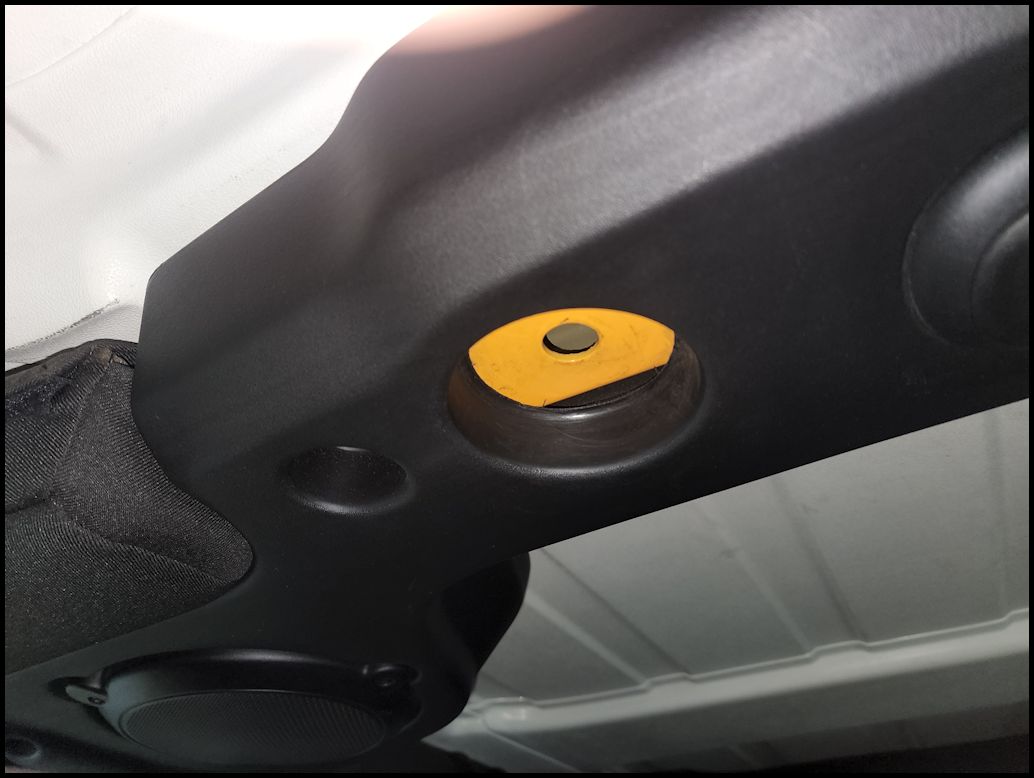
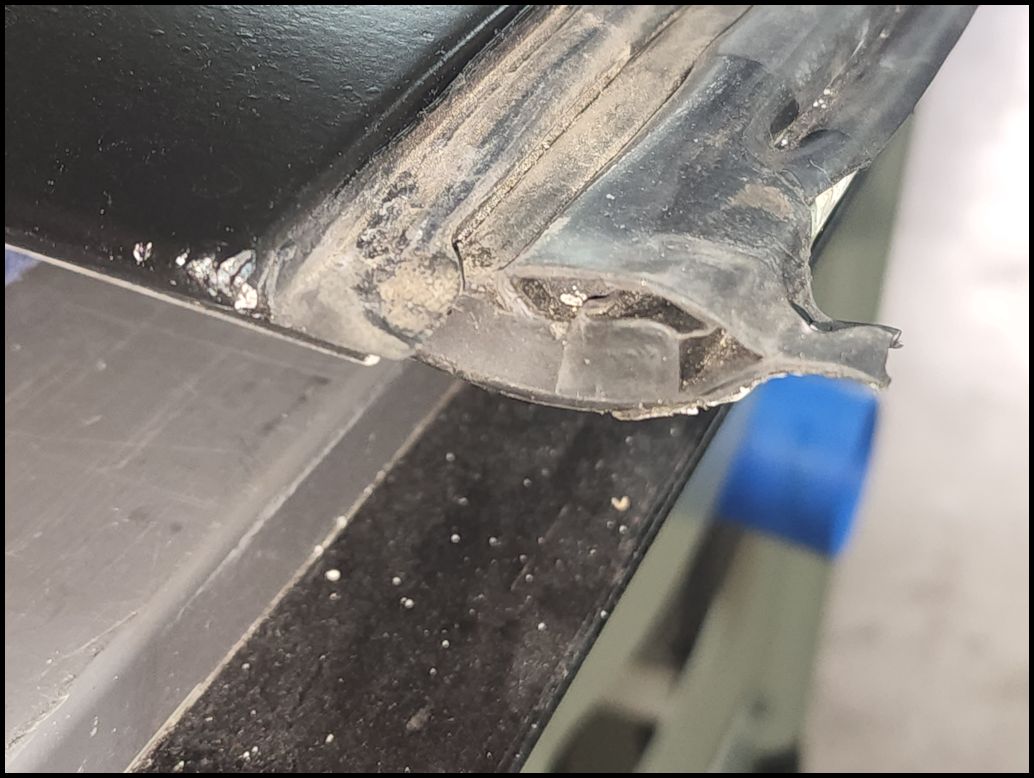
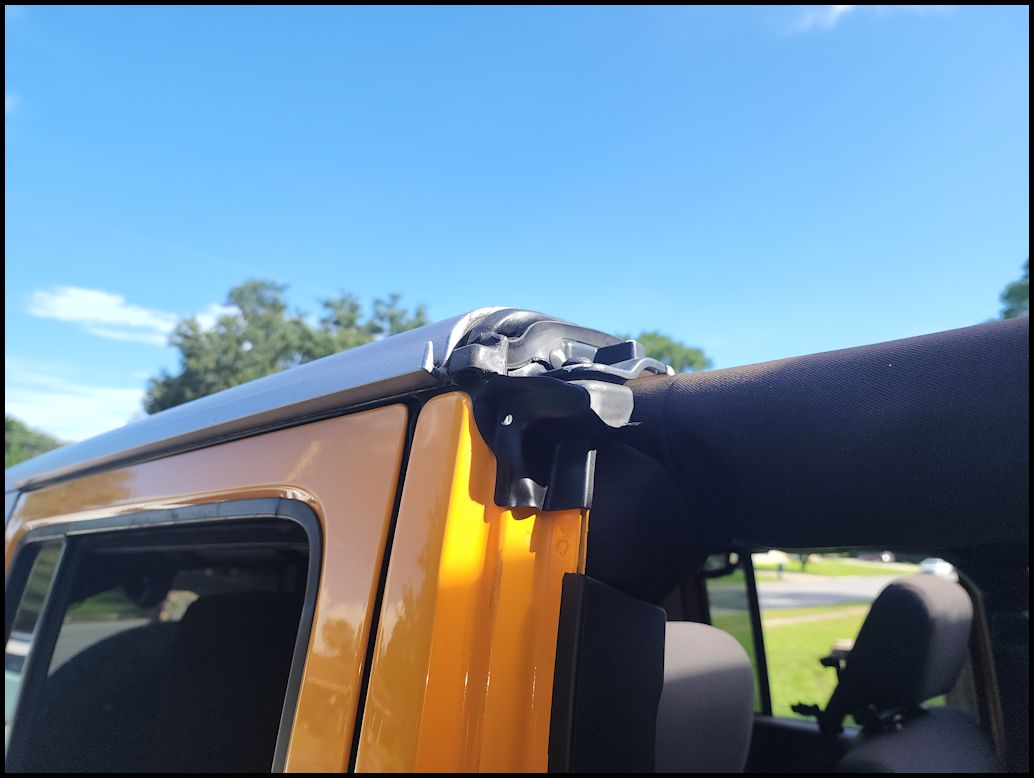
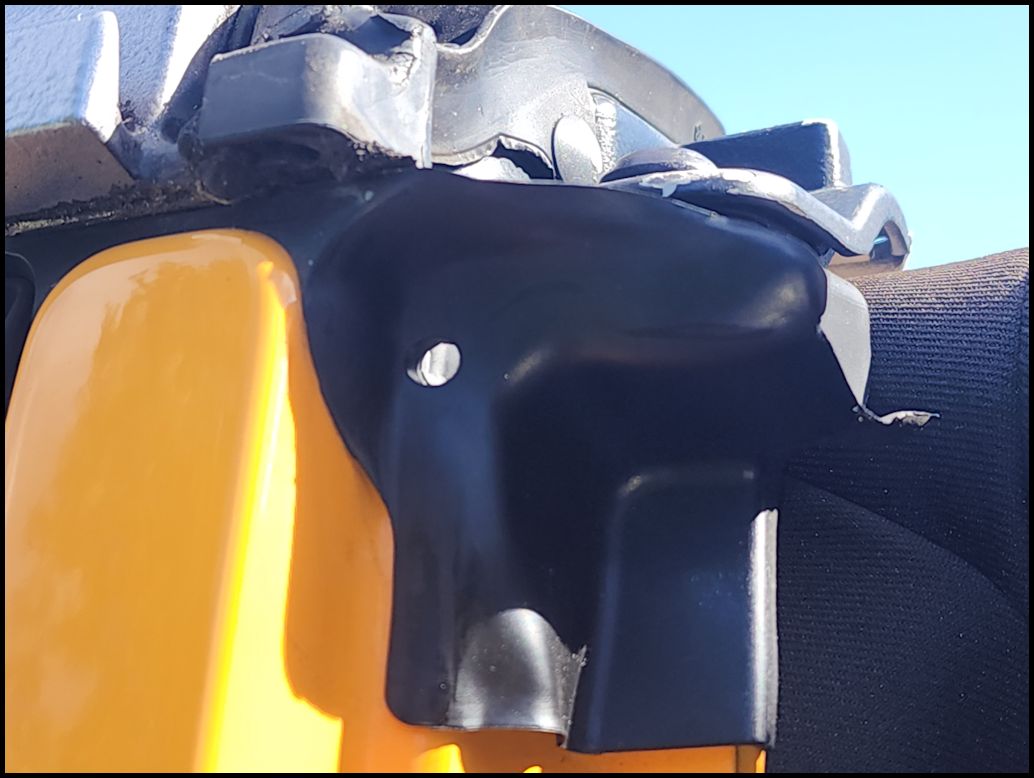
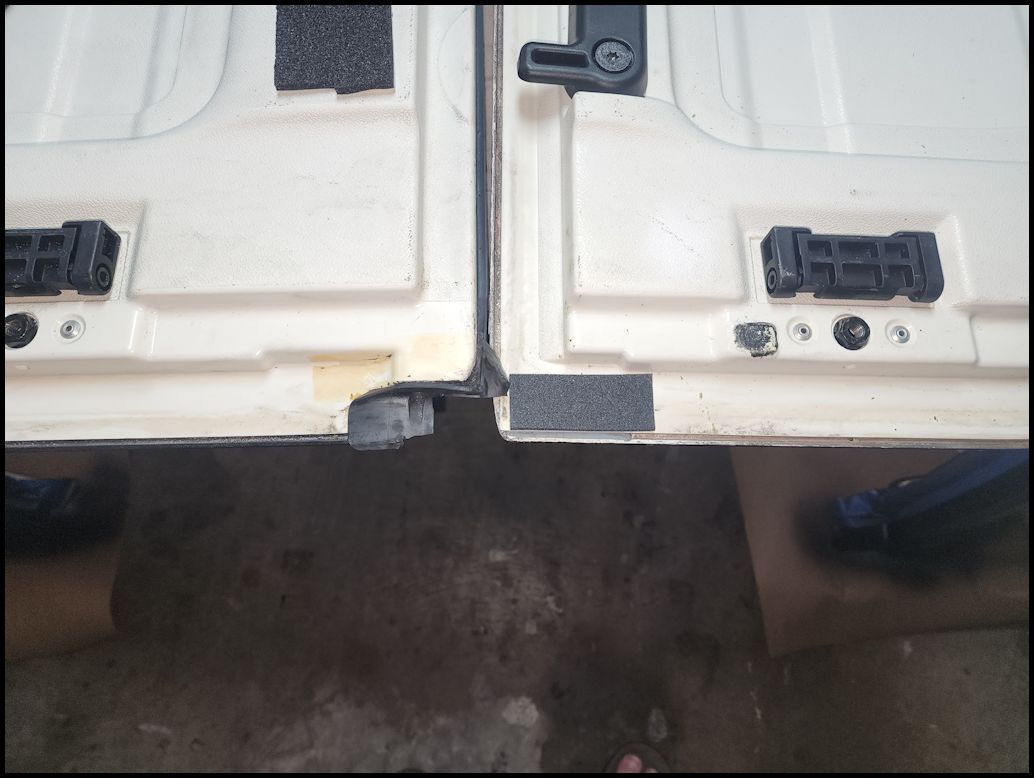
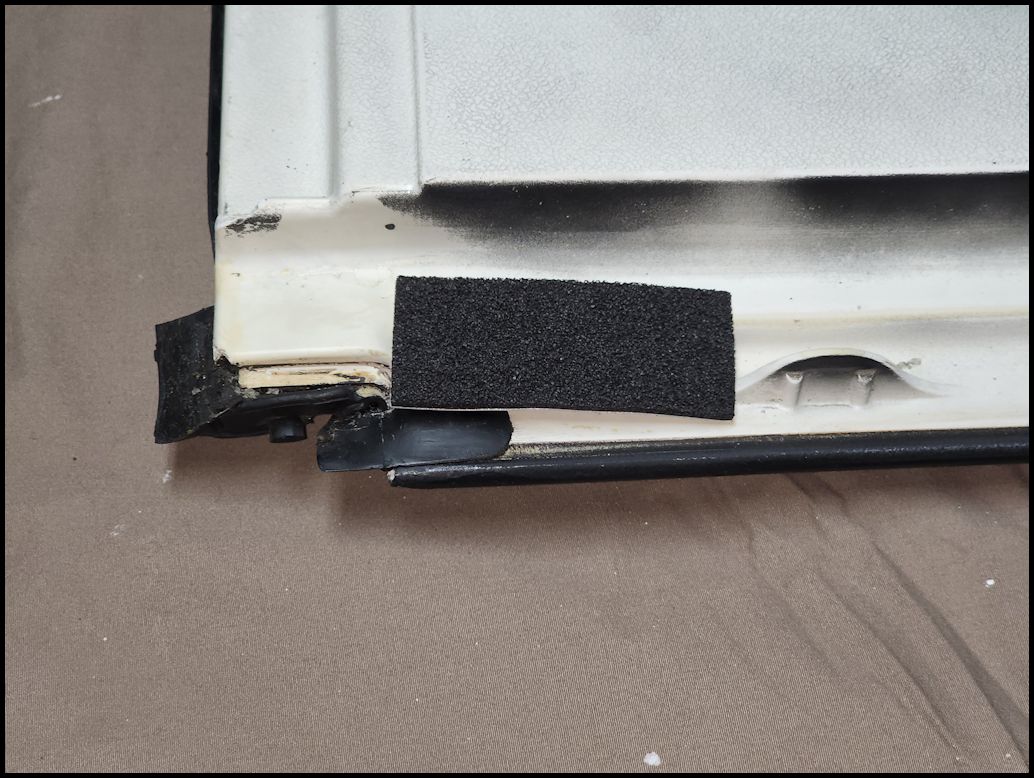
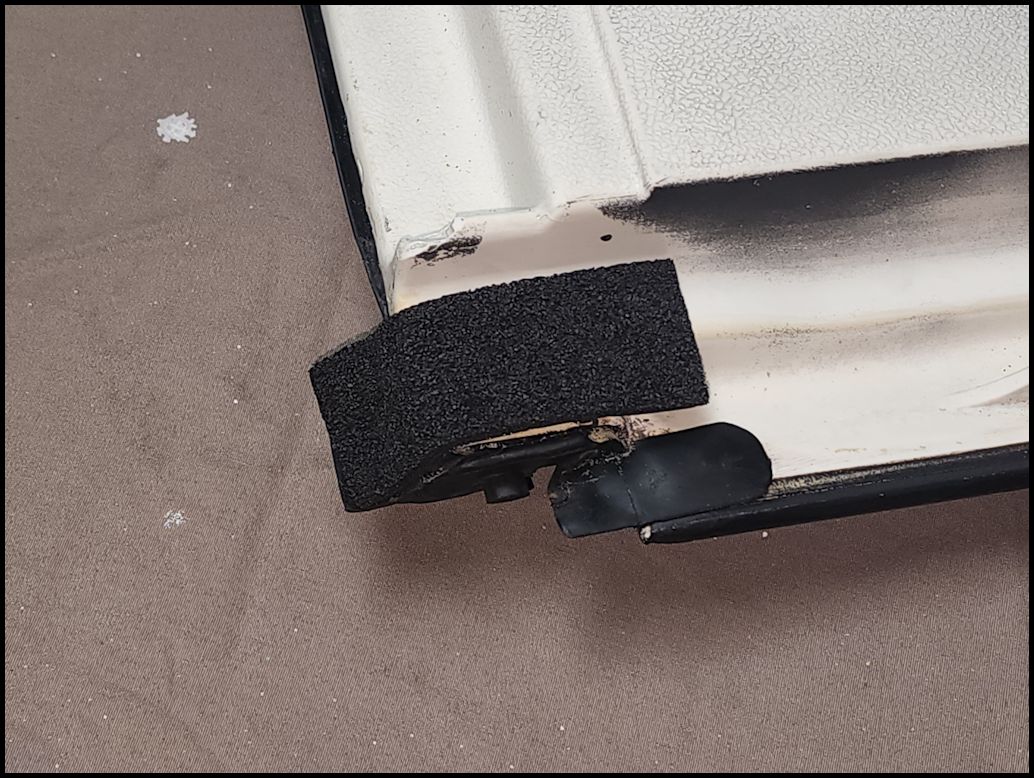
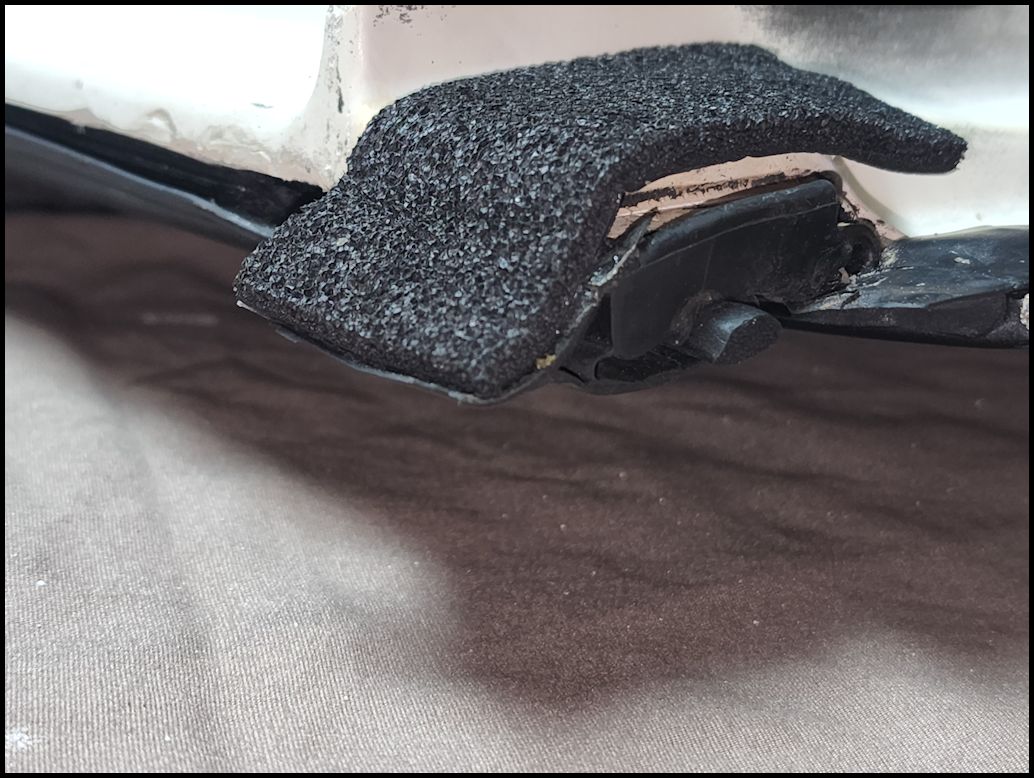
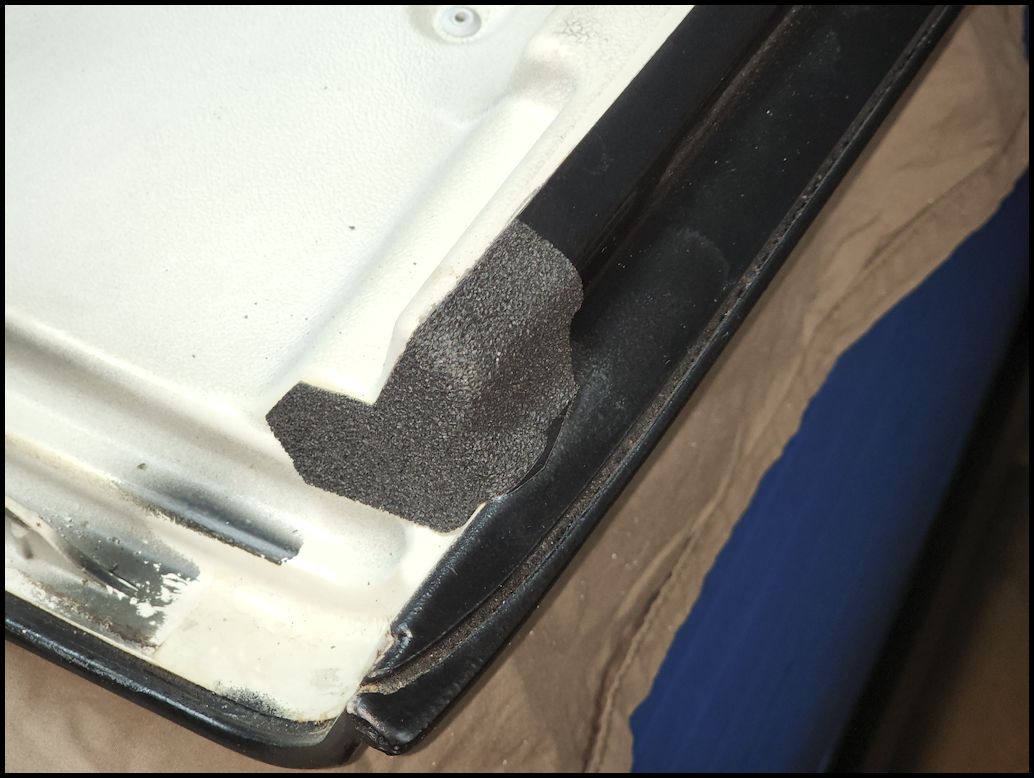
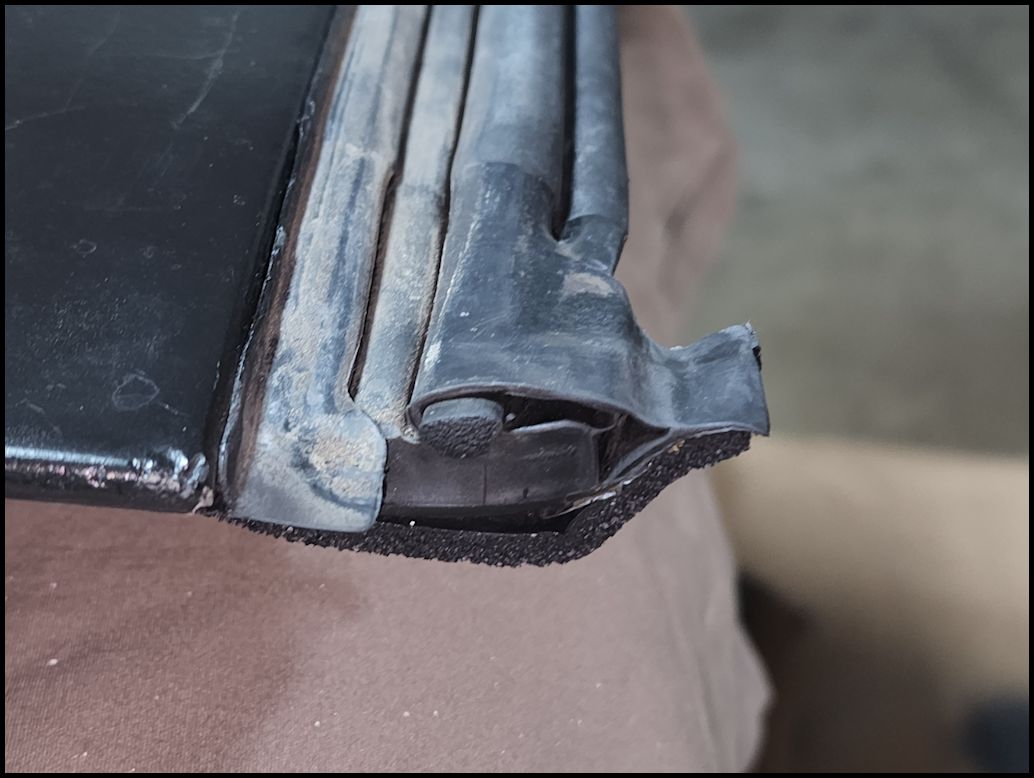
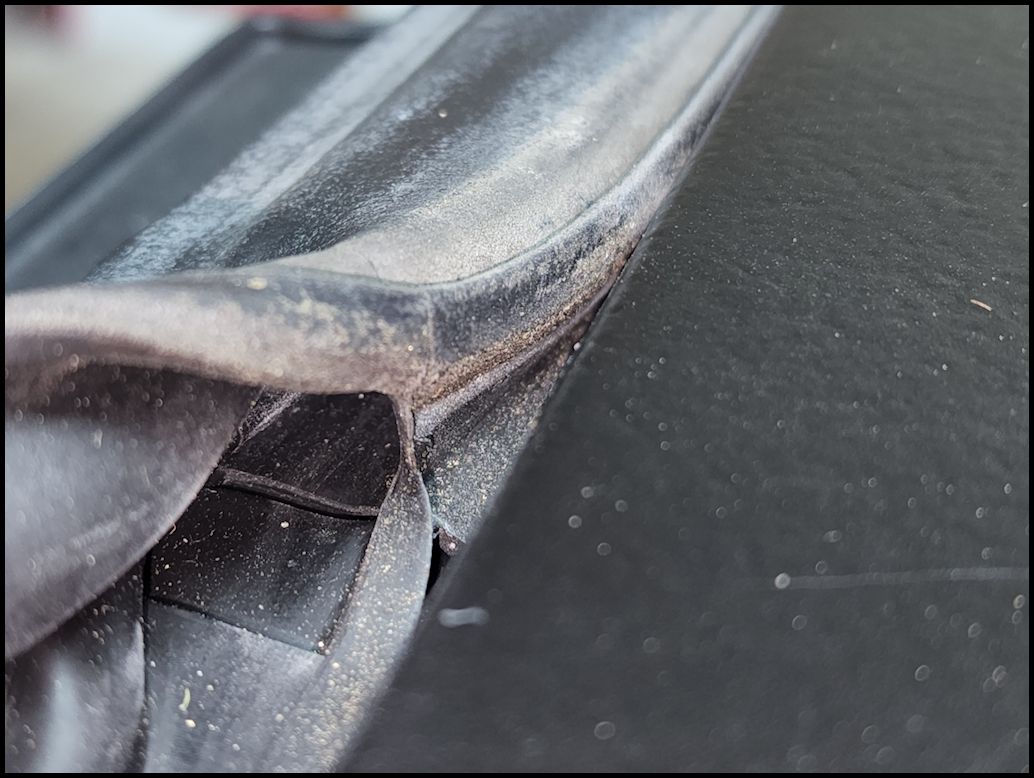
| On top of the B pillars are two muck buckets that collect the rain from the seal on the hard top. Check these to make sure that they are not full of dirt and that the hole on the side is clear so the water can run out between the B pillar and the door seal. |
 |
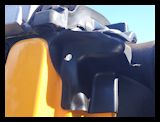 |
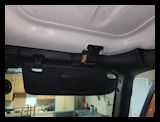
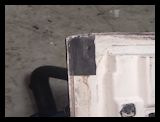
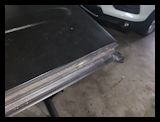
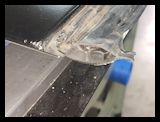
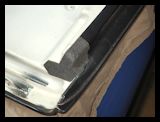
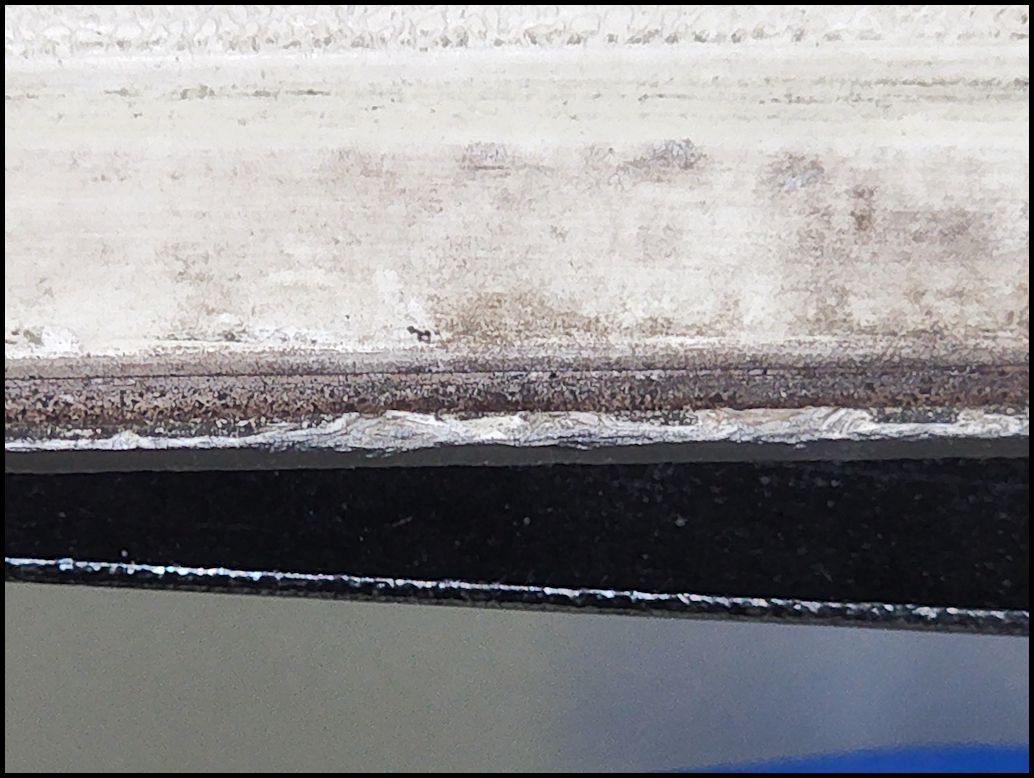
Check the area above the muck bucket to see if the seal is folded over or deteroriated in that area. You can see how there is a couple lips in this area. Mine are in good condition. Check to make sure that hard top bolt isn't loose while your here.
Note: There is a seal on the B pillar that is not included in the seal kit. |
 |
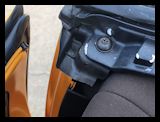 |
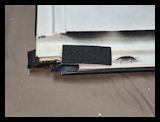
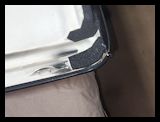
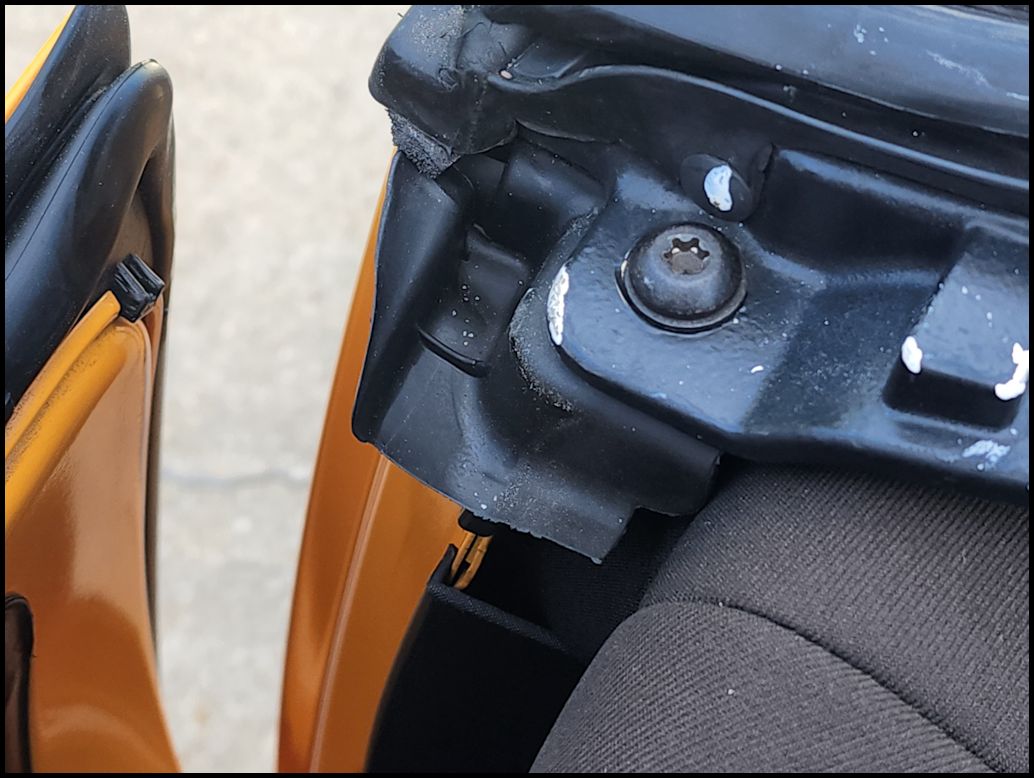
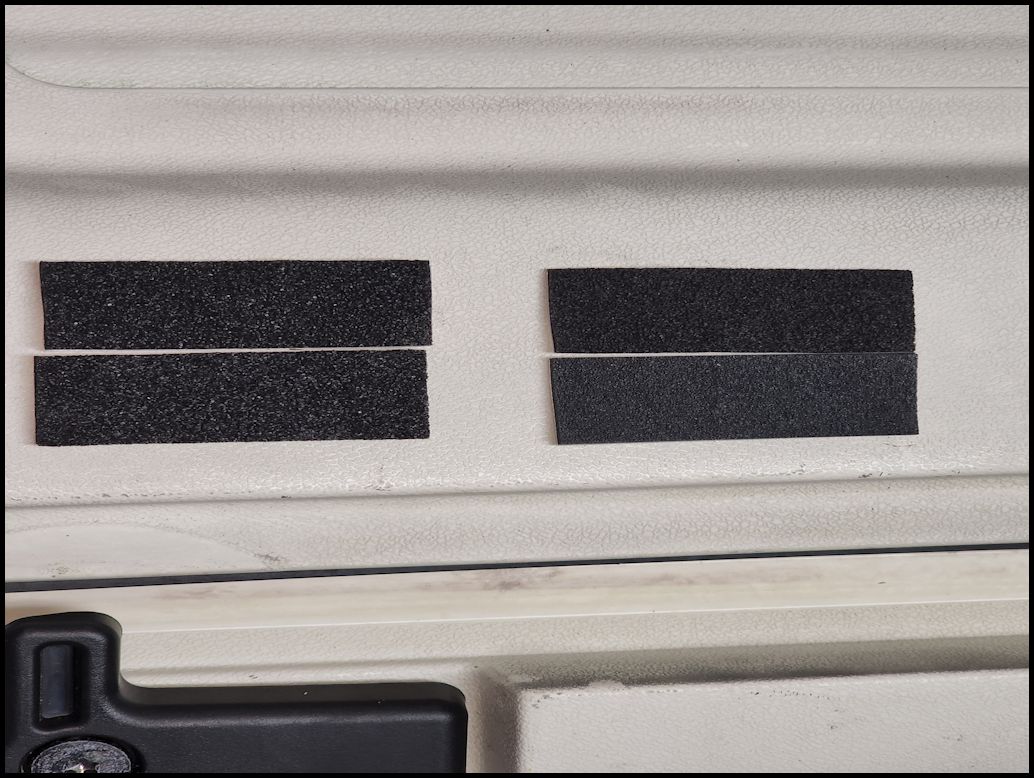
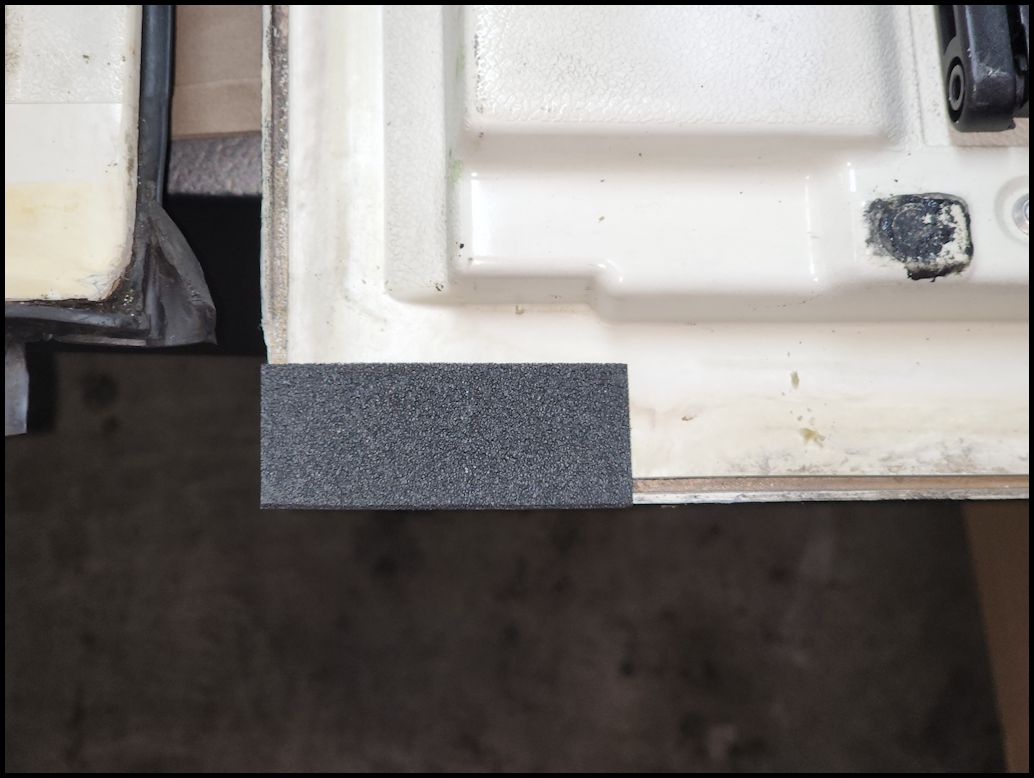
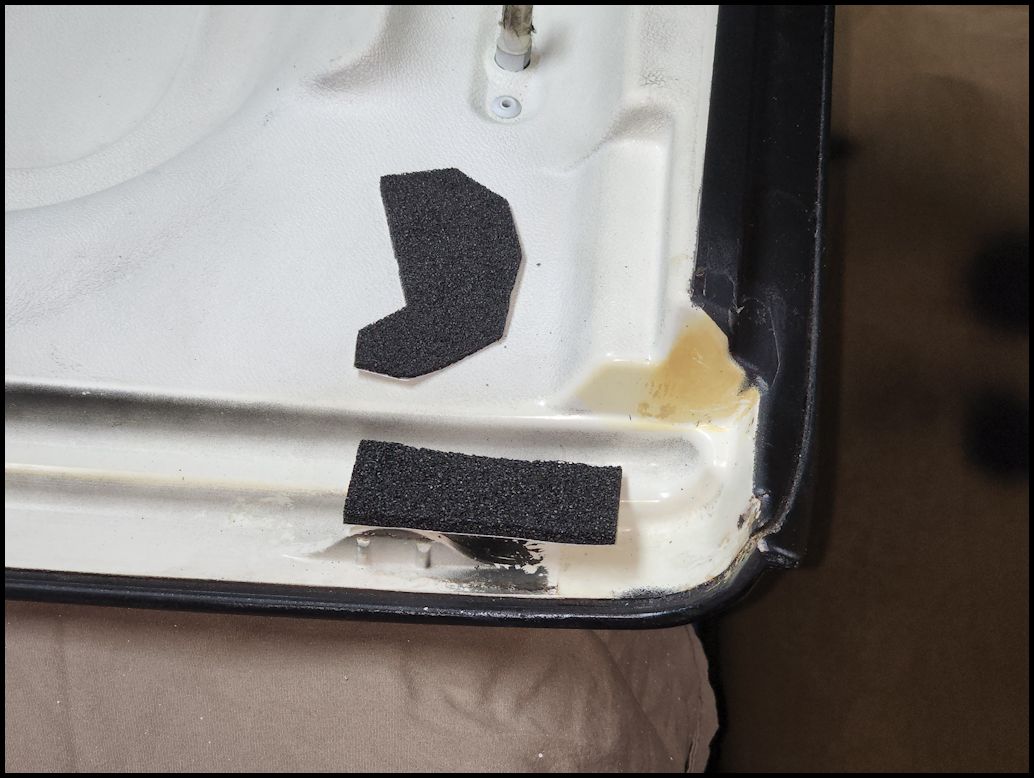
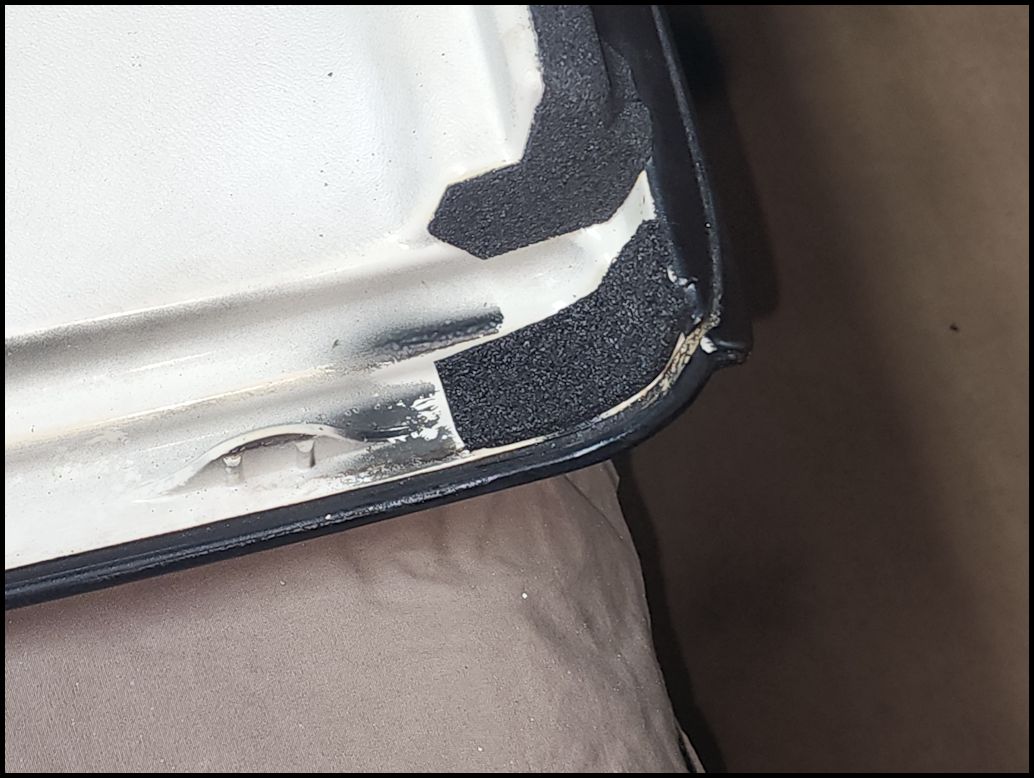
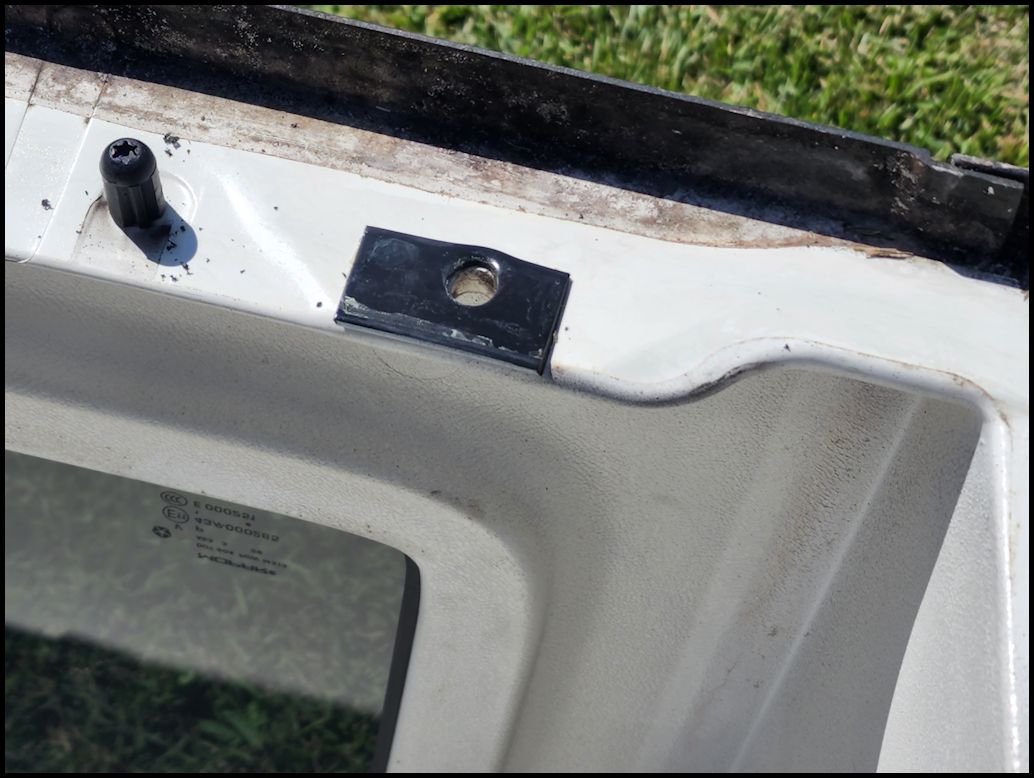
| Make sure the entire seal area is clean. Remove any dirt and debris. |
 |
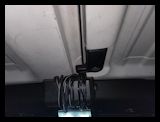
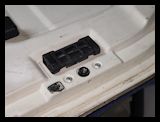
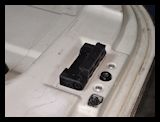
| The center of the seal is held in place by two push pins. I checked to make sure that no debris had gotten underneath and that they were still there and pushed in place. The seal is held in by double sided tape along the rest of the lenght. |
 |
 |
 |
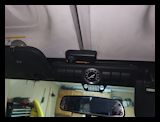
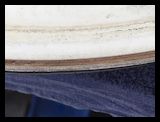
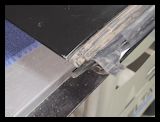
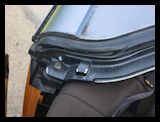
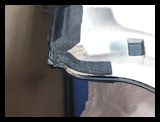
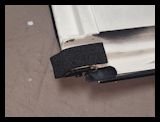
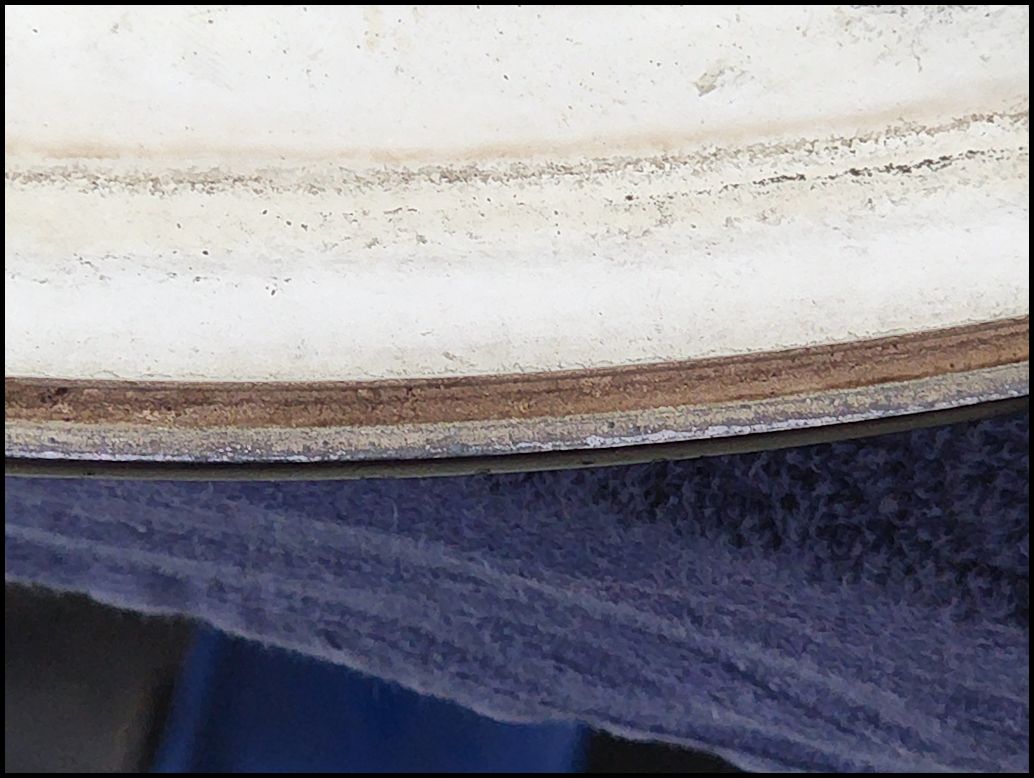
Check the front windshield seal to make sure that it is clean and no dirt or debris has gotten into it. Check to see if it is torn or damaged.
Note: The seal you see on the side of the windshield gasket is not included in the kit. |
 |
 |
| Check the weather seal around the doors to ensure that they are not damaged. Pull the seals back and check the area by the metal of the door. Look for any tears, cuts or holes. One area on mine that seems to come out of the tabs is at the bottom of the door. |
| |
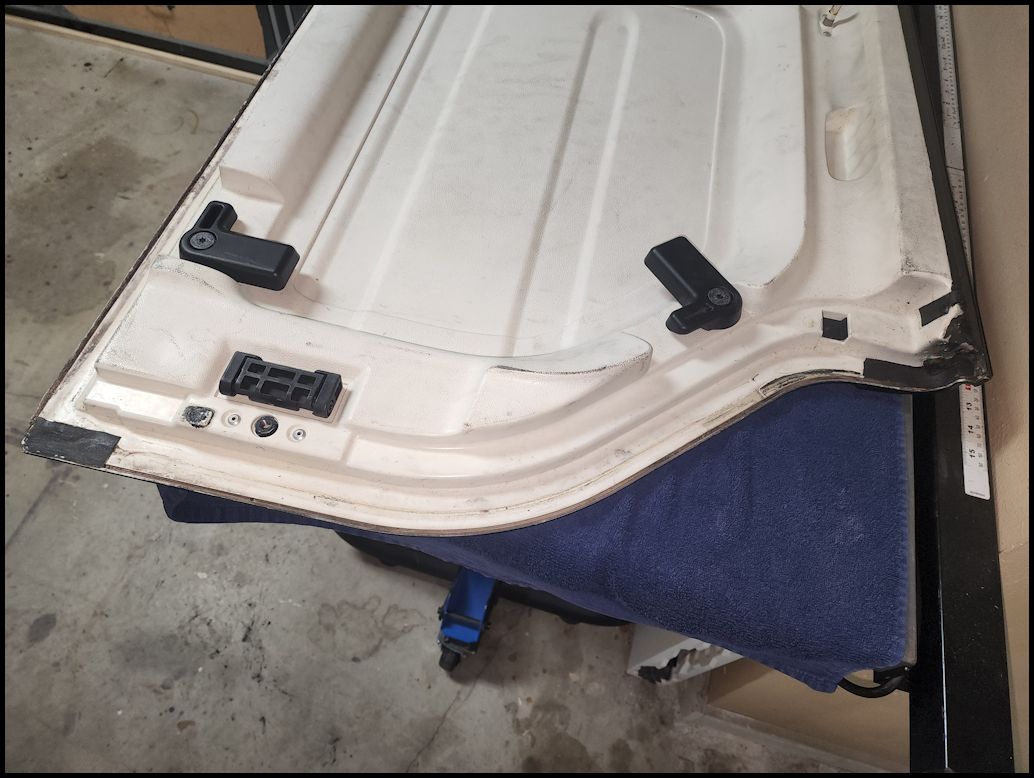
| Replacing the seals on the Freedom Panels: |
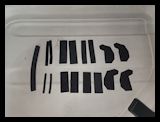
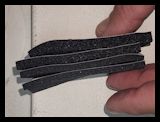
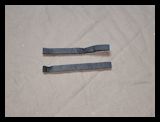
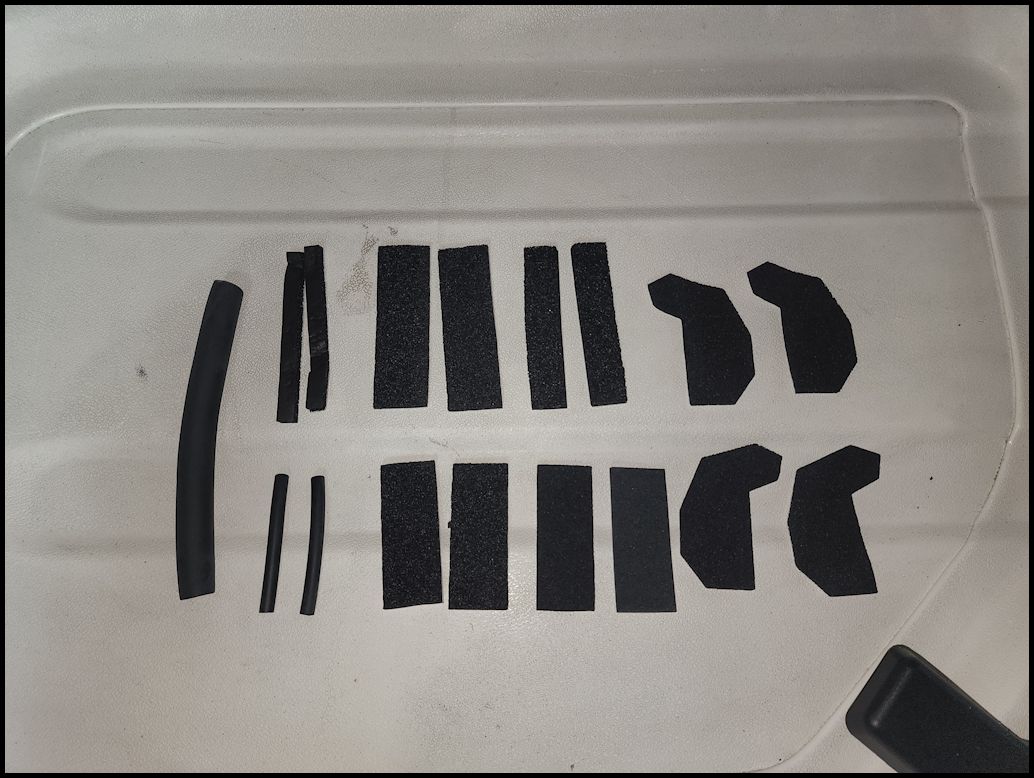
I layed both of the freedom panels on their top so that I could match up the seals with the correct locations on the panels. I started with laying them out by size. The 3m adhesive on these parts is extremely sticky, so use caution when pealing the protective layer off of the foam.
(4) Corner Piece (two right, two left)
(2) 30mm x 75mm x 3mm (flame tip front molded detail section center section)(front inboard left and right)
(2) 30mm x 75mm x 2mm (rear inboard left and right)
(2) 20mm x 95mm x 5mm (rear outboard left and right)
(2) 30mm x 95mm x 3mm (front outboard left and right)
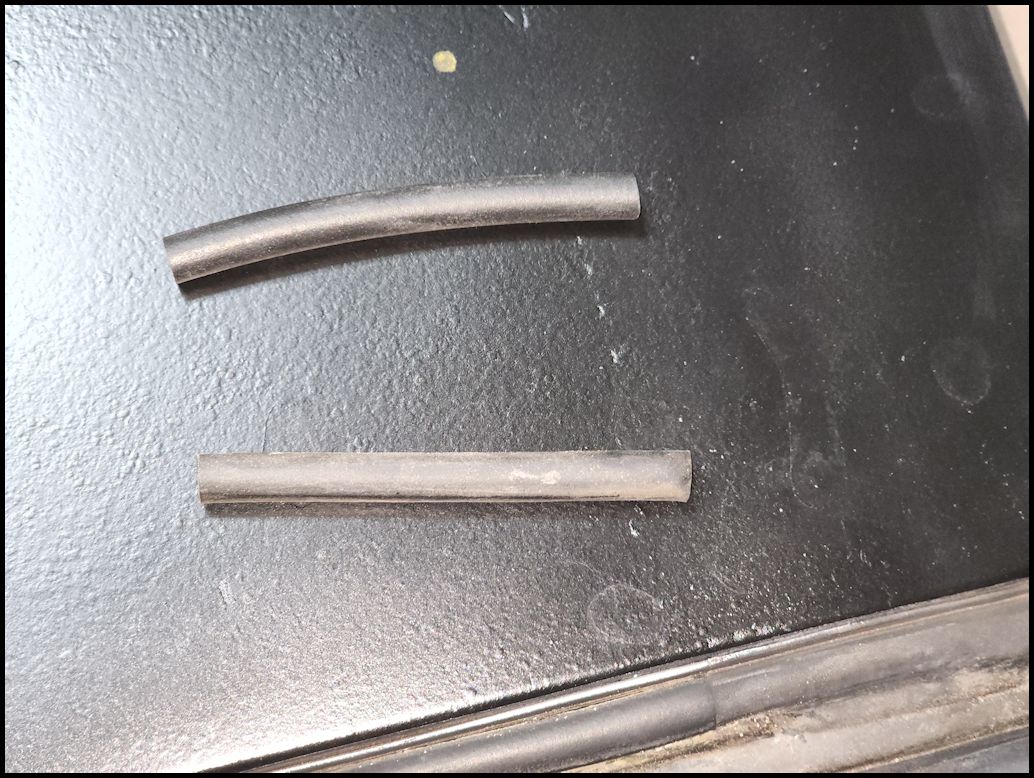
(2) ?mm x ?mm x ?mm left and right panel center seal round stuffer front and rear end
Unknown: (possible locations)
(2) 9mm x 100mm x 6.35mm (front outboard corner to header seal left and right)
(1) 13mm x 8mm x 160mm (windshield header seal round stuffer) |
 |
 |
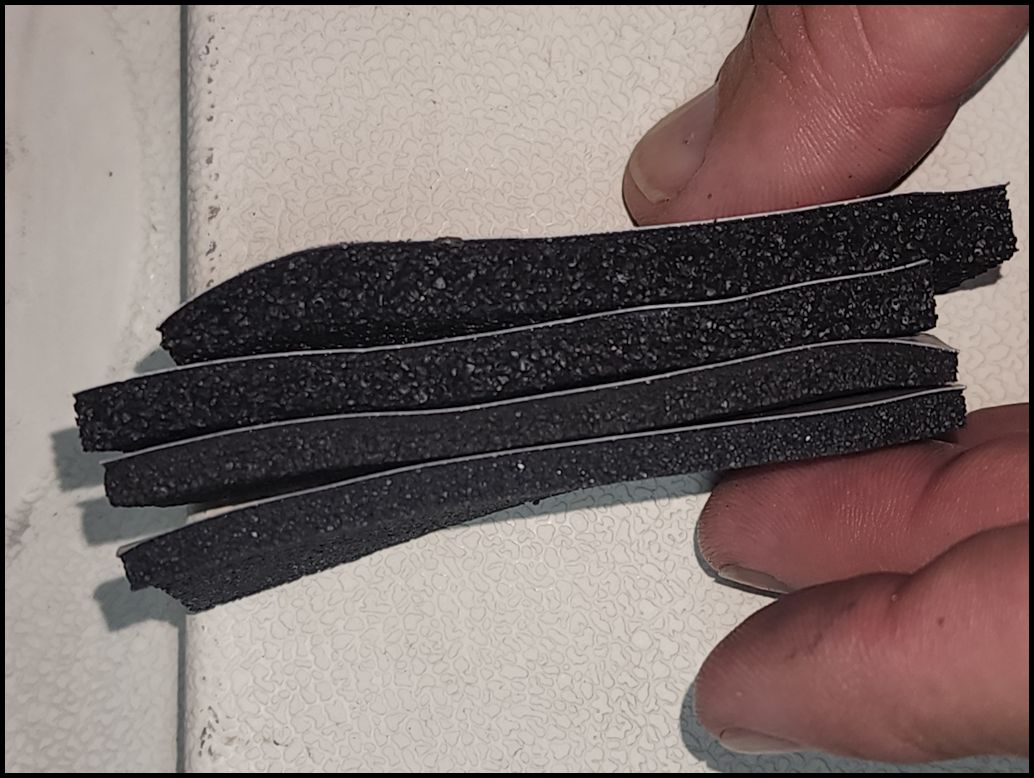
| The kit contains four (4) of the same size foam strips. Look closely and you should see that two (2) are denser than the others. Two are 3mm and the others 2mm. The 2mm strips are a denser foam. |
 |
 |
| |
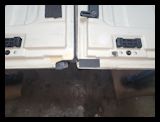
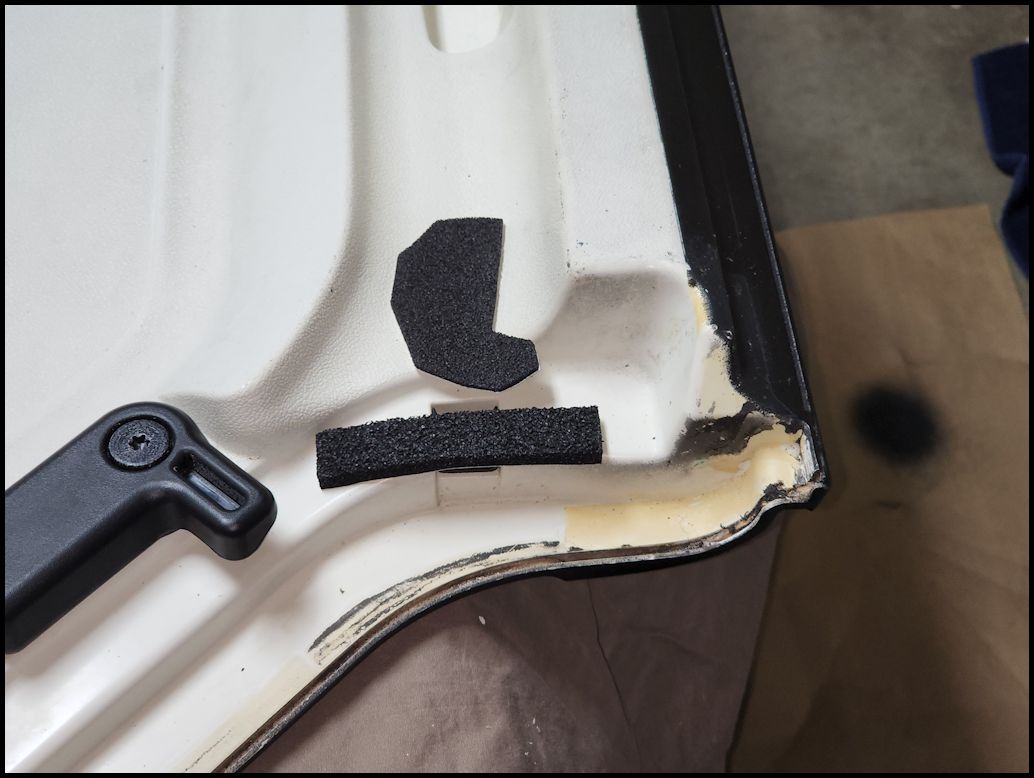
Driver Side Freedom Panel: (Remember your looking at the panel upside down) |
| Rear Inner: 30x75x2 (1 piece)
Place the seal in the rear inner corner of the freedom panel. It will line up with the edges of the panel.
Note: I have seen mention that this may be the 3mm piece, but my panels had the high density foam in this area. |
 |
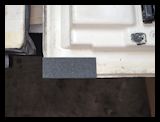 |
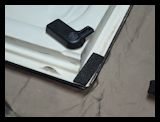
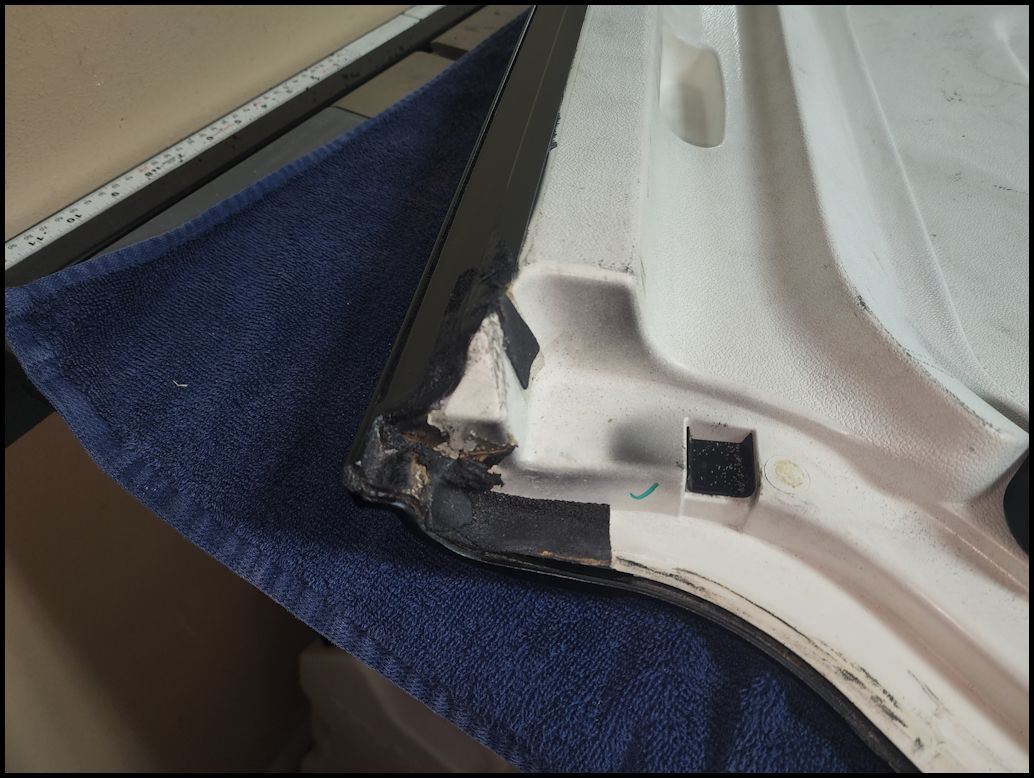
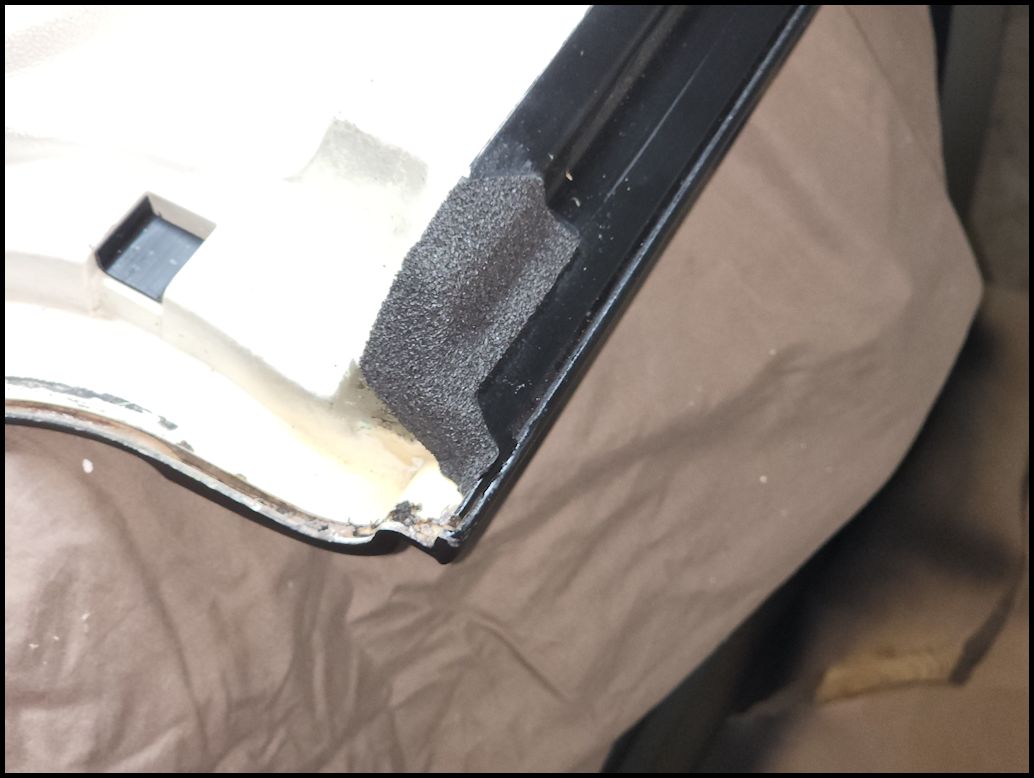
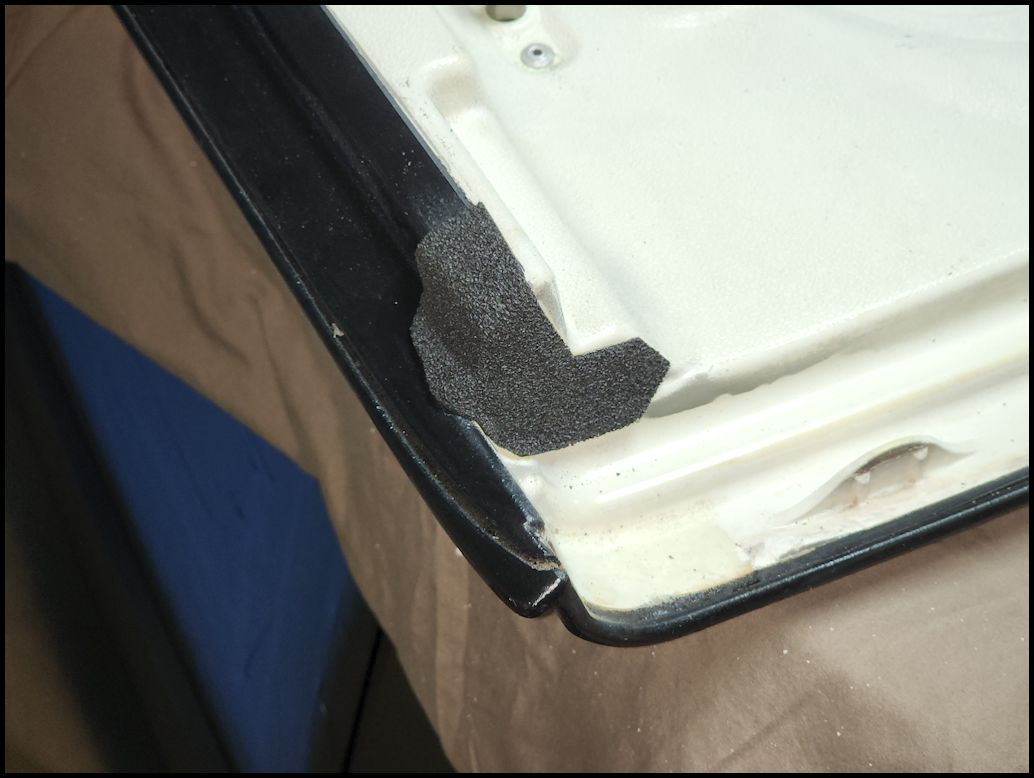
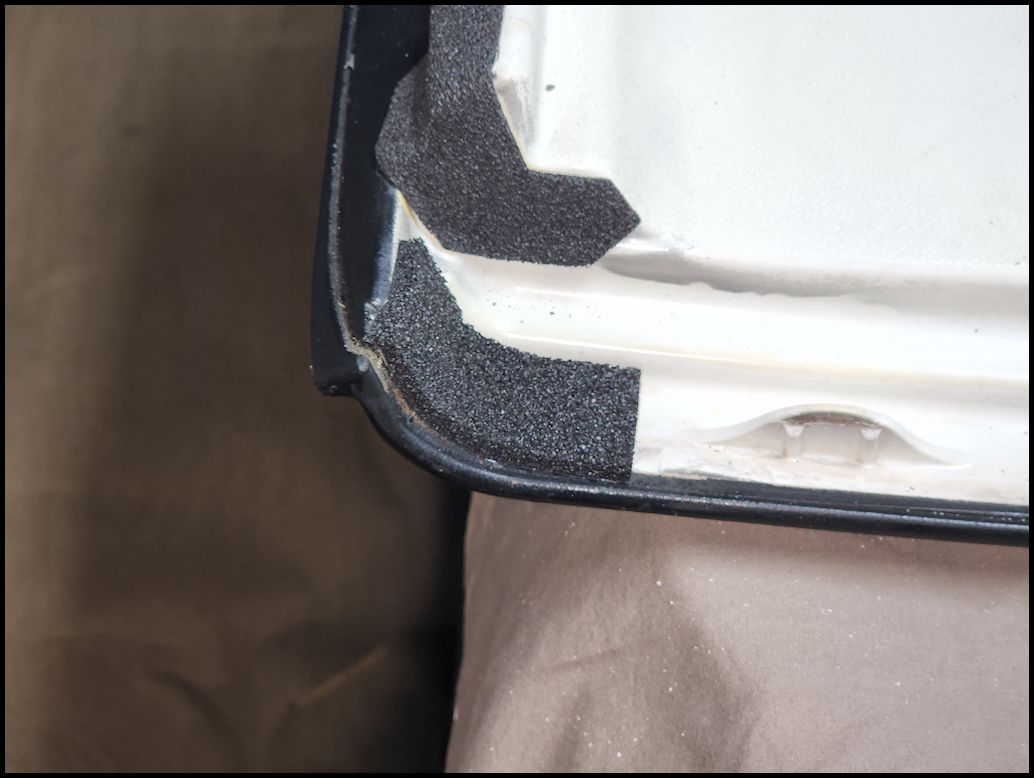
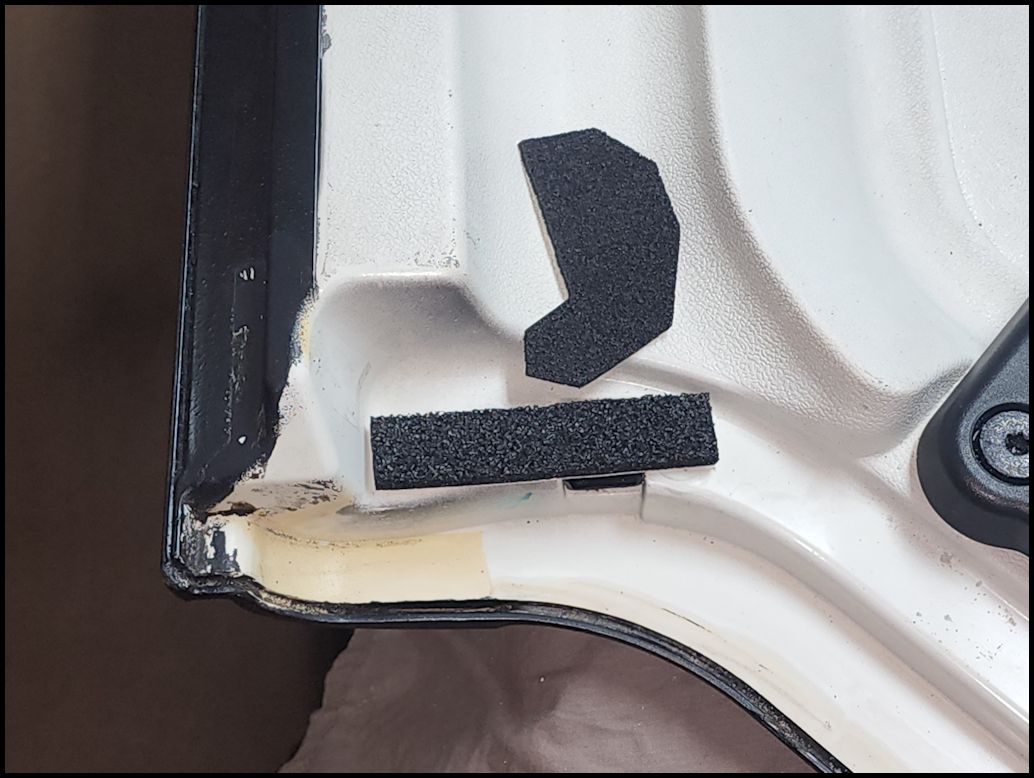
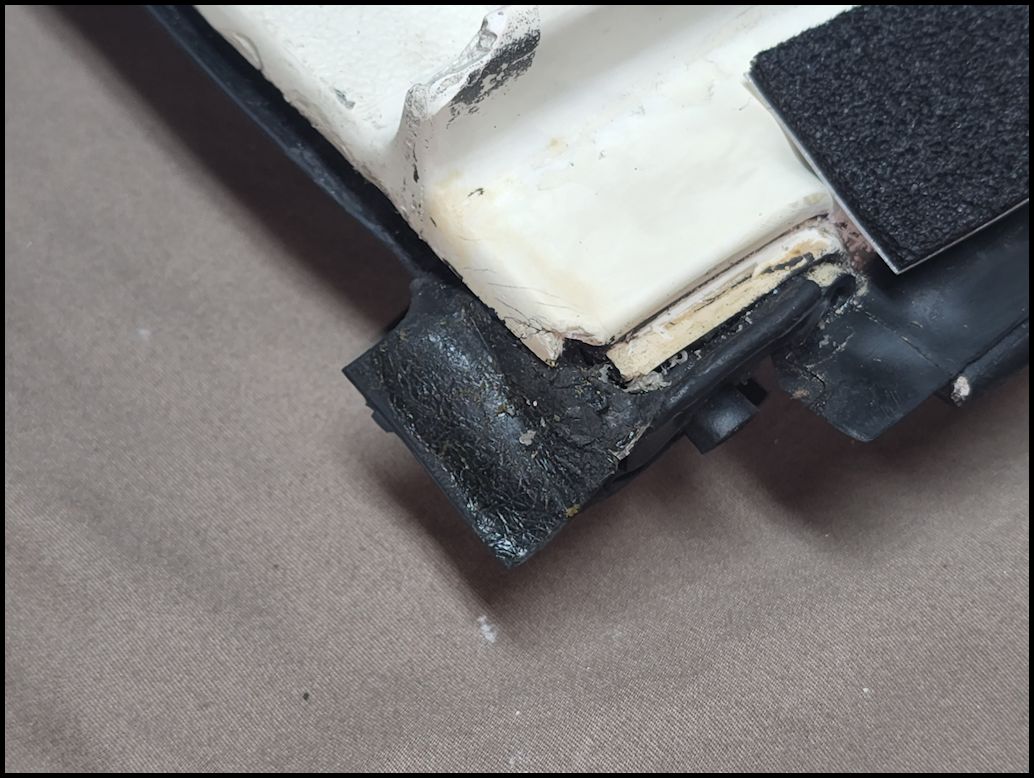
Driver Side Rear Outer: Right Corner Piece and 20x95x5 (1 piece)
I will call this the right corner piece because the little tab sticks out to the bottom right. The little tab goes towards the outer edge of the panel. The corner piece should line up with the top inner edge of the panel. You should be able to see discoloration from the old seal on the paint to get it lined up.
Place the 20mm wide piece on the outer rear corner. This piece should stay inside of the grove in the panel.
I did have an additional piece of foam seal placed over the top of the left corner piece and wrapped down into the freedom panel. I found a reference to this in the Mopar leak manual that says to cut a 30x75 piece in half length wise and apply here, but the kit didn't come with an additional piece and the two 9x100mm pieces were way to big. |
|
 |
 |
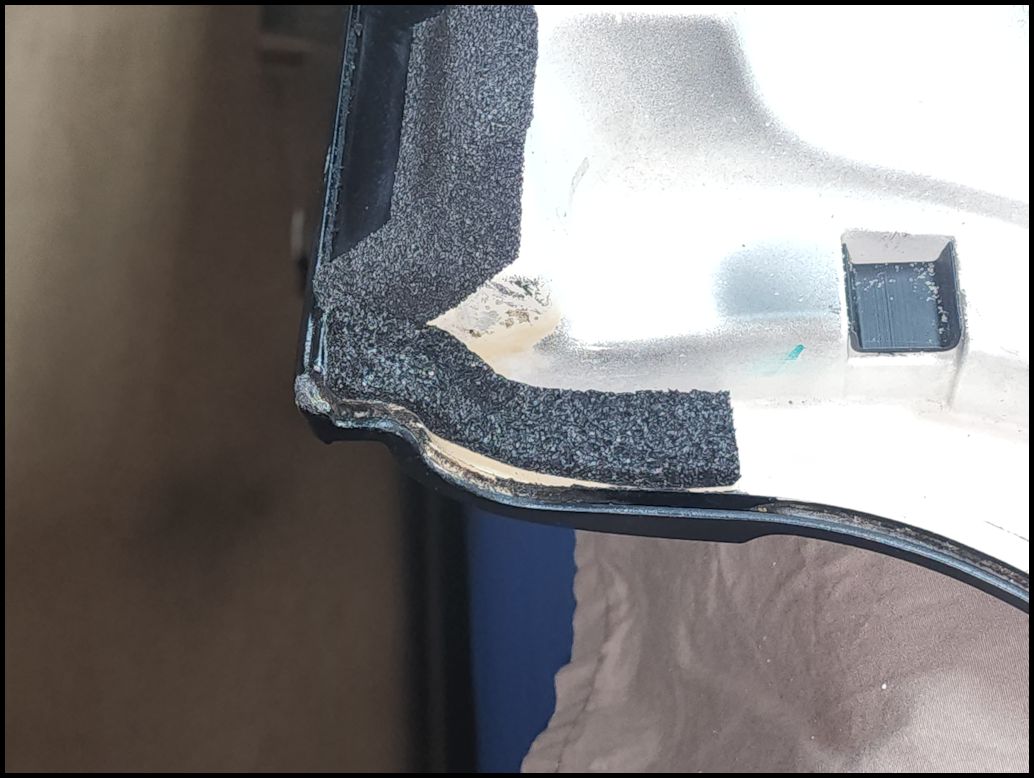
Driver Side Front Inner: 30x95x3 (1 piece)
Place the 30mm wide piece on the inner front coner. This piece should stay inside of the grove in the panel.
|
 |
 |
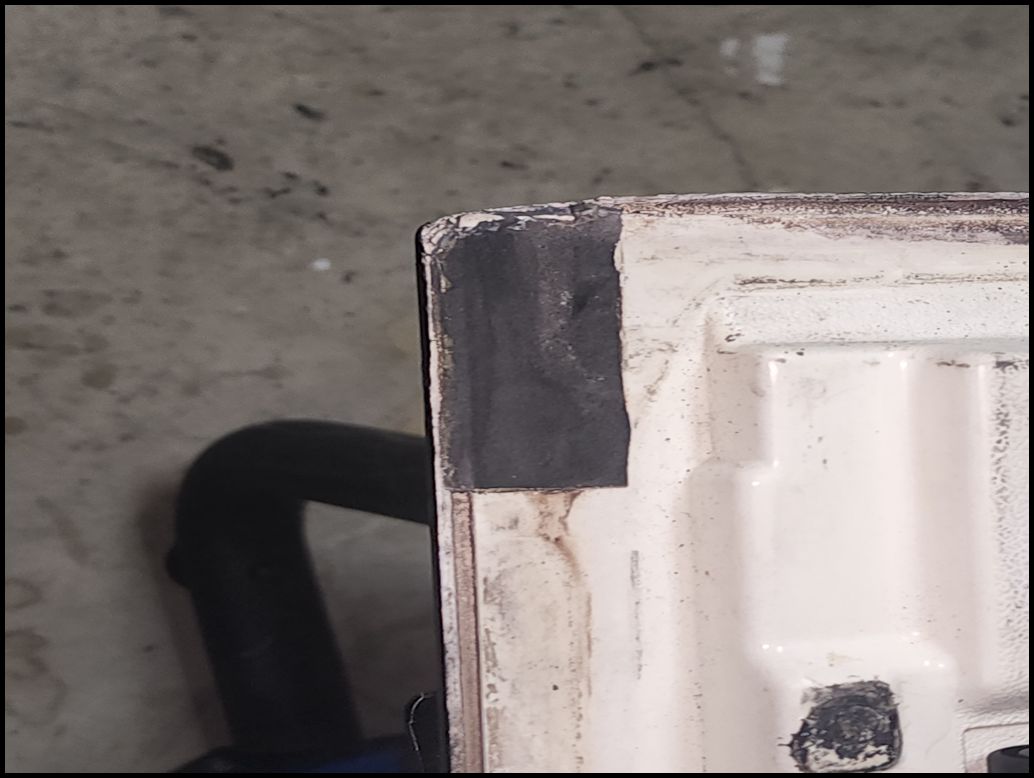
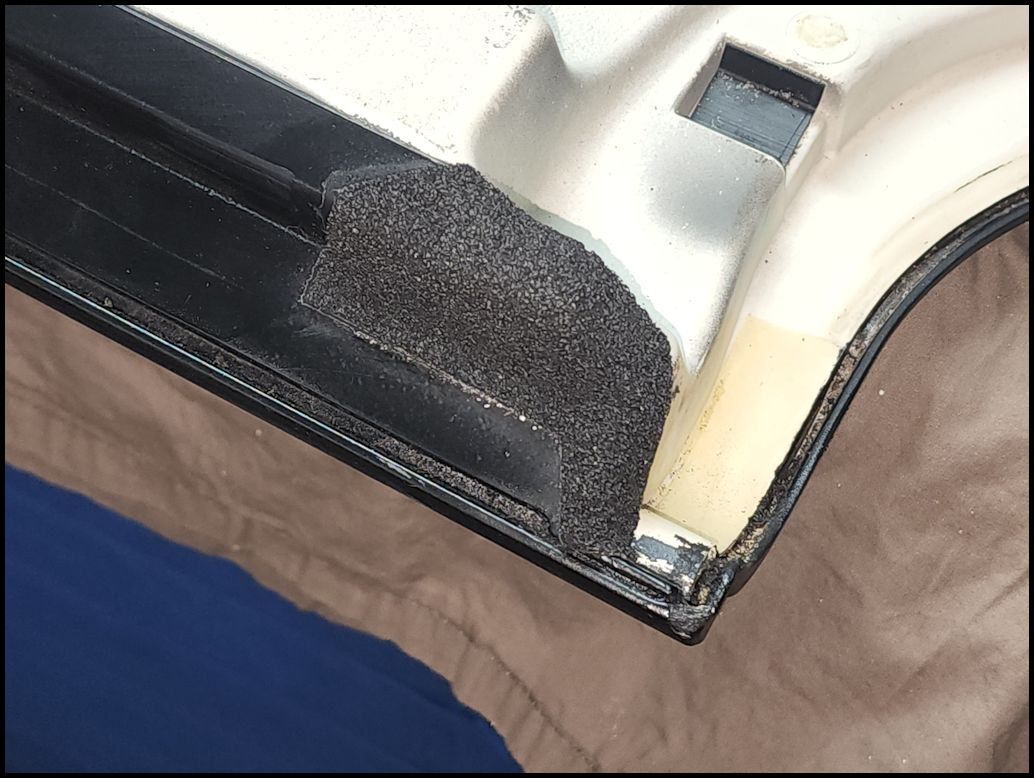
Driver Side Front Outer: Right Corner Piece and 30x75x3 (1 piece)
I will call this the right corner piece because the little tab sticks out to the bottom right. The little tab goes towards the inside of the panel. The corner piece should line up with the notch on the front side of the panel. You should be able to see discoloration from the old seal on the paint to get it lined up.
Place the 30mm wide piece on the front outer corner. This piece should stay inside of the grove in the panel and start right where the edge transitions from the horizontal to the vertical. |
 |
 |
 |
| |
Passenger Side Freedom Panel: (Remember your looking at the panel upside down) |
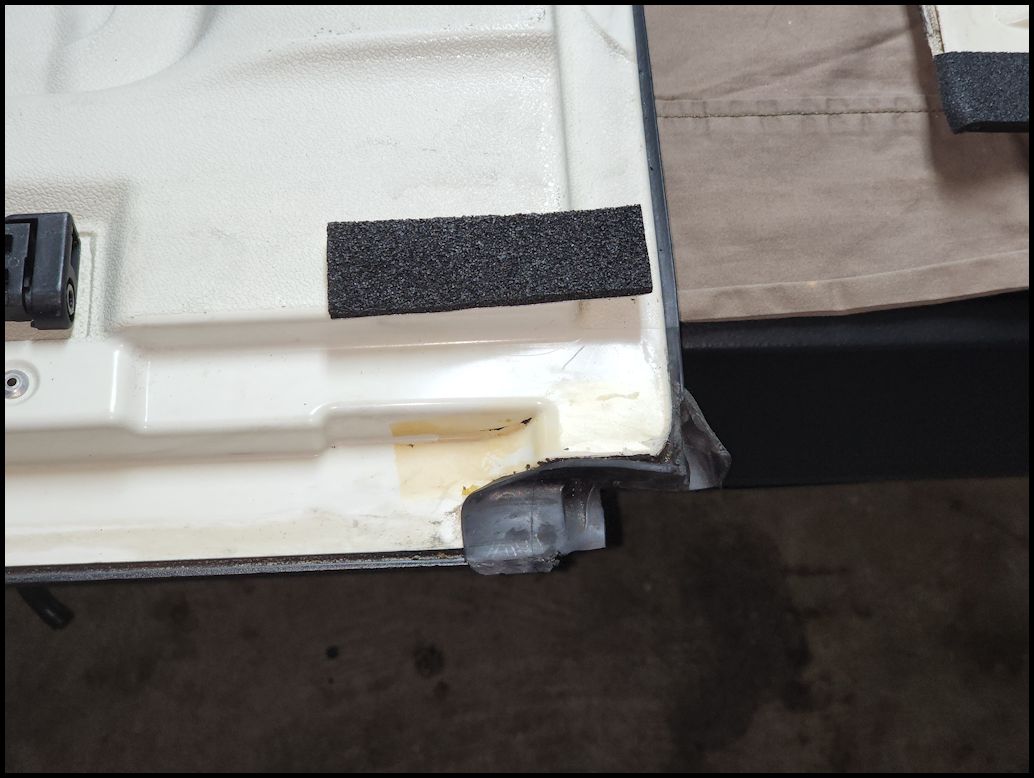
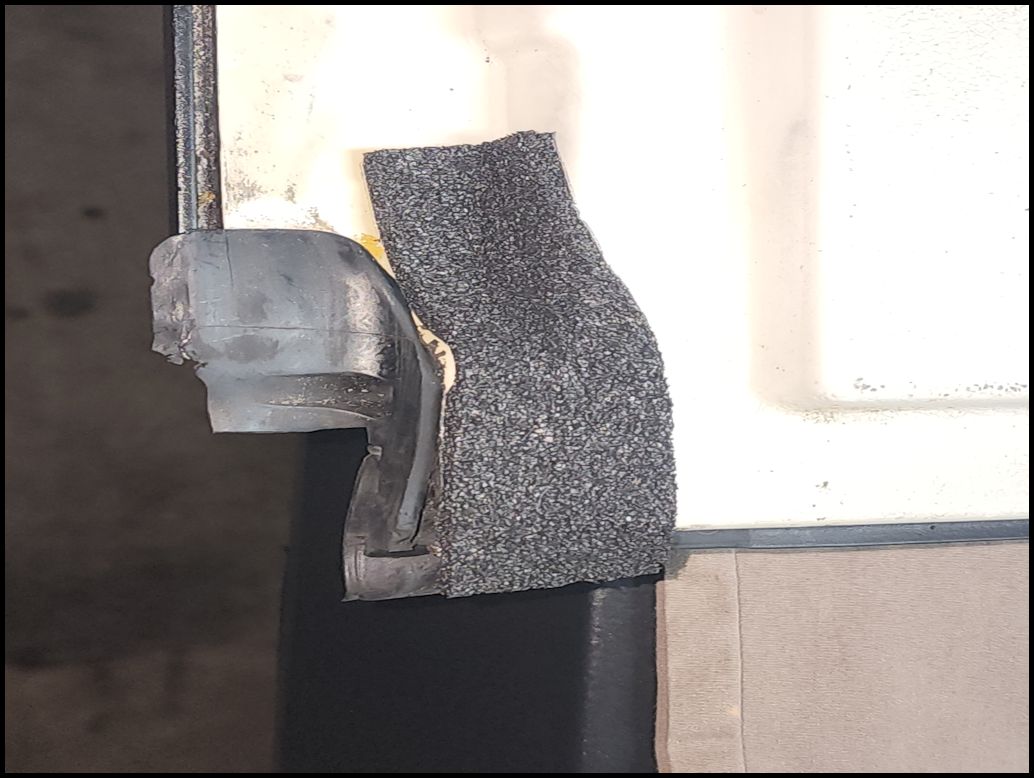
Passenger Side Rear Inner: 30x95x2 (1 piece)
Place the piece starting at the inner rear edge just in front of the rubber seal. Fold it down over the inner lip. Part of the sea will be on the lower horizontal section and part will be on the forward vertical edge. |
 |
 |
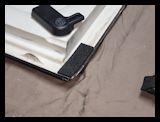
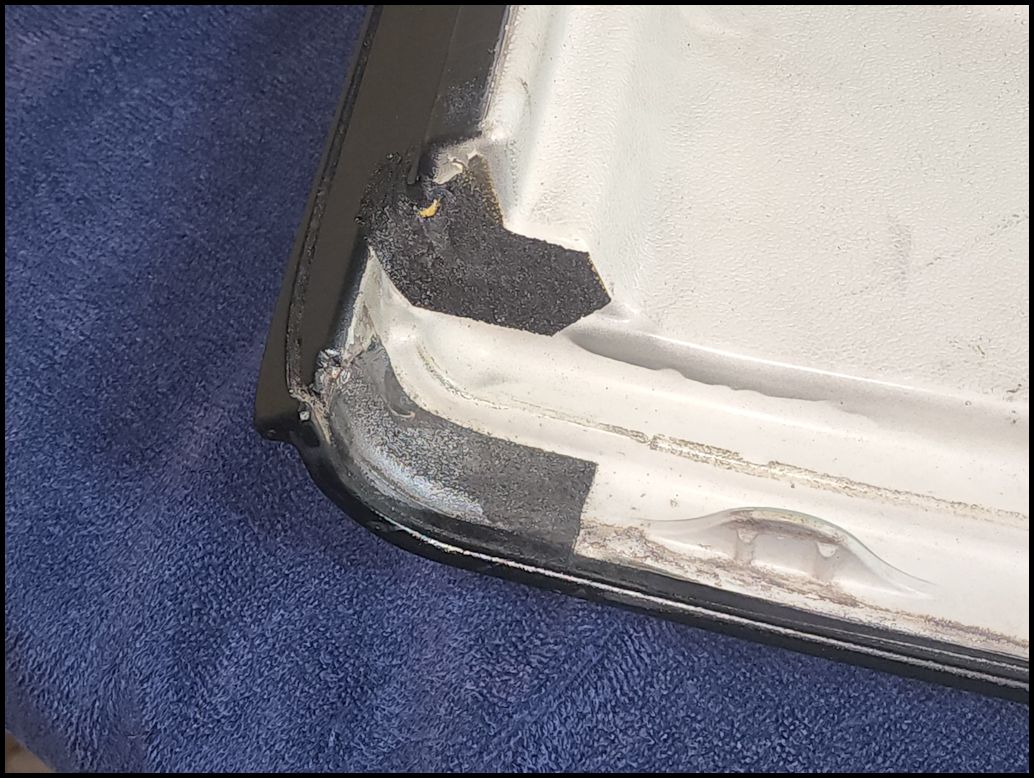
Passenger Side Rear Outer: Left Corner Piece and 20x95x5 (1 piece)
I will call this the left corner piece because the little tab sticks out to the bottom left.The little tab goes towards the outer edge of the panel. The corner piece should line up with the top inner edge of the panel. You should be able to see discoloration from the old seal on the paint to get it lined up.
Place the 20mm wide piece on the outer rear corner. This piece should stay inside of the grove in the panel.
I did have an additional piece of foam seal placed over the top of the left corner piece and wrapped down into the freedom panel. I found a reference to this in the Mopar leak manual that says to cut a 30x75 piece in half length wise and apply here, but the kit didn't come with an additional piece and the two 9x100mm pieces were way to big. |
 |
 |
 |
Passenger Side Front Inner: 30x75x3 (1 piece)
This piece starts lined up with the rubber piece that extends out from the edge of the freedom panel. I have seen this rubber piece refered to as a flame tip. |
 |
 |
 |
 |
Passenger Side Front Outer: Left Corner Piece and 30x75x3 (1 piece)
I will call this the left corner piece because the little tab sticks out to the bottom left.The little tab goes towards the inside of the panel. The corner piece should line up with the notch on the front side of the panel. You should be able to see discoloration from the old seal on the paint to get it lined up.
Place the 30mm wide piece on the front outer corner. This piece should stay inside of the grove in the panel and start right where the edge transitions from the horizontal to the vertical. |
 |
 |
 |
| |
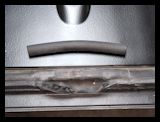
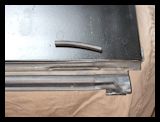
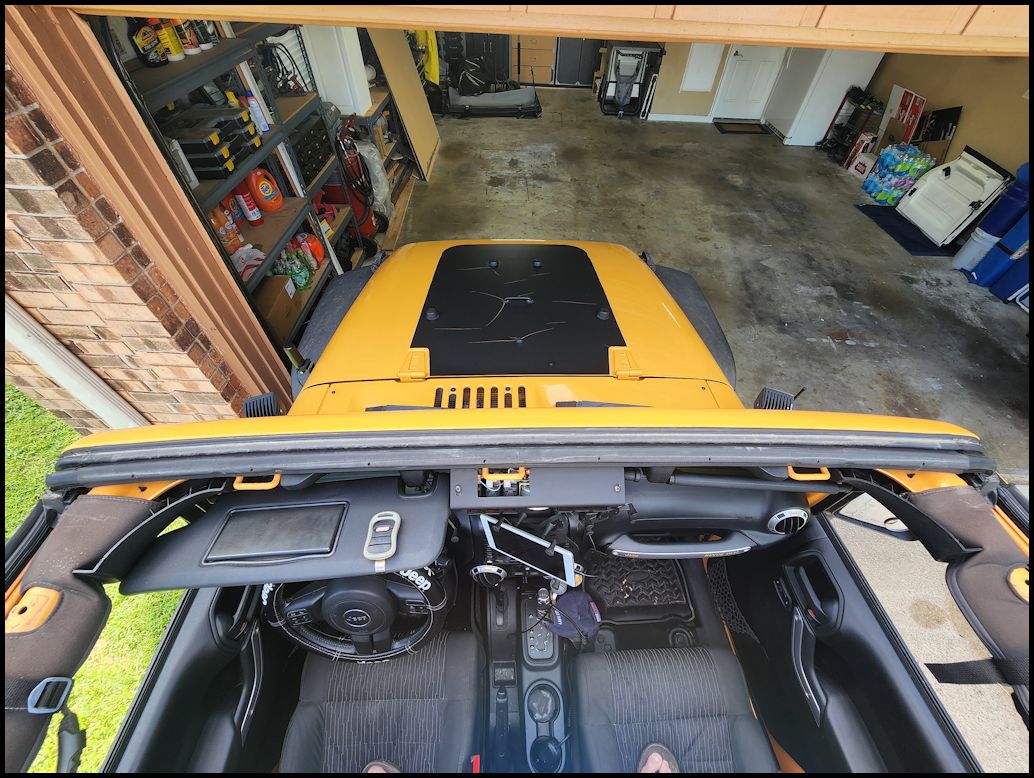
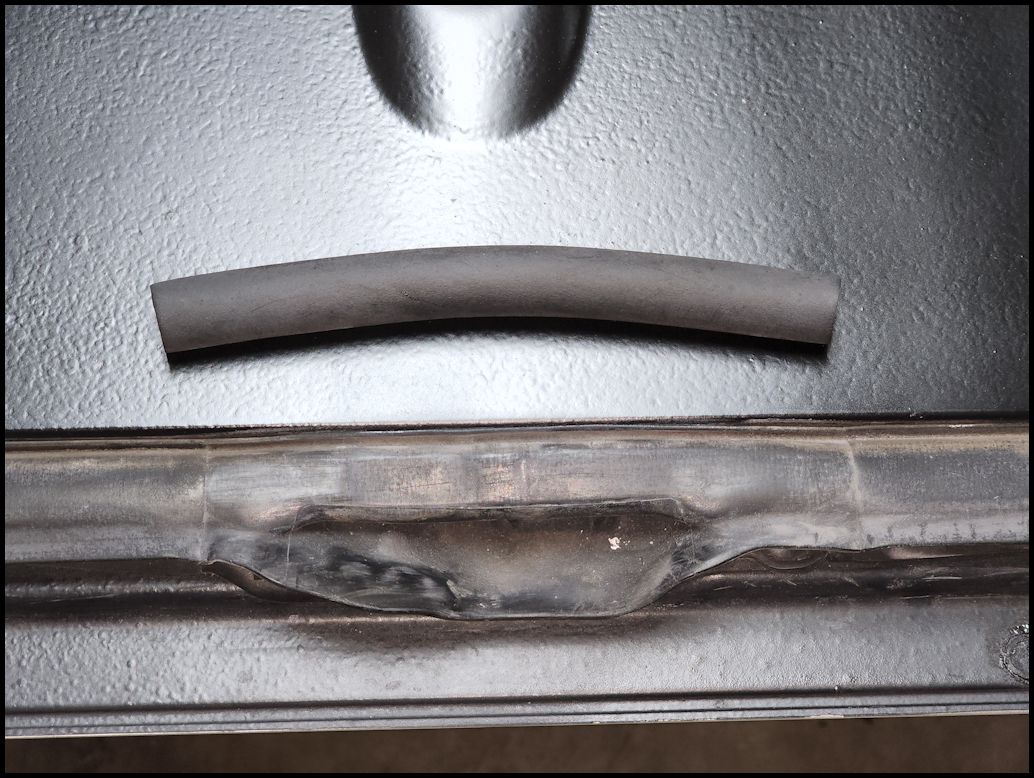
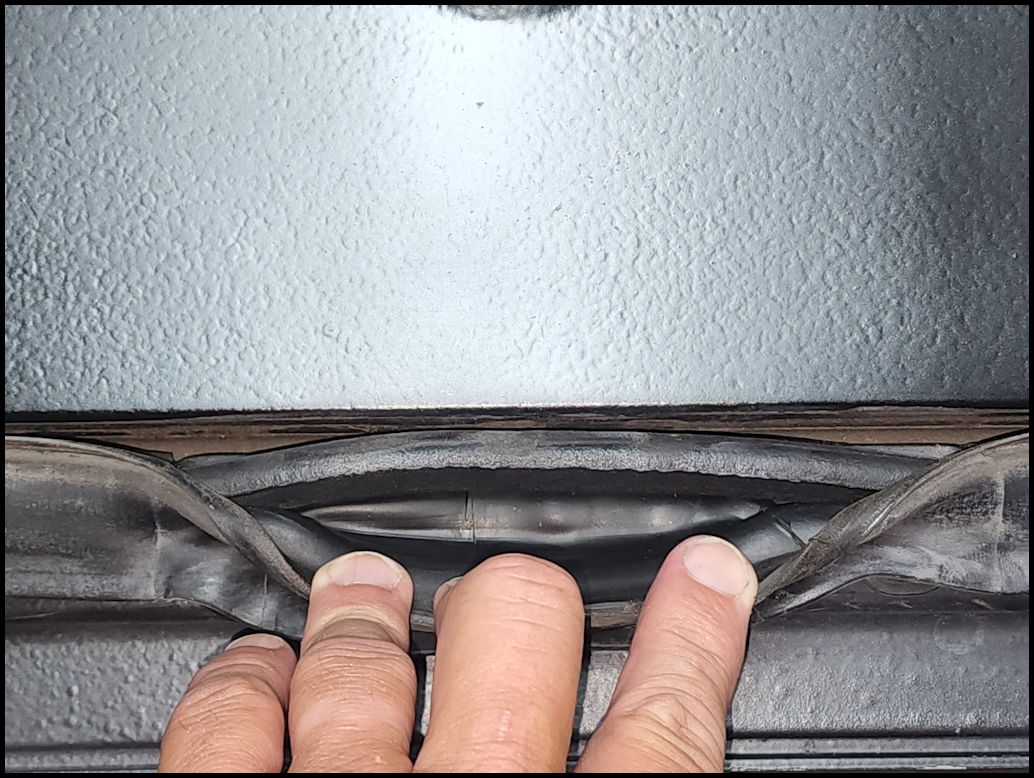
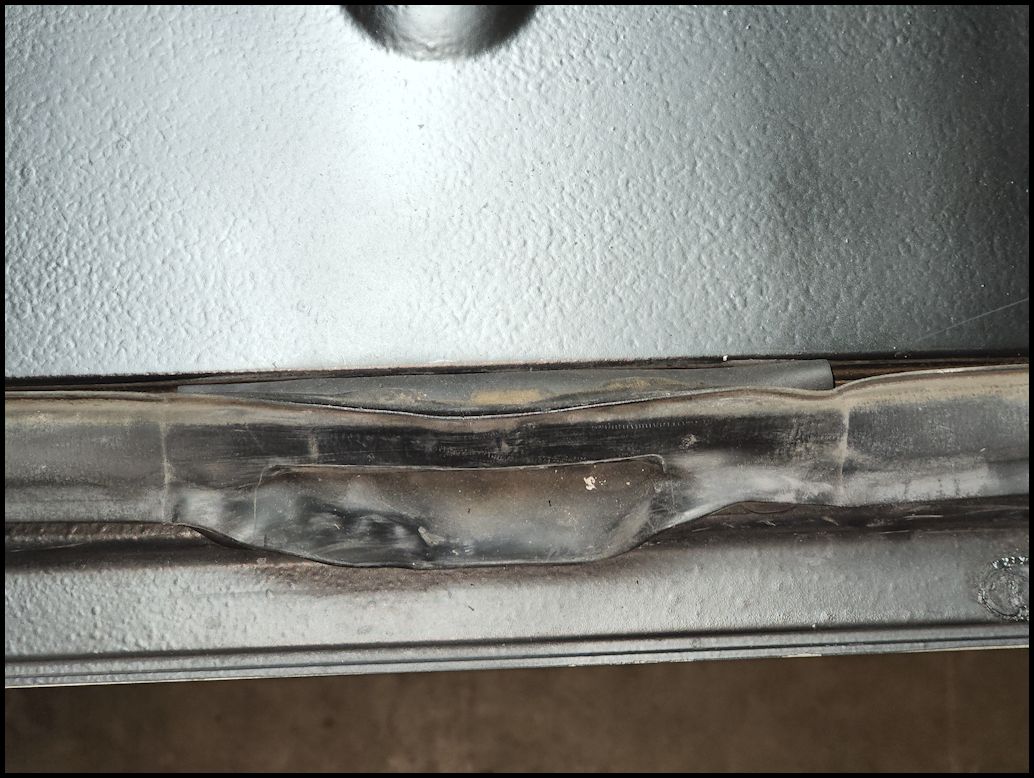
| Rear Half Hard top seal: |
| There is a foam stuffer seal located at the back center on the hard top. I thought that the large seal in the kit would go in this location, but it is much wider and shorter than the one that is installed in this location. This is probably part of buying the entire hard top to freedom panel rubber gasket/seal. |
 |
 |
 |
| As you can see it doesn't fit this location. |
 |
| |
| Center Freedom Panel Seal: |
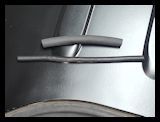
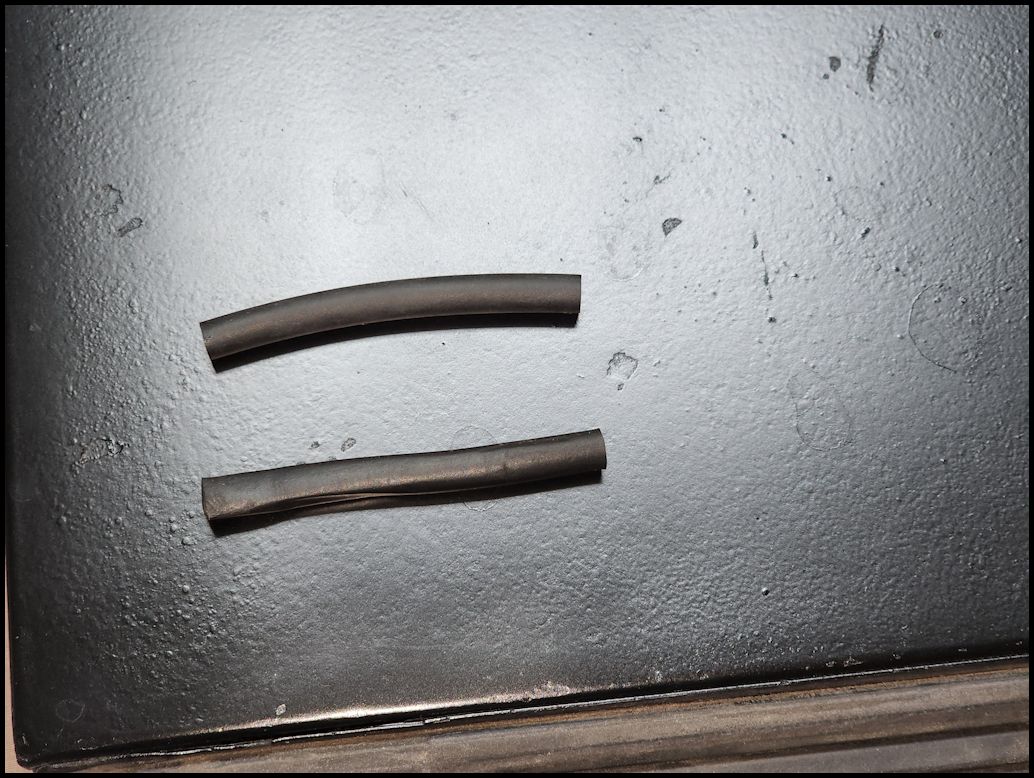
On the passenger freedom panel there are two ?mm x ?mm x ?mm round stuffer seals installed on the rubber gasket where the panels join. One seal is in a slot at the rear of the rubber gasket on the panel. Use a needle nose pliers to pull this seal up and out of the slot. Install the new stuffer seal into the slot. I believe that these would also be included if you need to purchase the entire rubber gasket/seal for the freedom panel.
|
 |
 |
 |
| The other is inserted into the front of the rubber gasket. You will need a pair of needle nose pliers to pull the seal out of the front of the panel. Use caution and some patients as you slowly wiggle and massage the front stuffer seal out of the rubber seal. When installing the new seal you will need to lubricate the seal and opening. You will not be able to get this in without some lubrication. I used some mineral oil that I had in the garage, but you could probably use any rubber and foam friendly lubricant. I used silicone lube on another panel that I did. |
 |
 |
| |
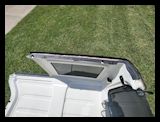
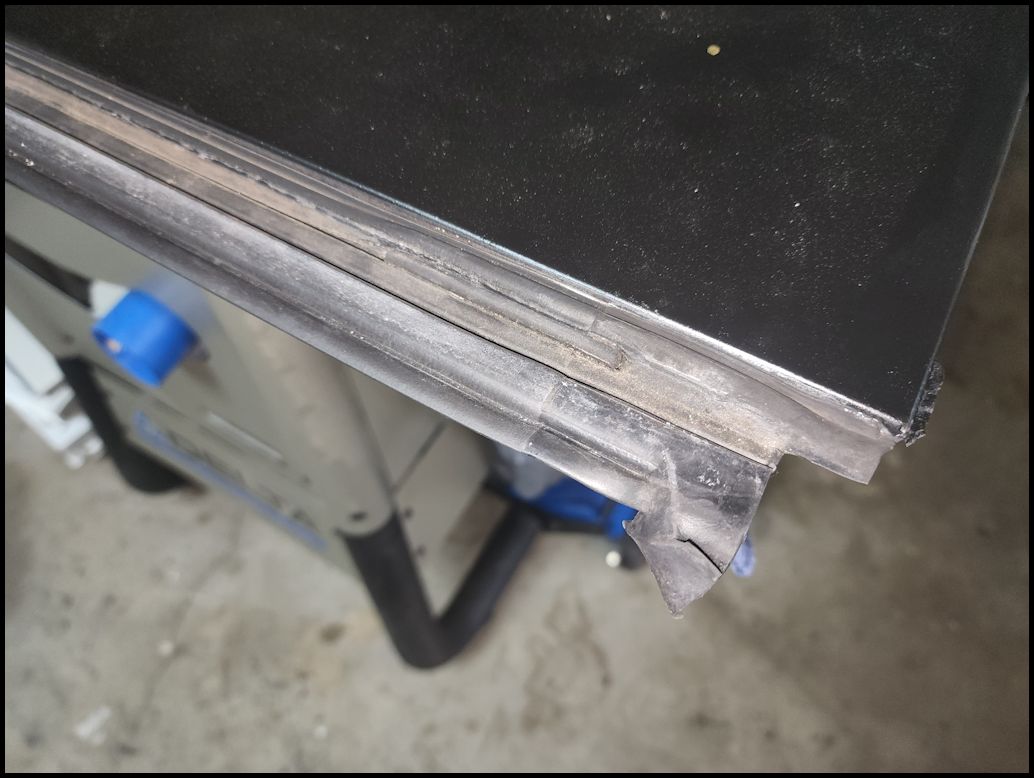
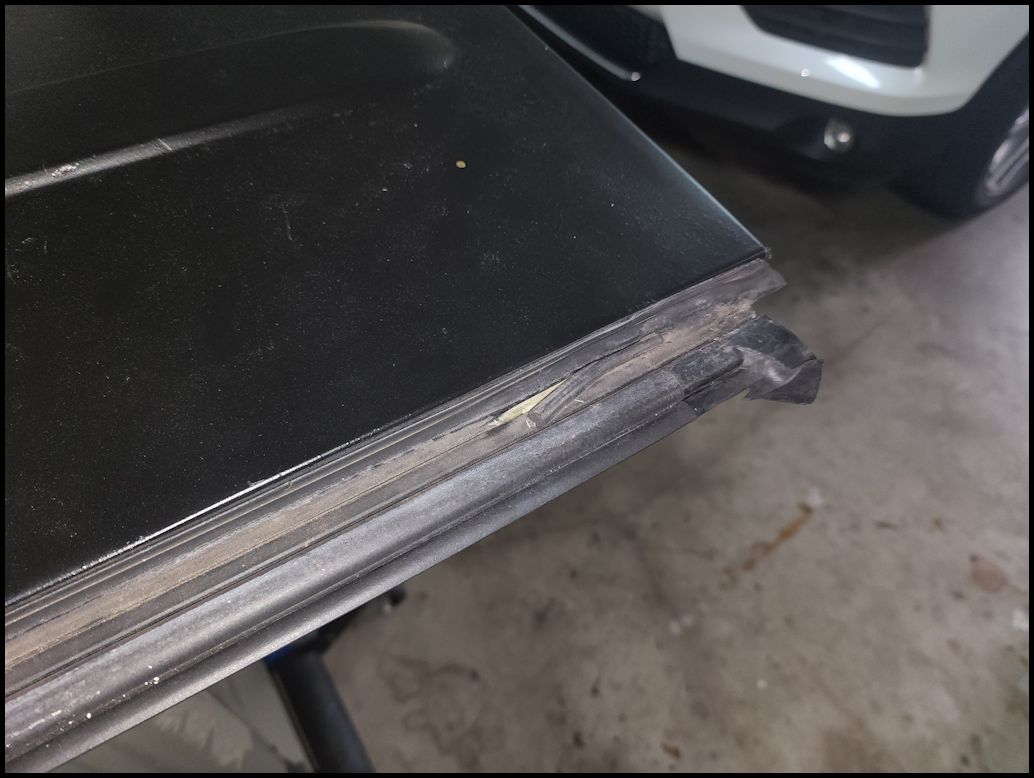
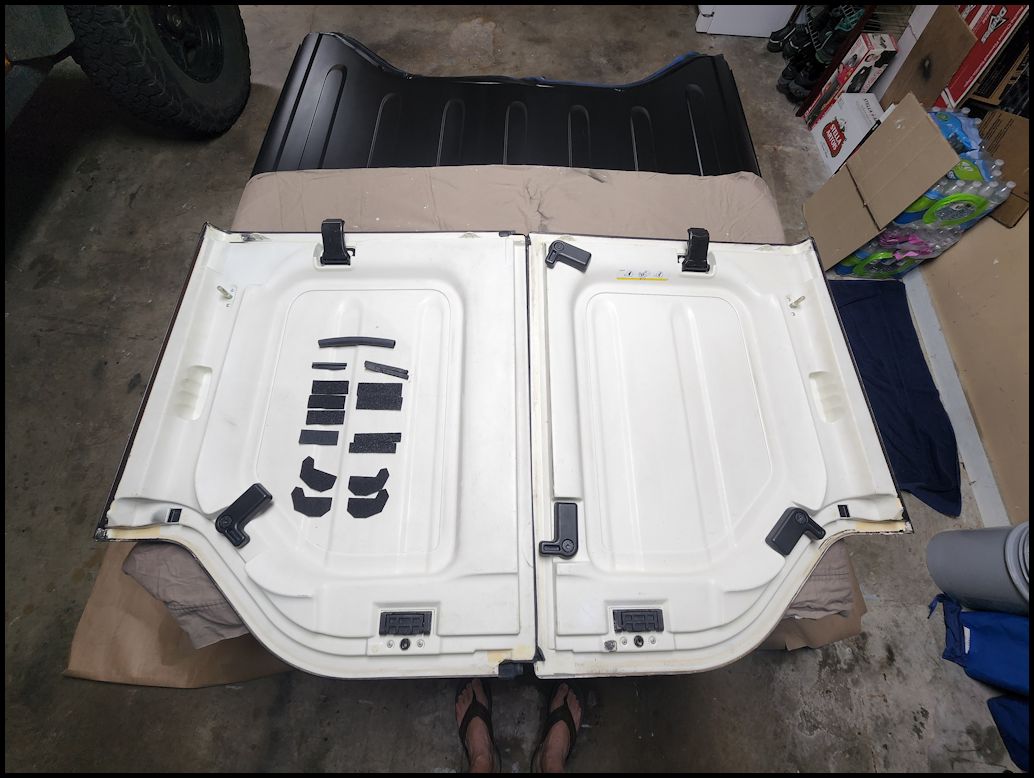
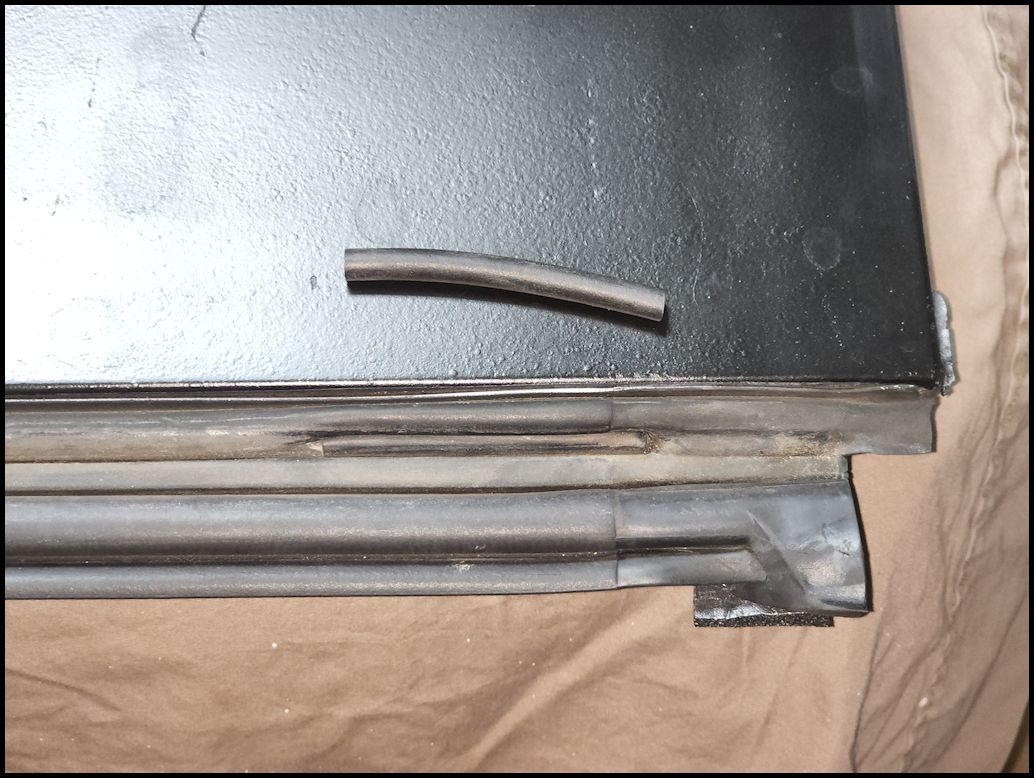
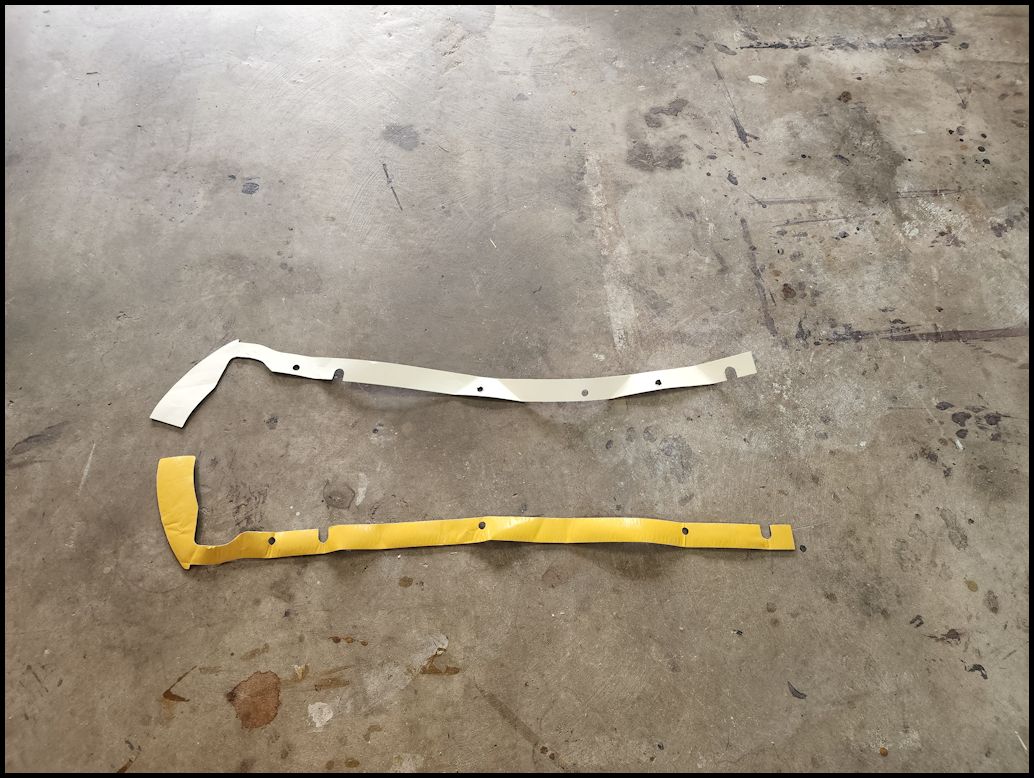
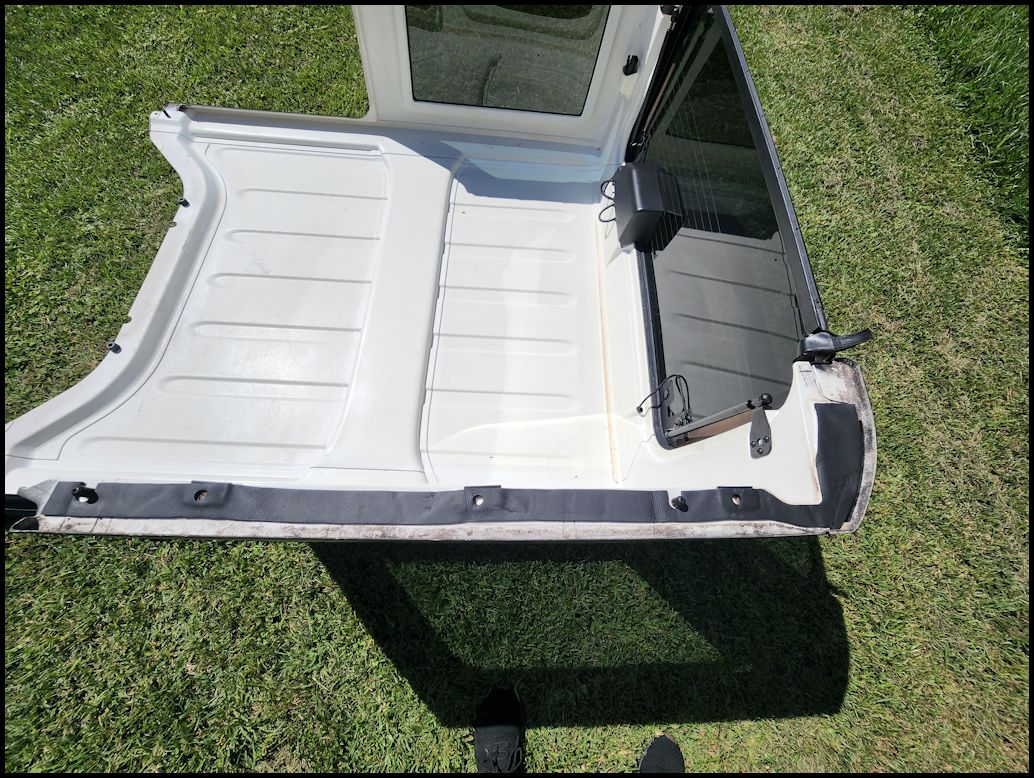
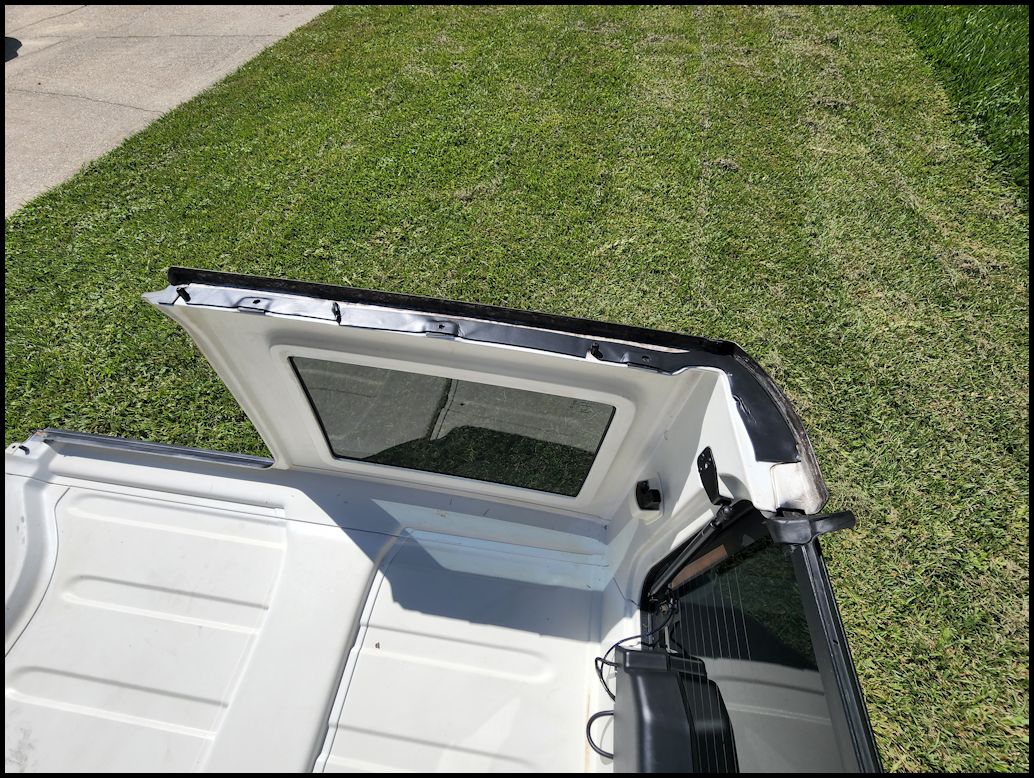
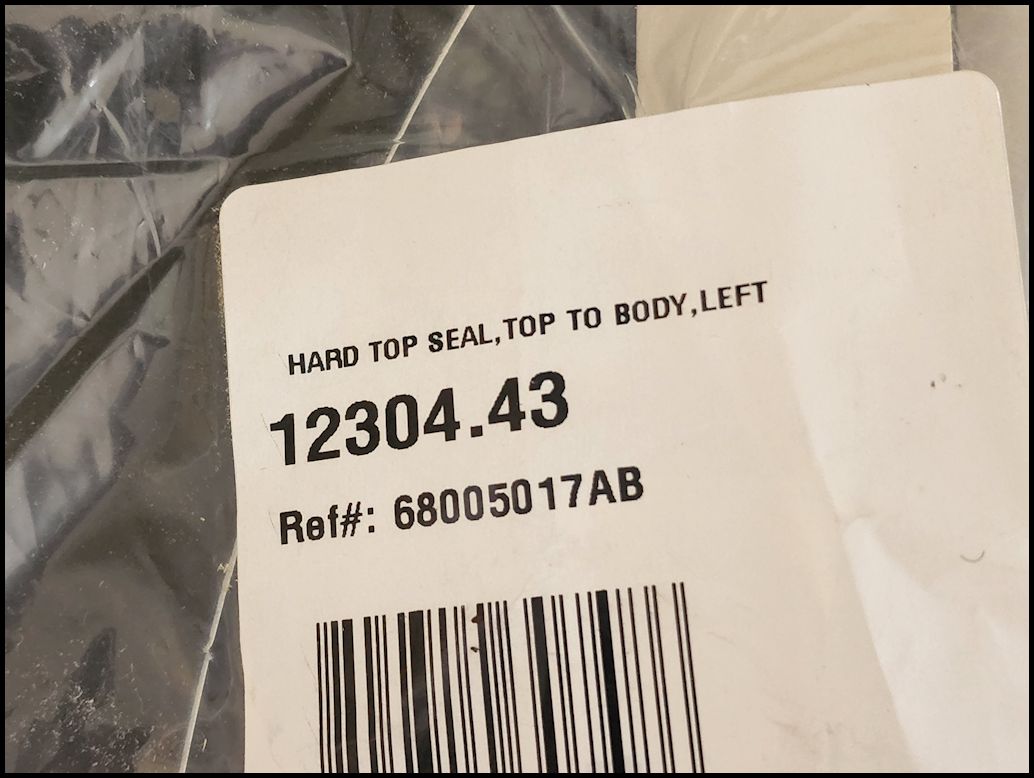
| Rear half hardtop to body seals: (enclosure to body seals) |
The part numbers for the 2 door JK Hardtop:
68005016AC right side
68005017AC left side
|
The part numbers for the 4 door JK Hardtop:
68005014AC right side
68005015AC left side |
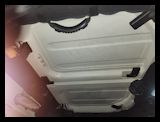
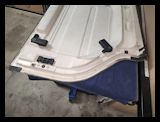
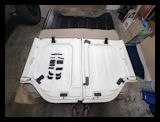
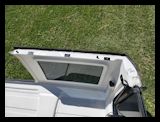
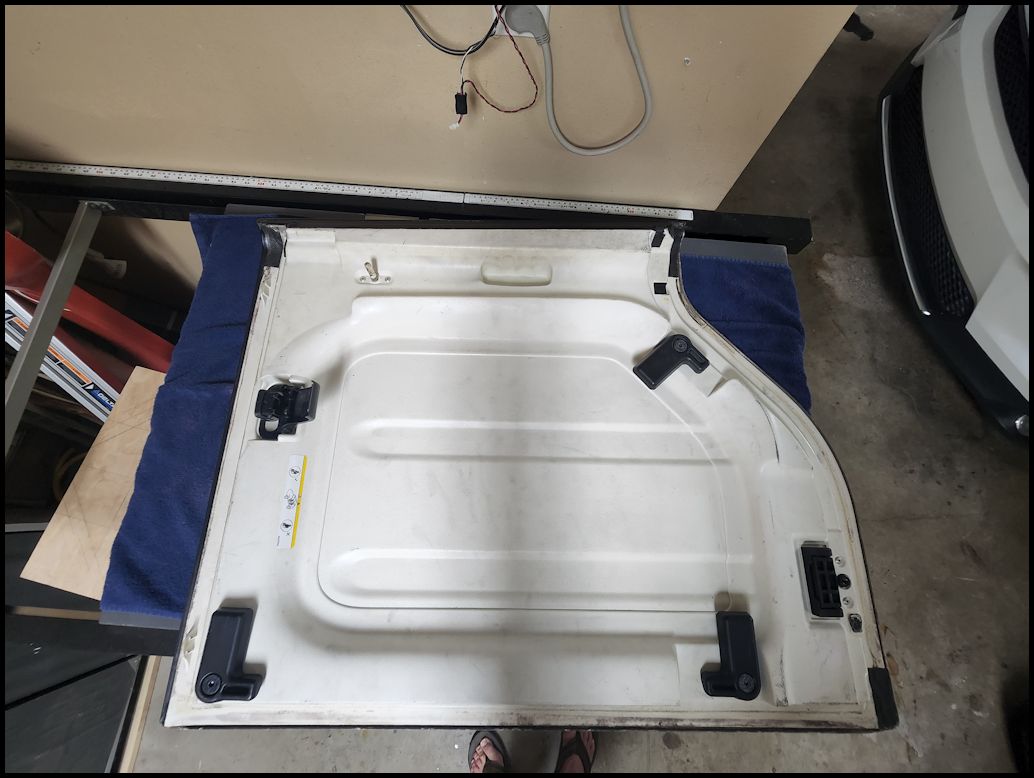
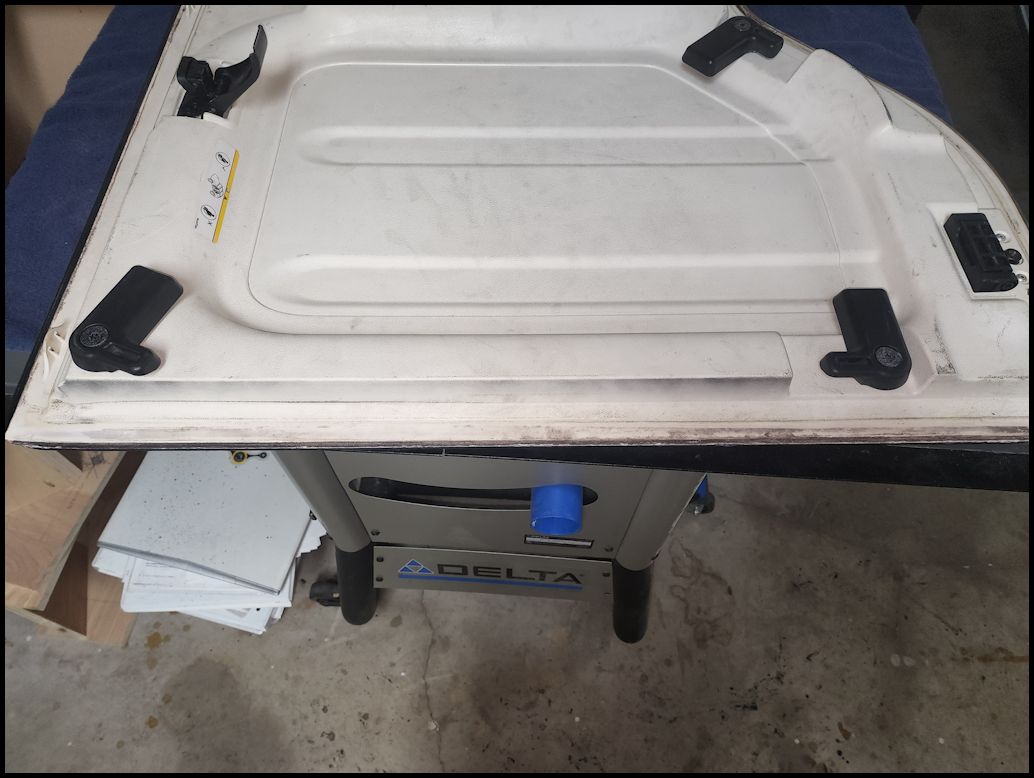
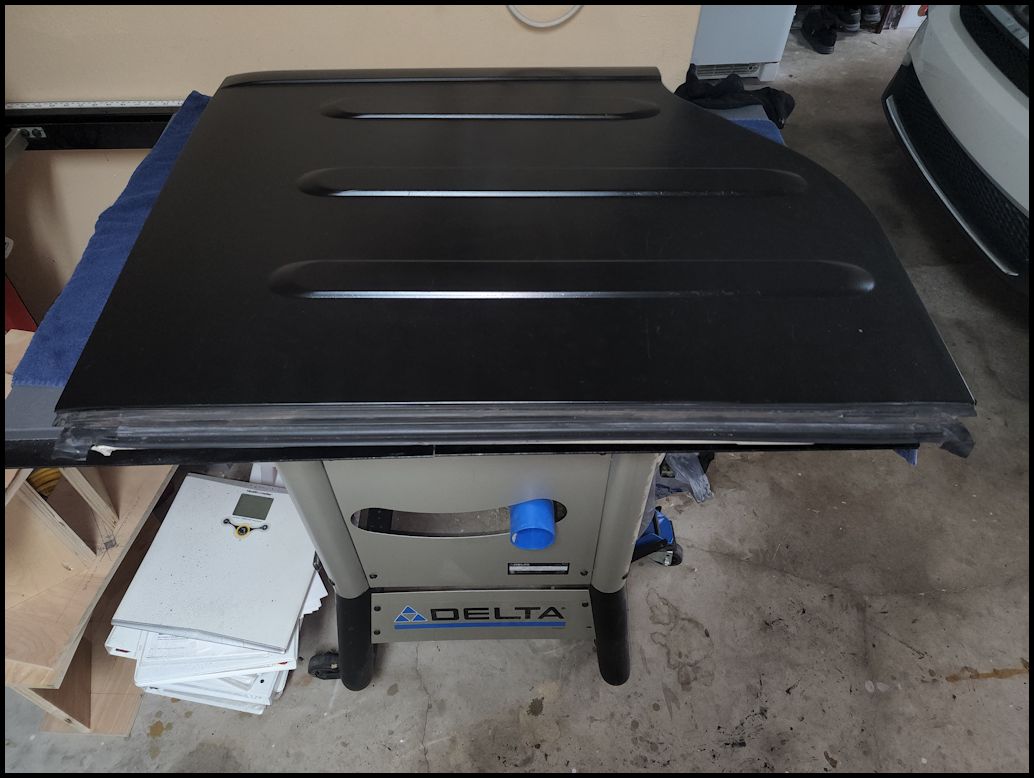
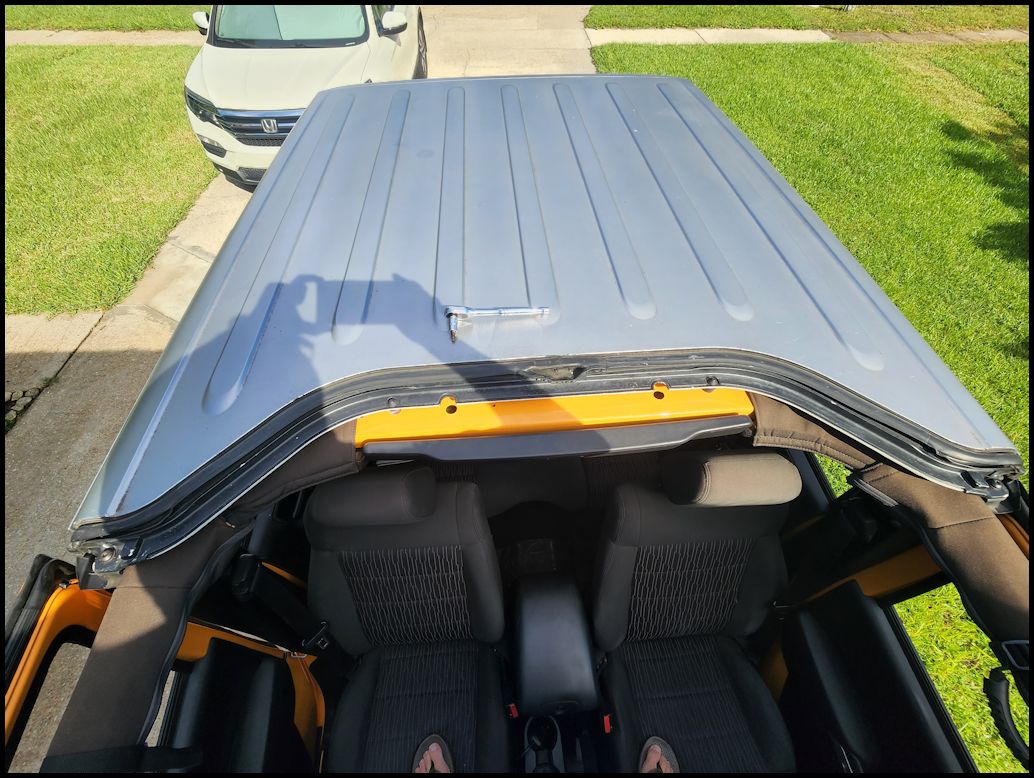
| I already had the hard top removed to repaint the black, so I just flipped it over on the grass to work on the underside. I probably didn't need to replace these seals, but the top was 10 years old and had been removed and reinstalled several times. Be careful of the rear glass and corners of the hard top. You definately need 2 people to do this, but haveing 3 or 4 would be even better. It's expensive if you drop it on any type of hard surface. |
 |
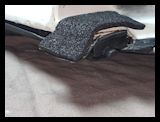
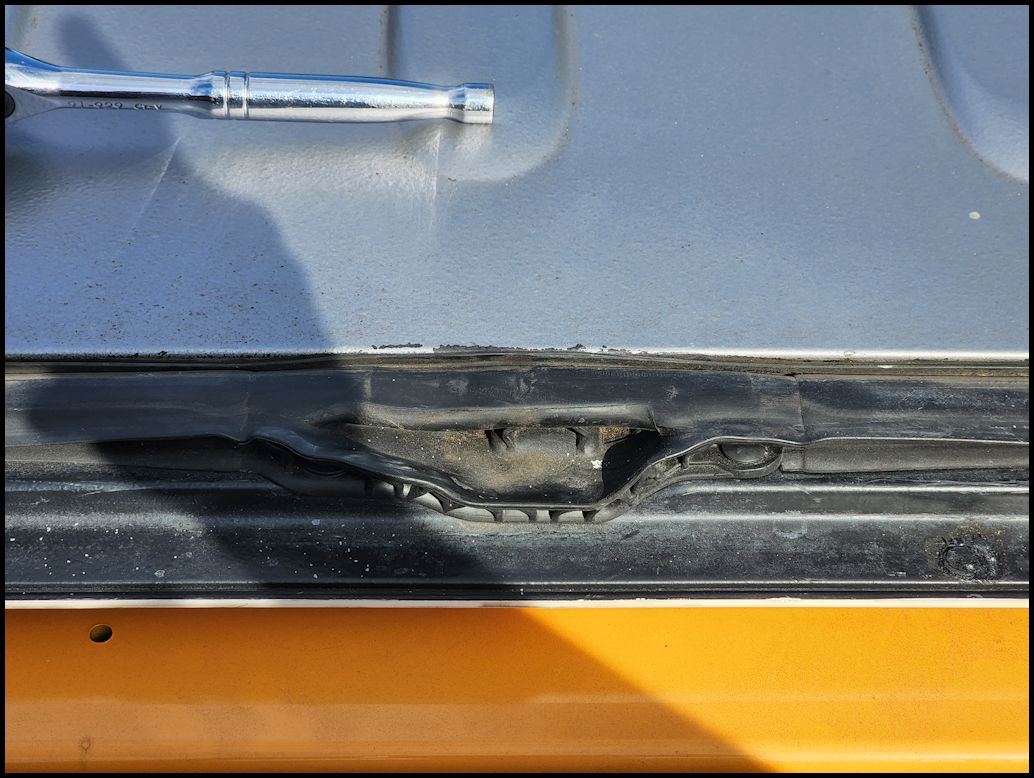
| The seals were flat and torn in areas. Carefully peal the old seals off of the hard top. You should be able to get it to come off in fairly large chunks, if not all in one piece. It just take a little patients to get it off. Doing it in the summer time before you put the top back on is a good time since the seal will be flexible and the glue plyable. |
 |
 |
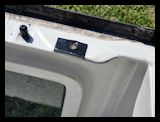
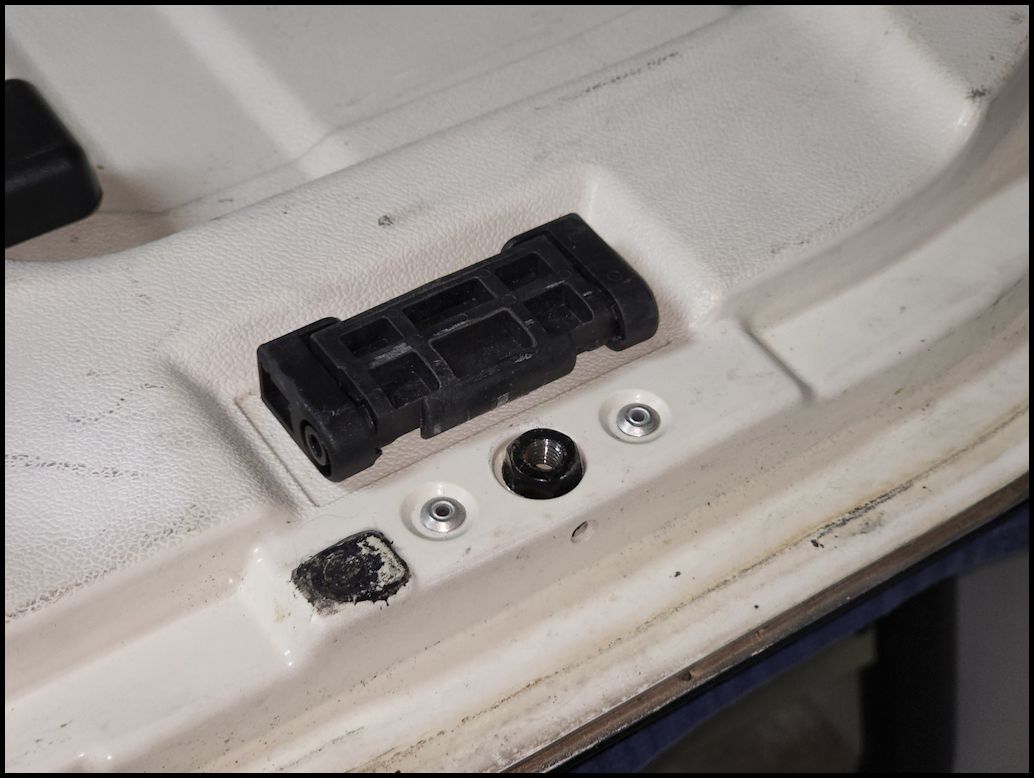
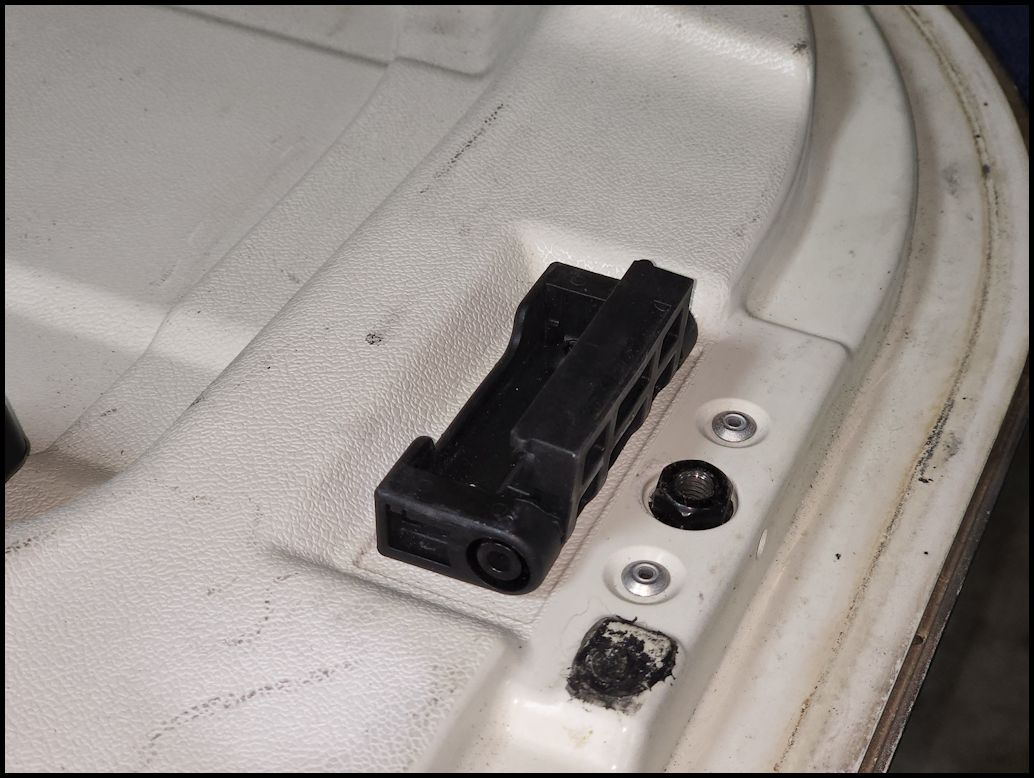
| Clean the surface area to remove the adhesive residue from the old seal. Make sure you do not disturb the 3 plastic washers/plates from the bottom of the hard top. They are just held on by some thin double sided tape. If they do come loose, you can just reposition them over the bolt holes. These are there to help distribute the load without cracking the fiberglass top. |
 |
 |
WARNING: This stuff is STICKY. Double check your alignment and positioning. This is easier done with two people working slowly.
Starting at the back of the hardtop, carefully peal off the backing from the adhesive and press into place. Work your way around to the side and line up the seal with the bolt holes and alignment pins. Peal the adhesive backing away as you slick it down to the hard top. |
 |
 |
 |
| |
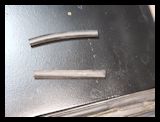
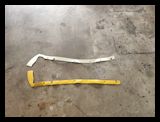
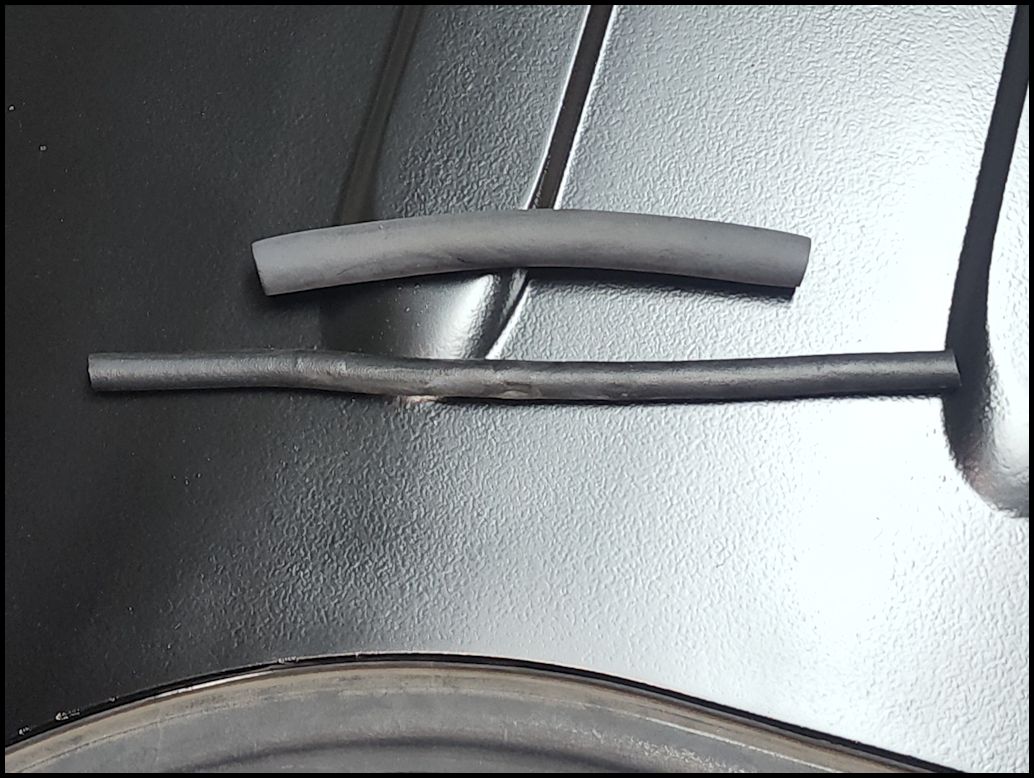
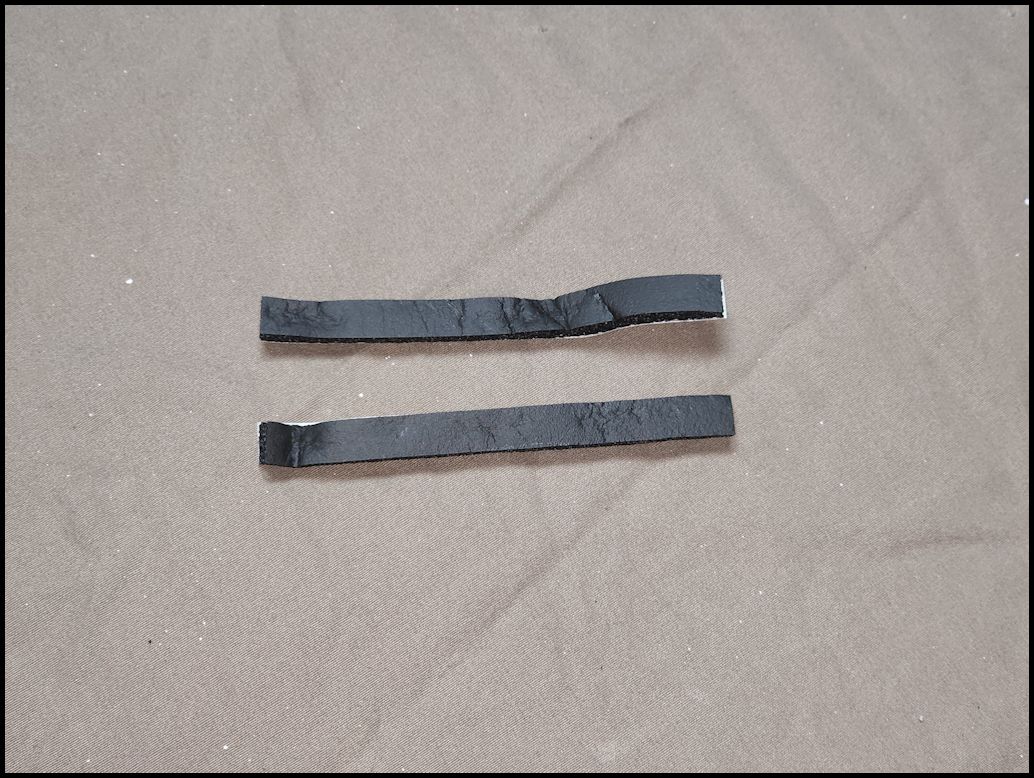
| The Unknown Seals: |
(2) 9mm x 100mm x 6.35mm (front outboard corner to header seal left and right)
(1) 13mm x 8mm x 160mm (windshield header seal round stuffer) |
 |
|
| |
| |
| Now you just need to get the top back on the Jeep and install the freedom panel. On your next drive listen for any wind noises. I did have to remove and reinstall my freedom panels a couple times to get all the seals seated properly. |
 |
| |


